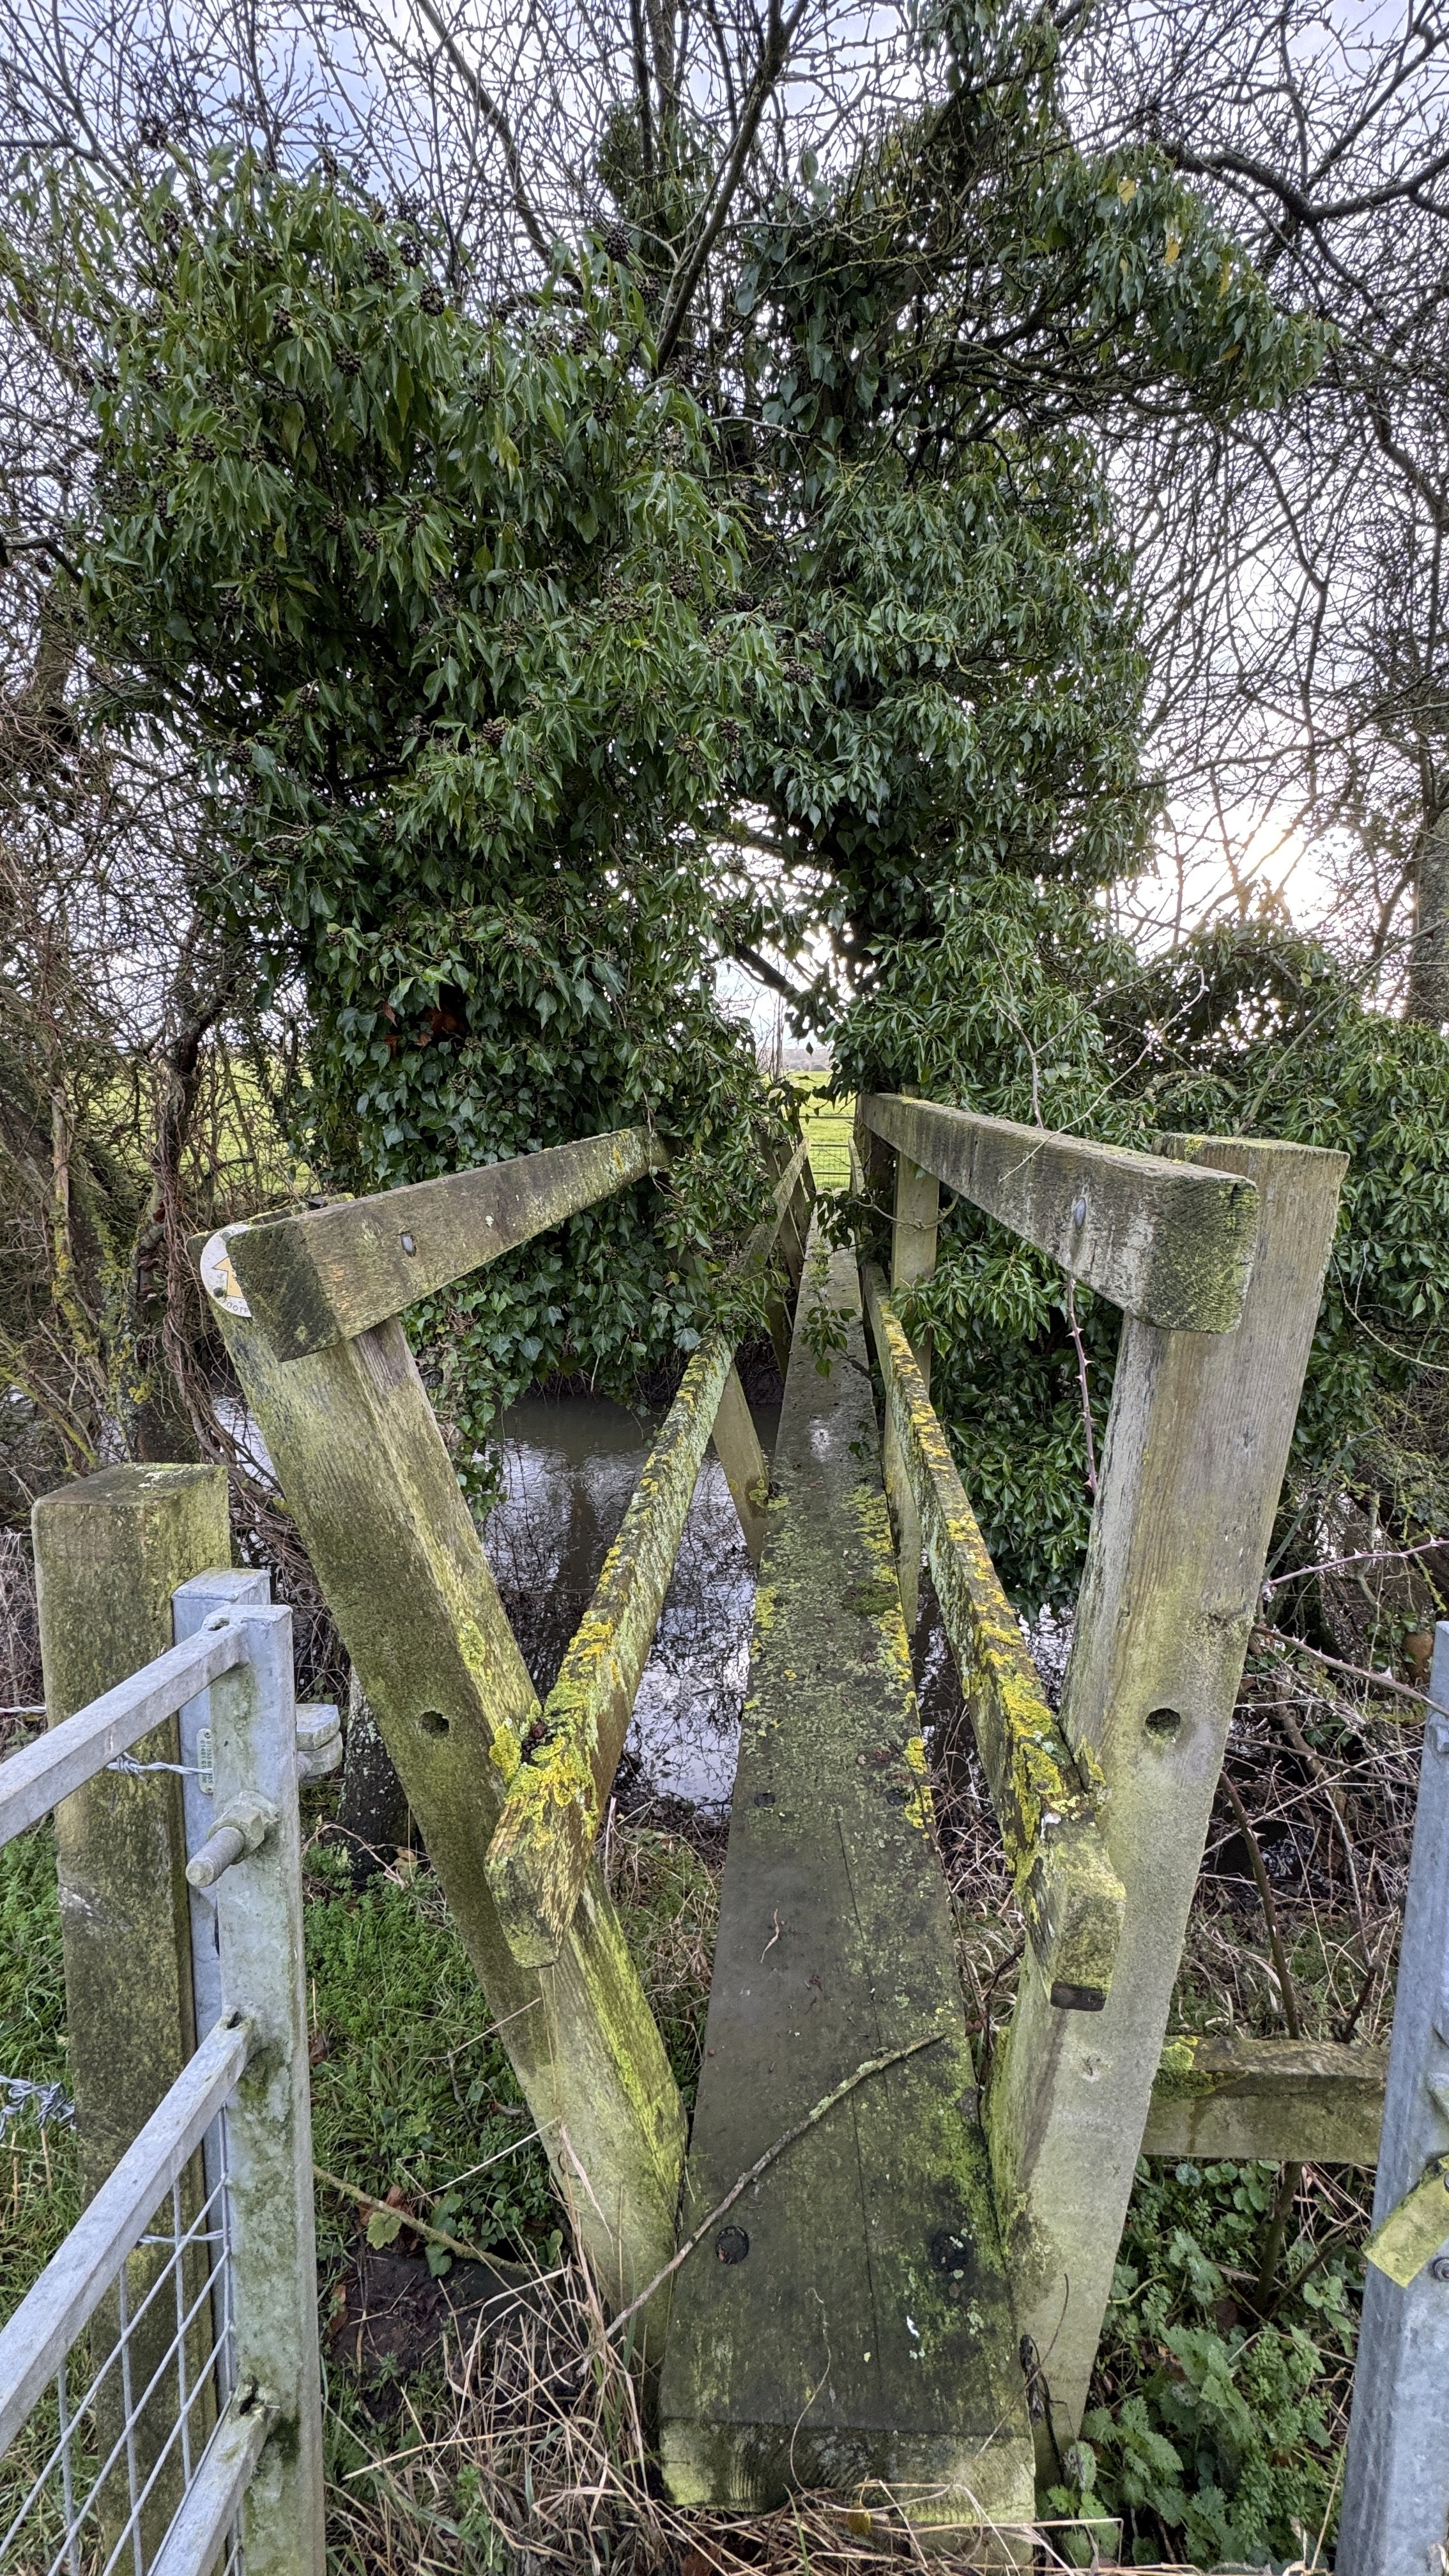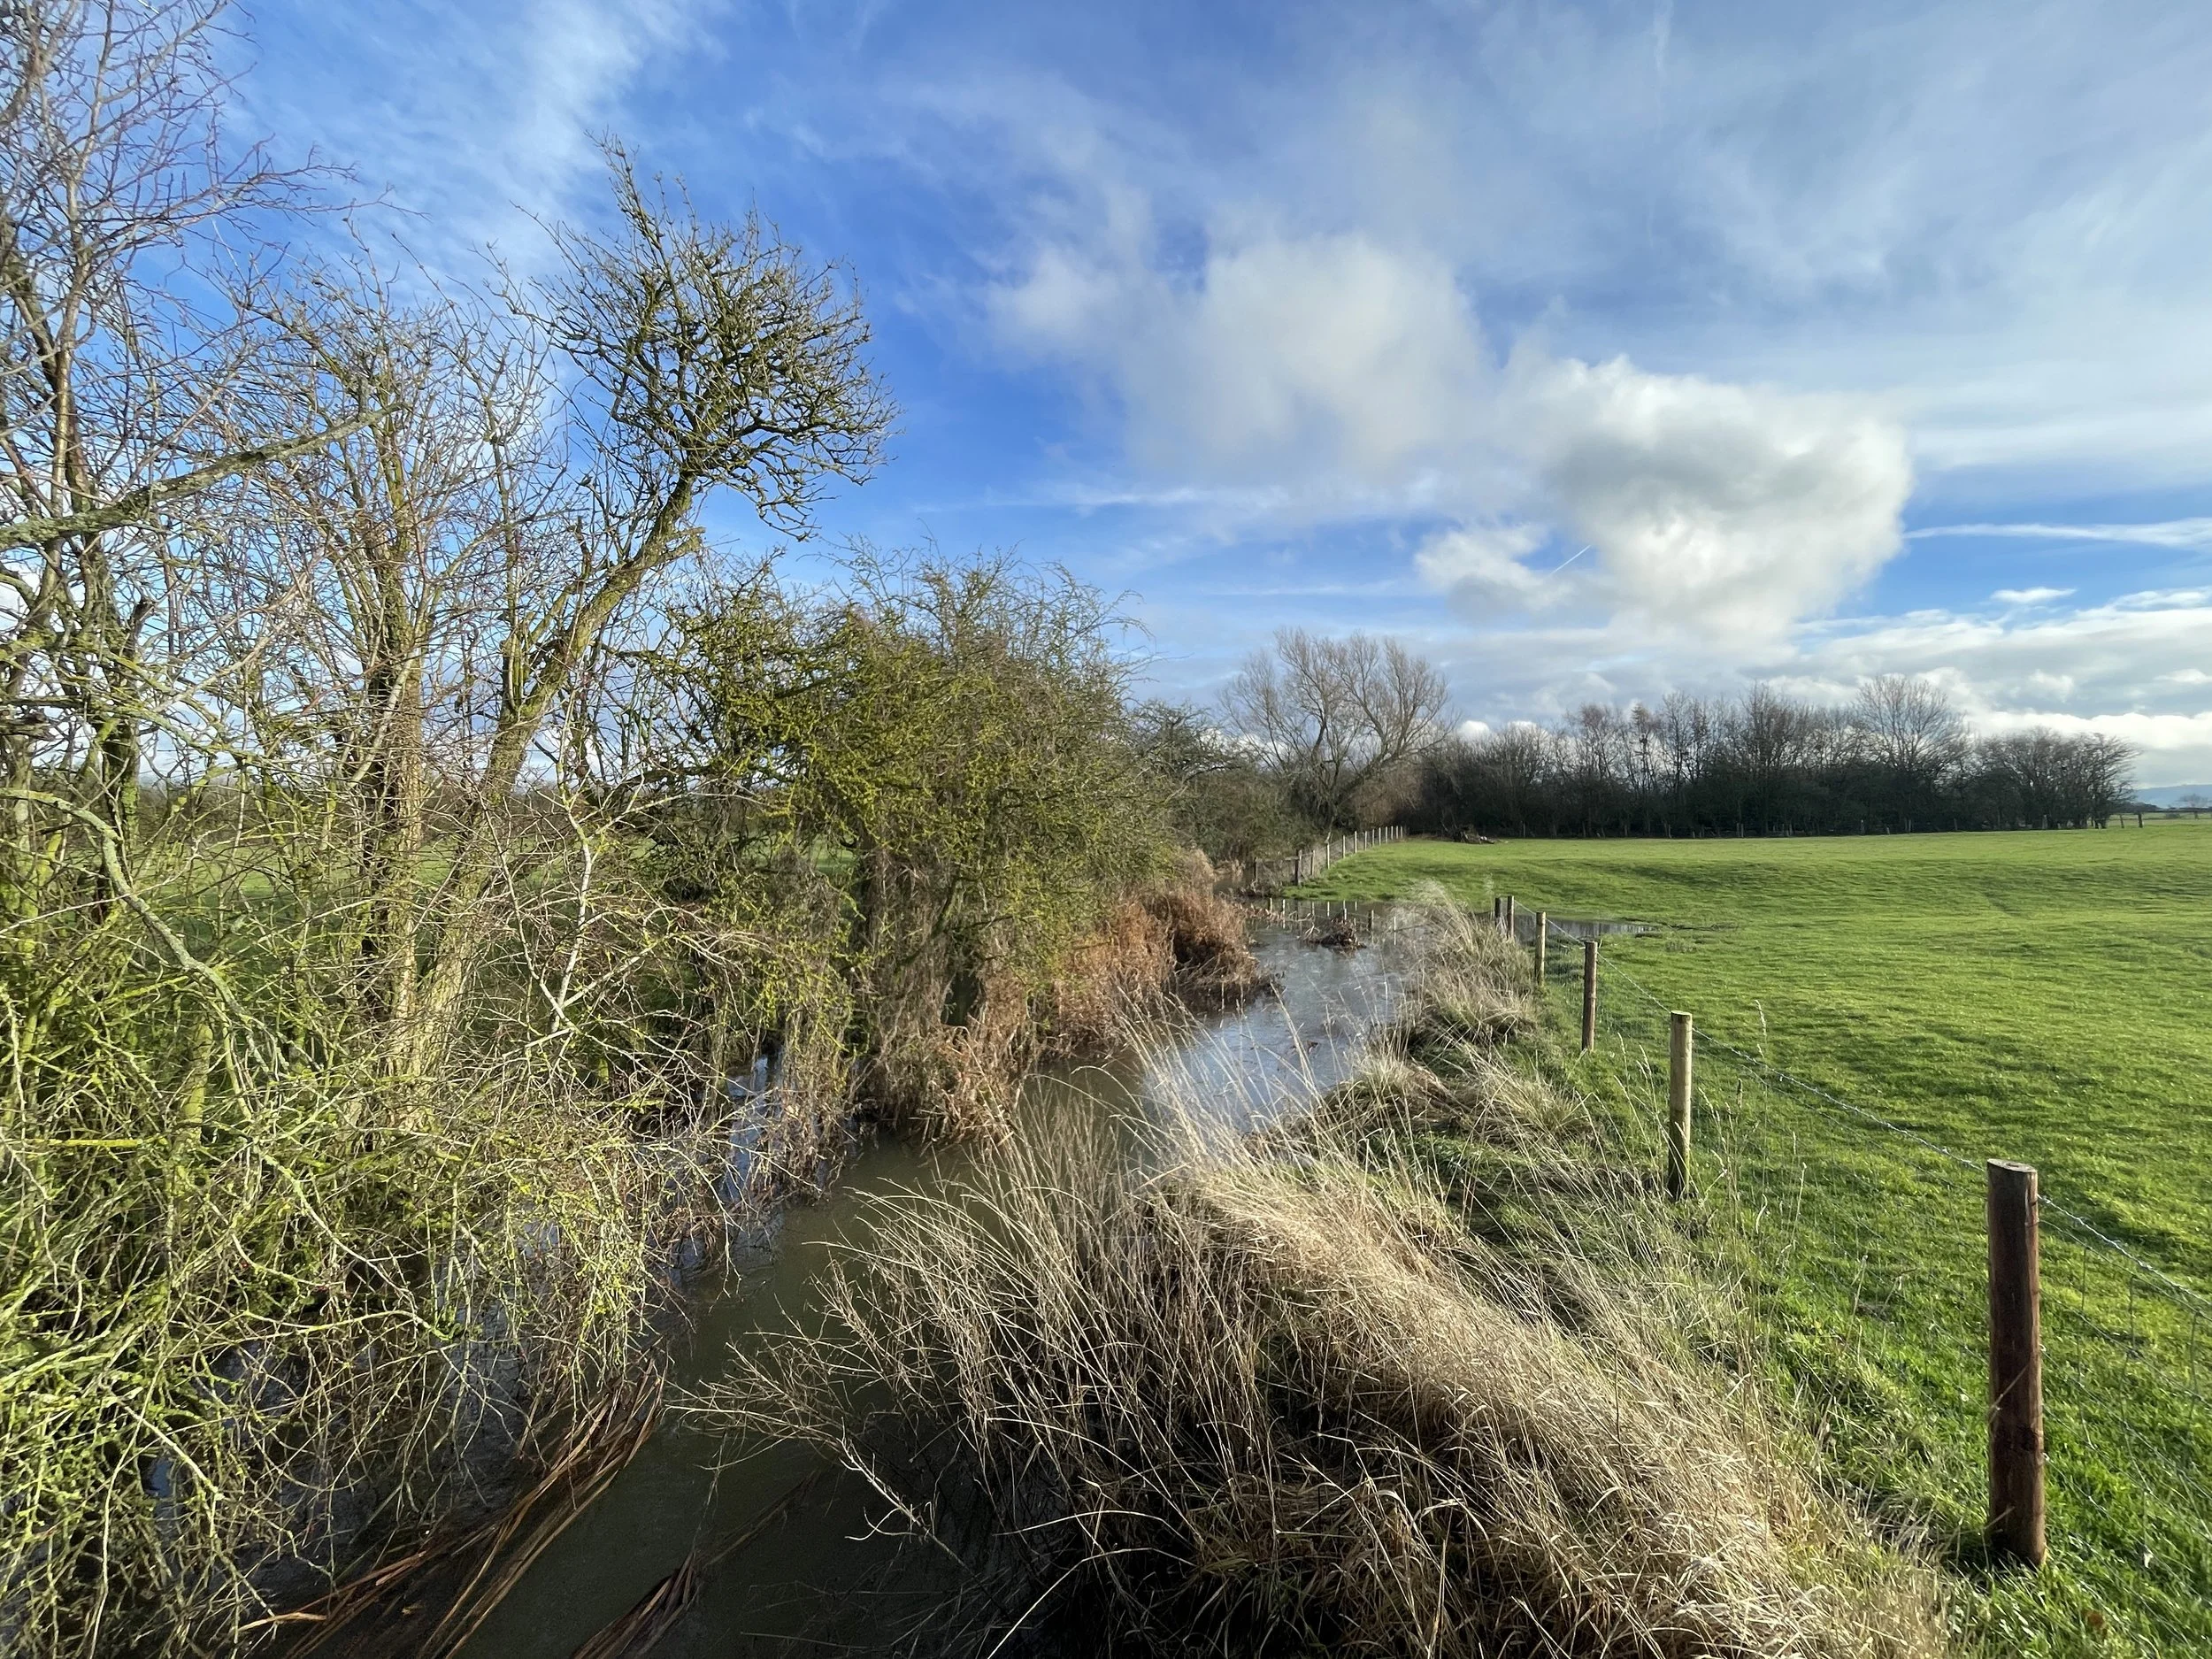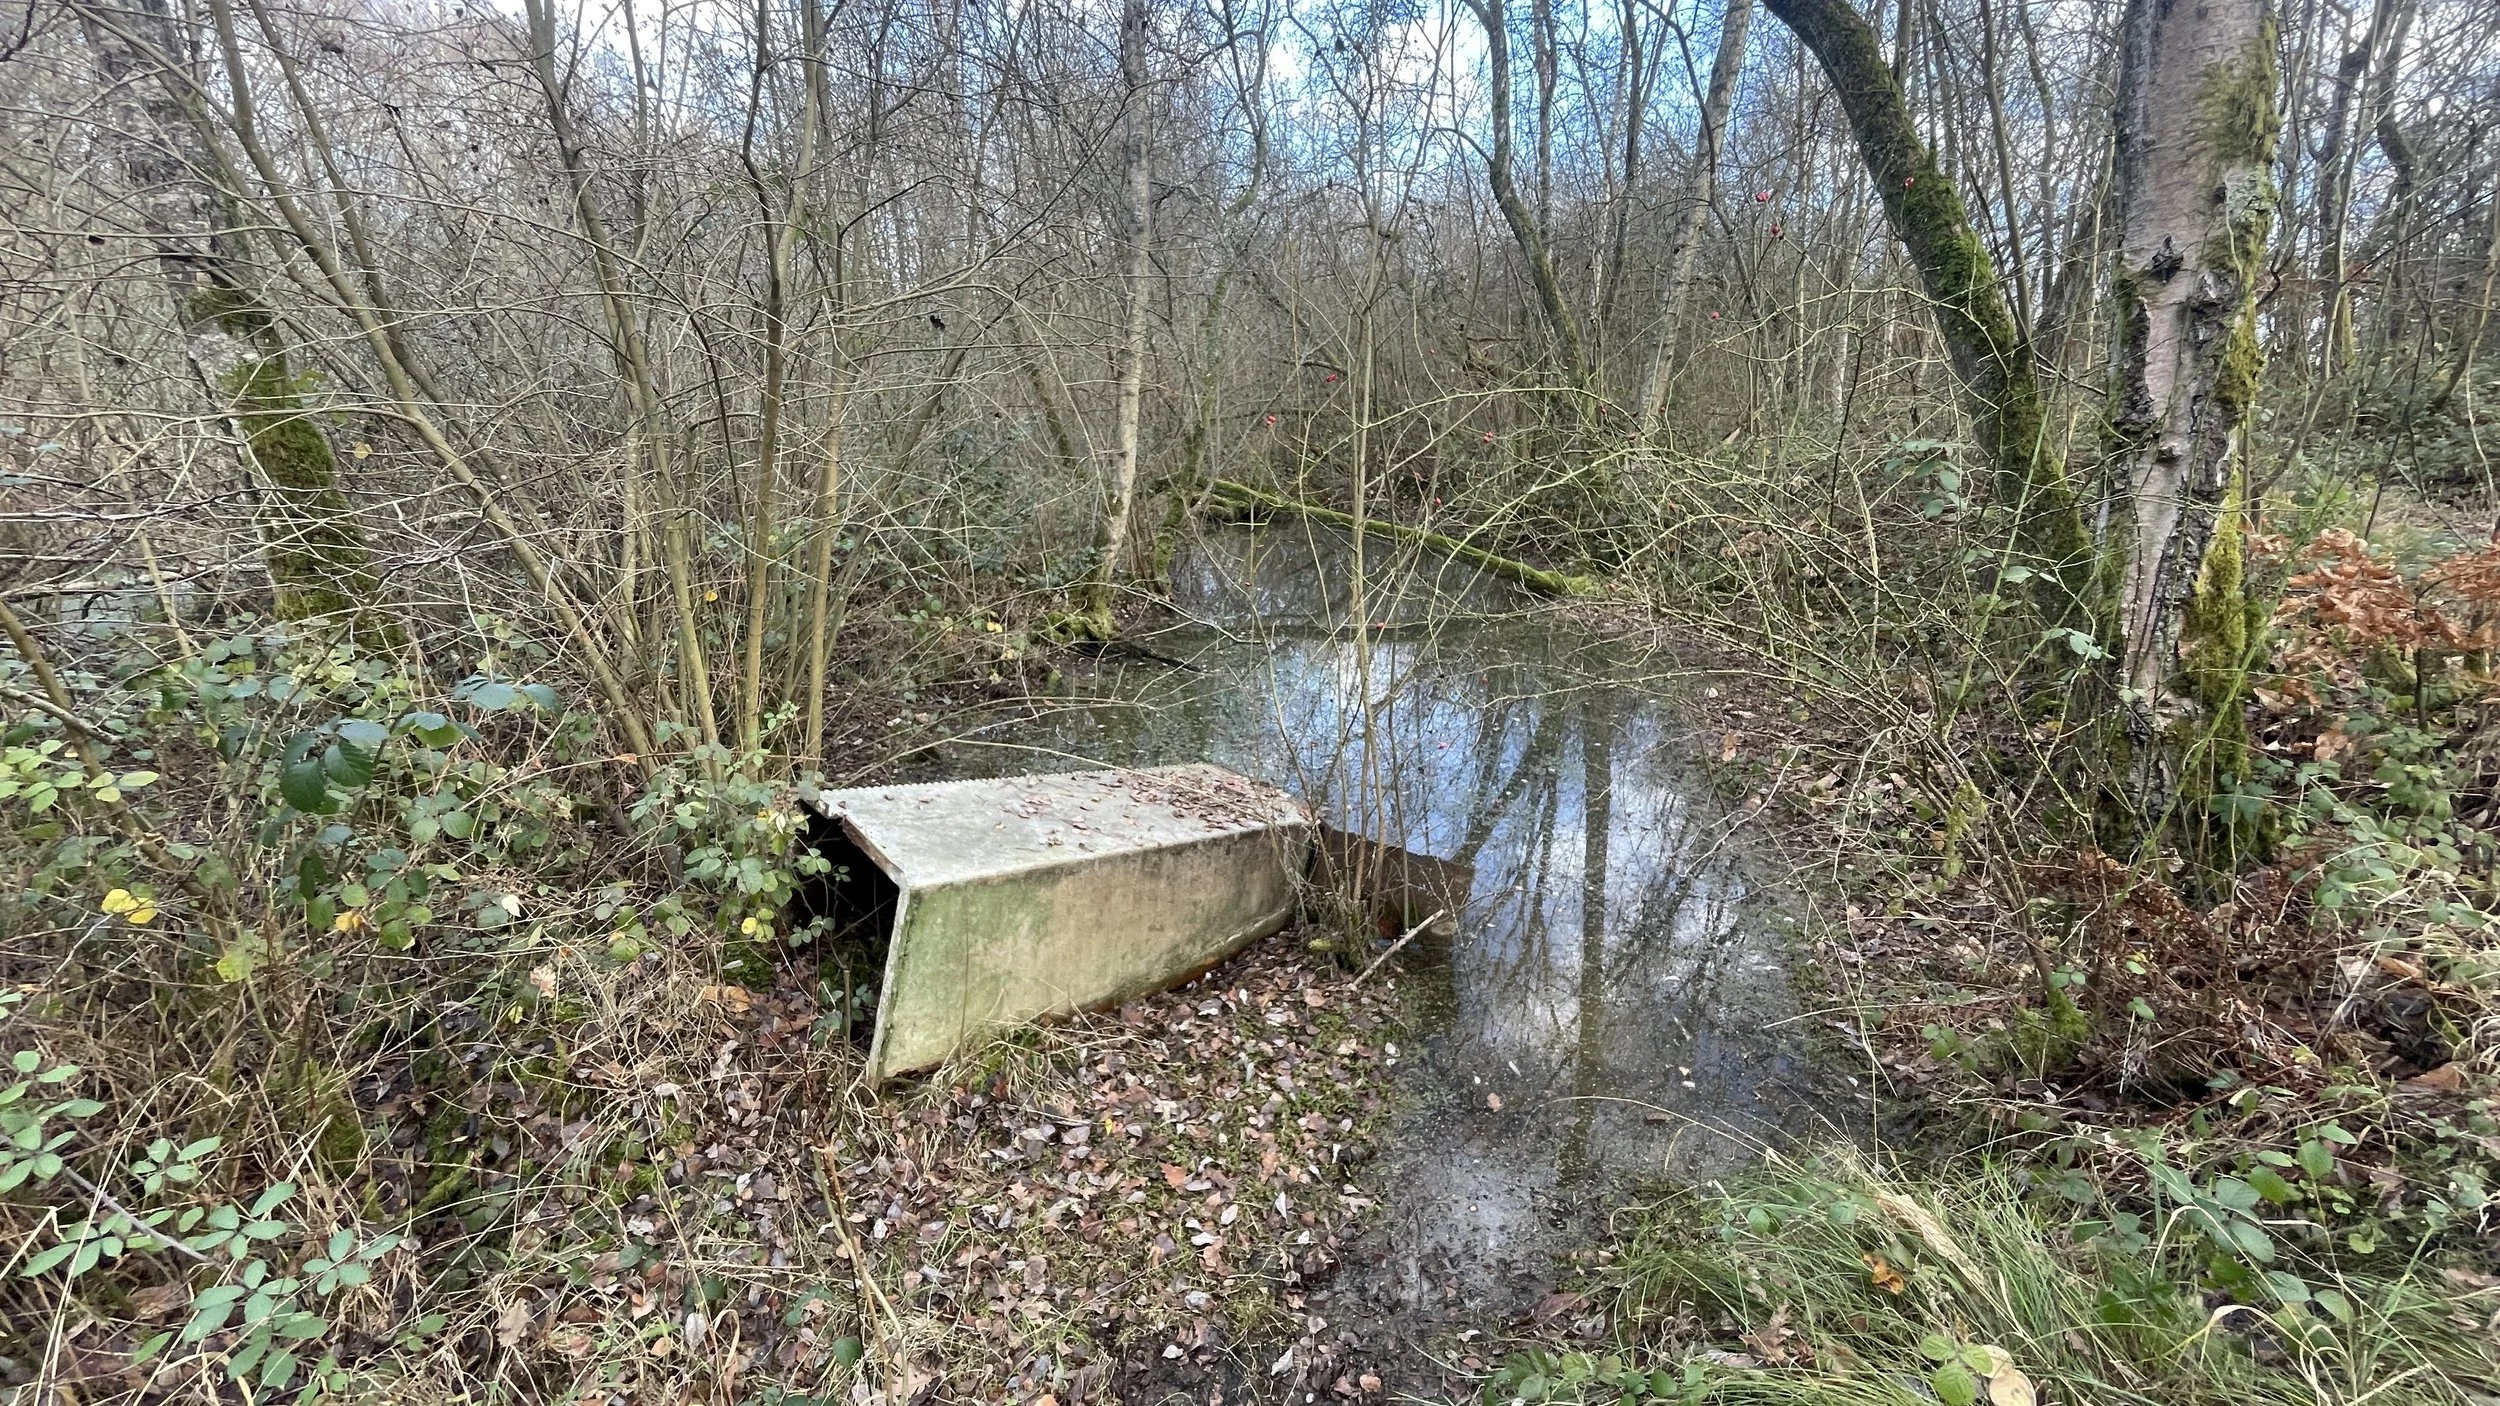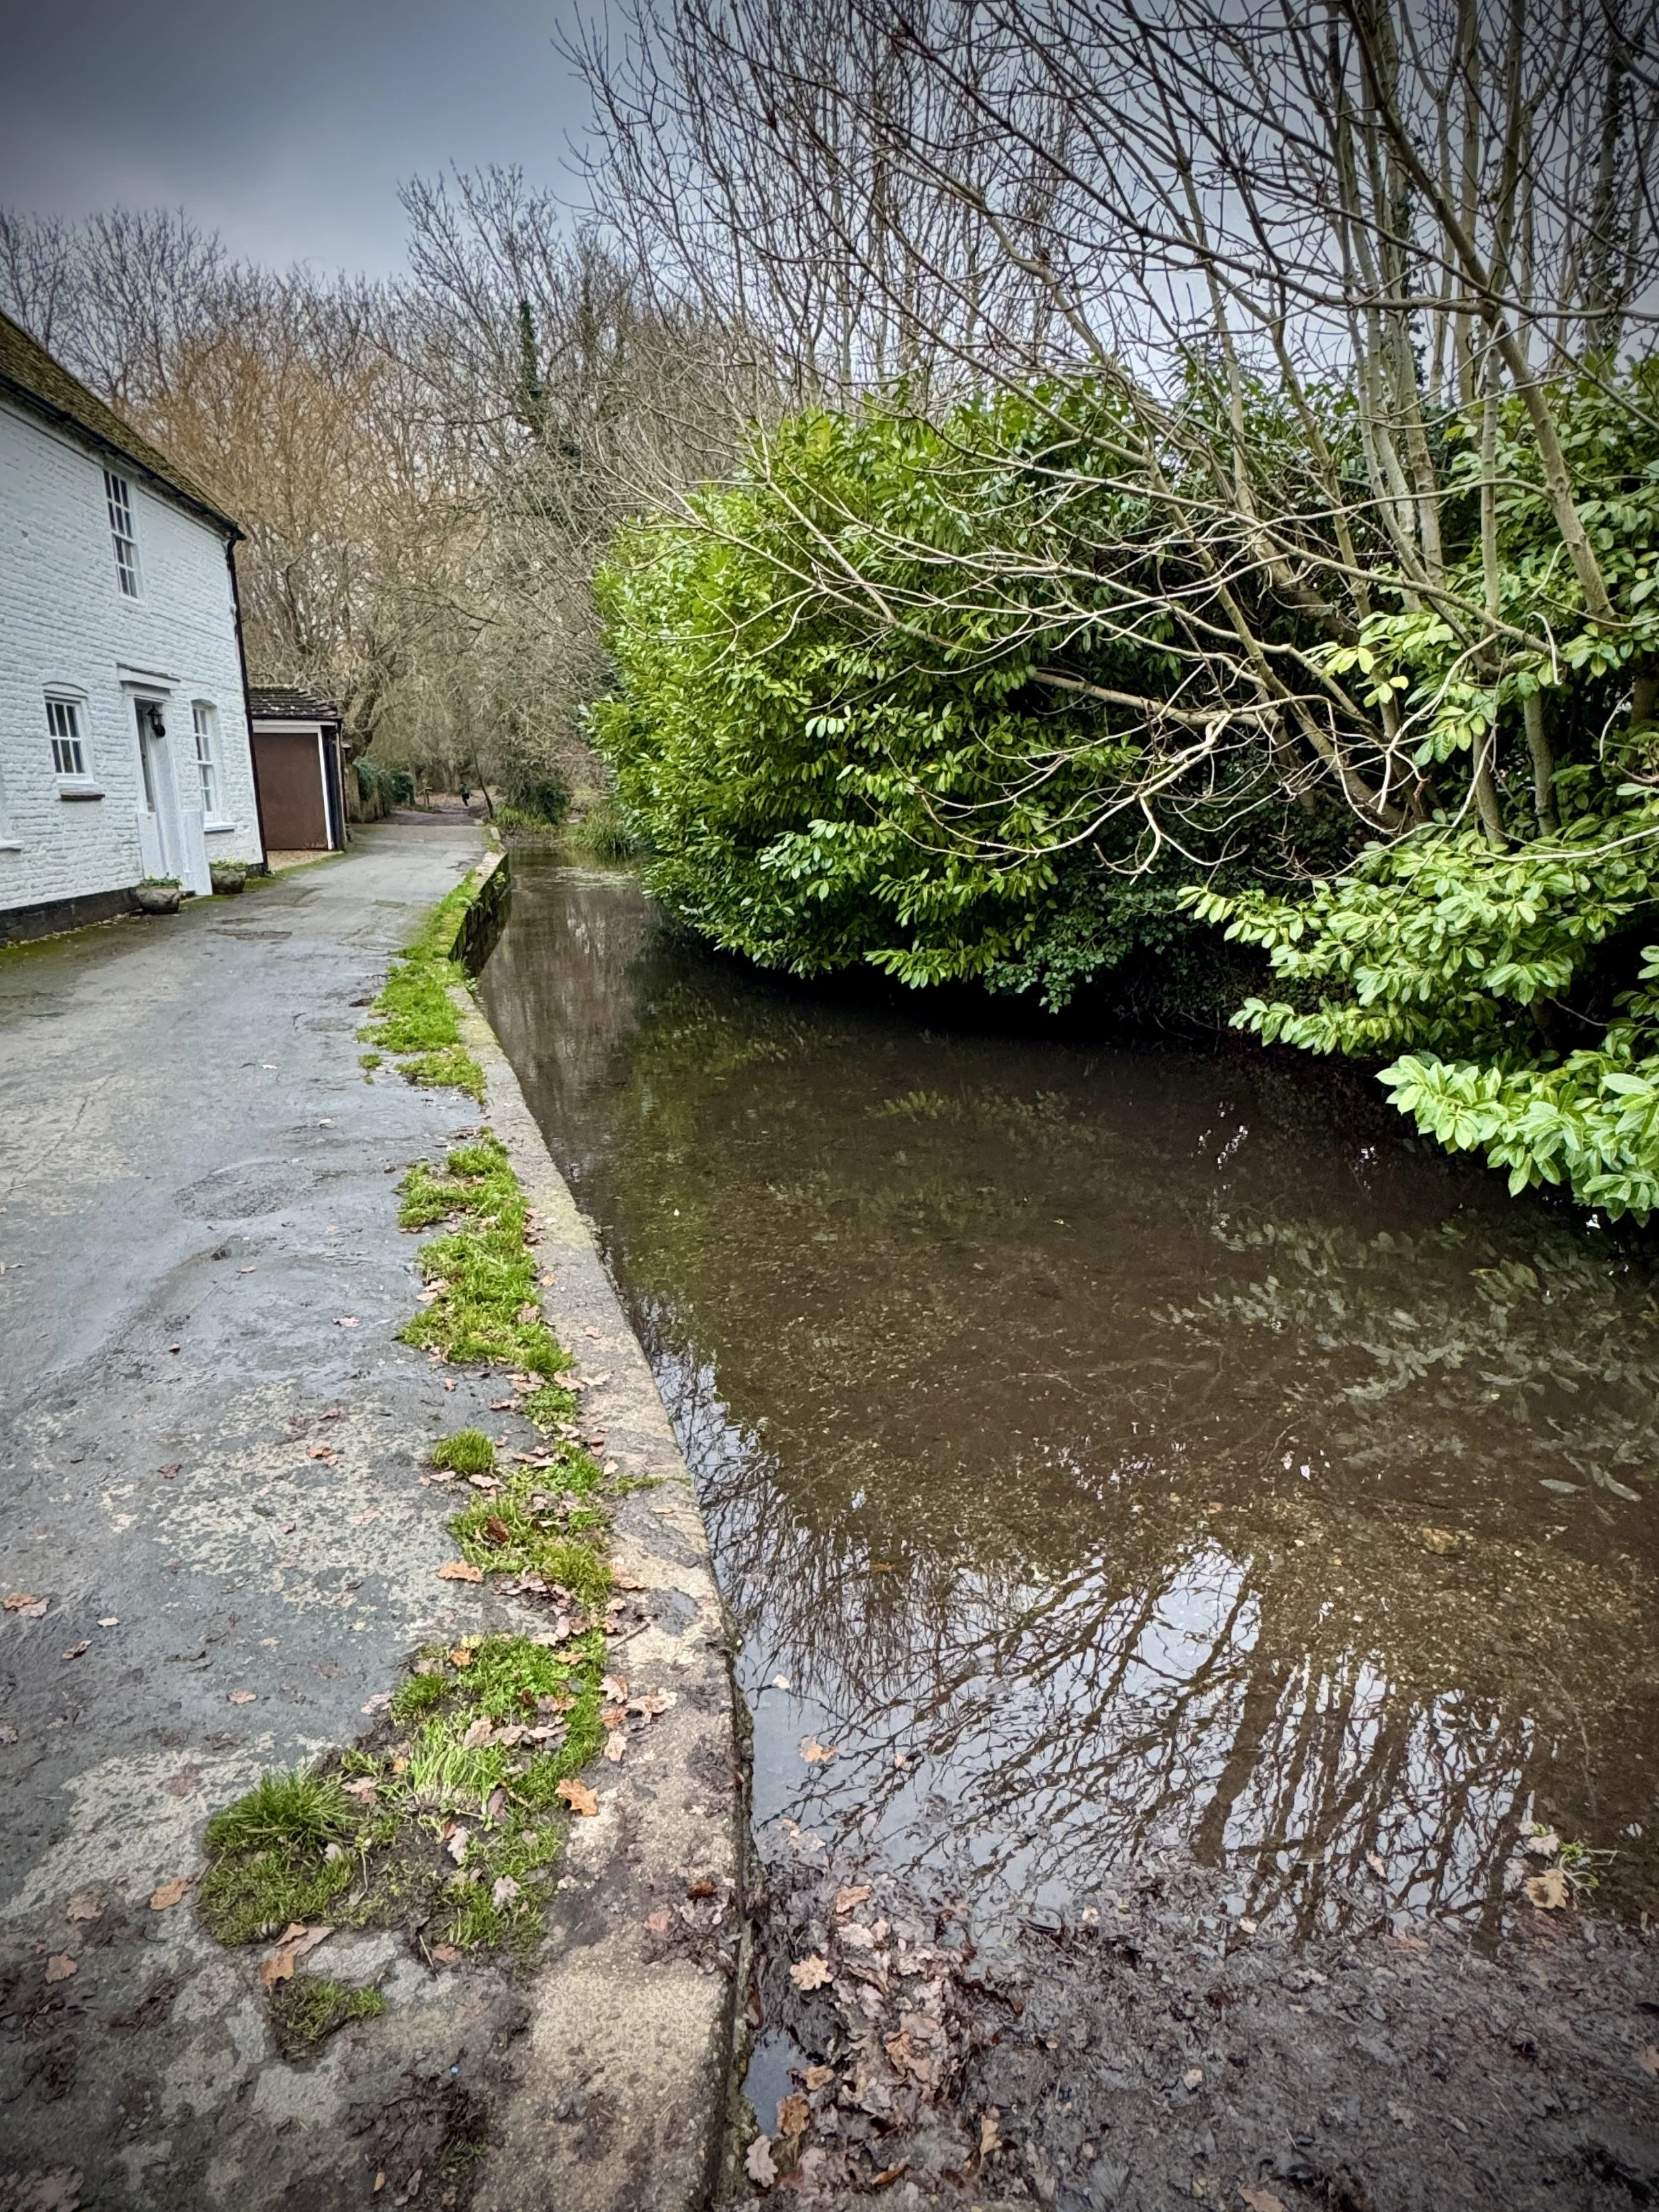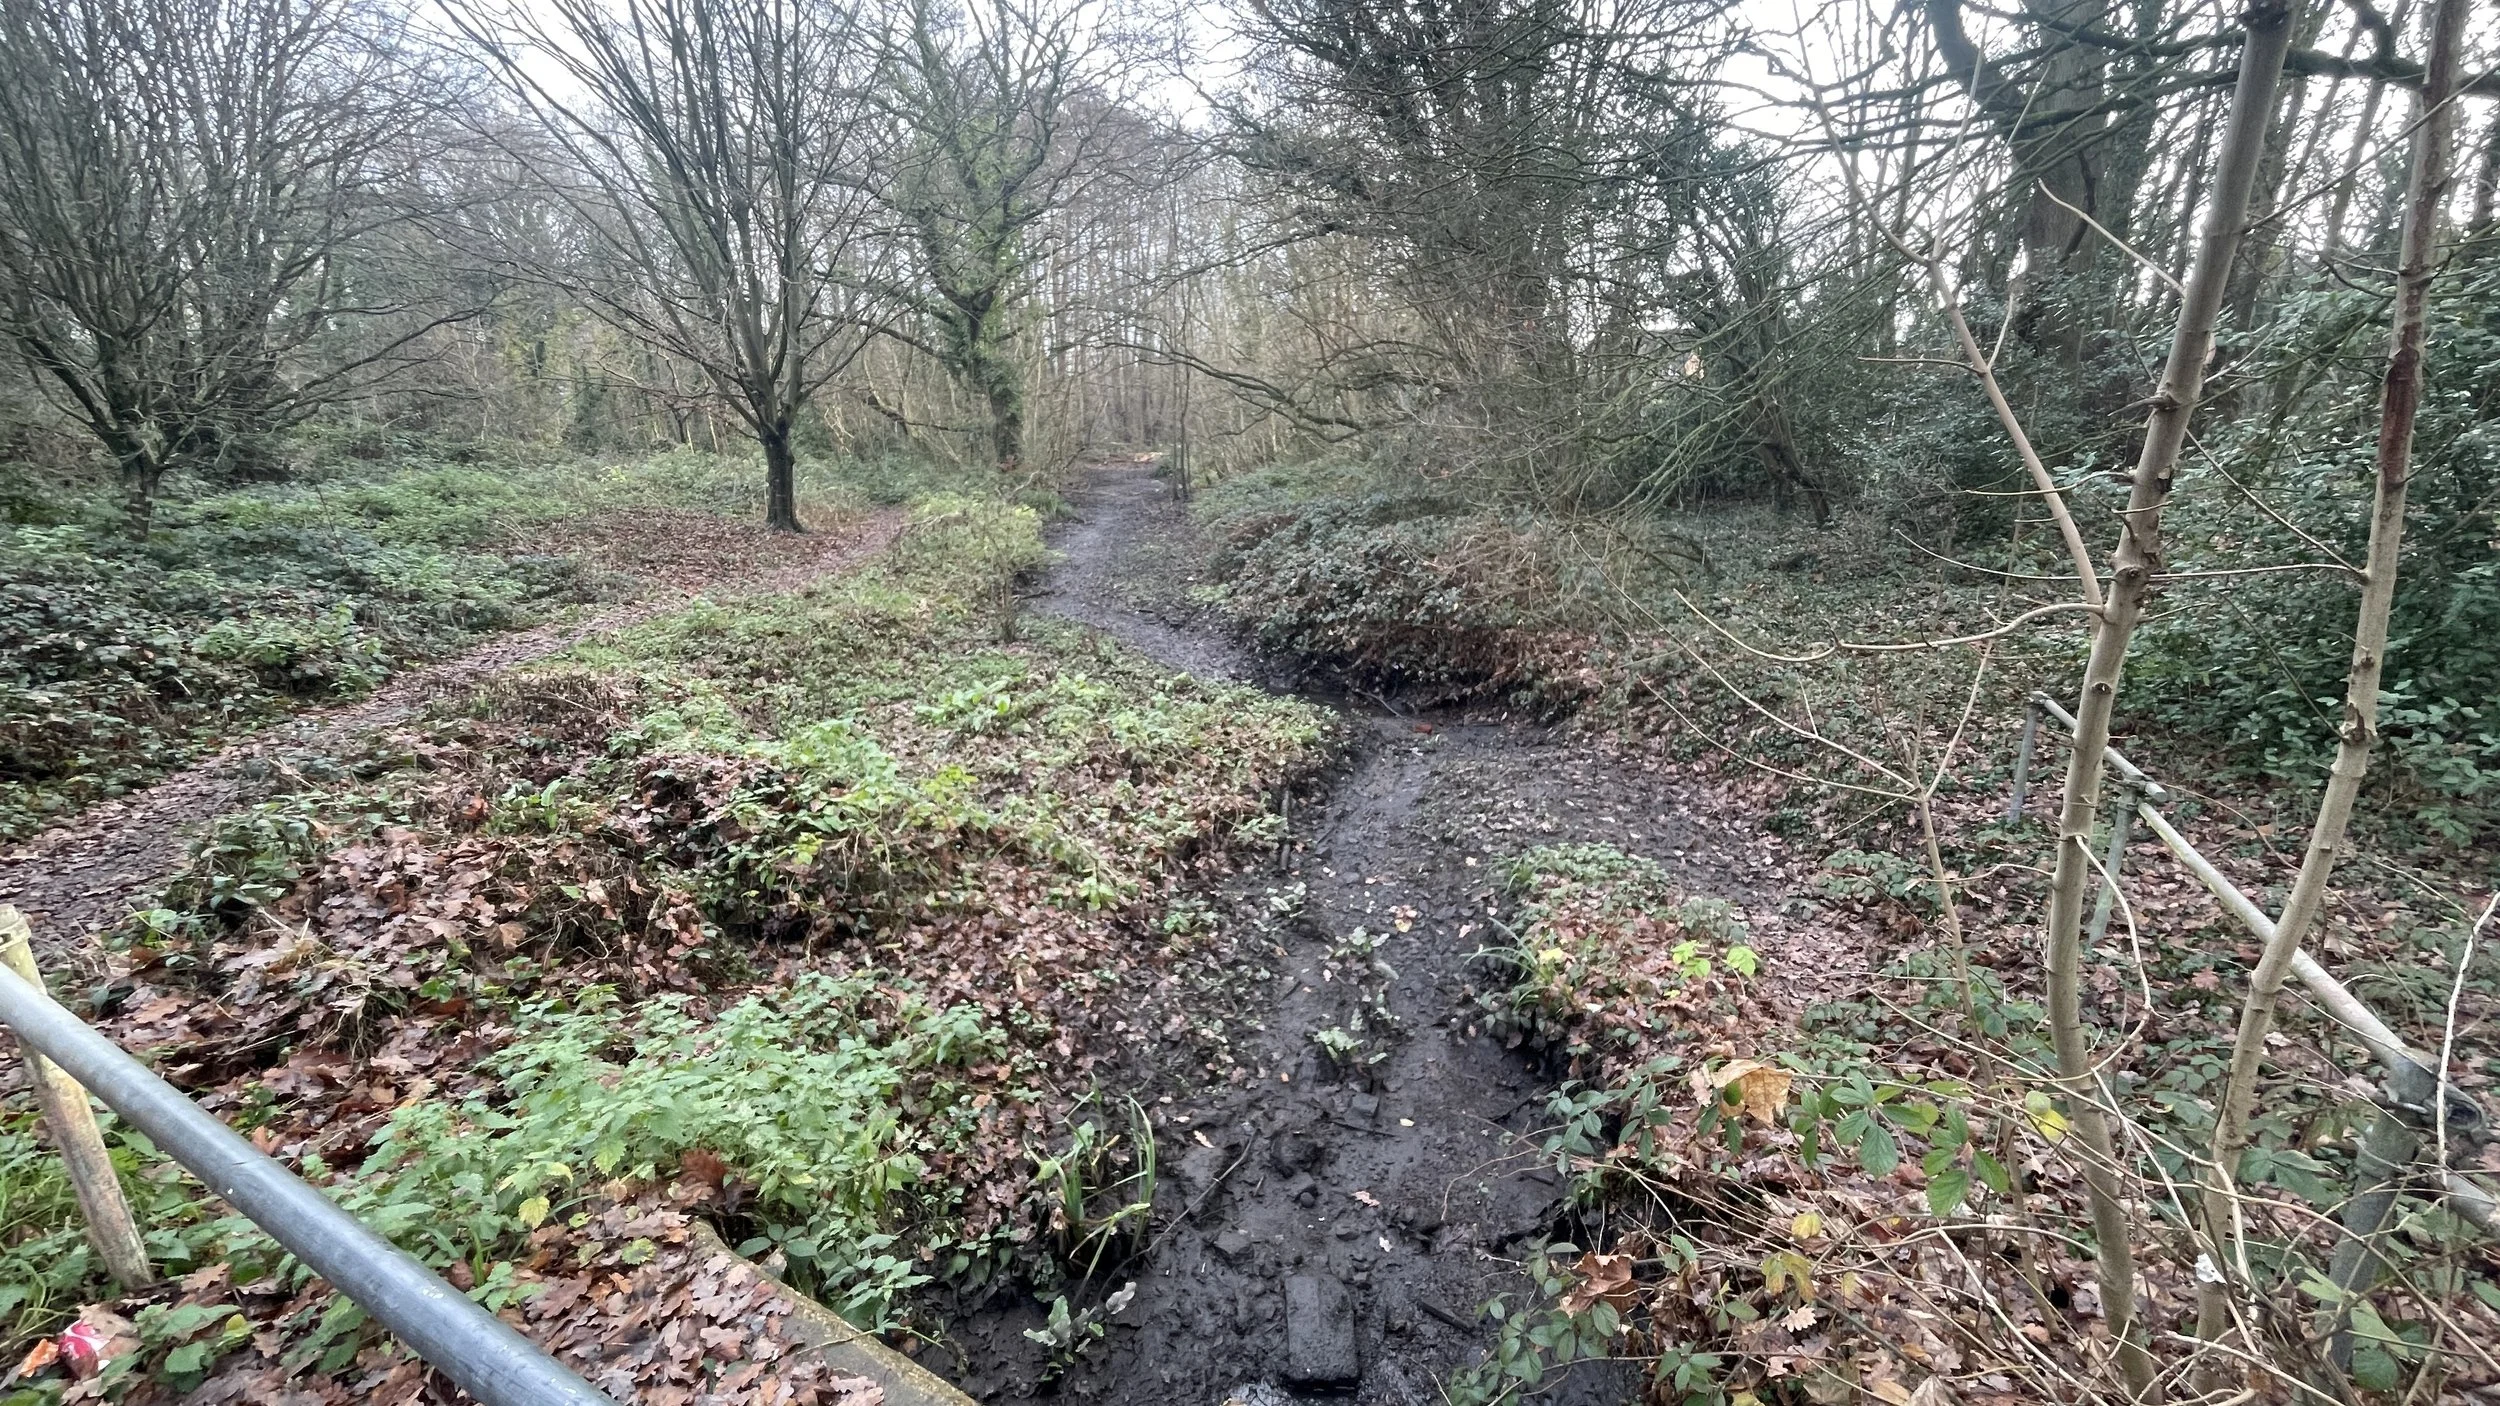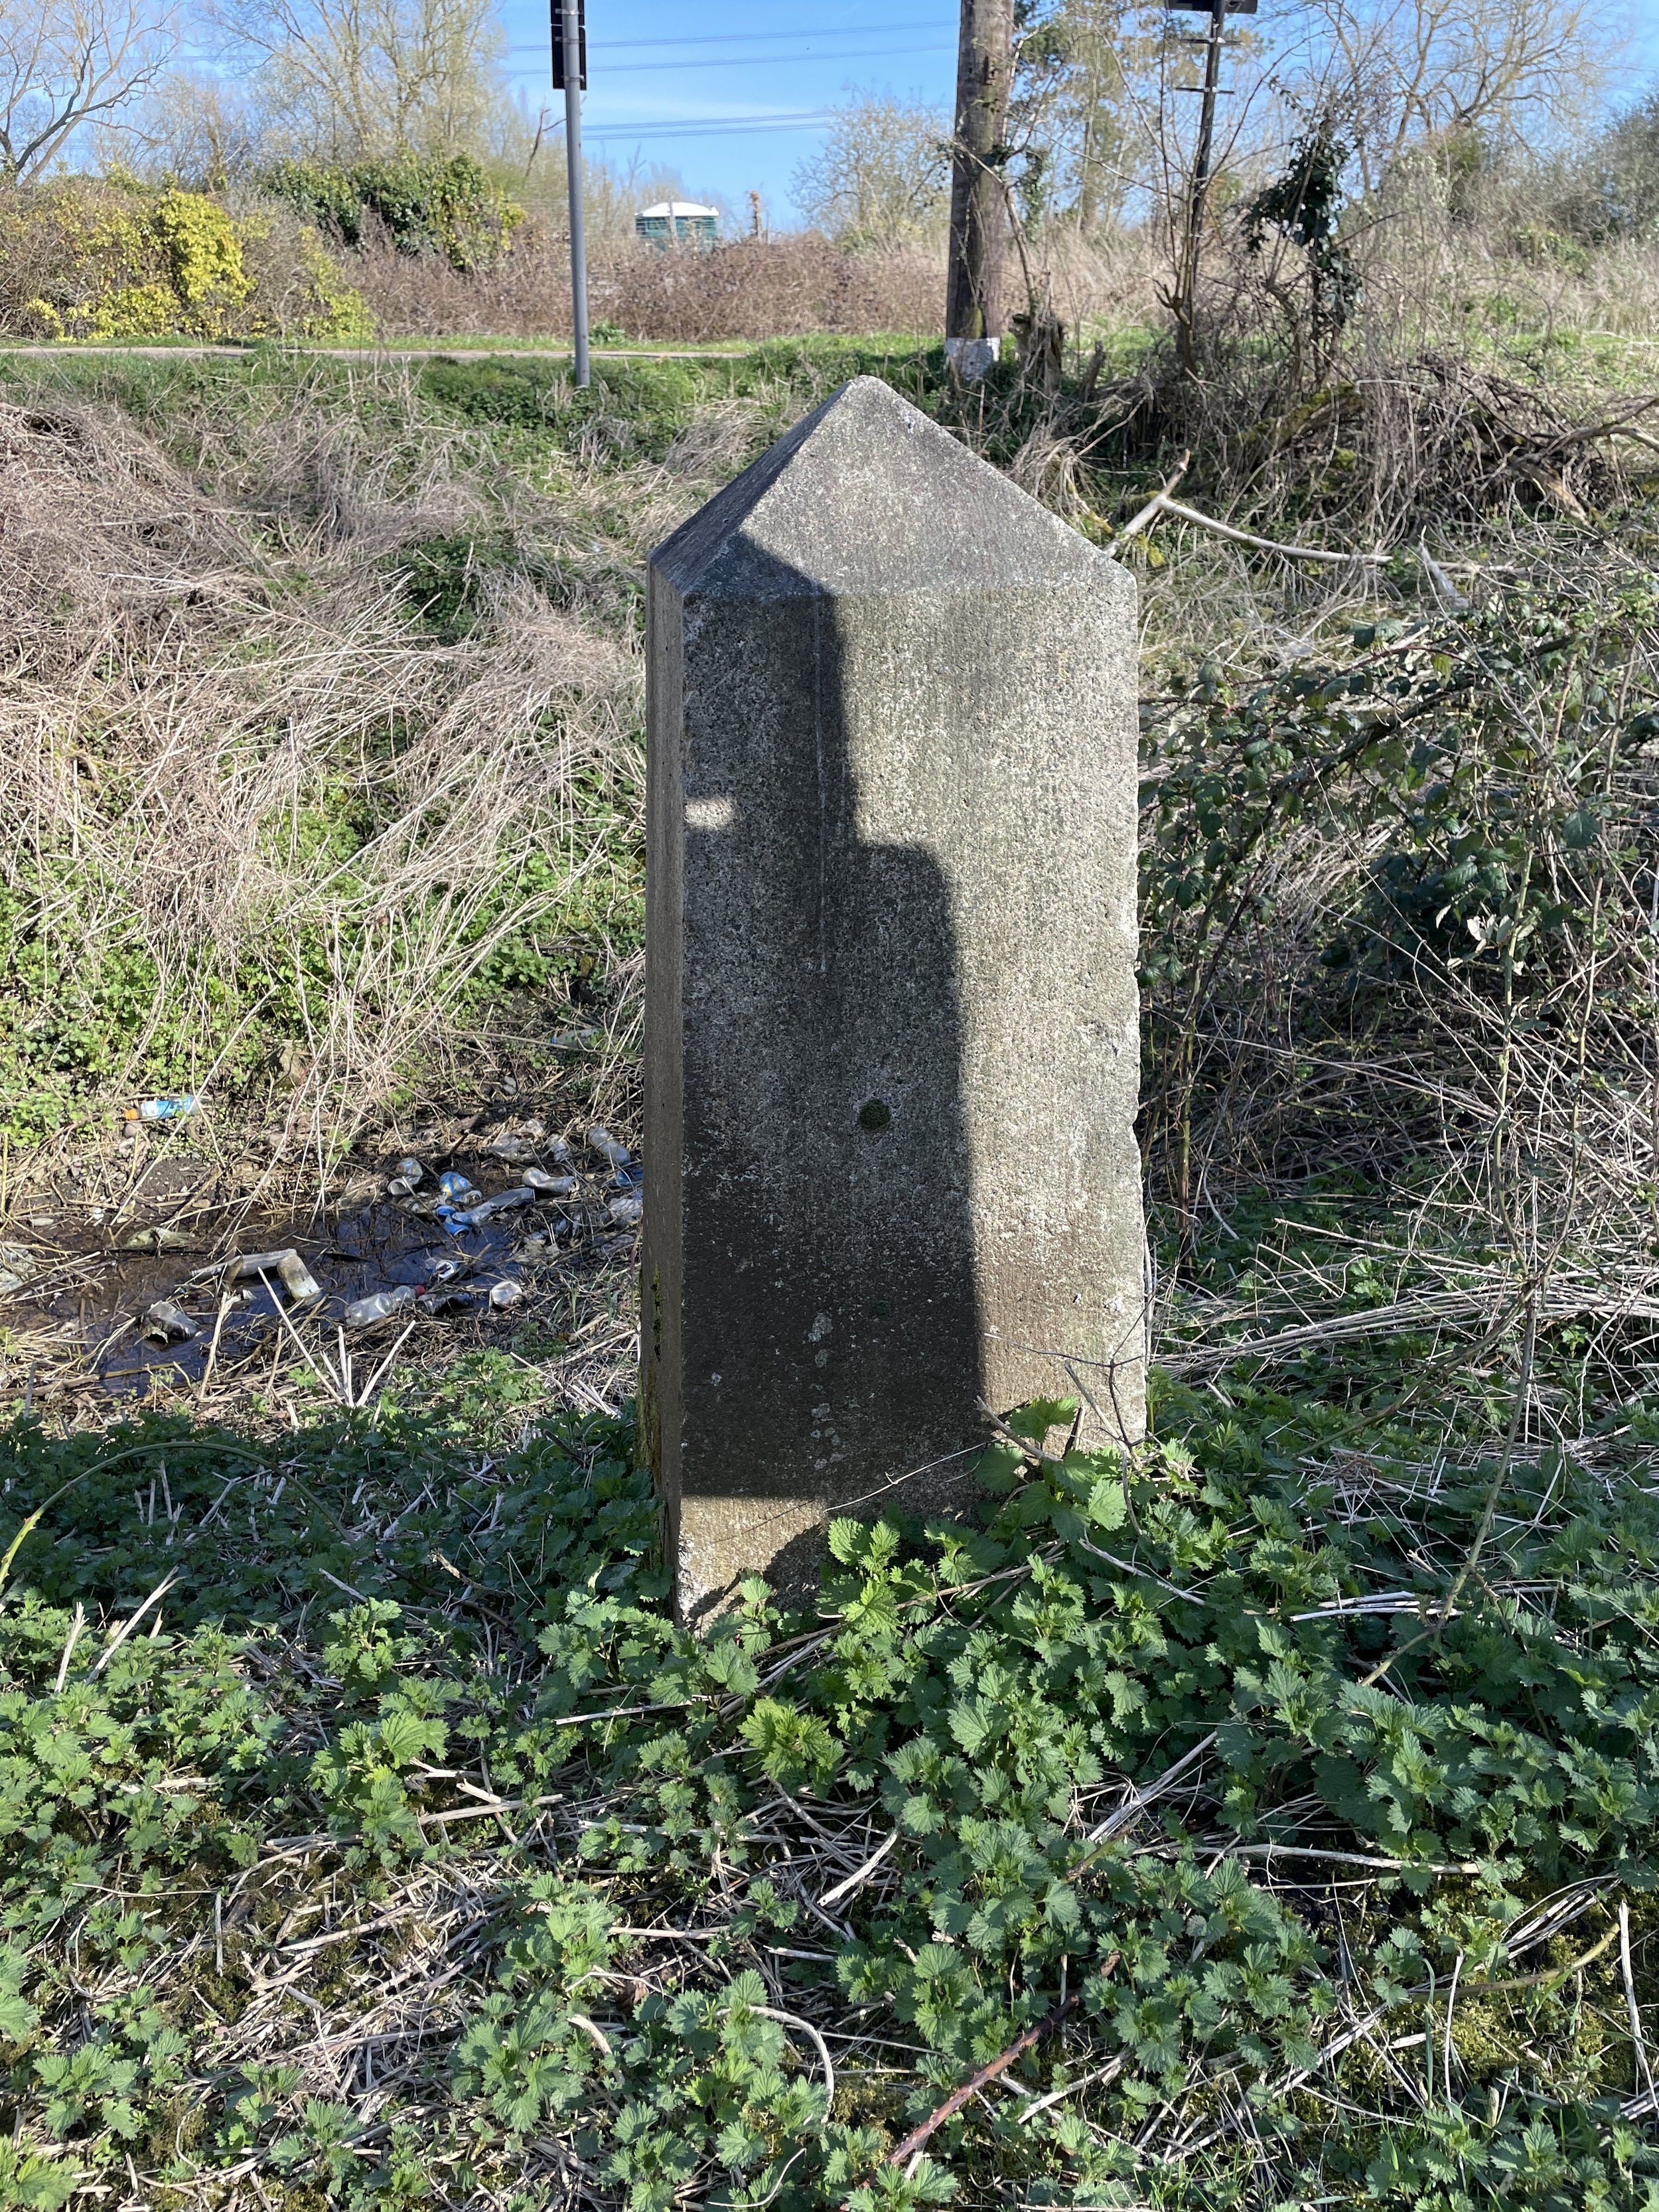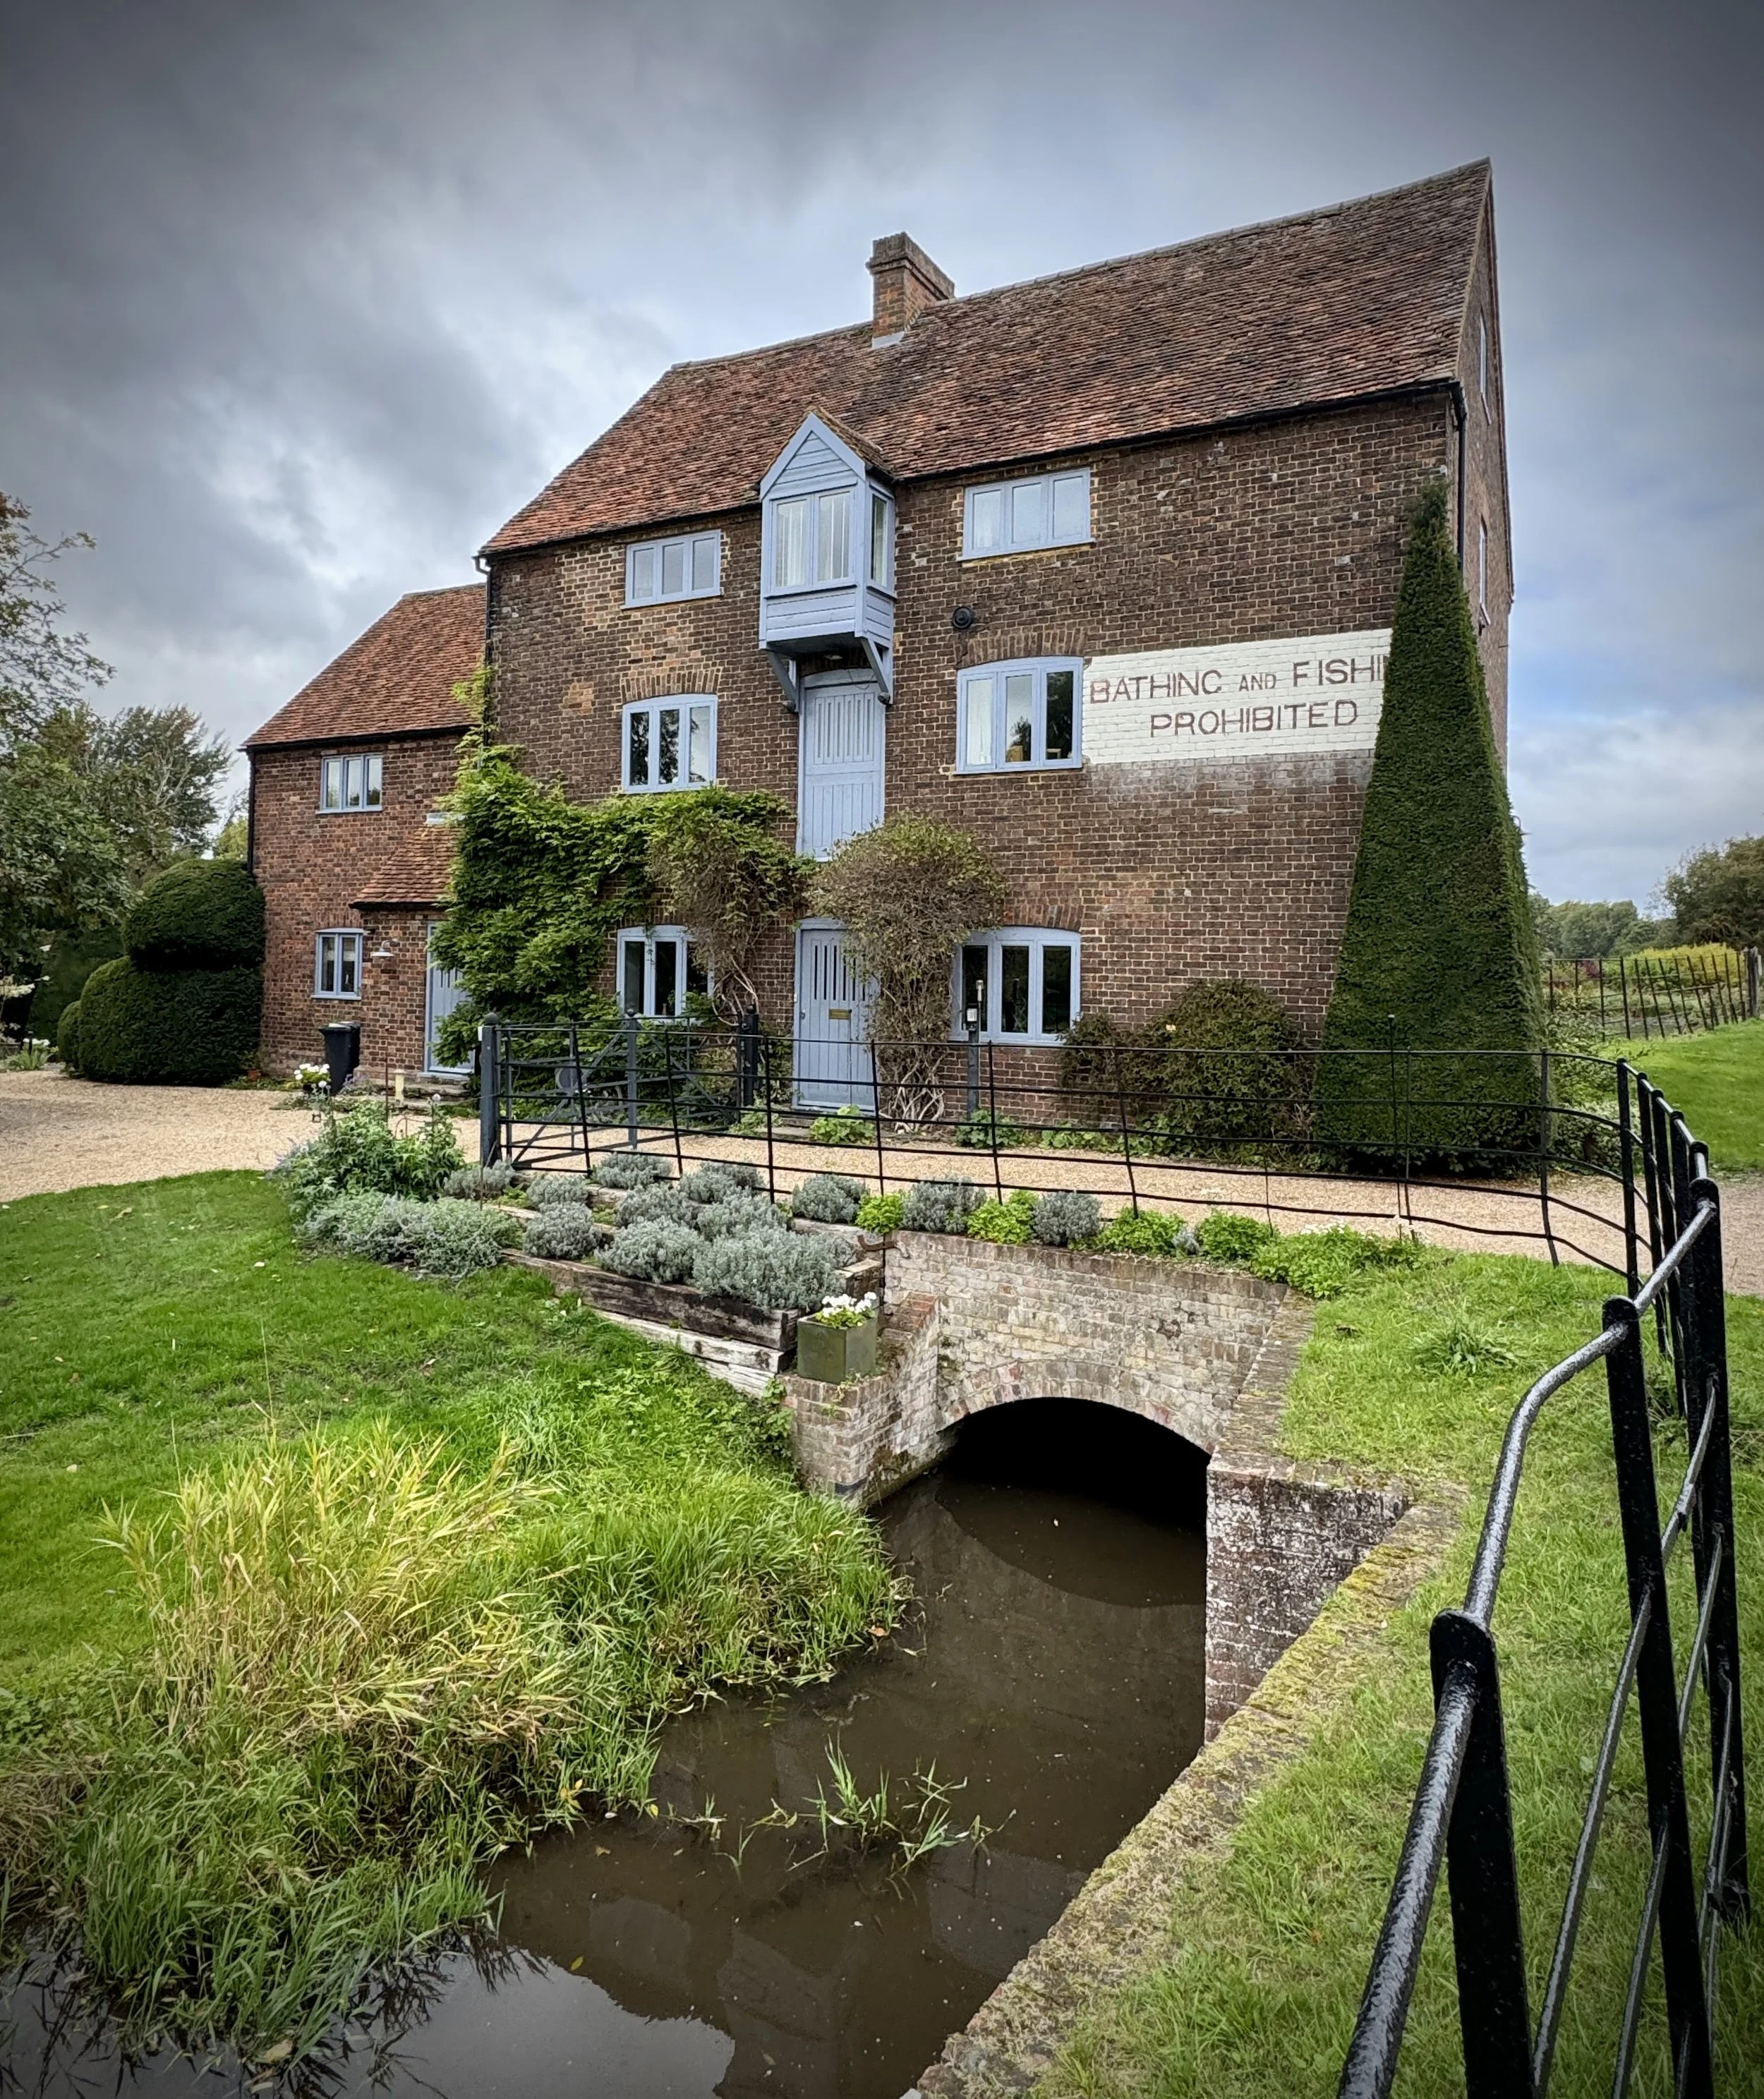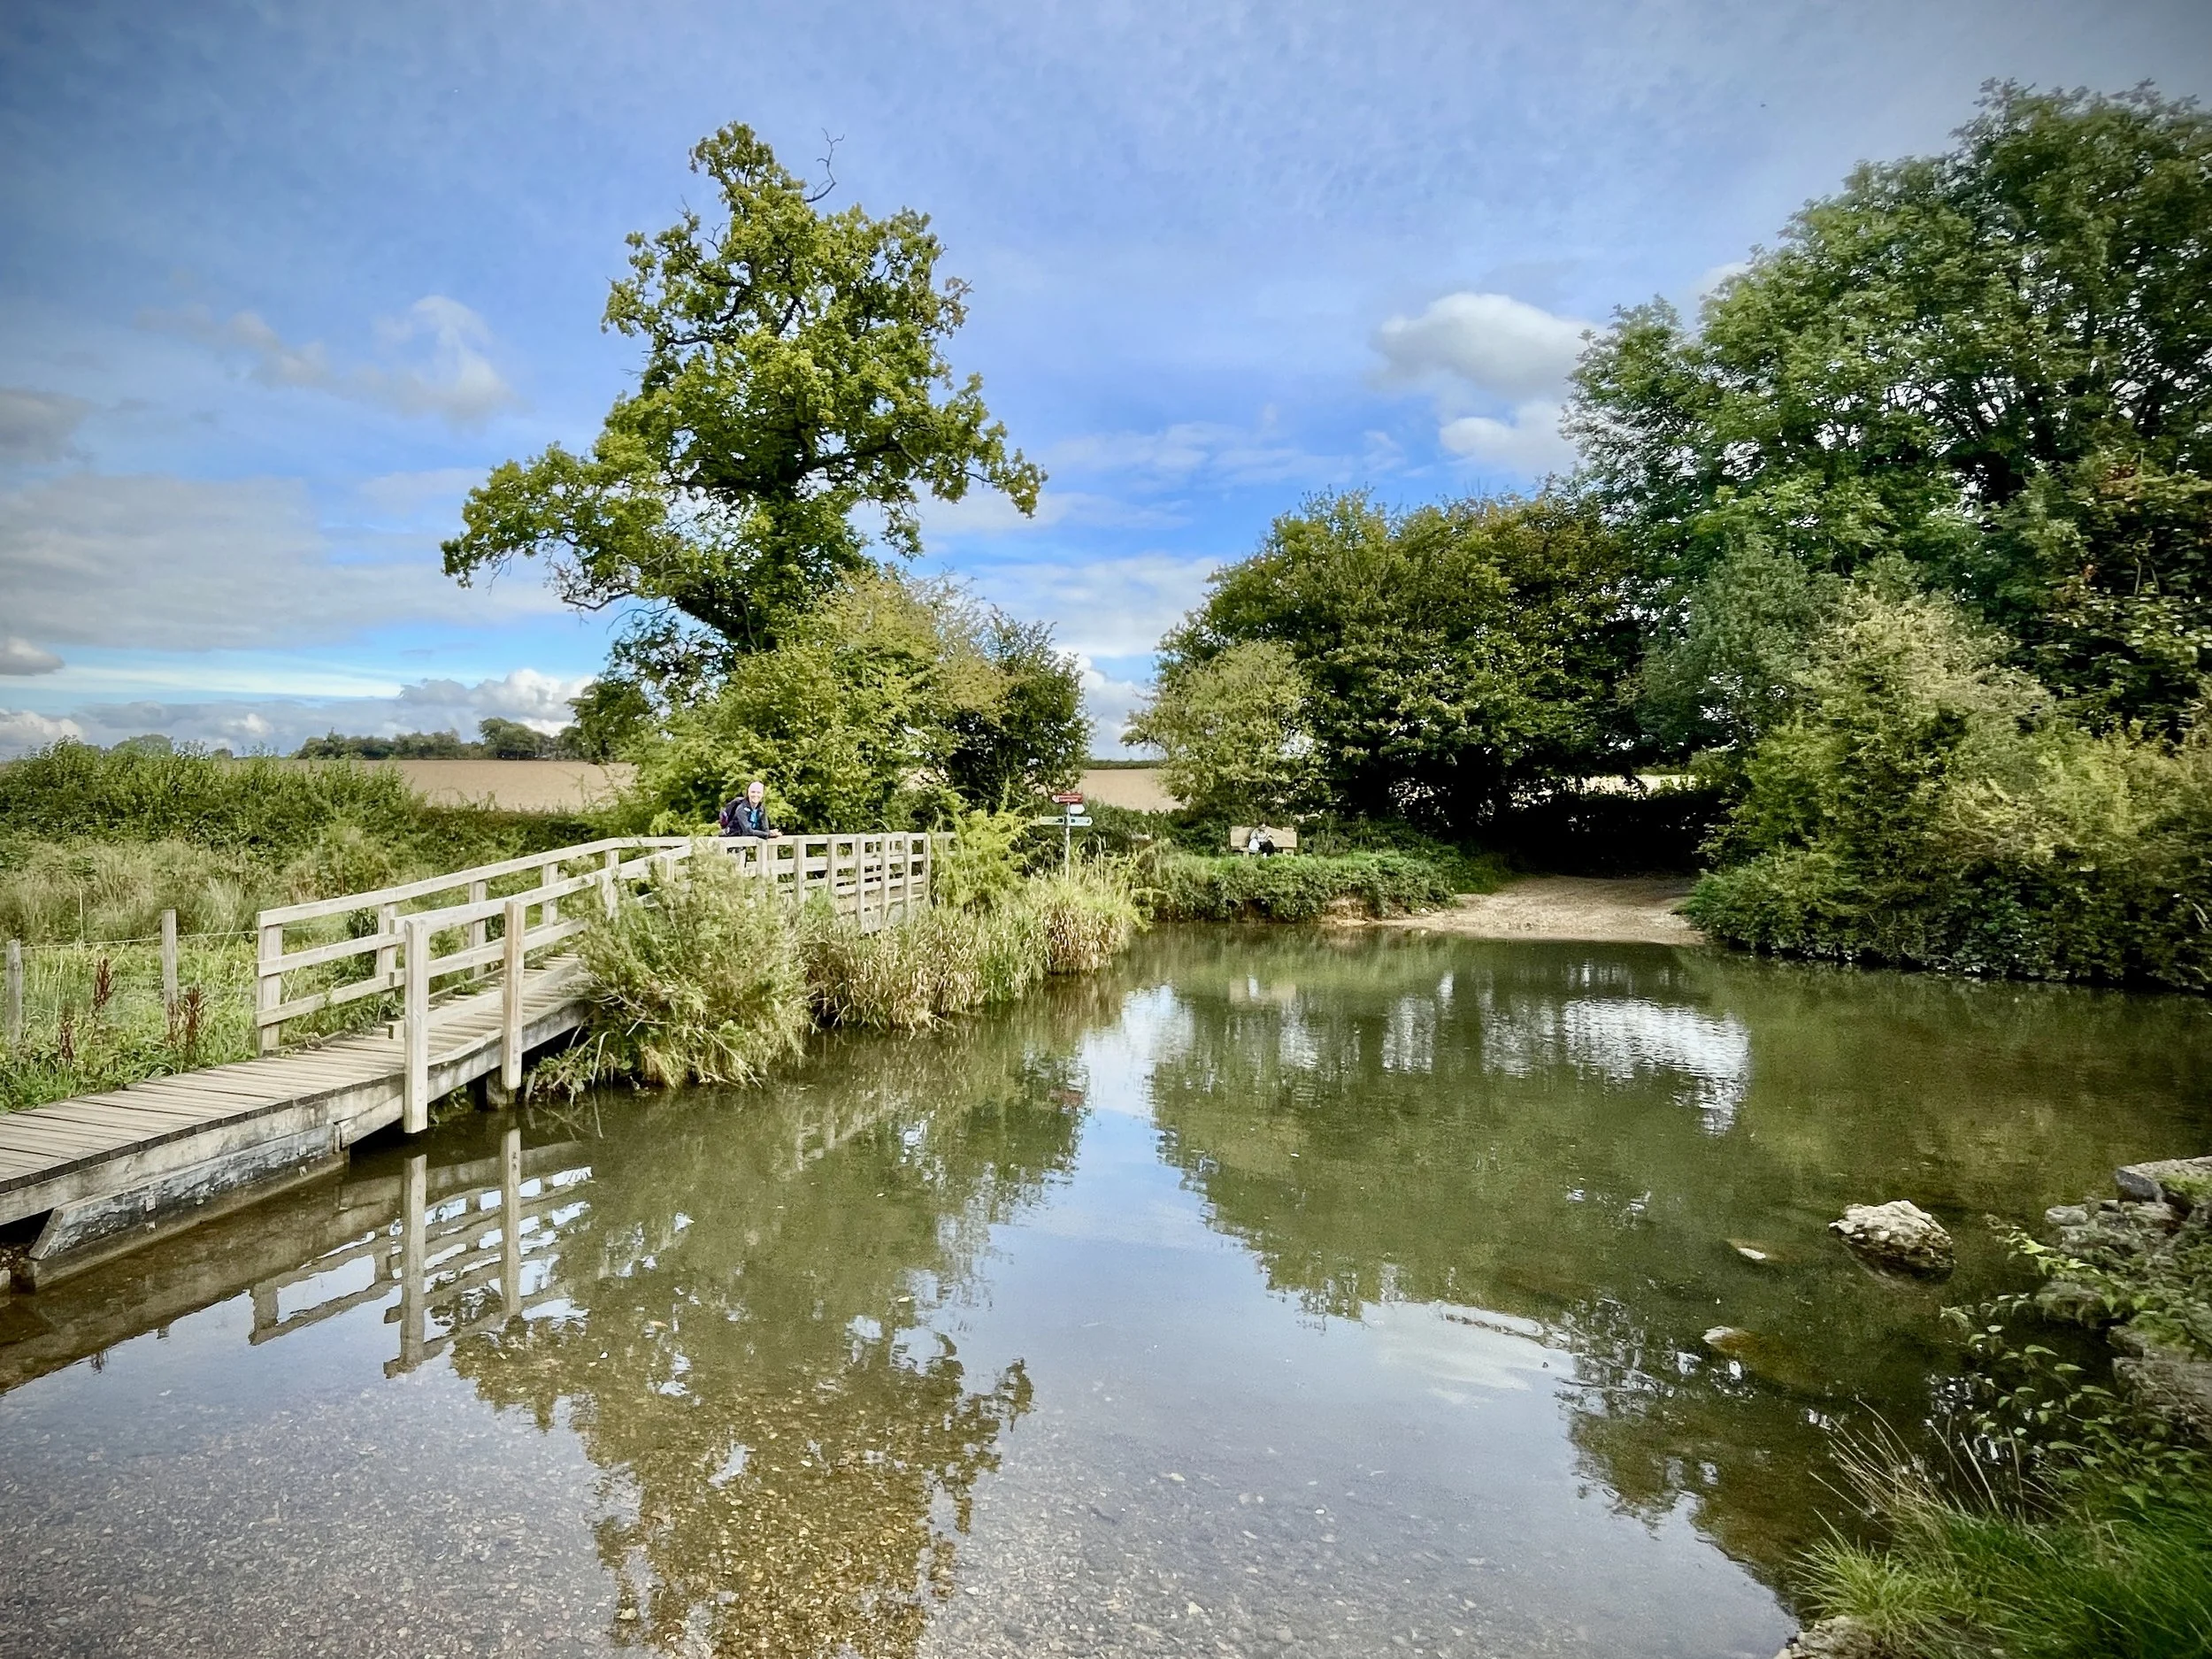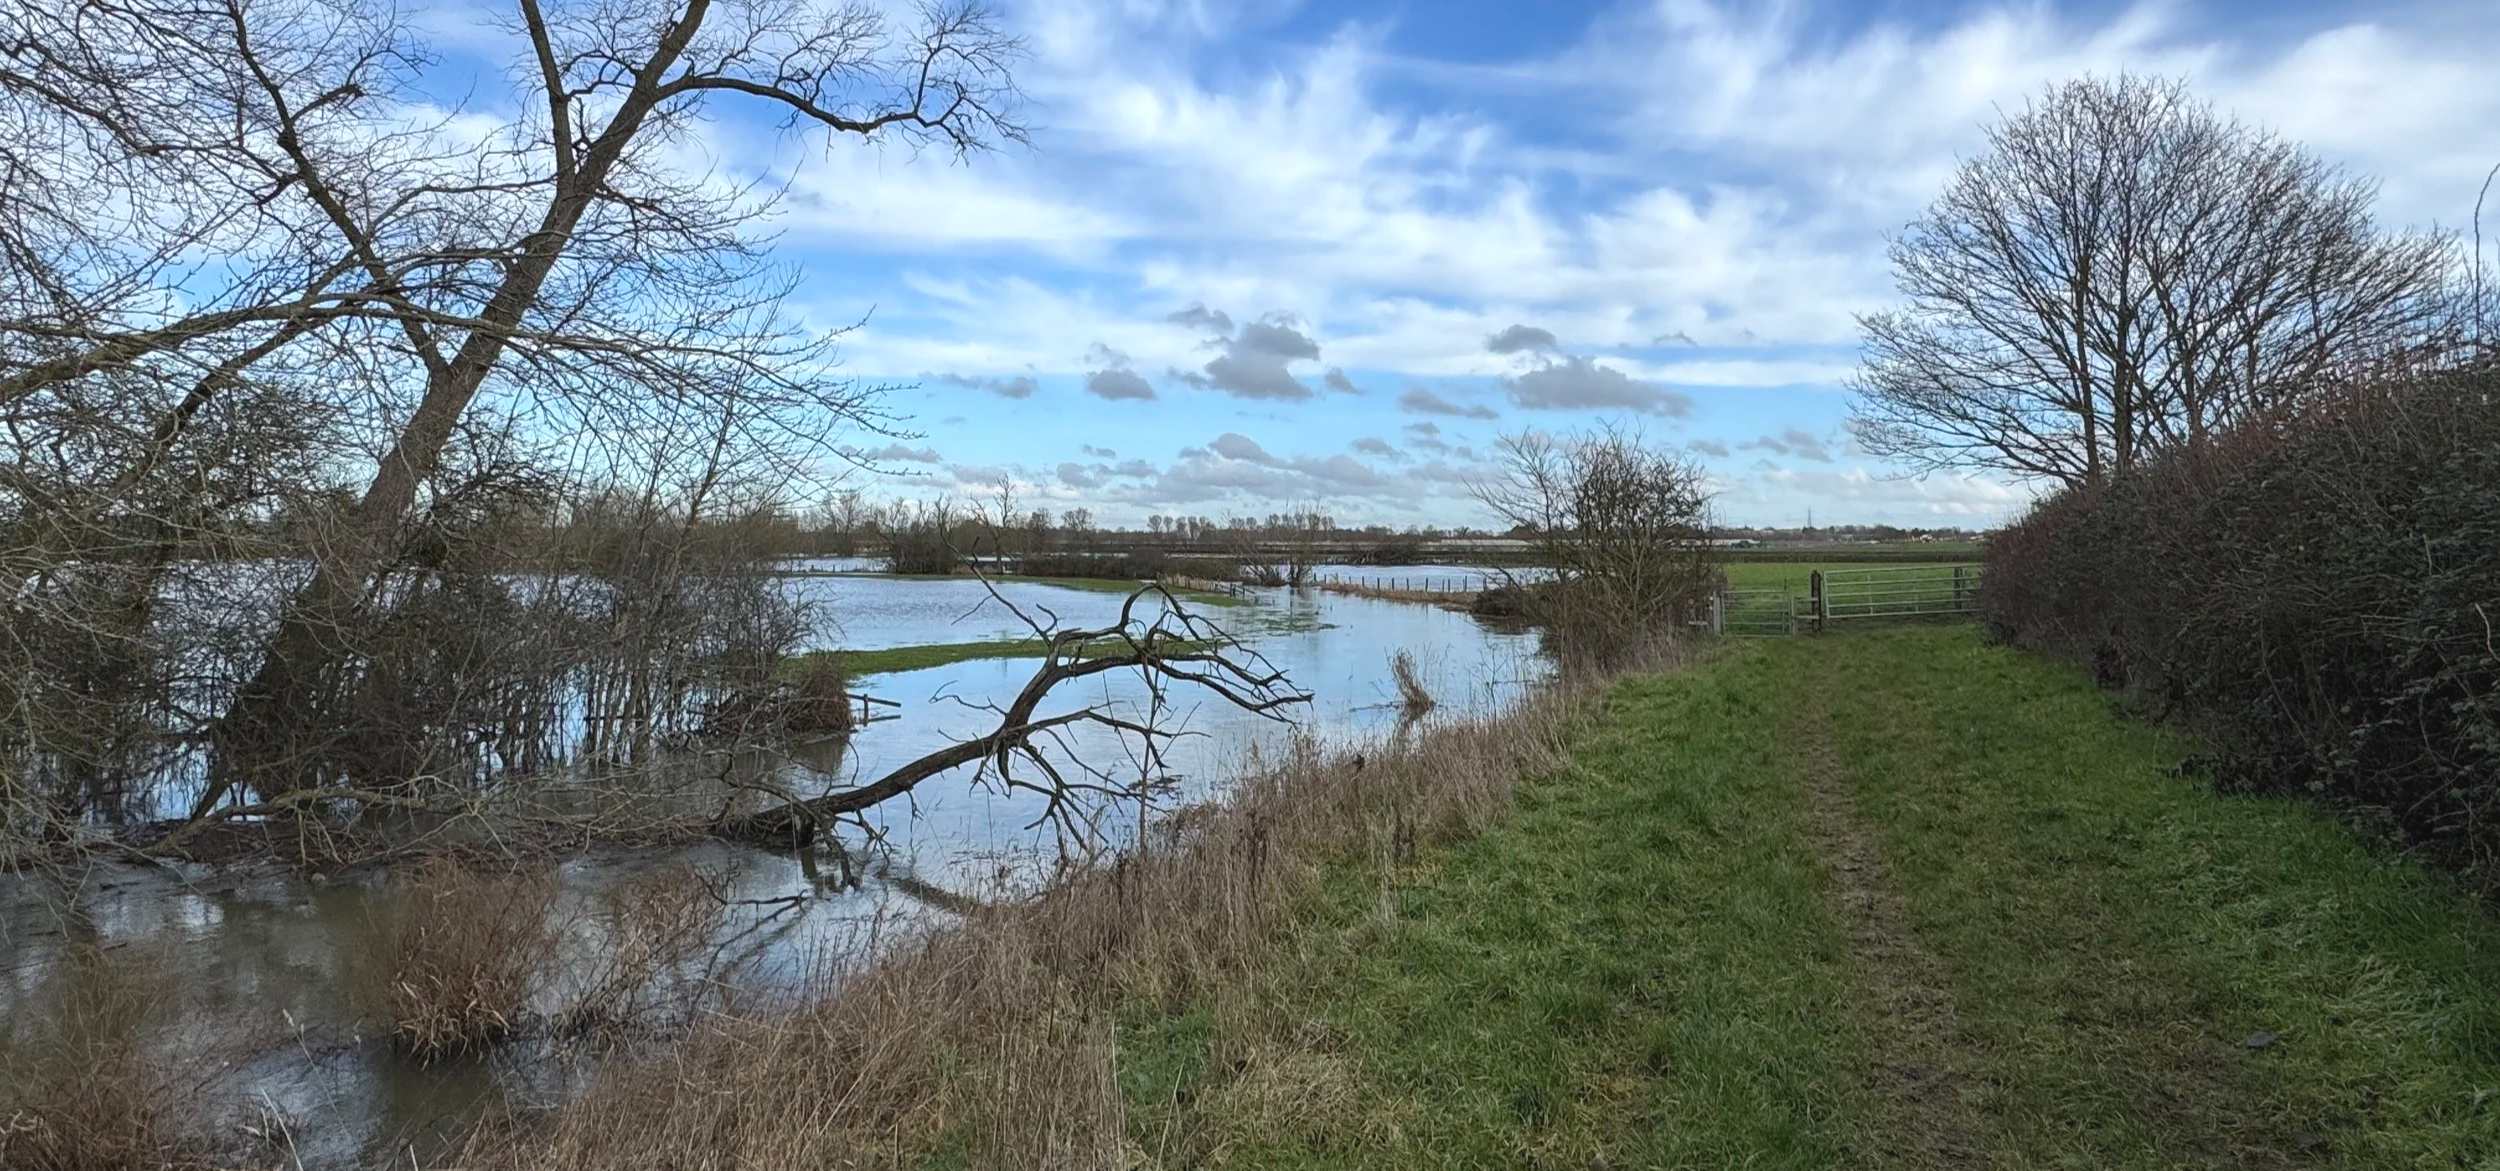
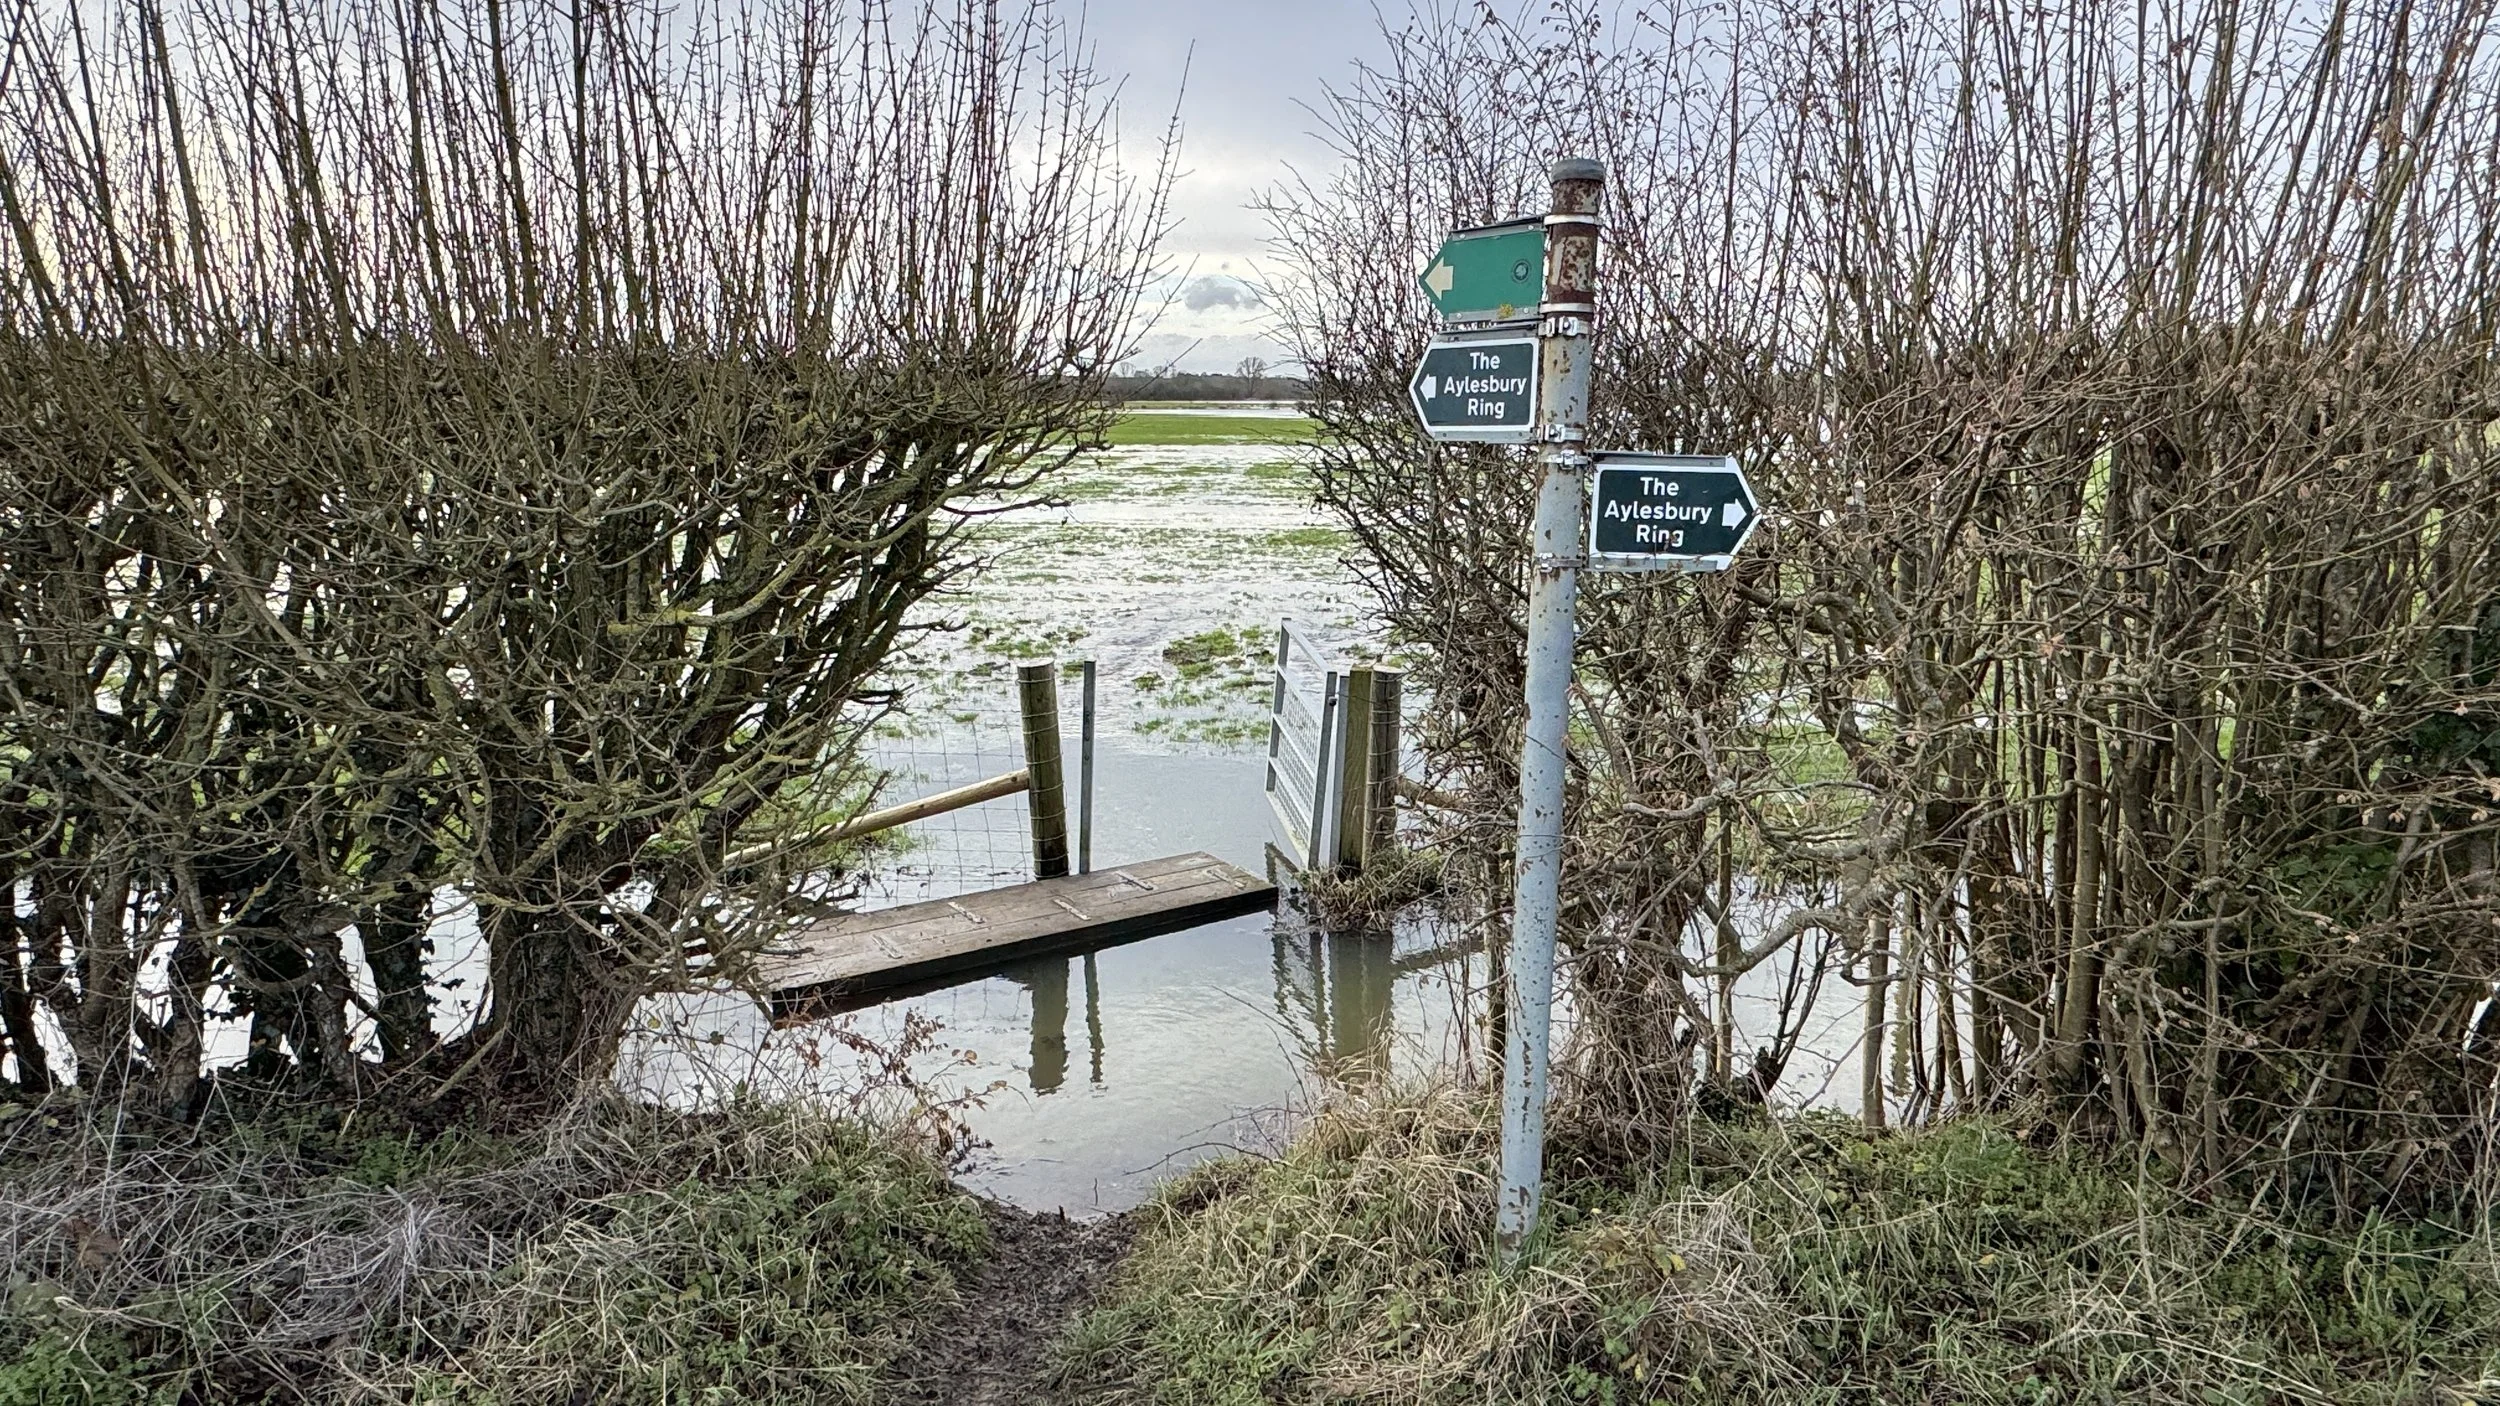
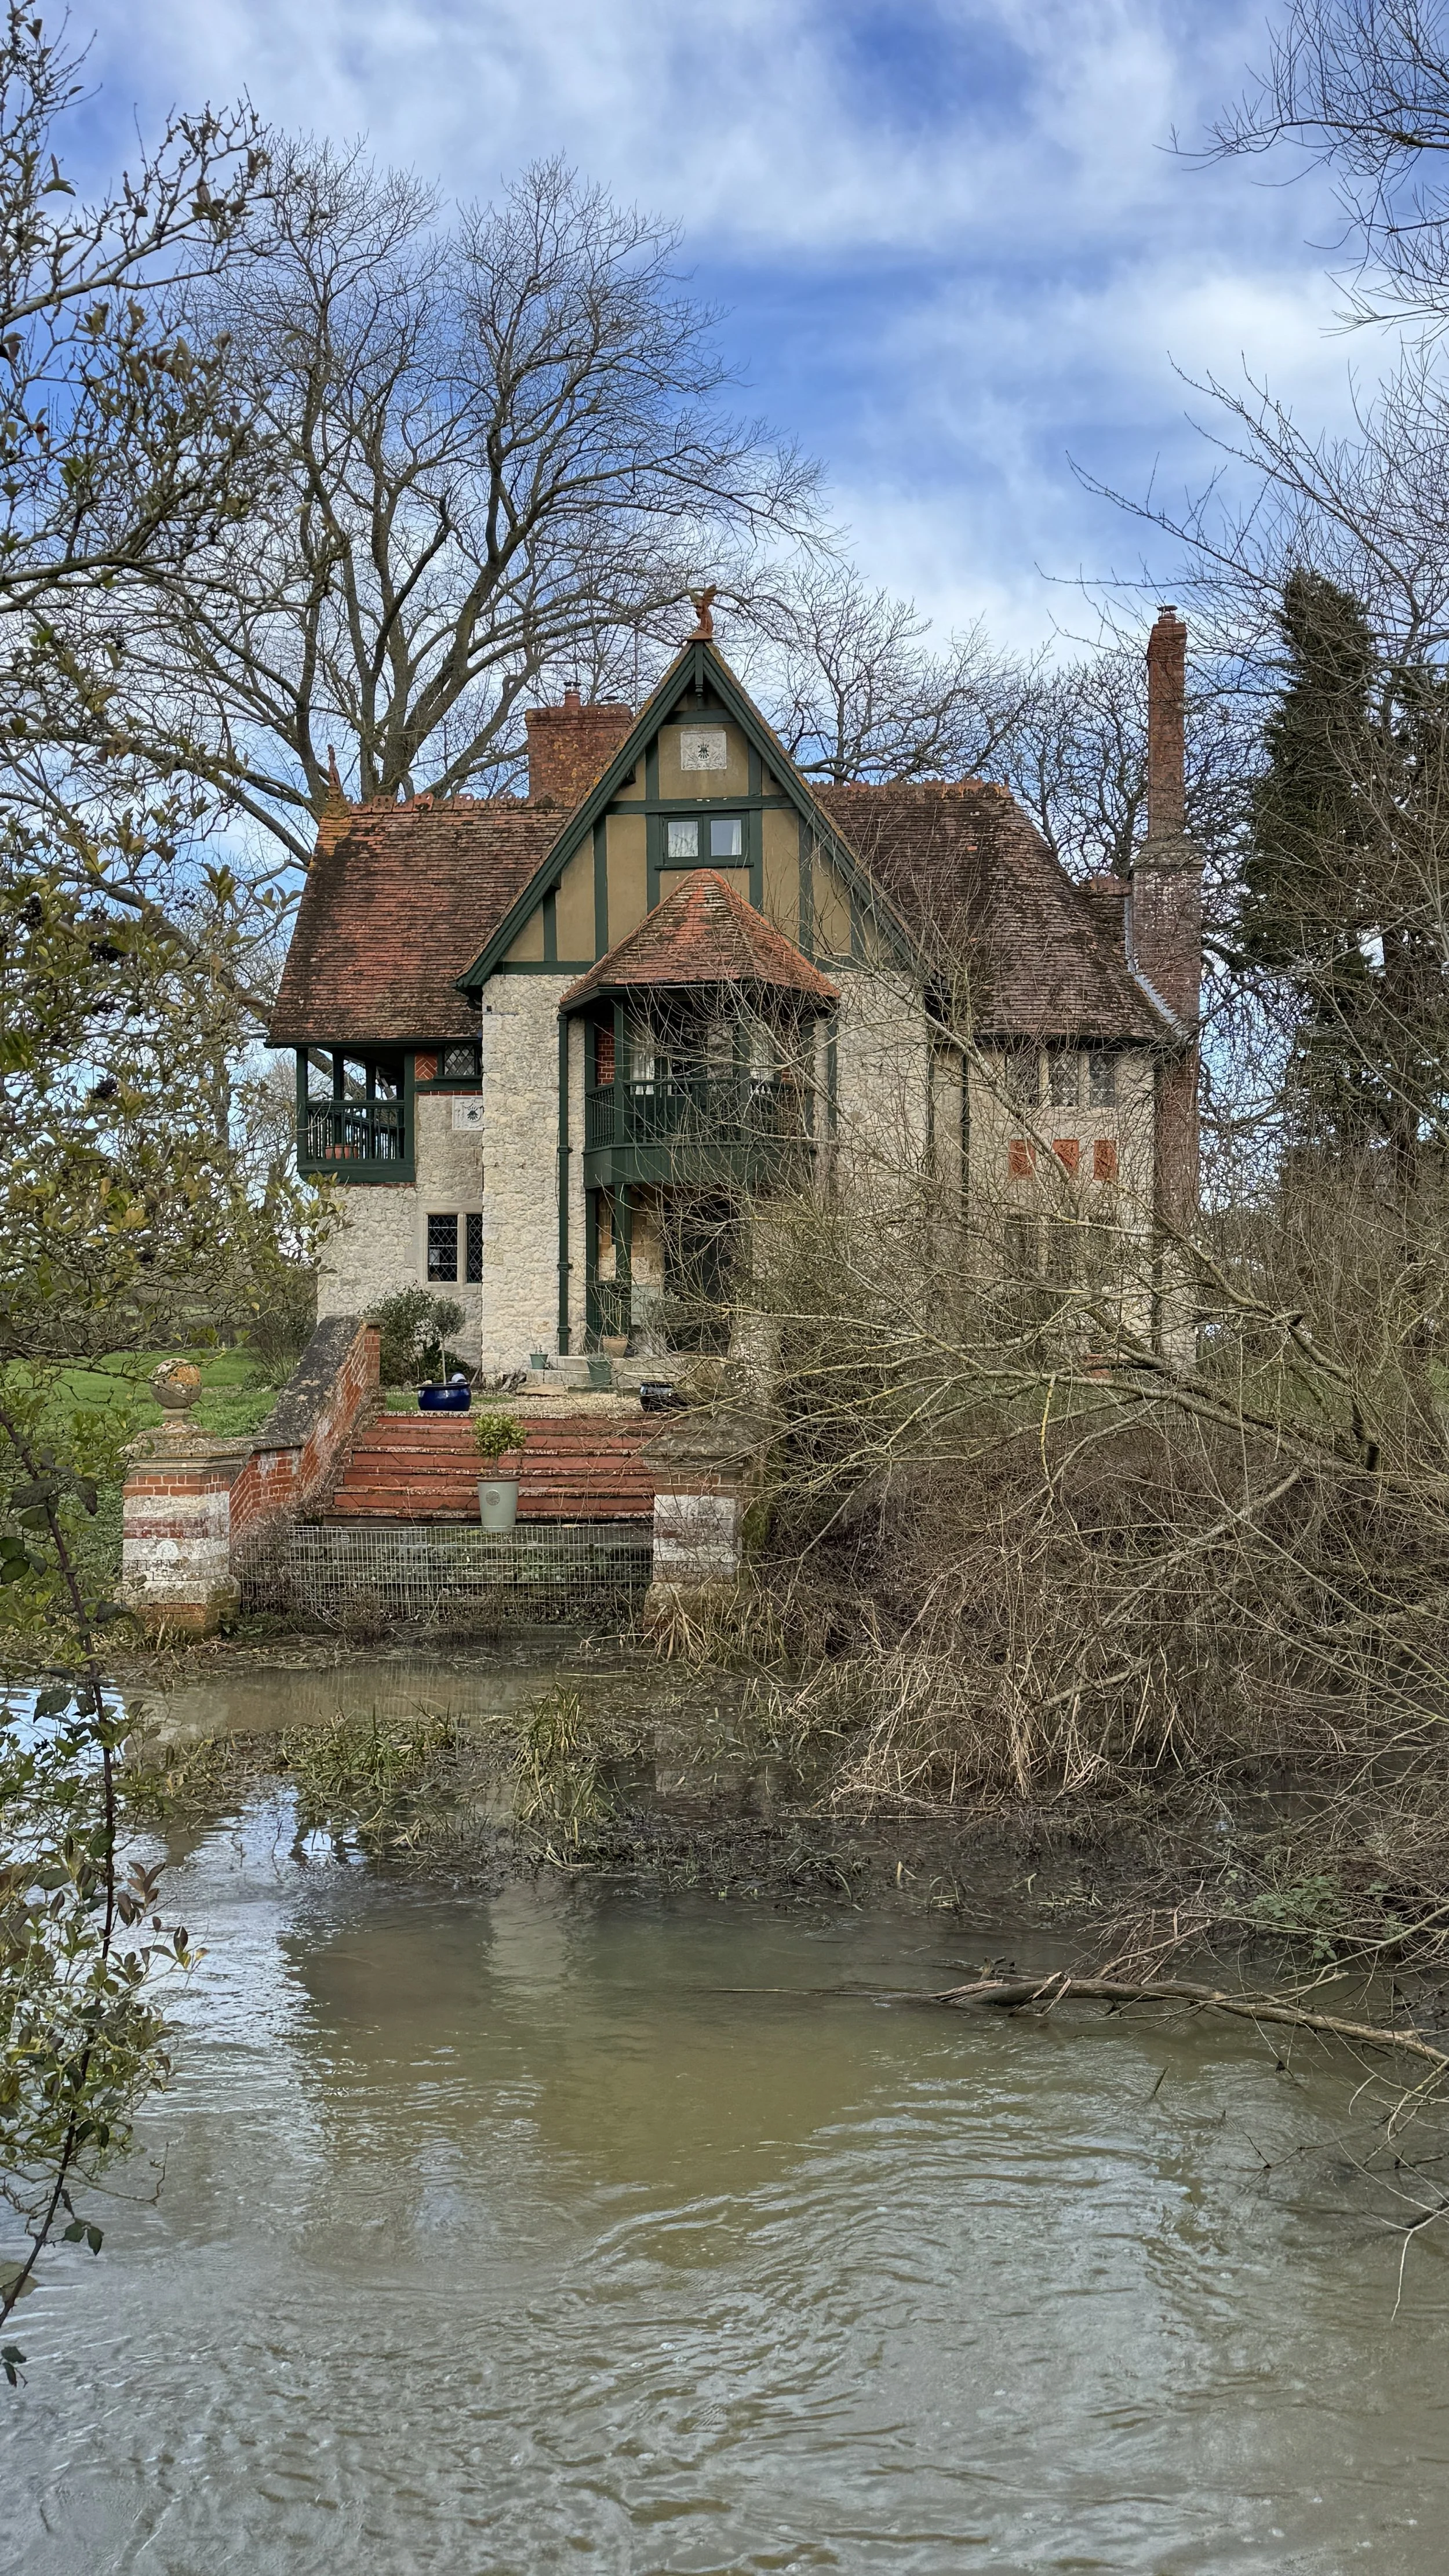
Flooded River Thame
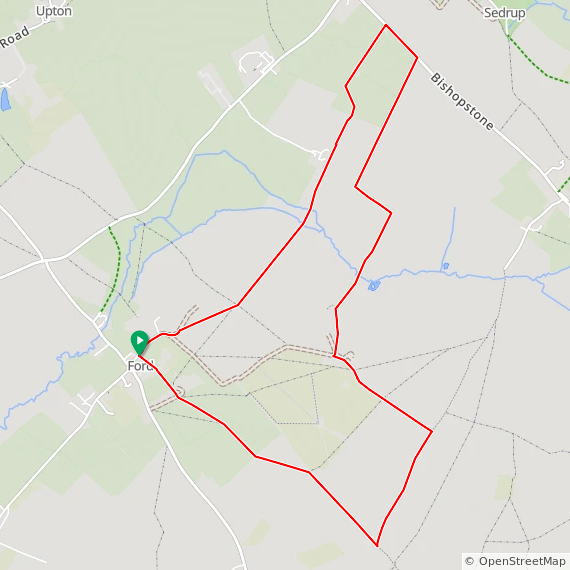
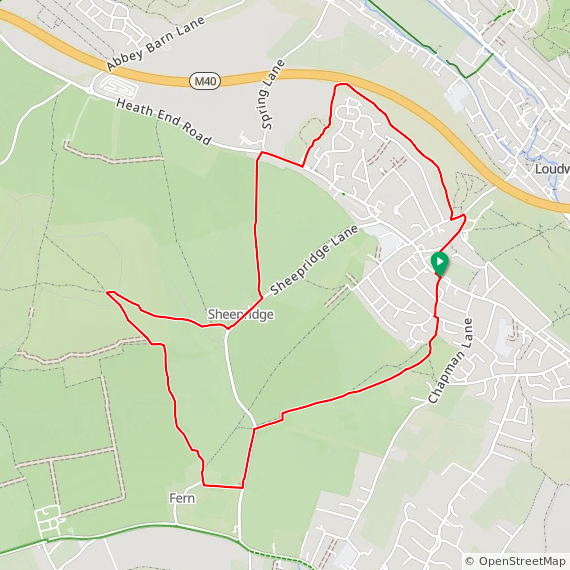
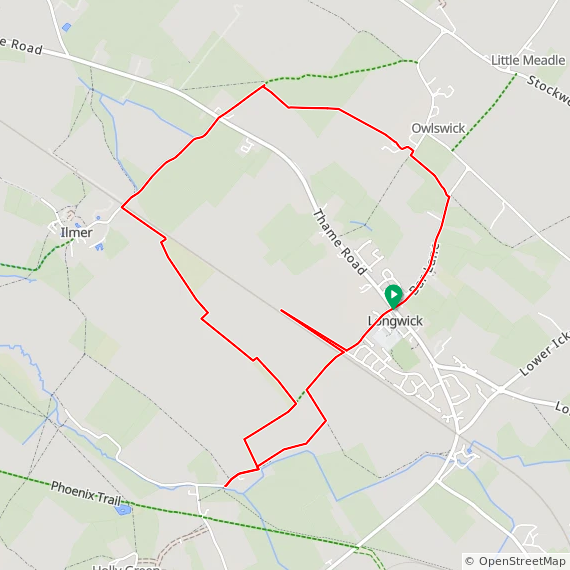
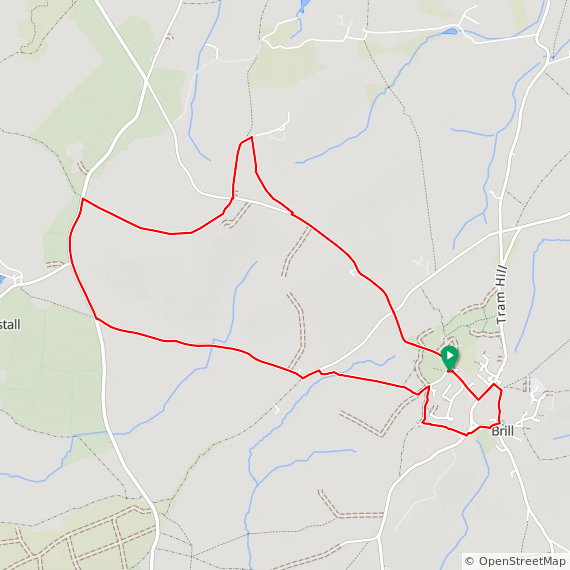
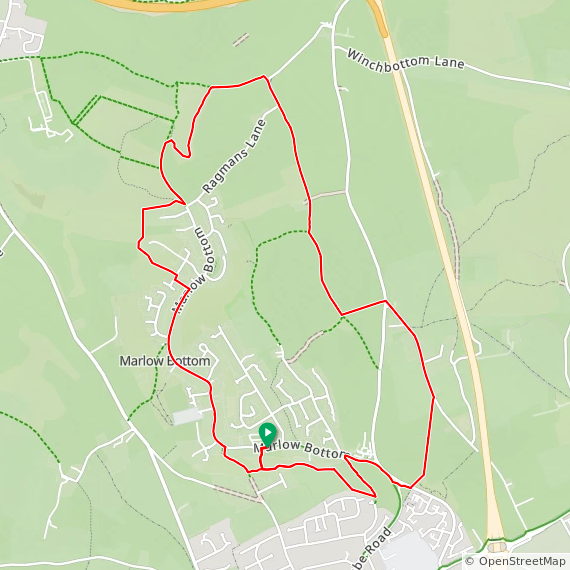
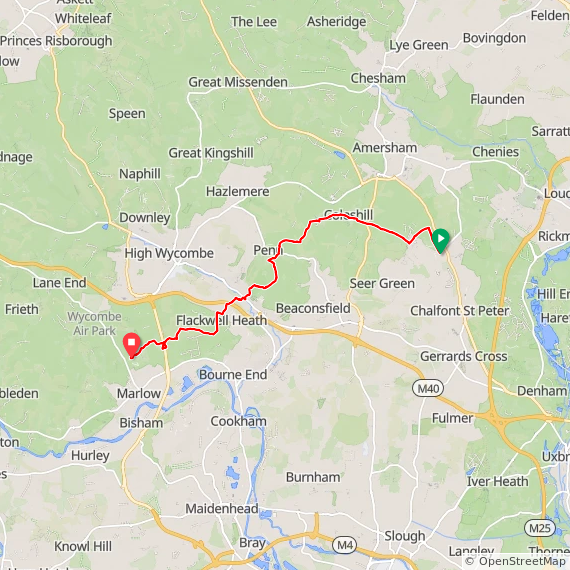
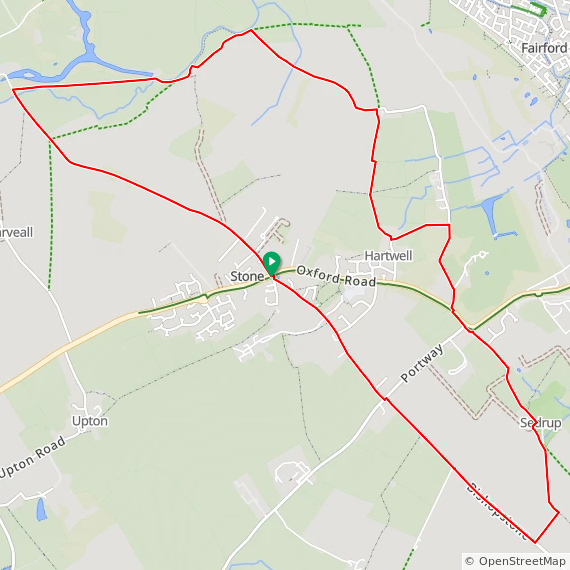
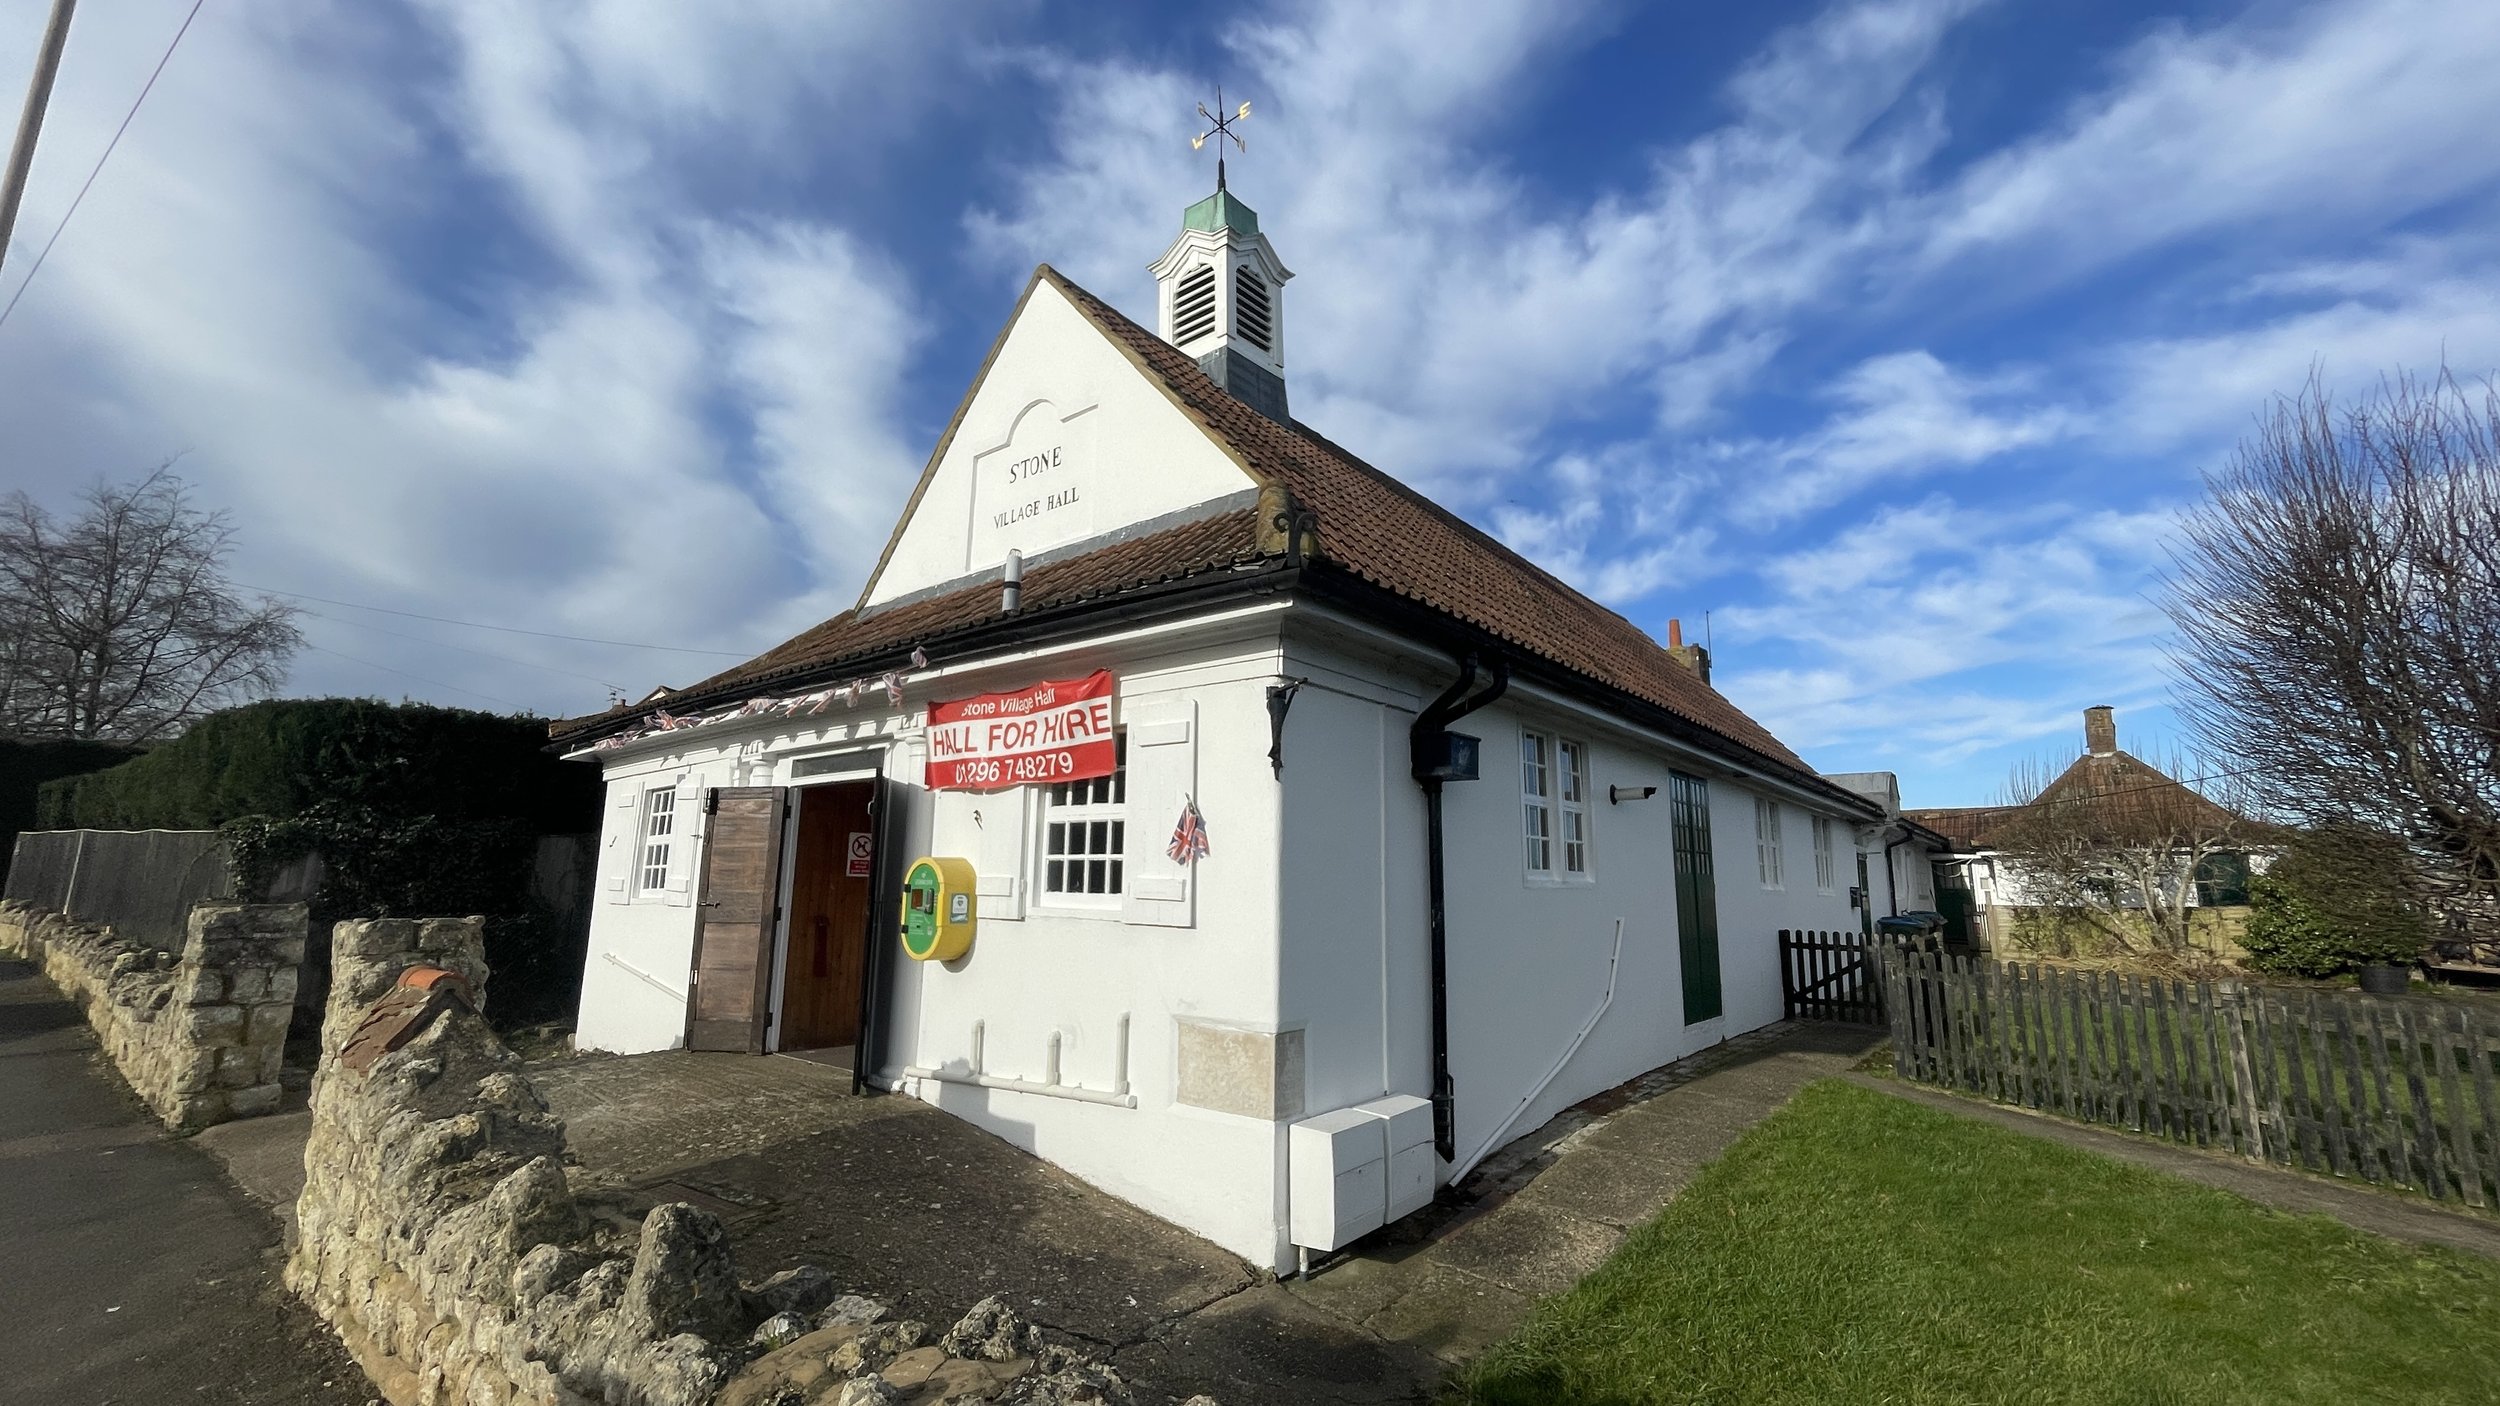
Start & Finish: Stone Village Hall, 50 Oxford Road, Stone Aylesbury, HP17 8PB
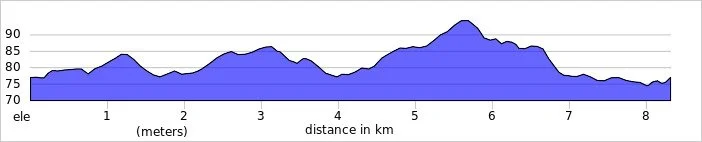
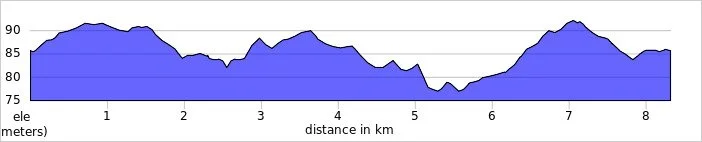
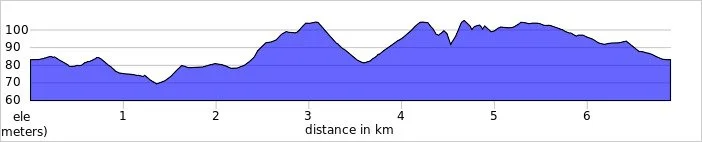
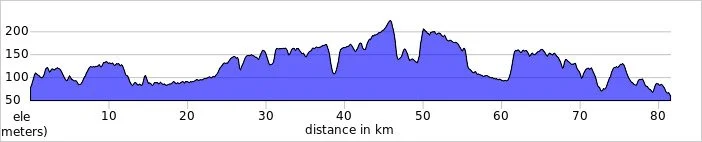
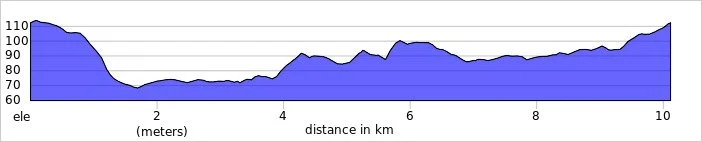
Distance: 10.1 km (6.3 miles)
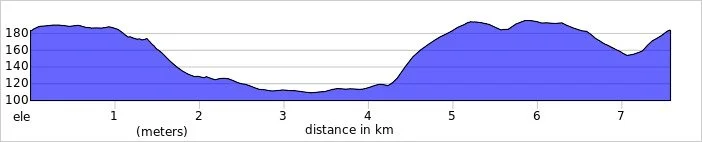
Elevation change: +/- 75 m
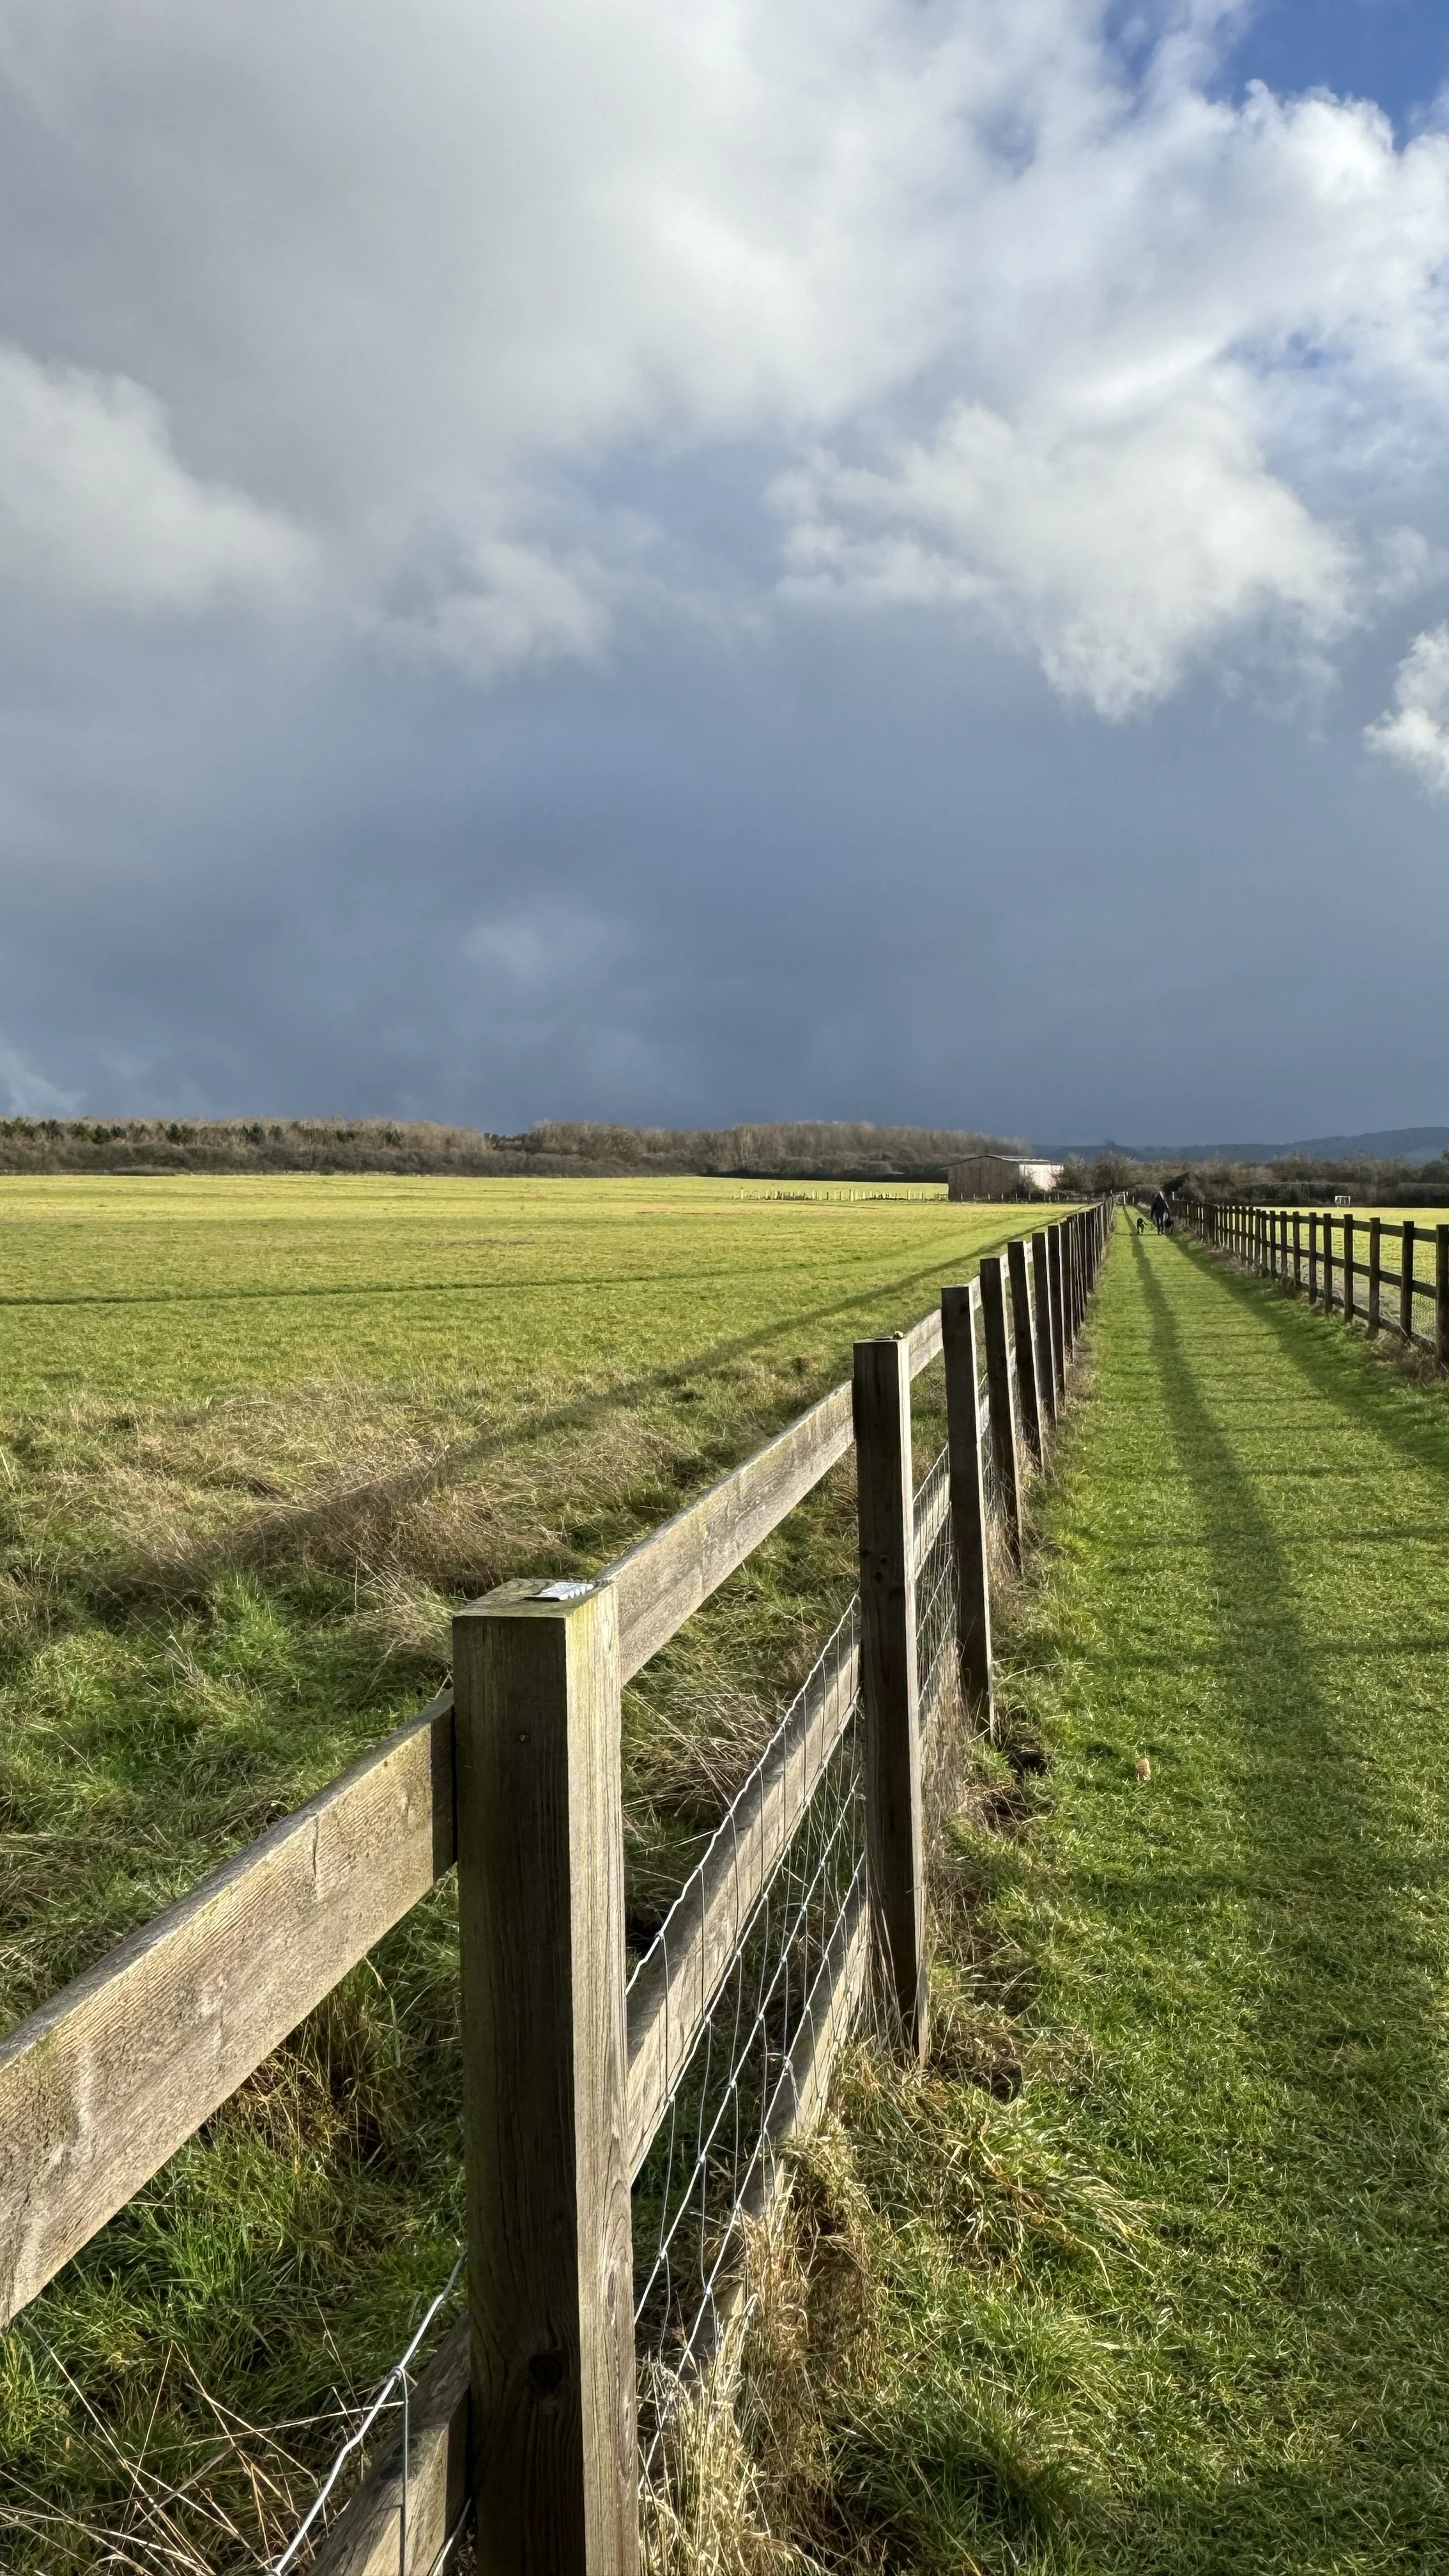
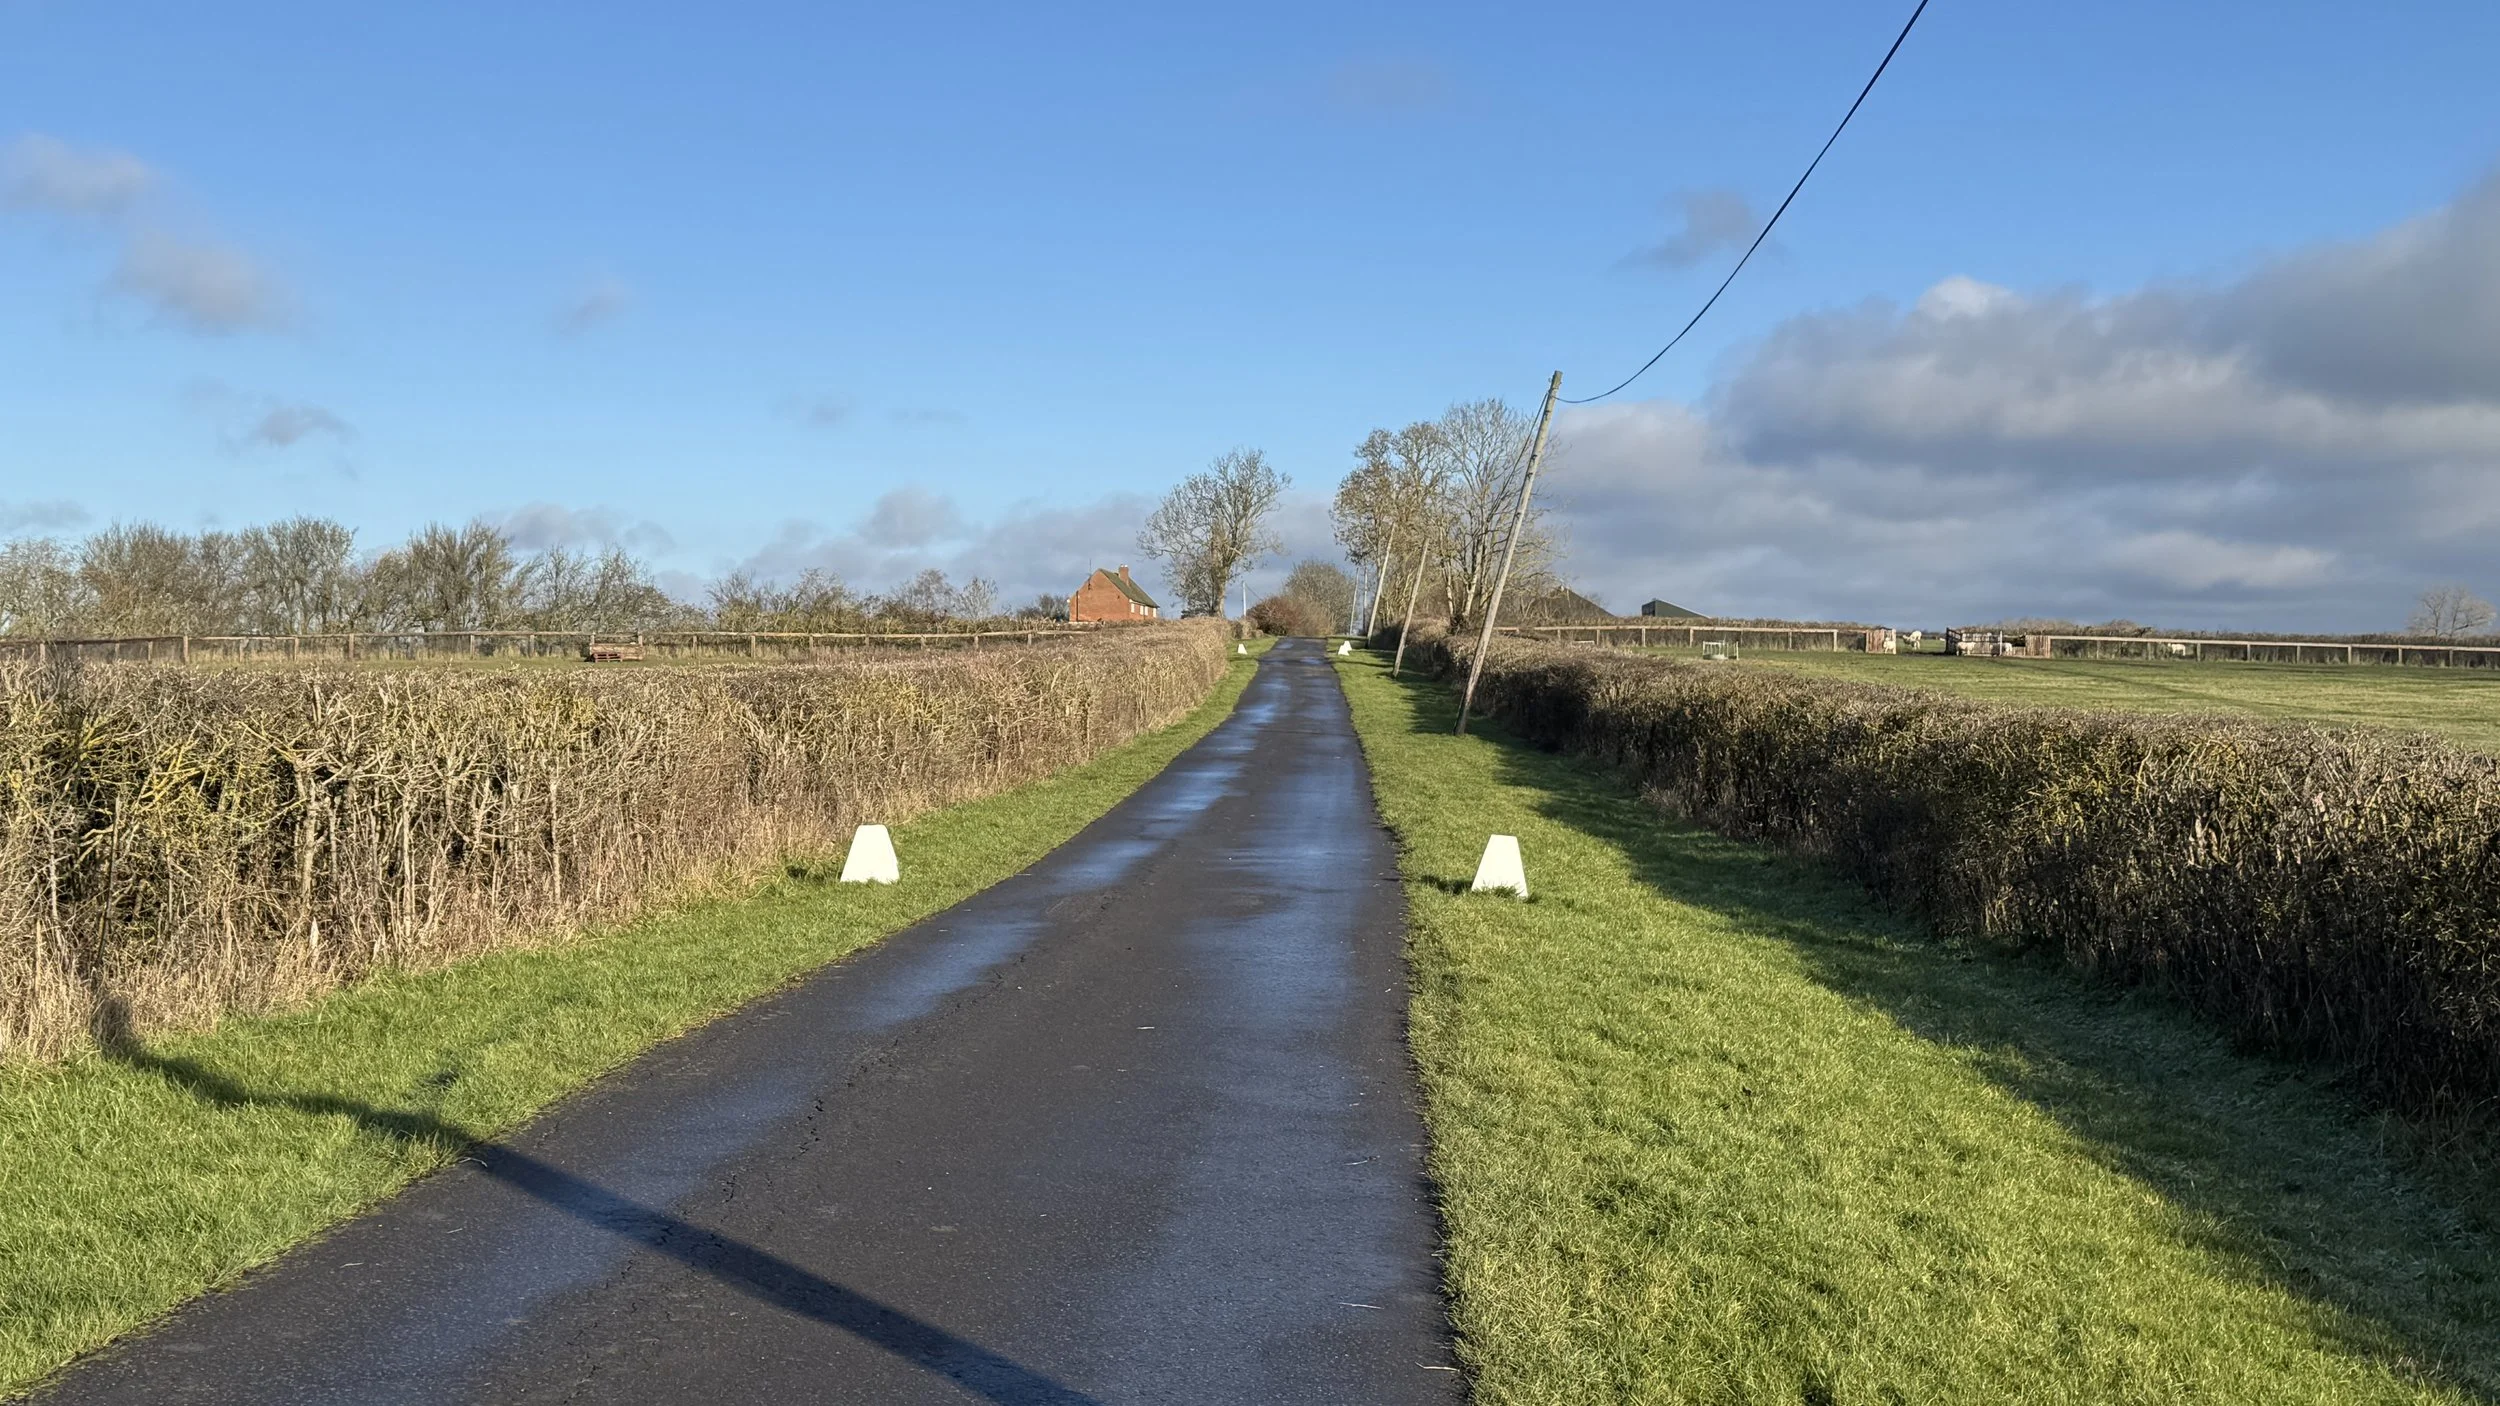
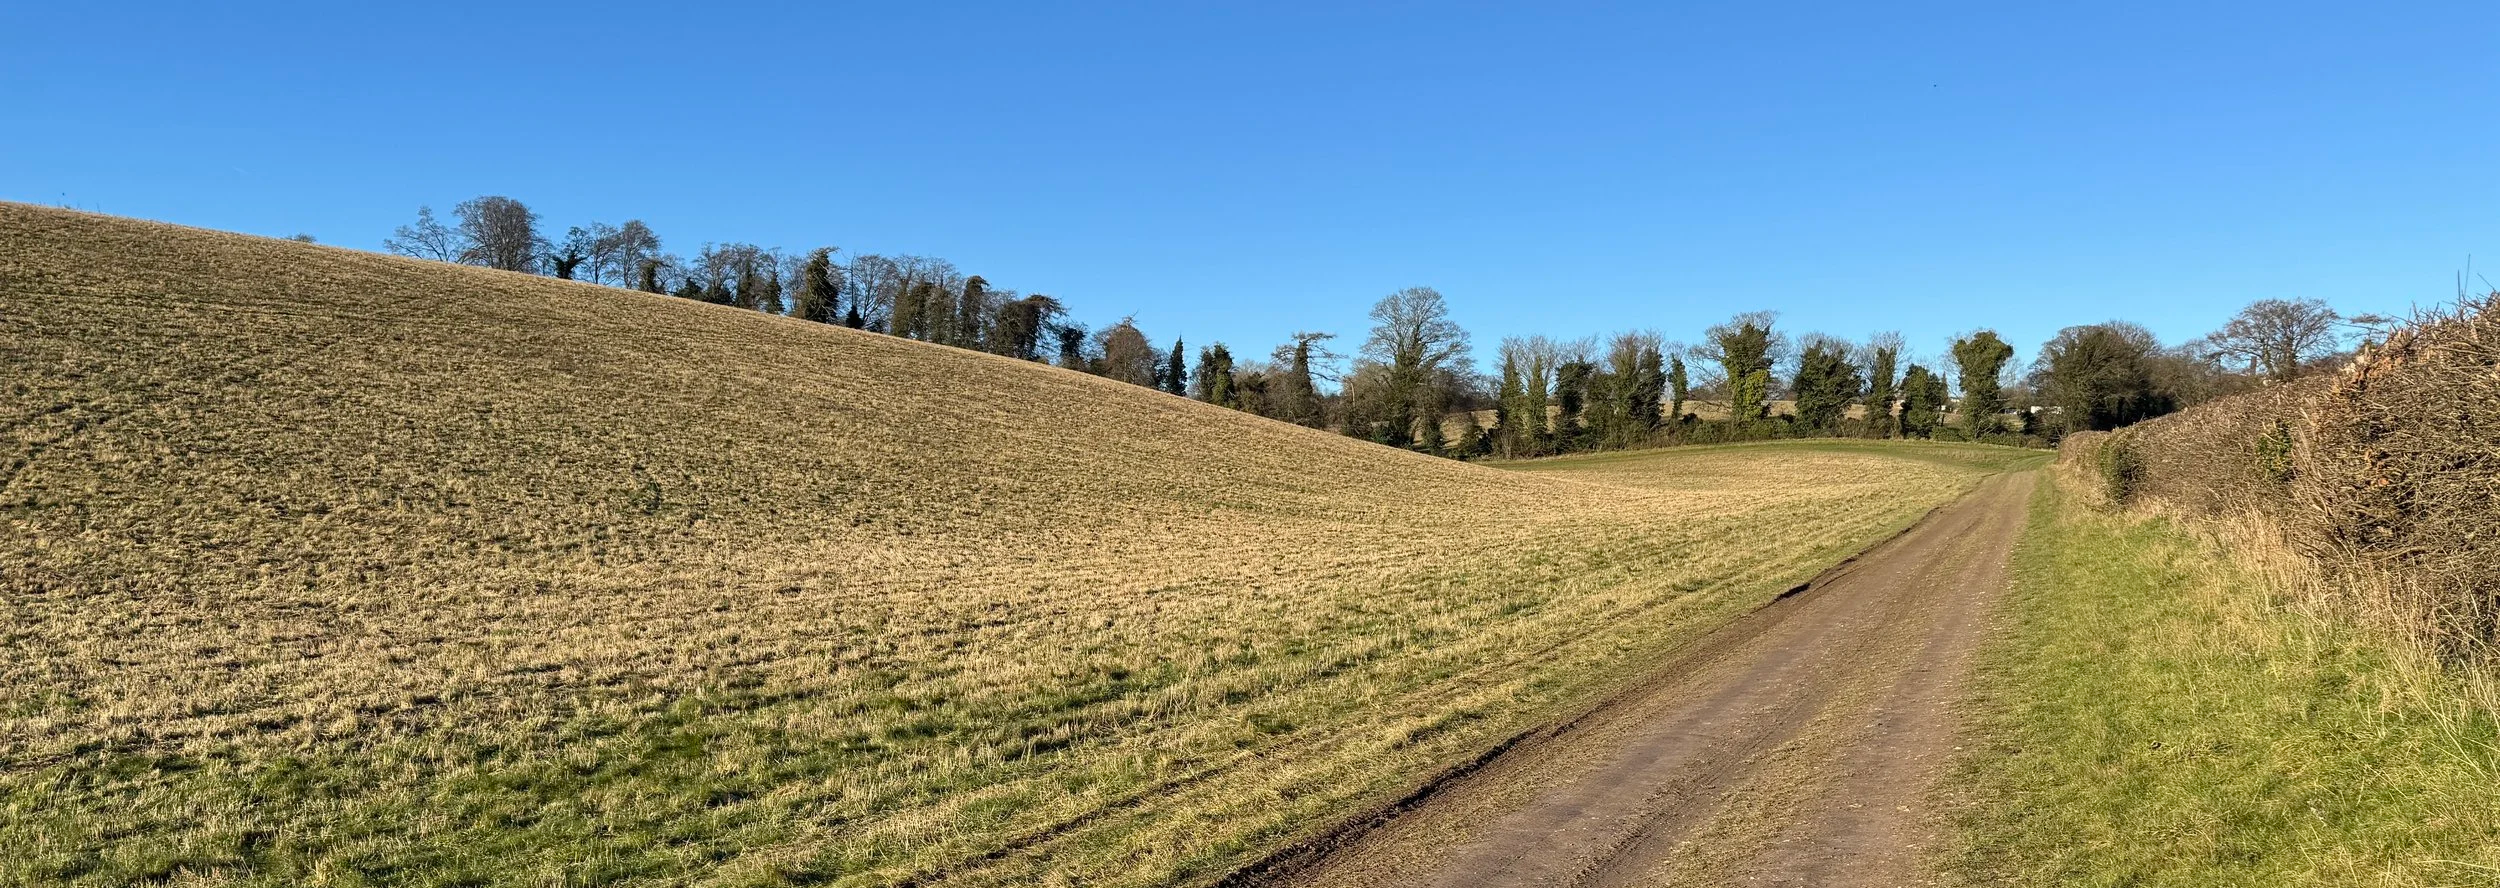
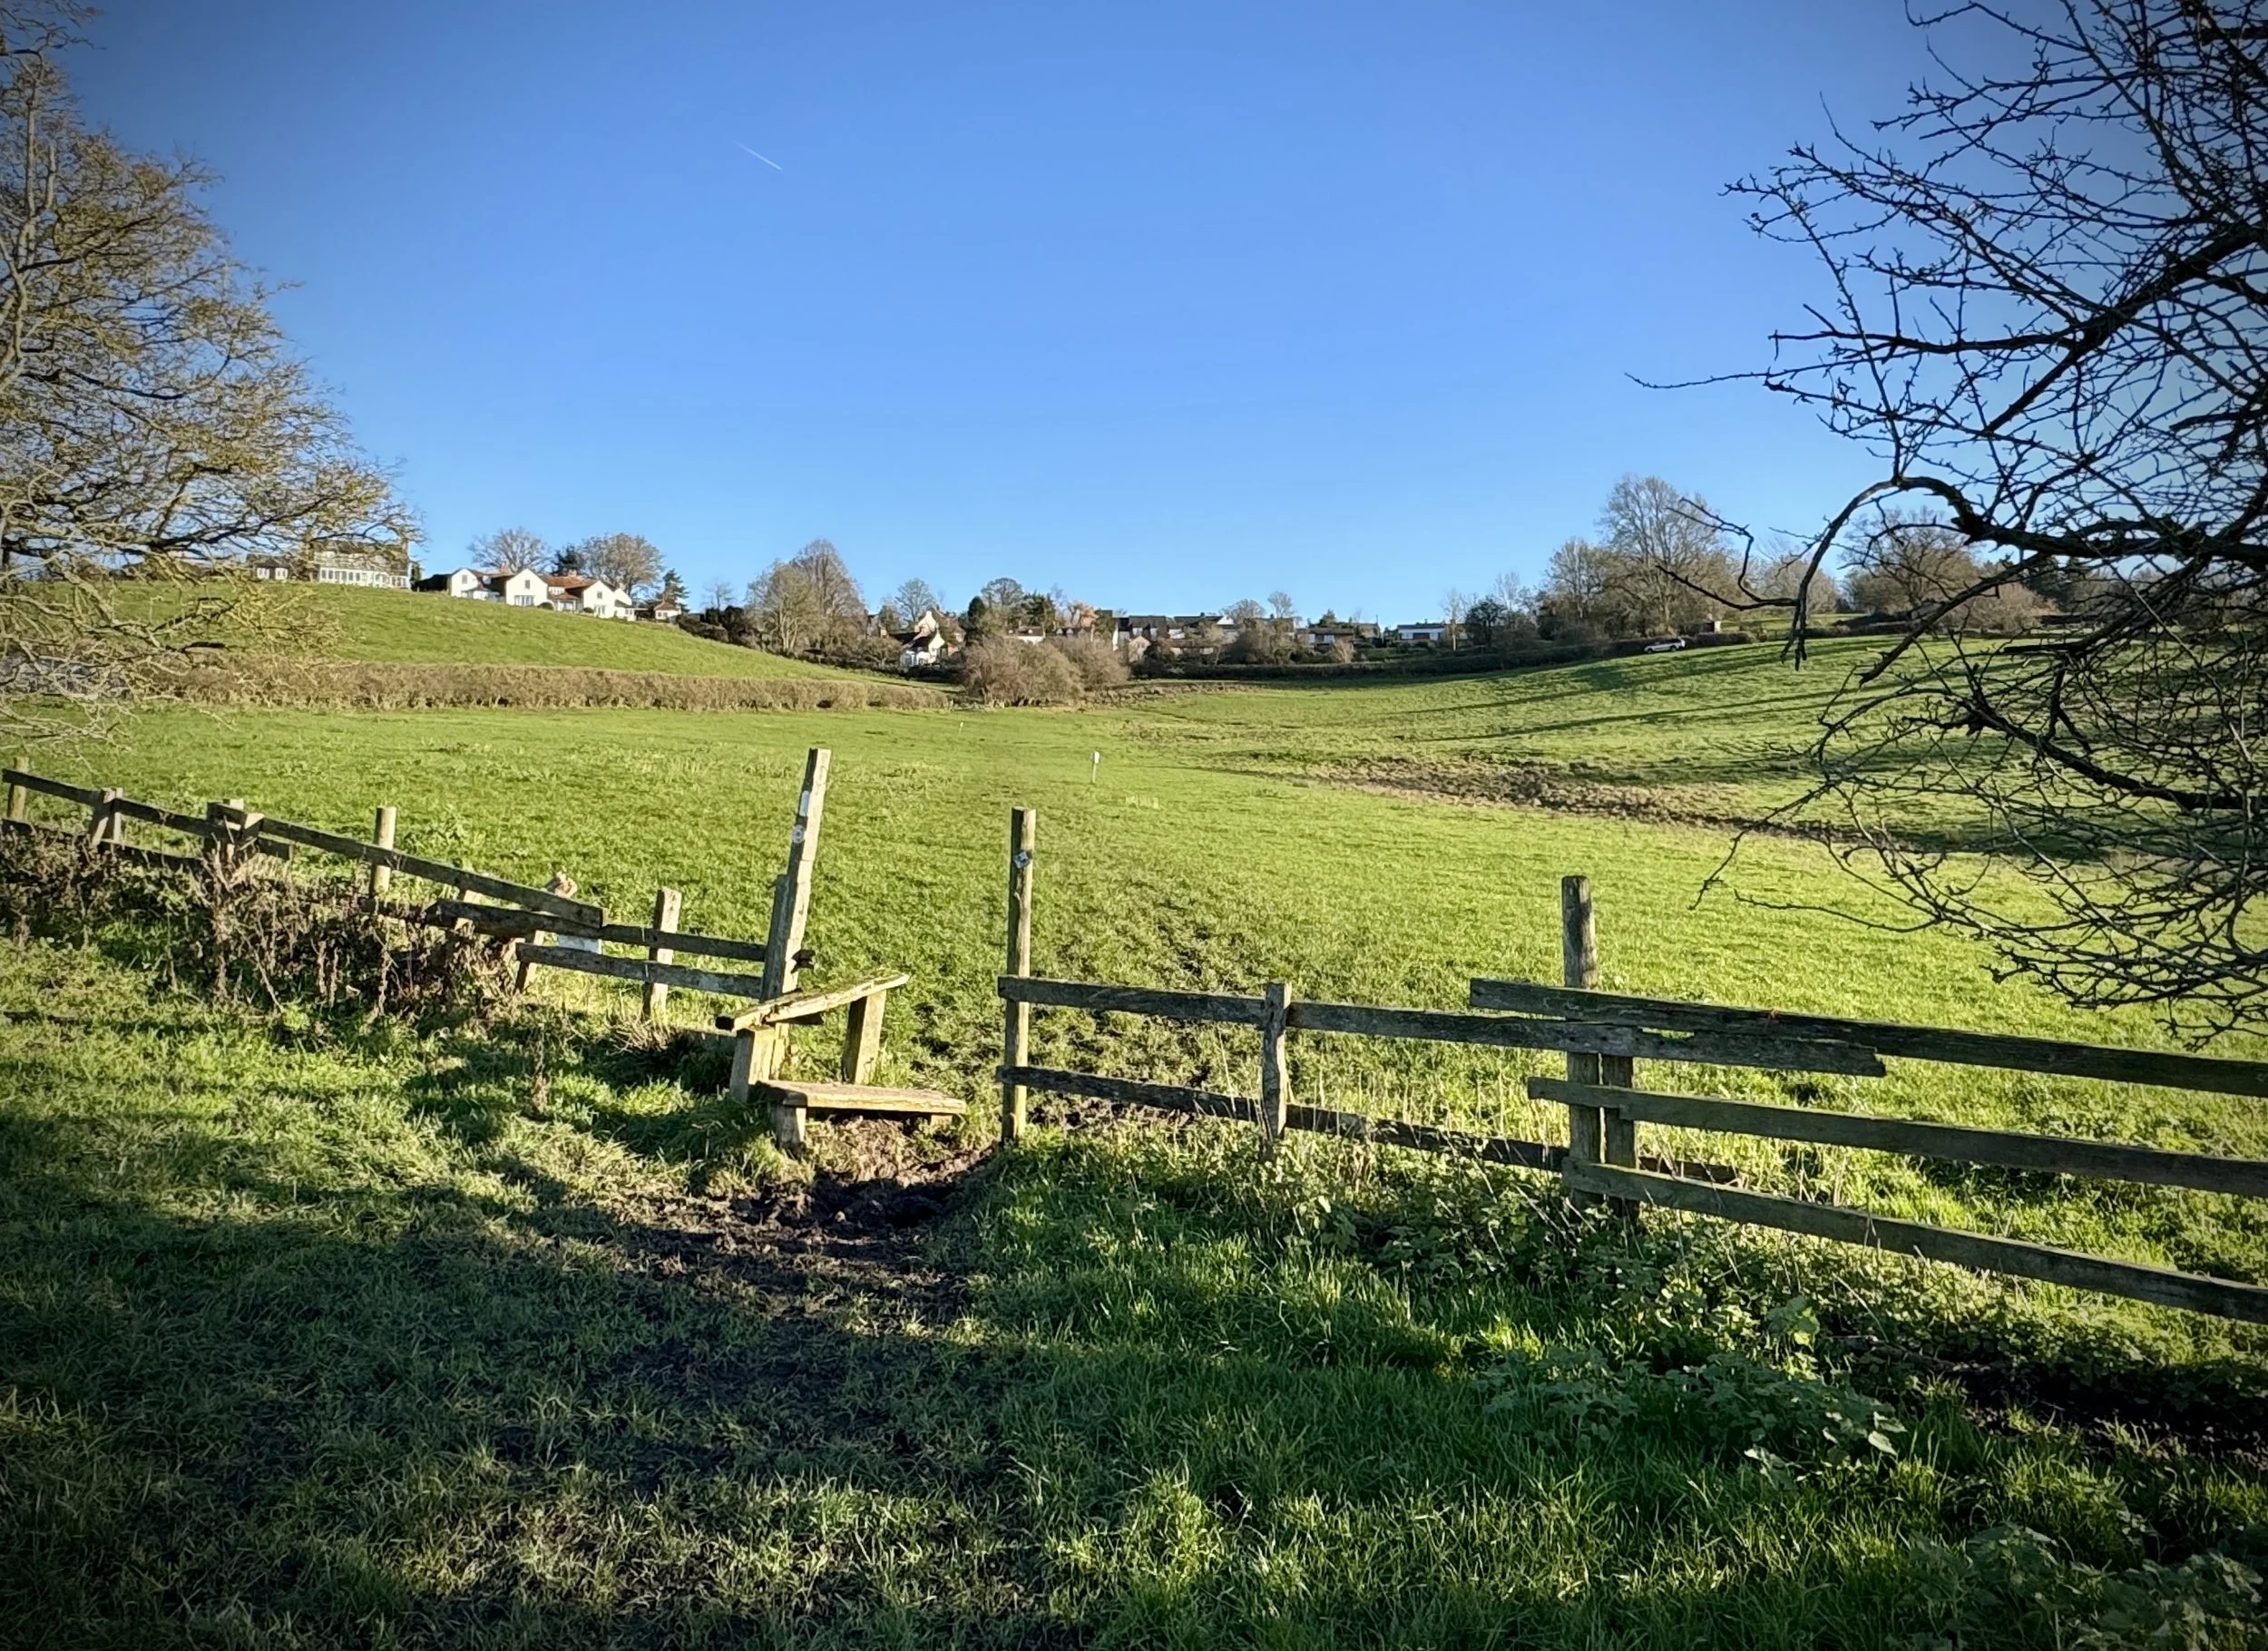
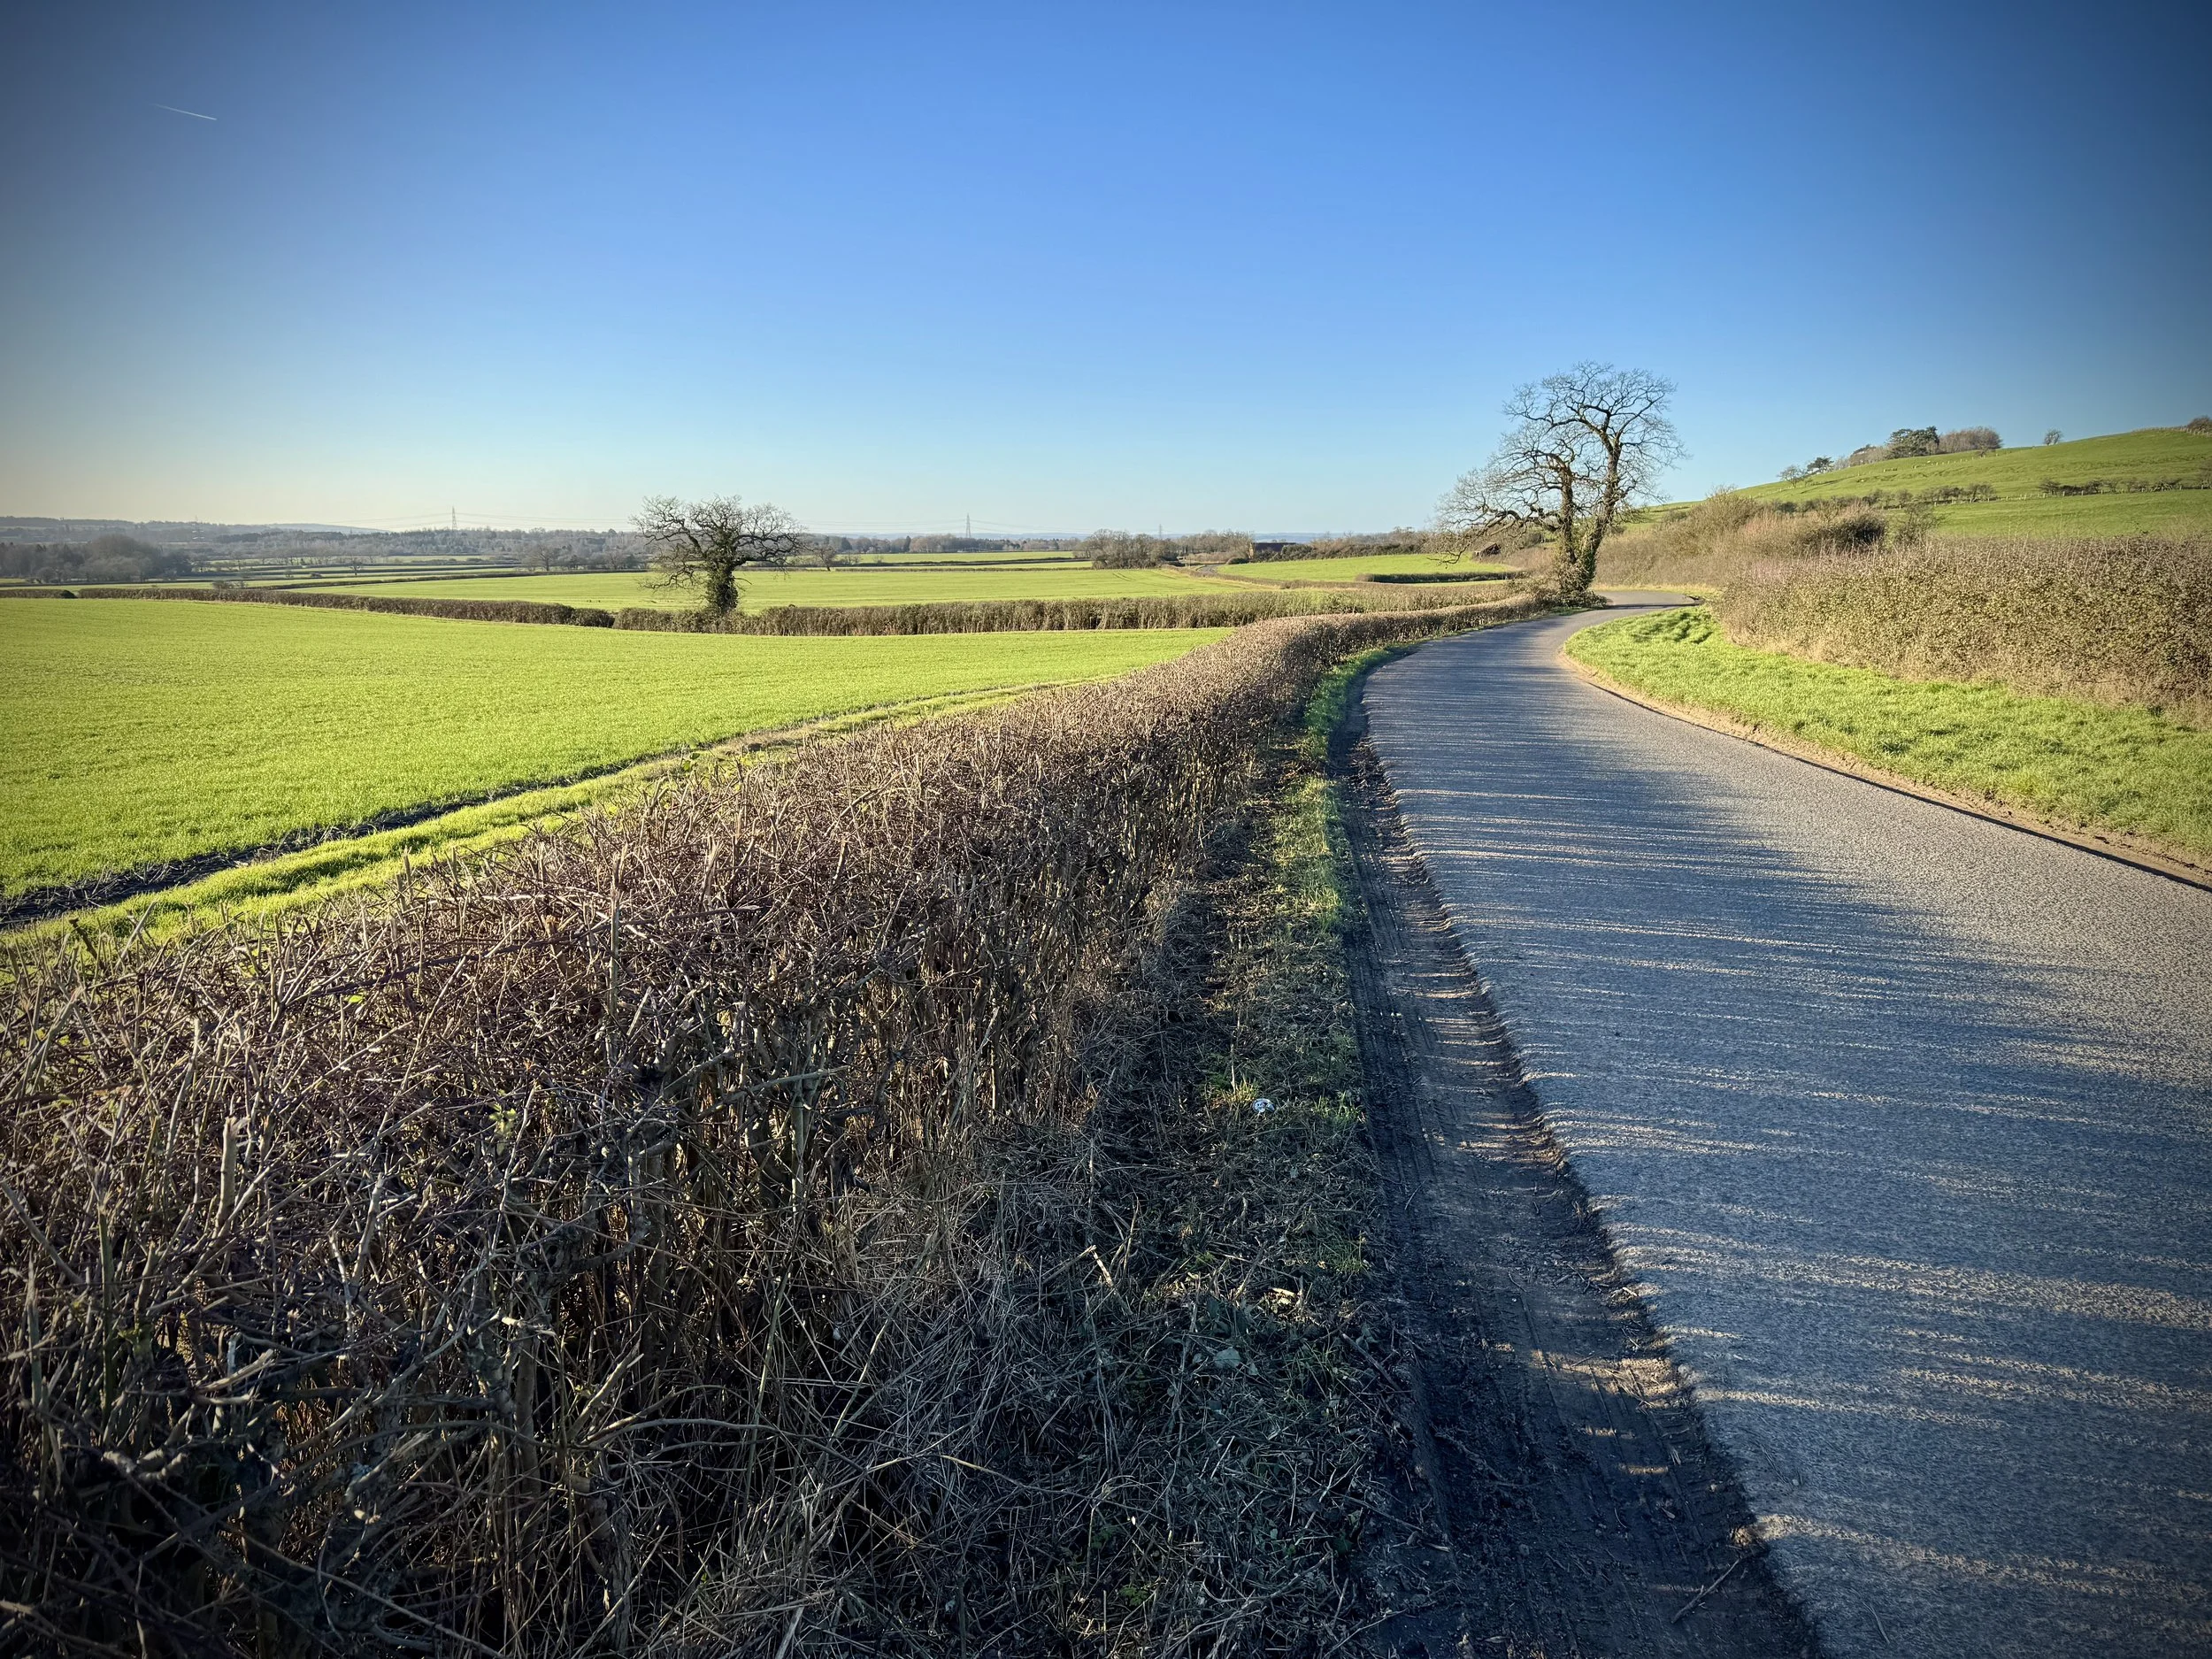
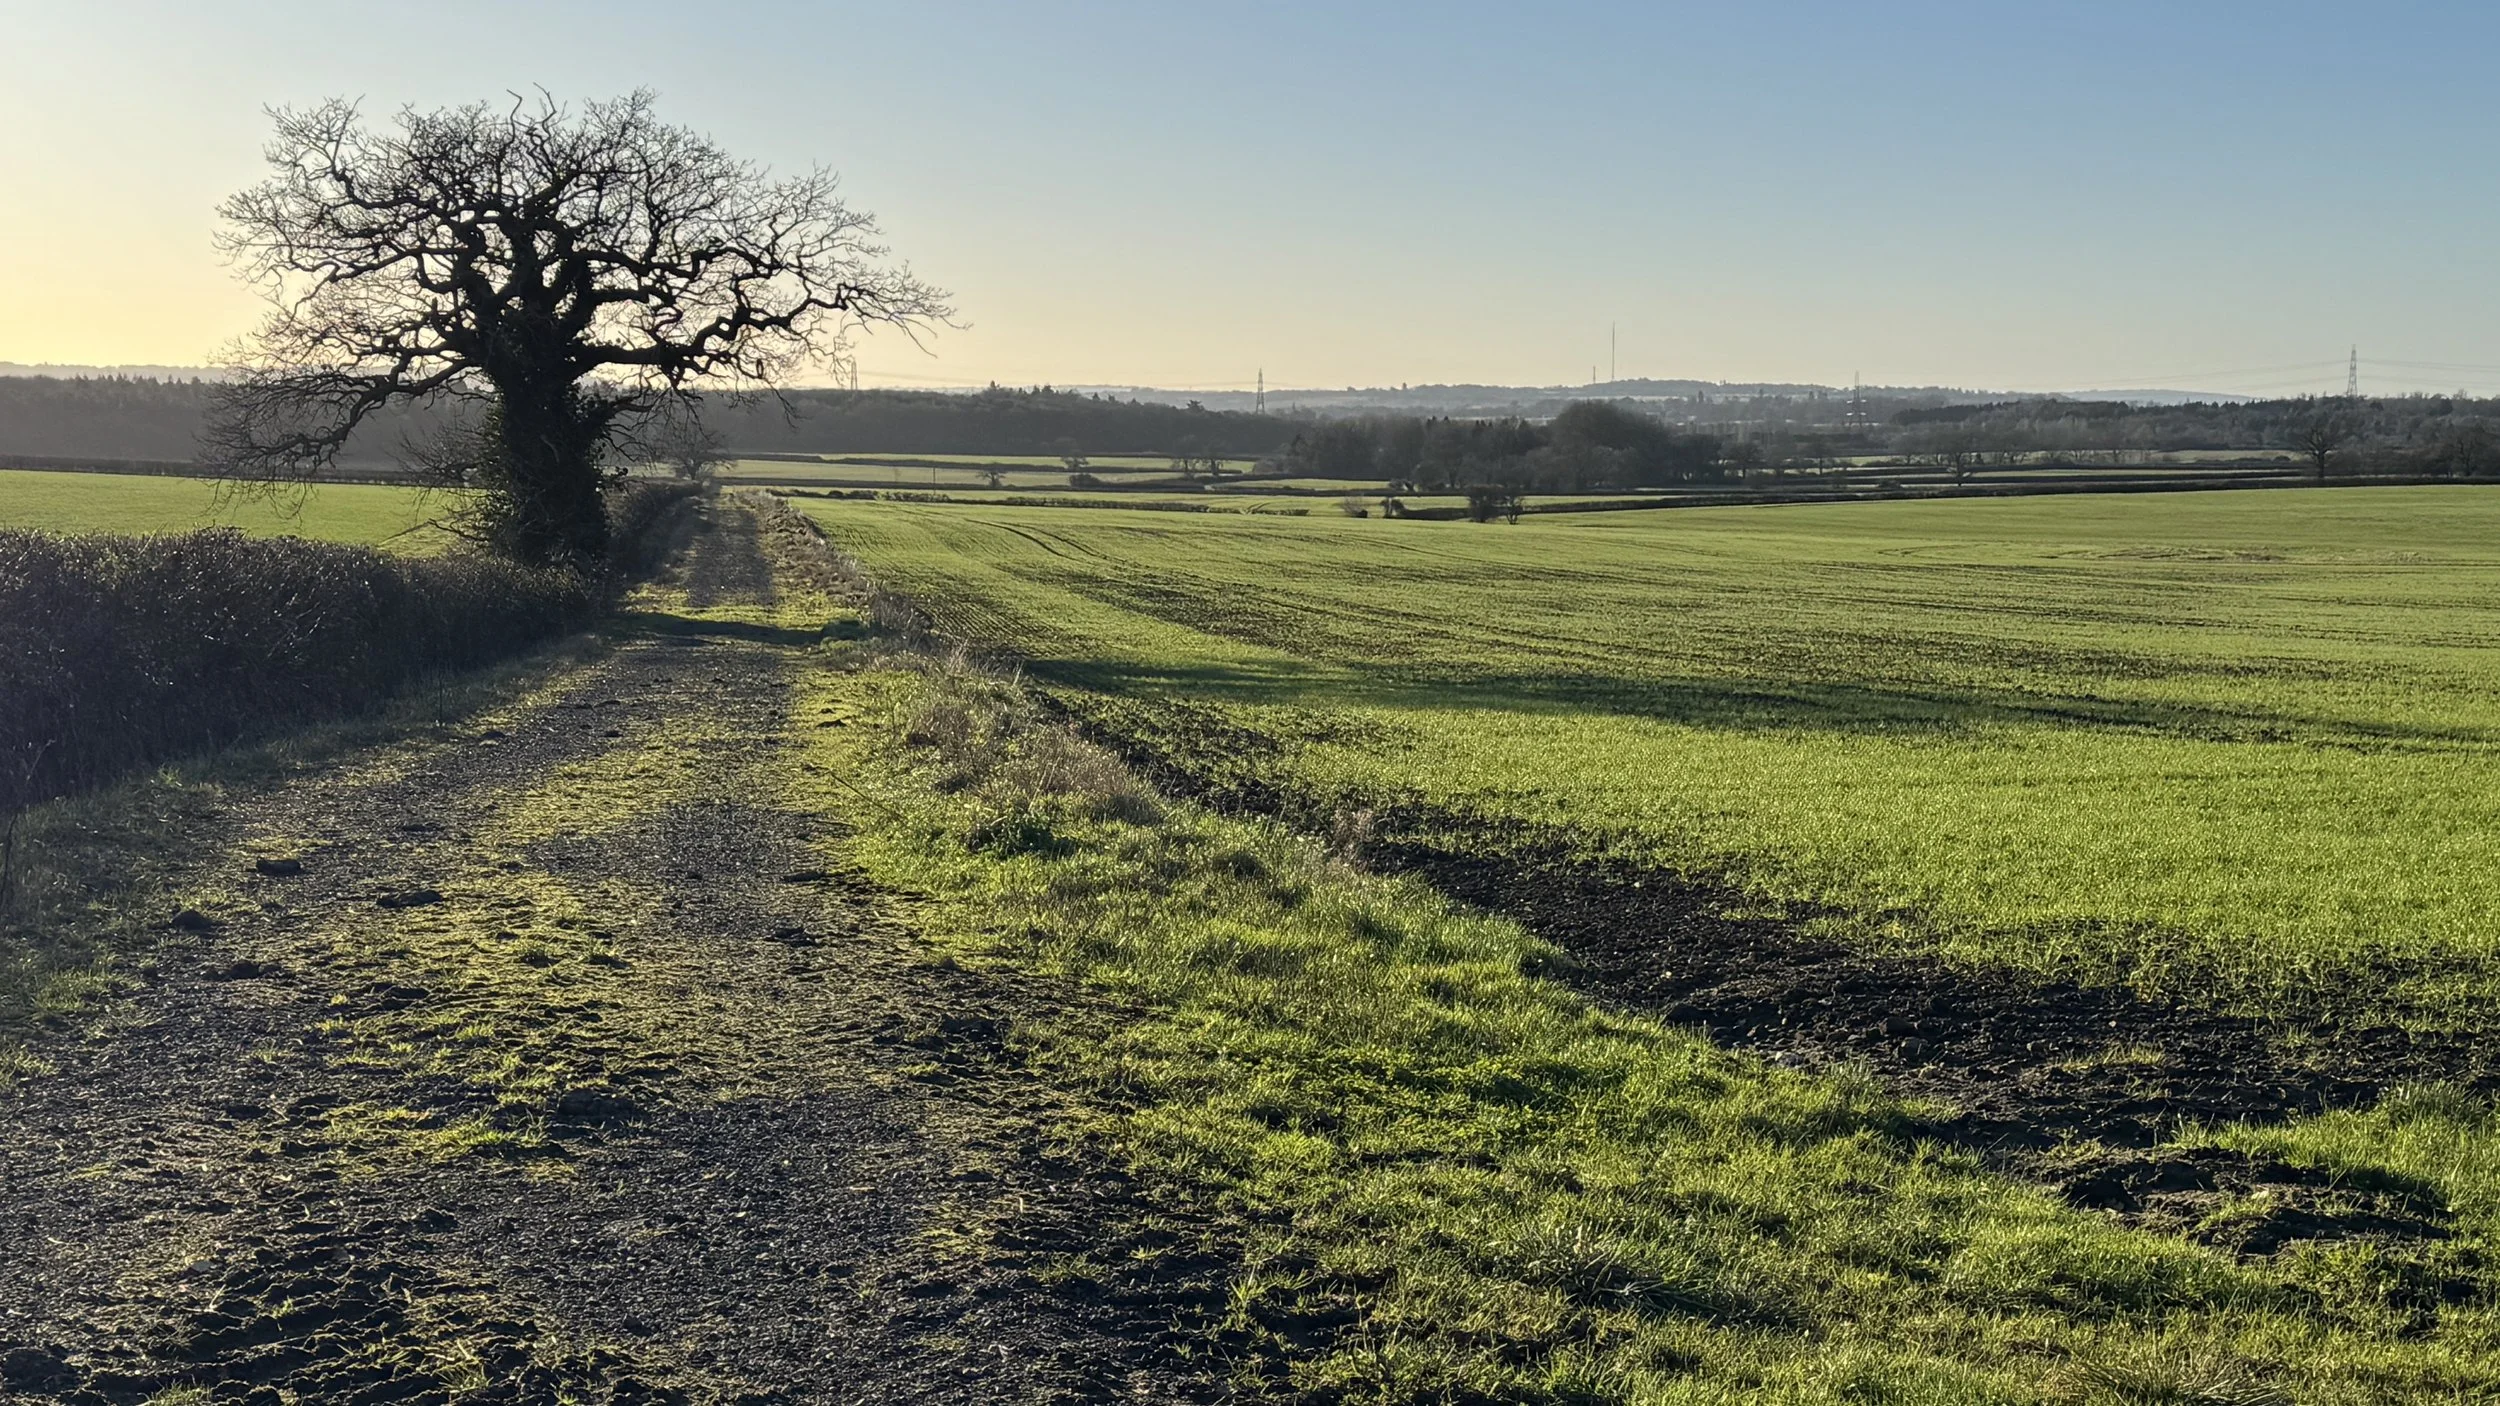
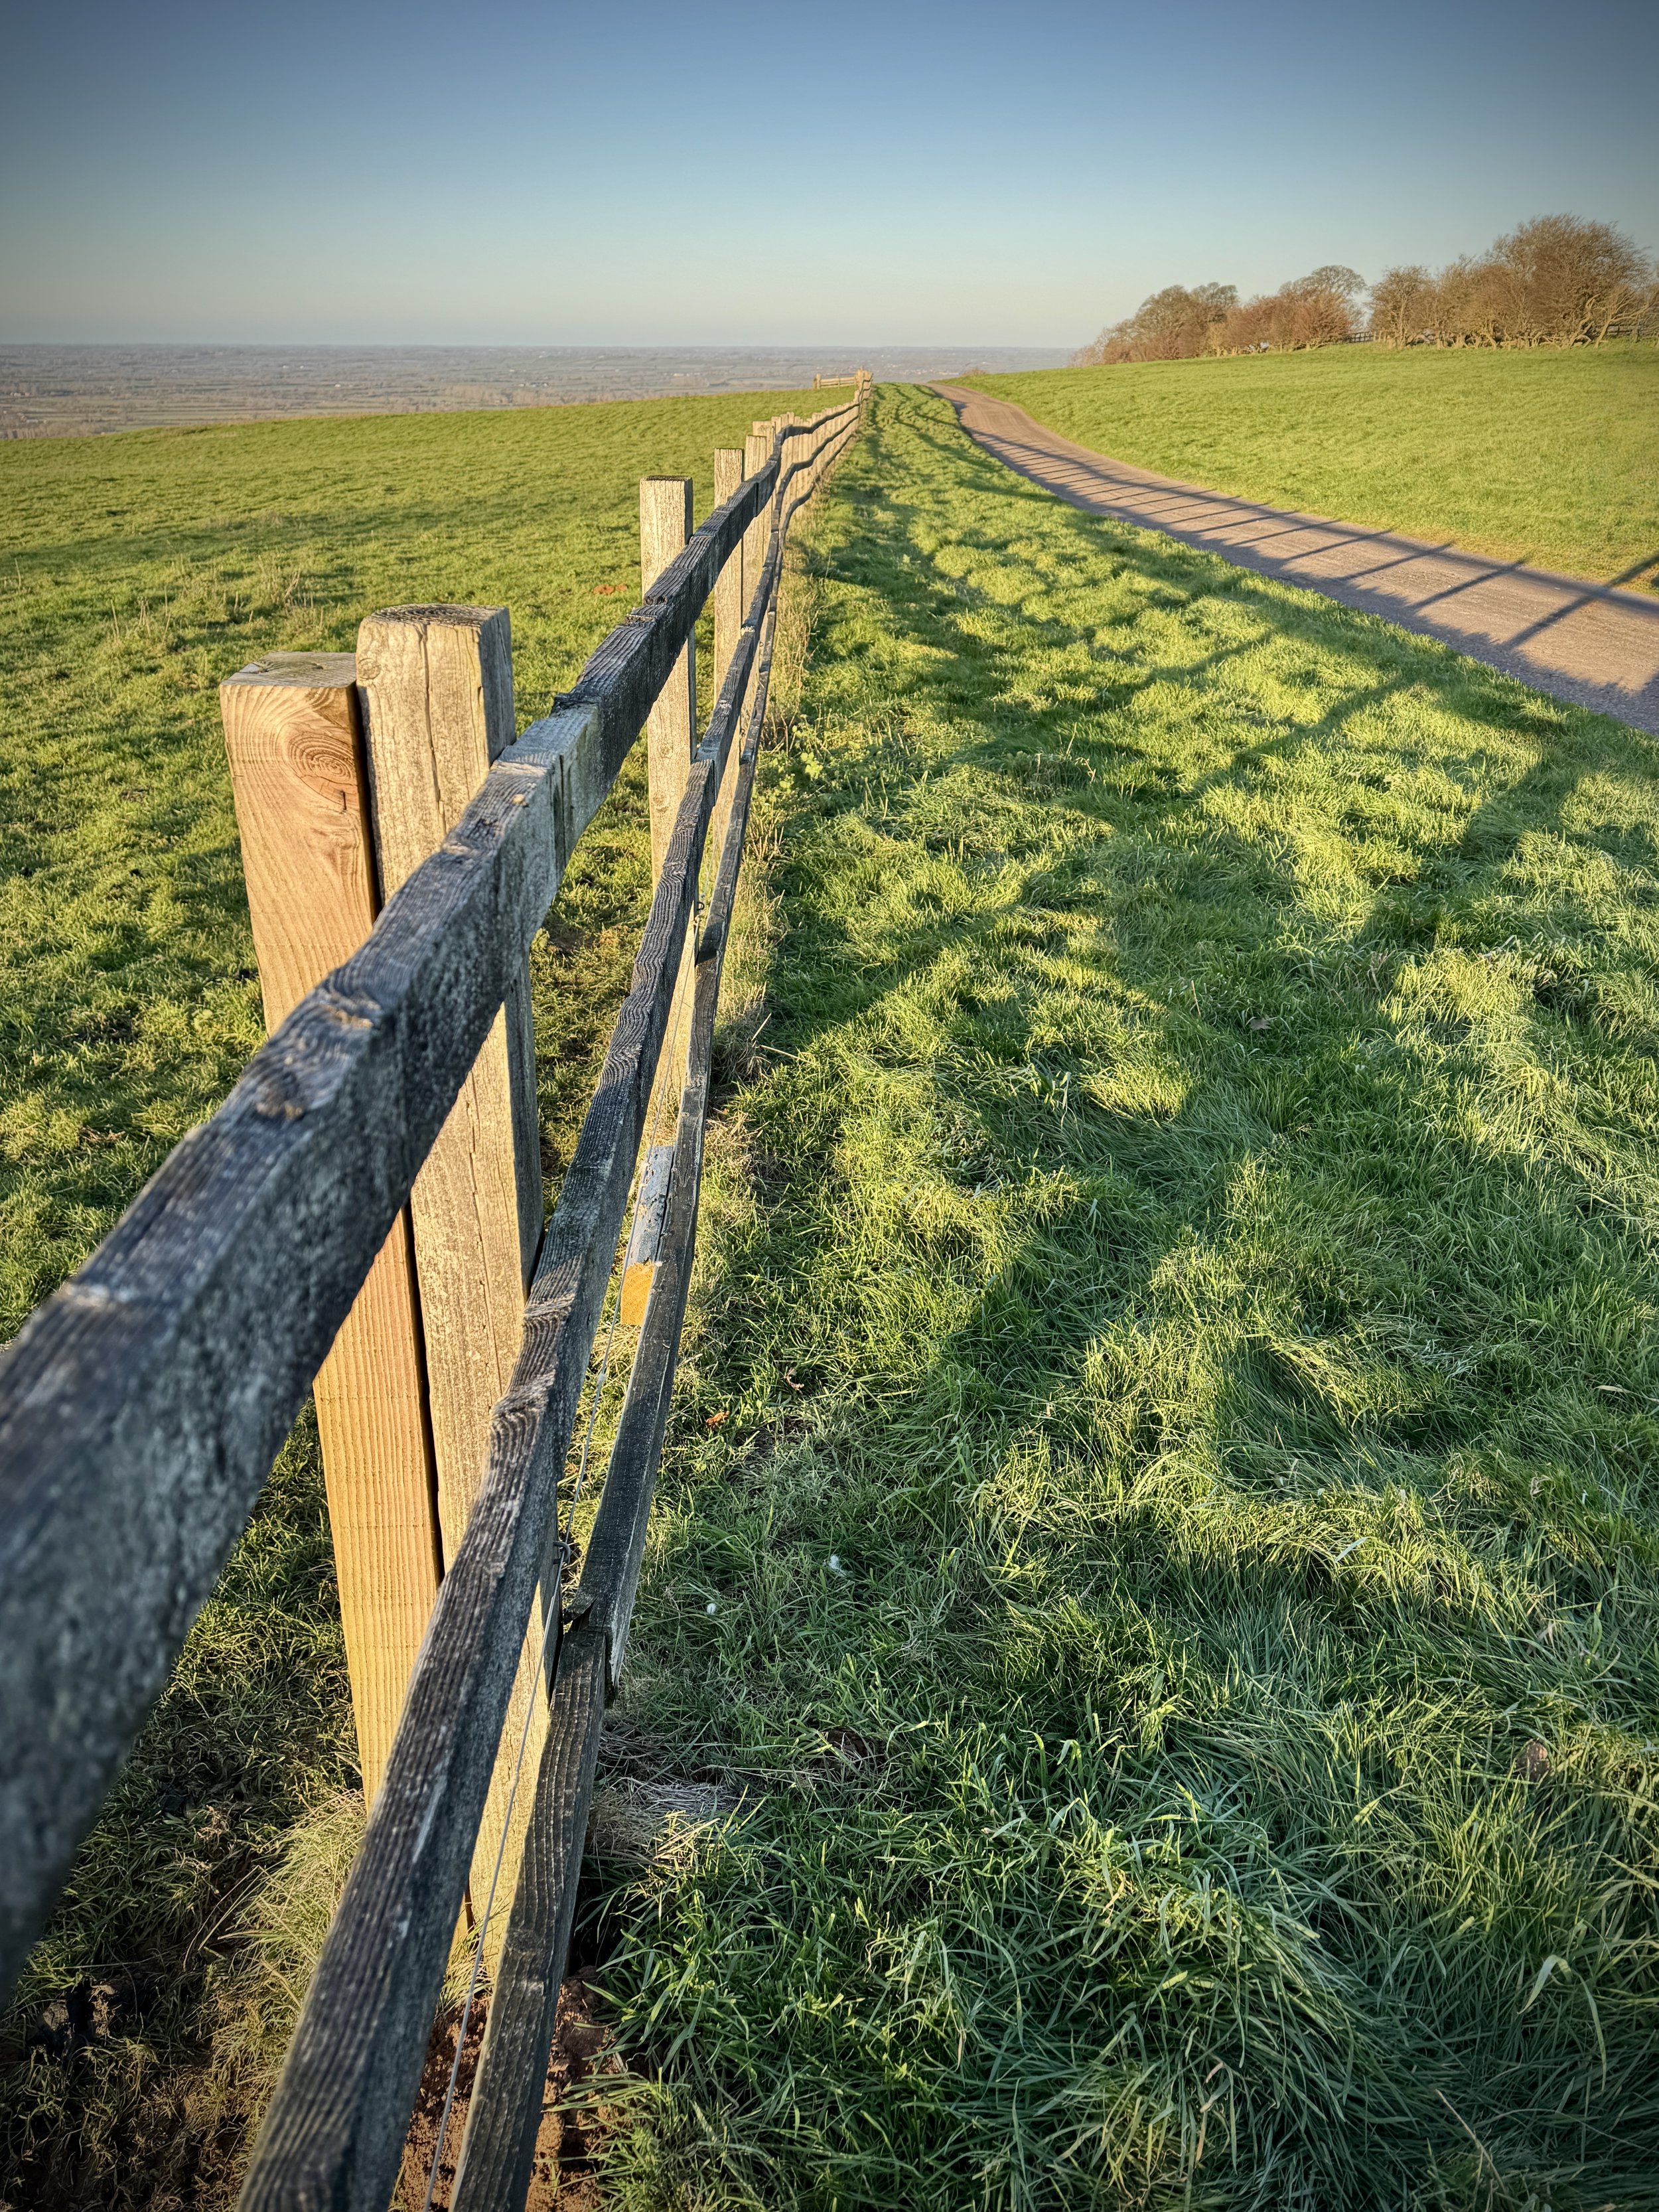
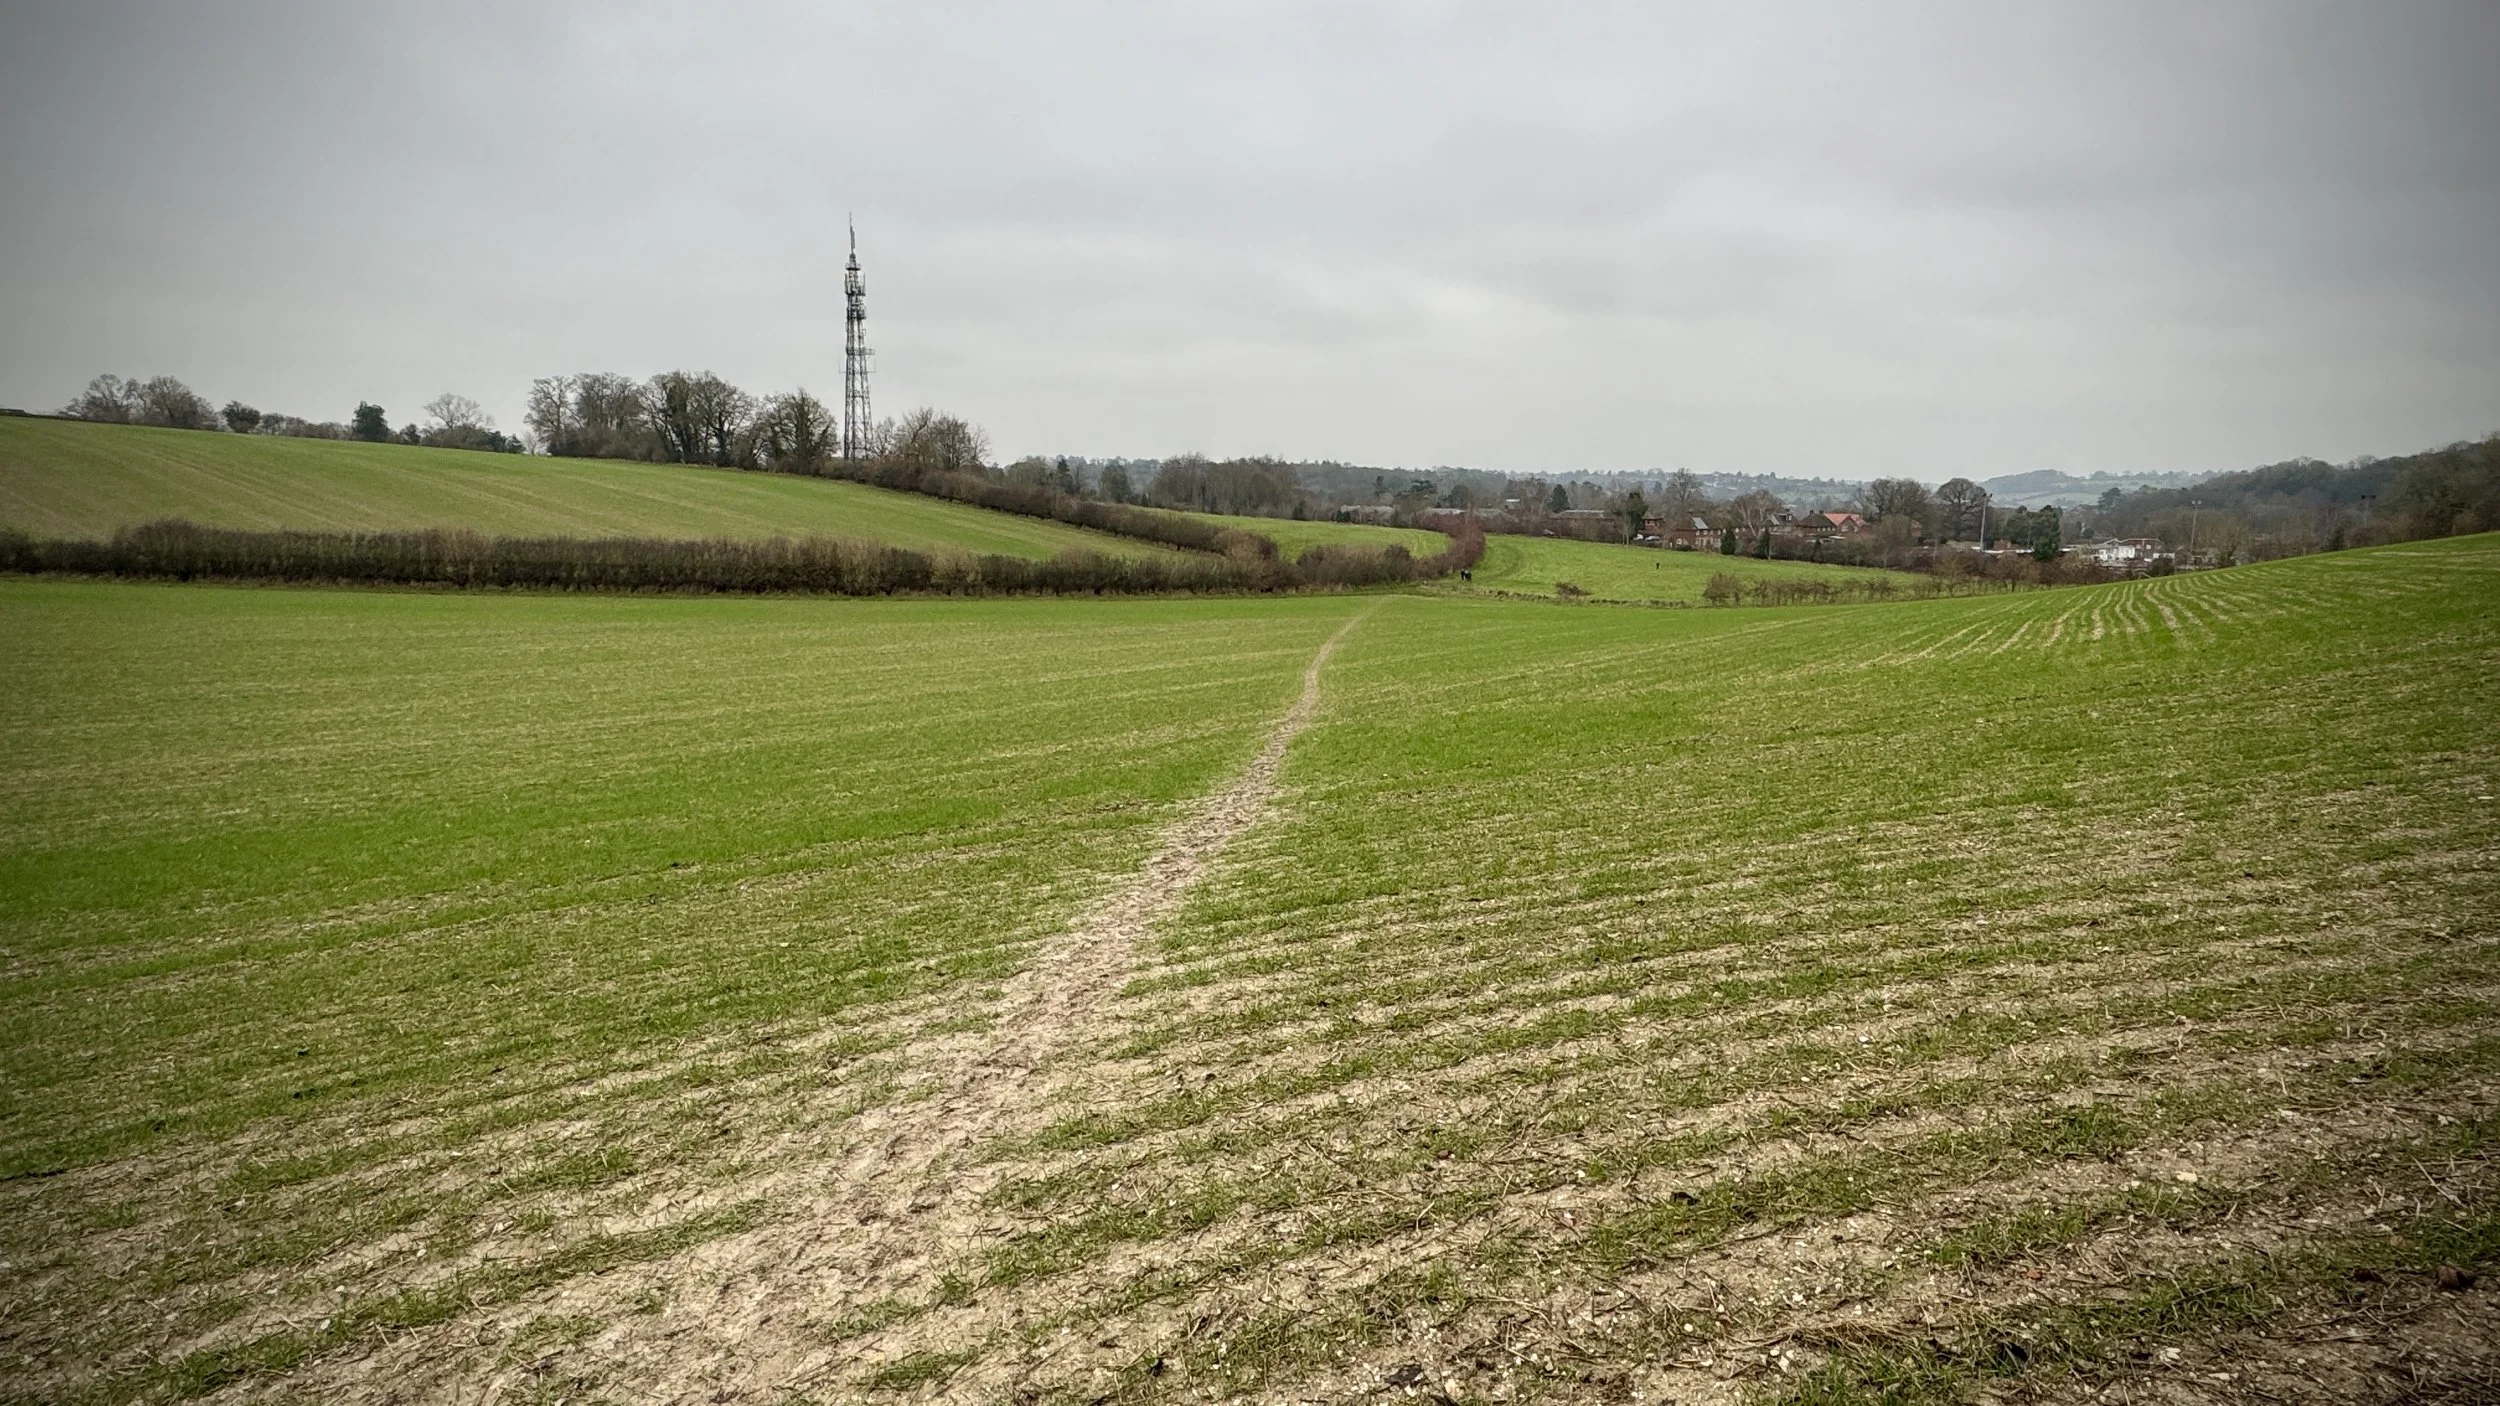
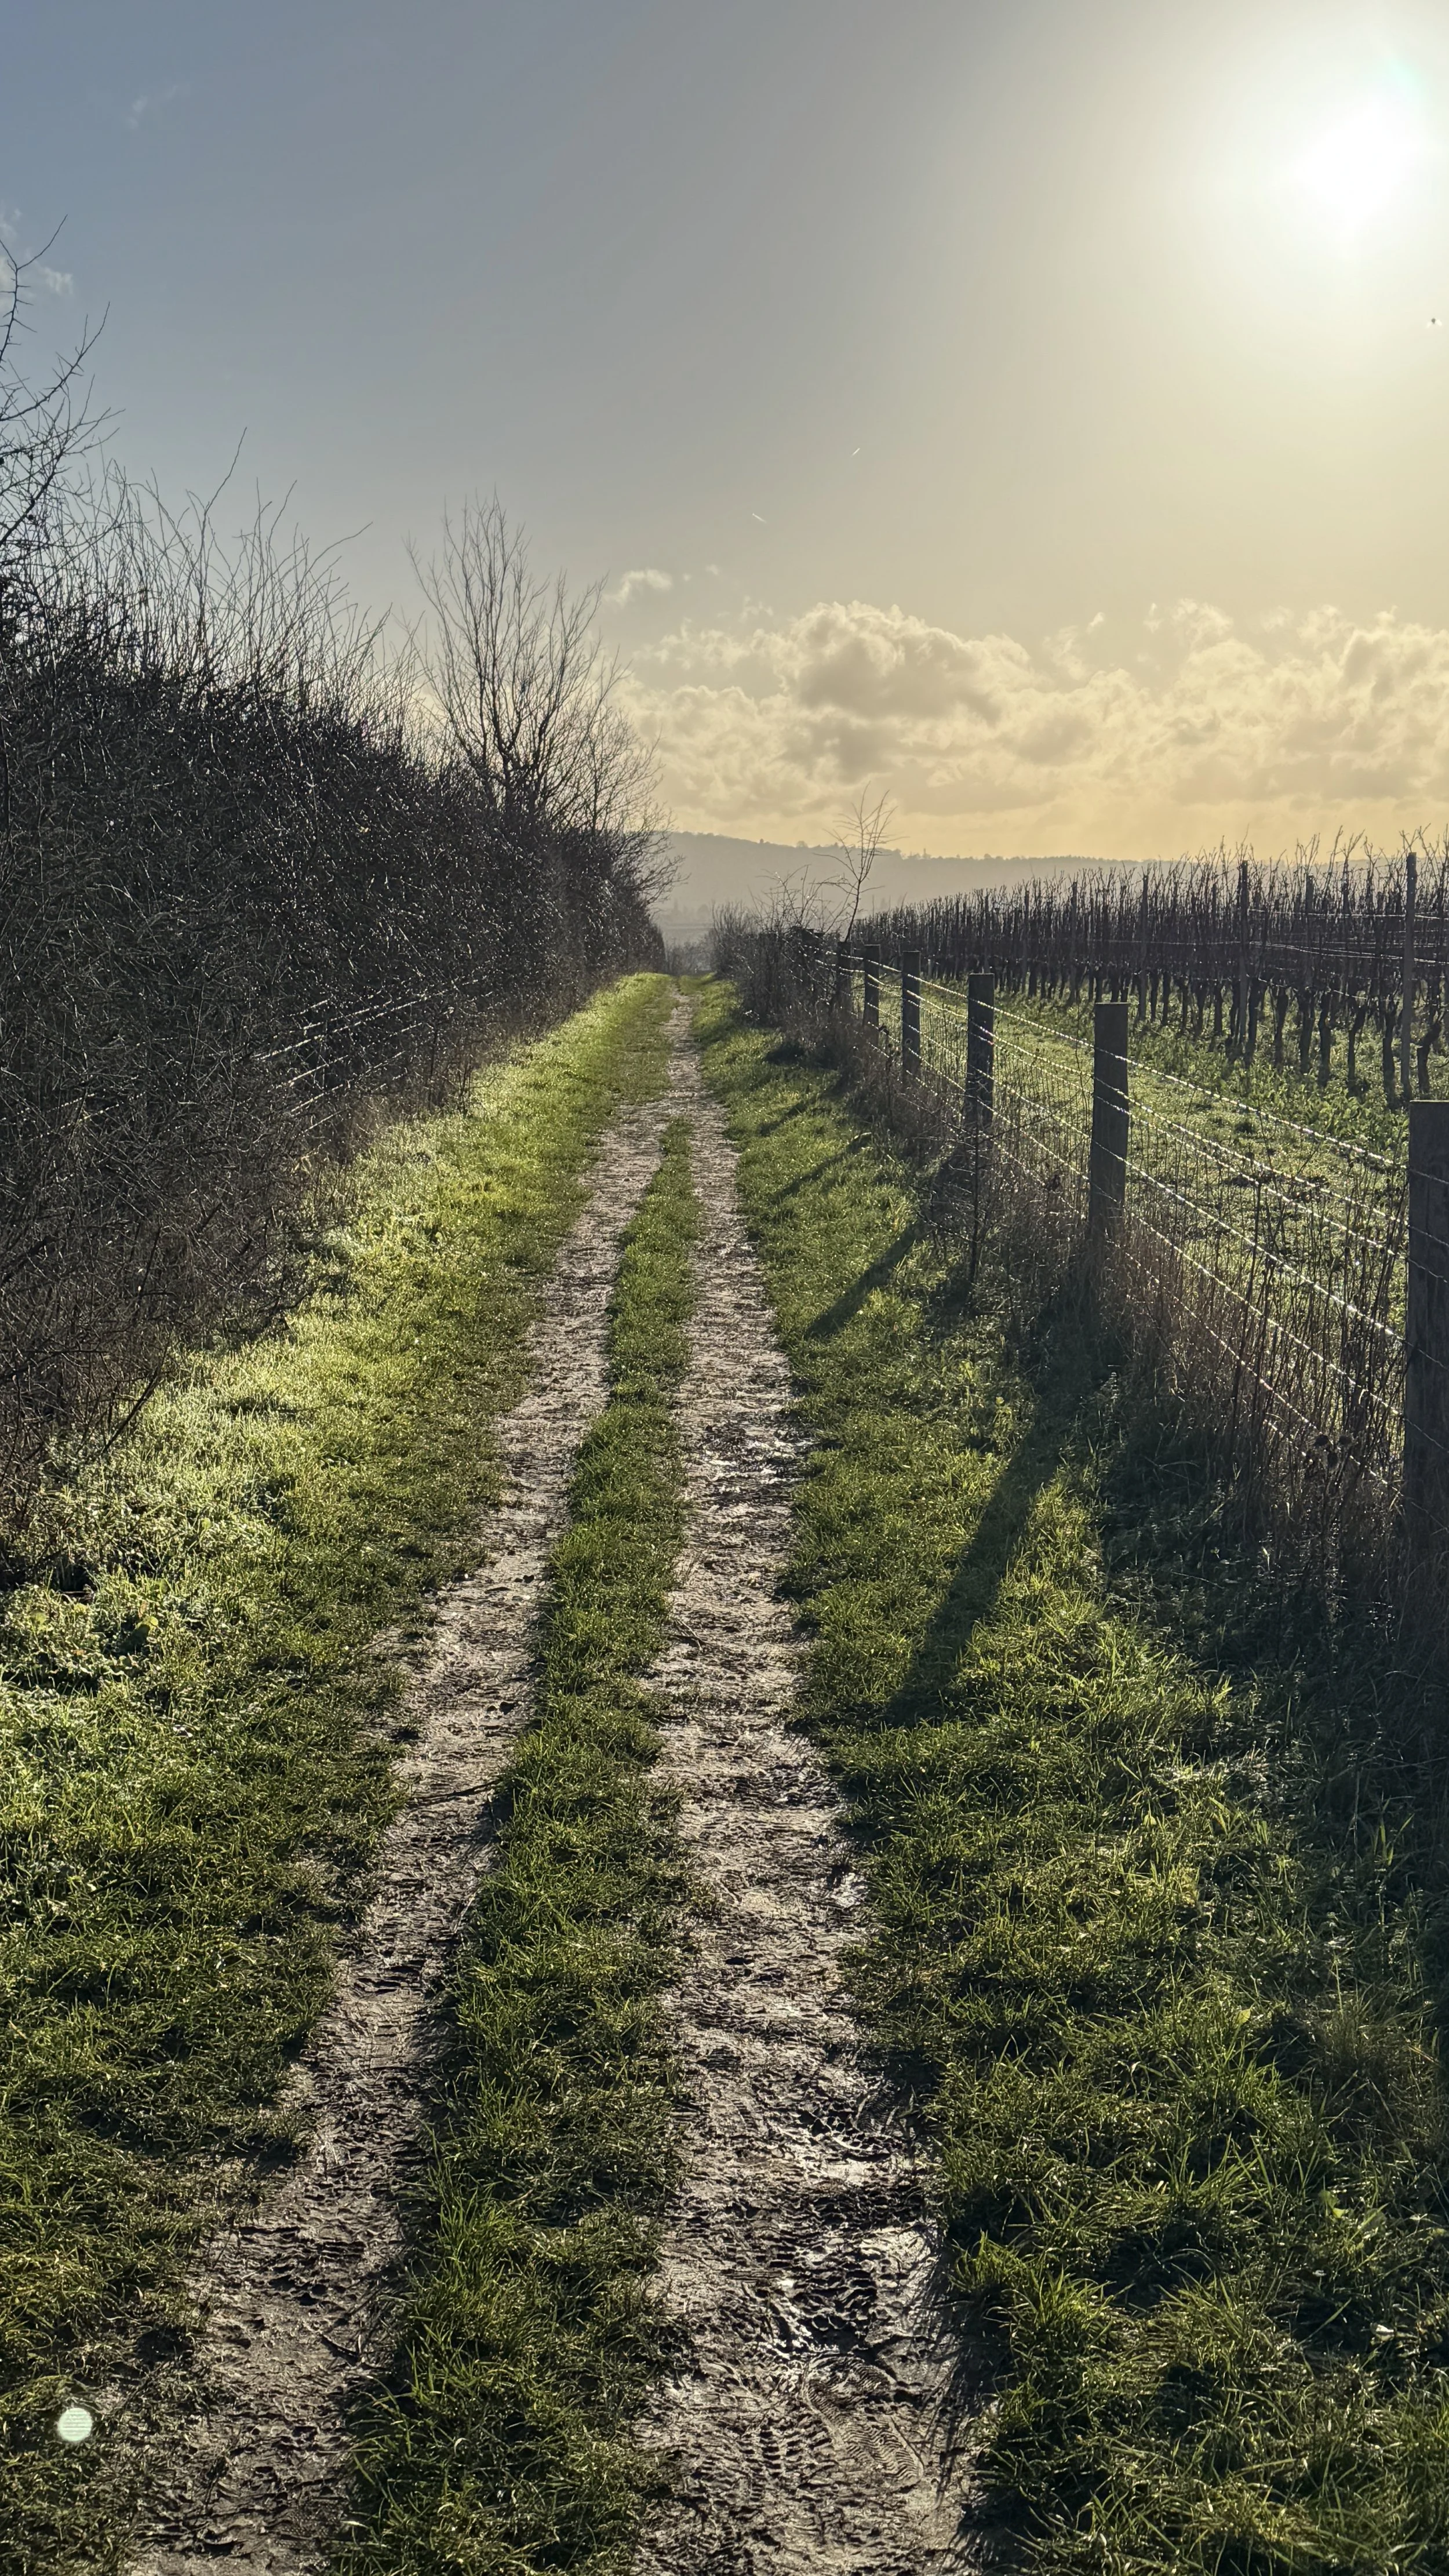
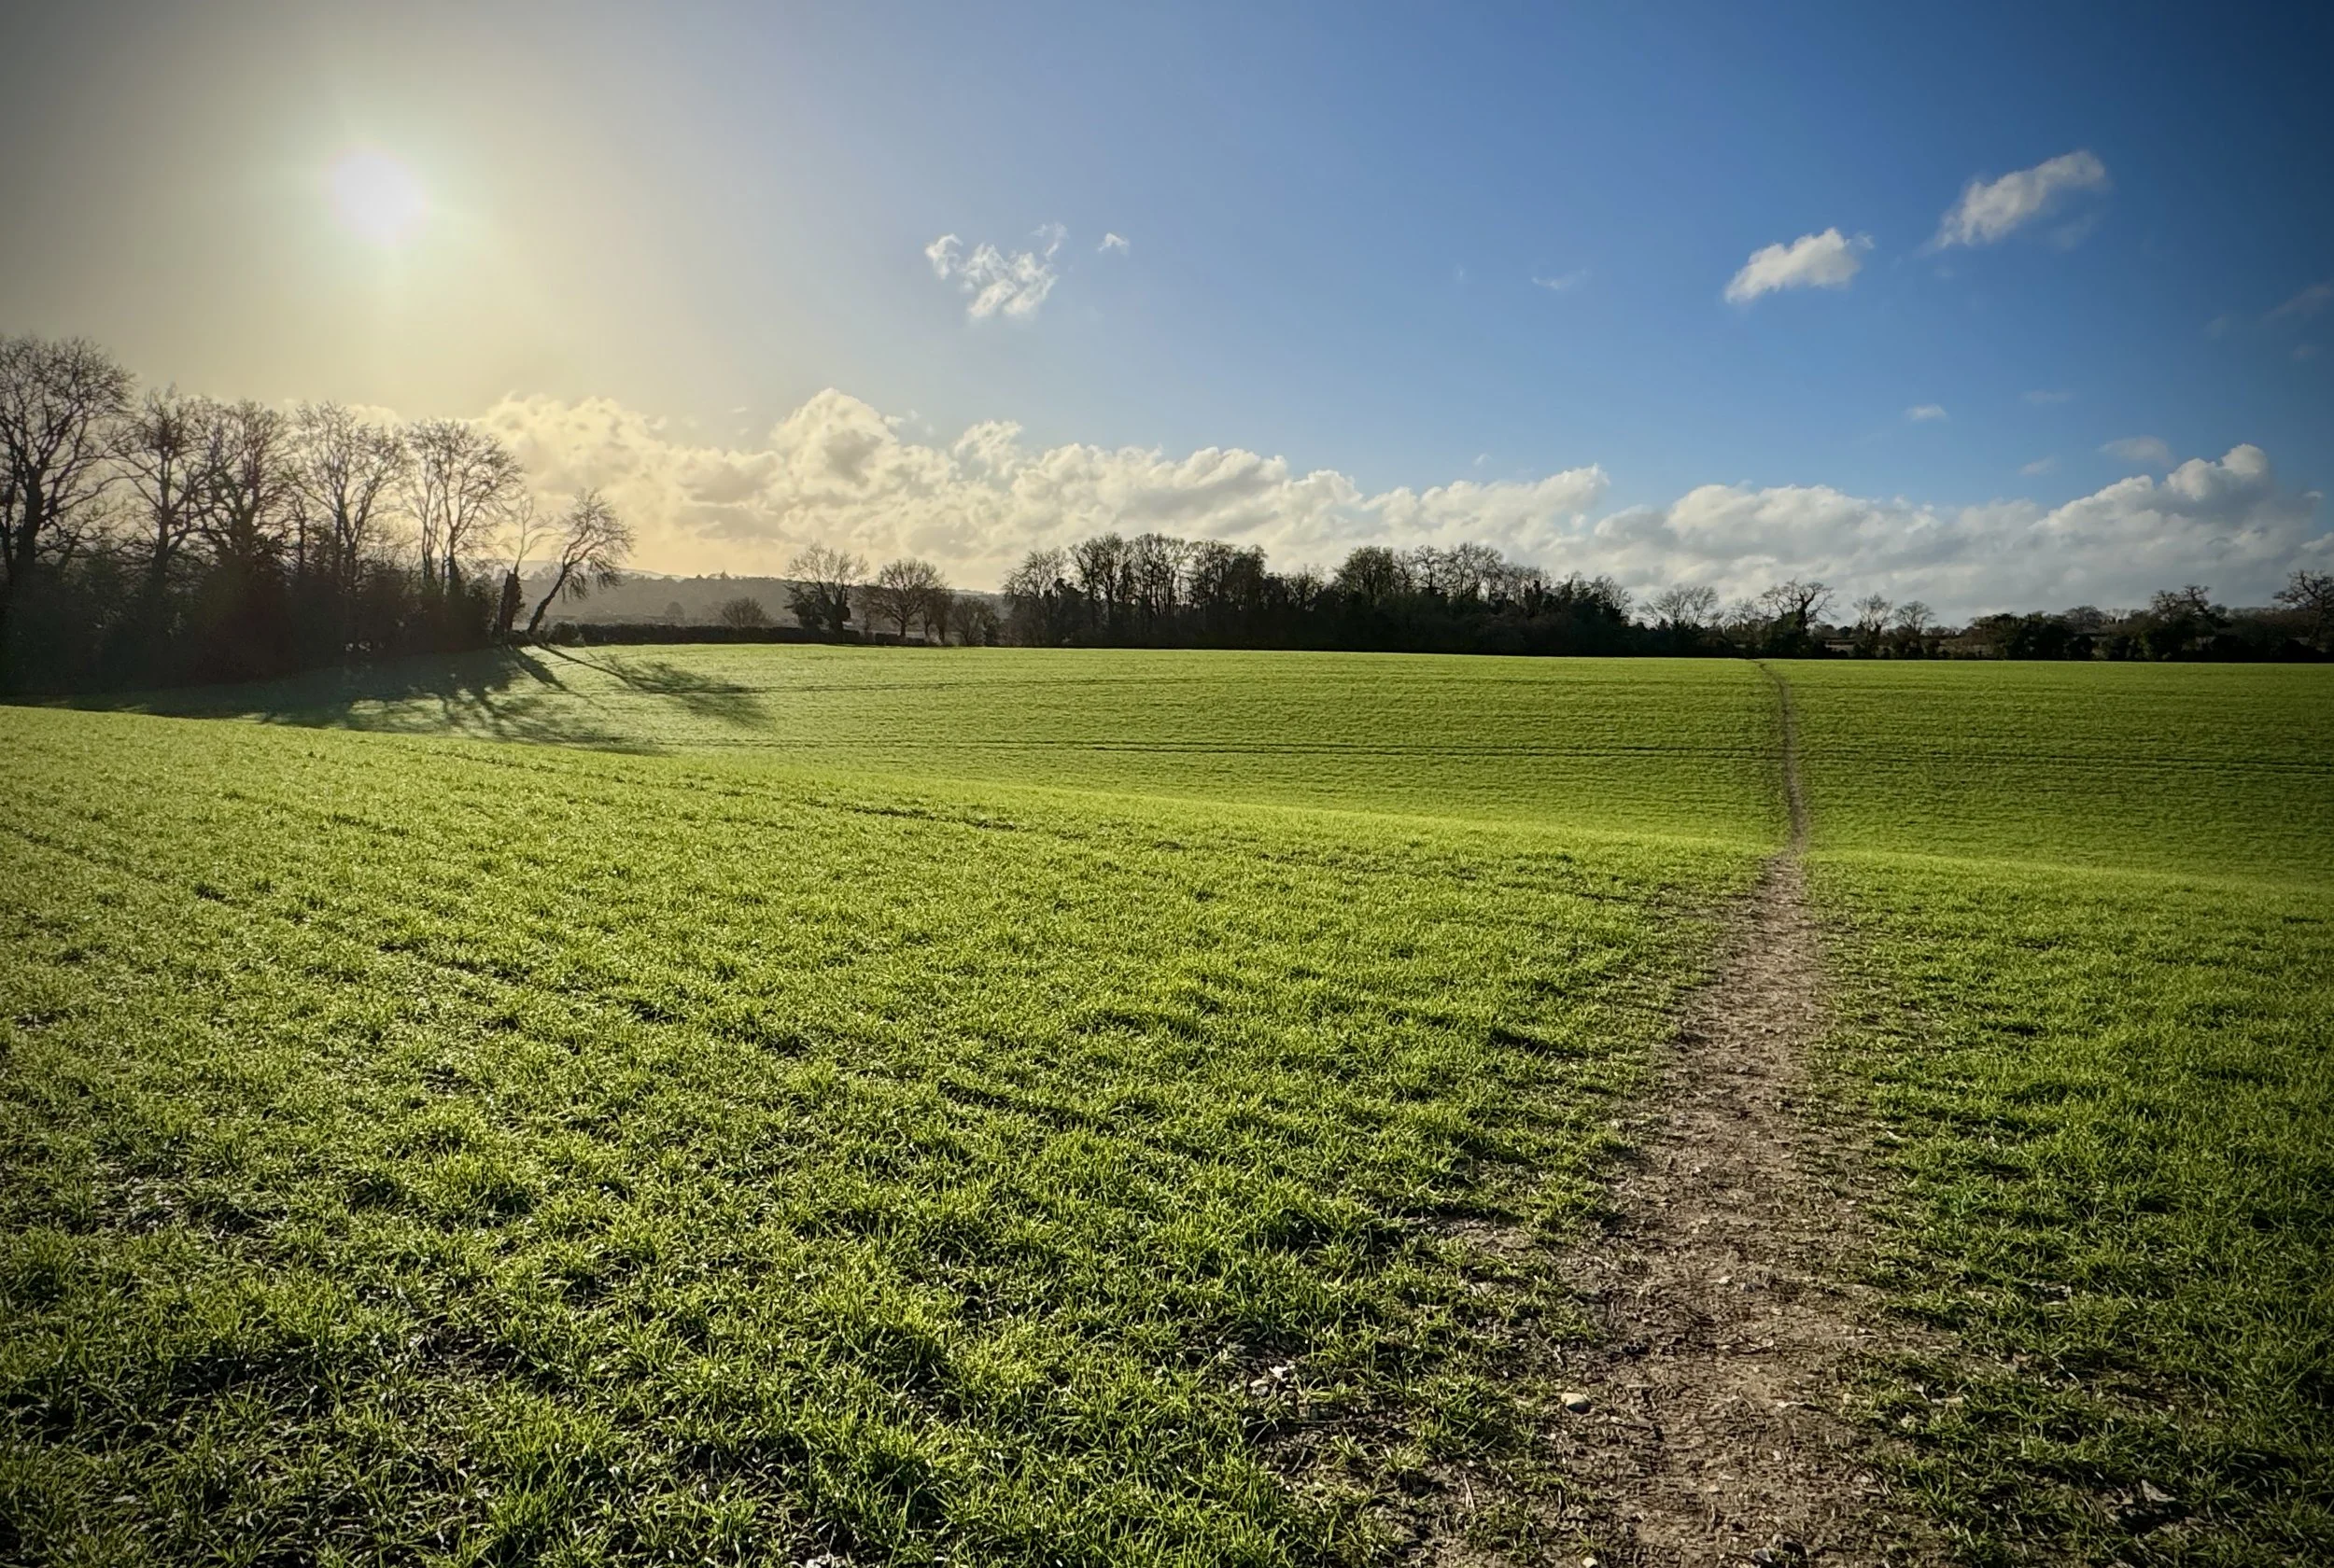
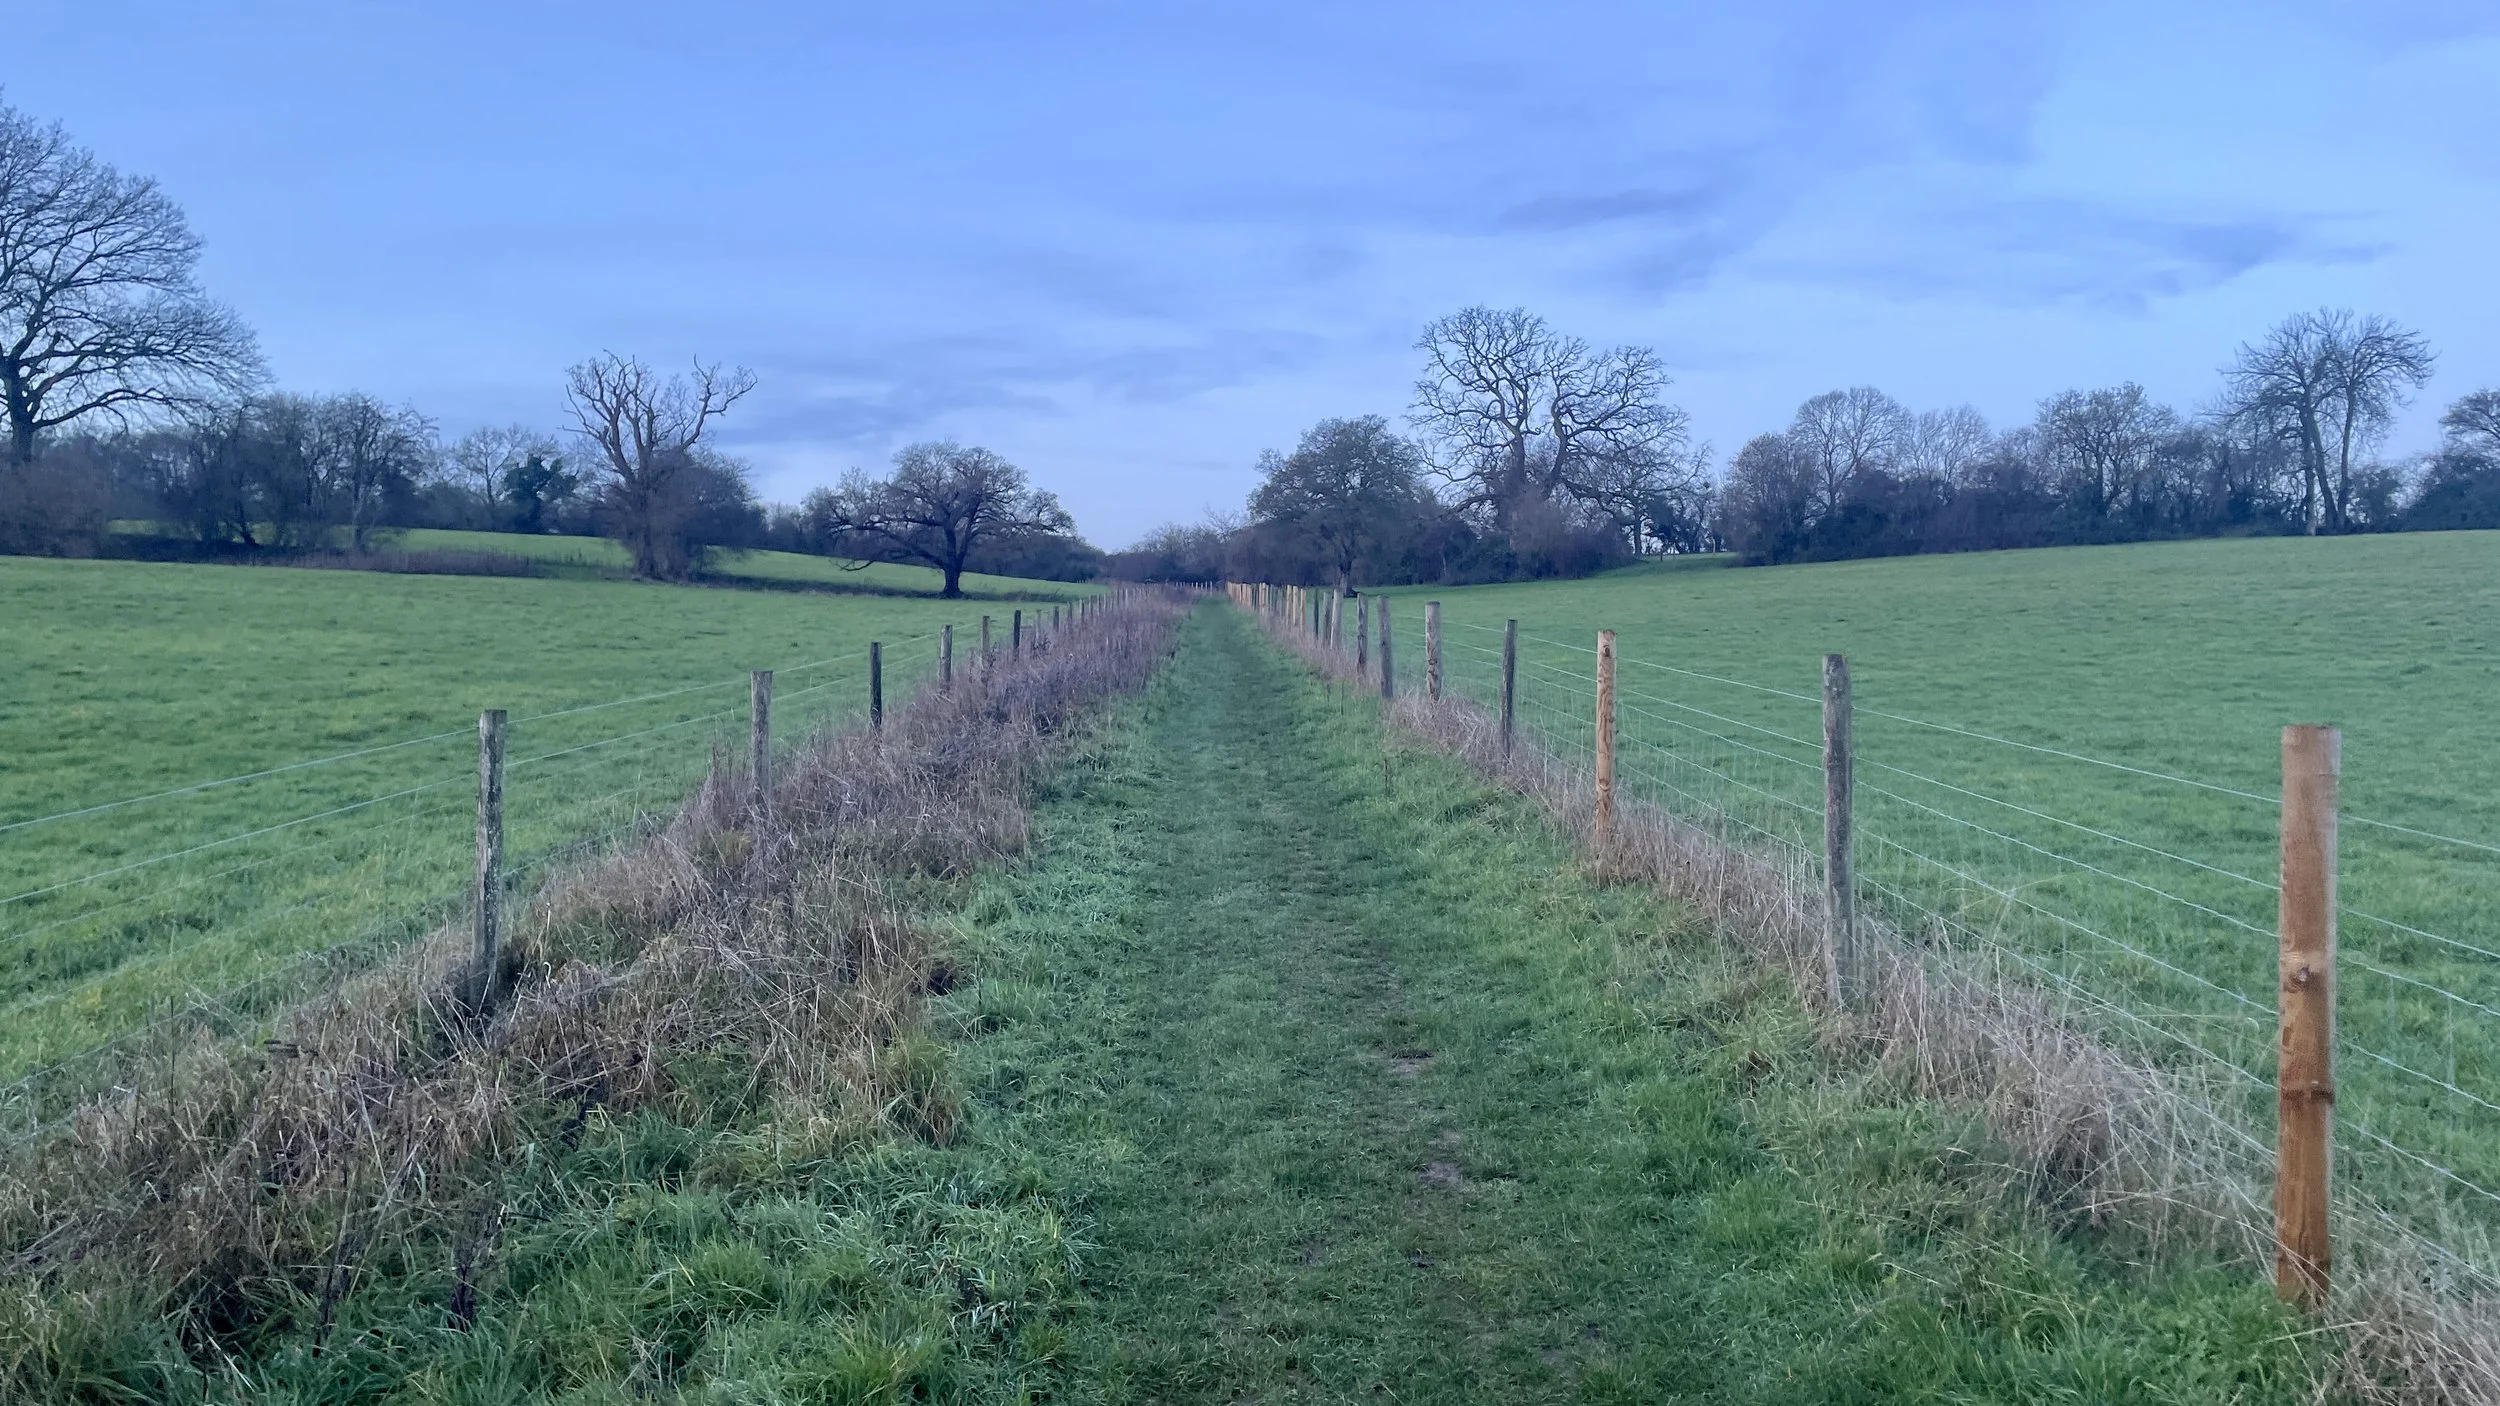
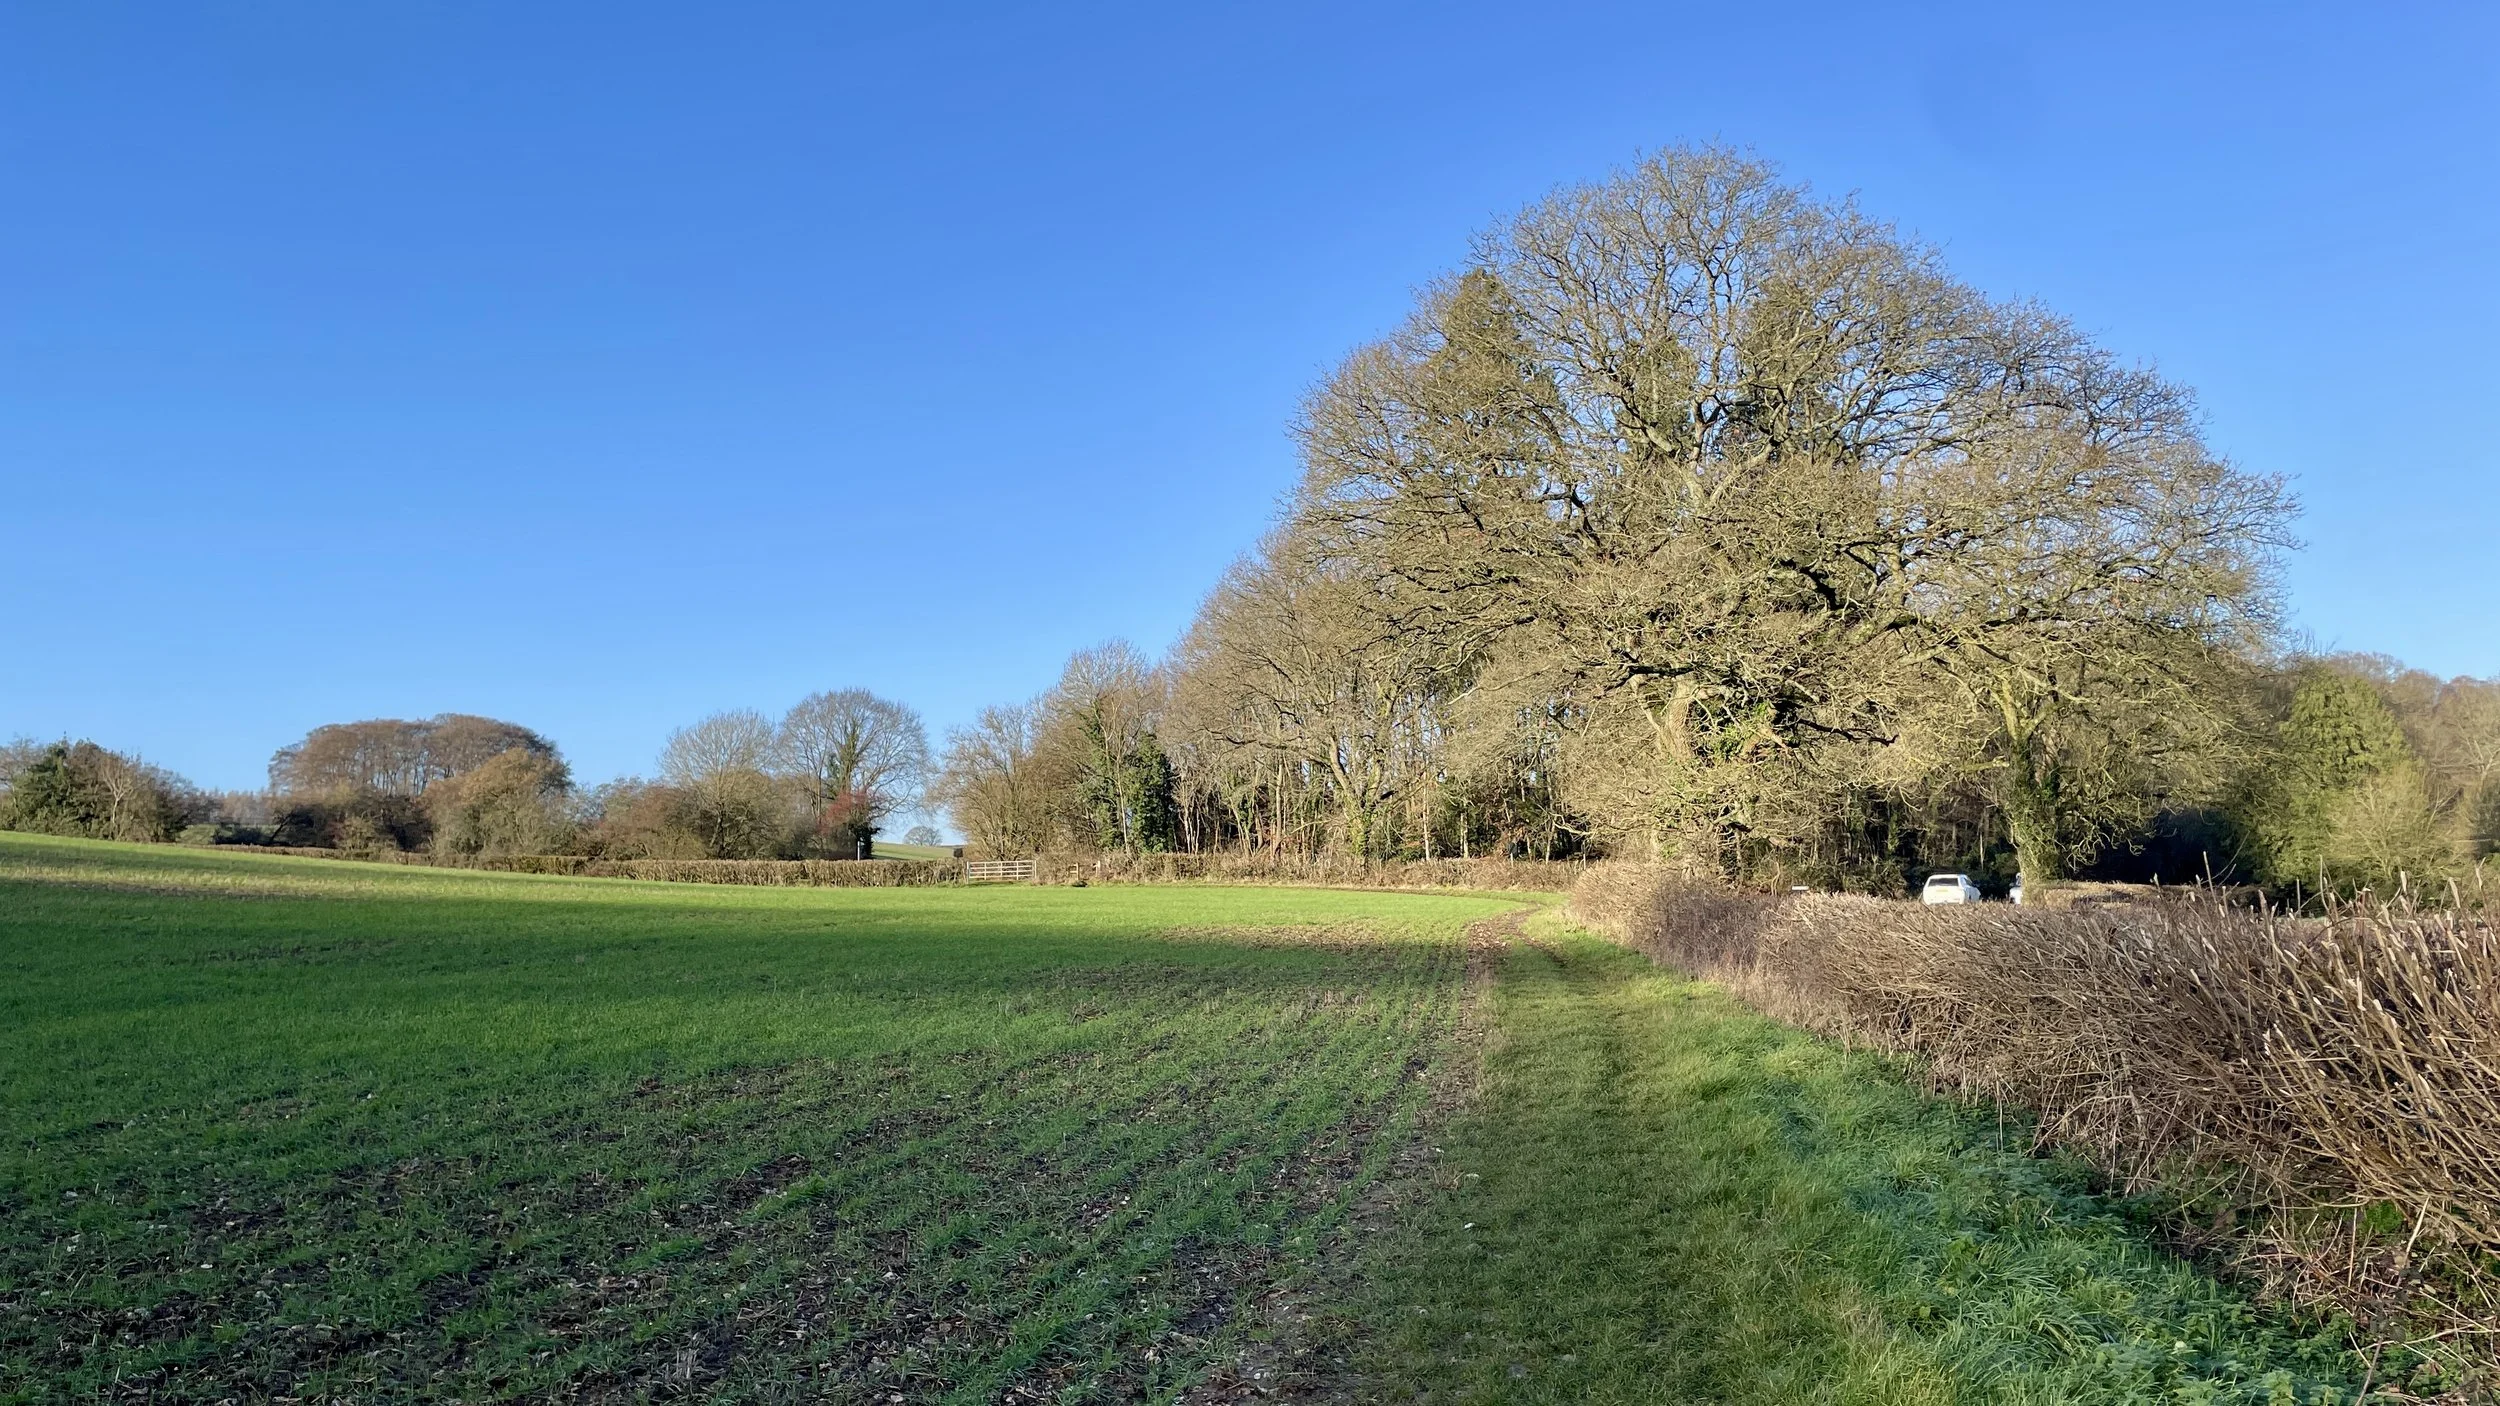
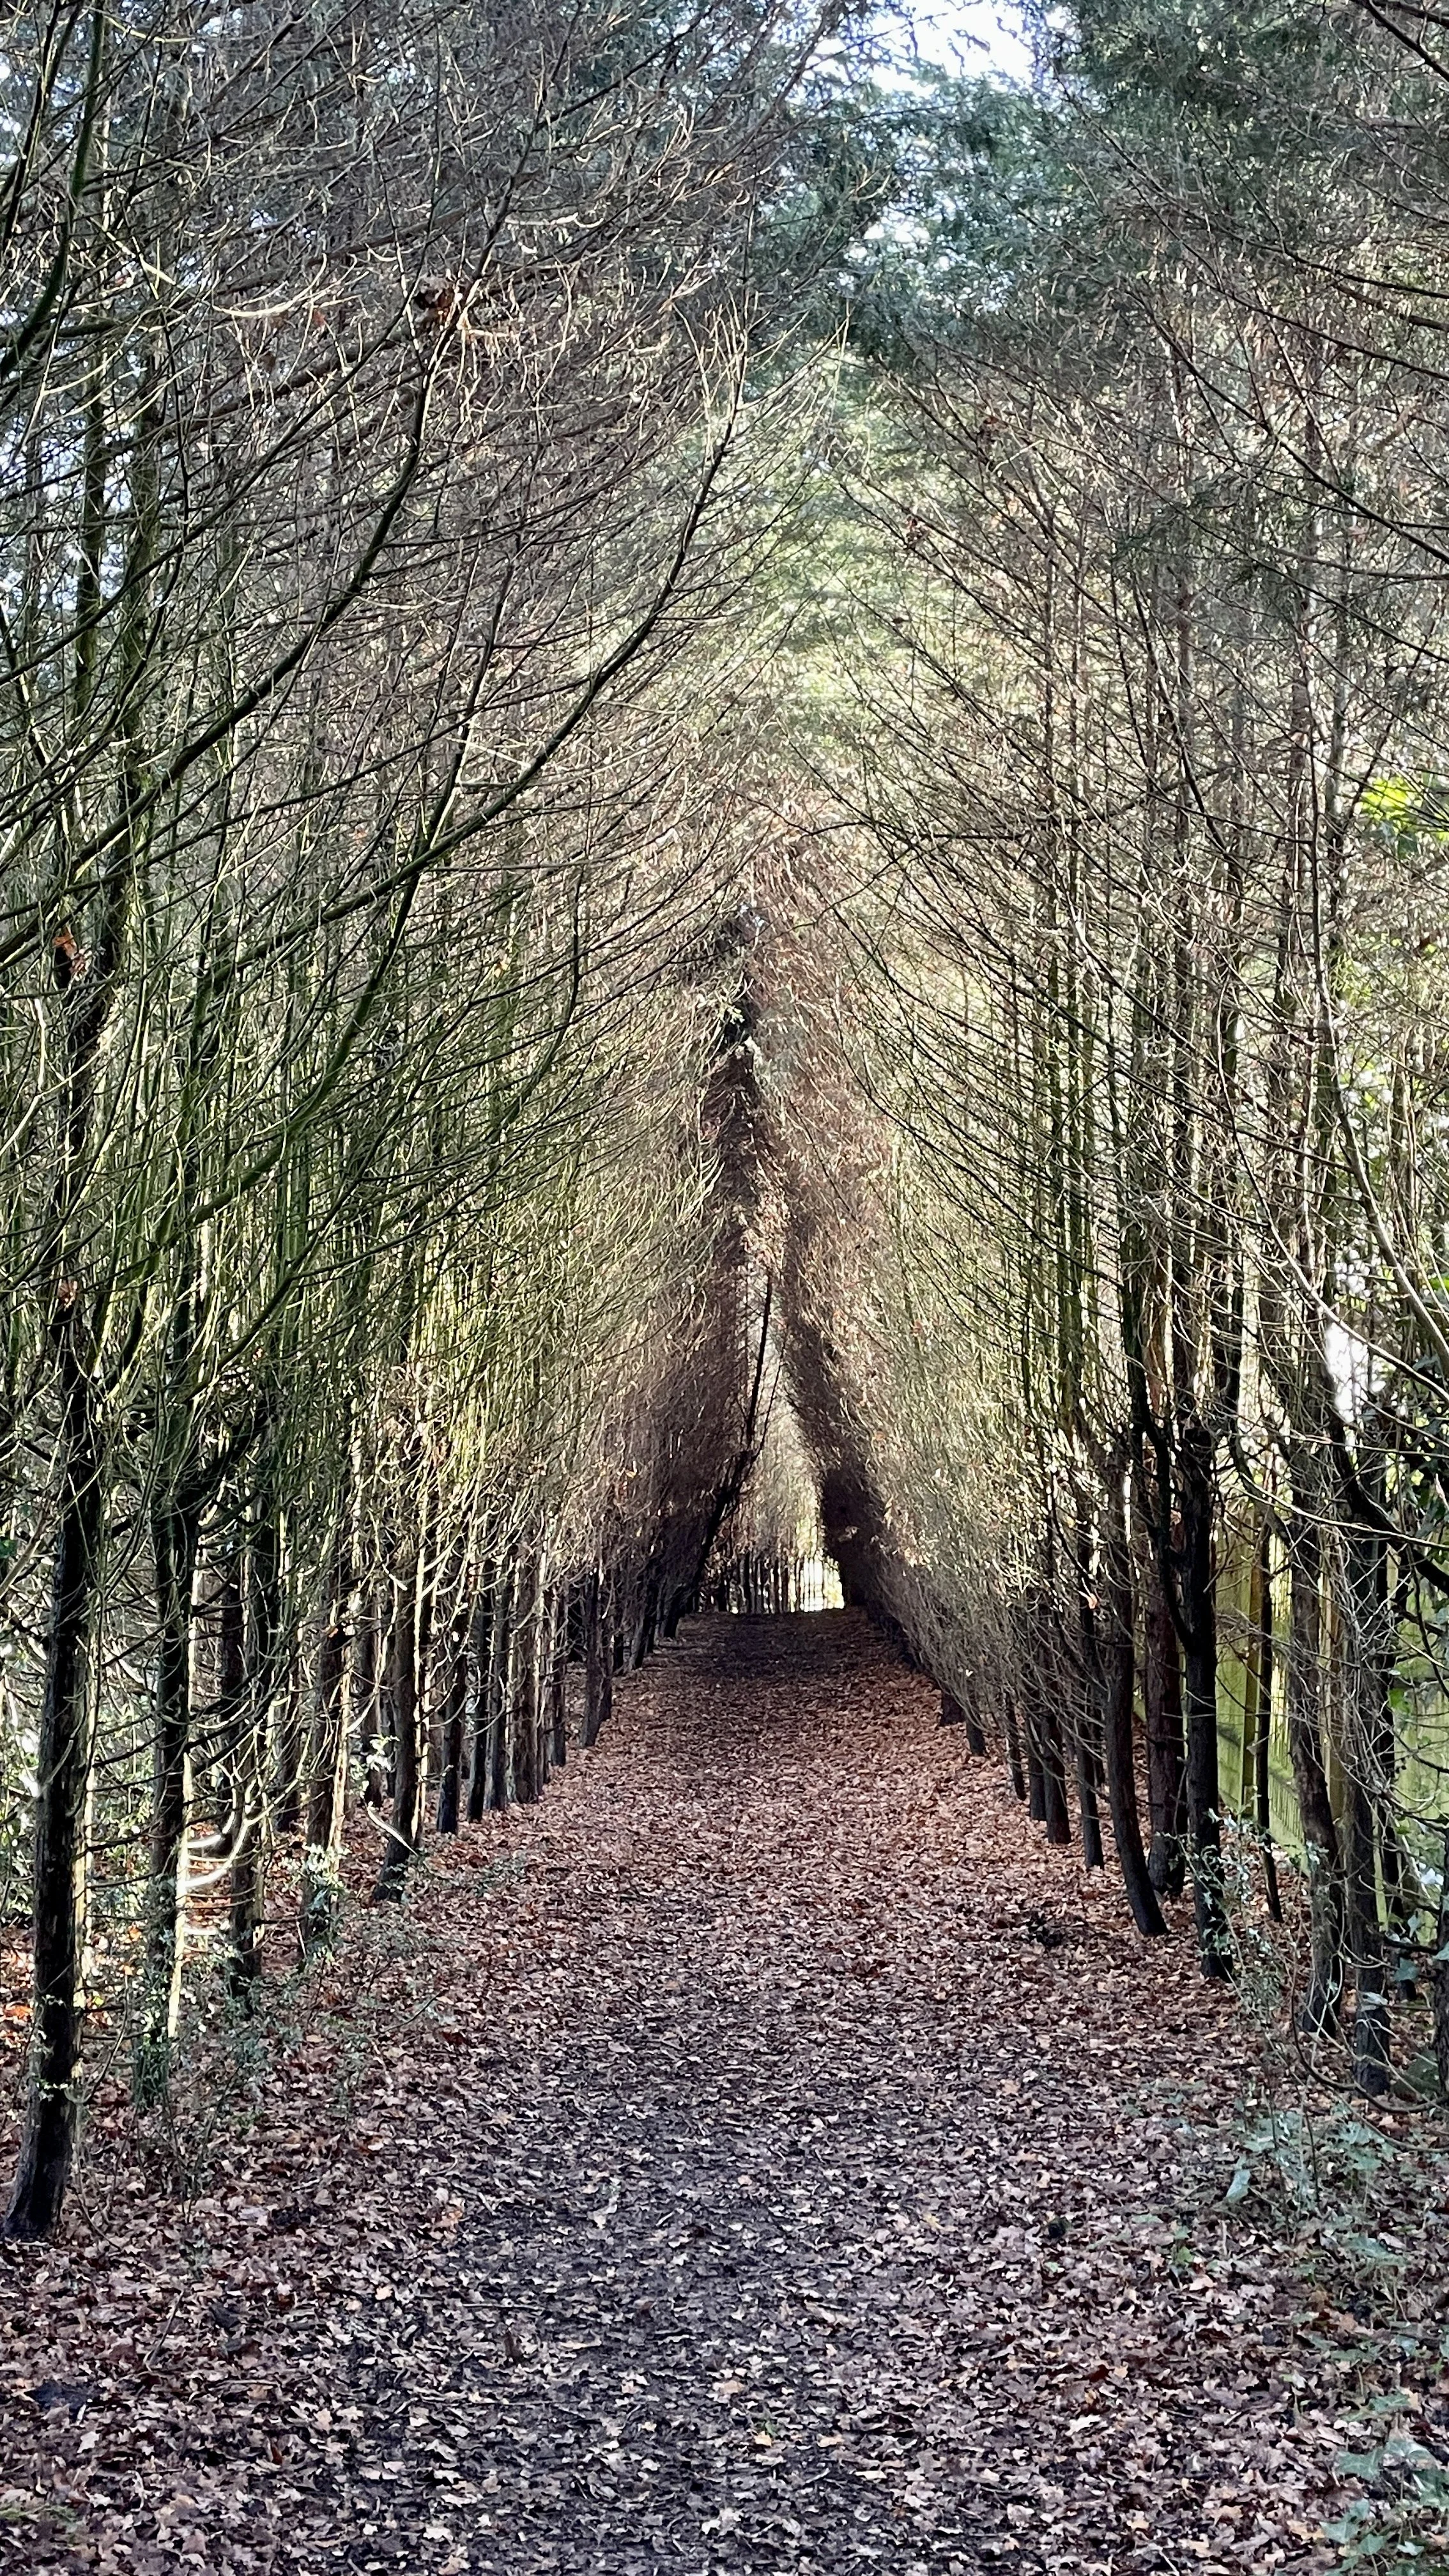
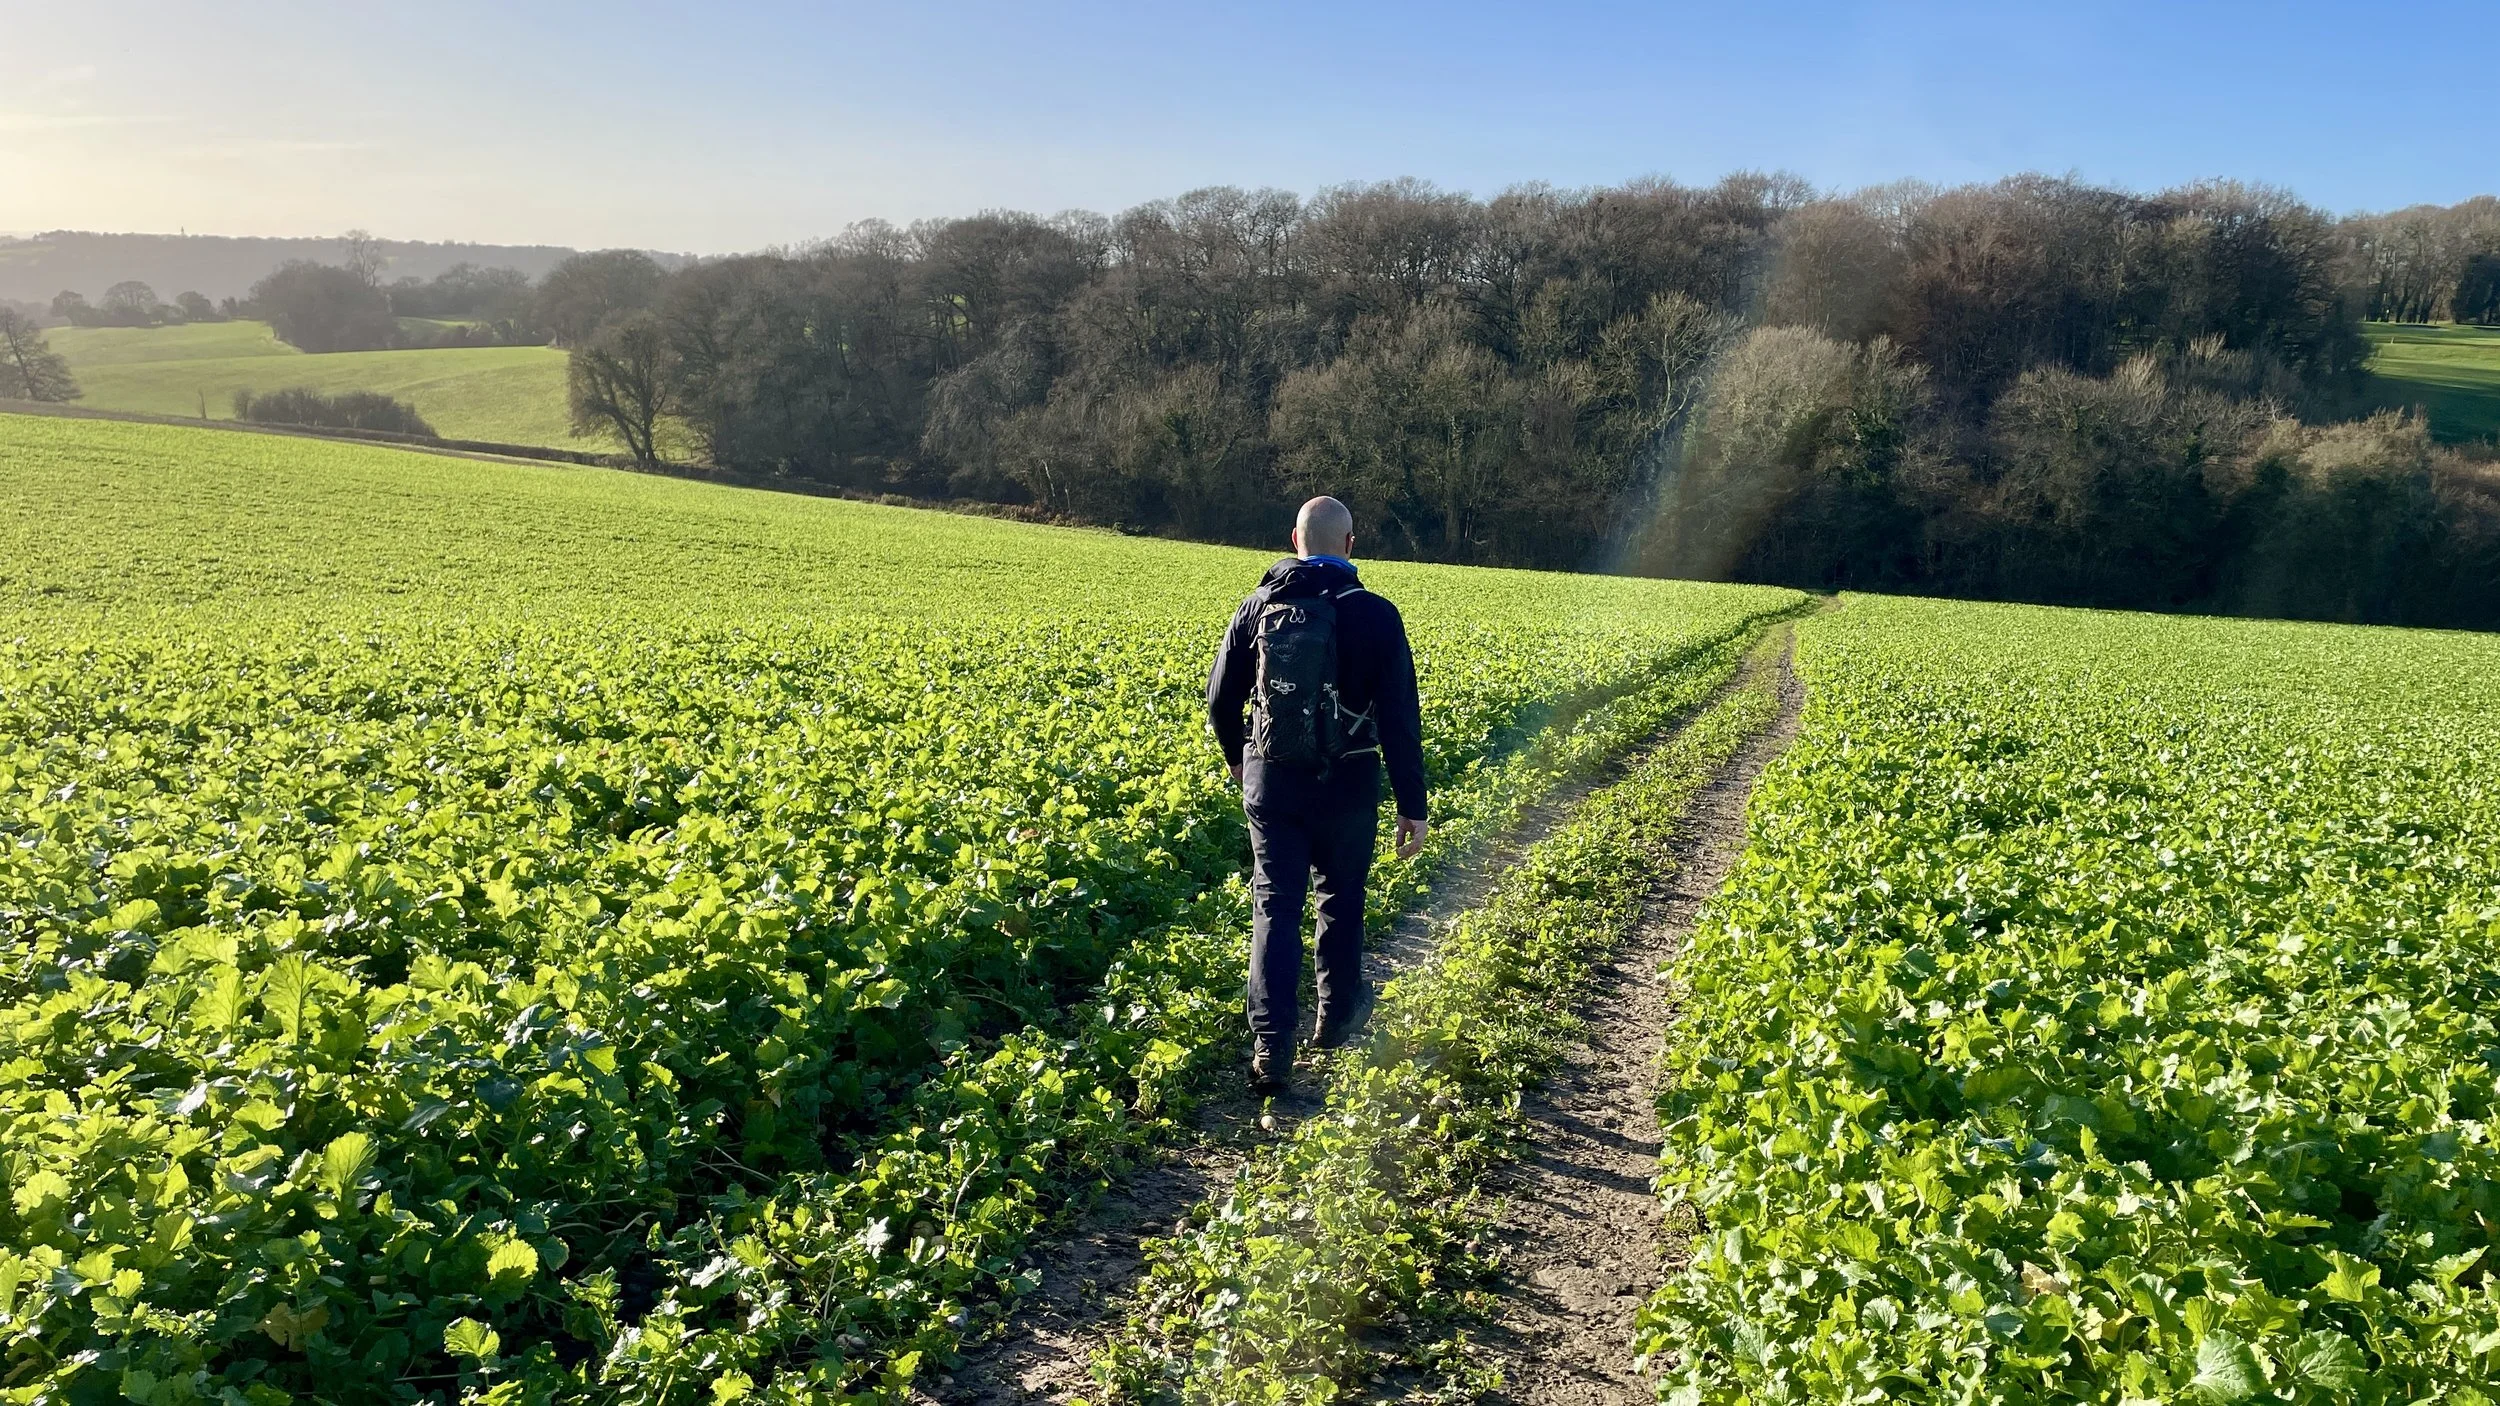
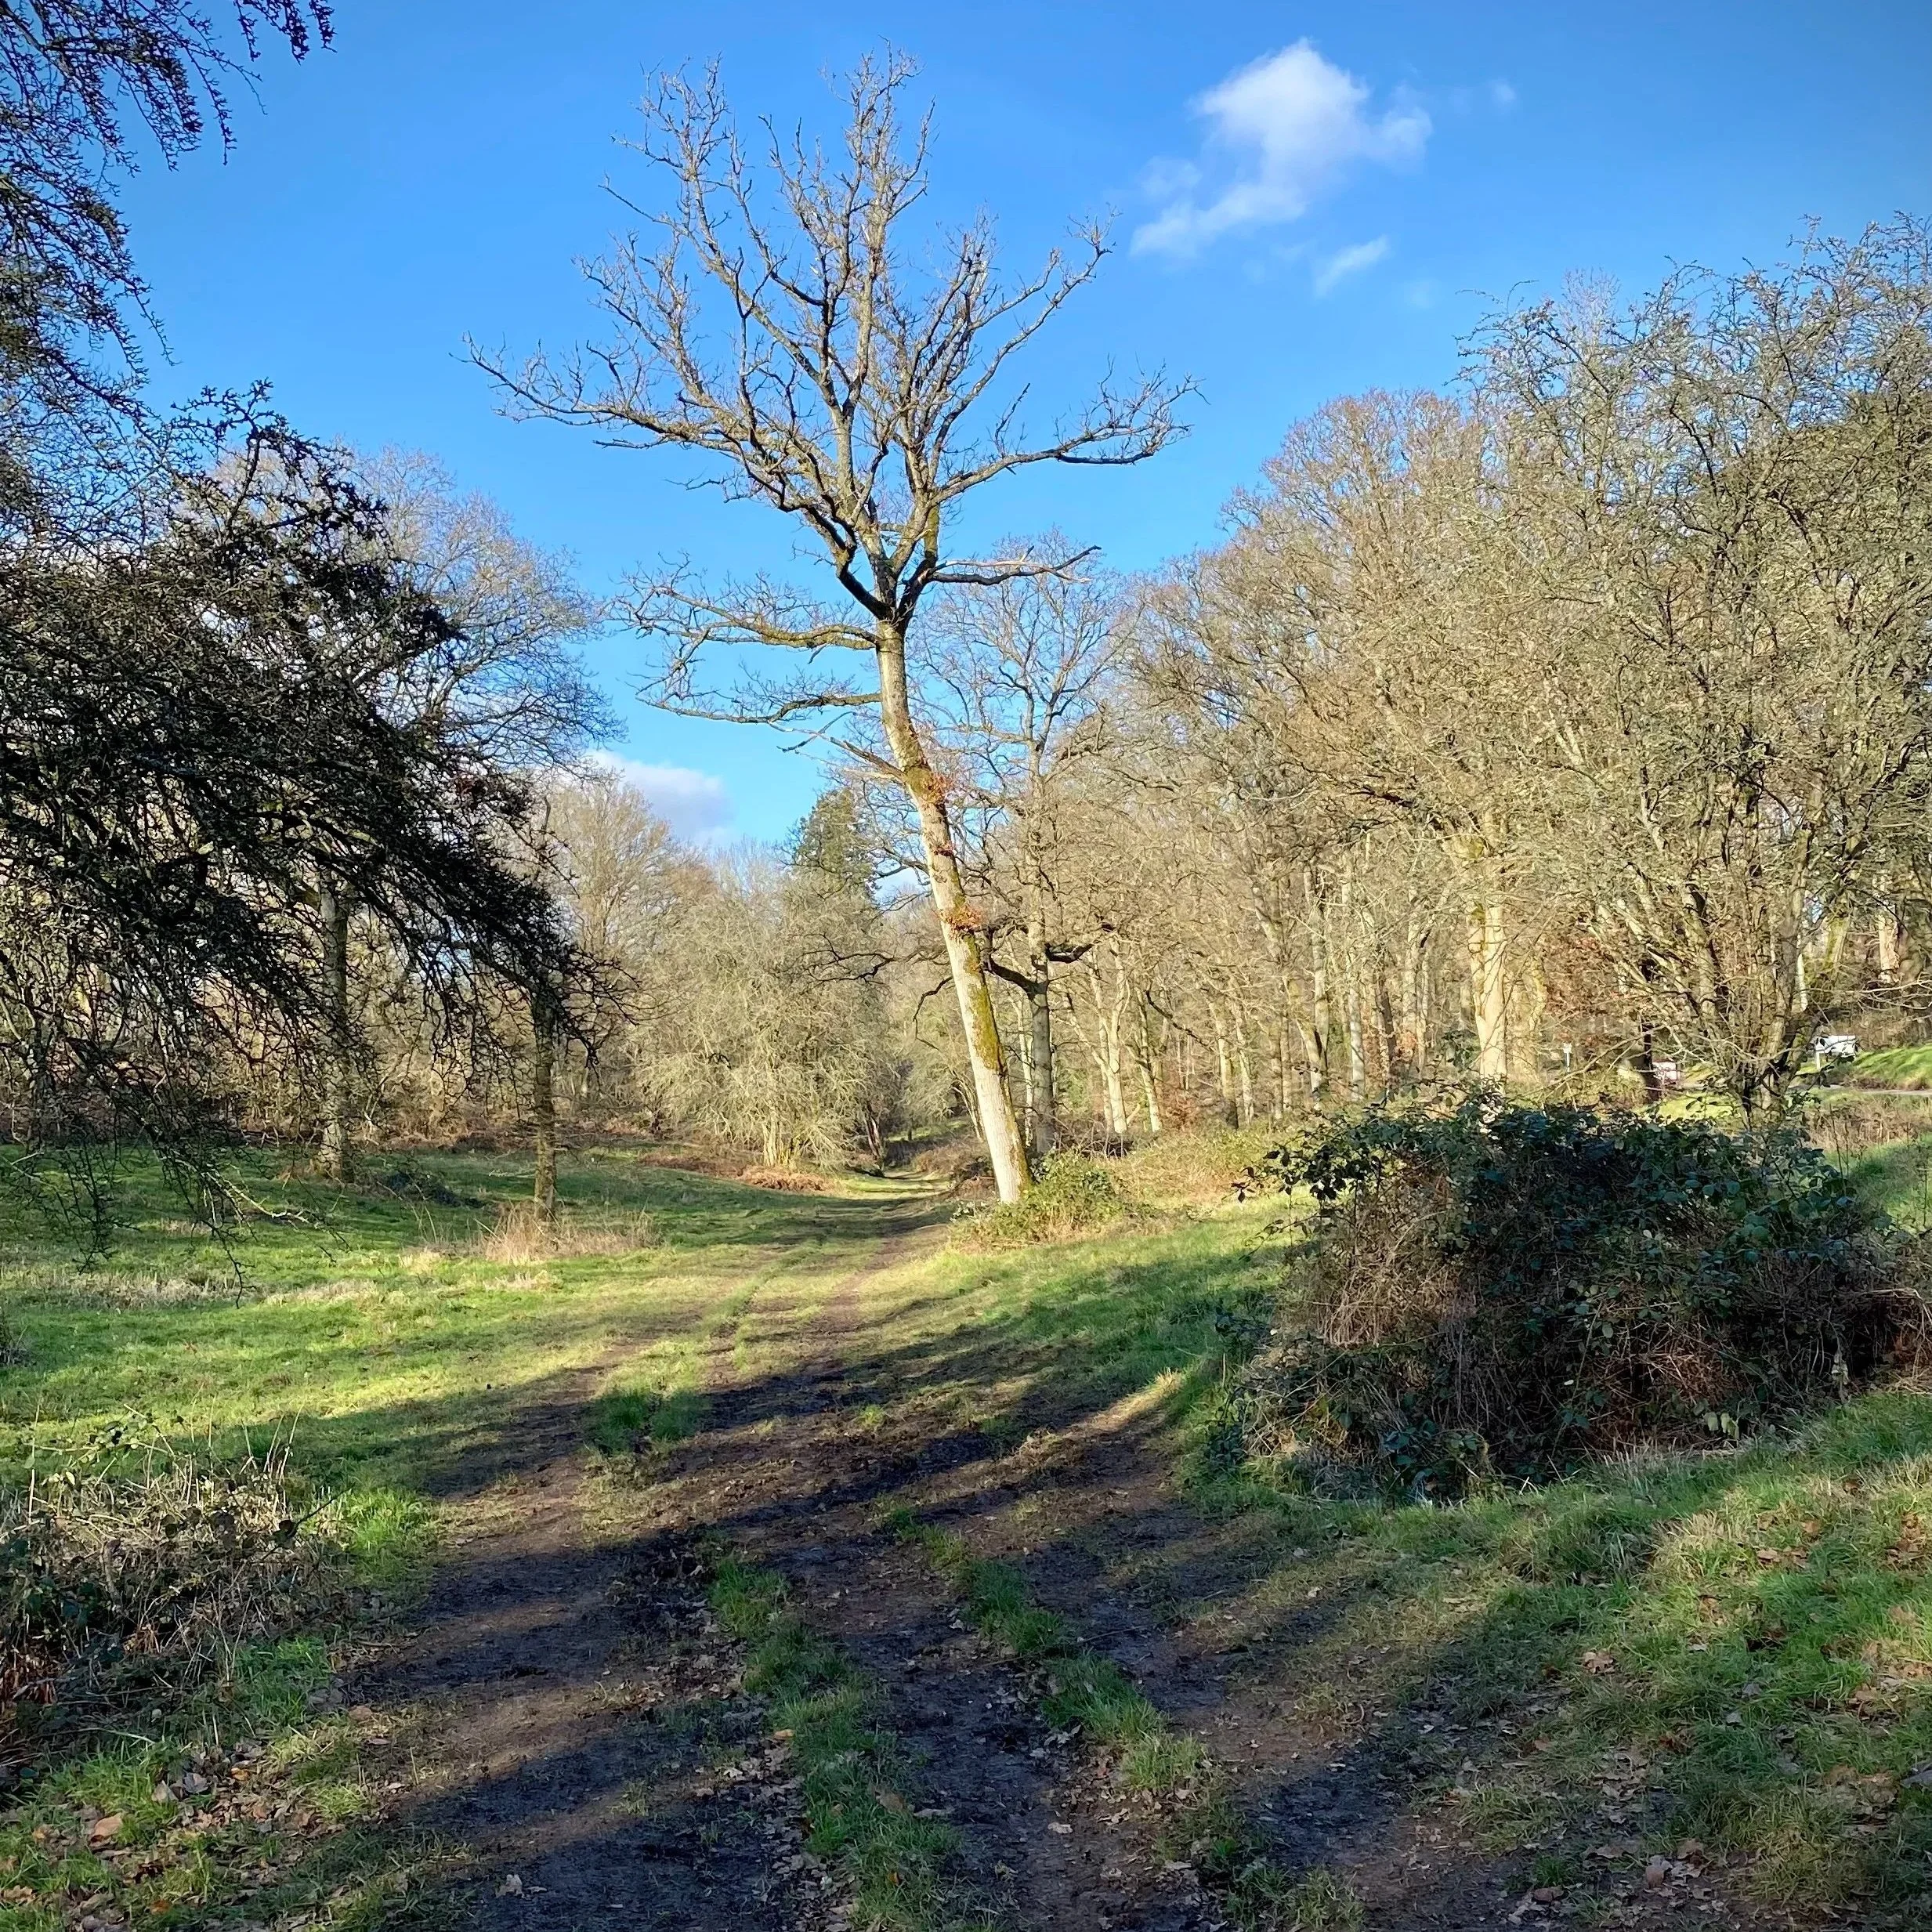
Terrain: A mixture of quiet village lanes and open field-edge bridleways.
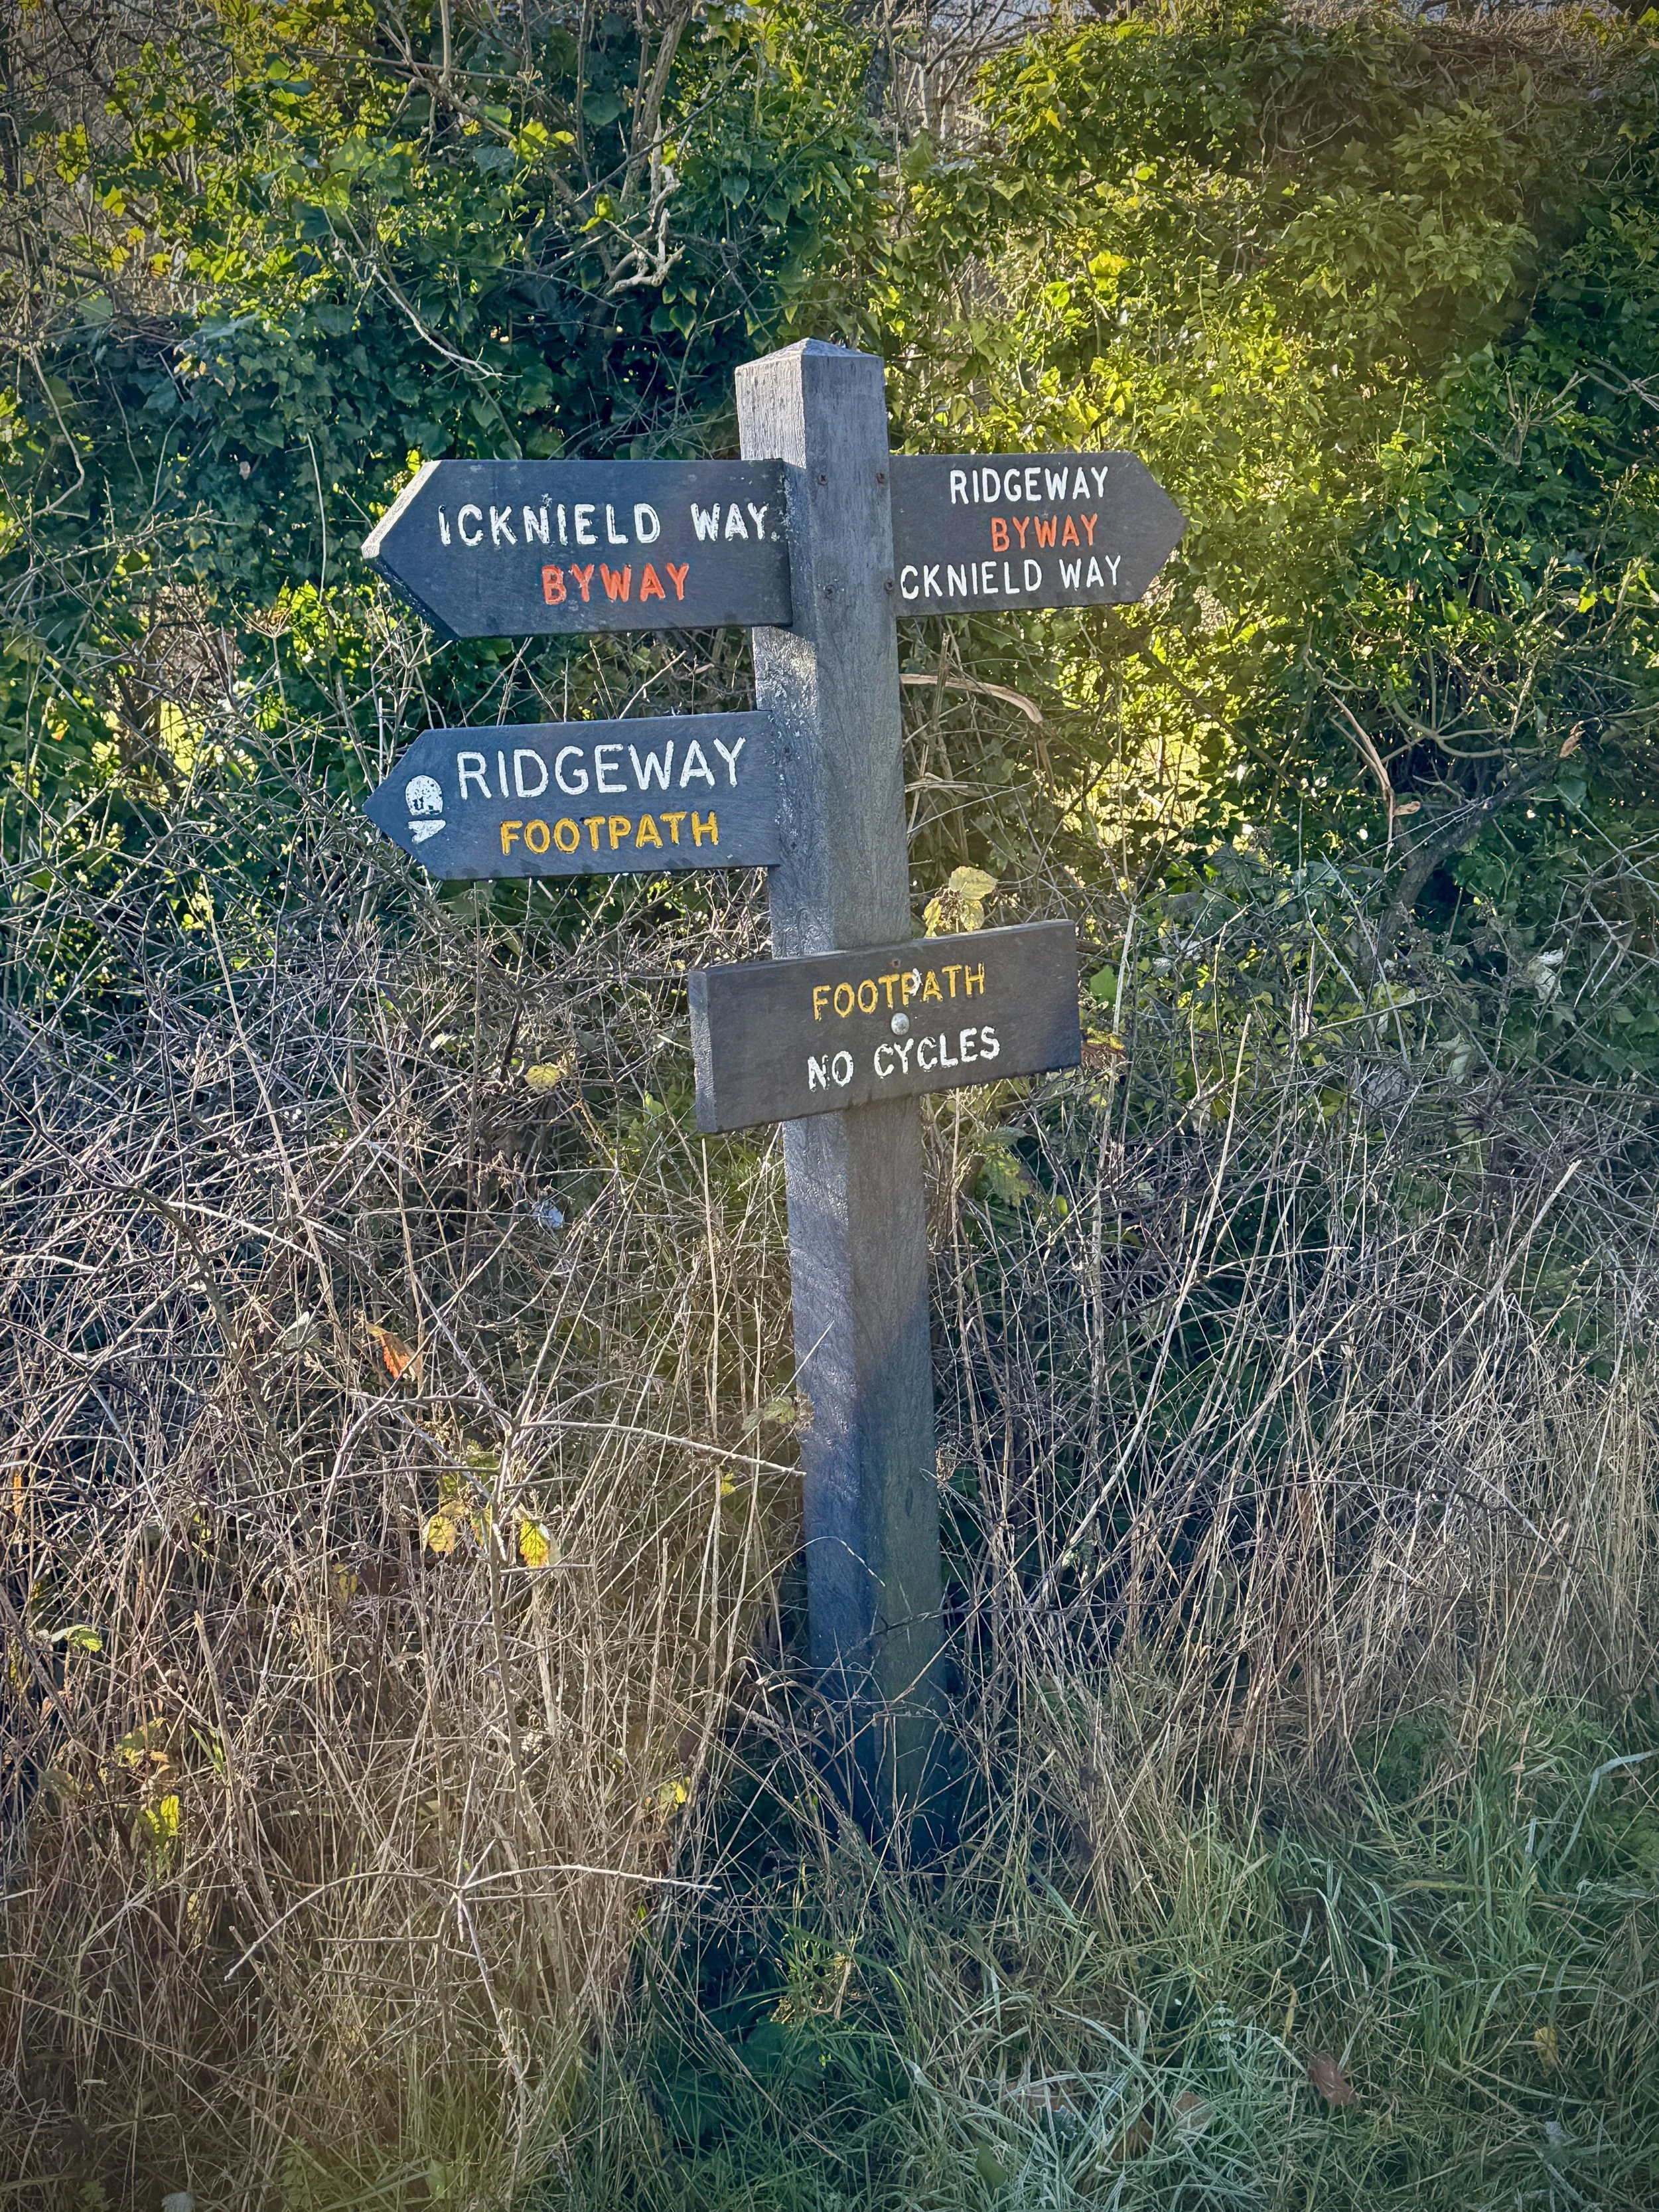
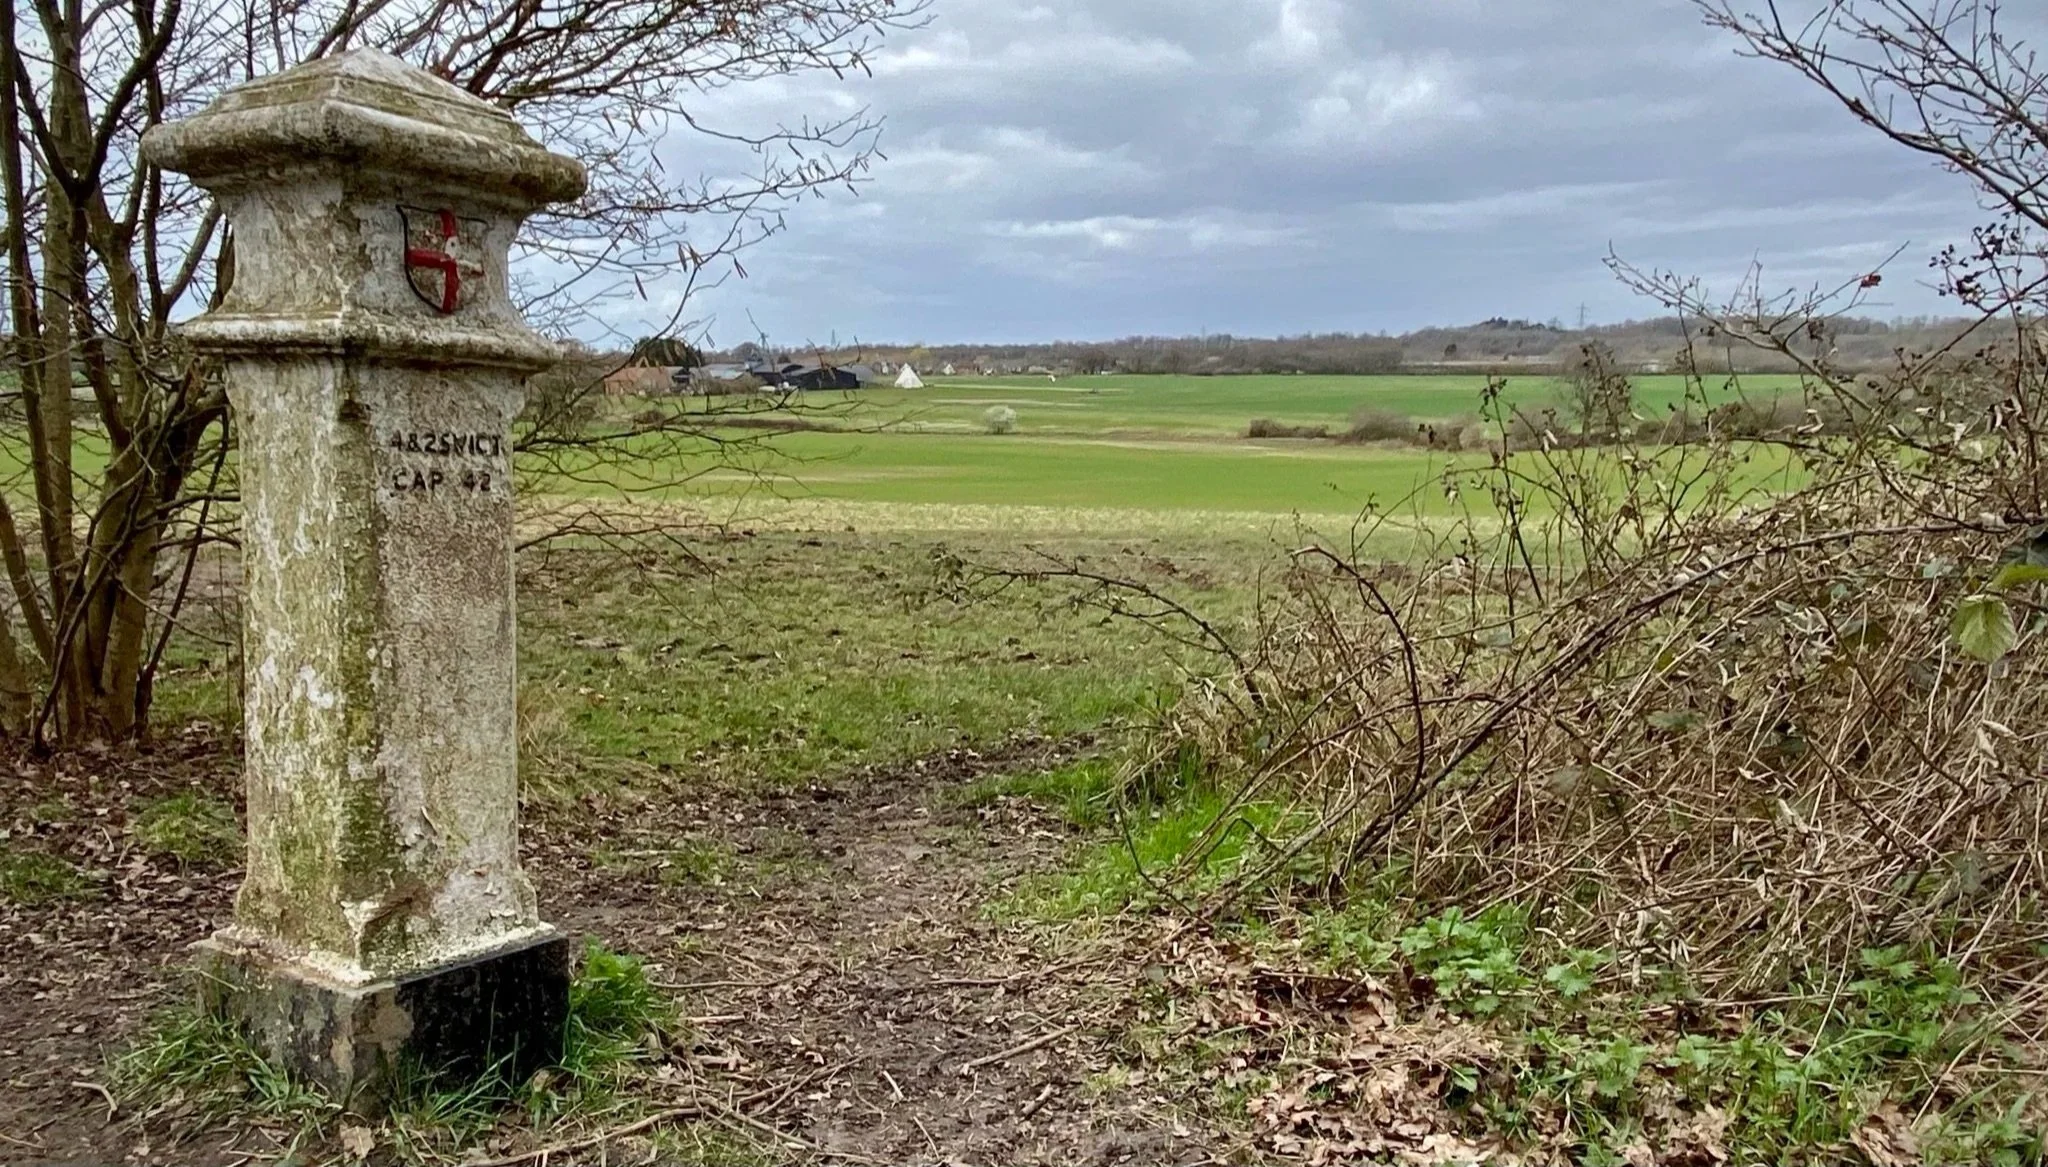
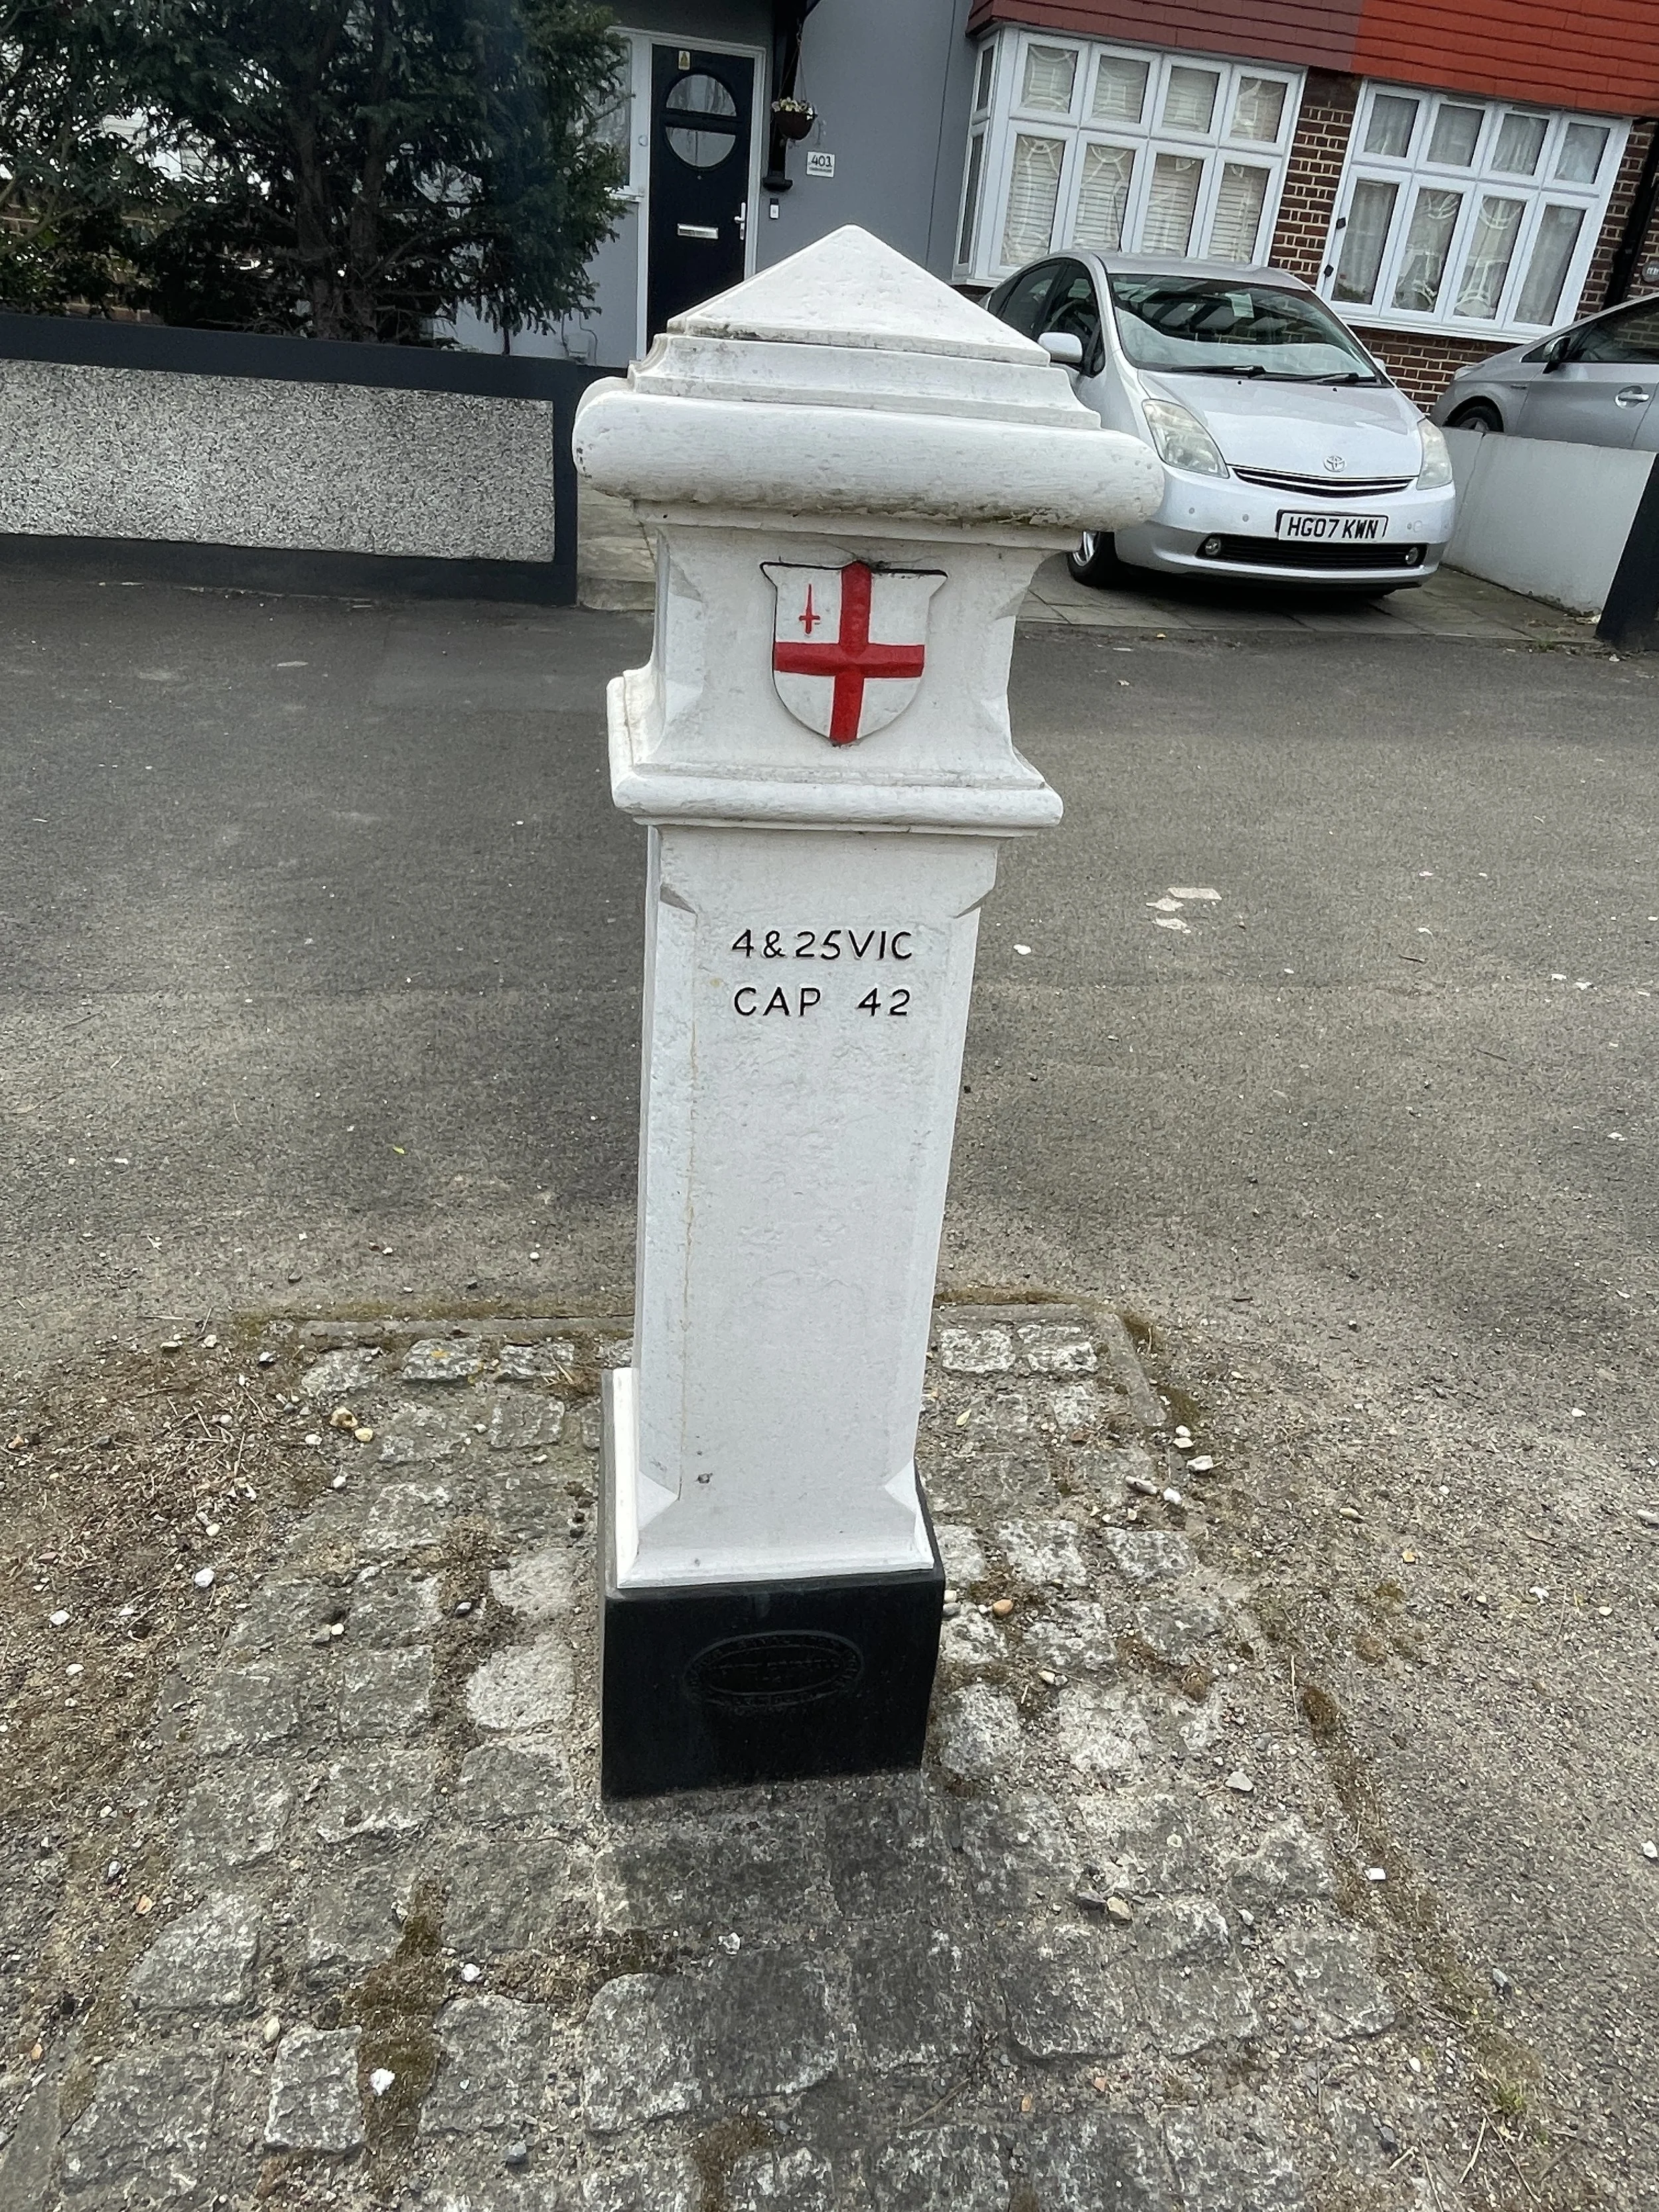
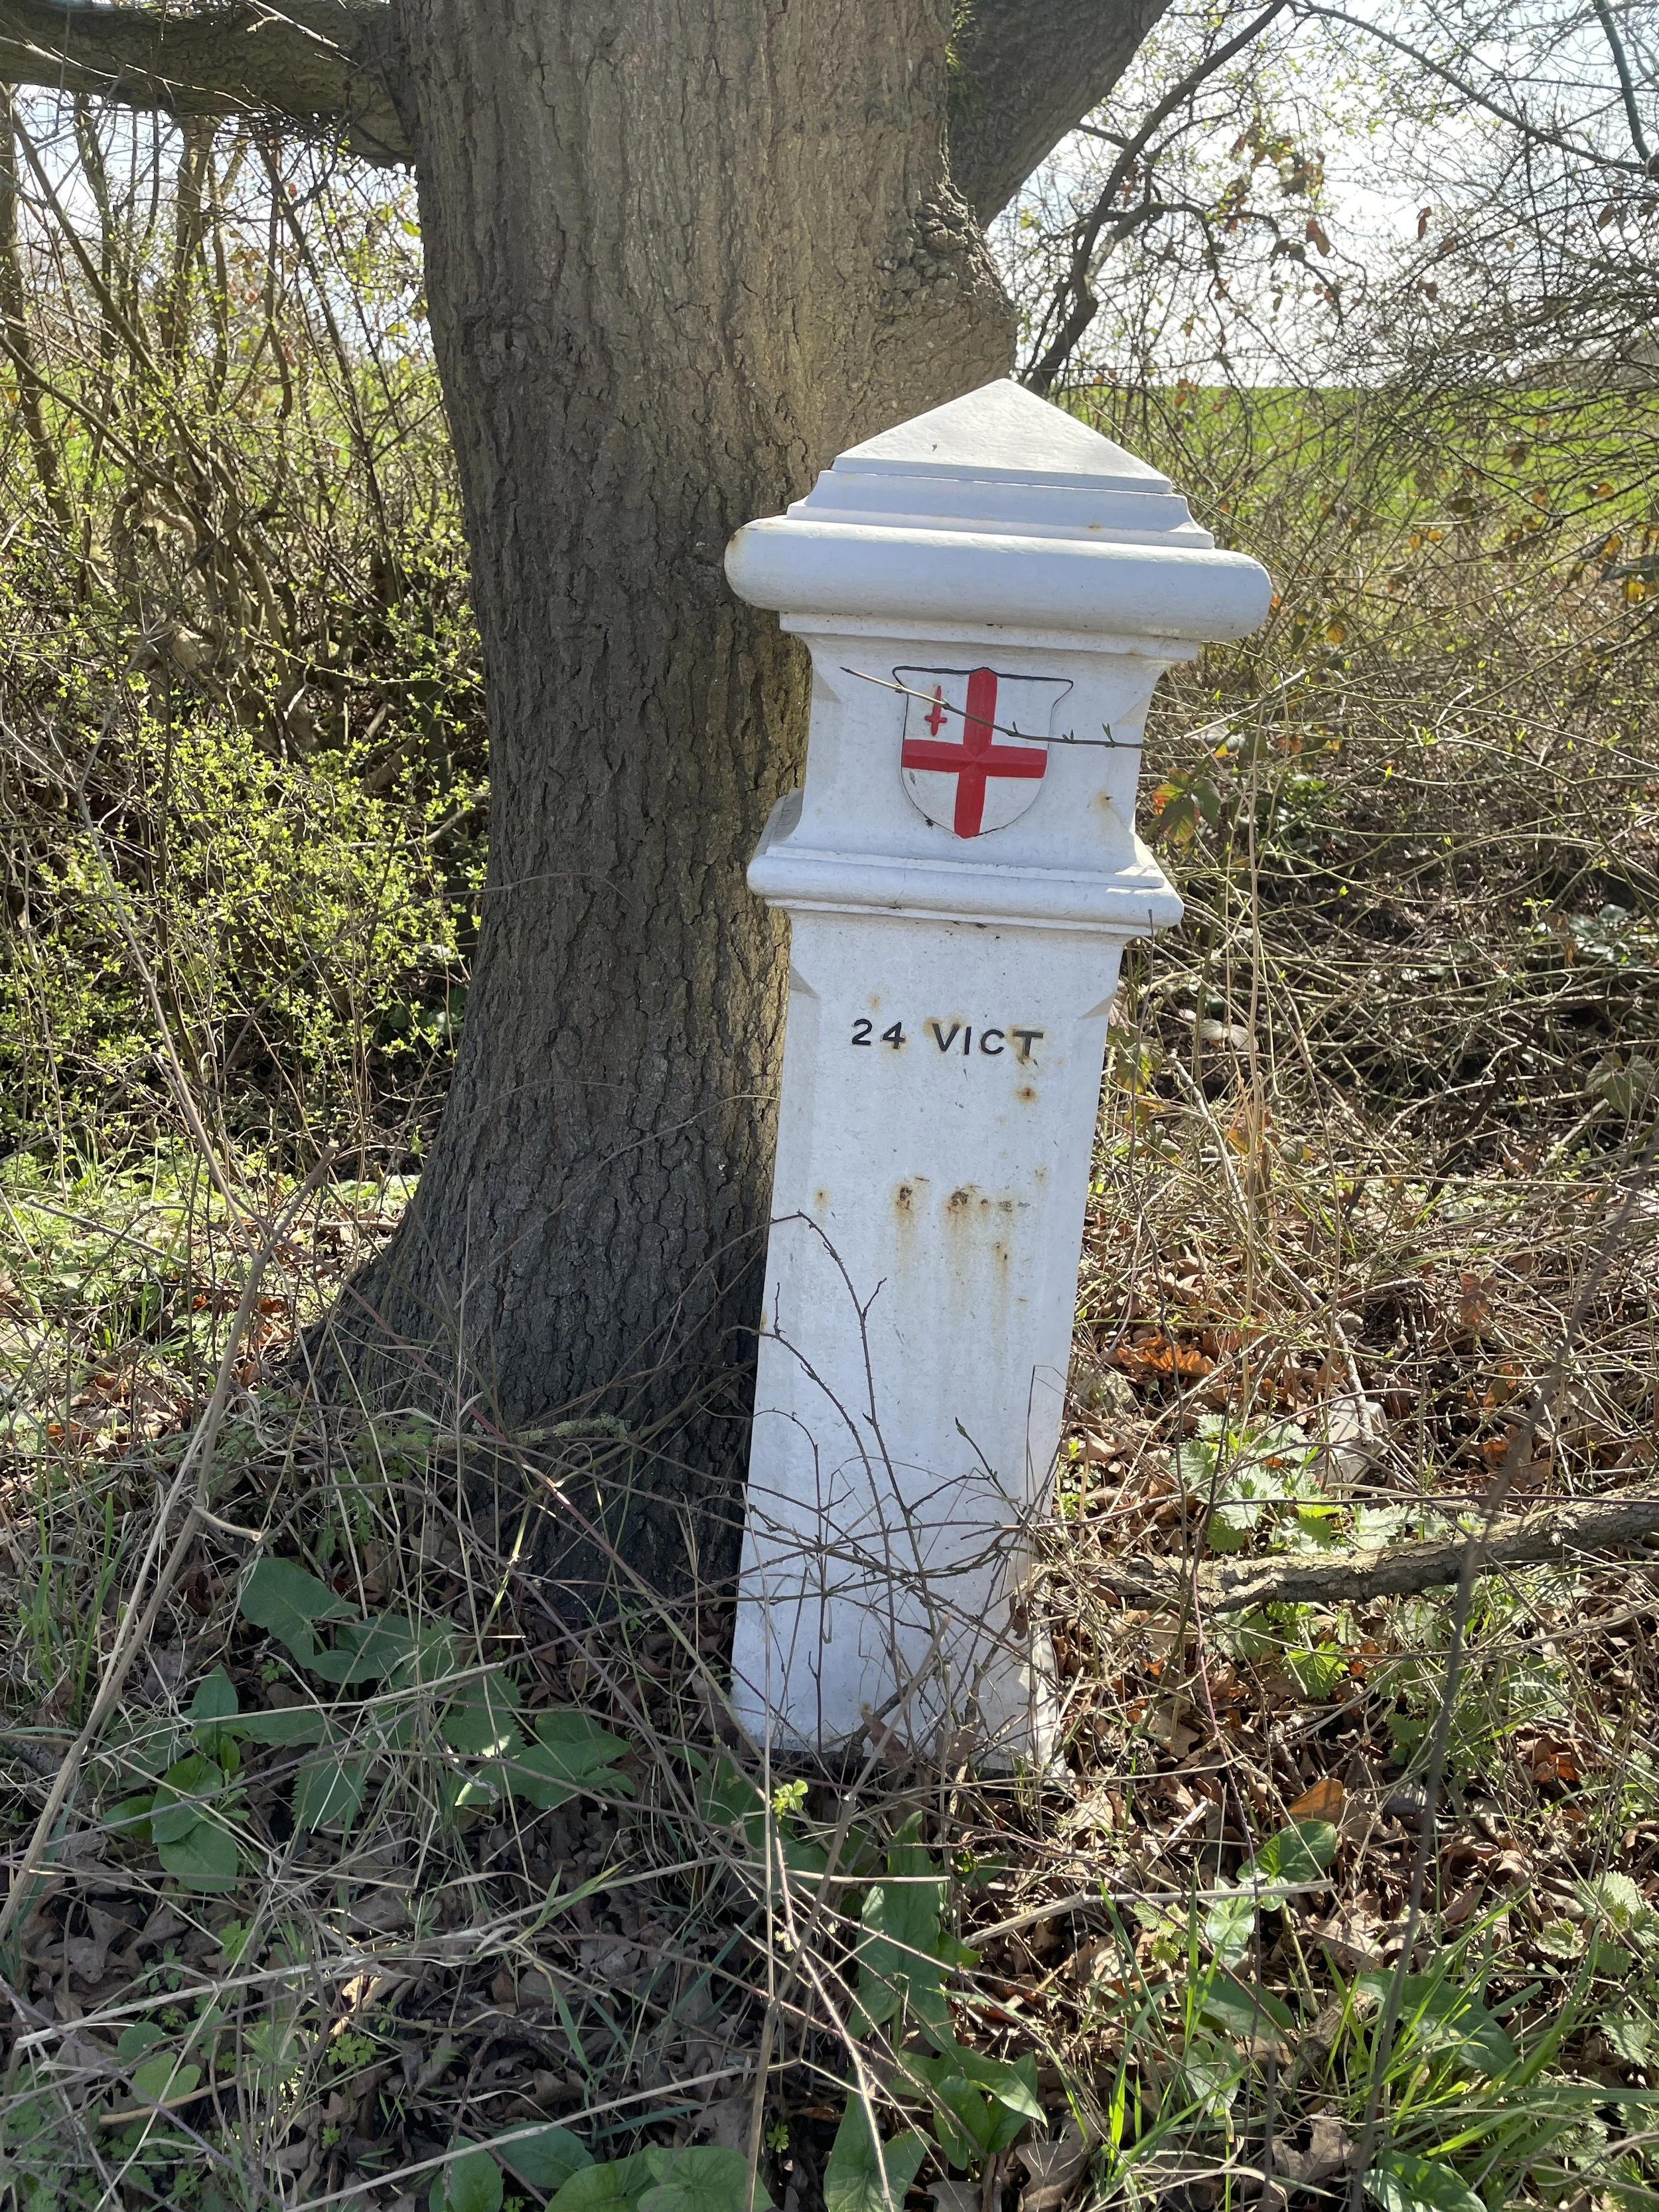
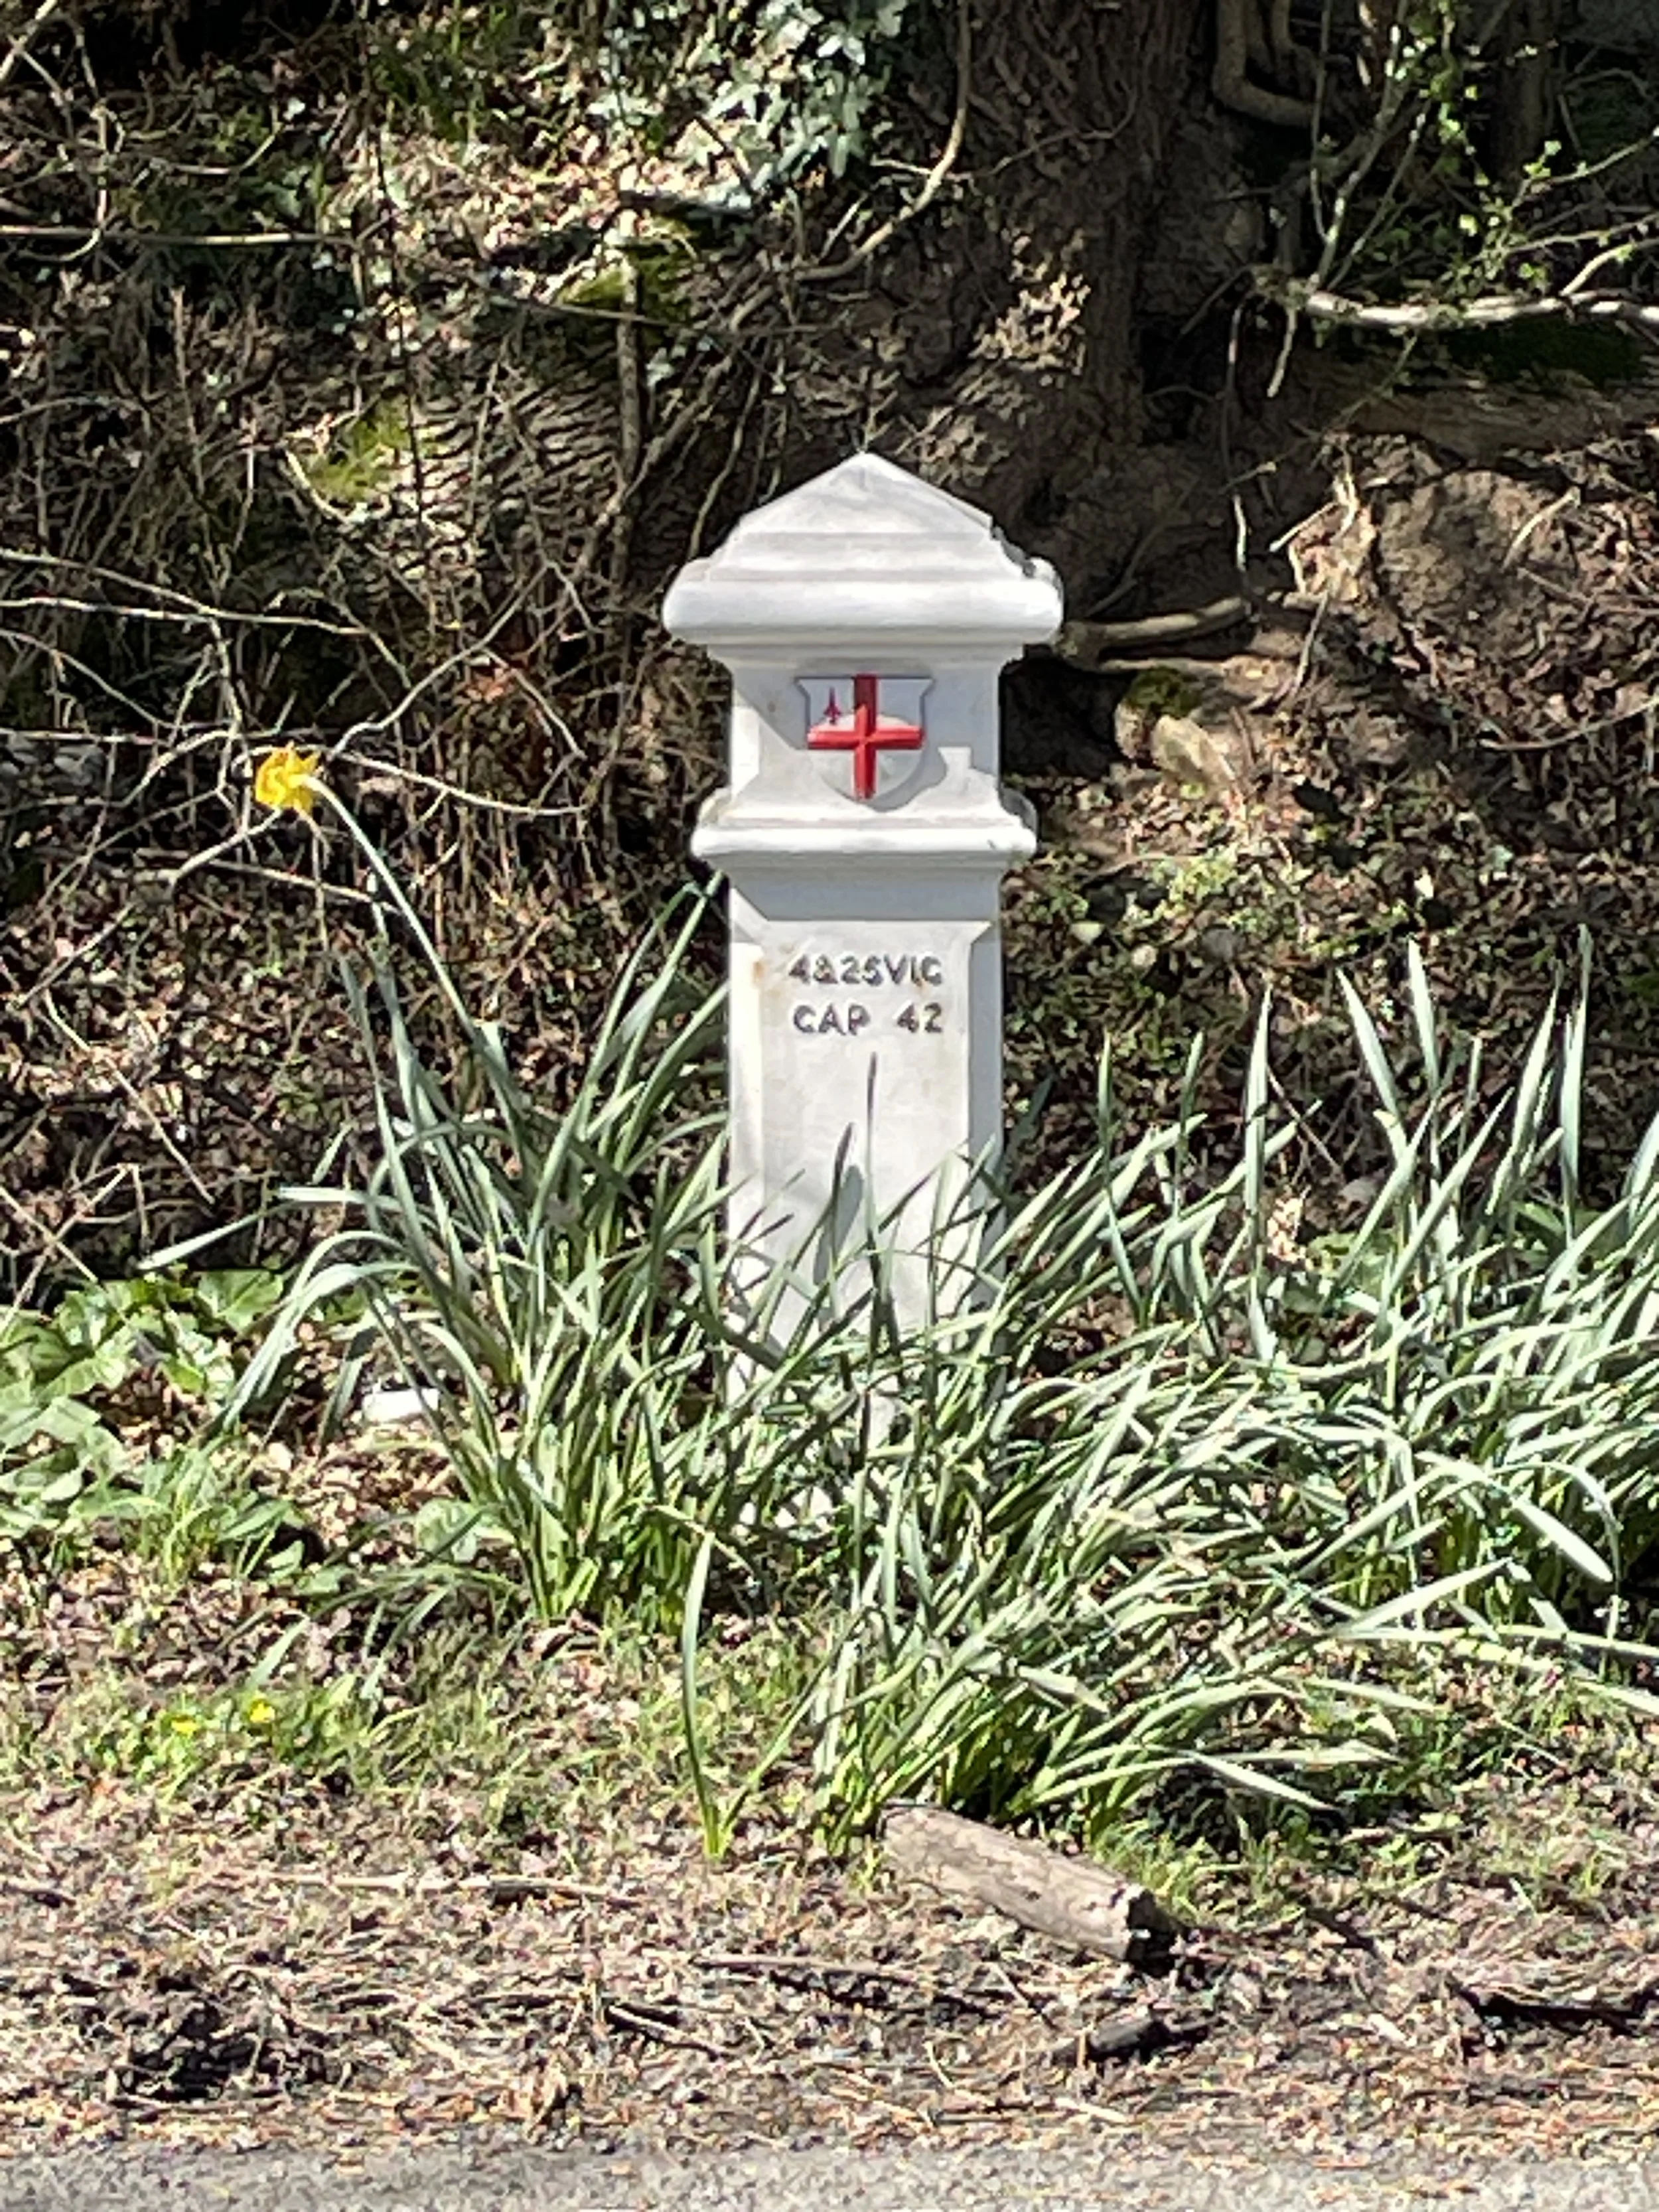
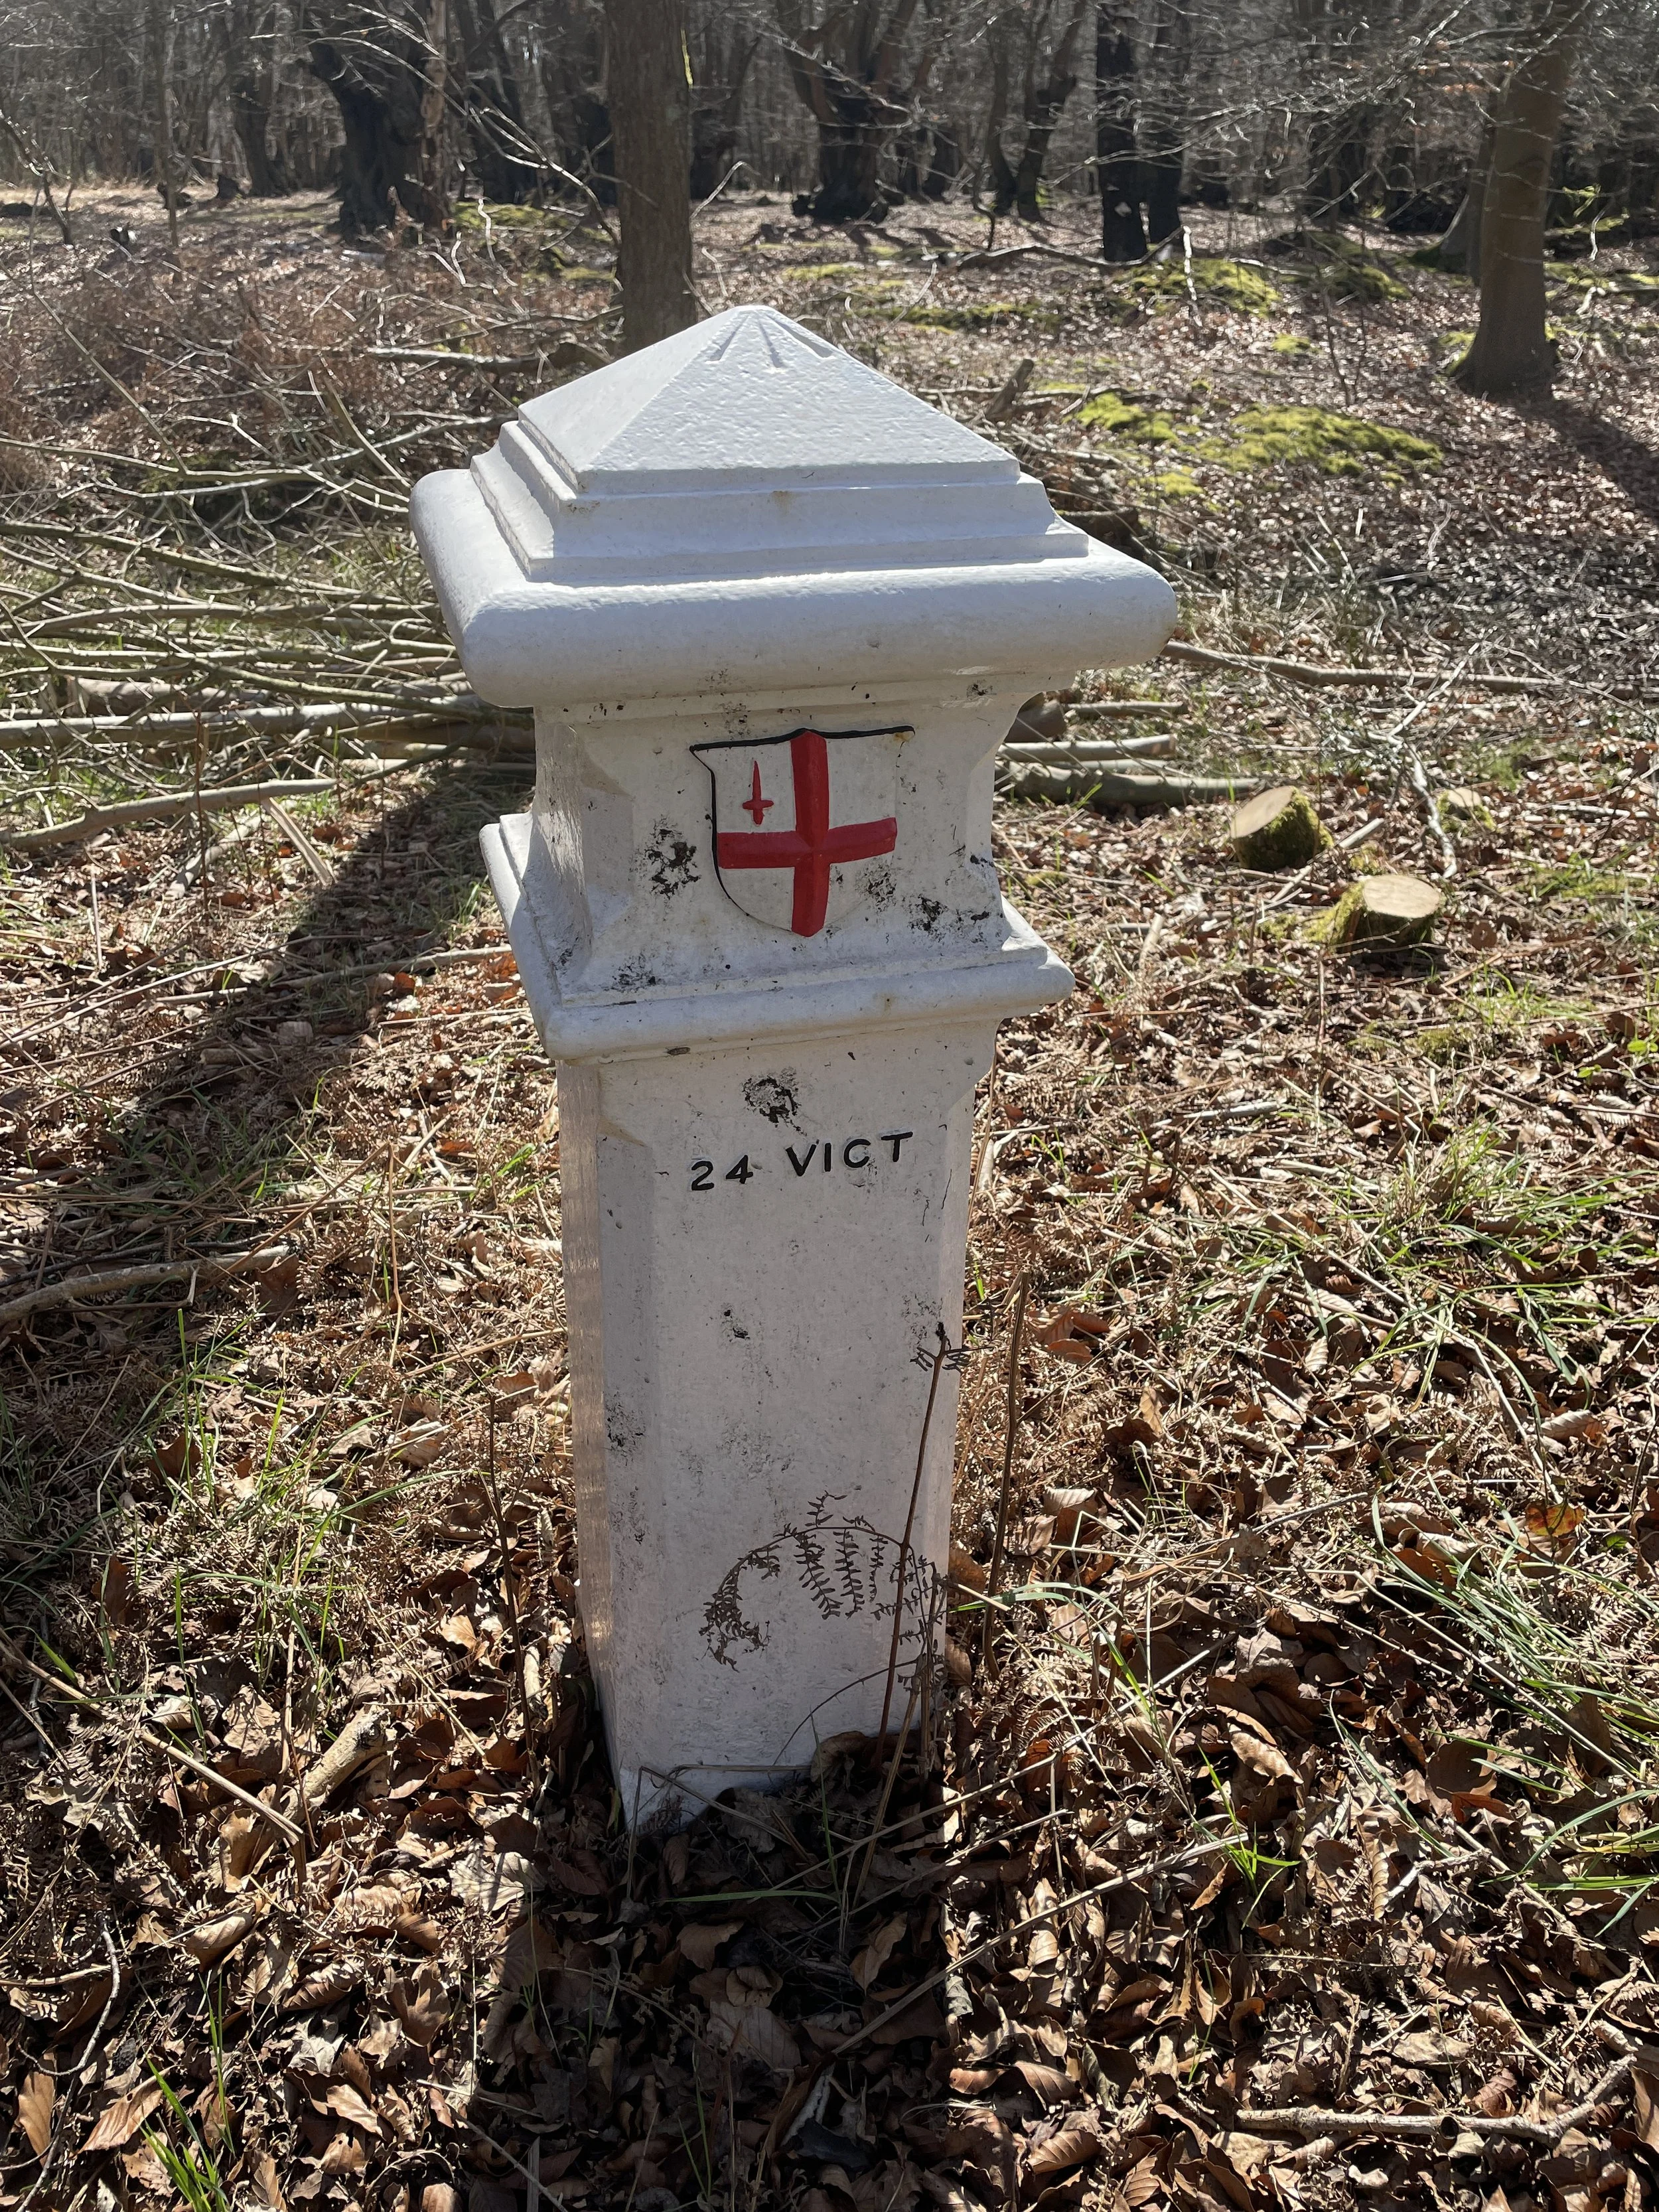
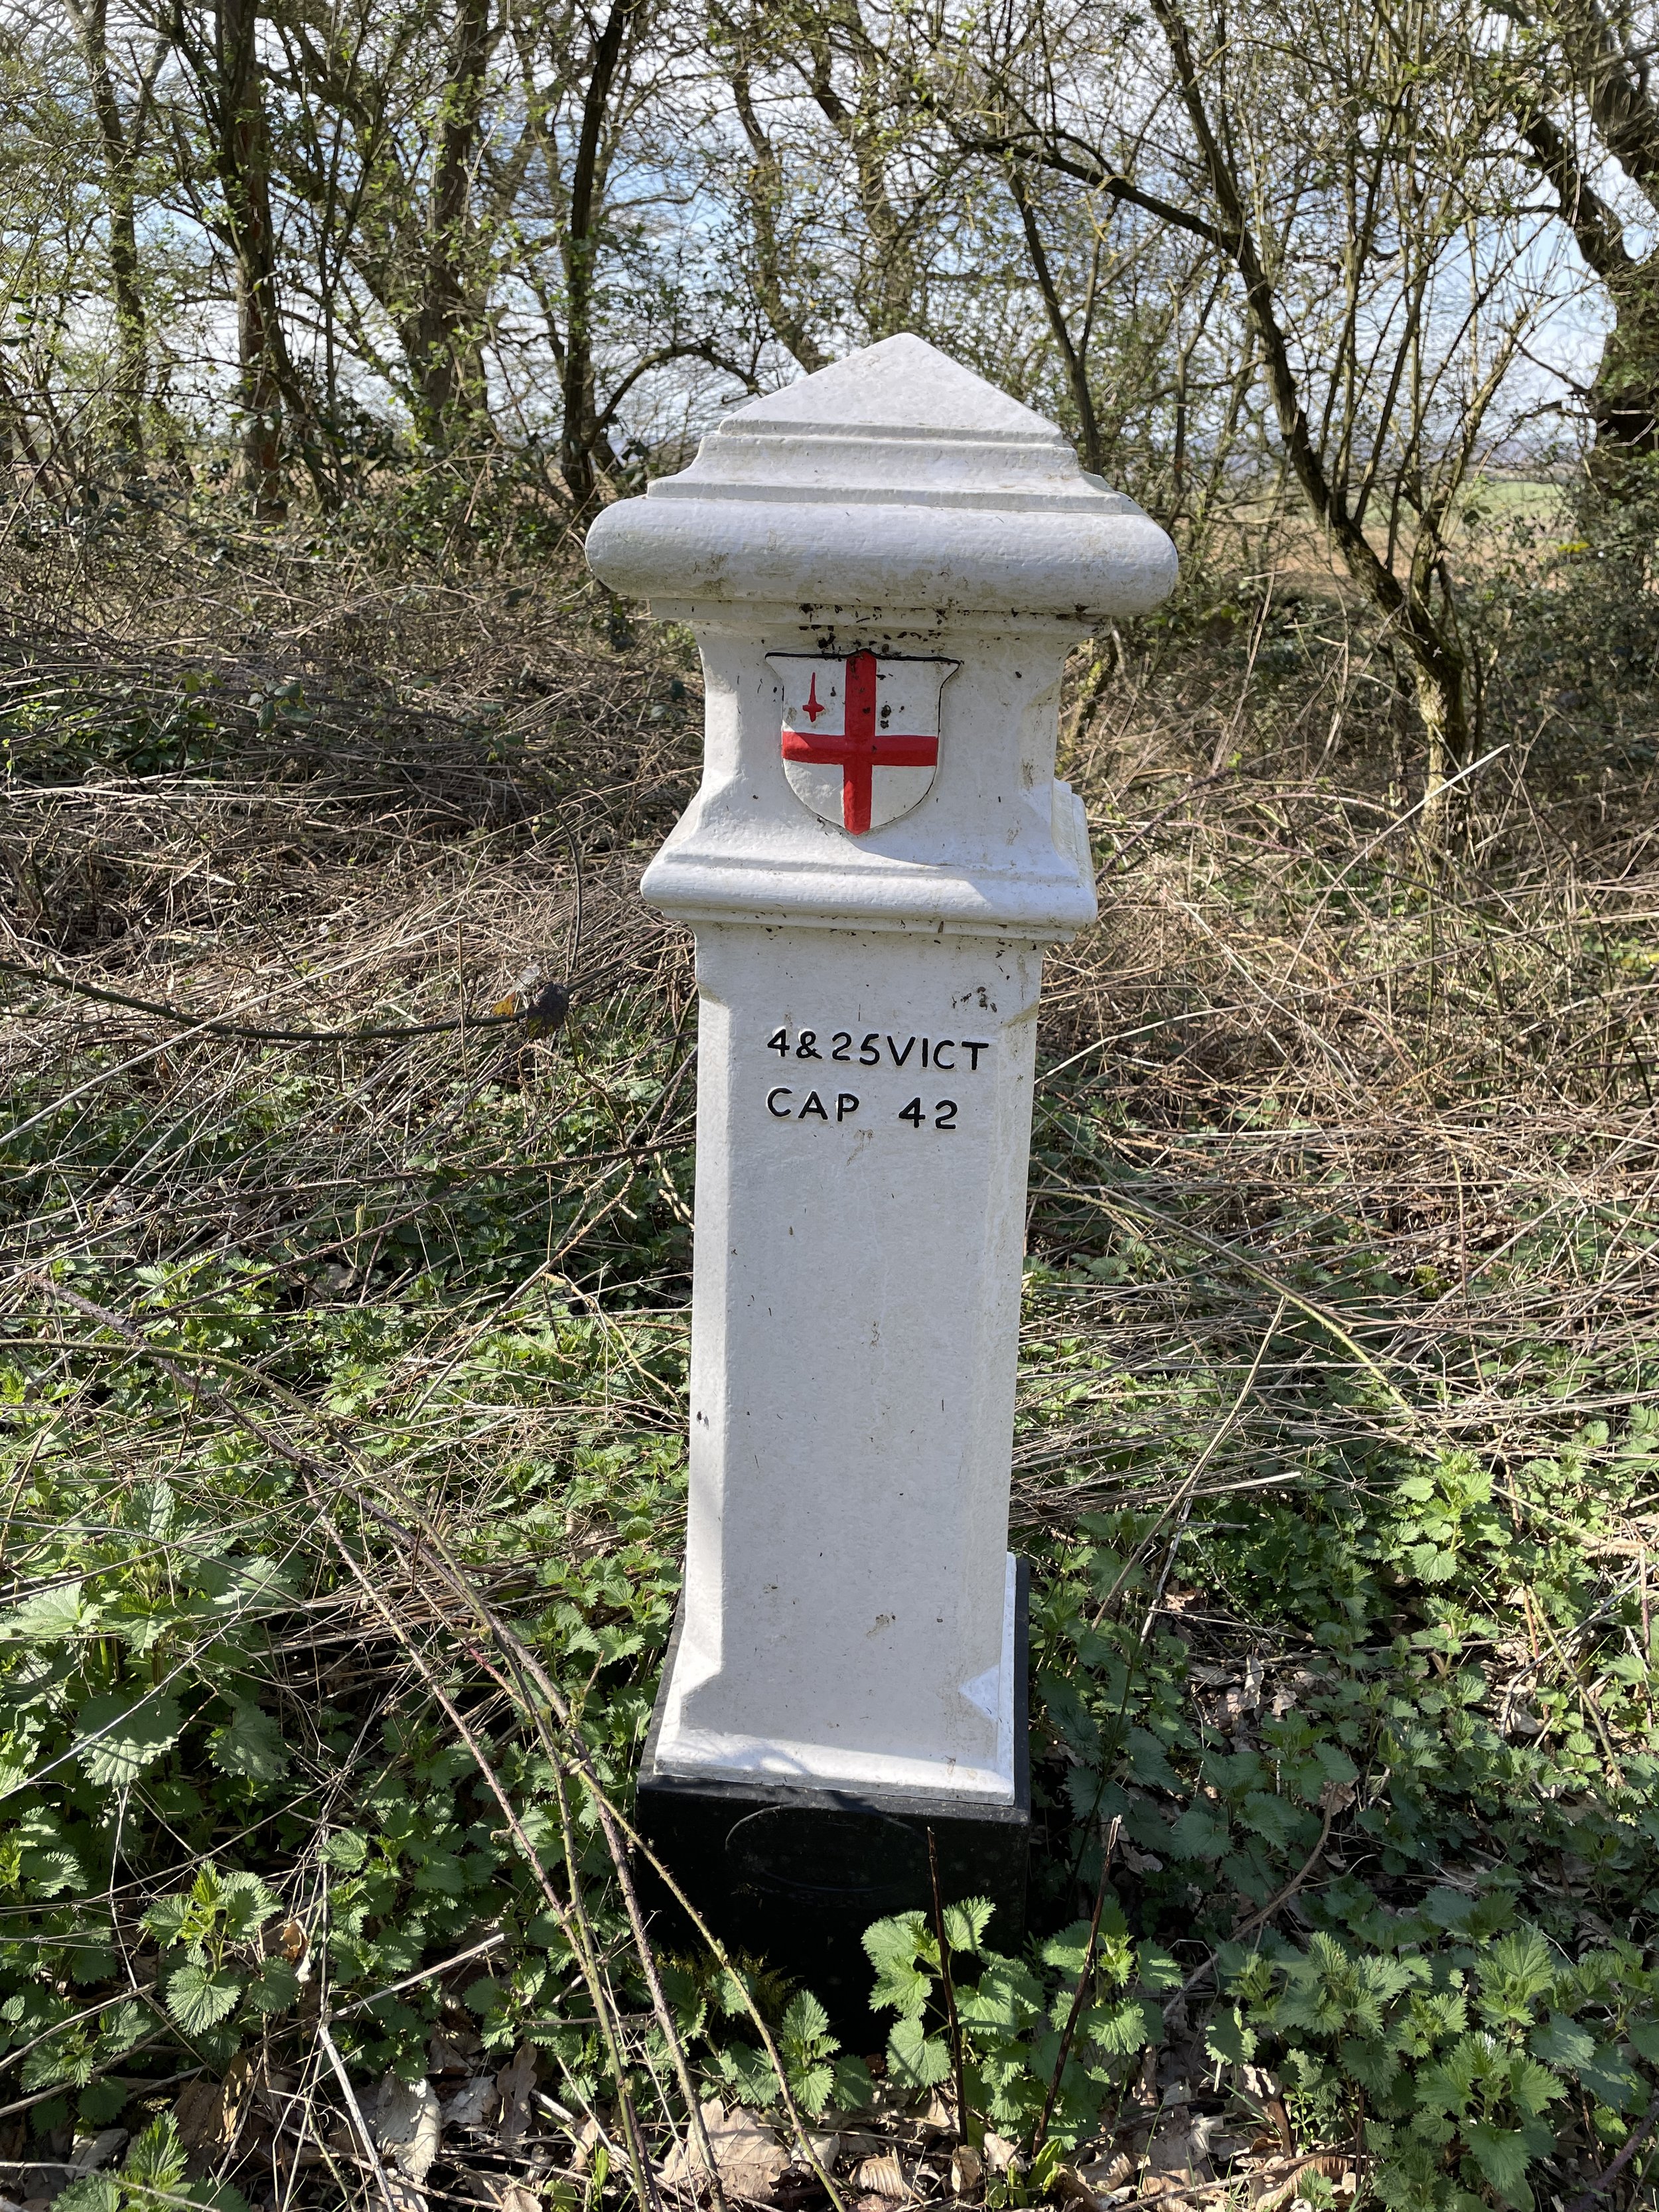
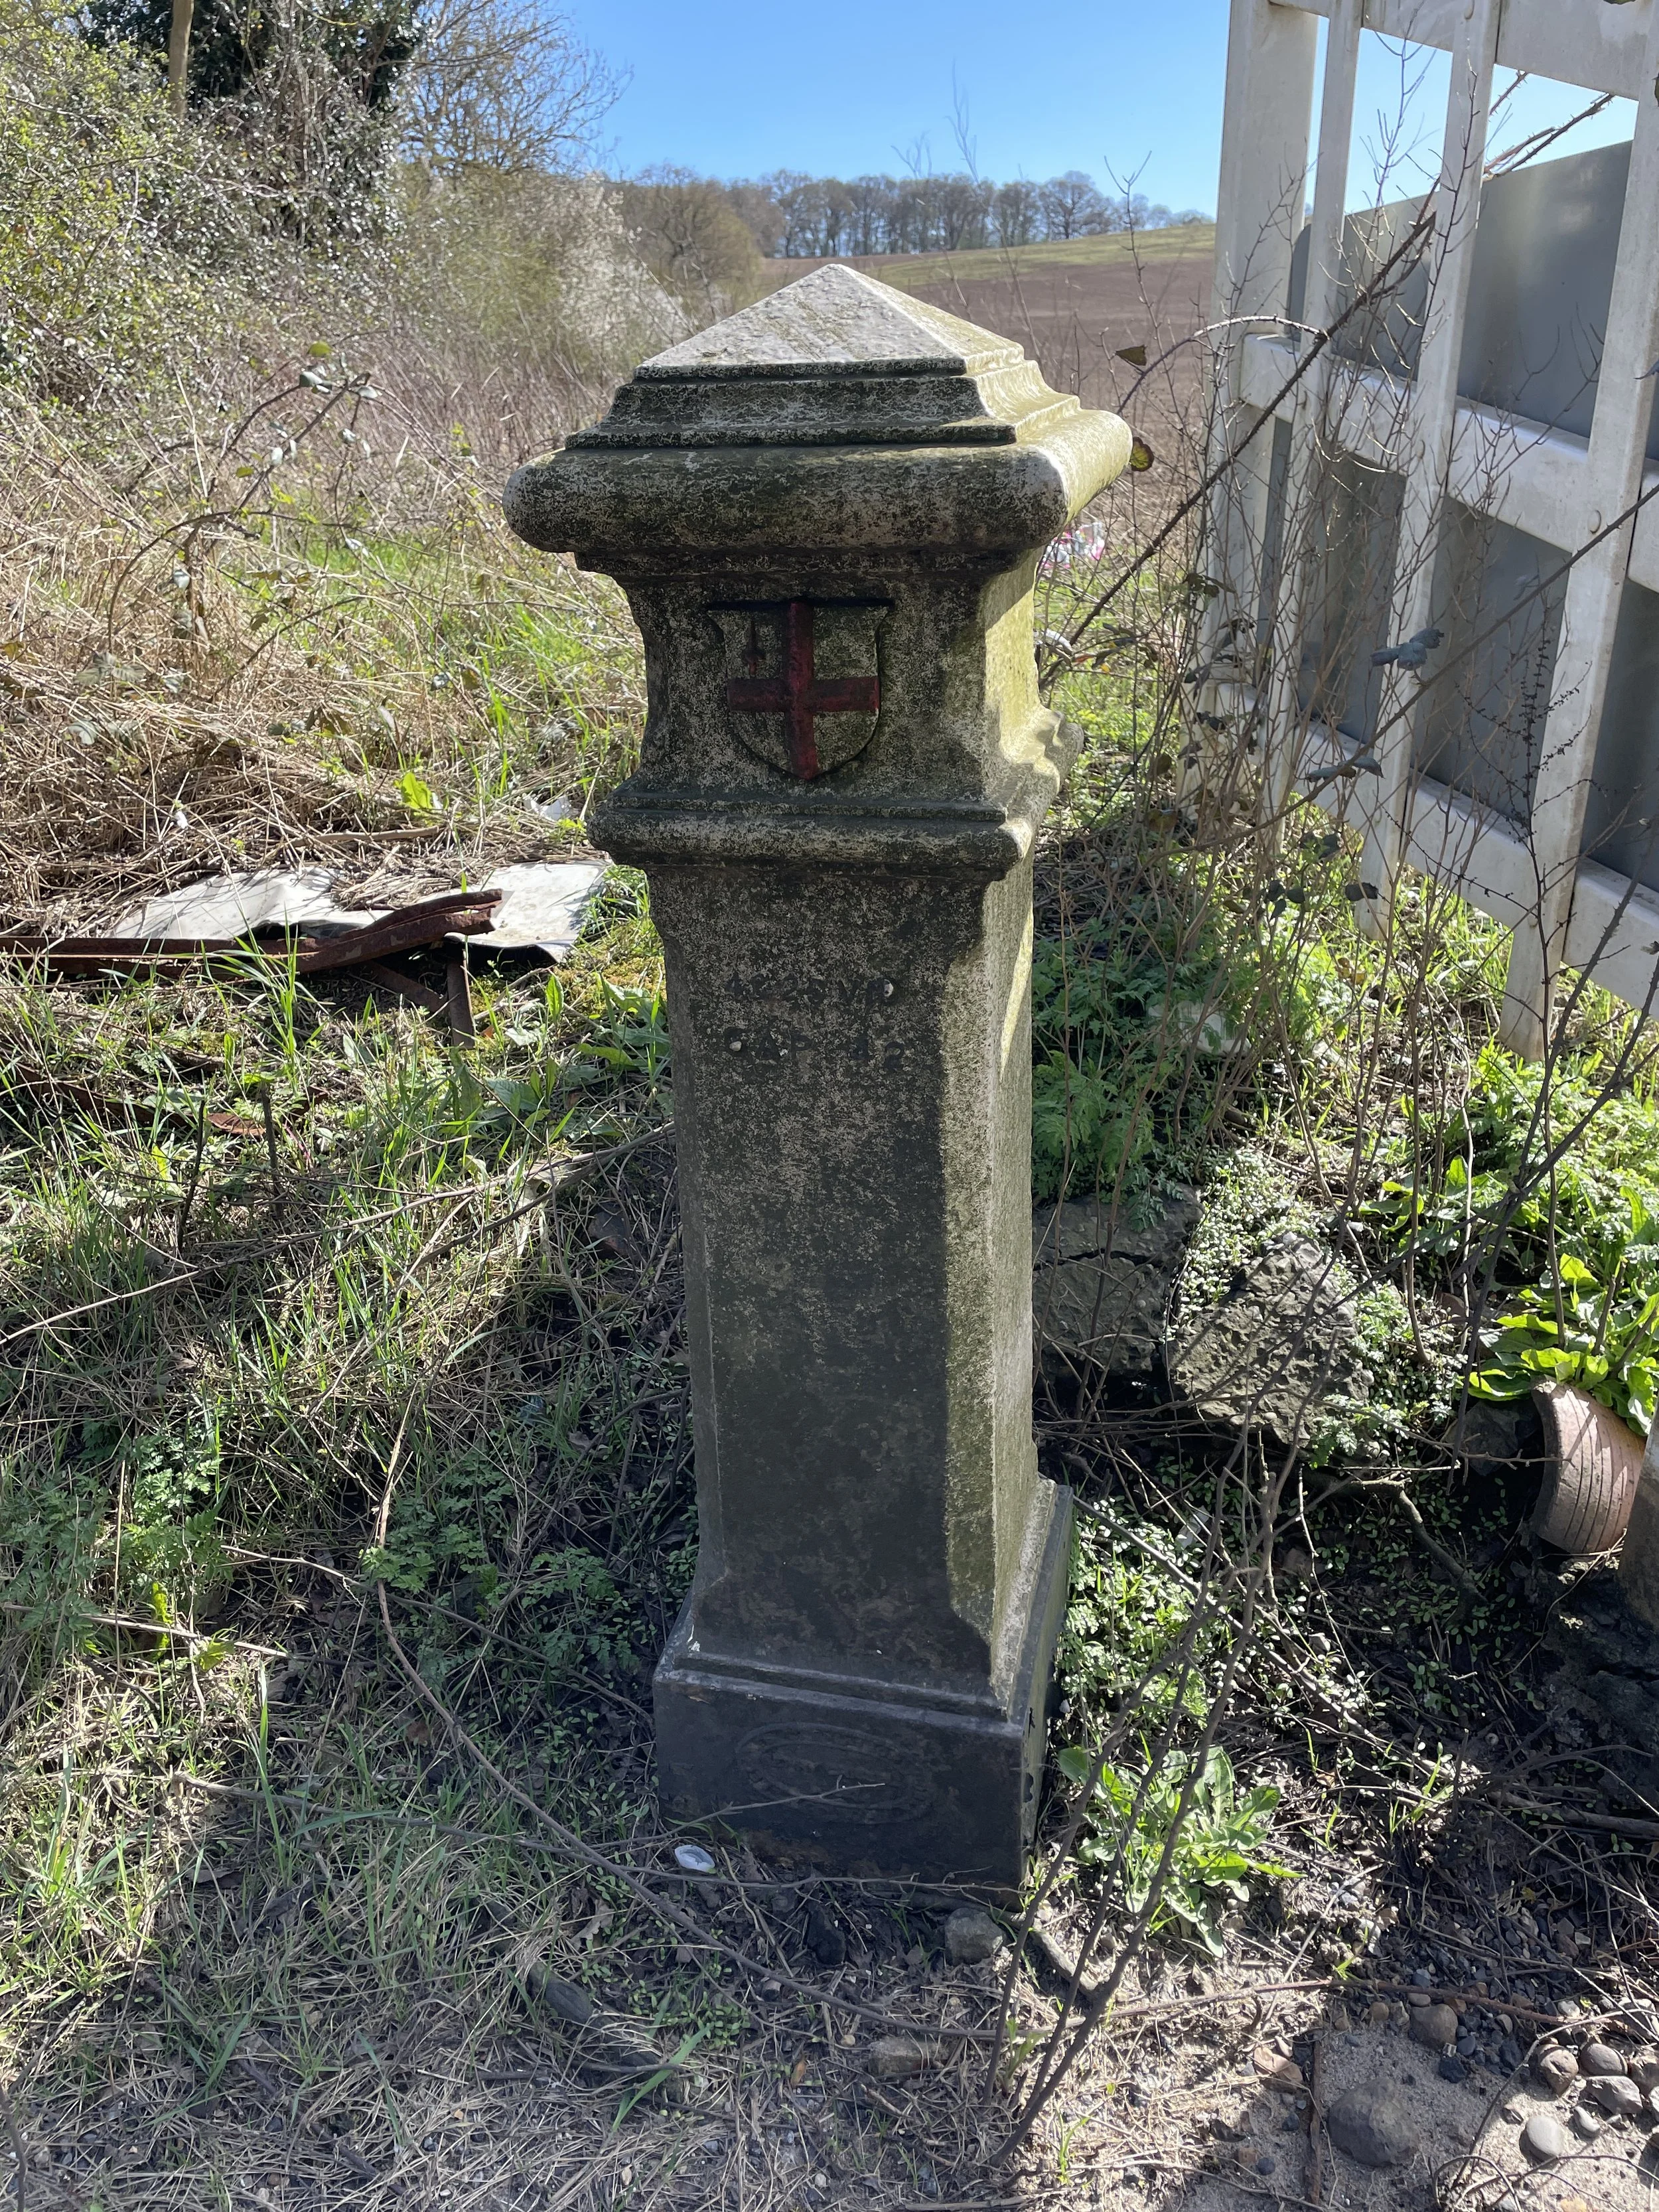
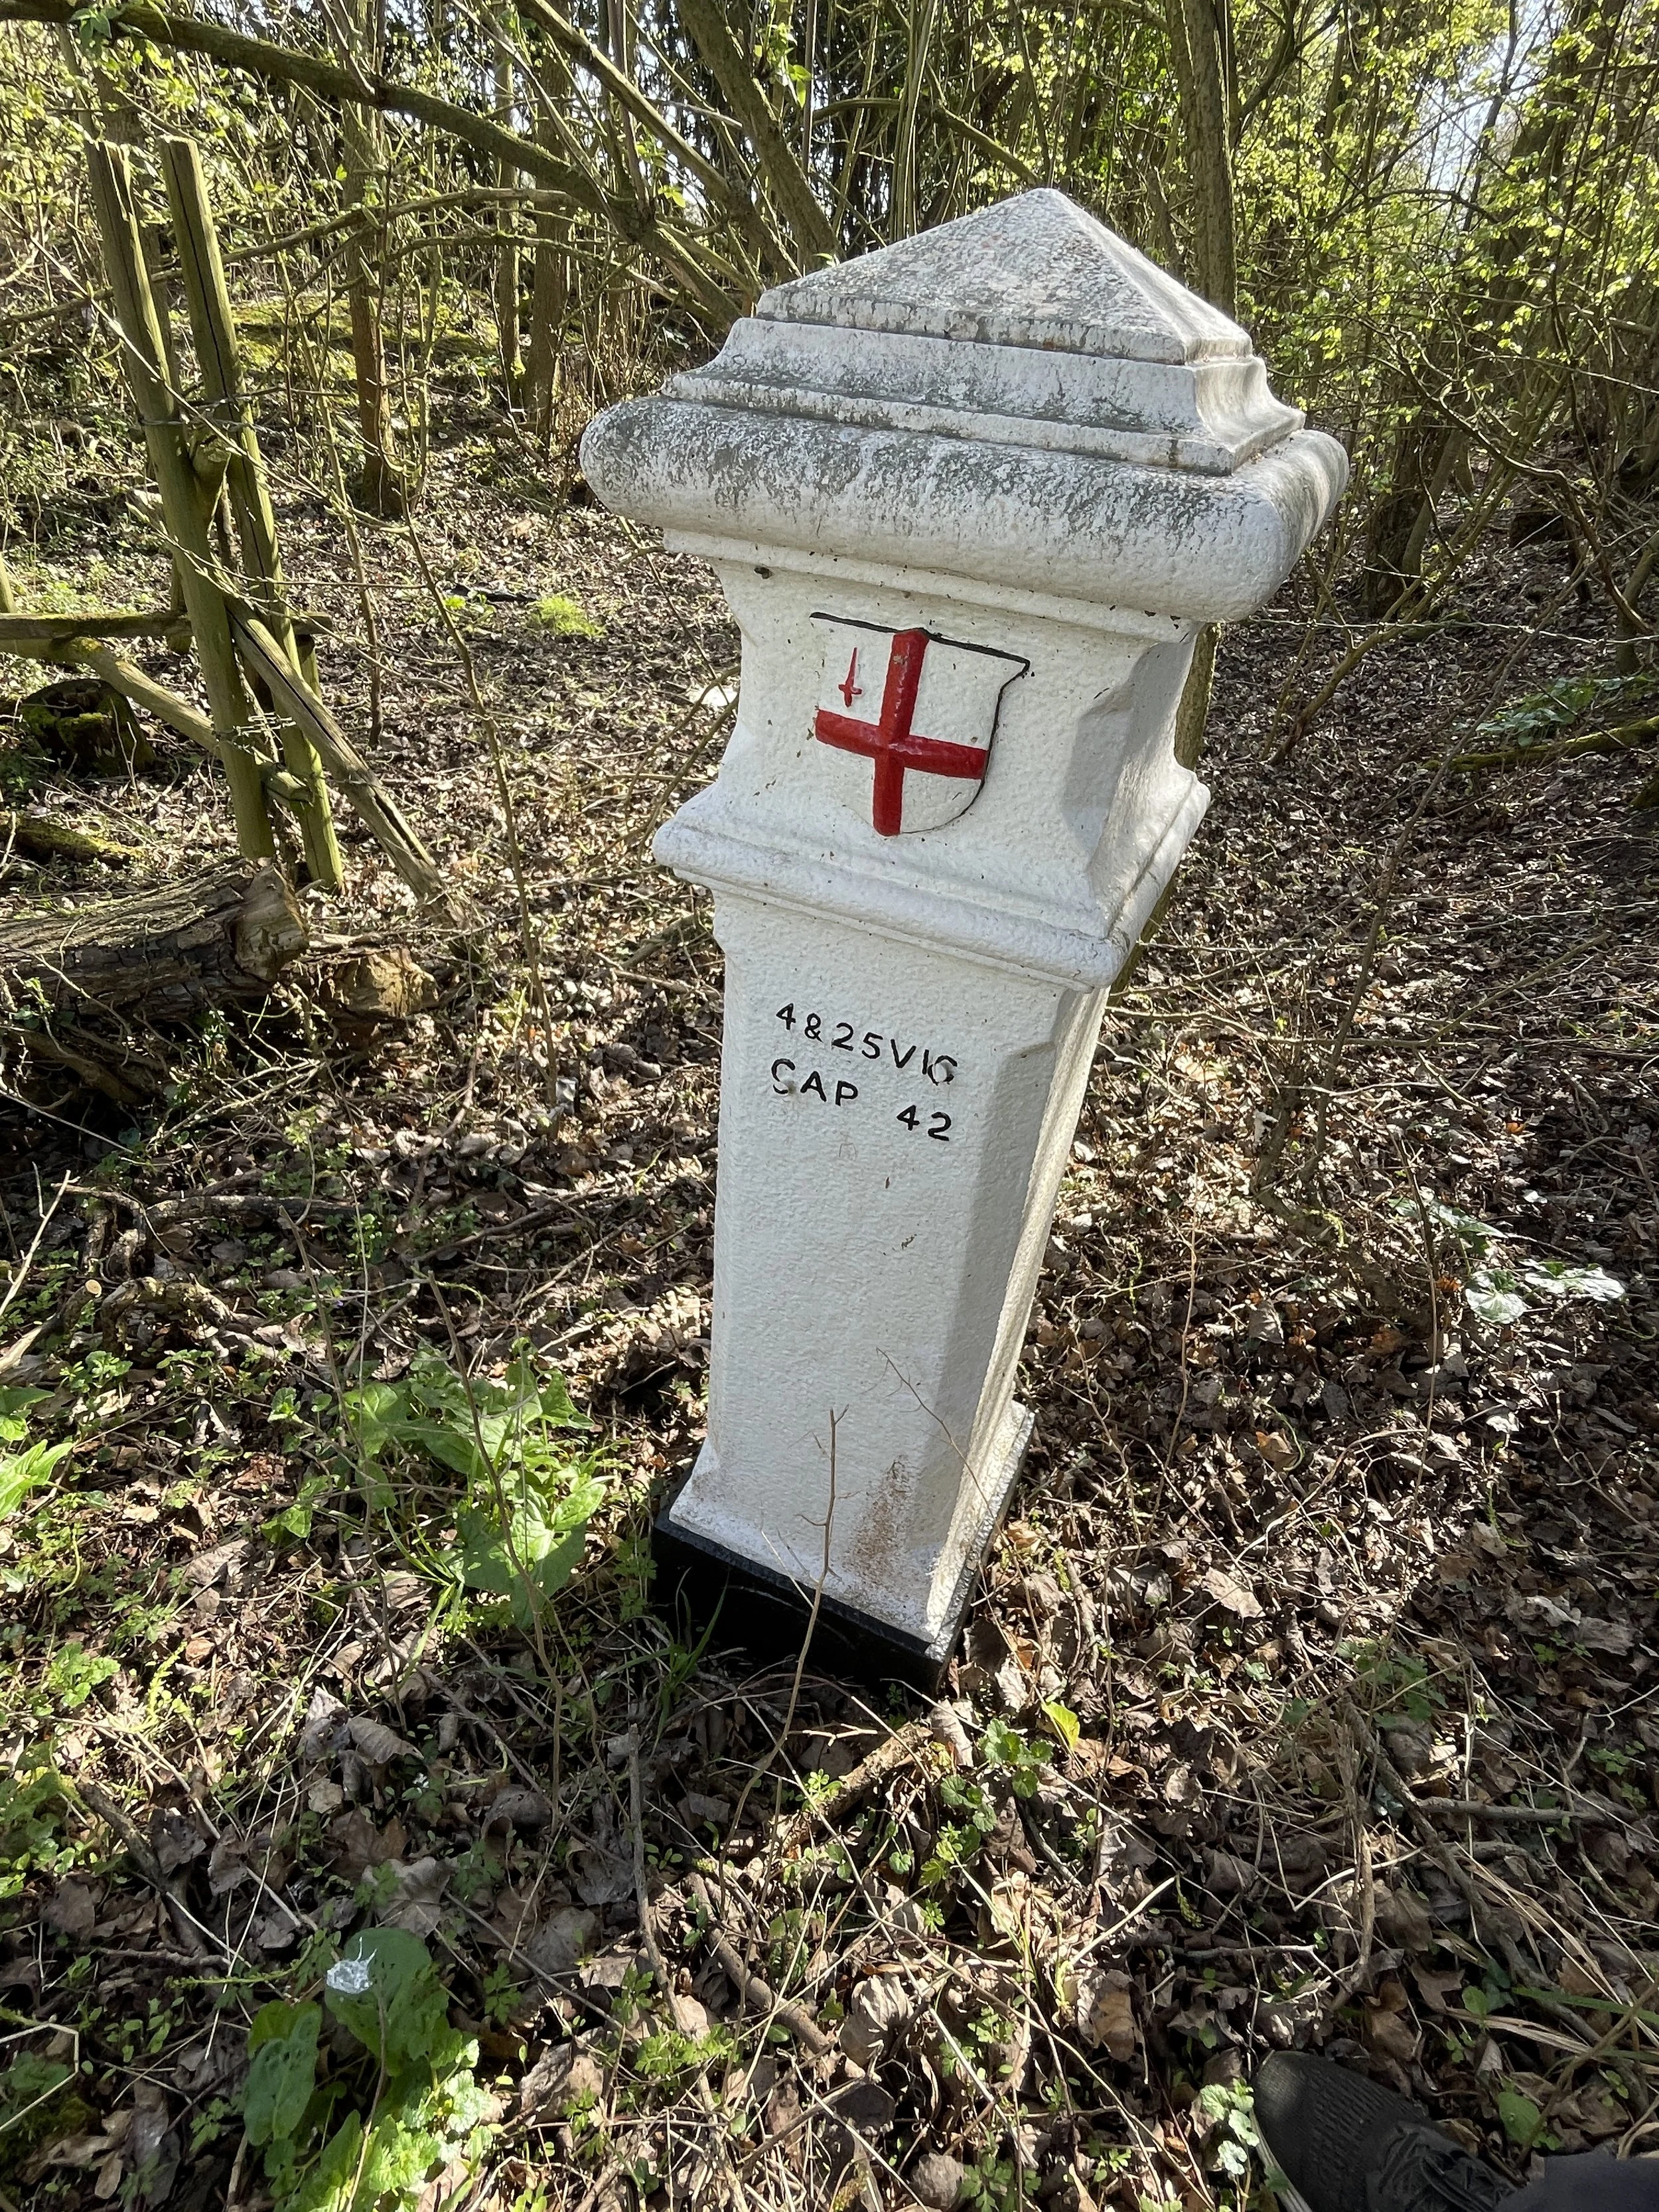
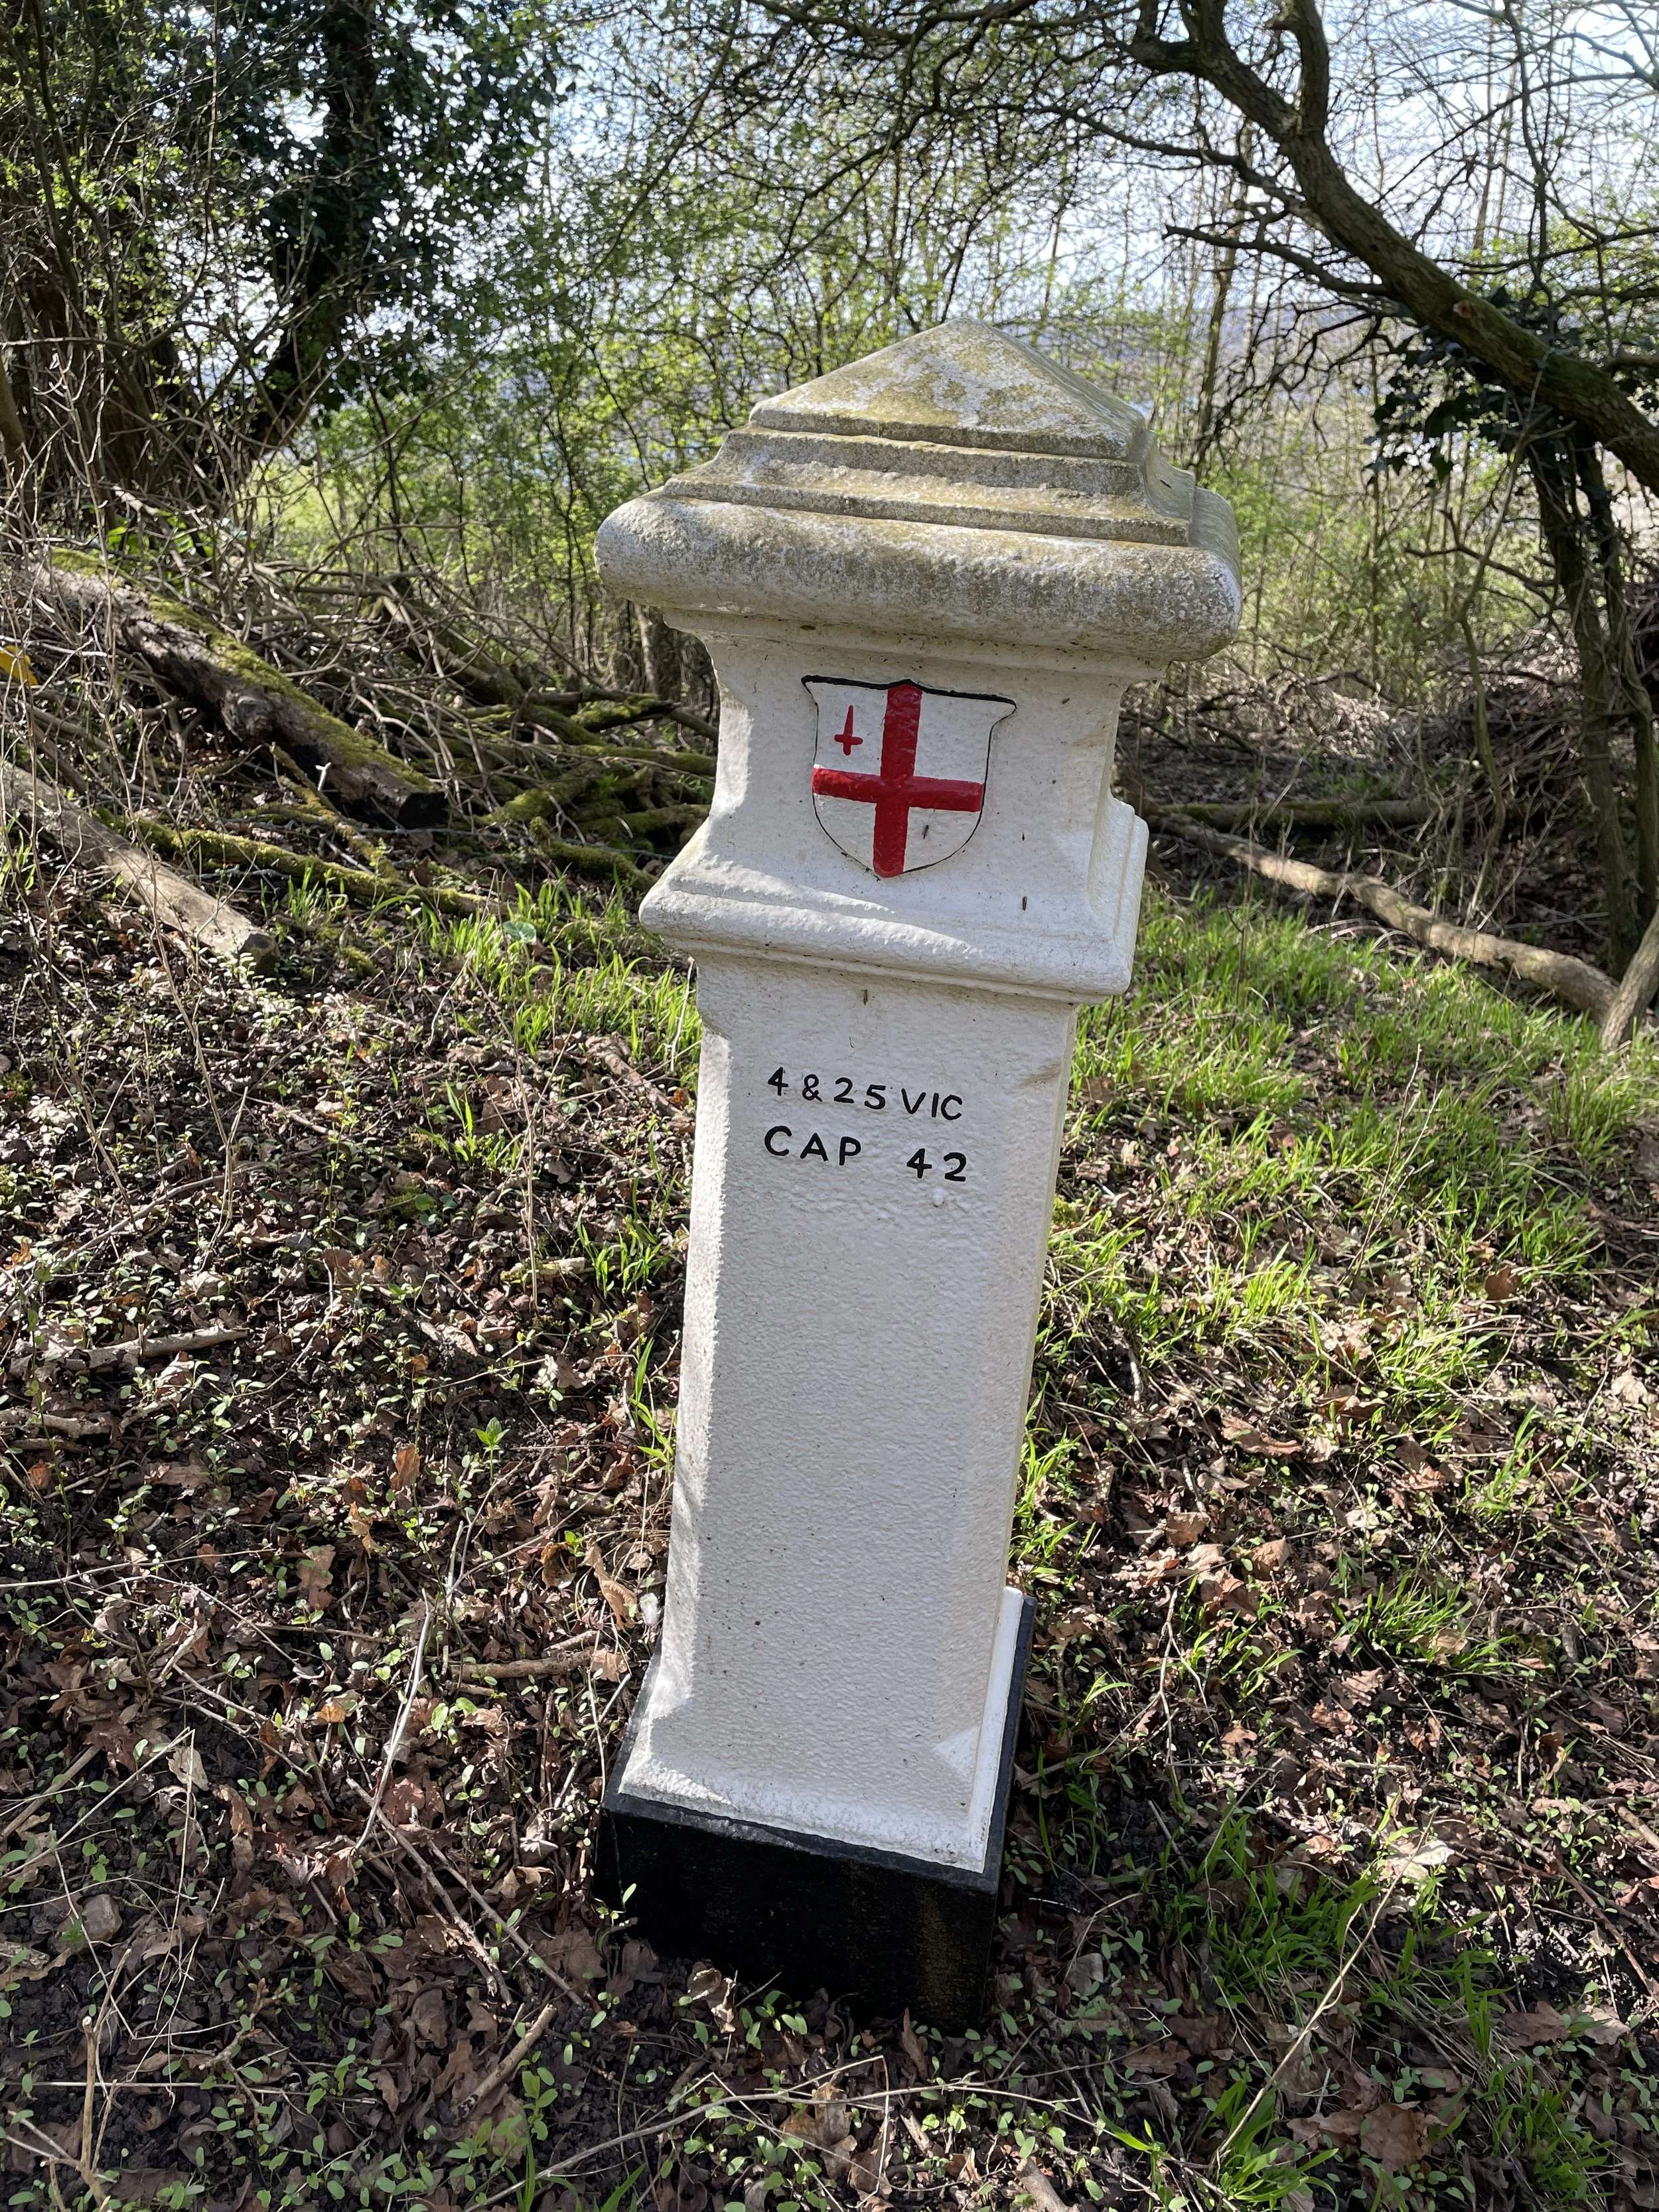
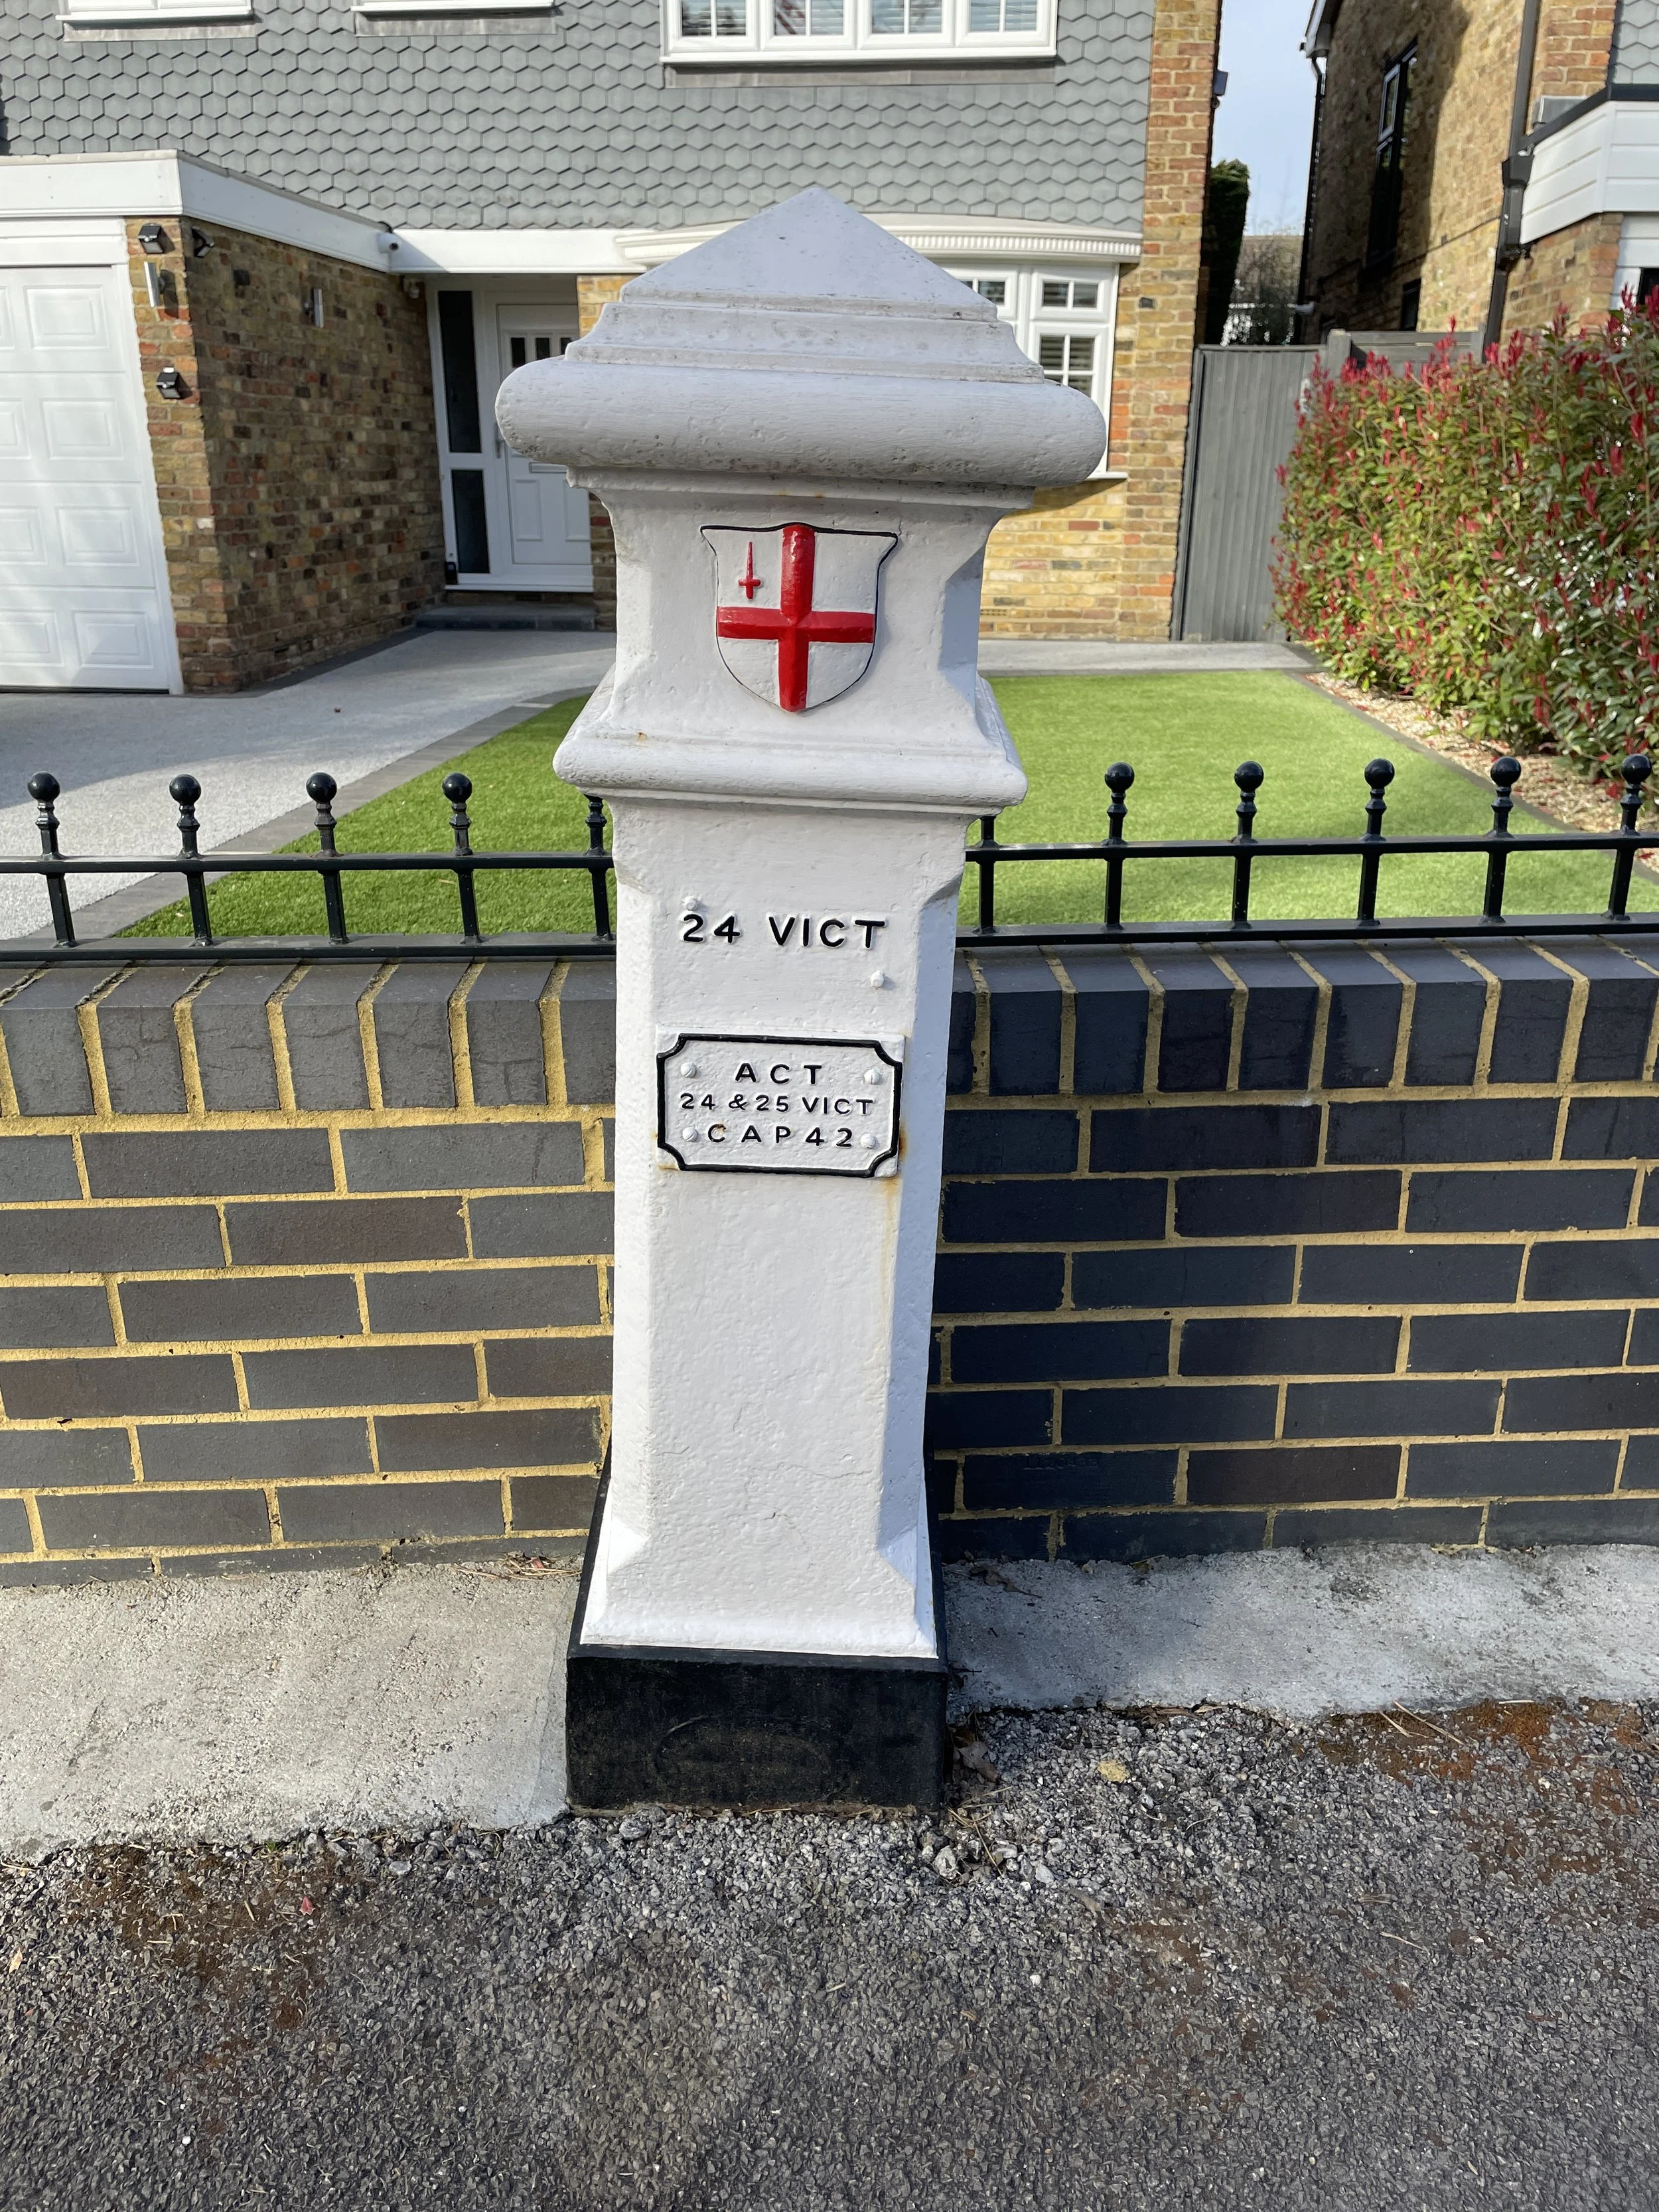
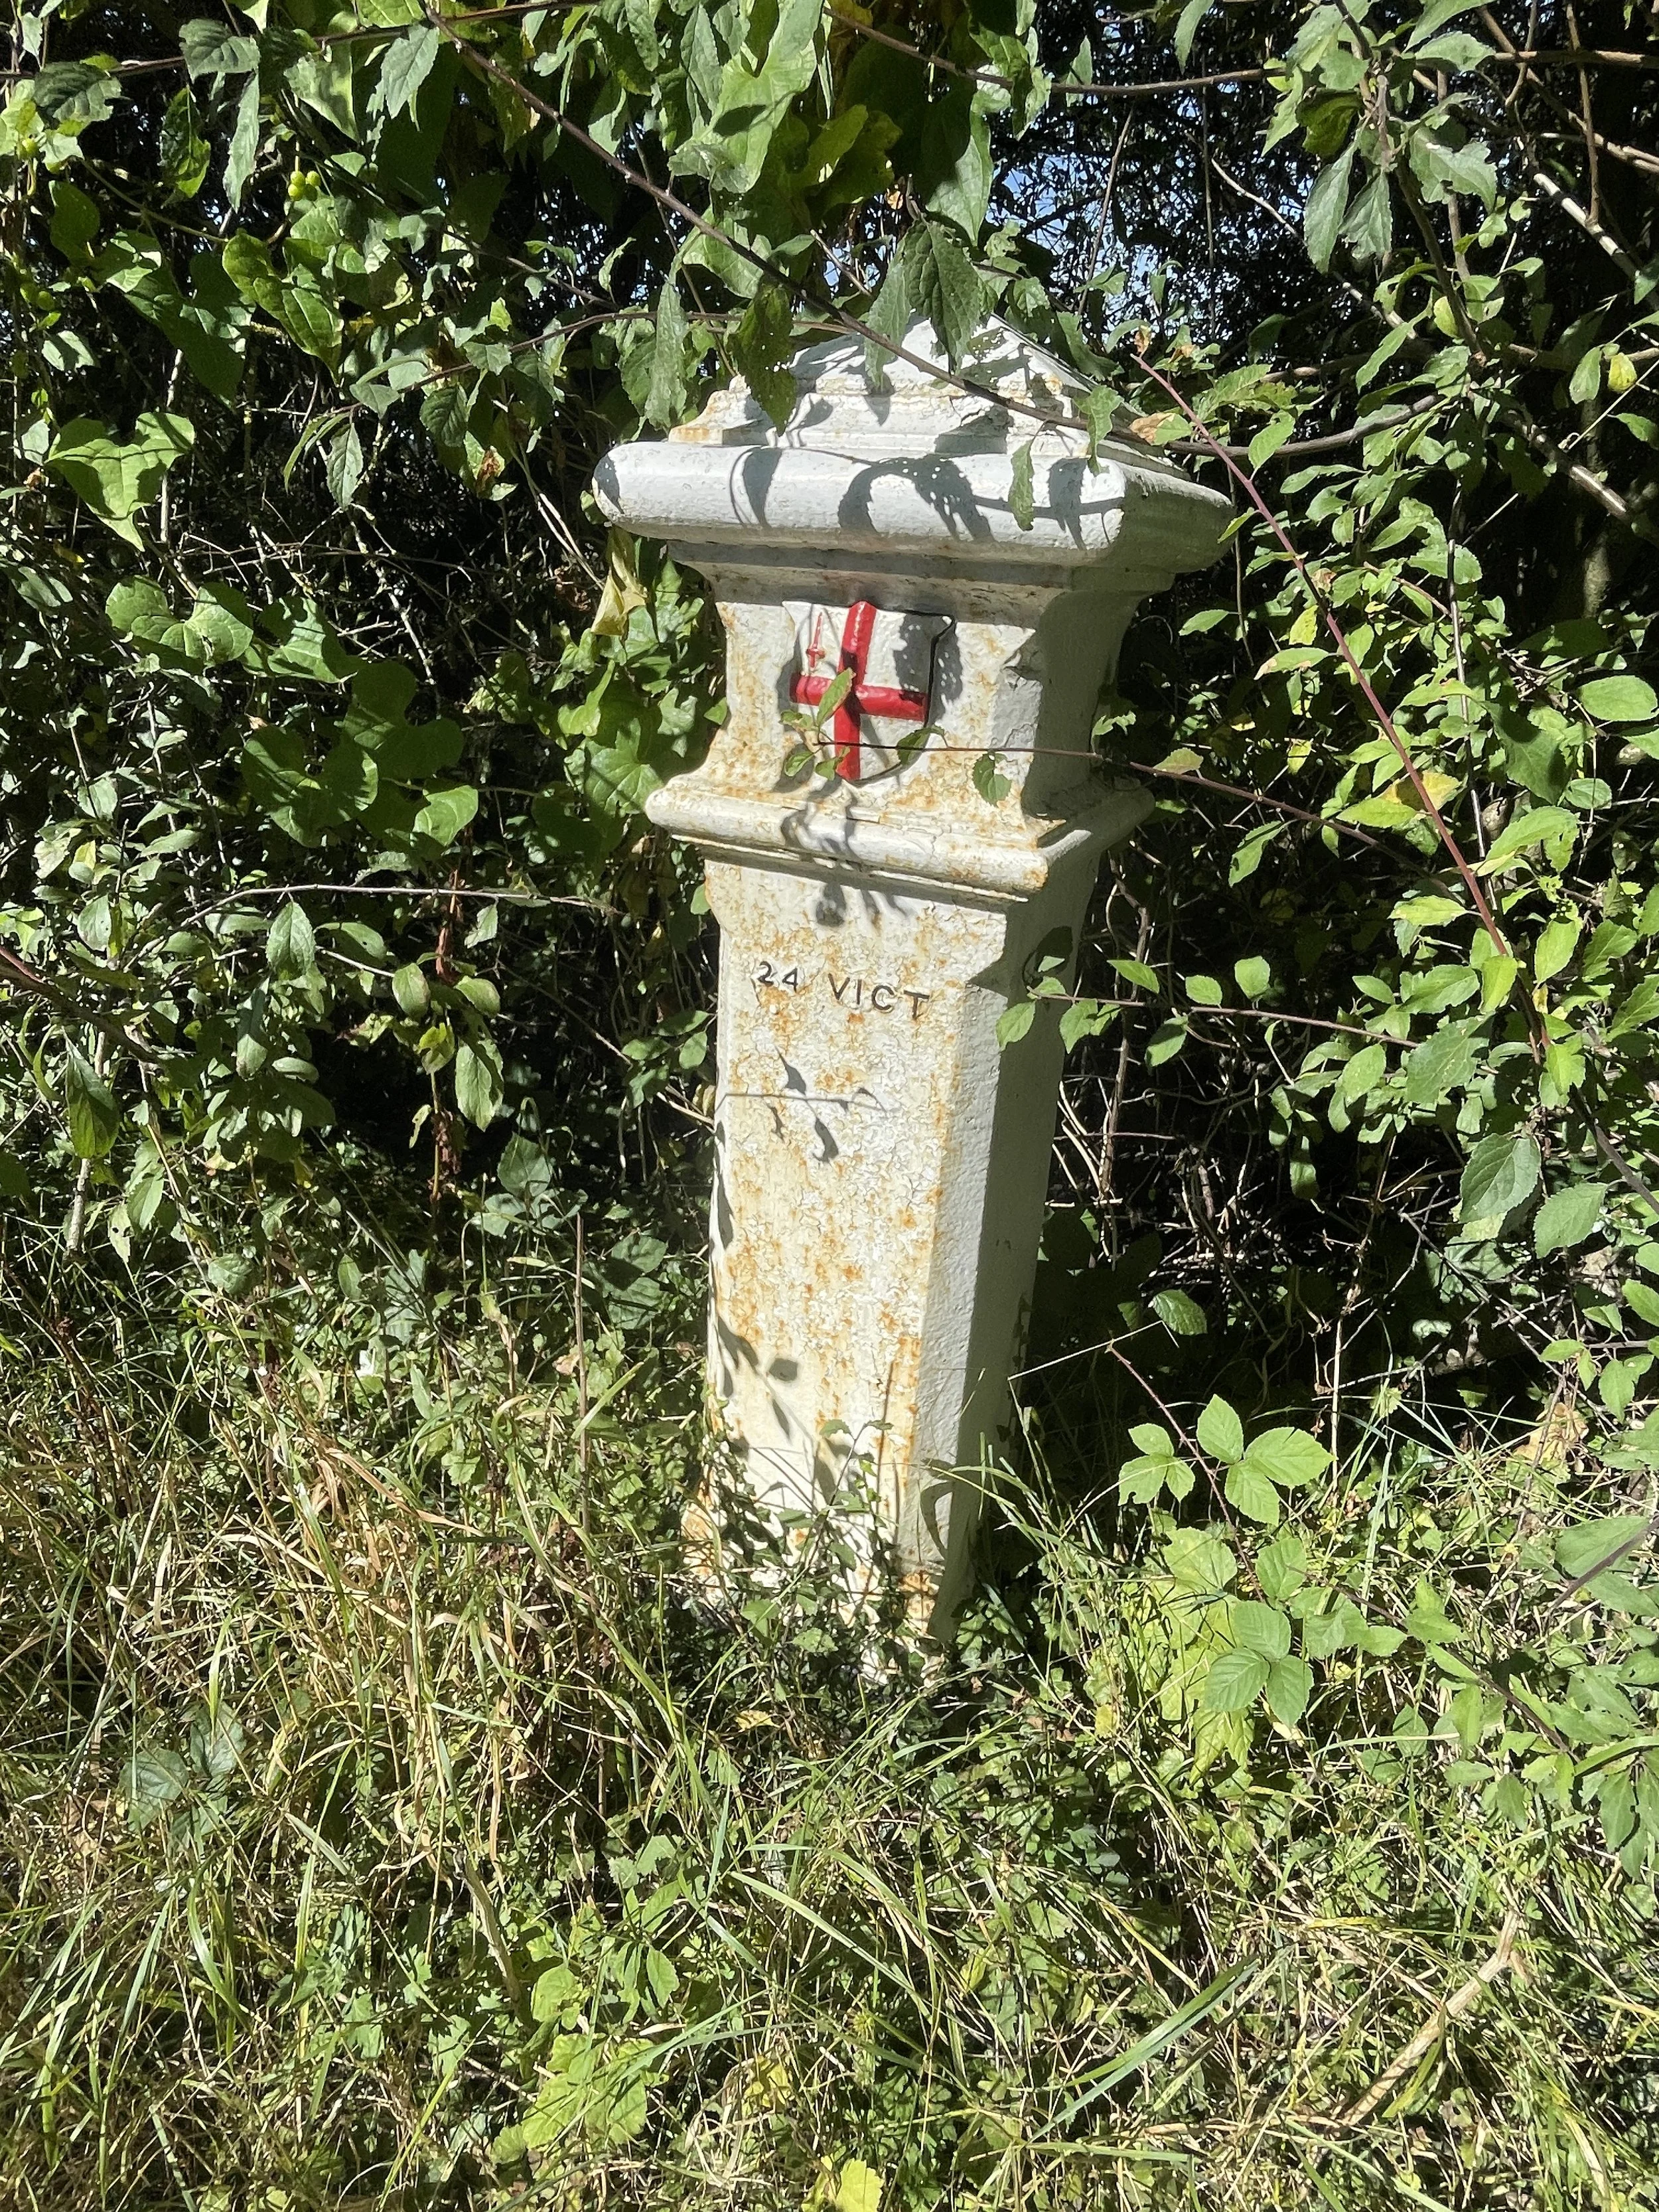
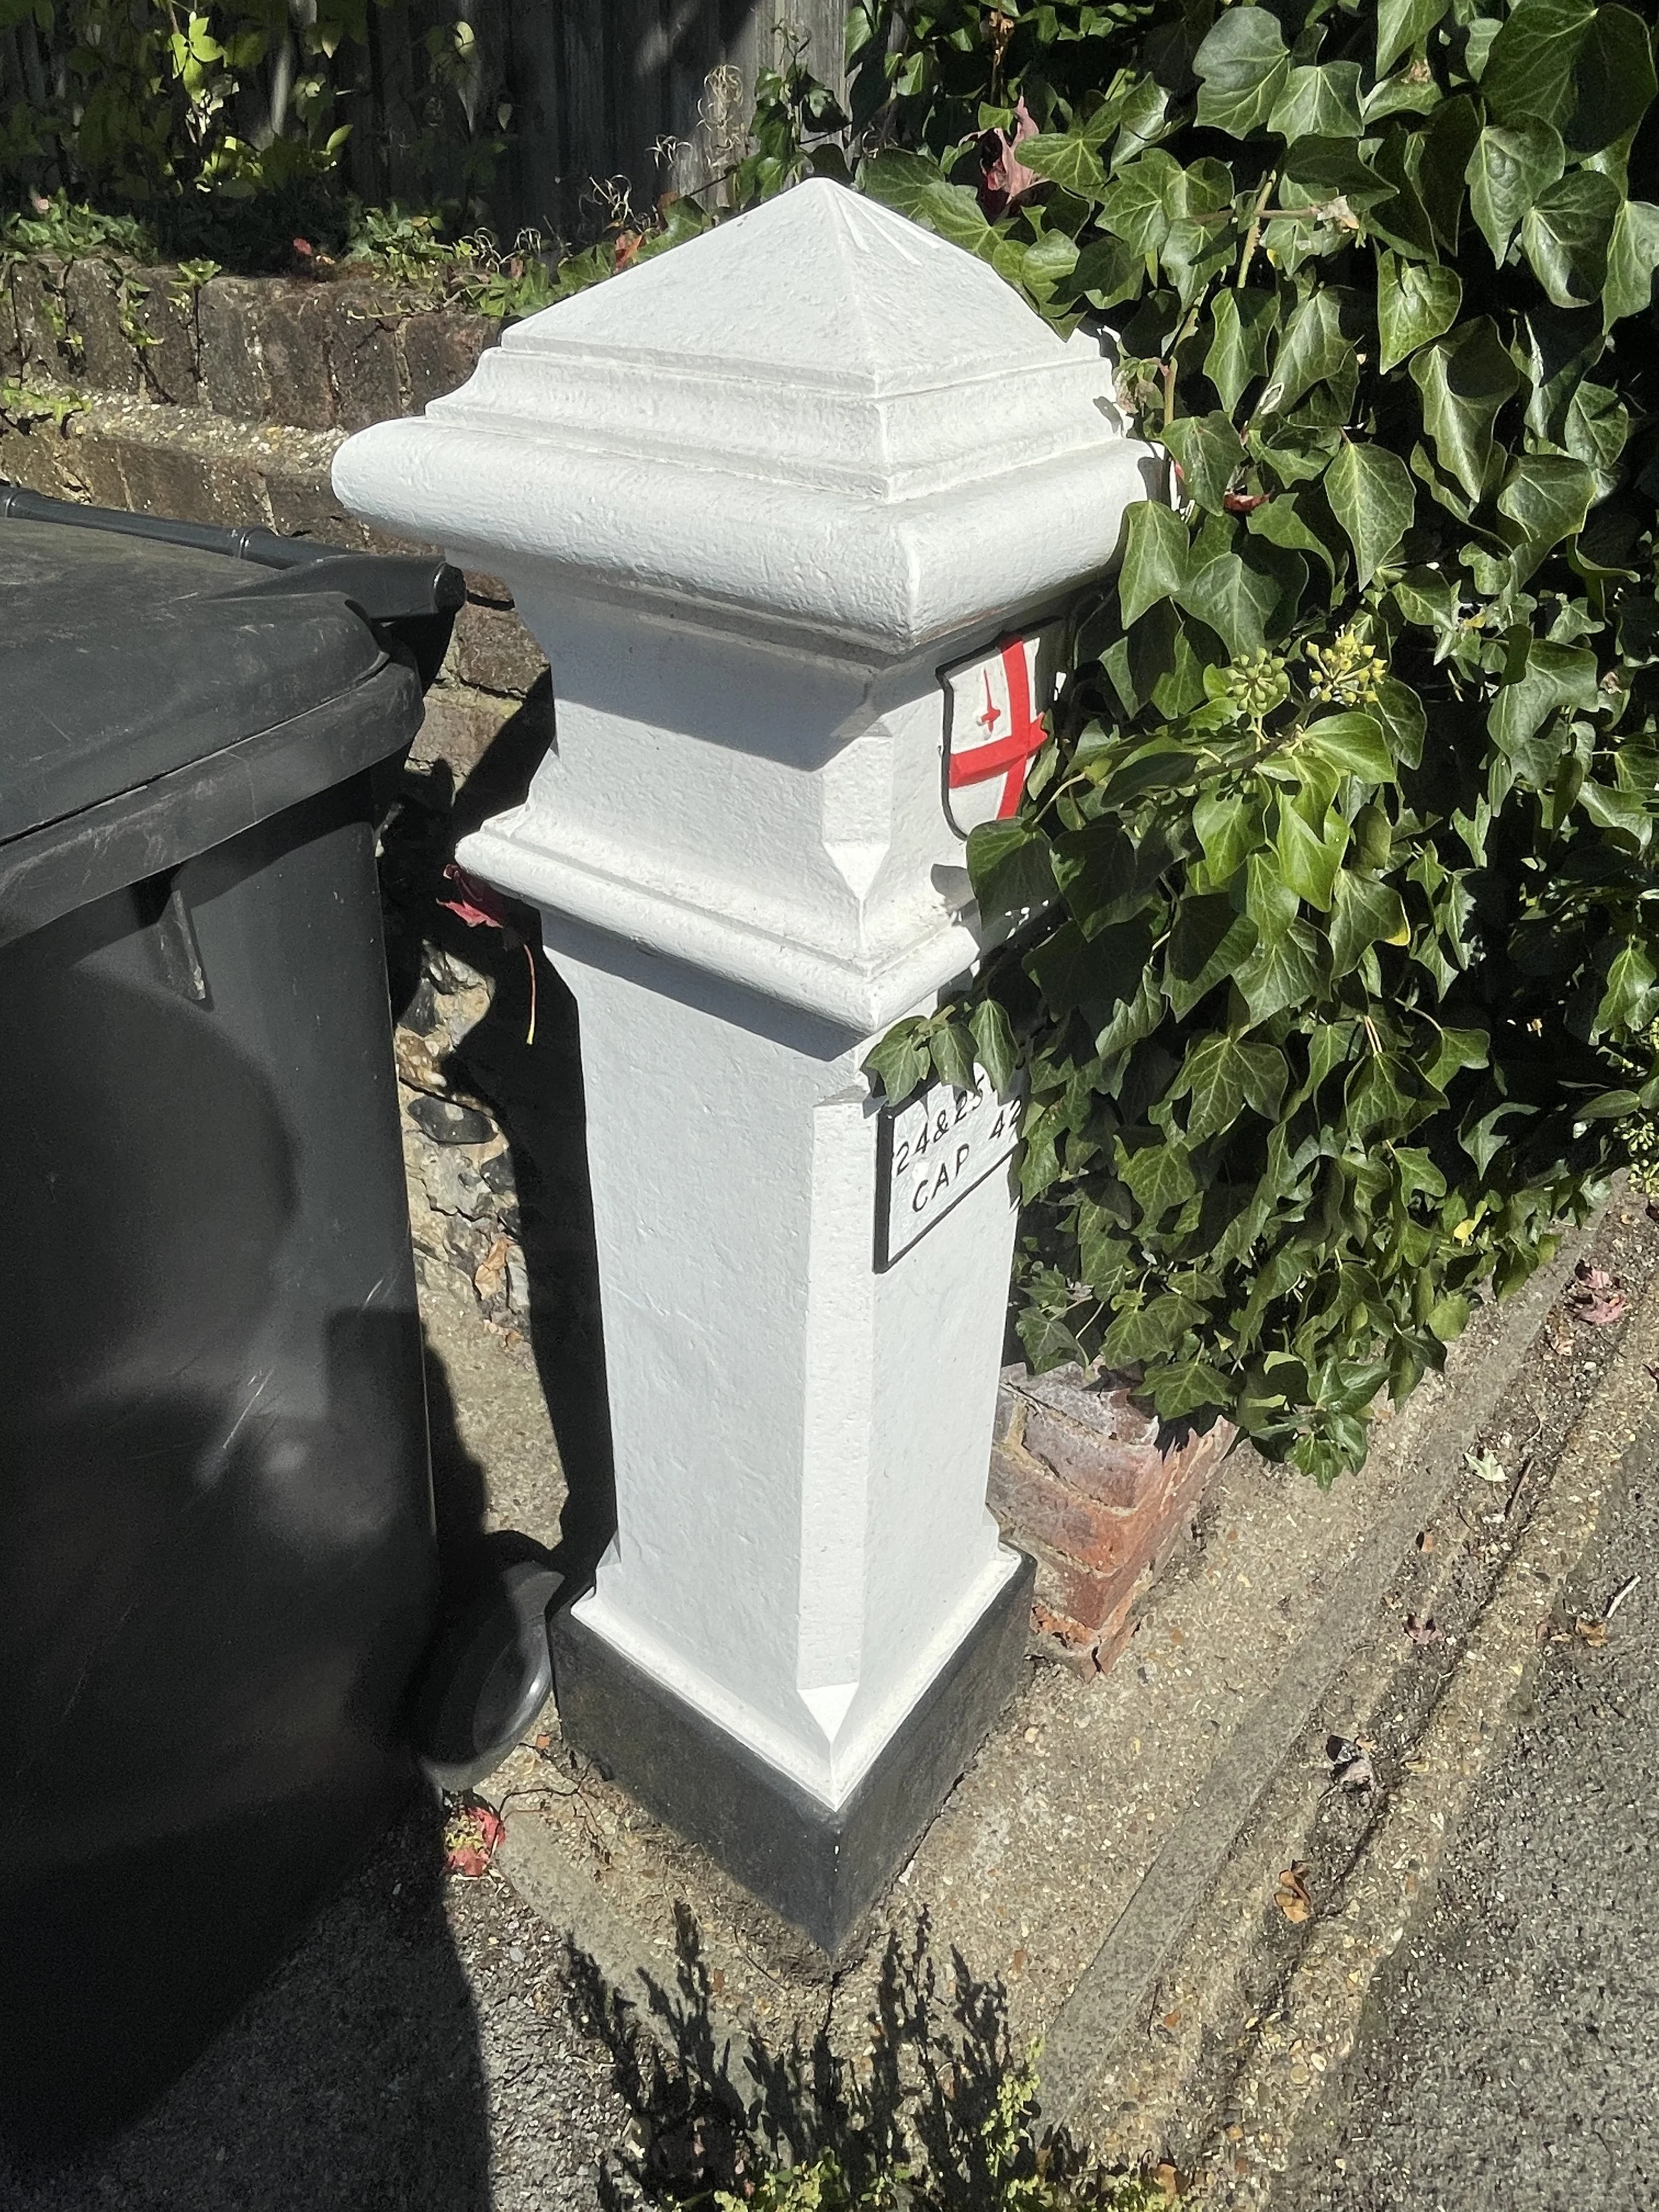
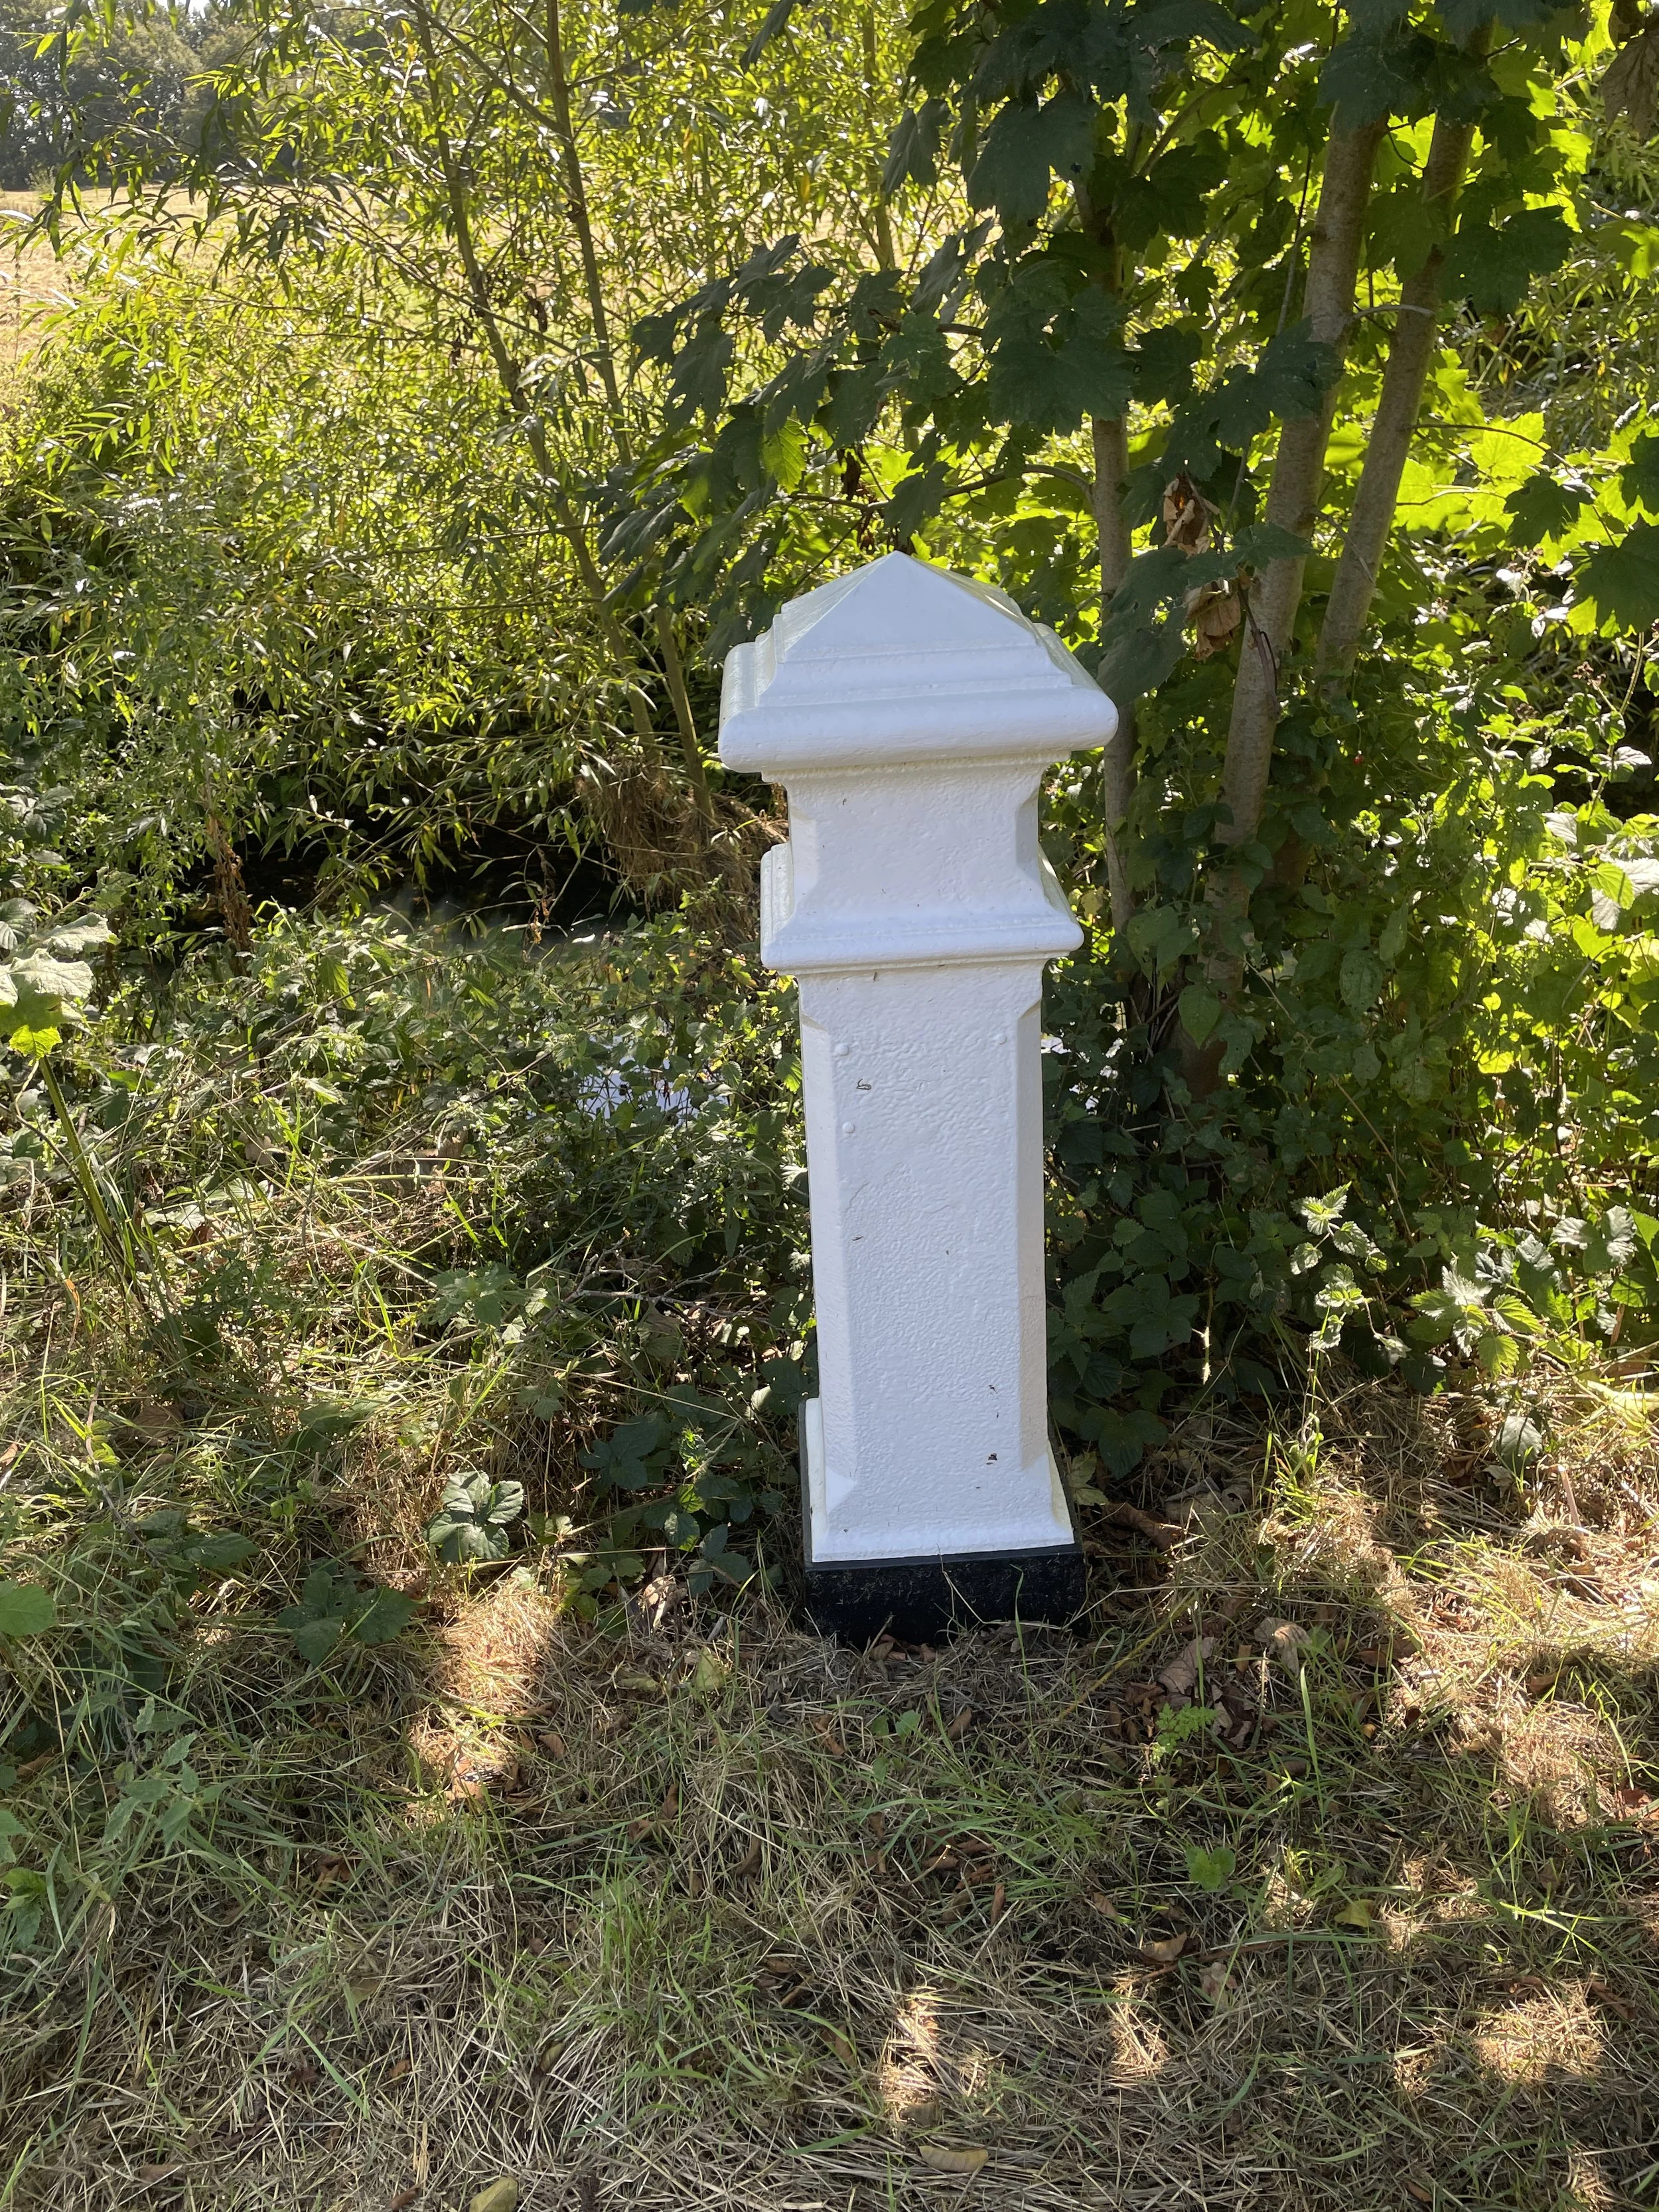
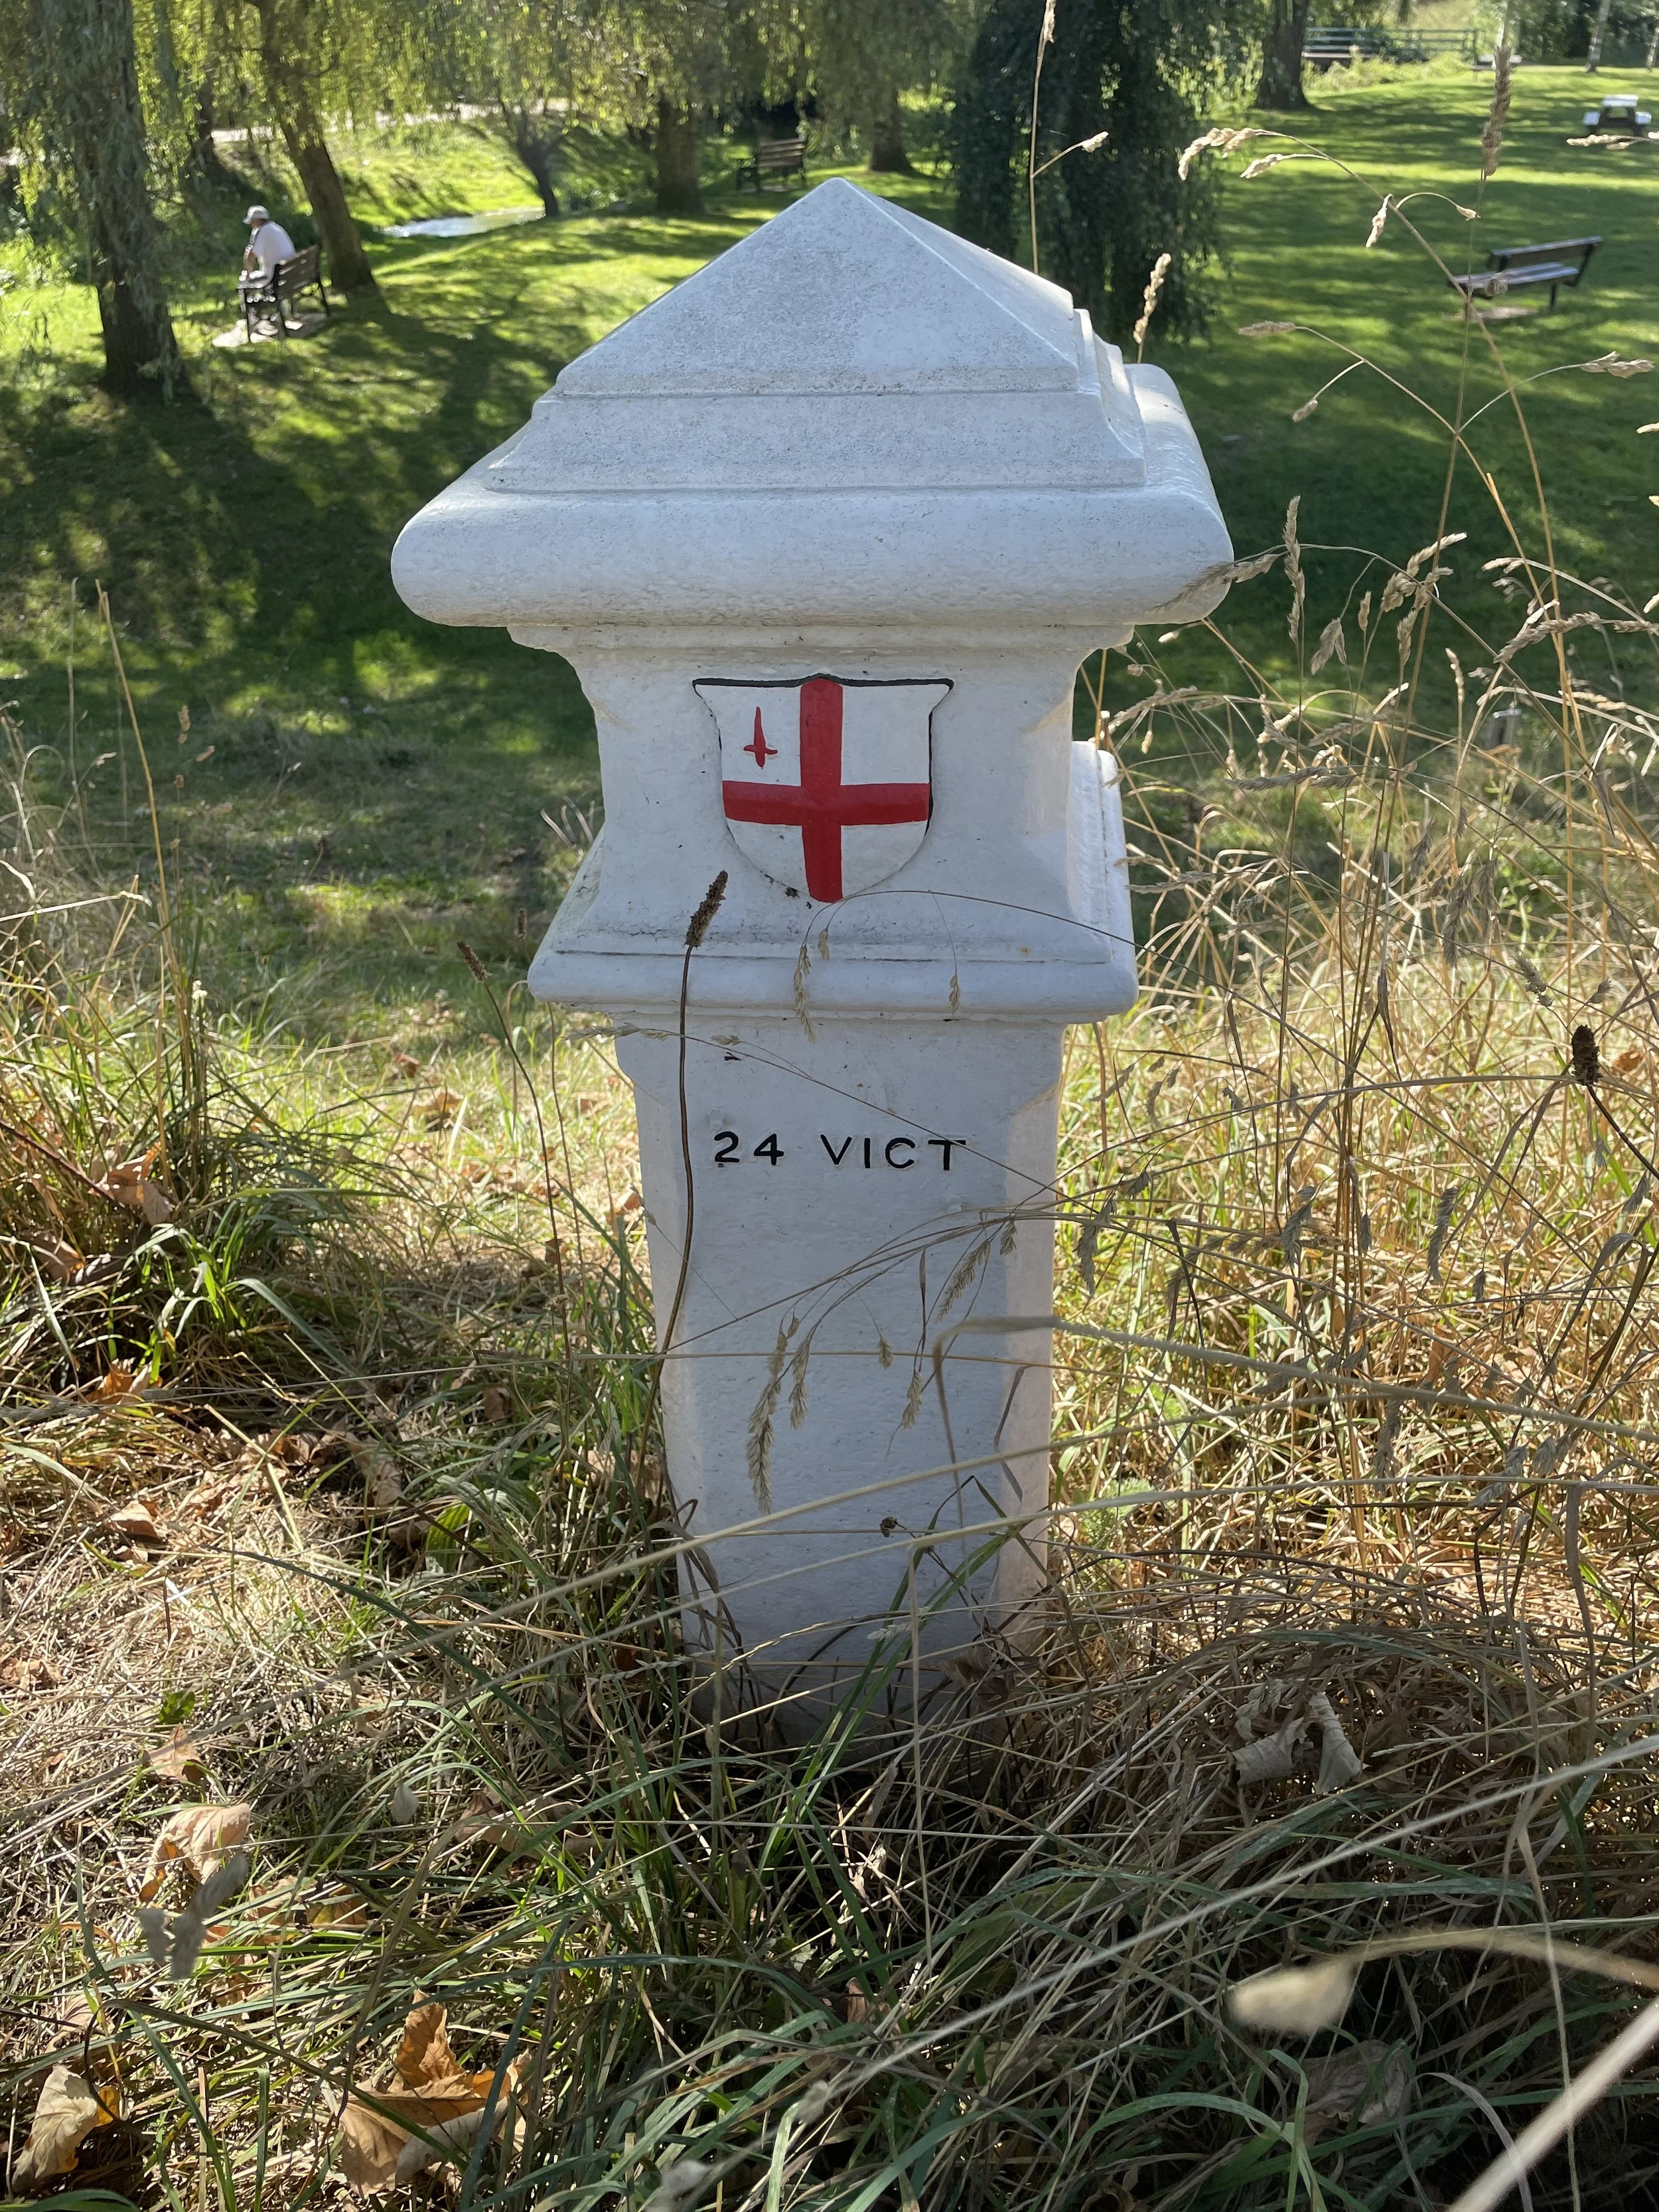
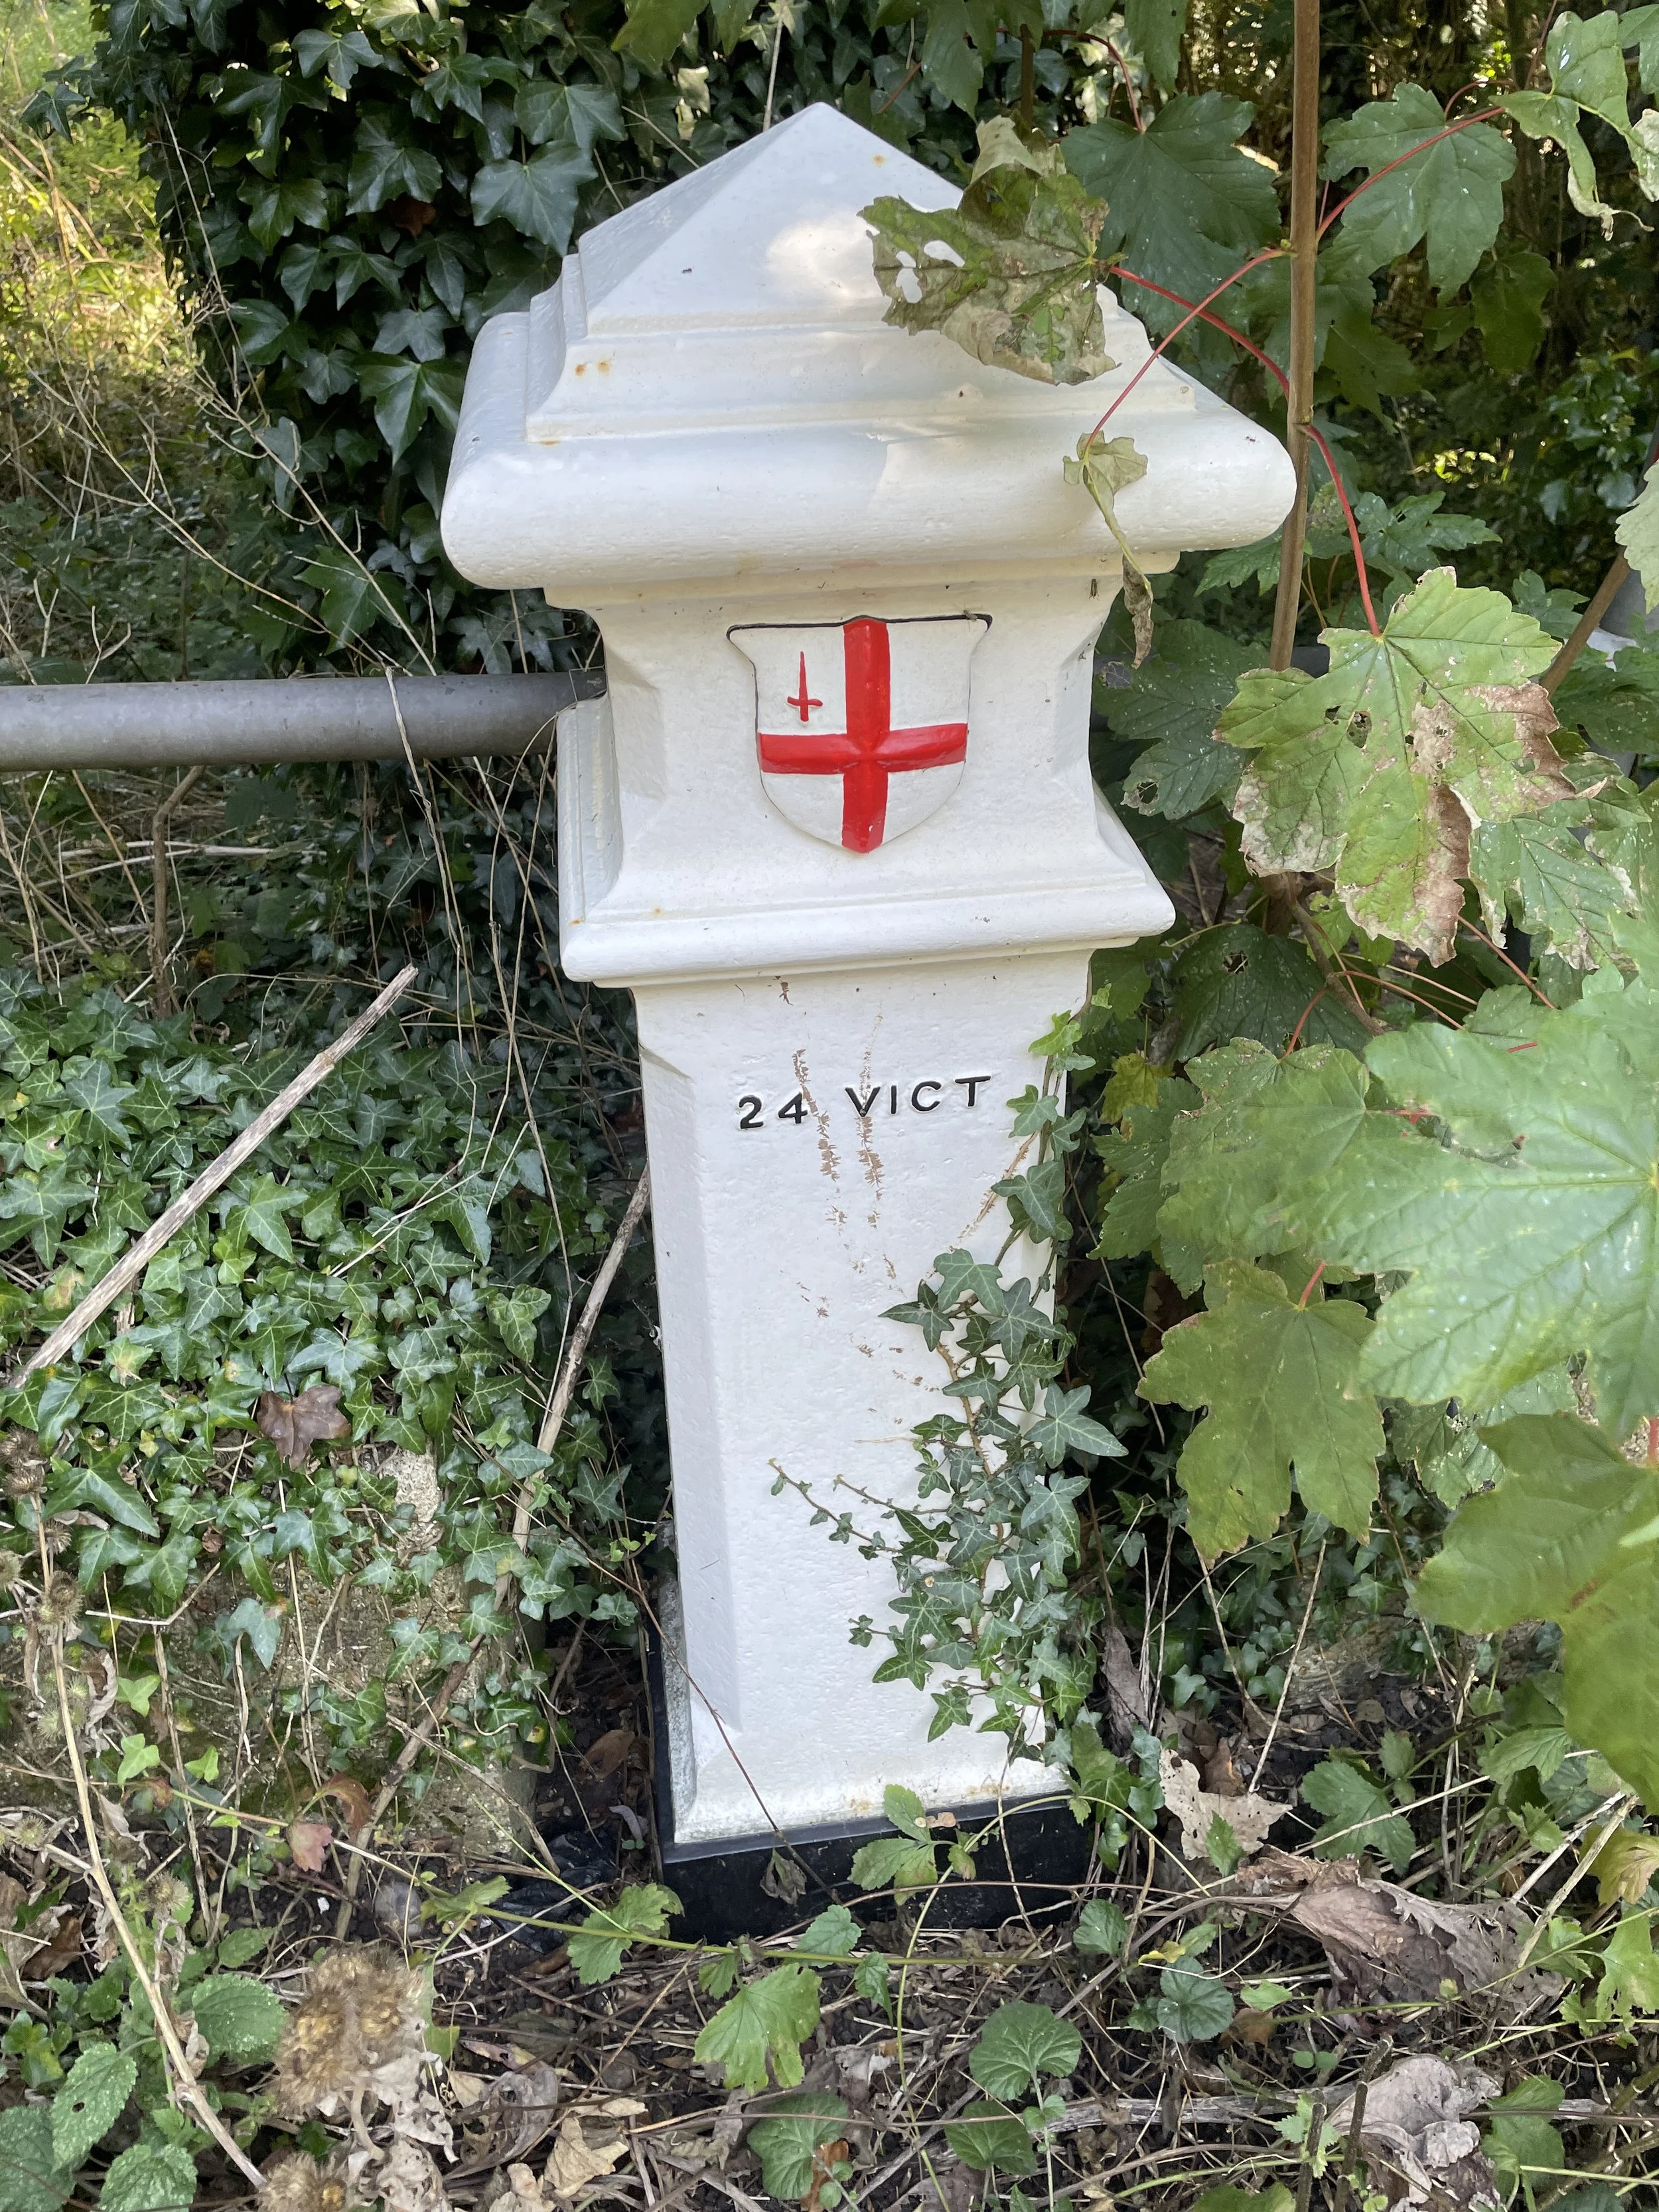
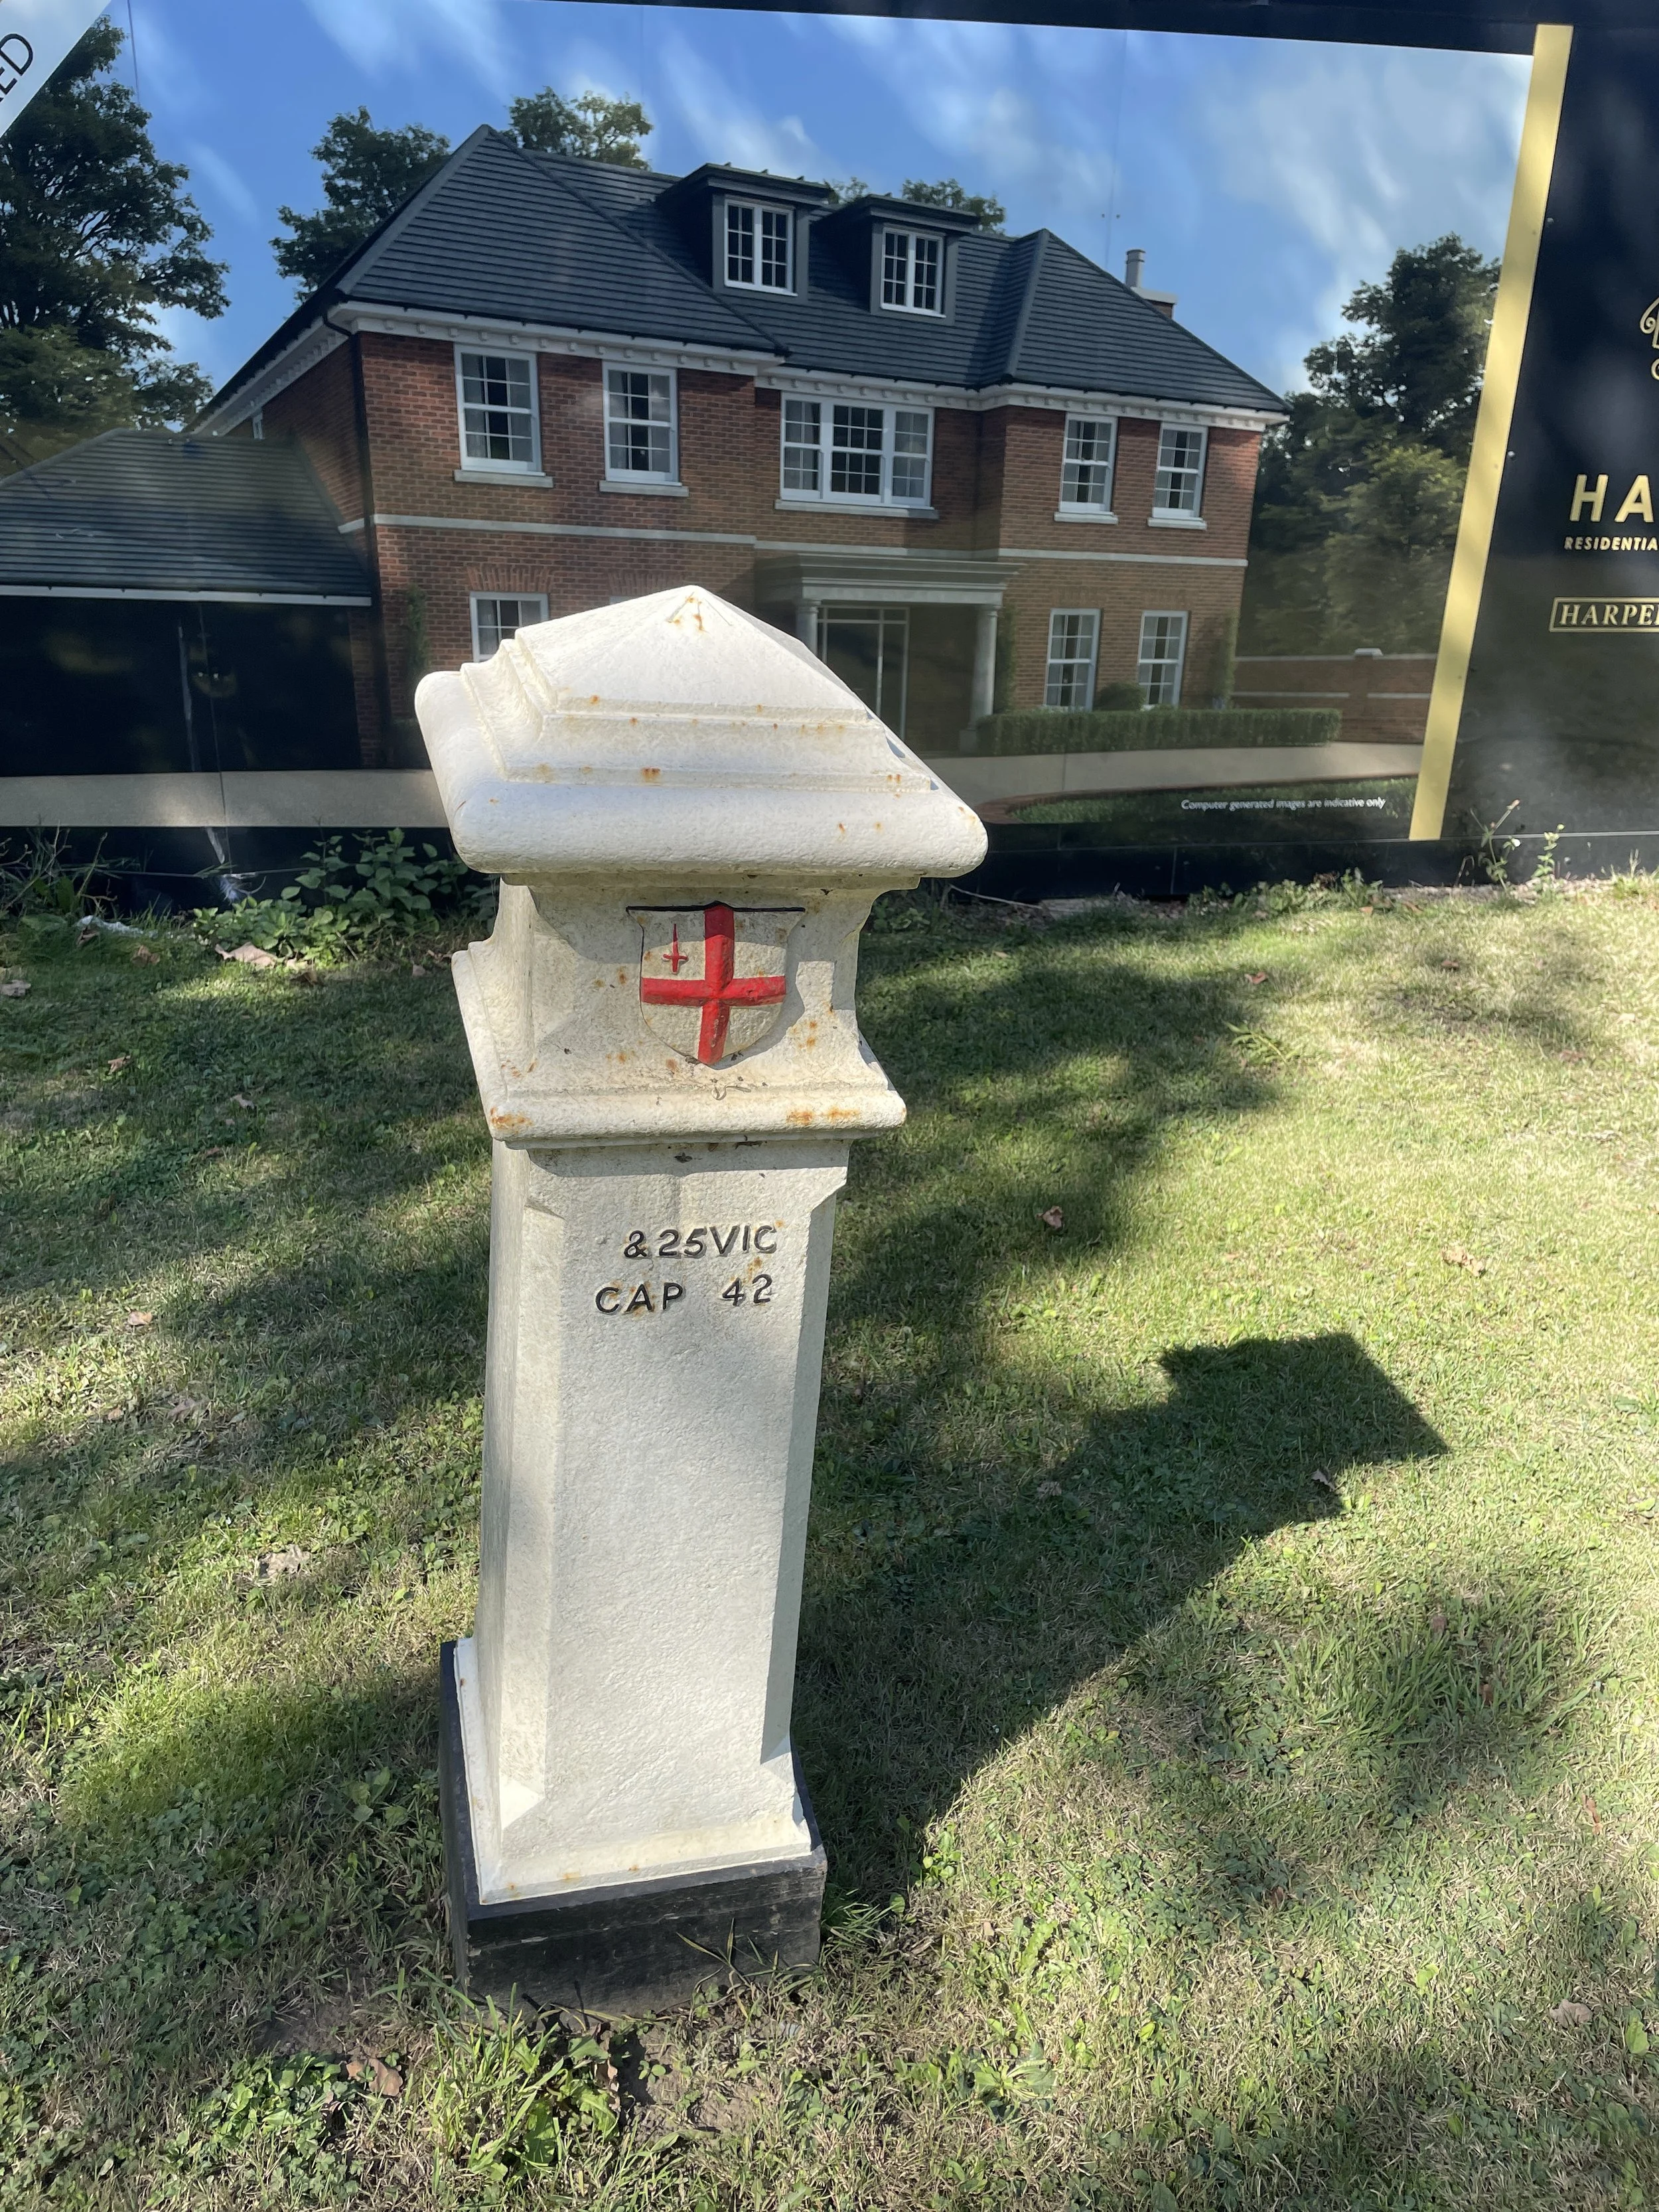
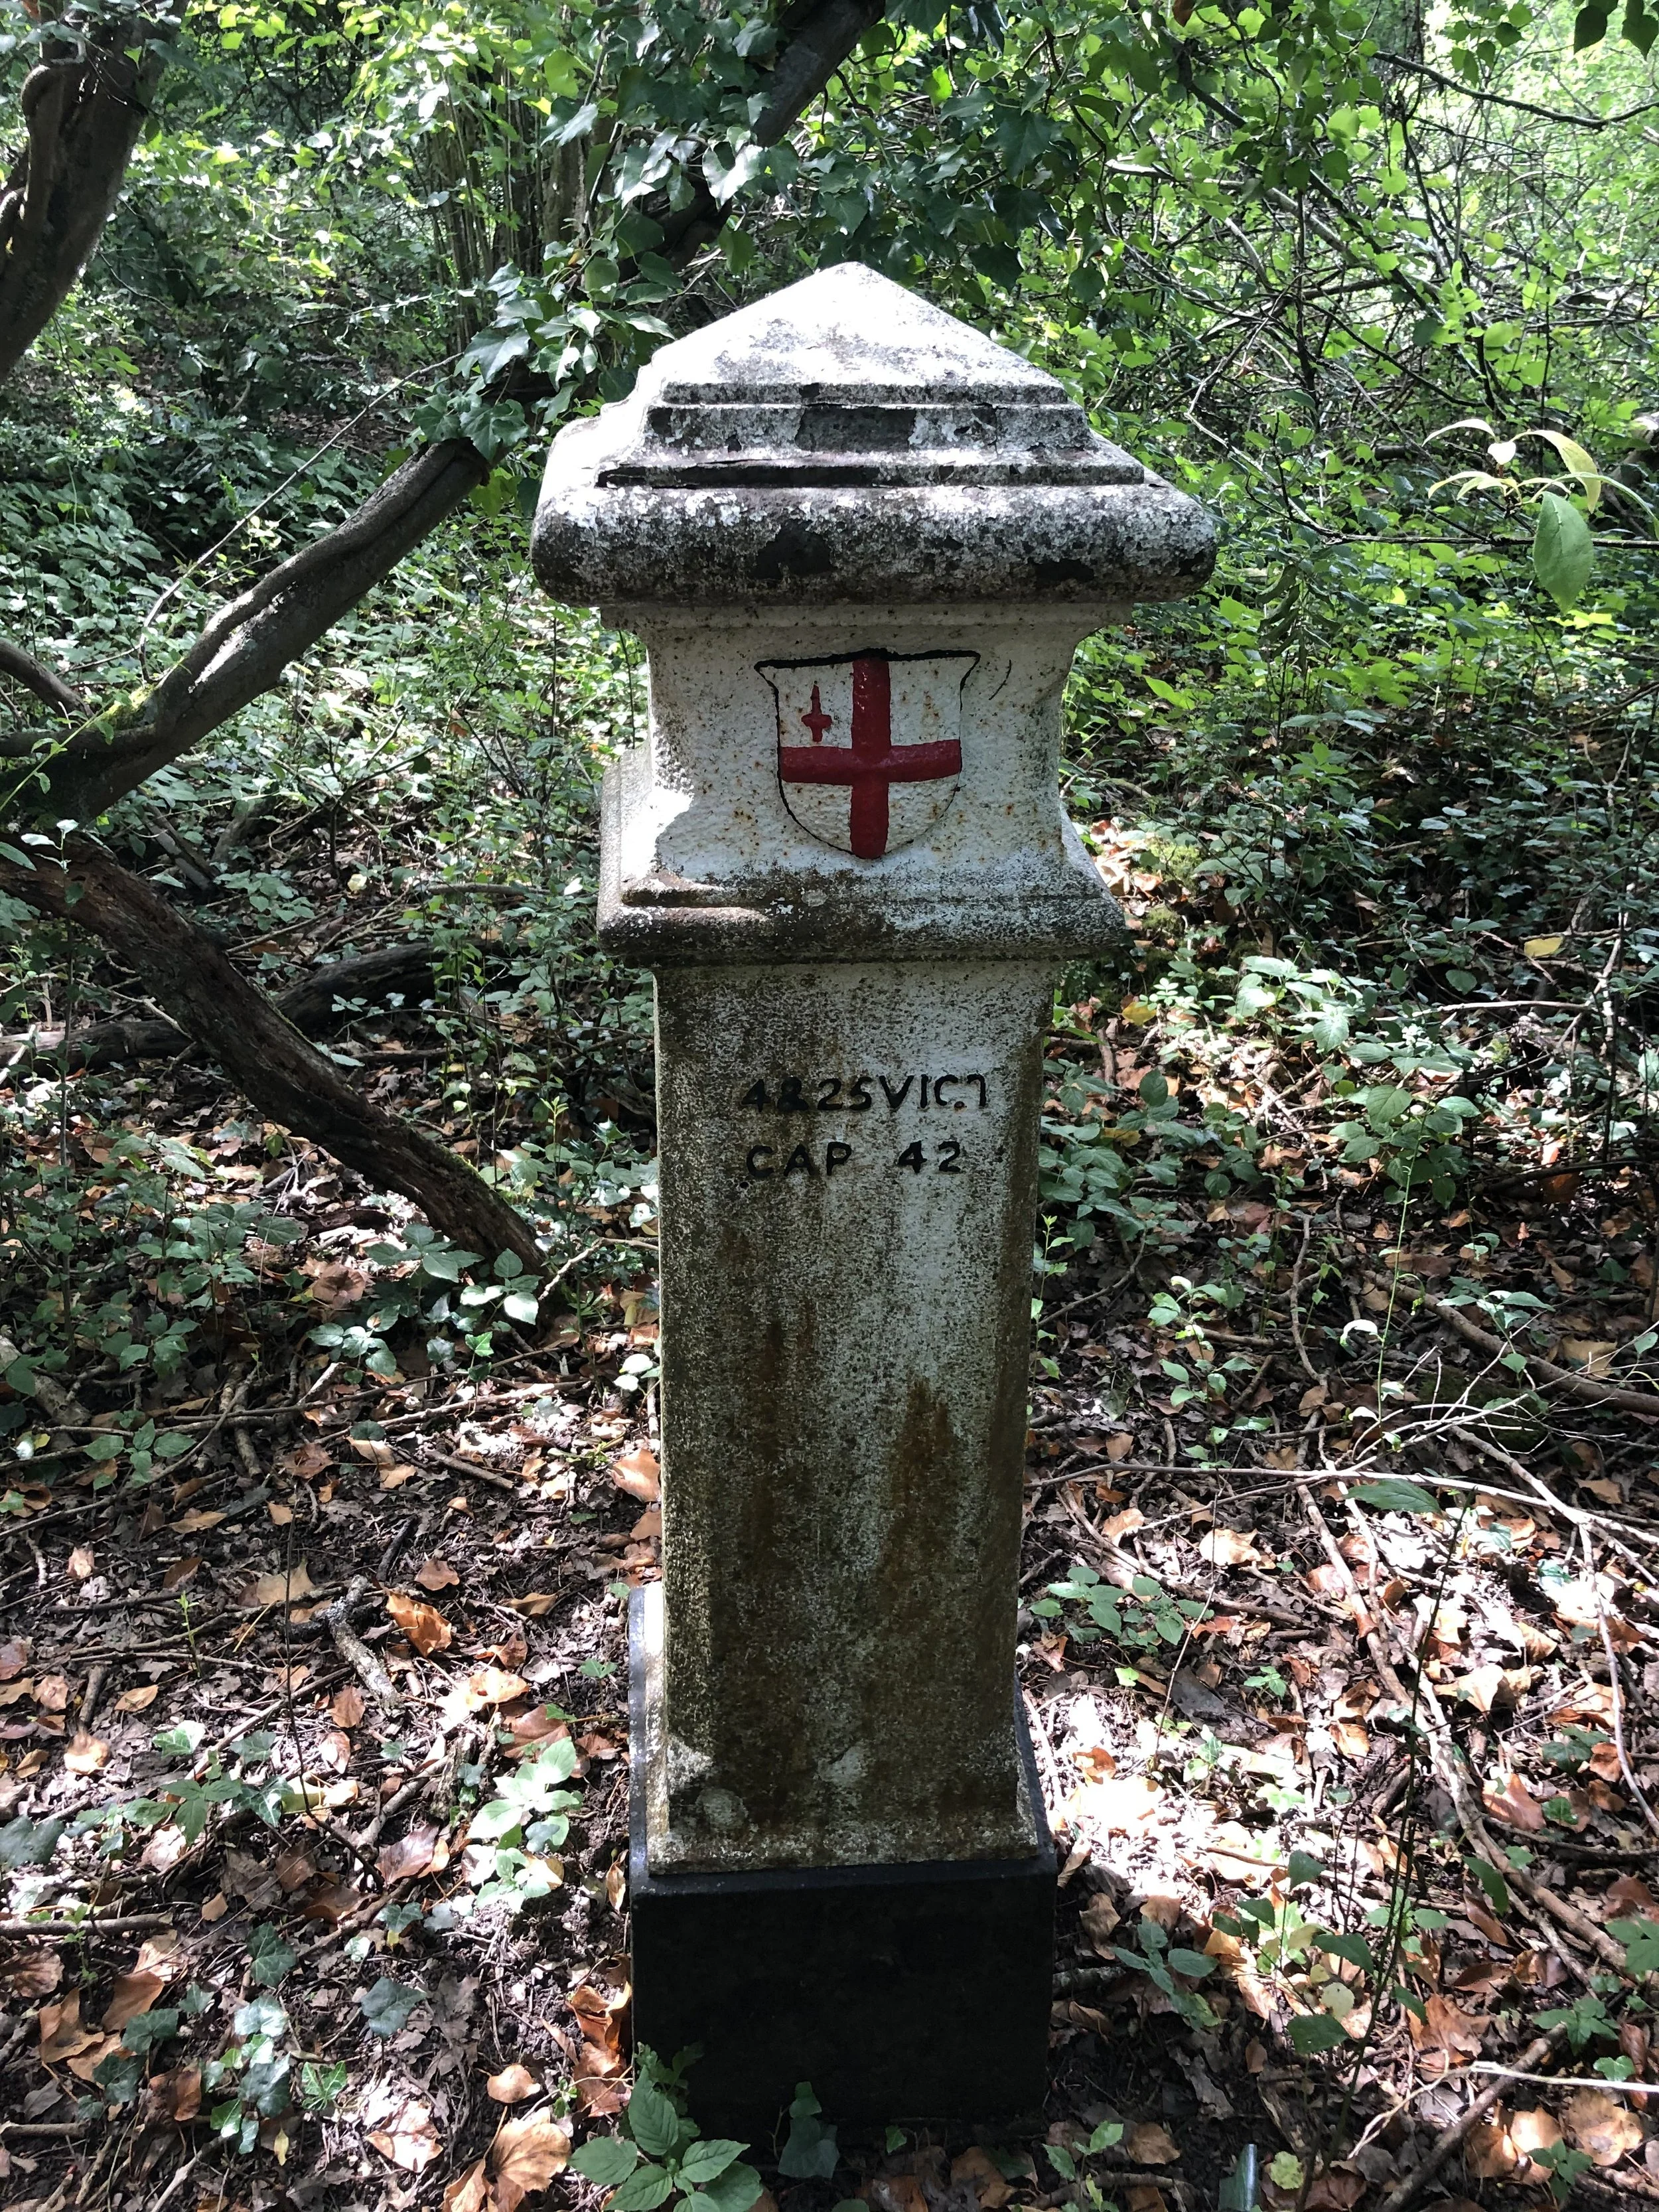
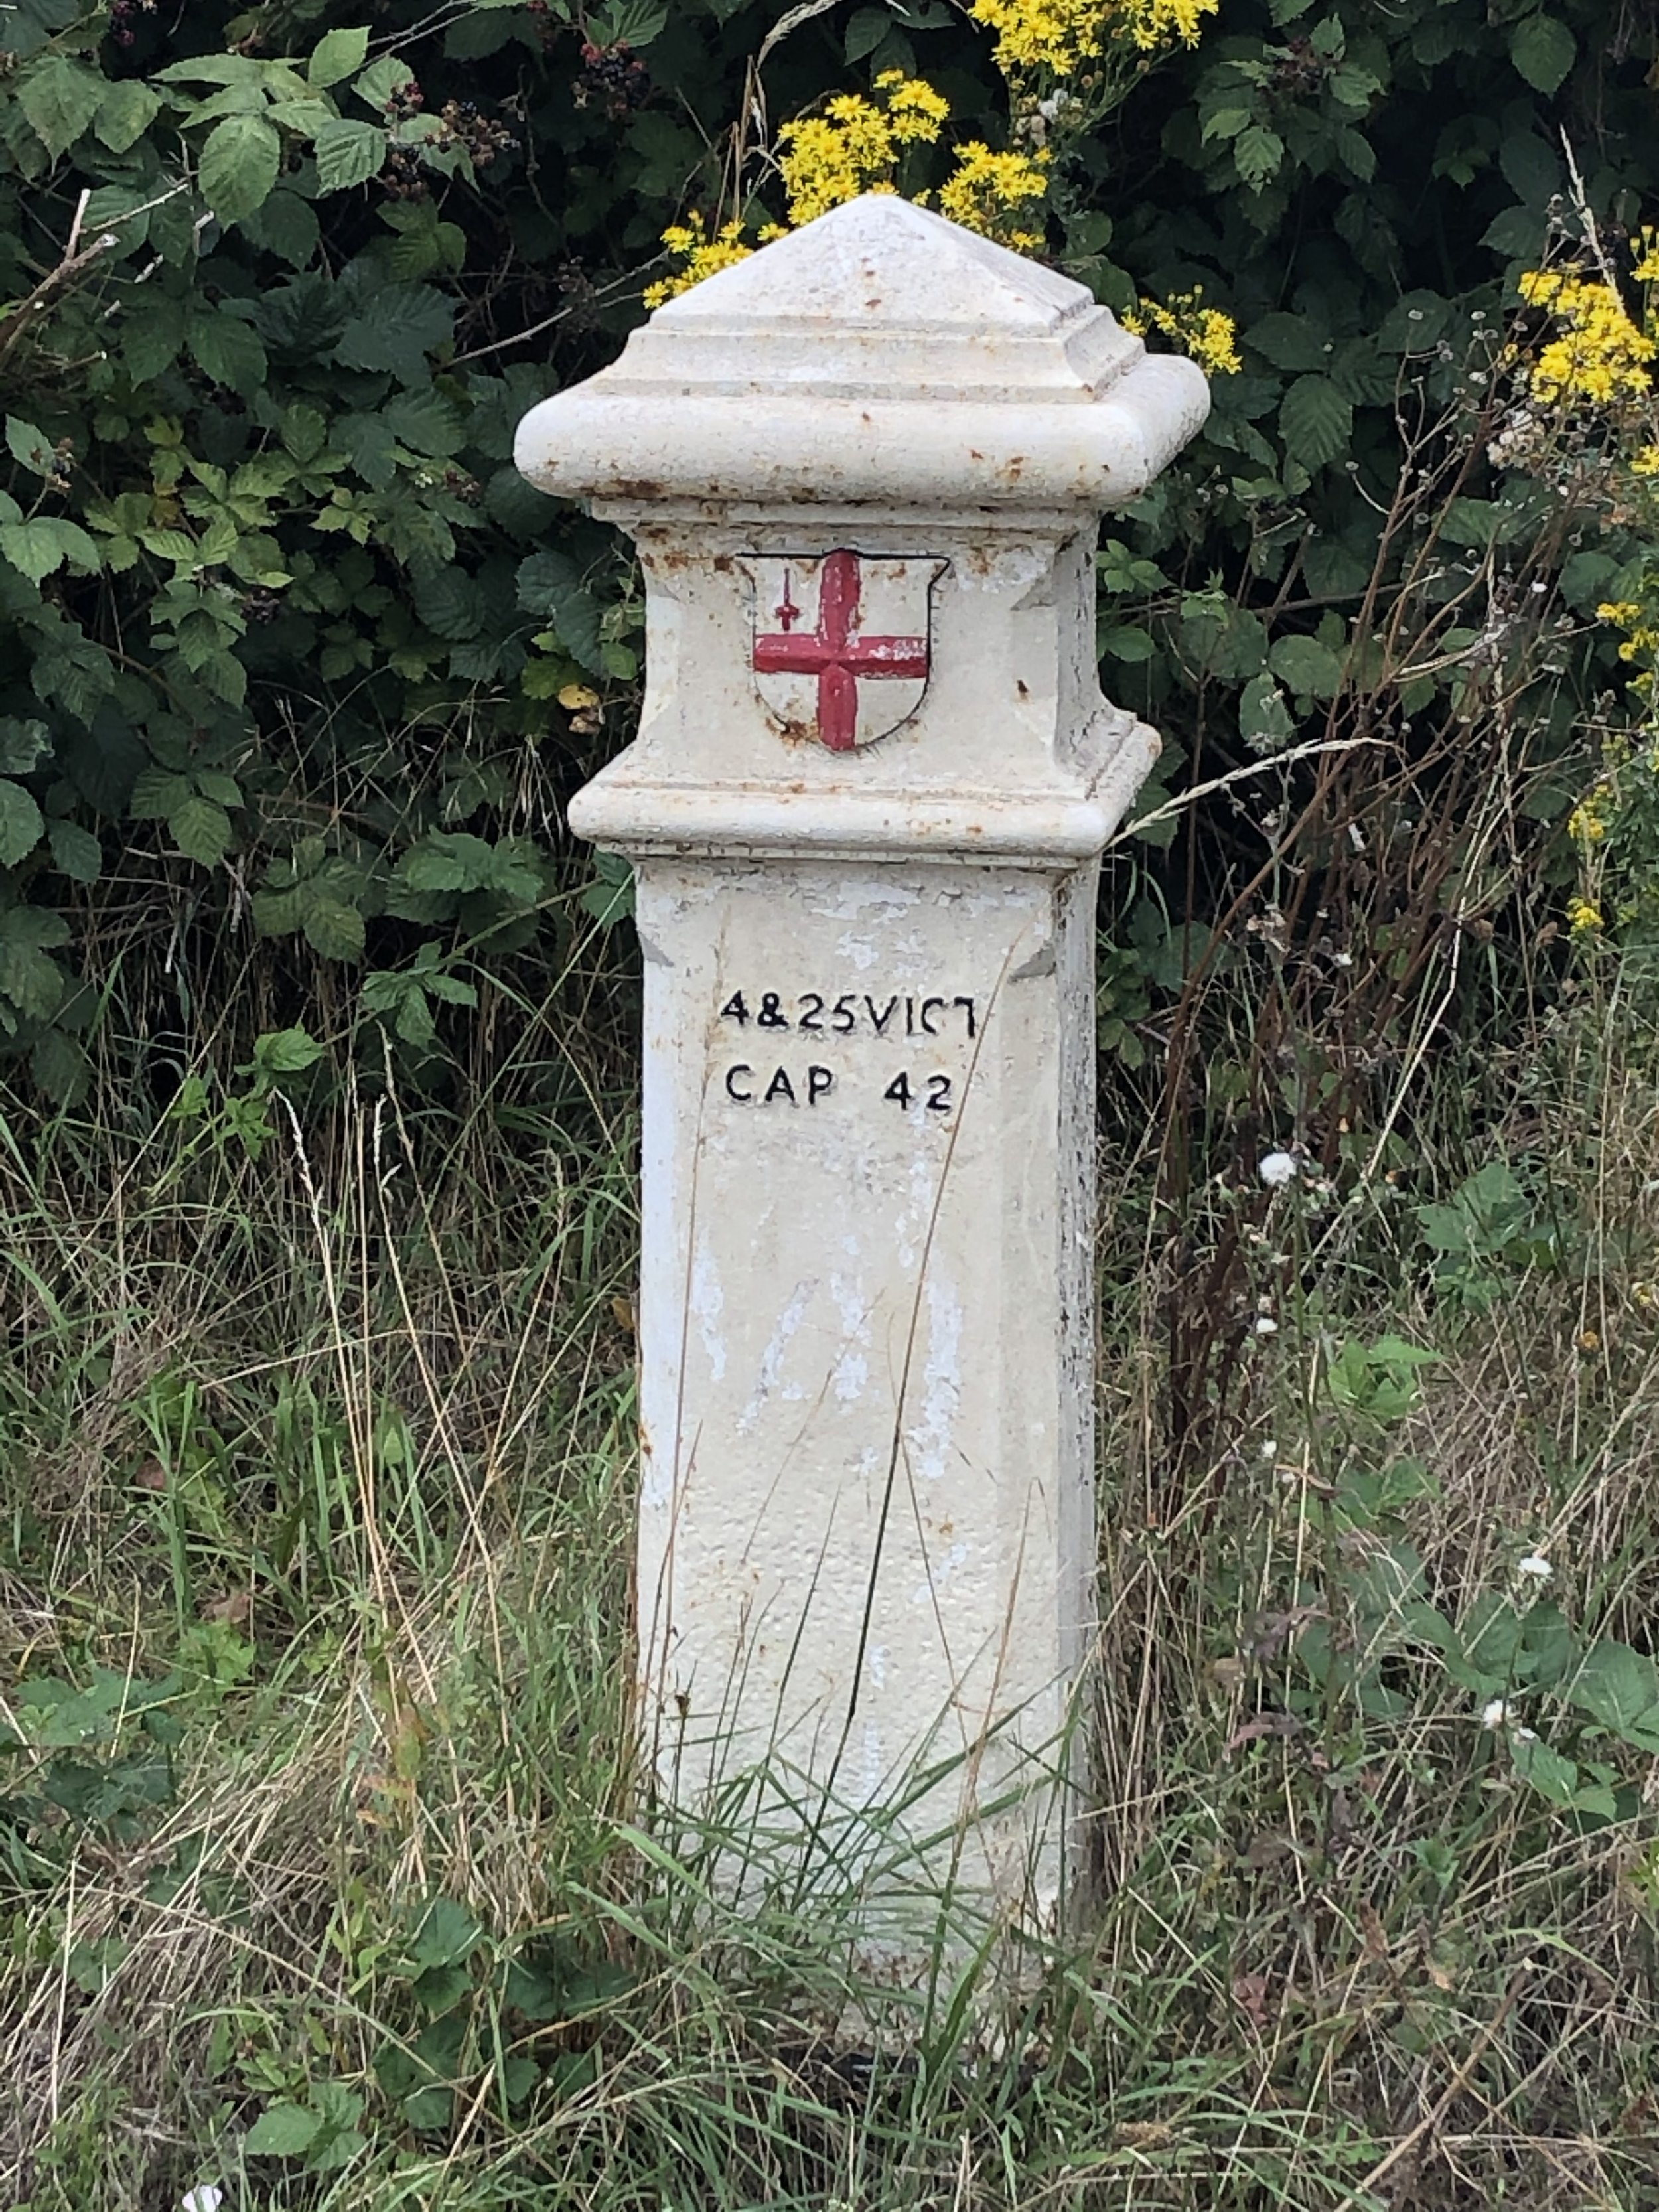
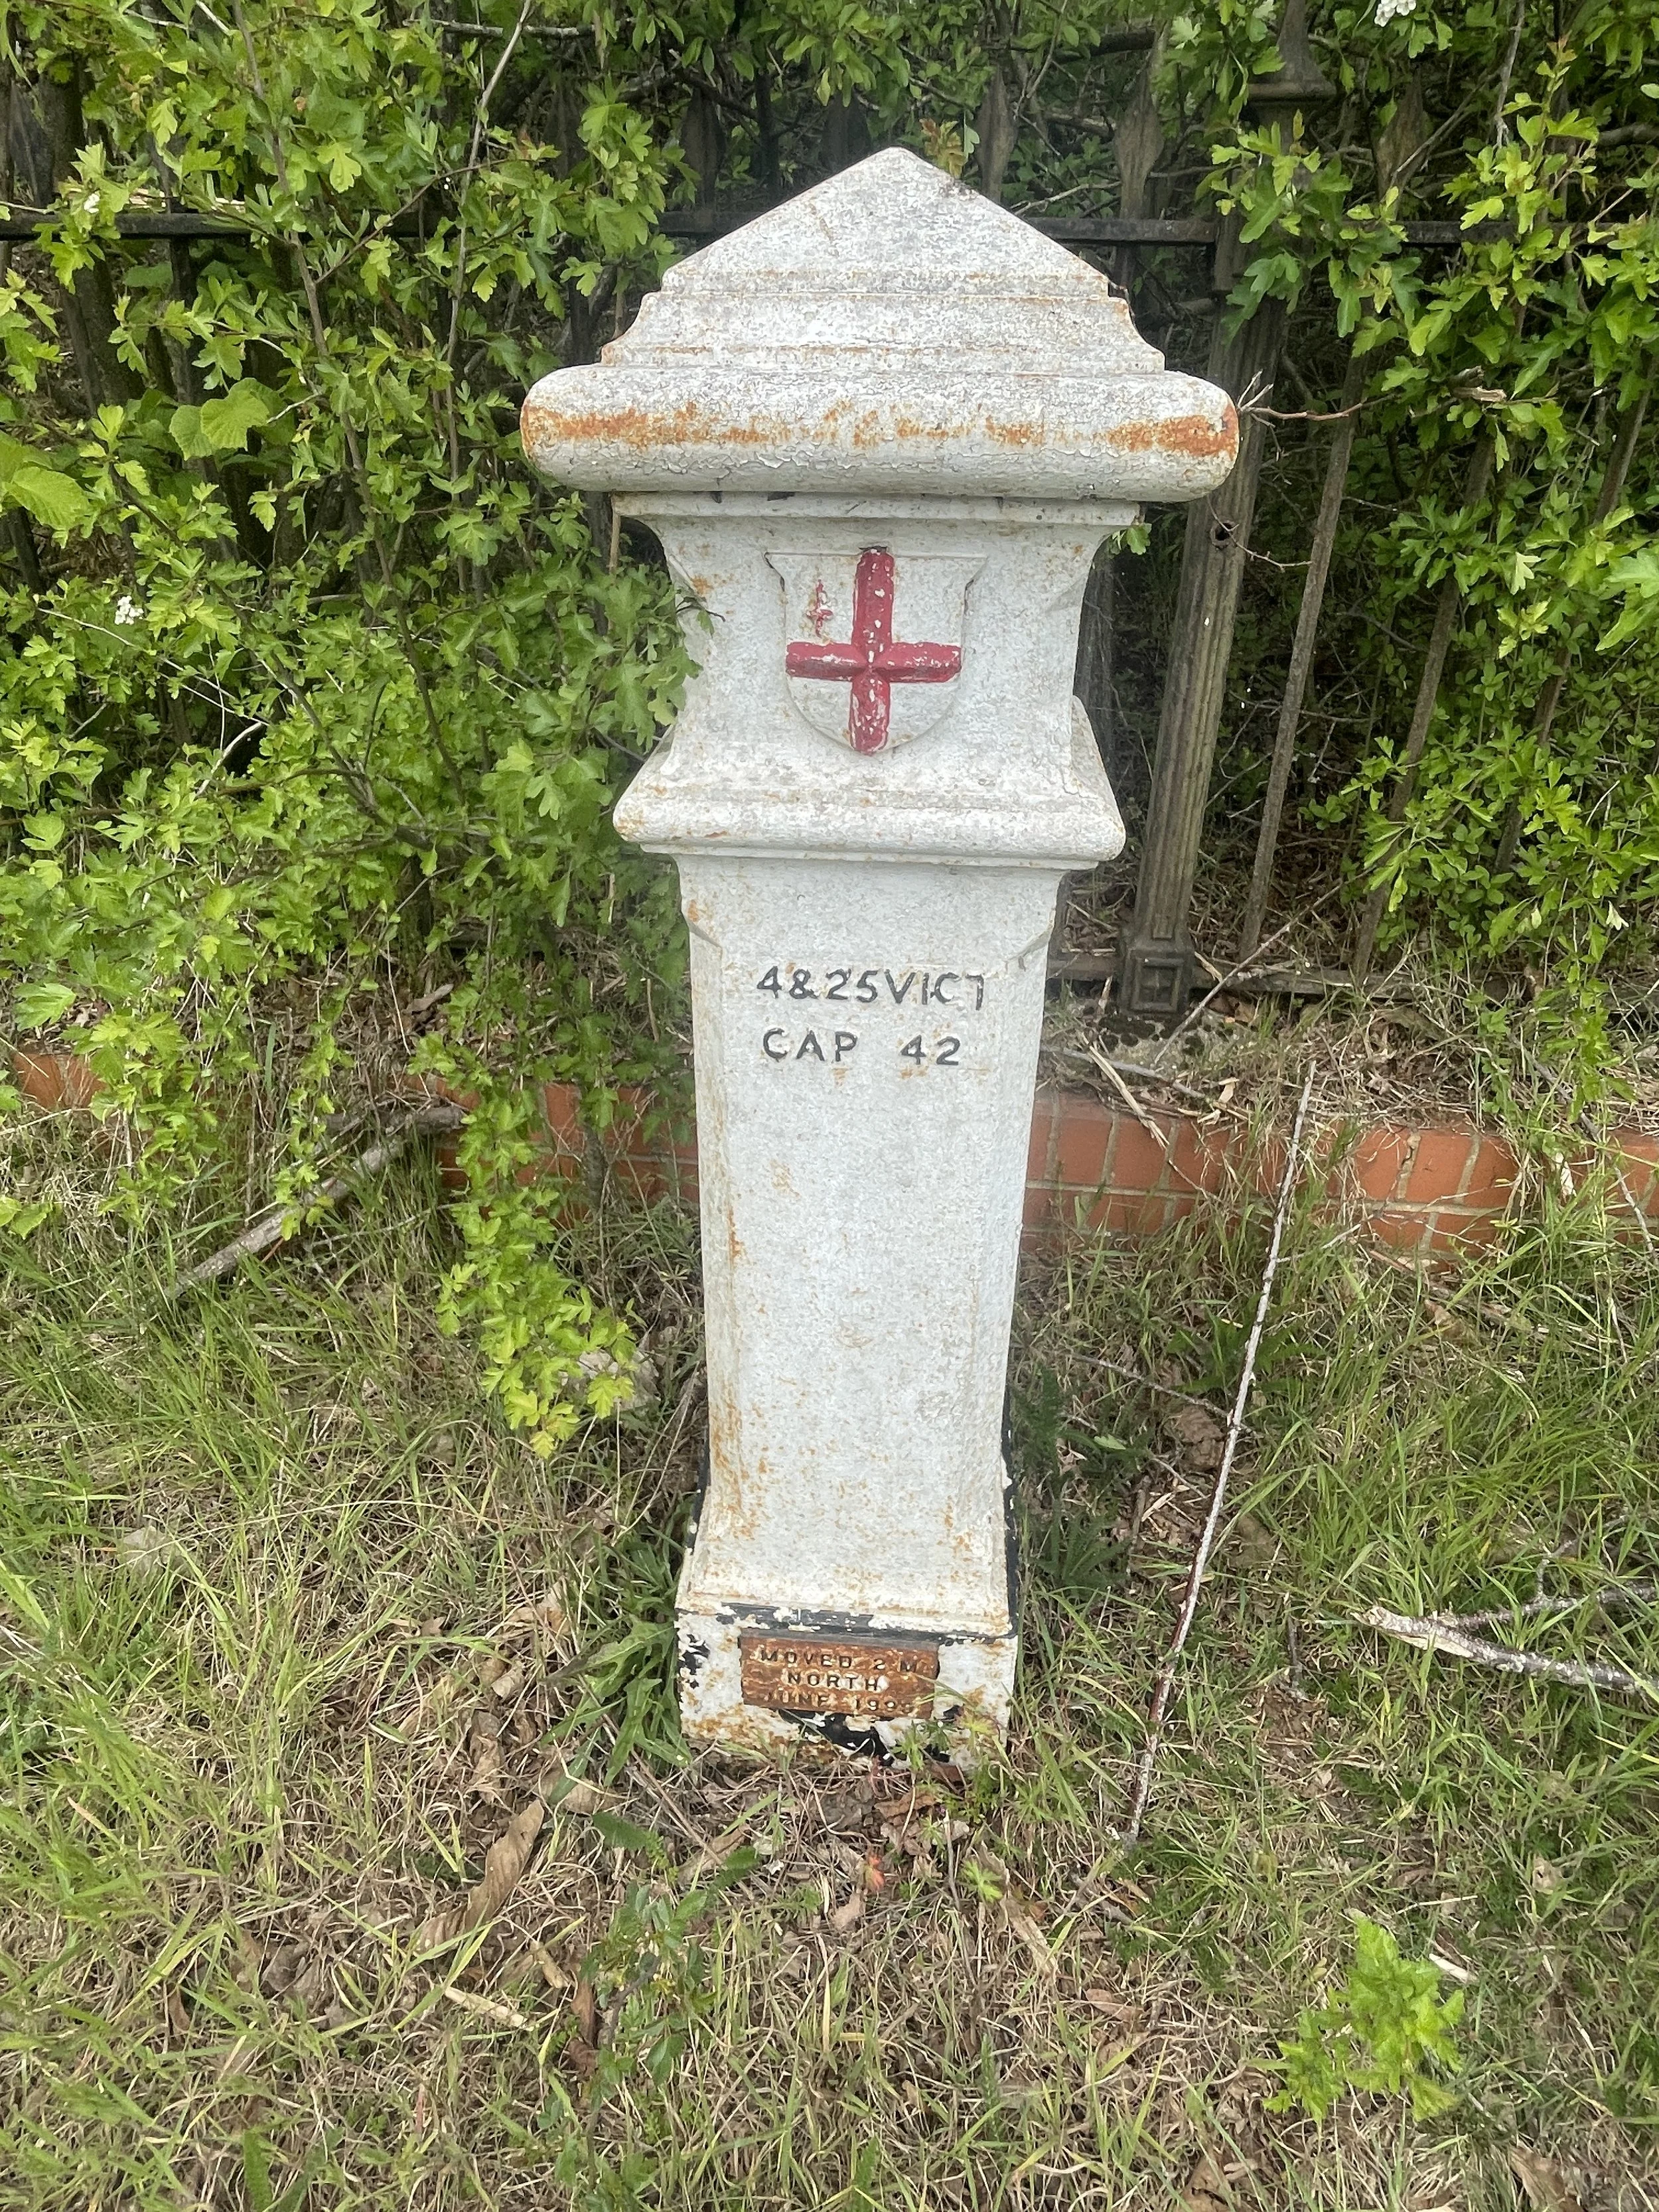
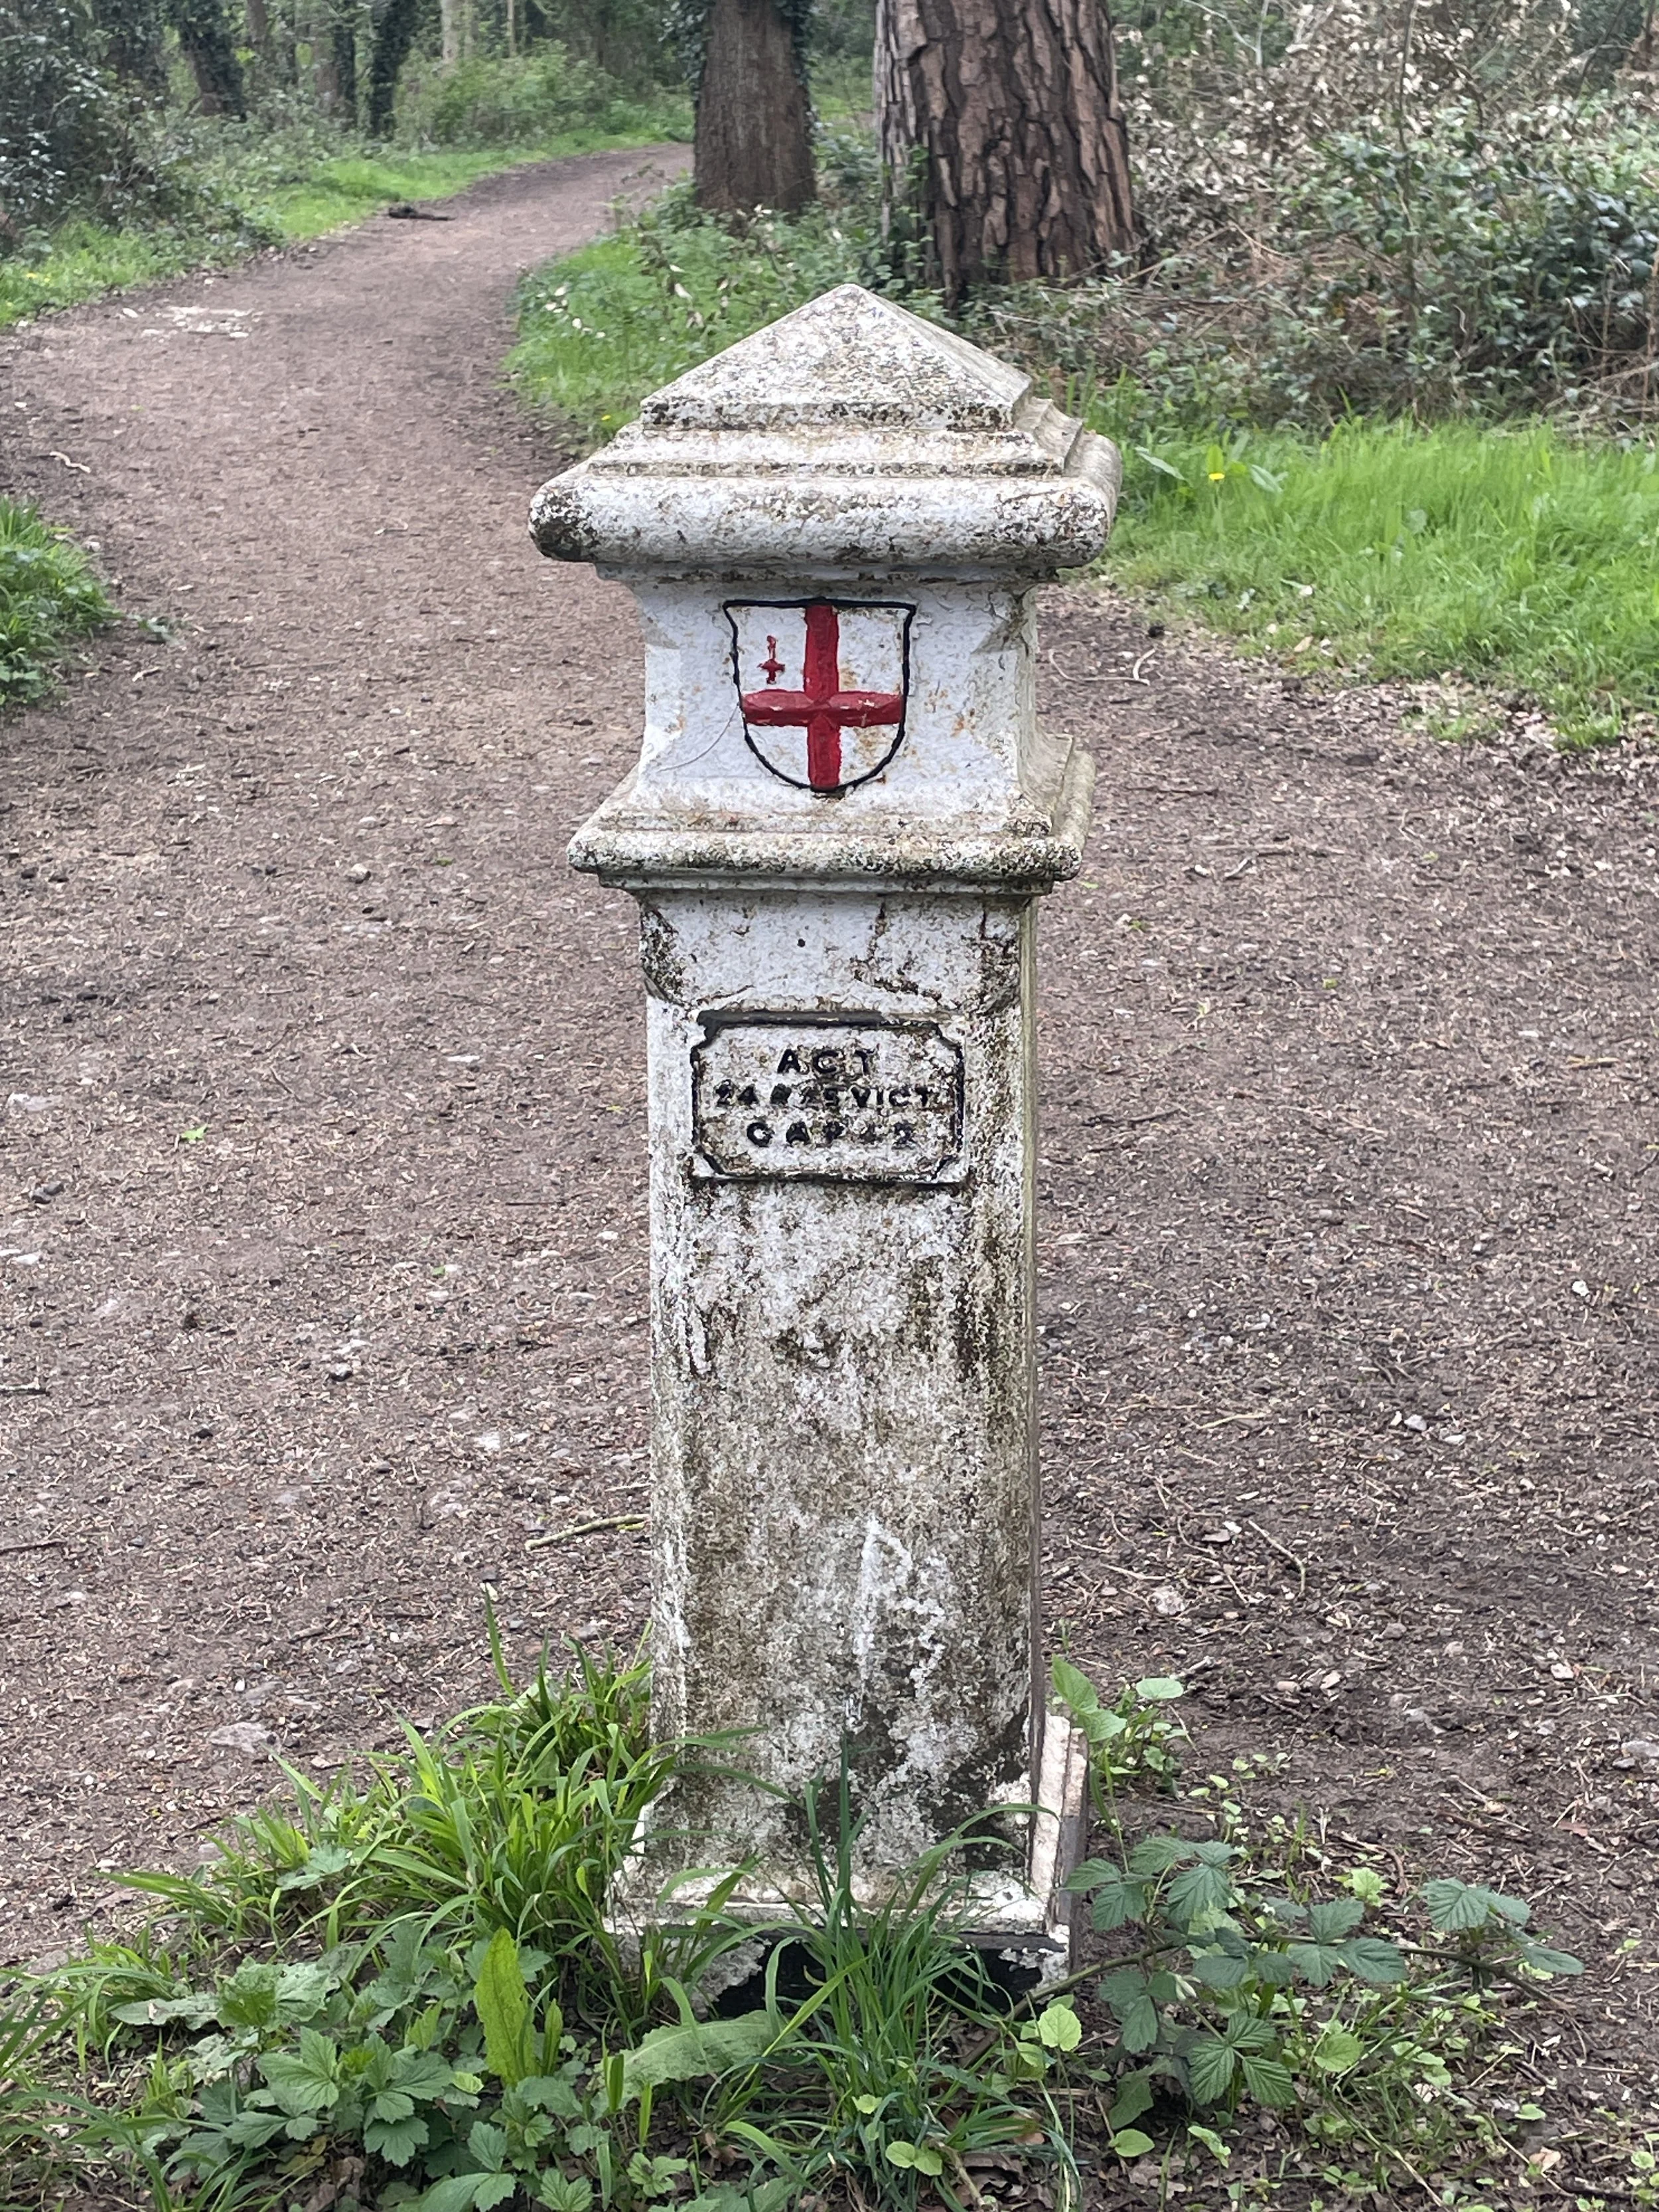
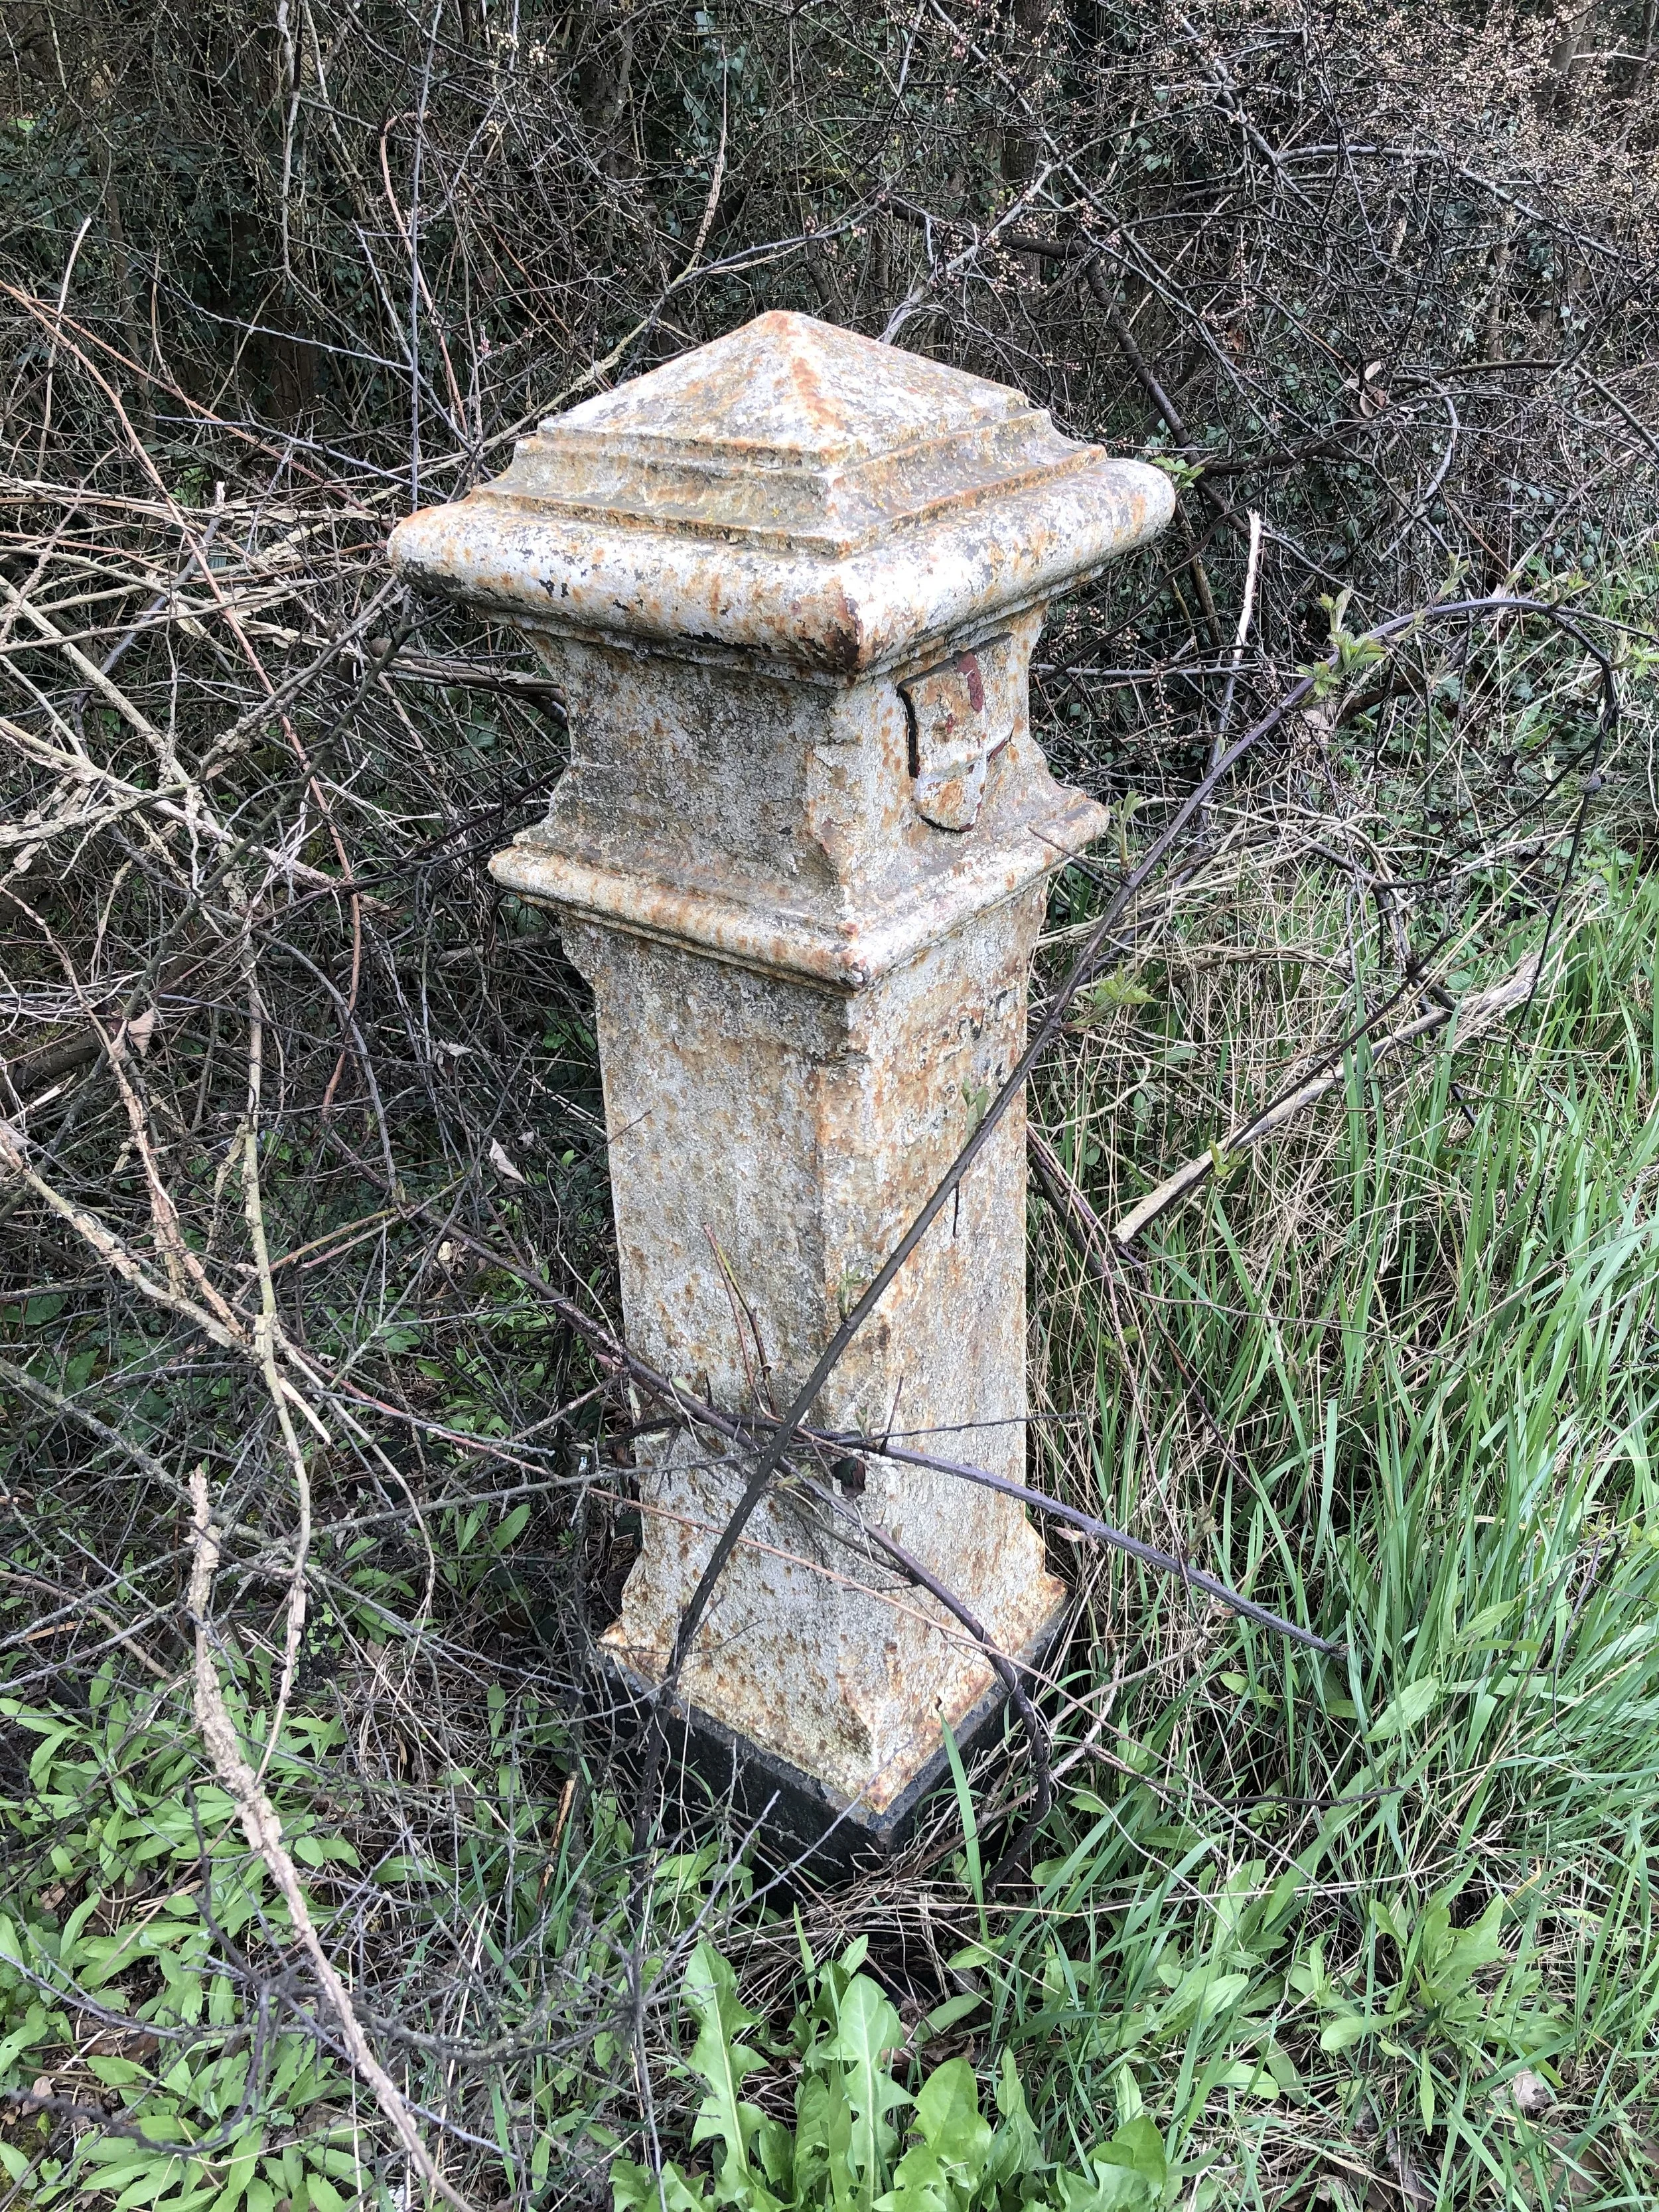
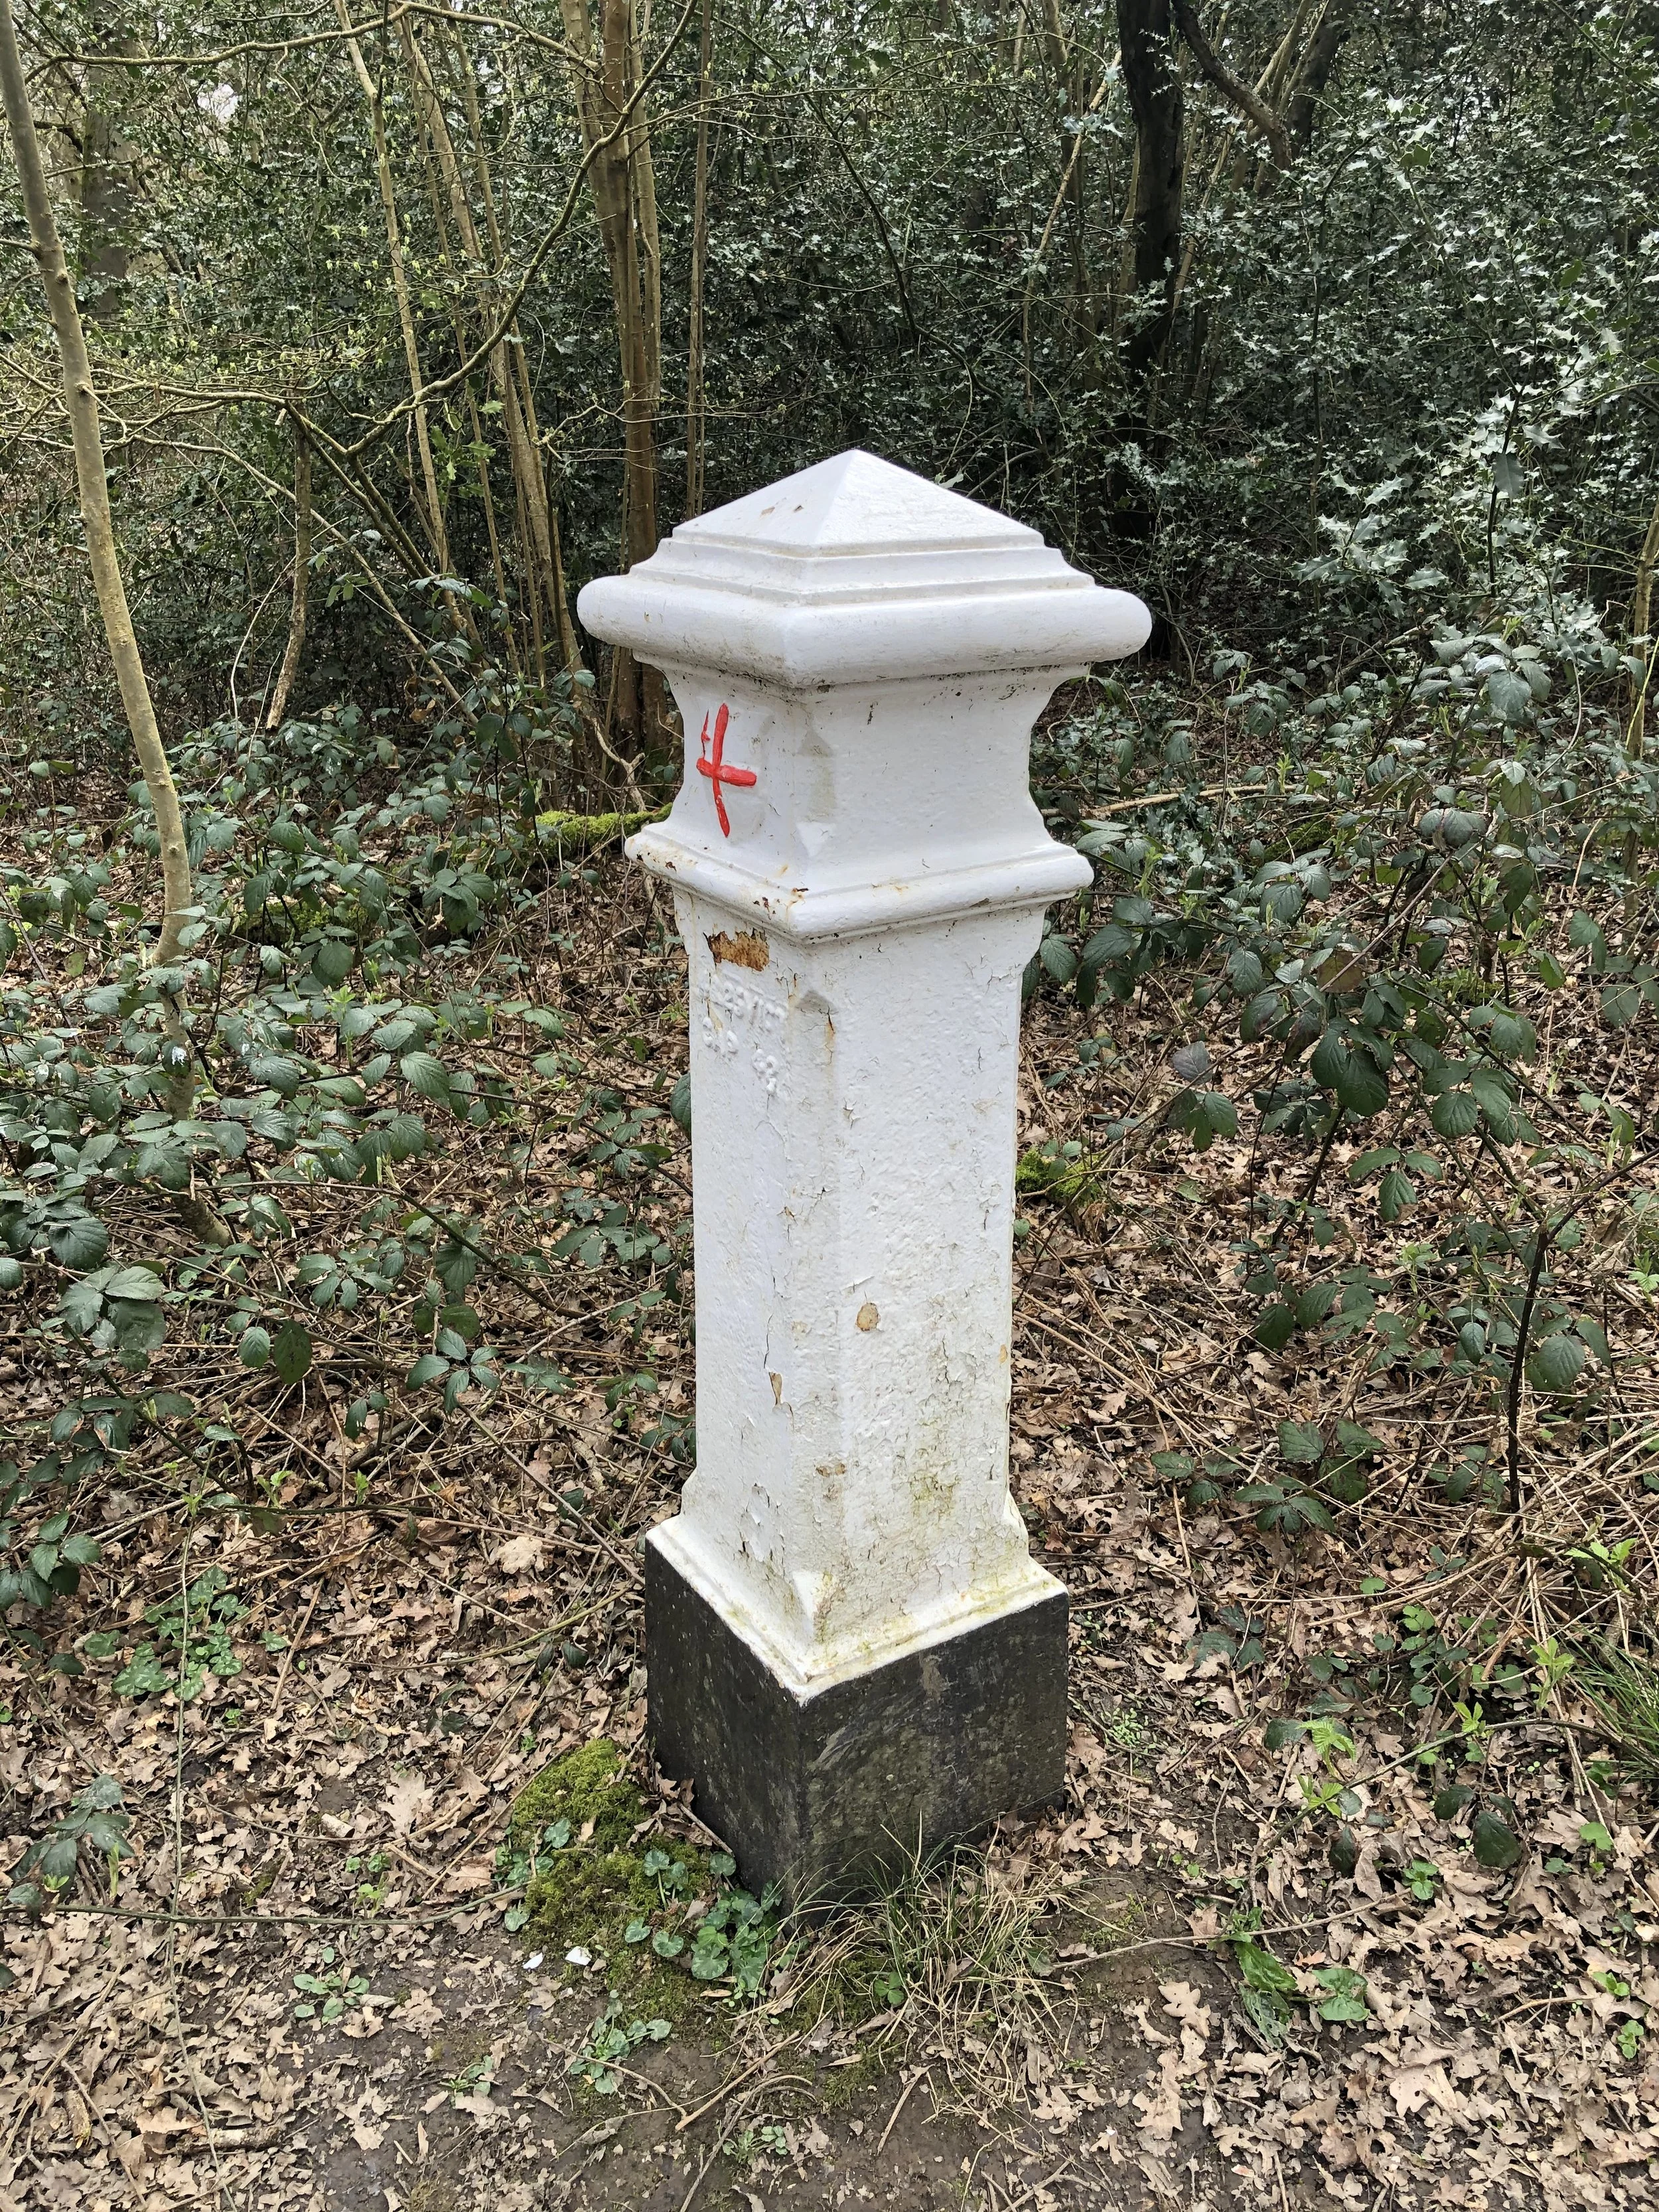
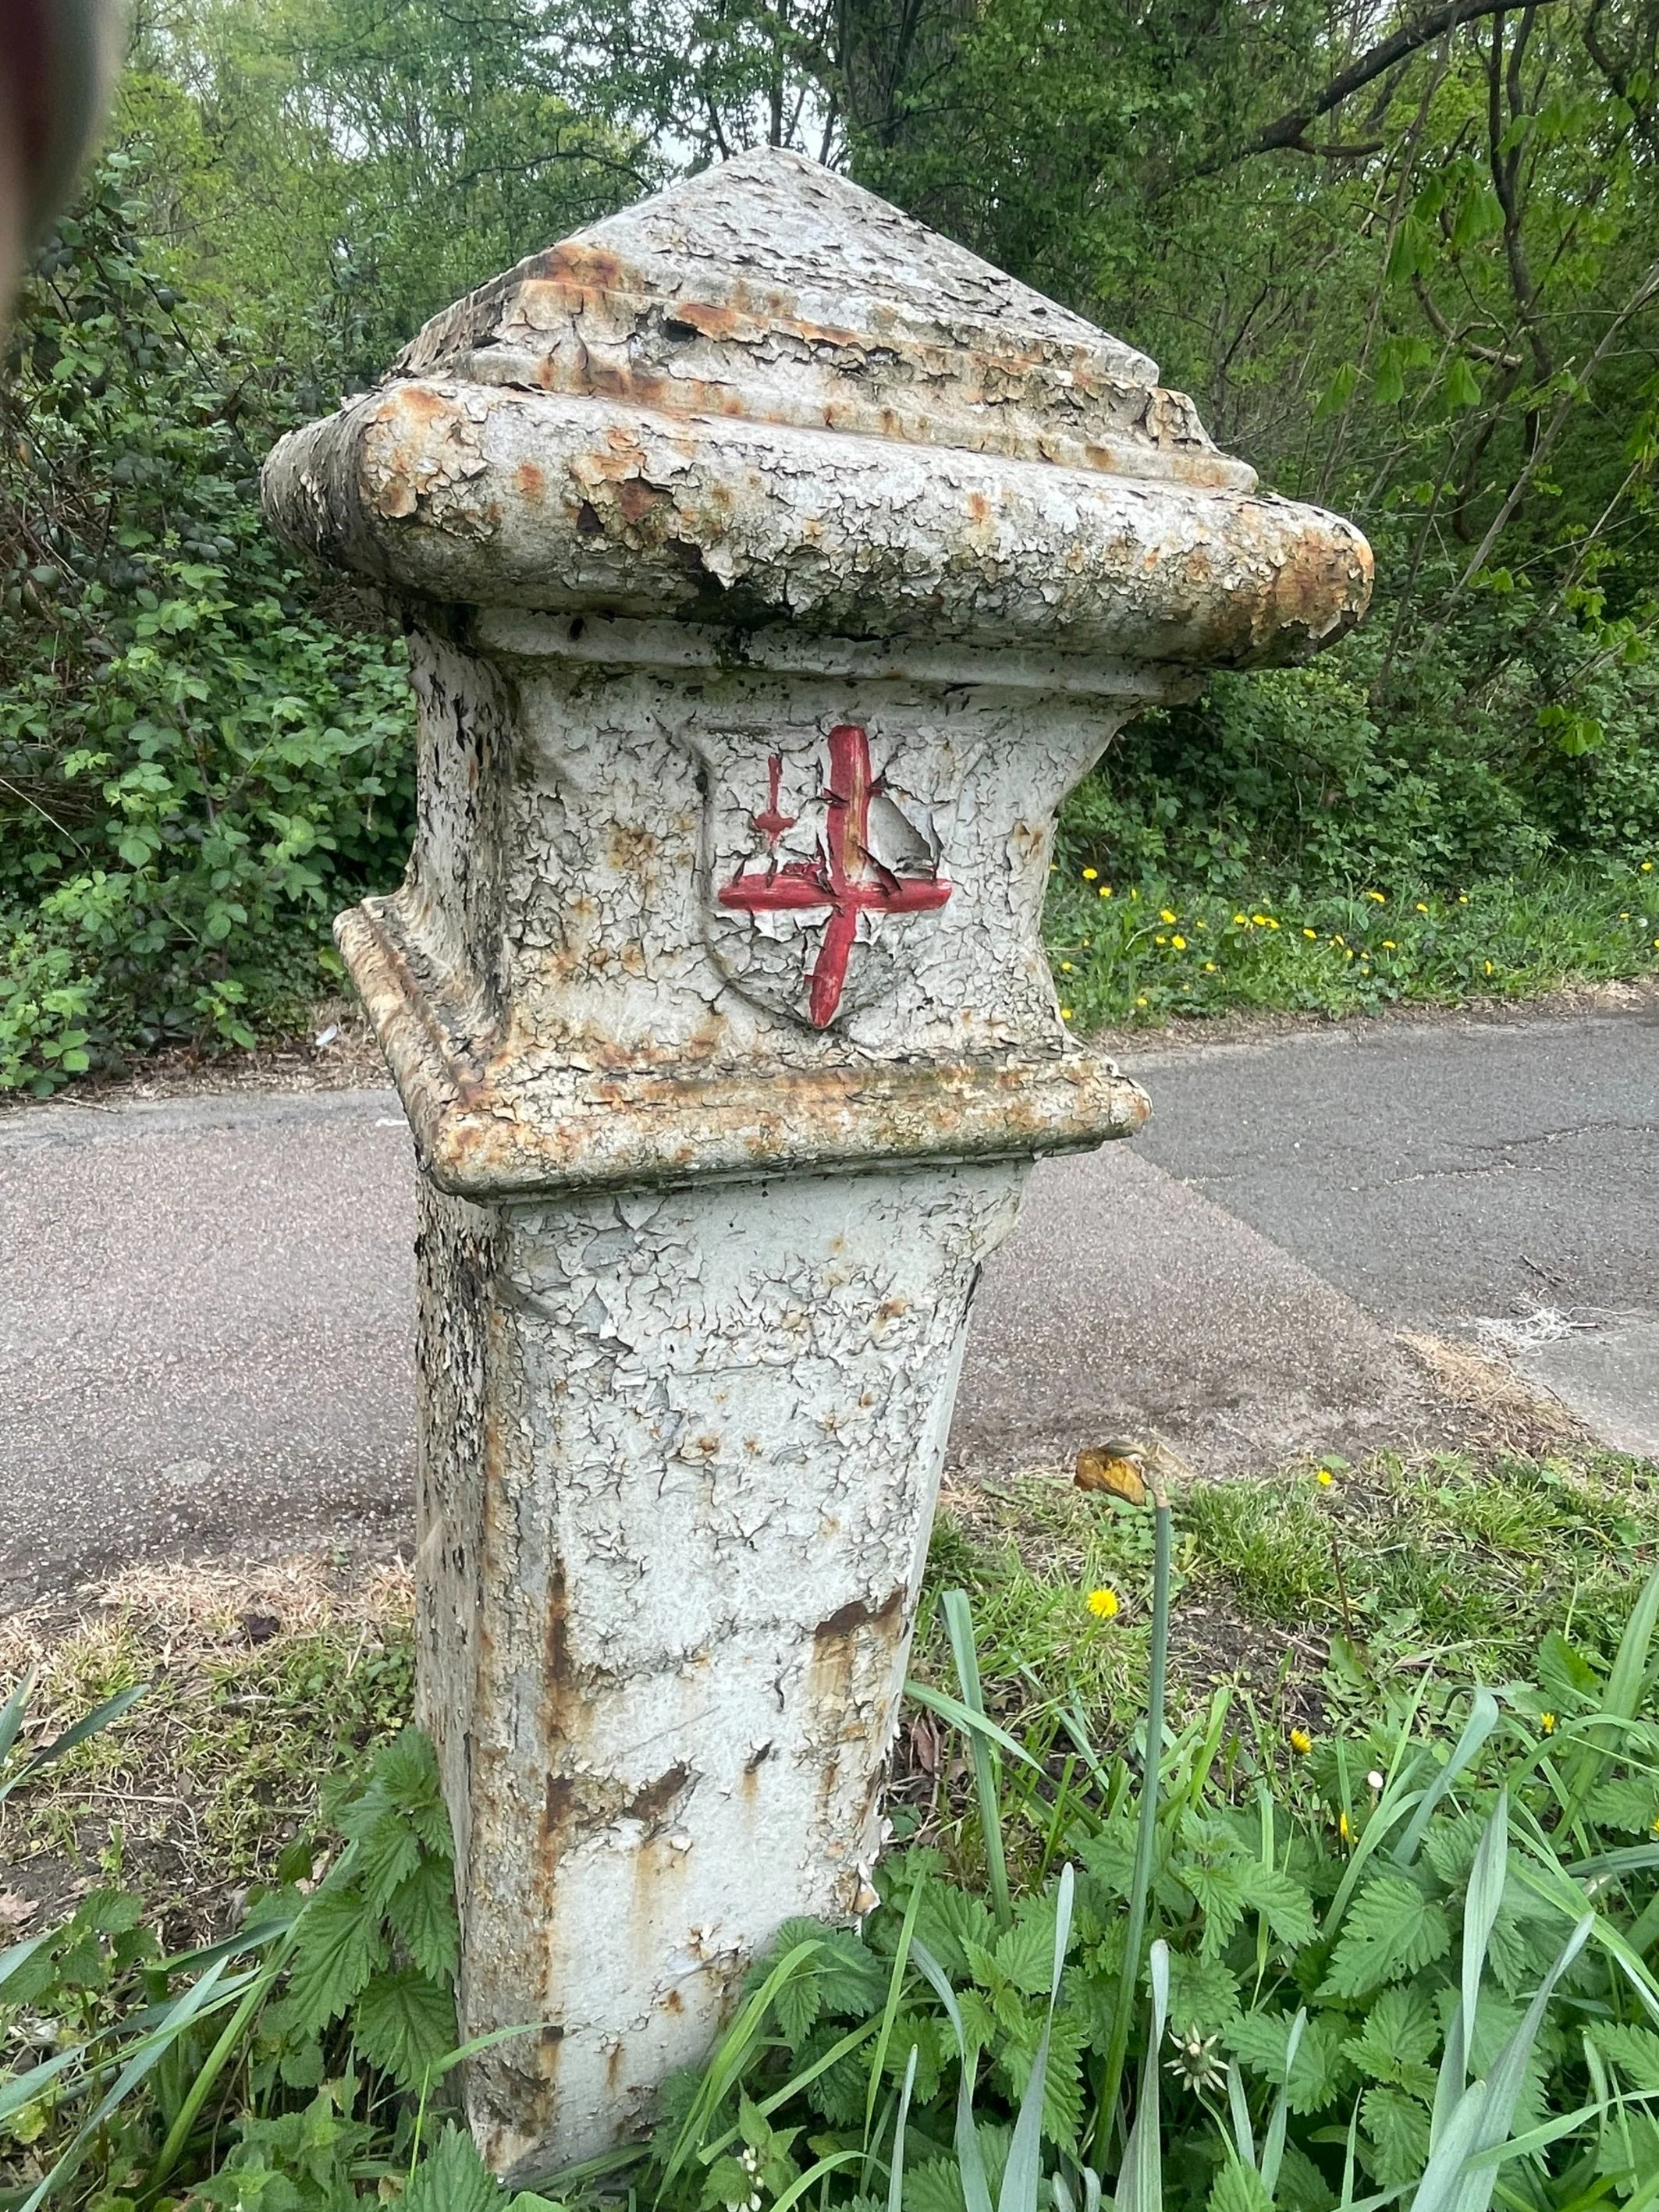
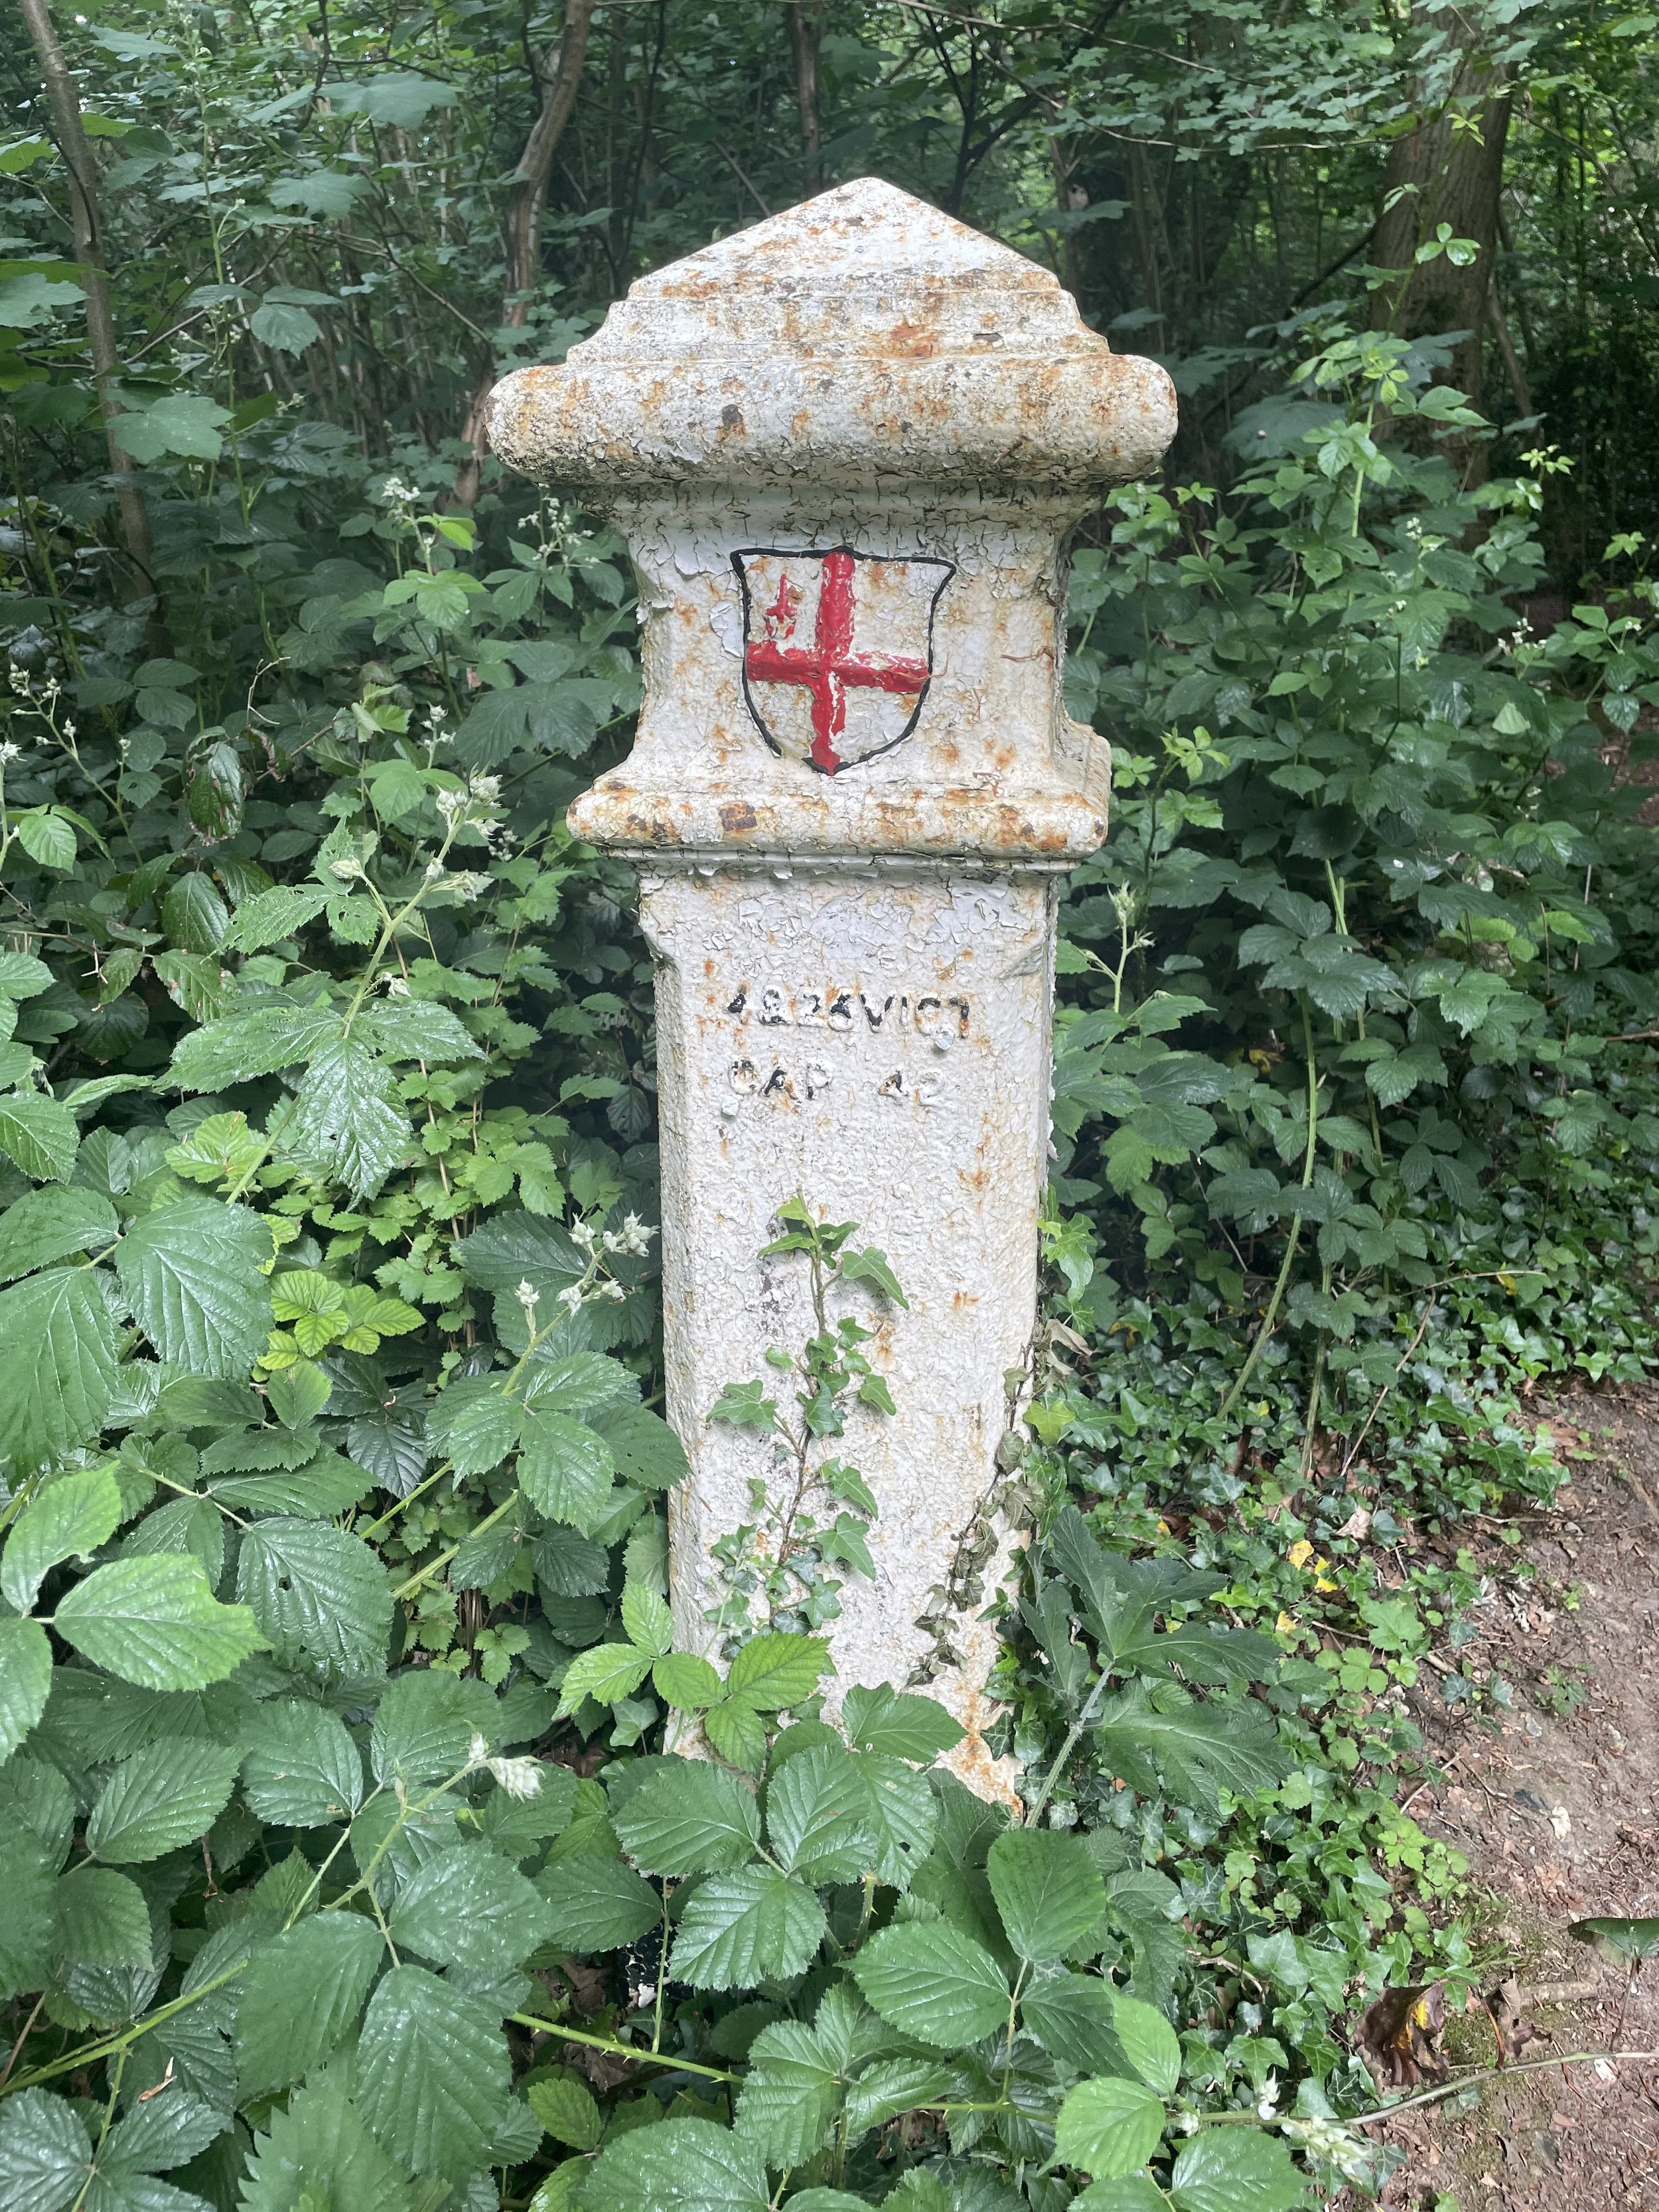
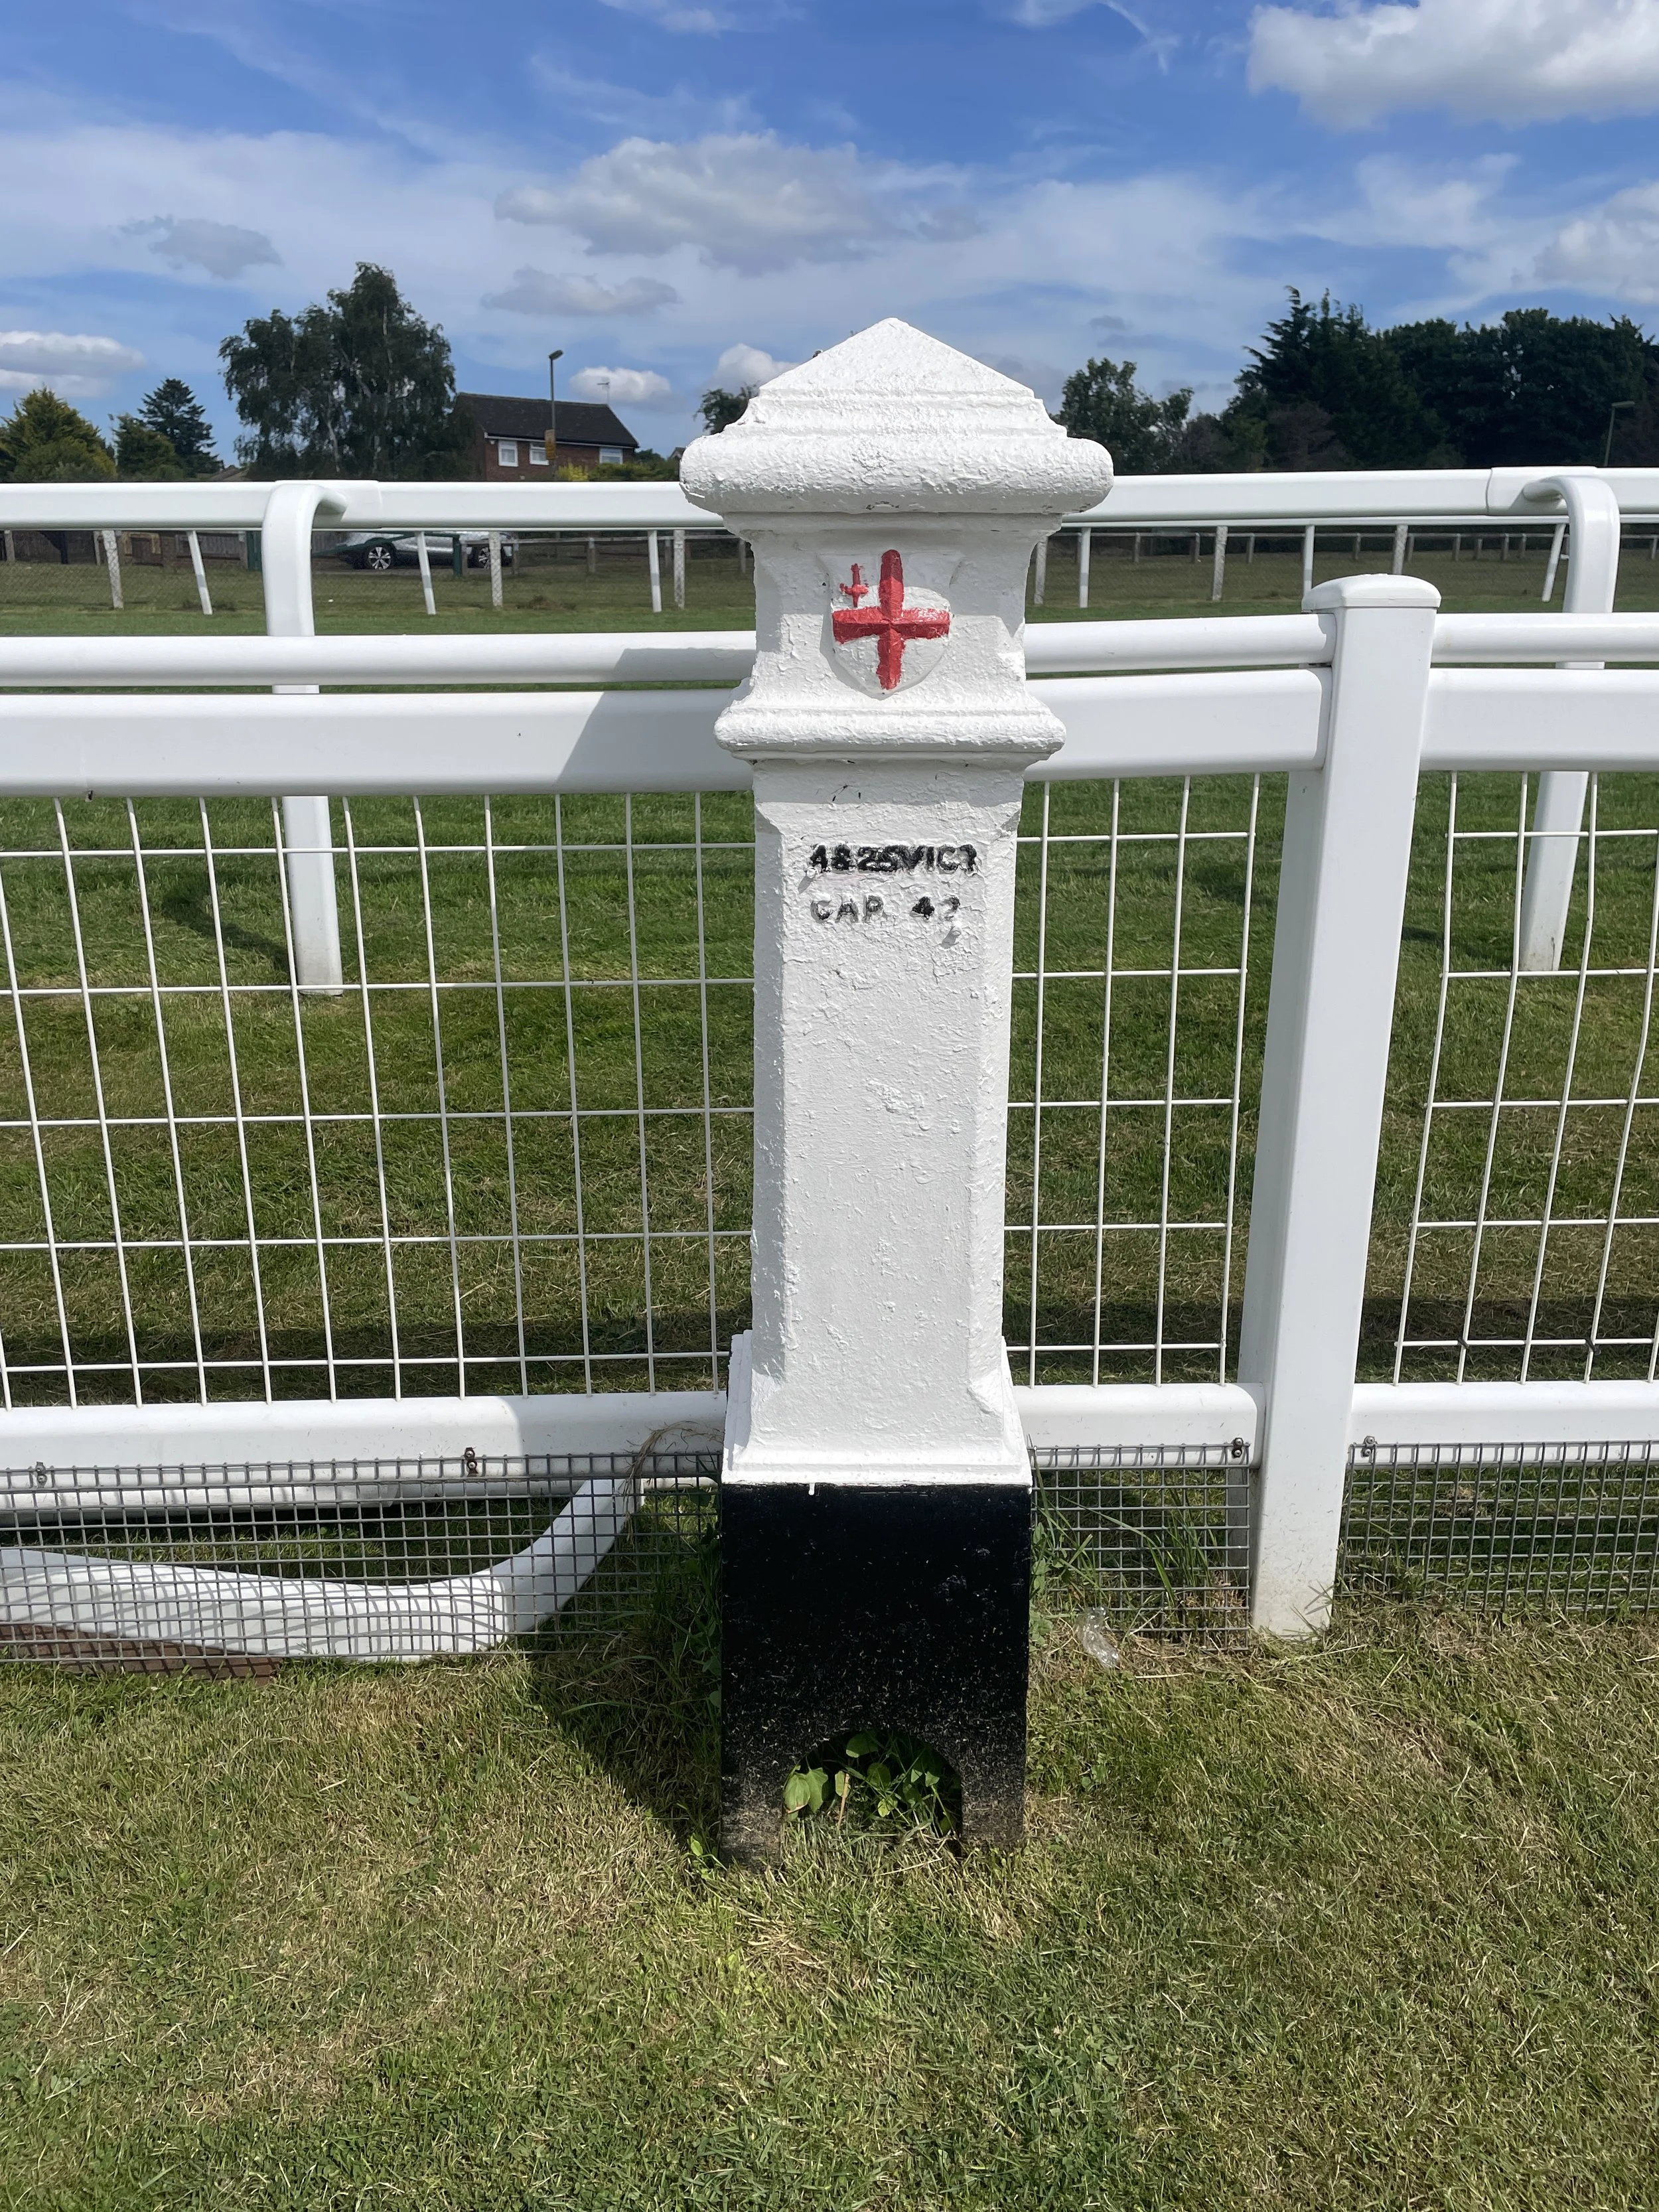
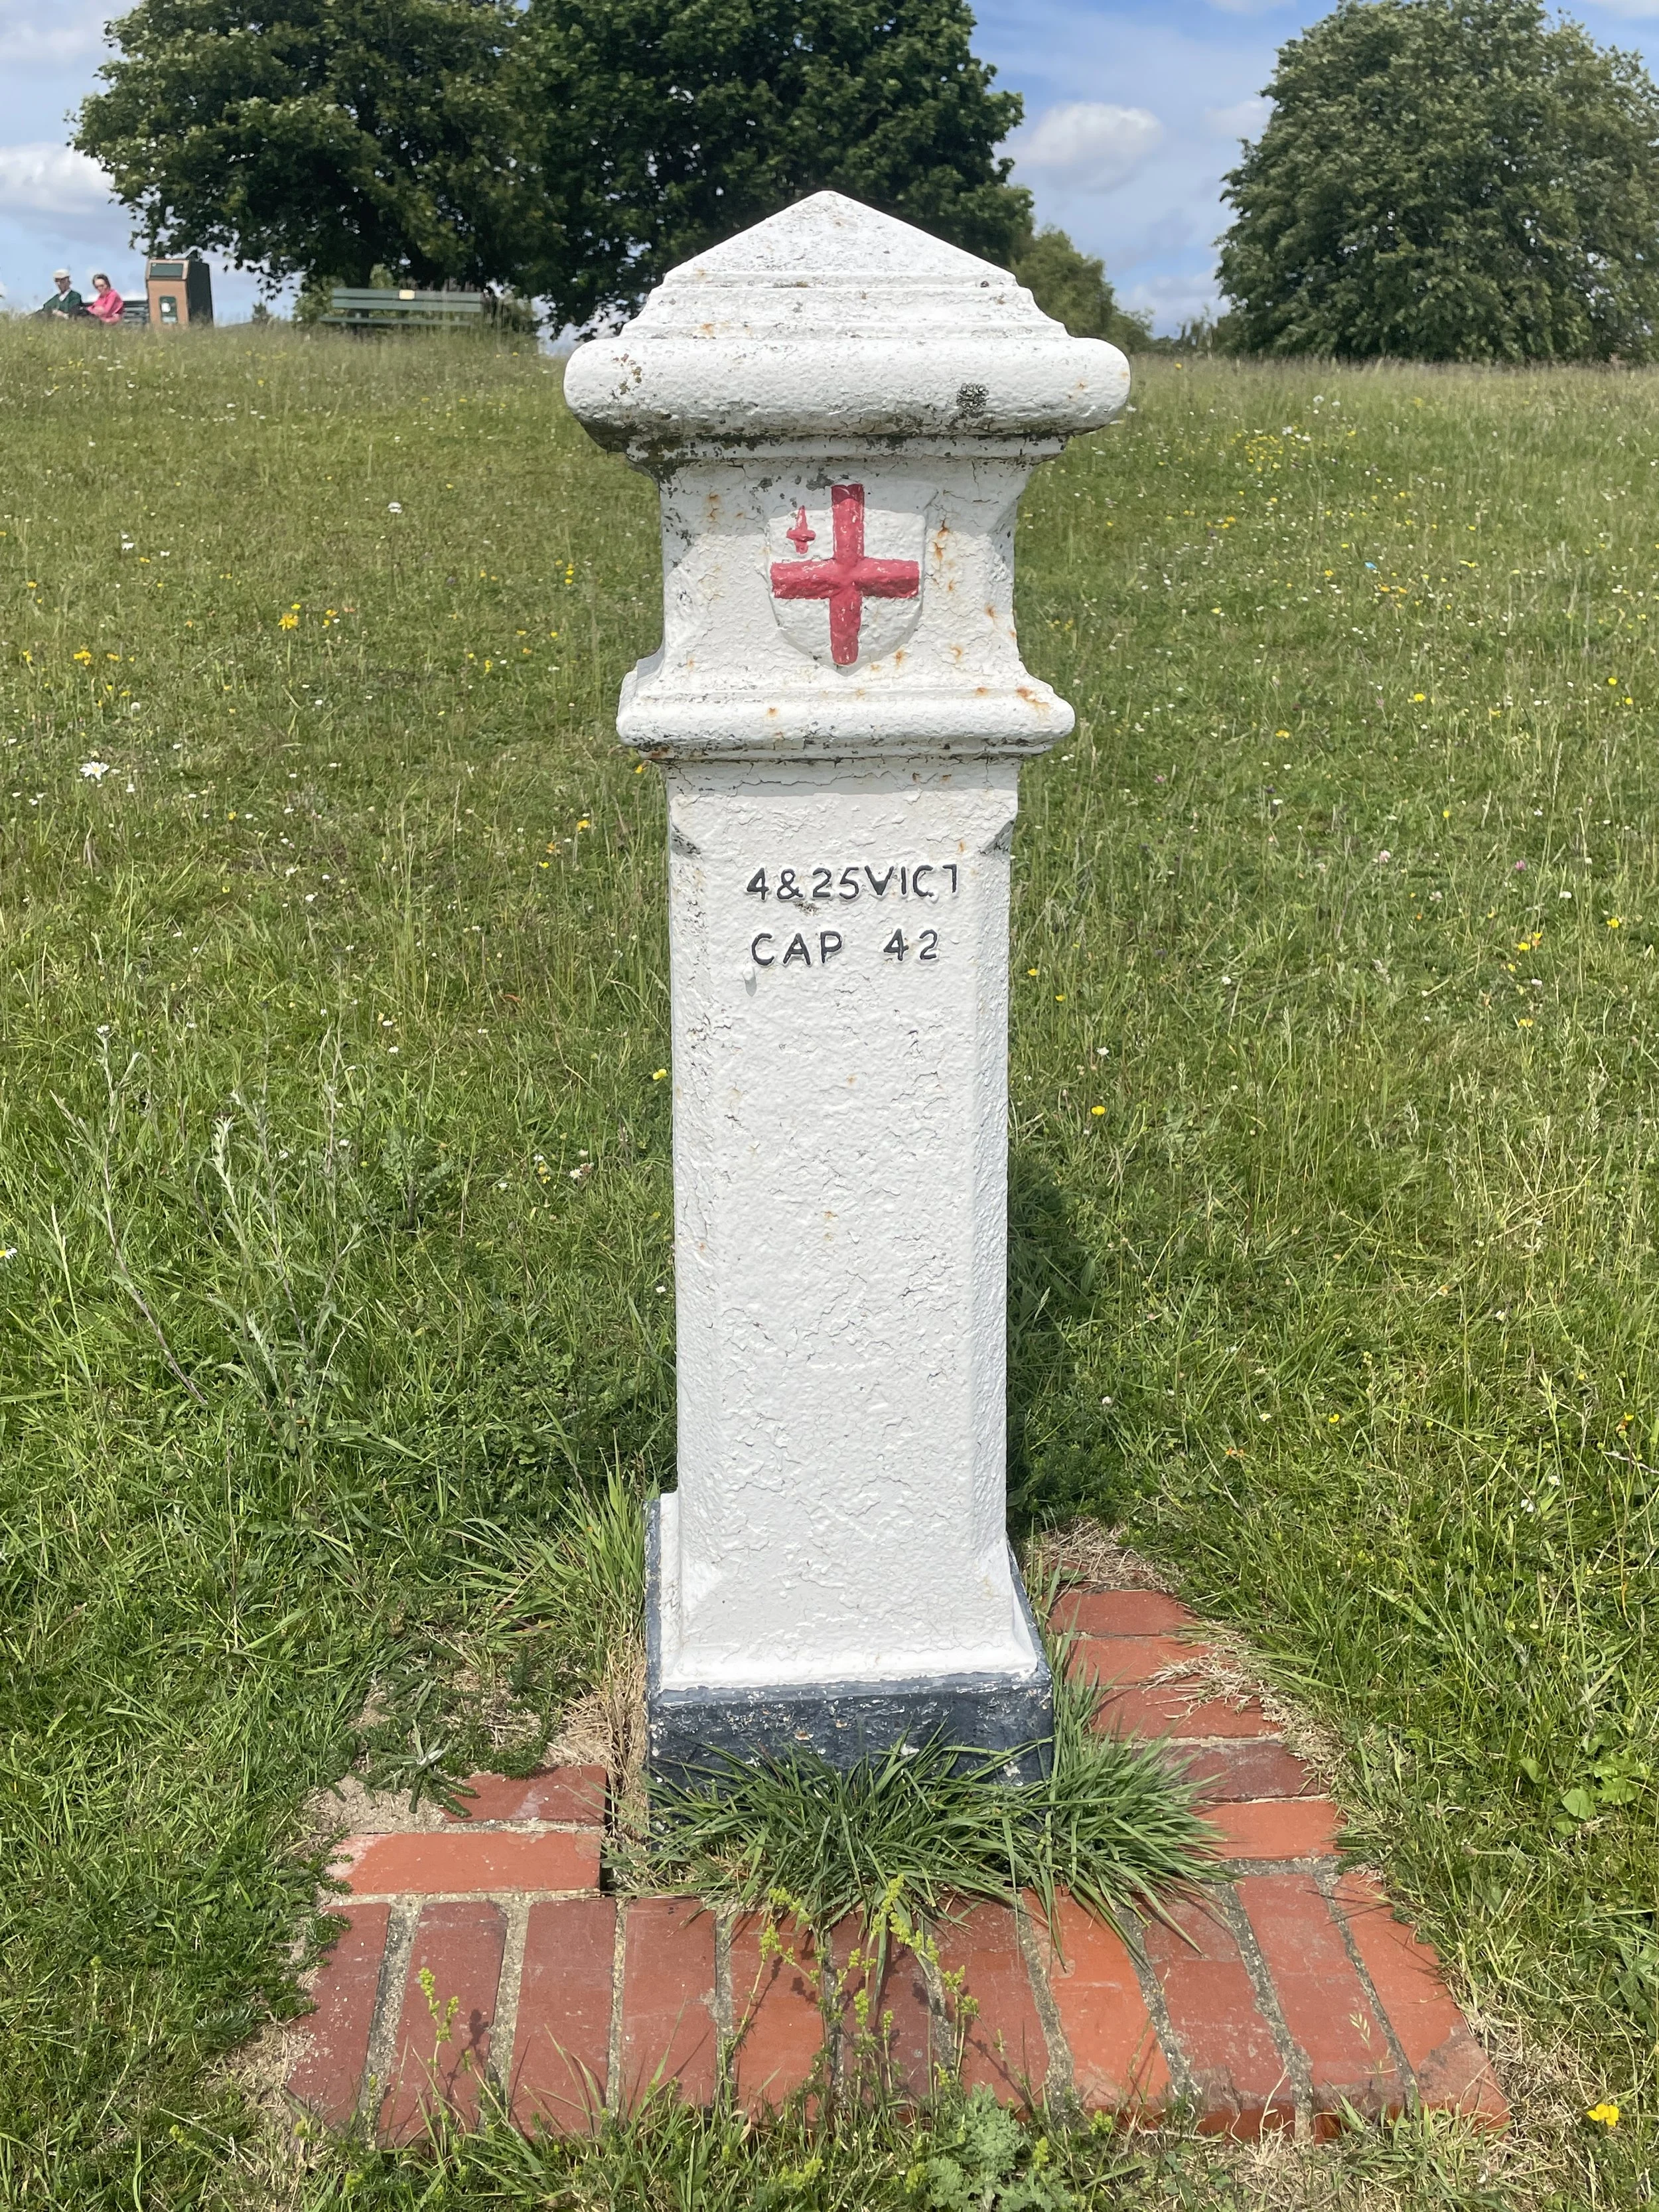
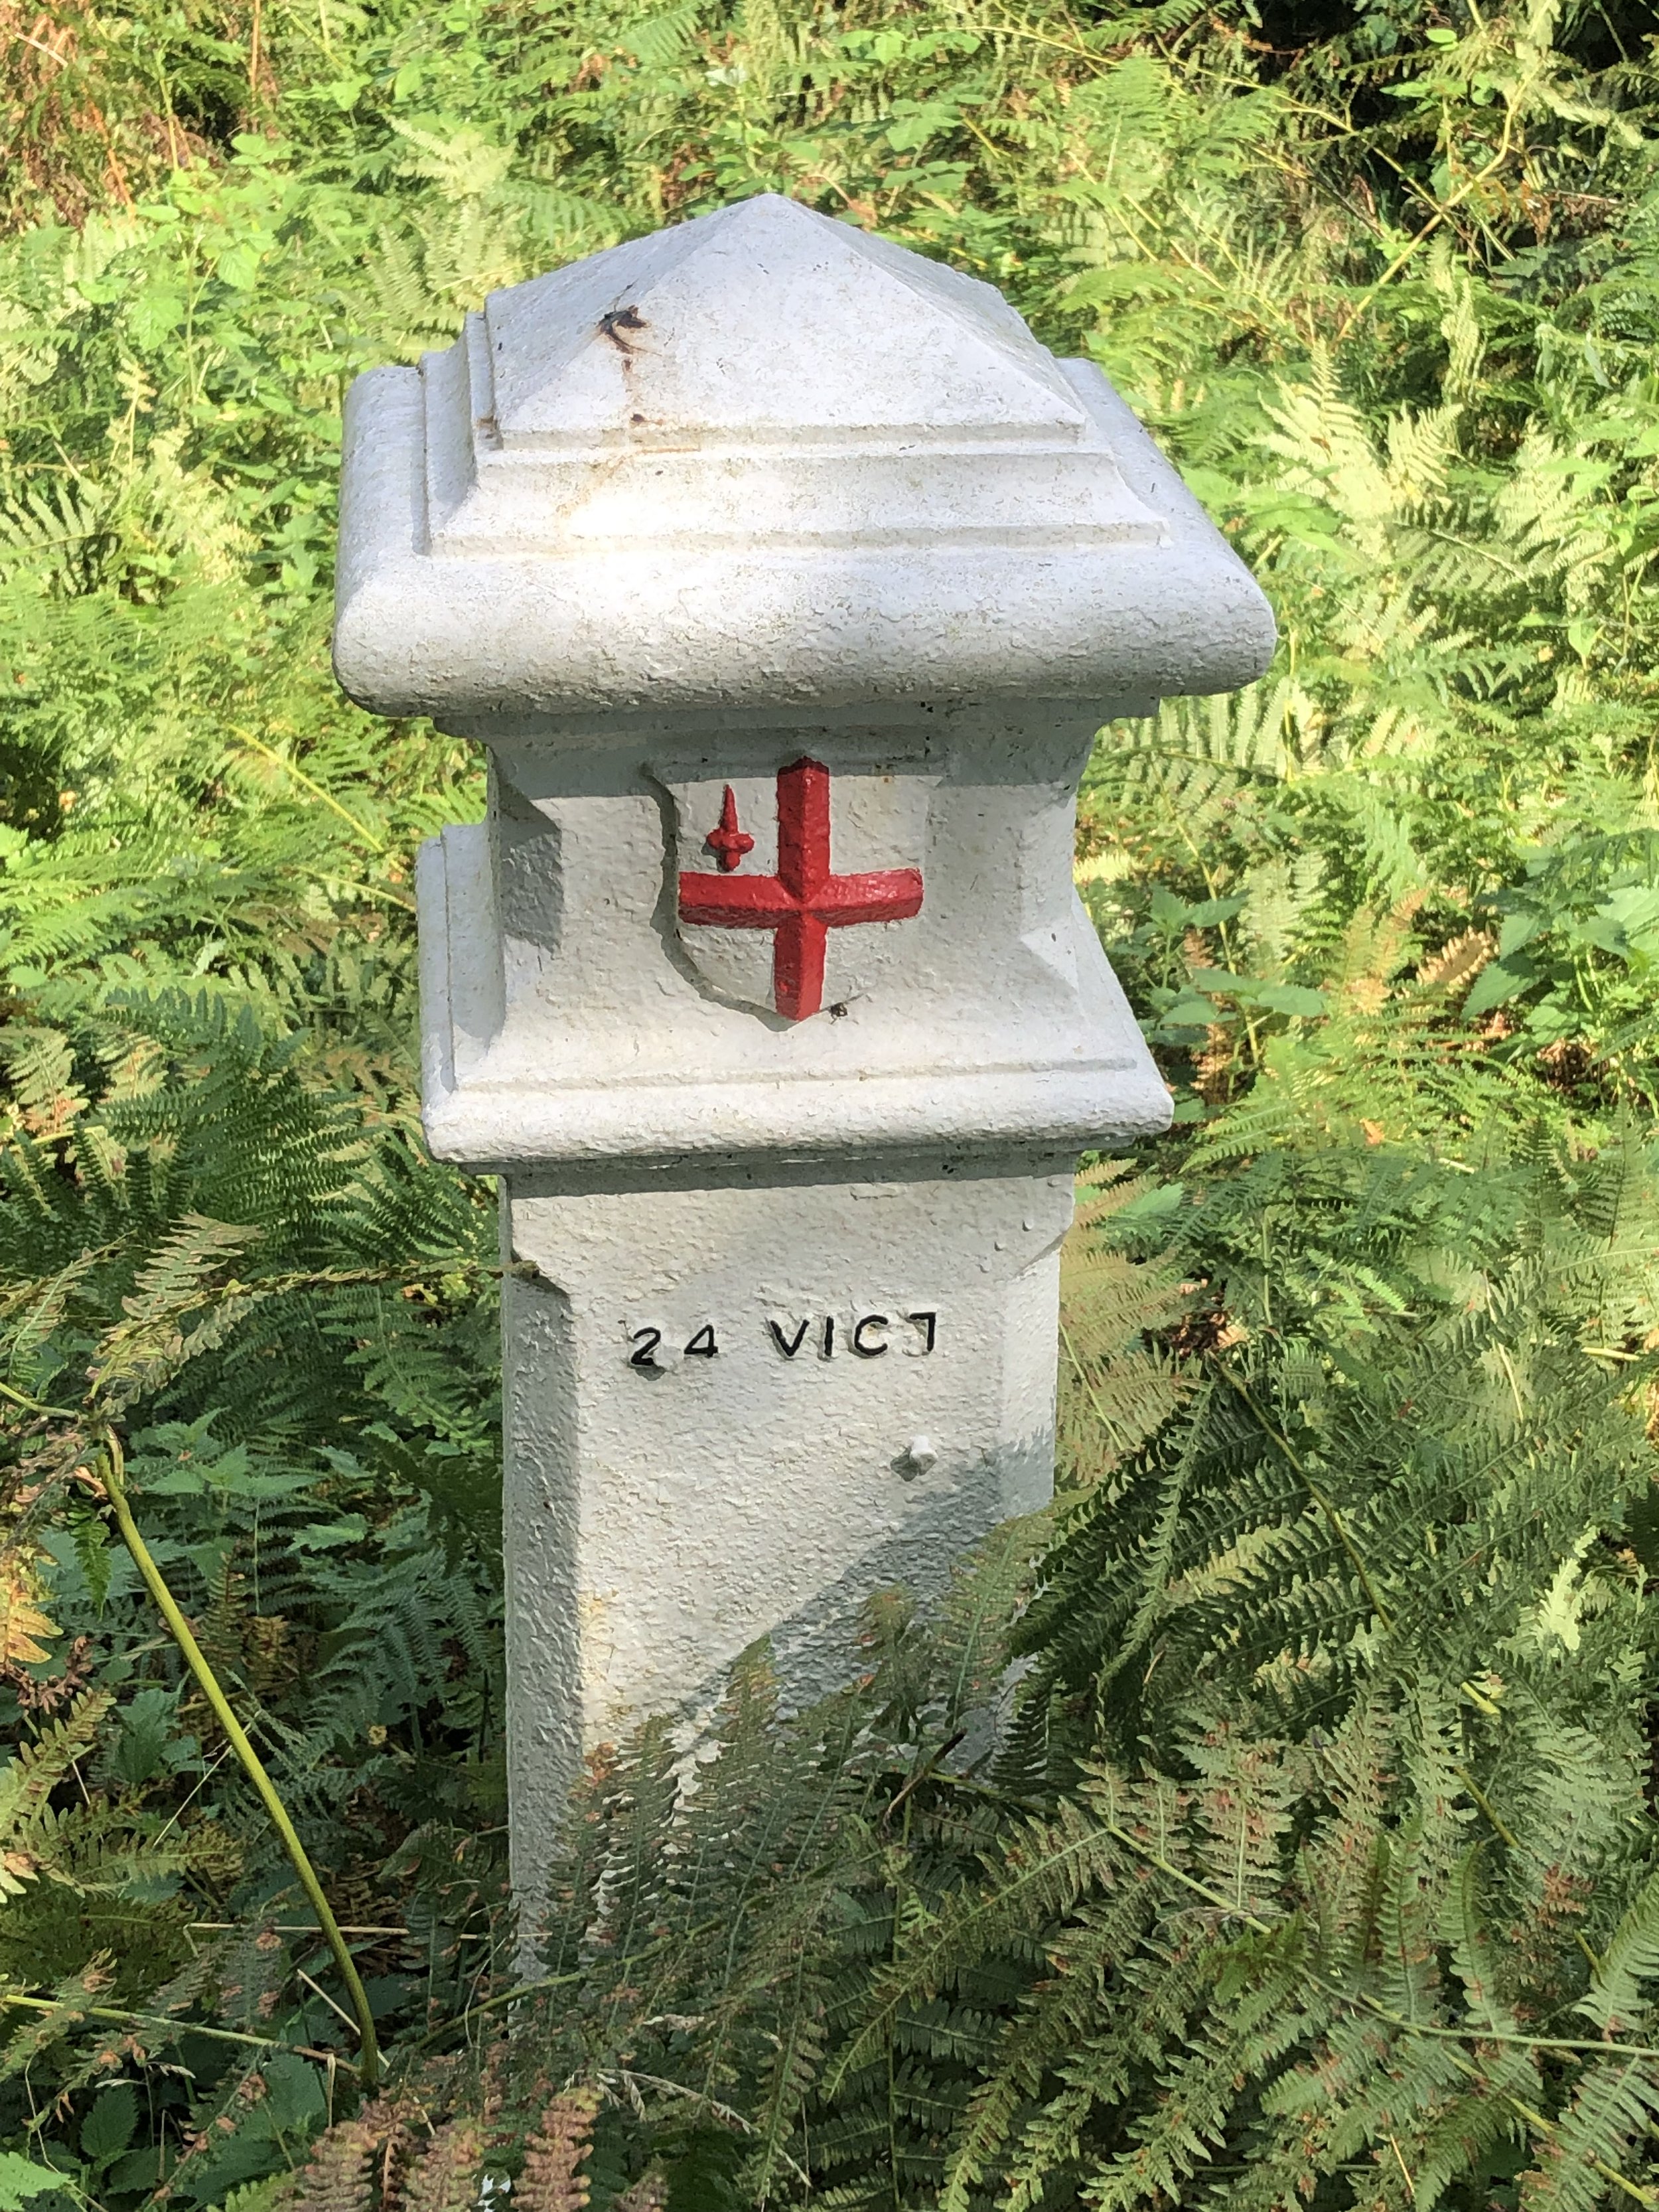
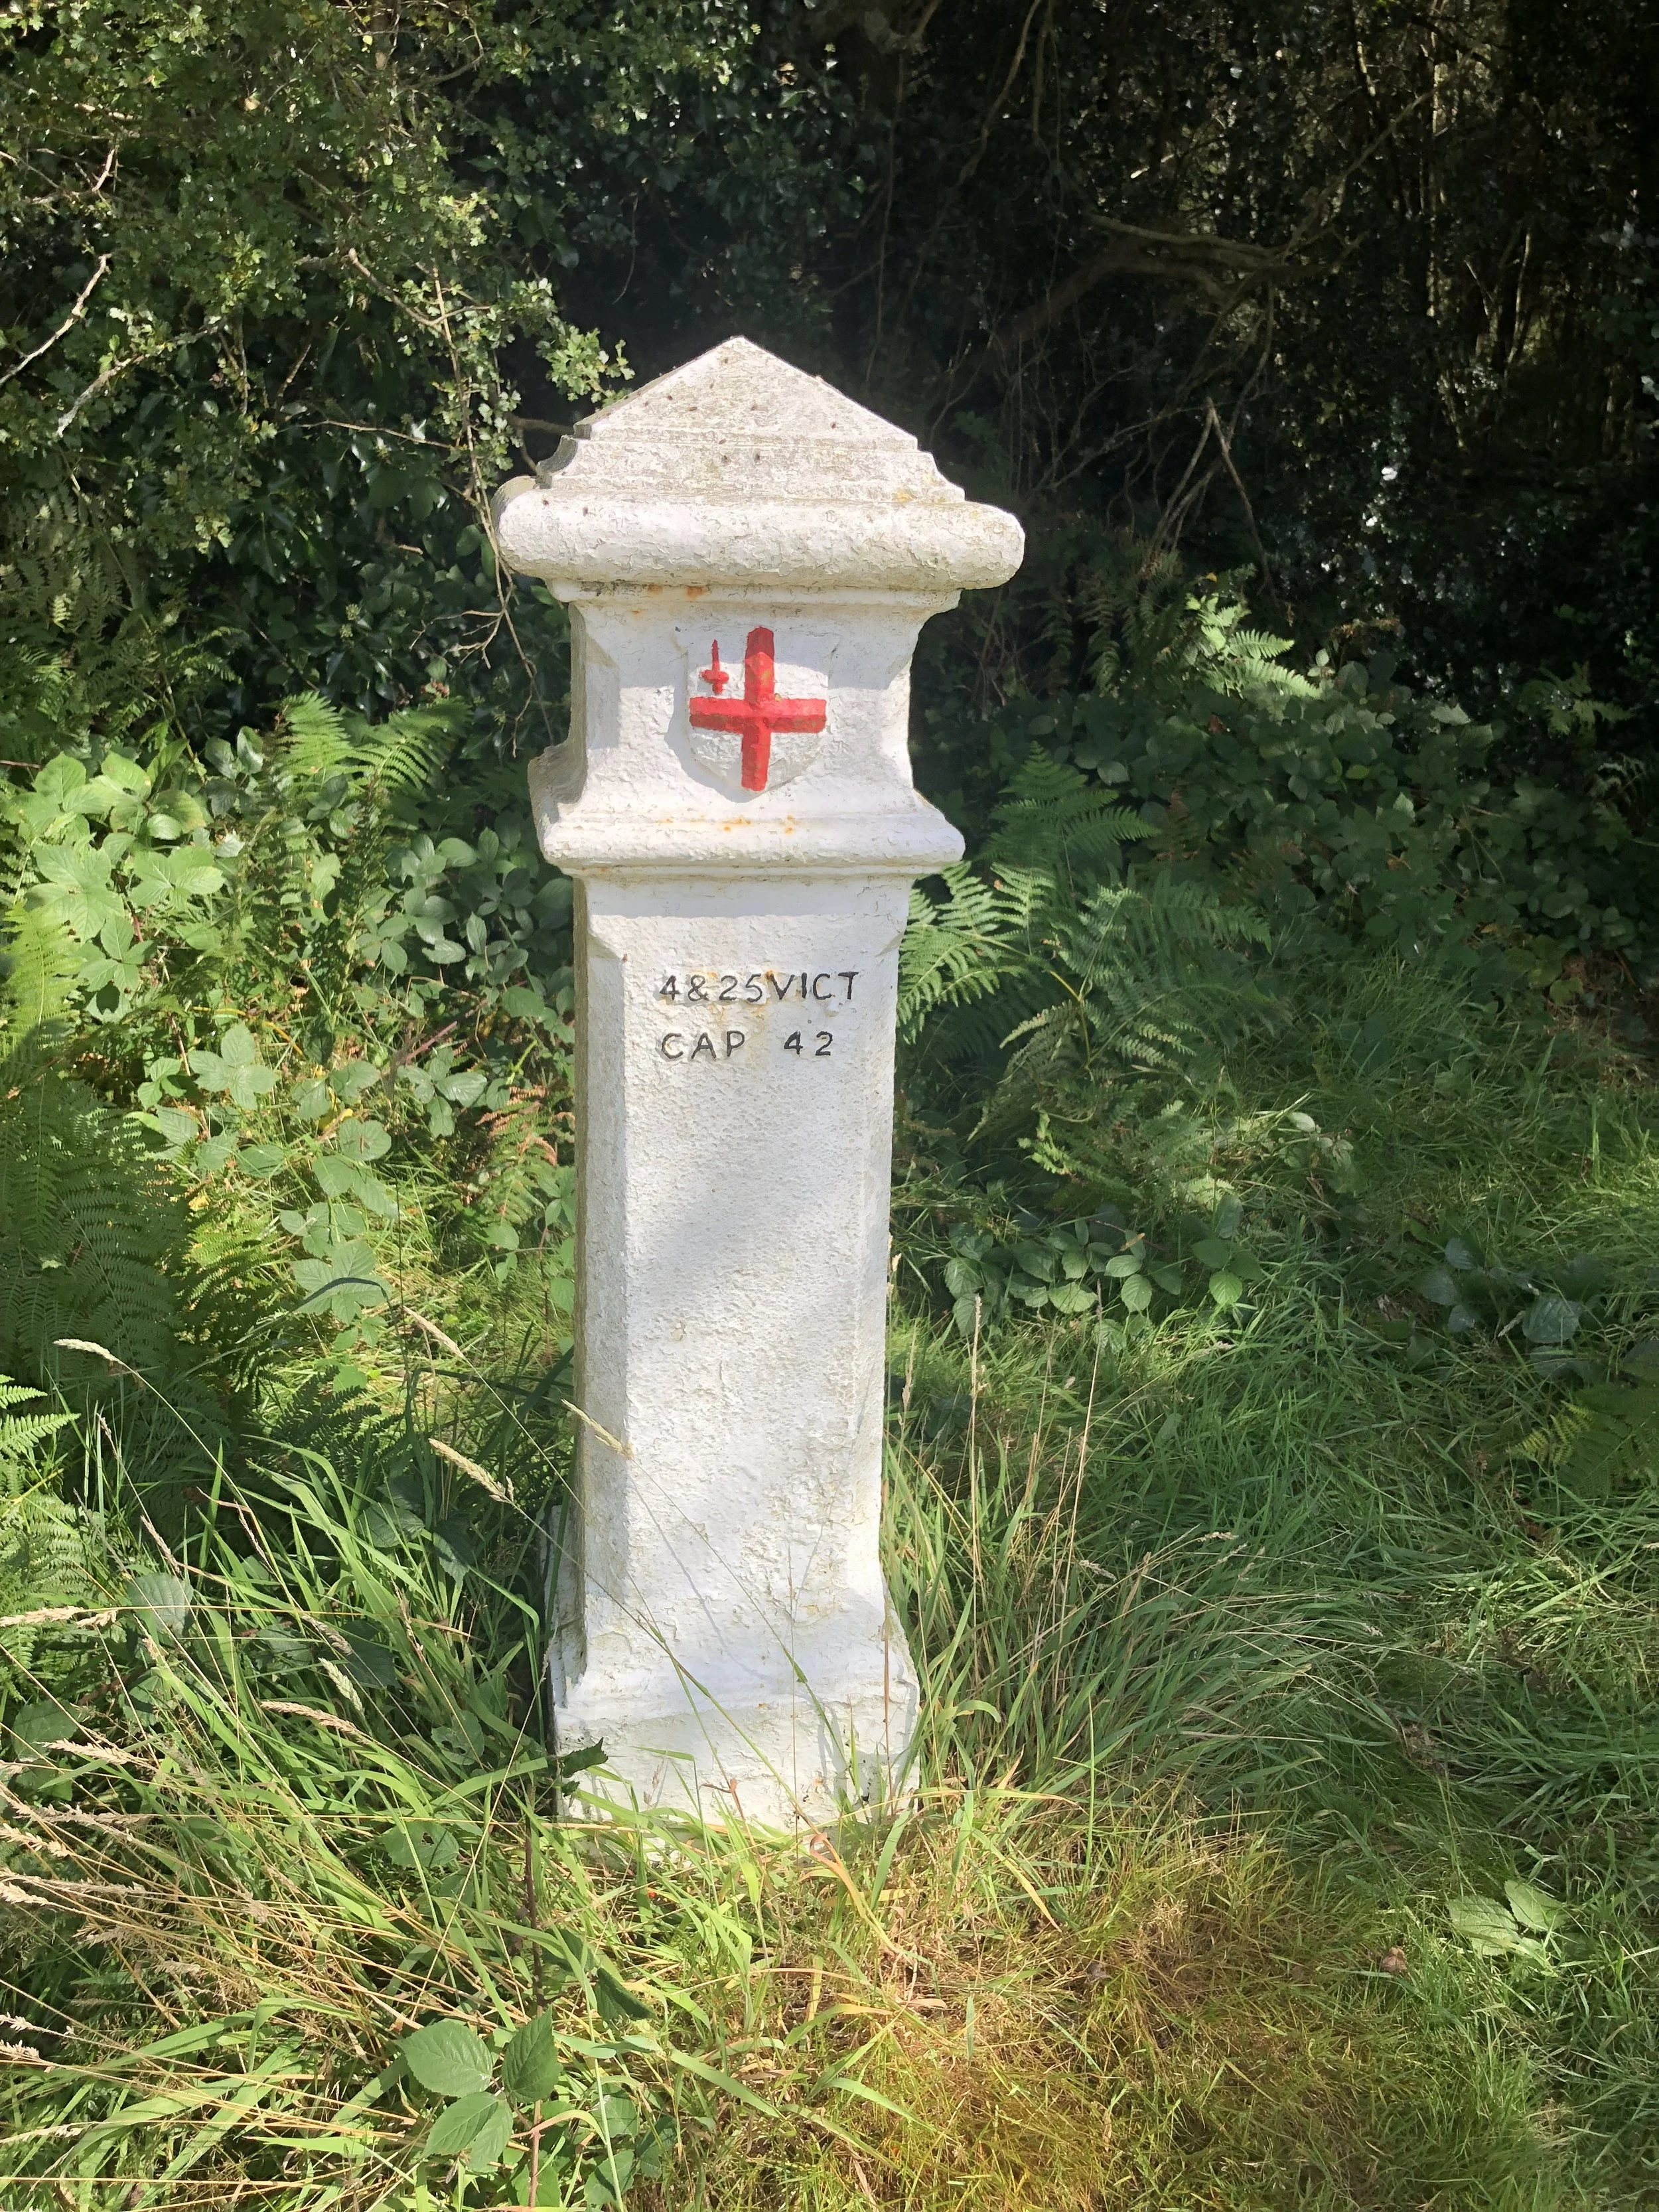
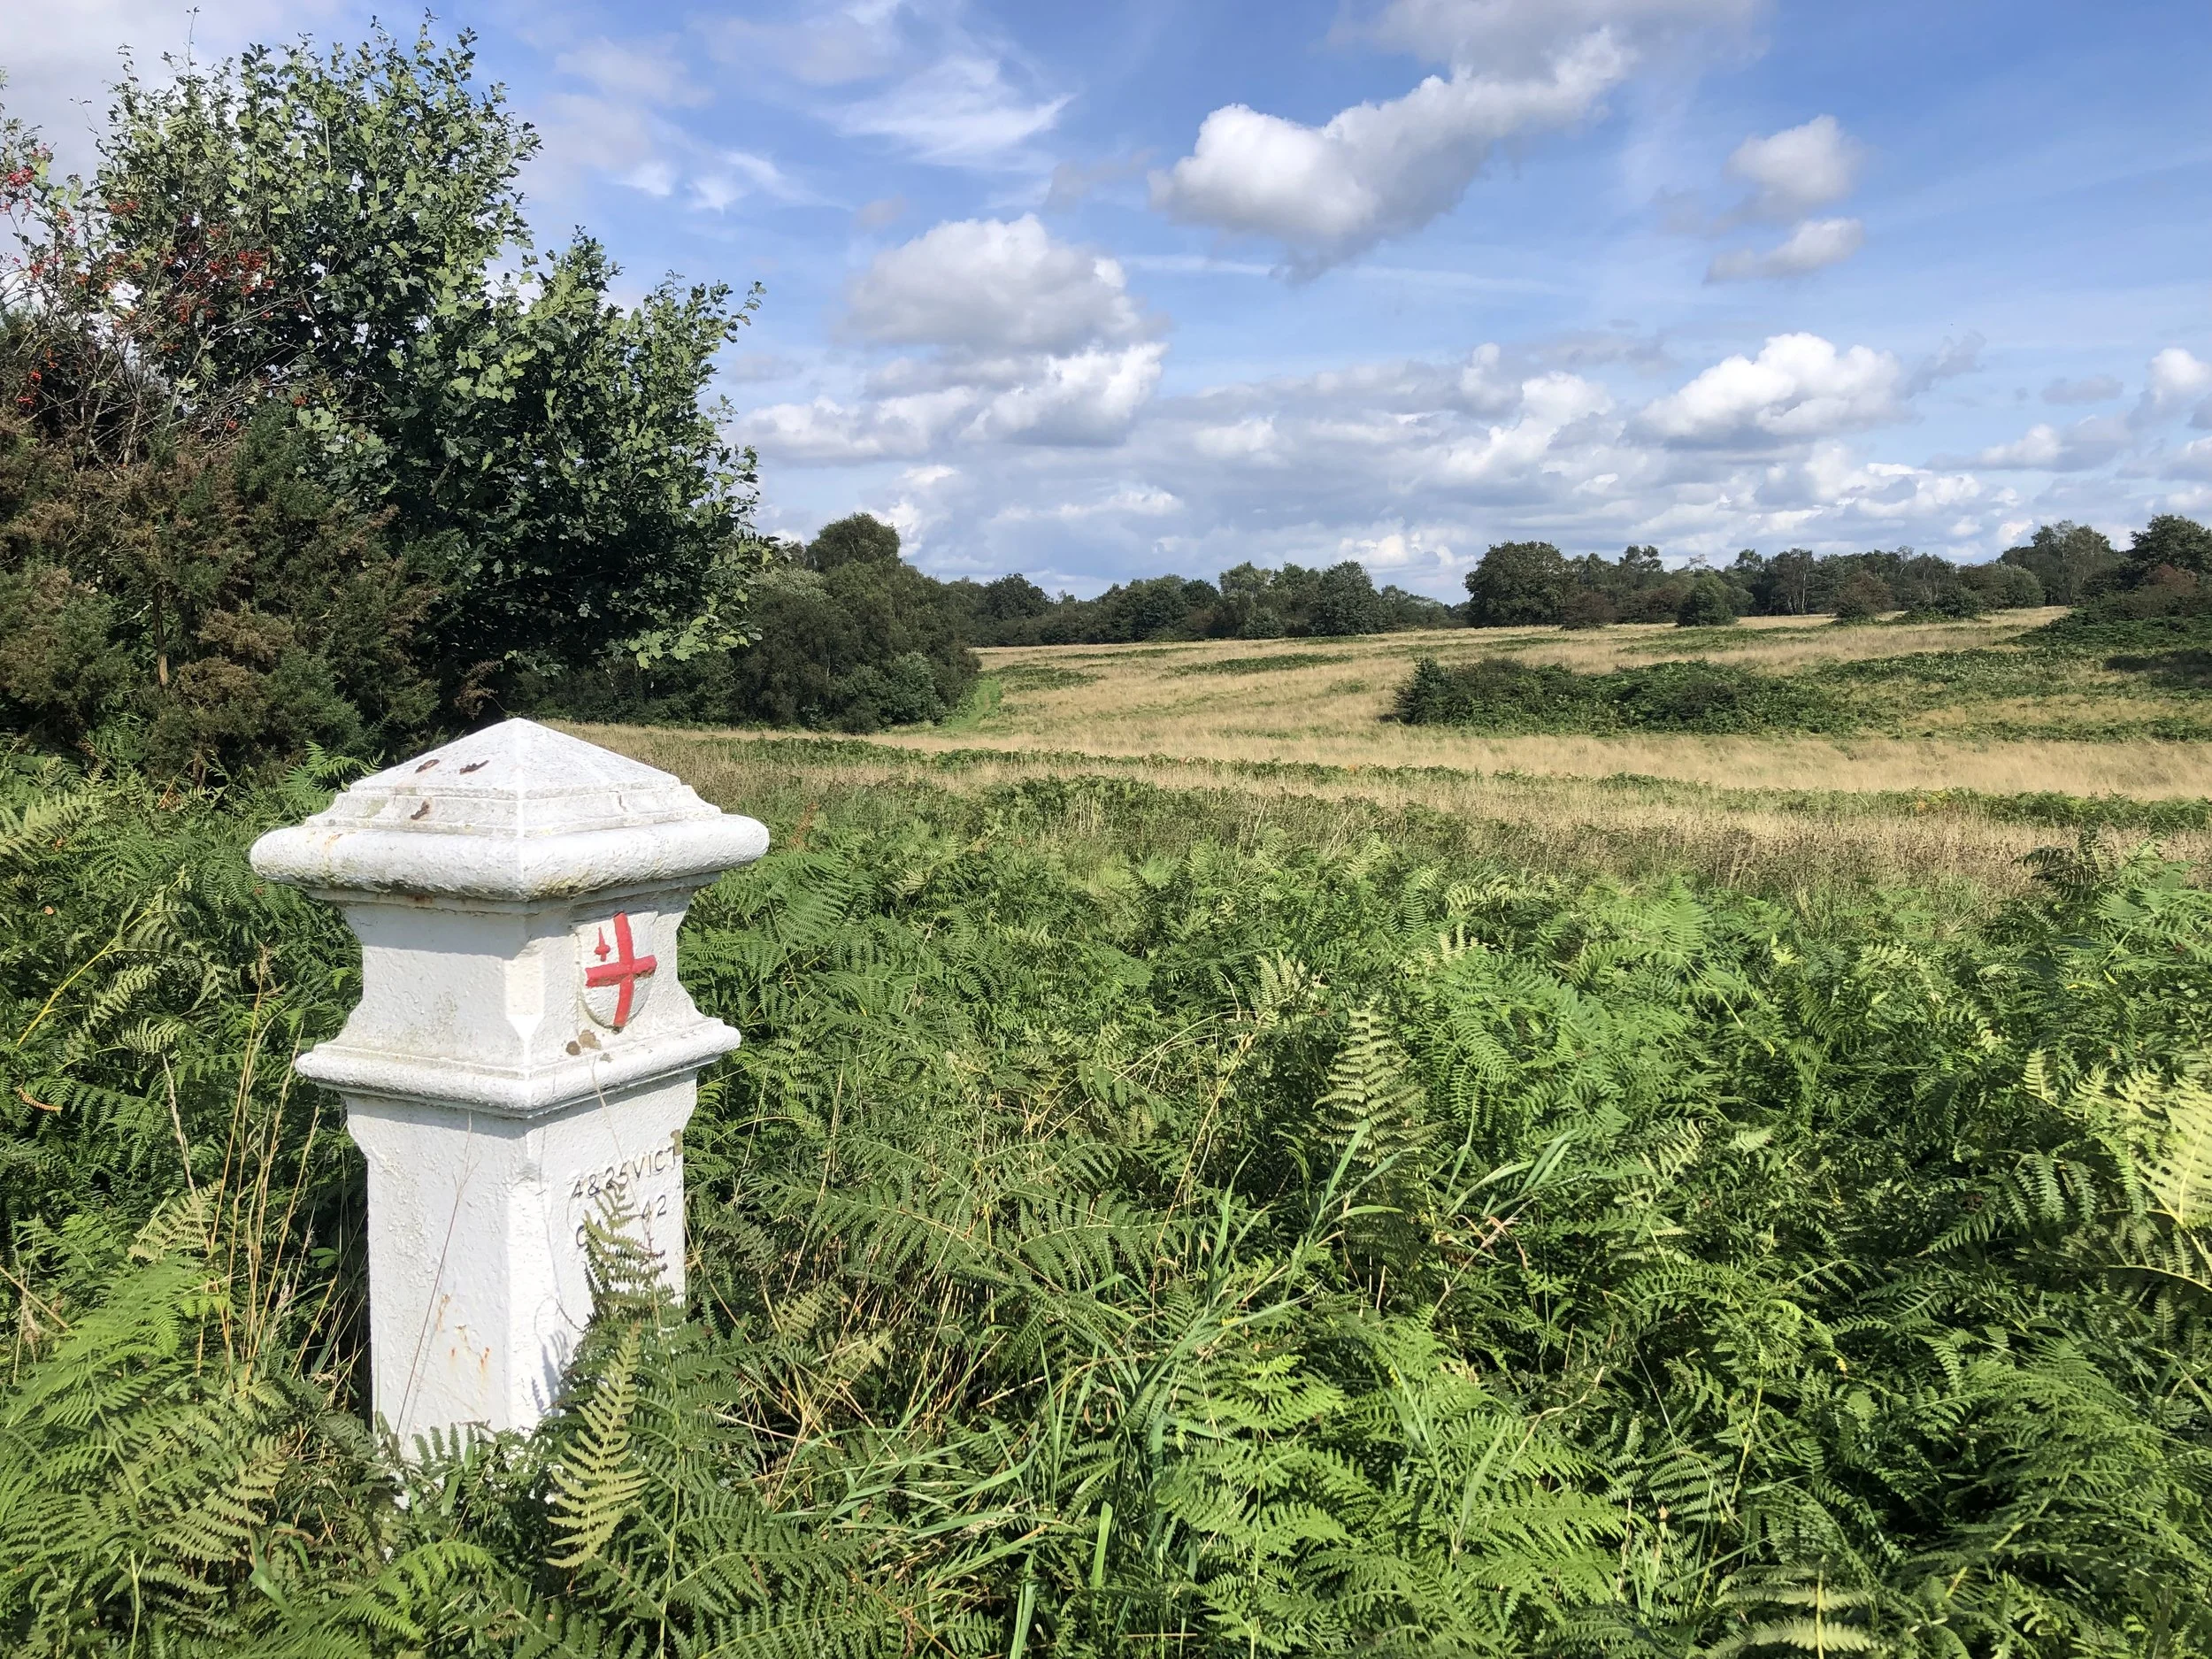
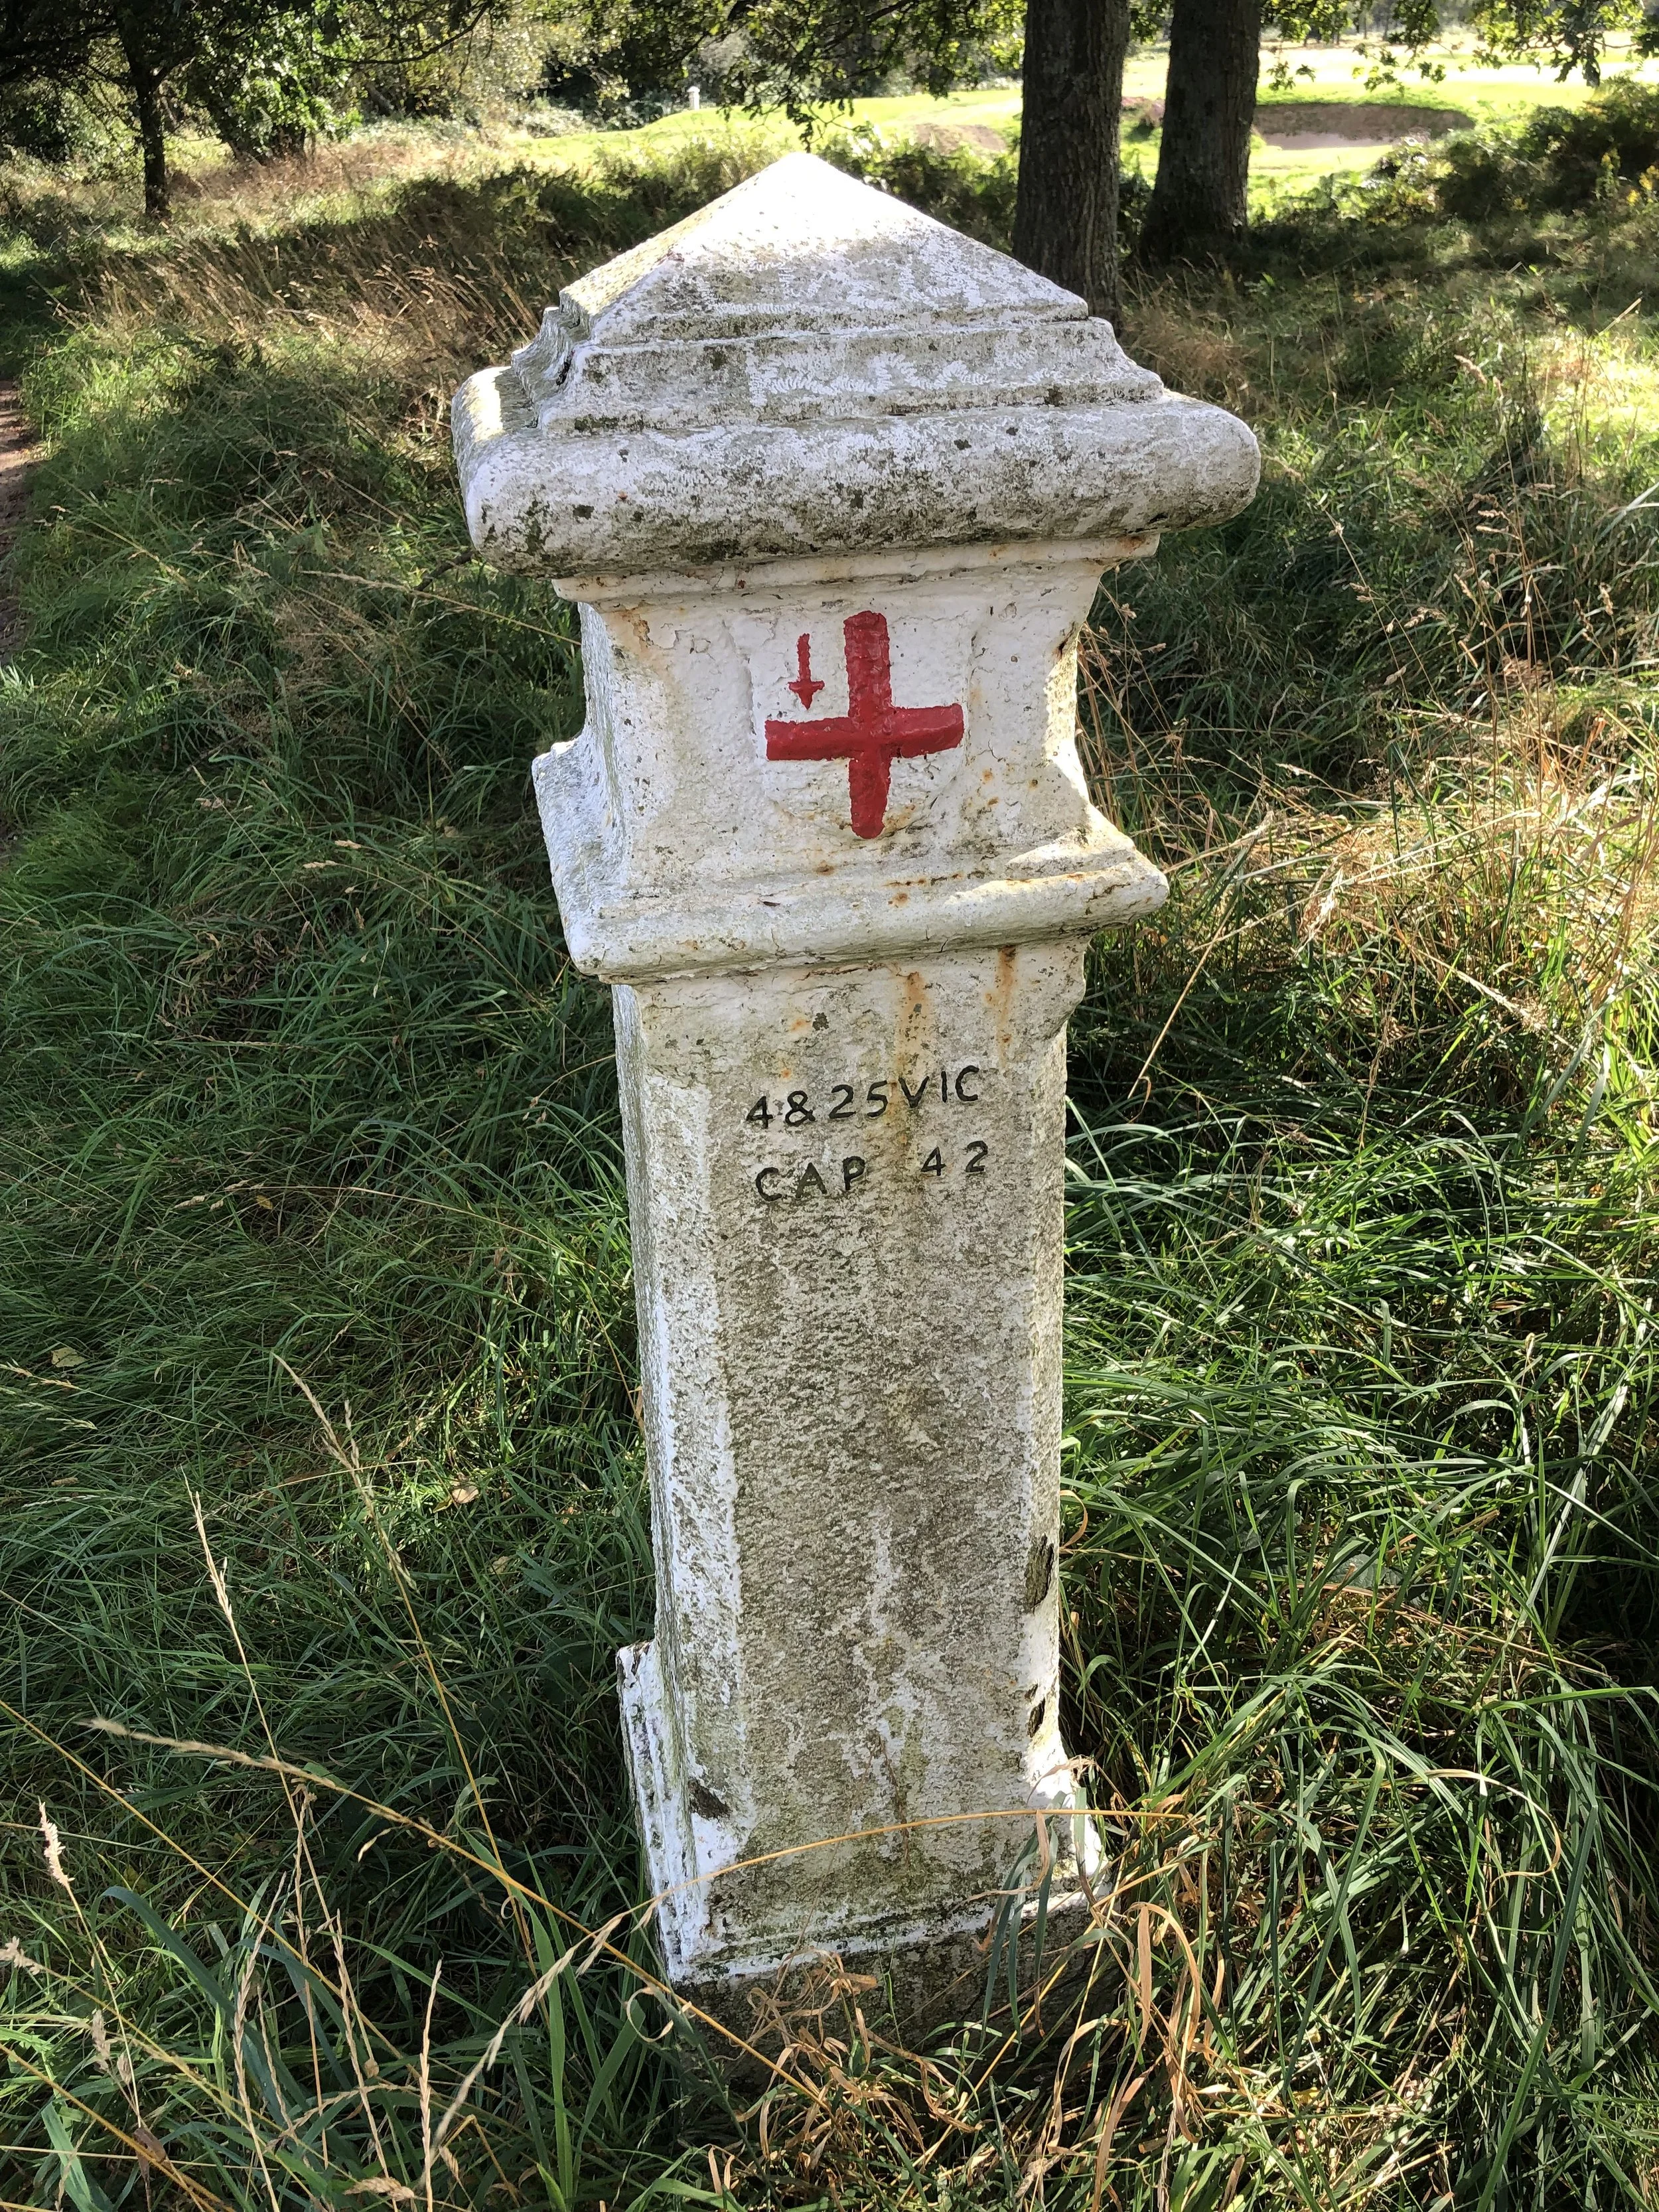
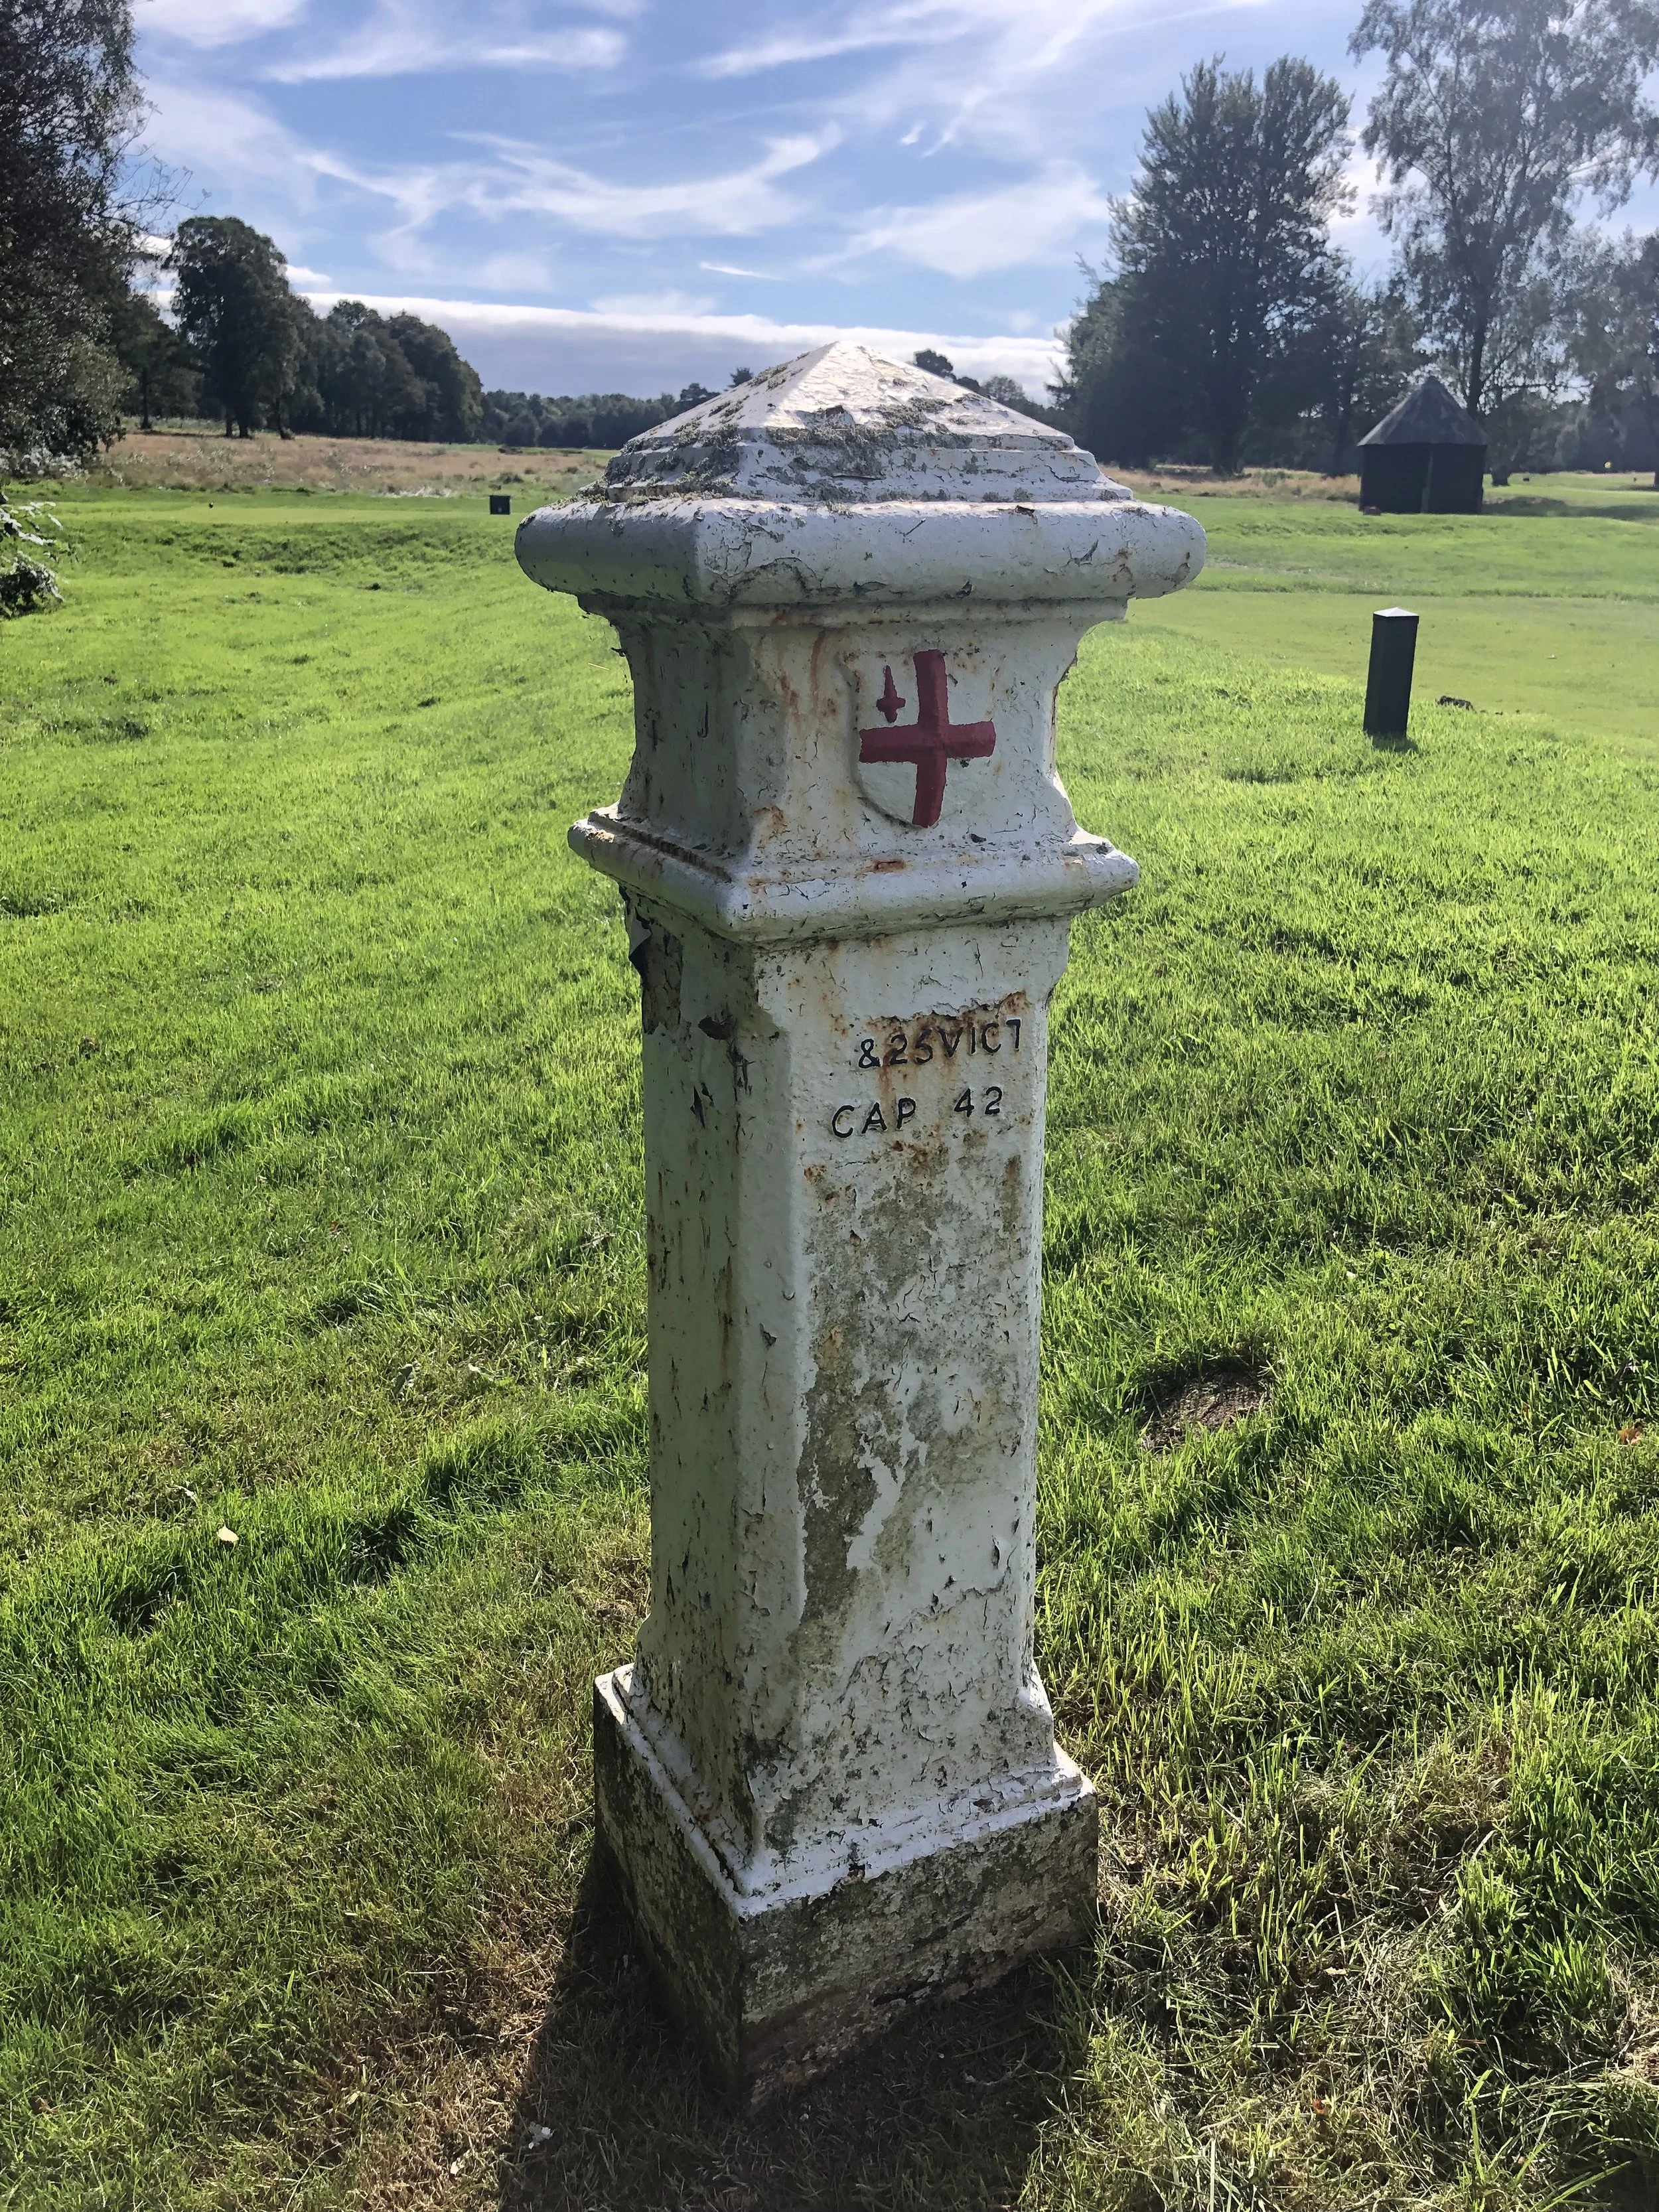
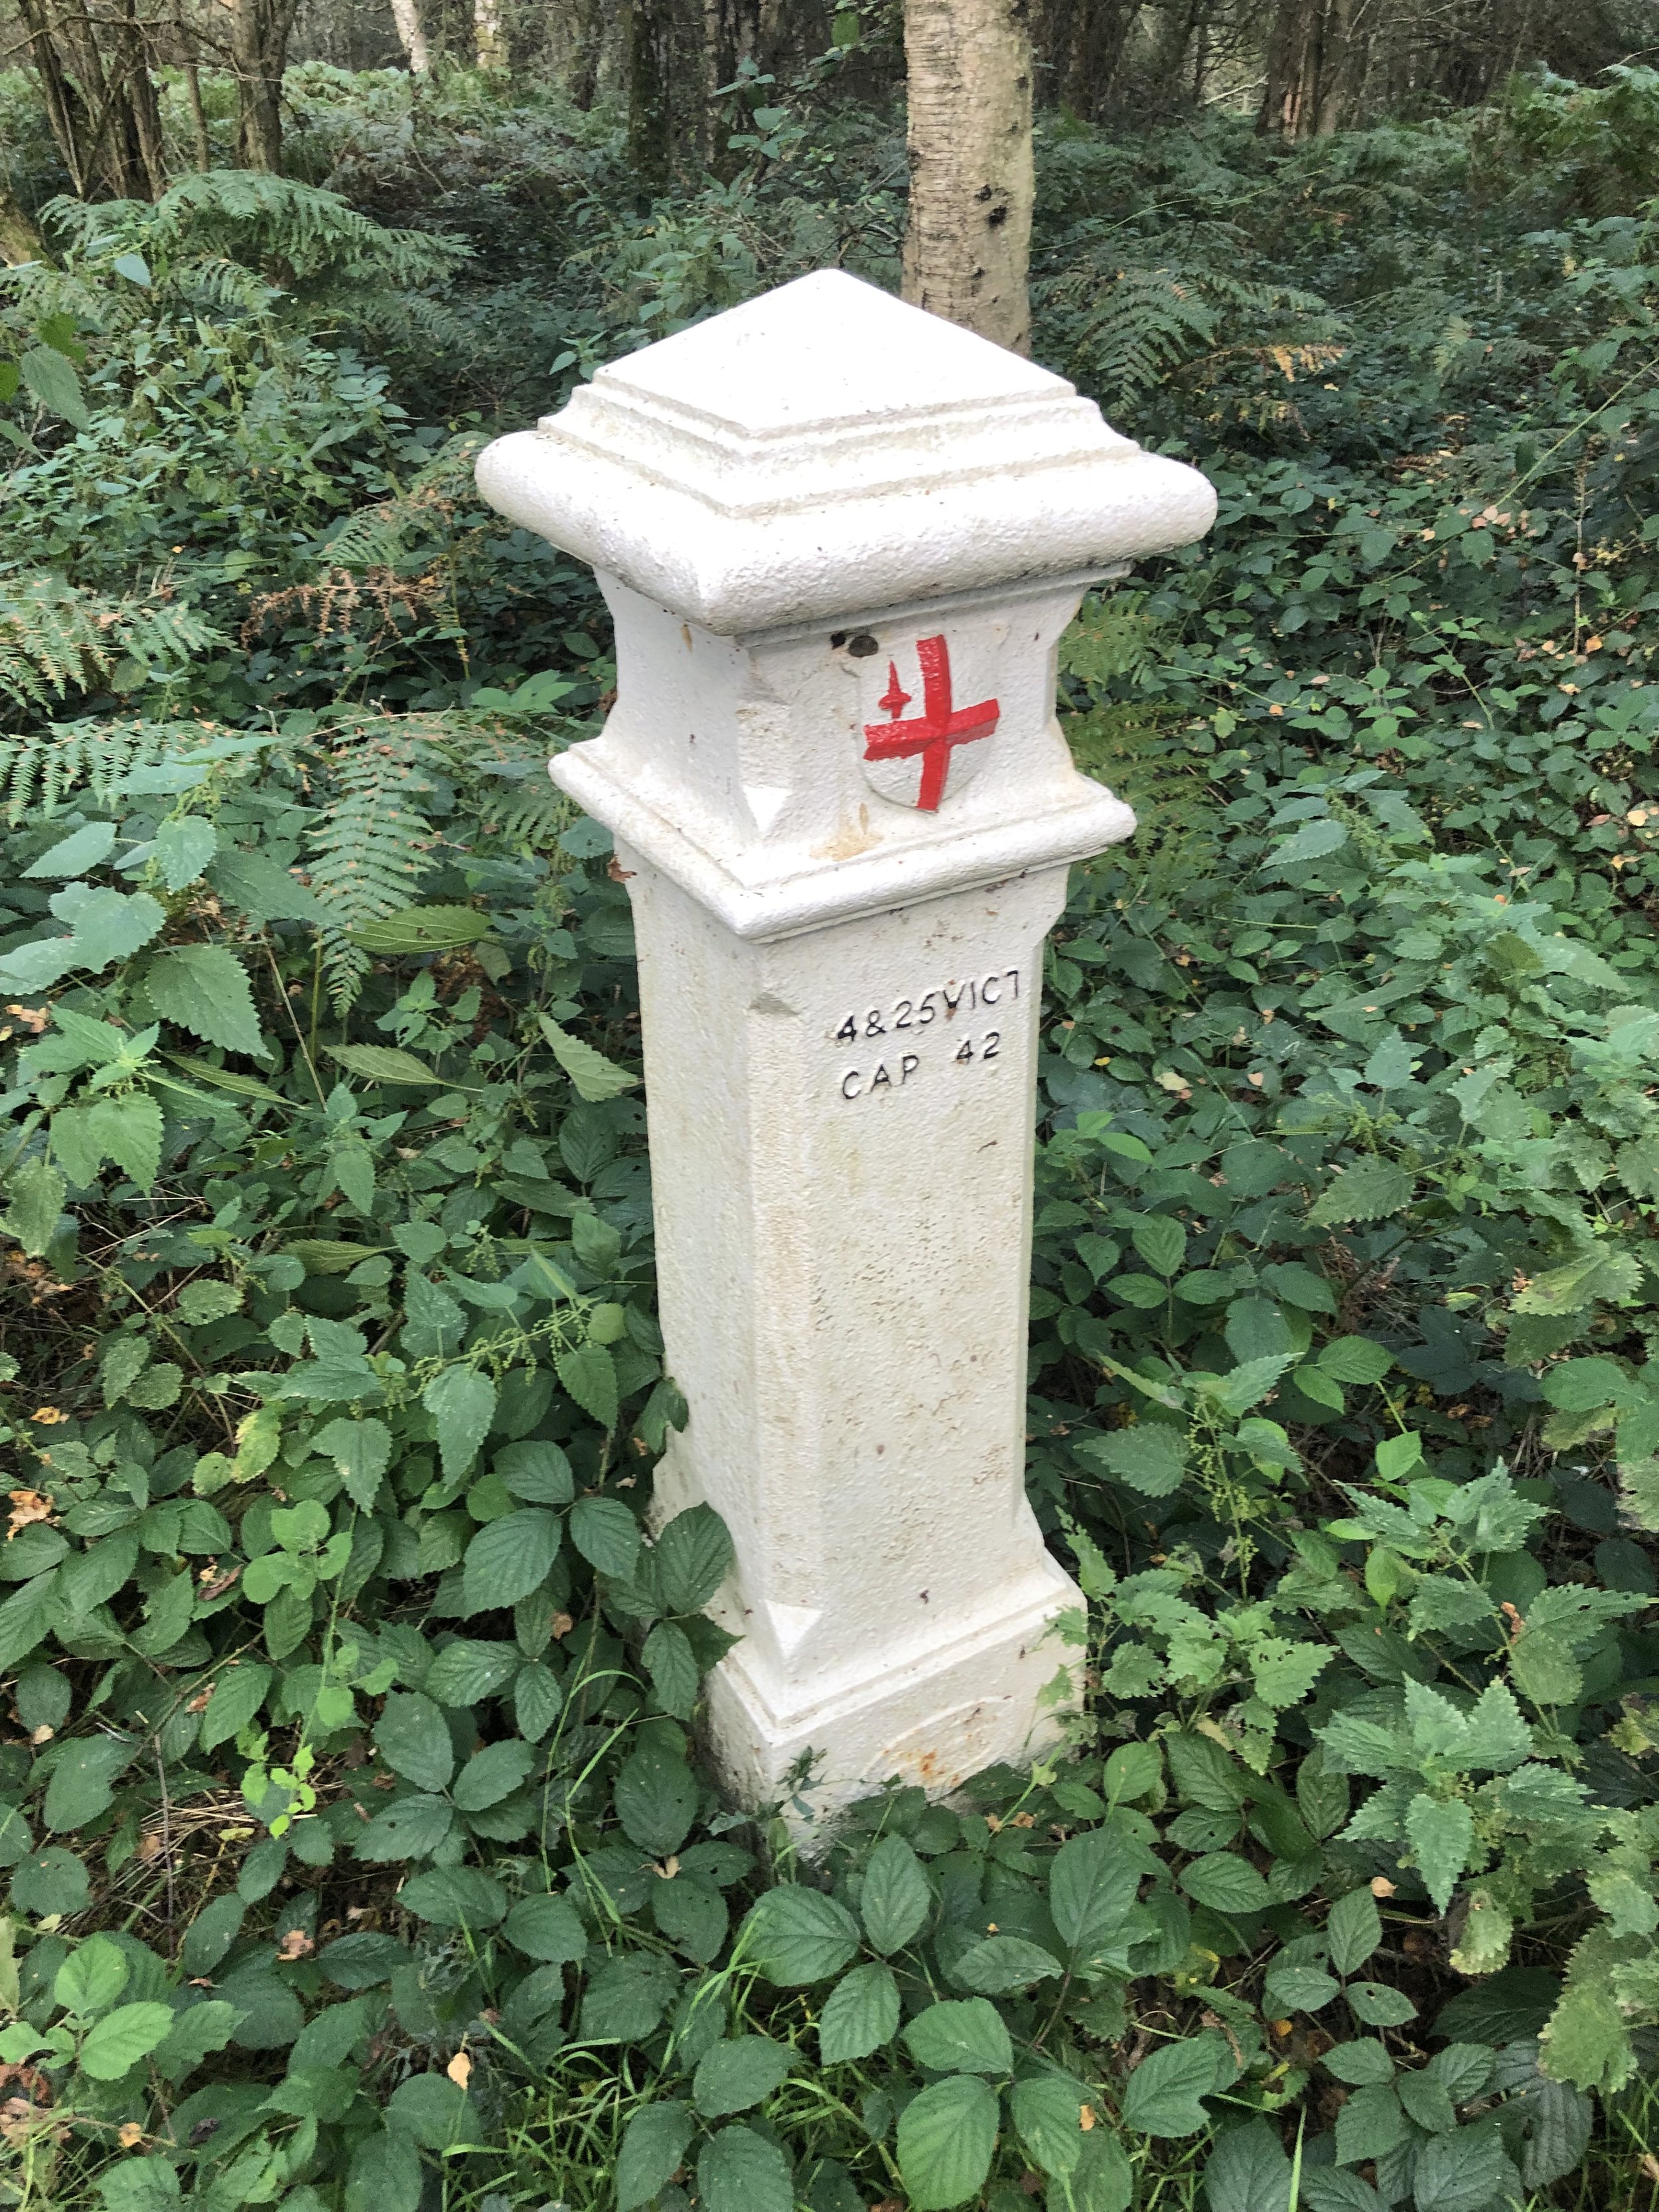
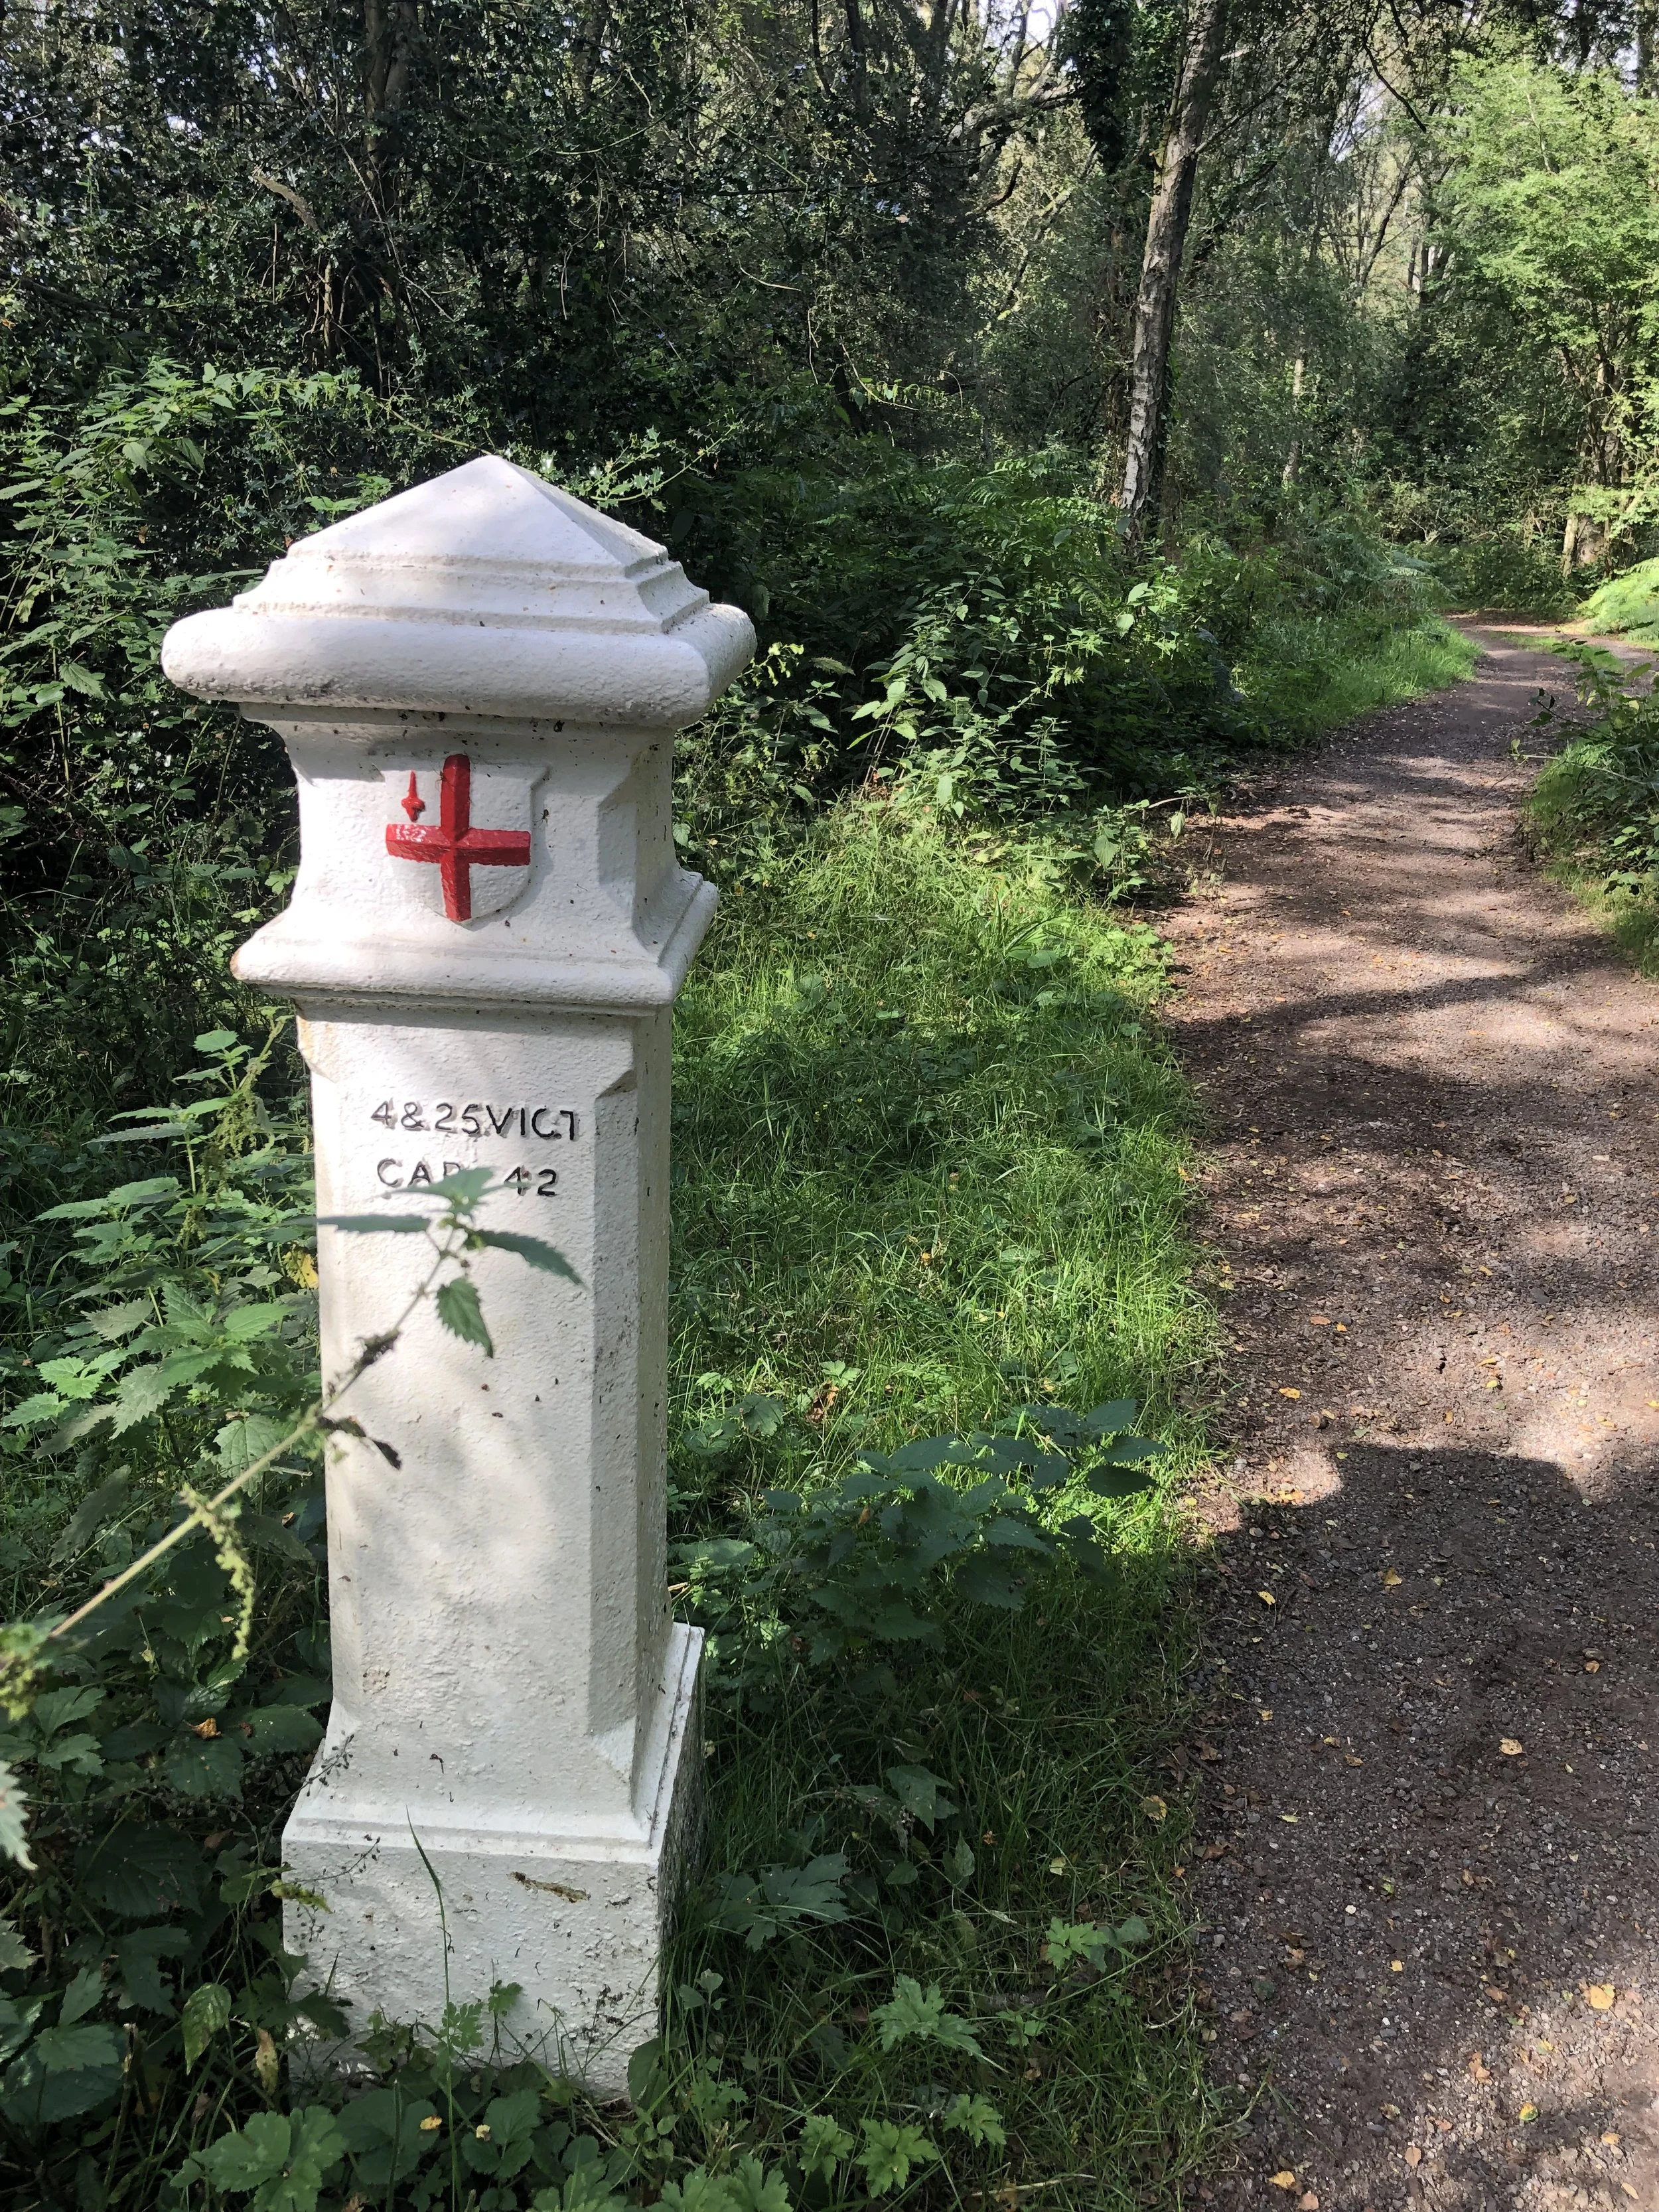
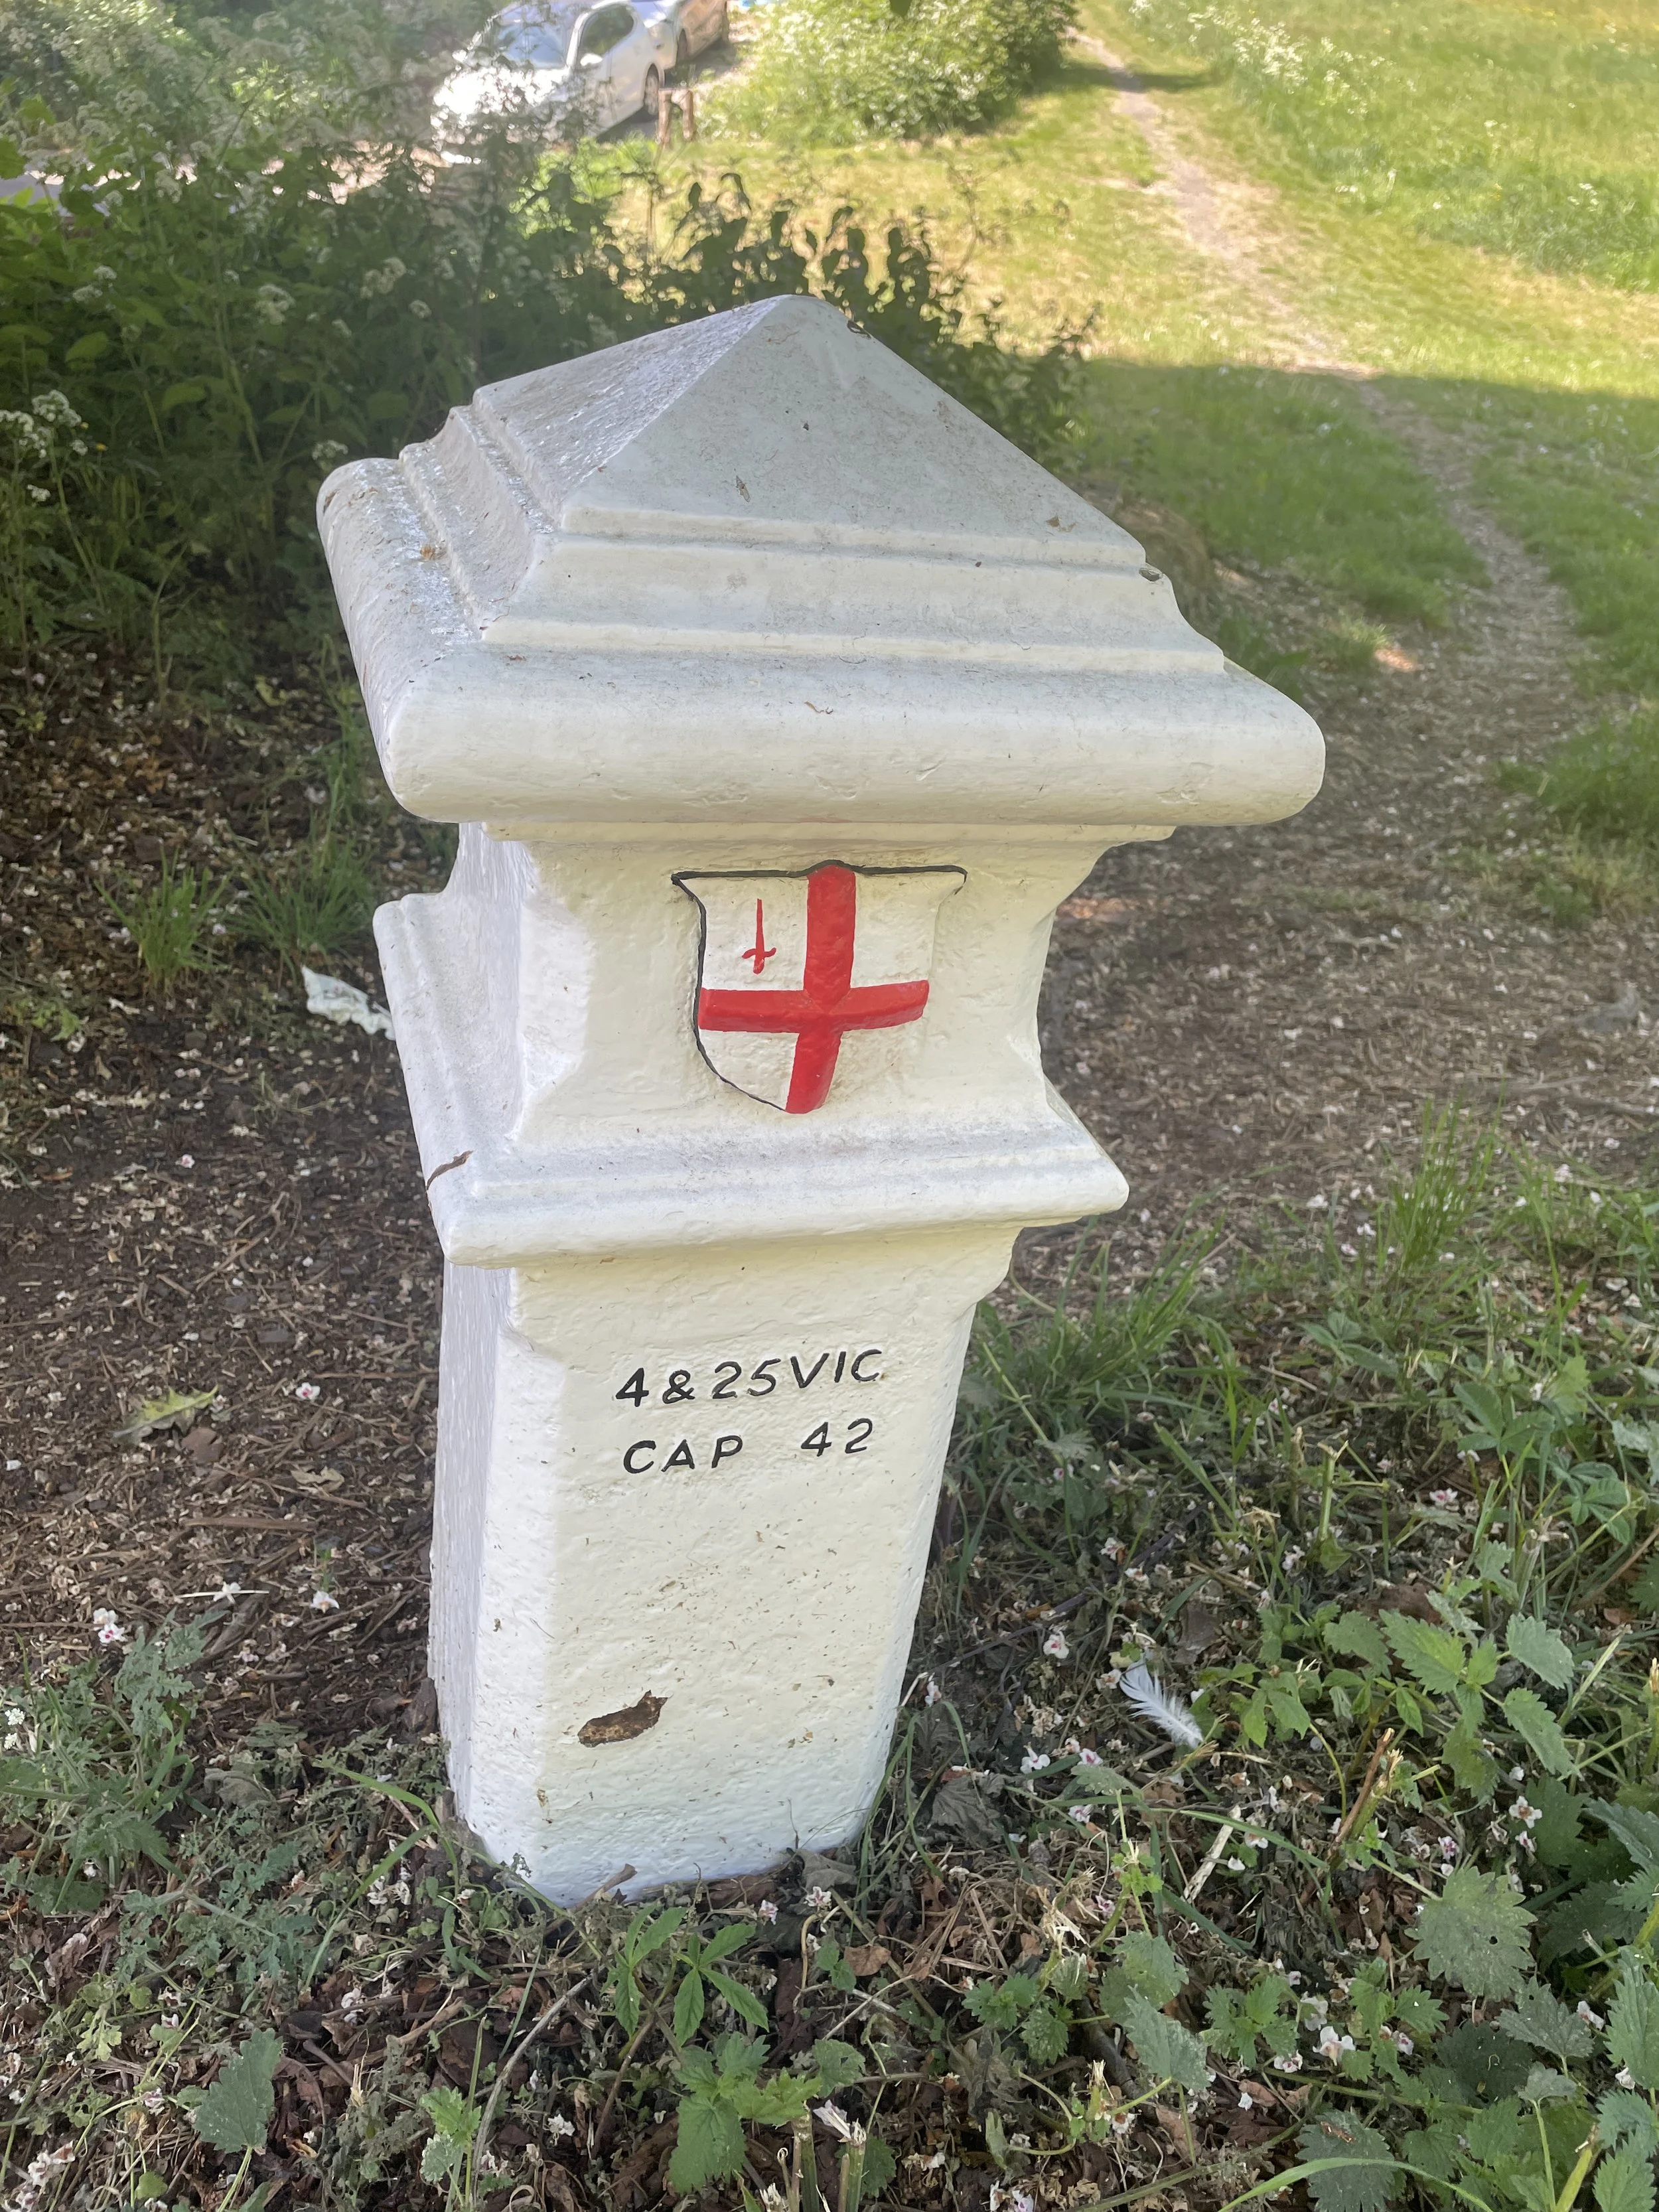
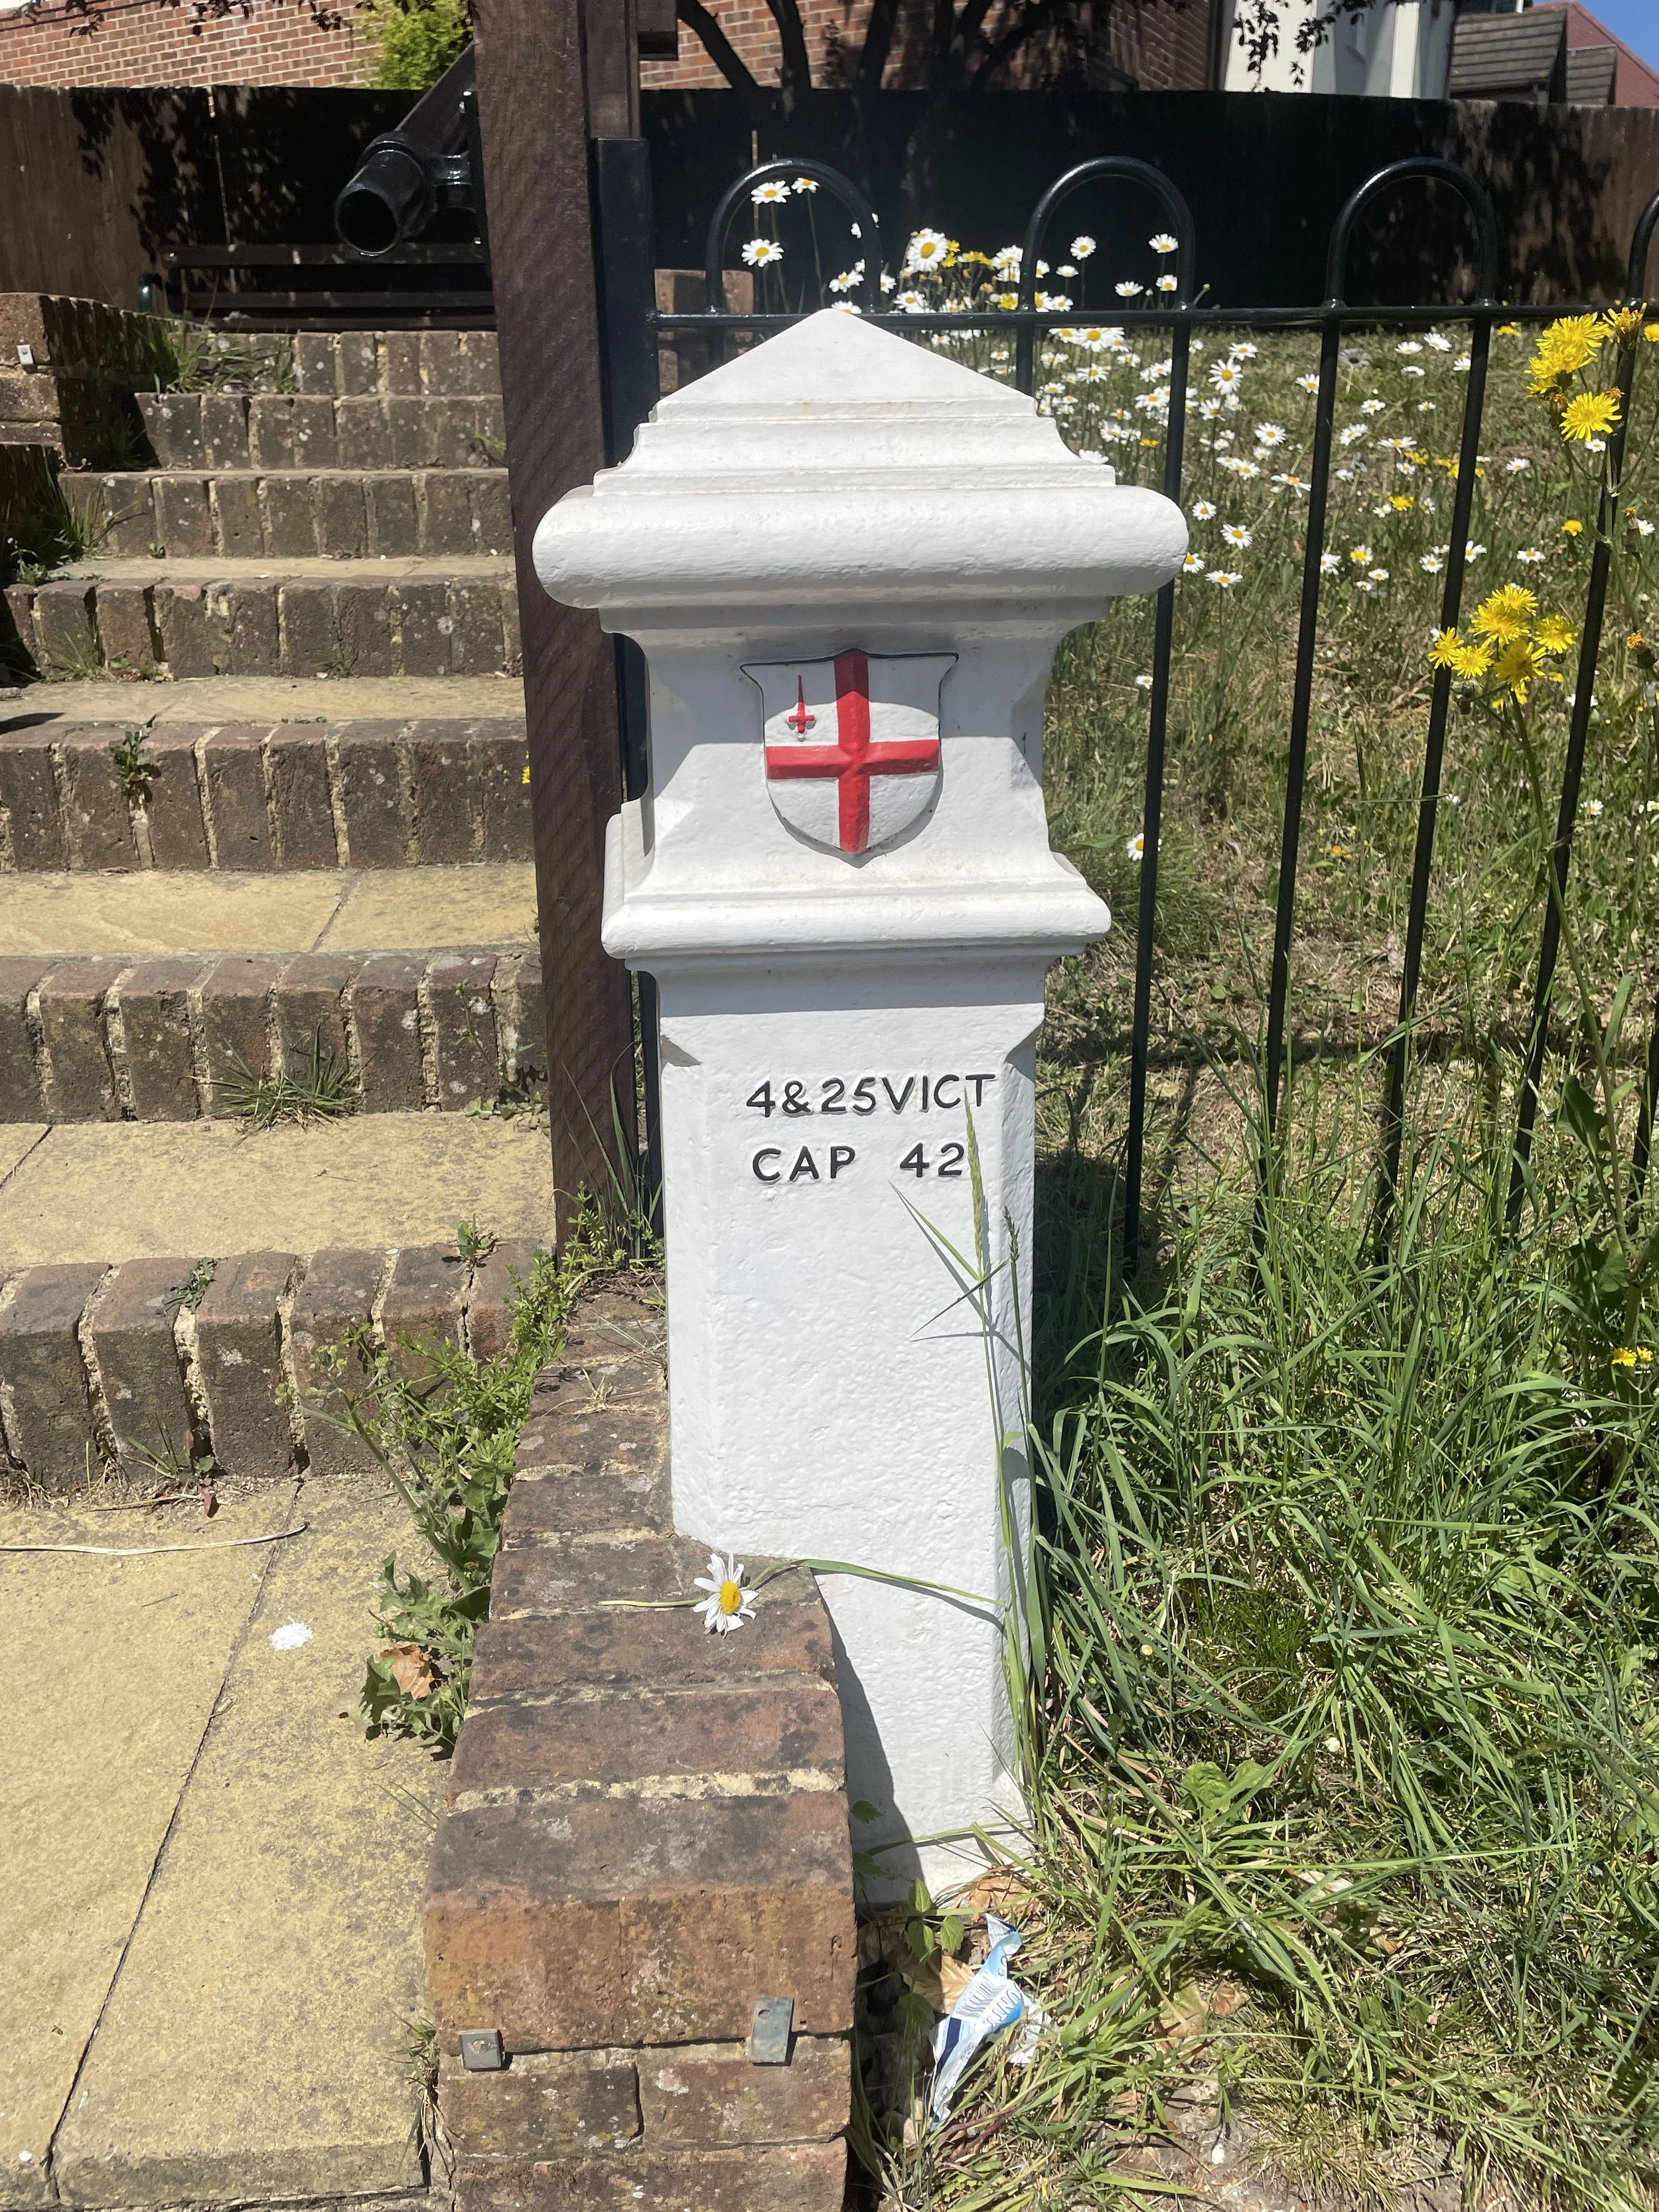
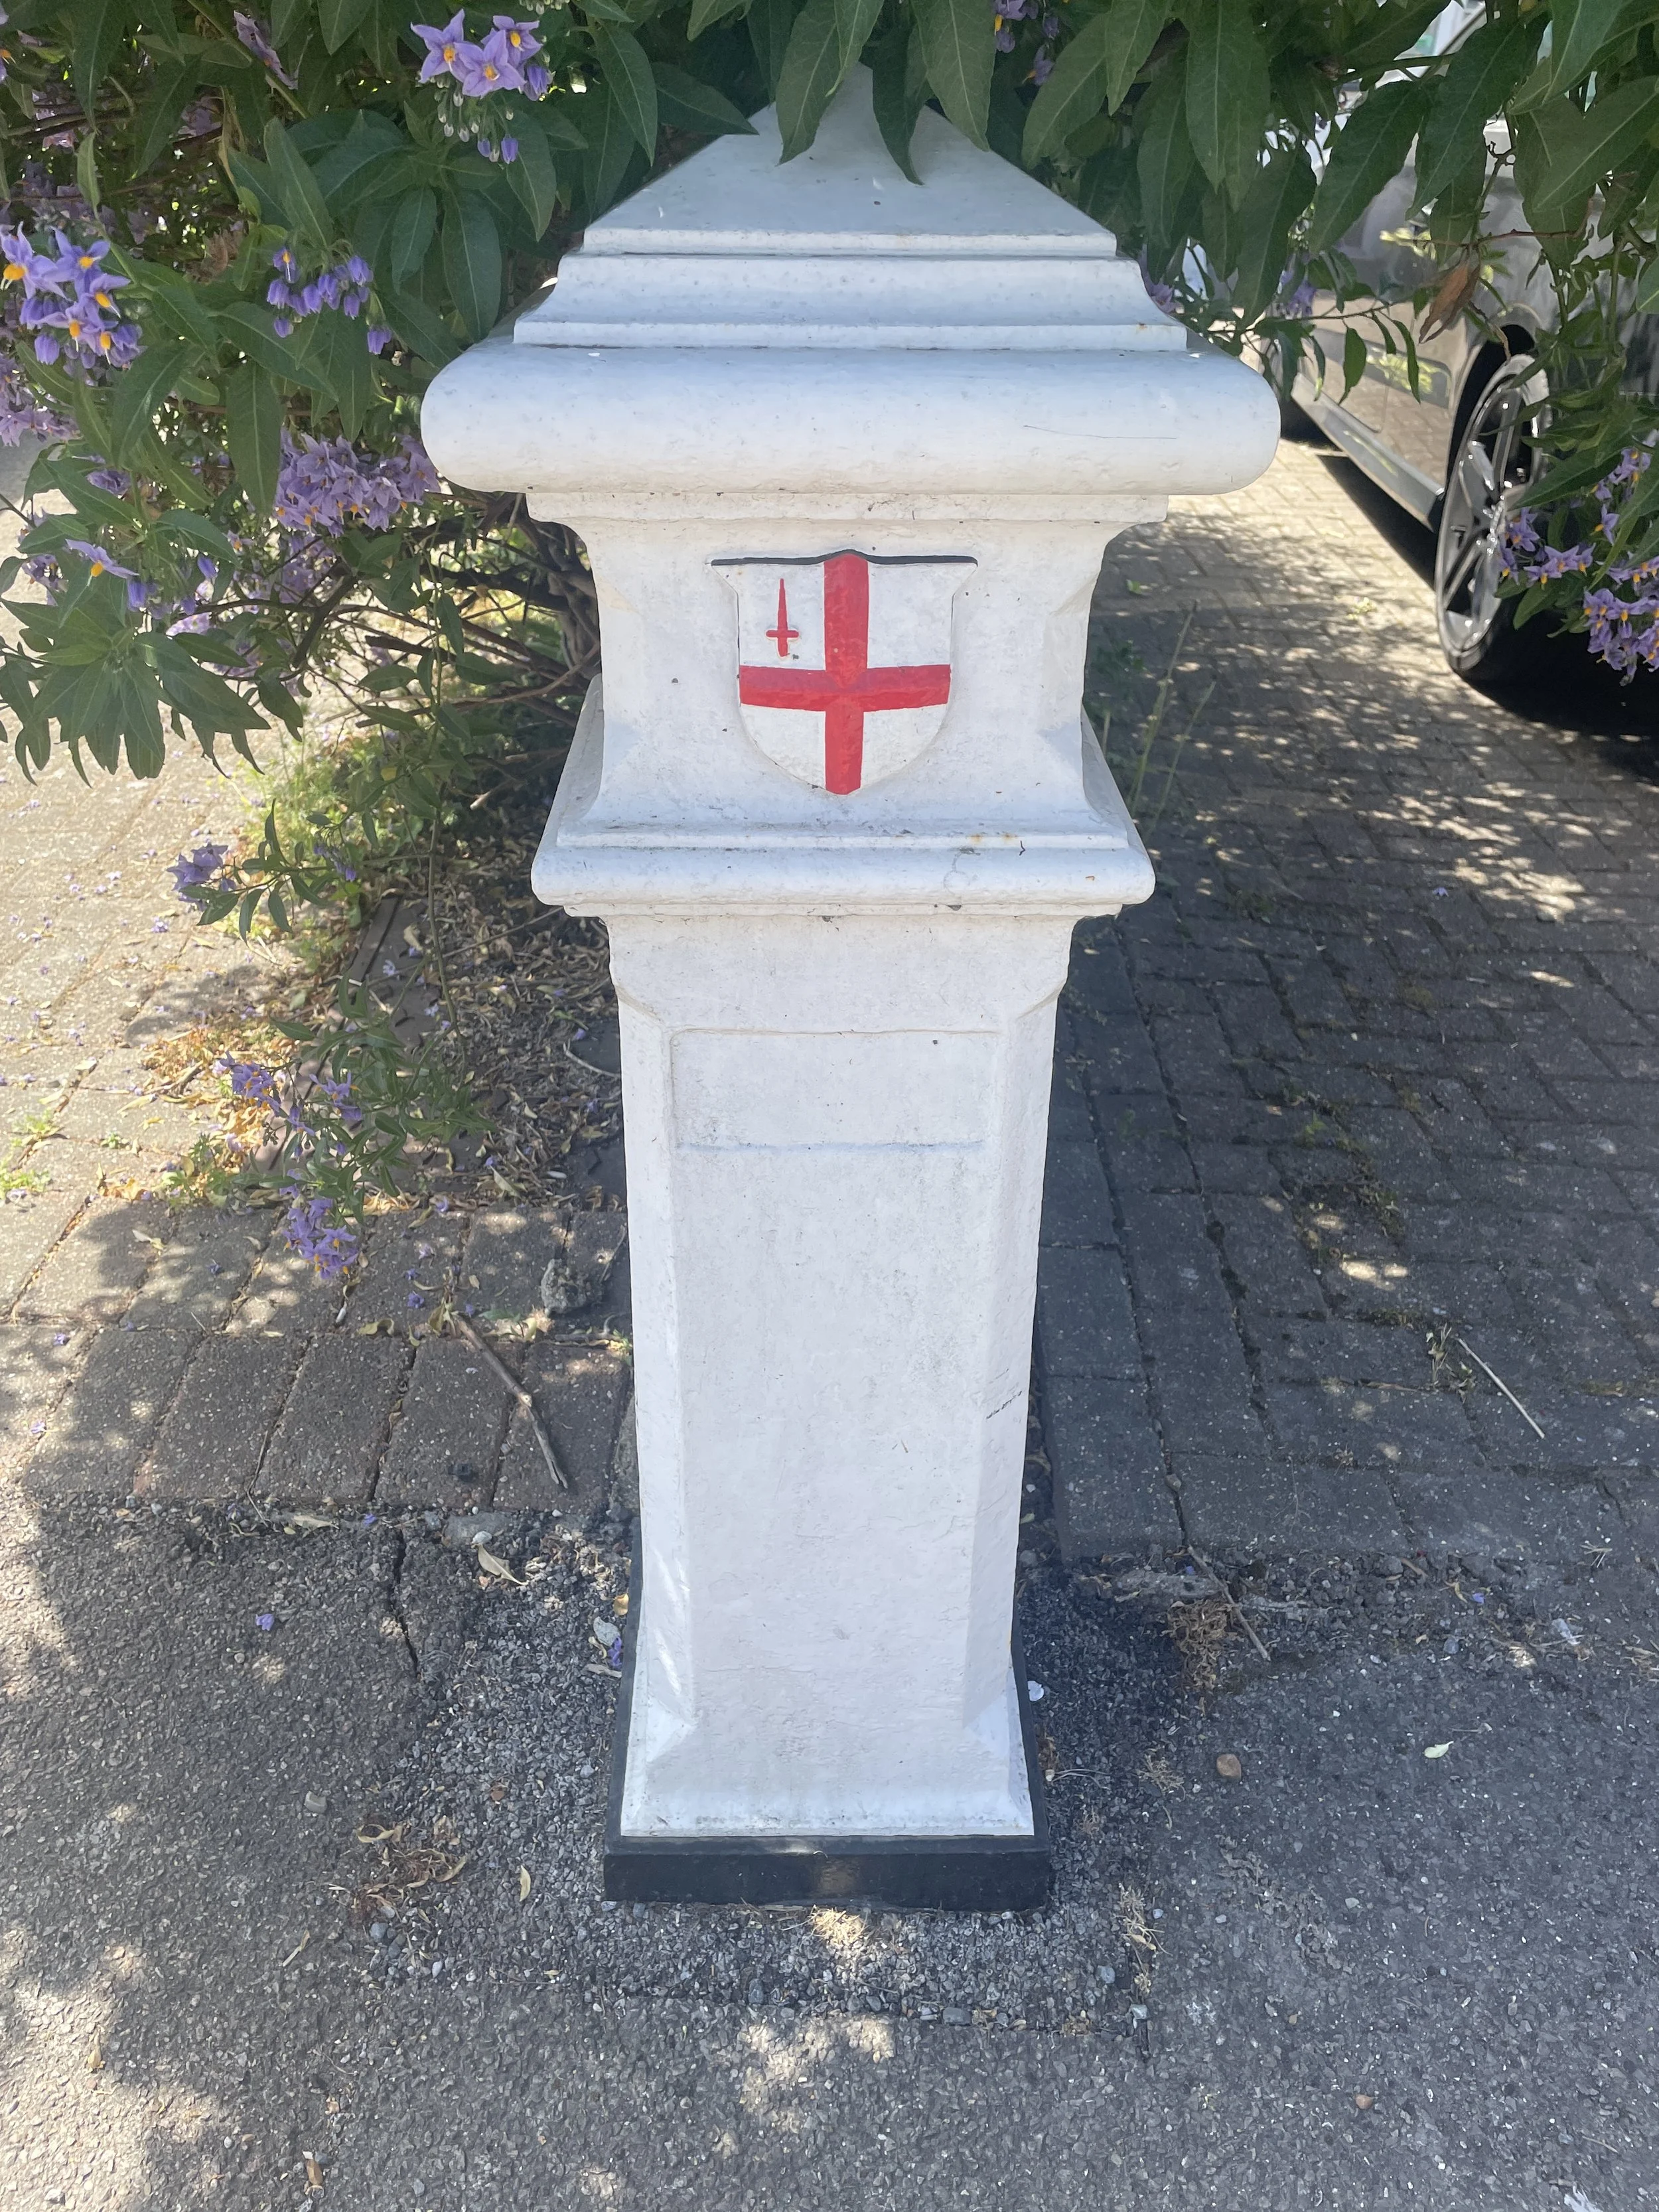
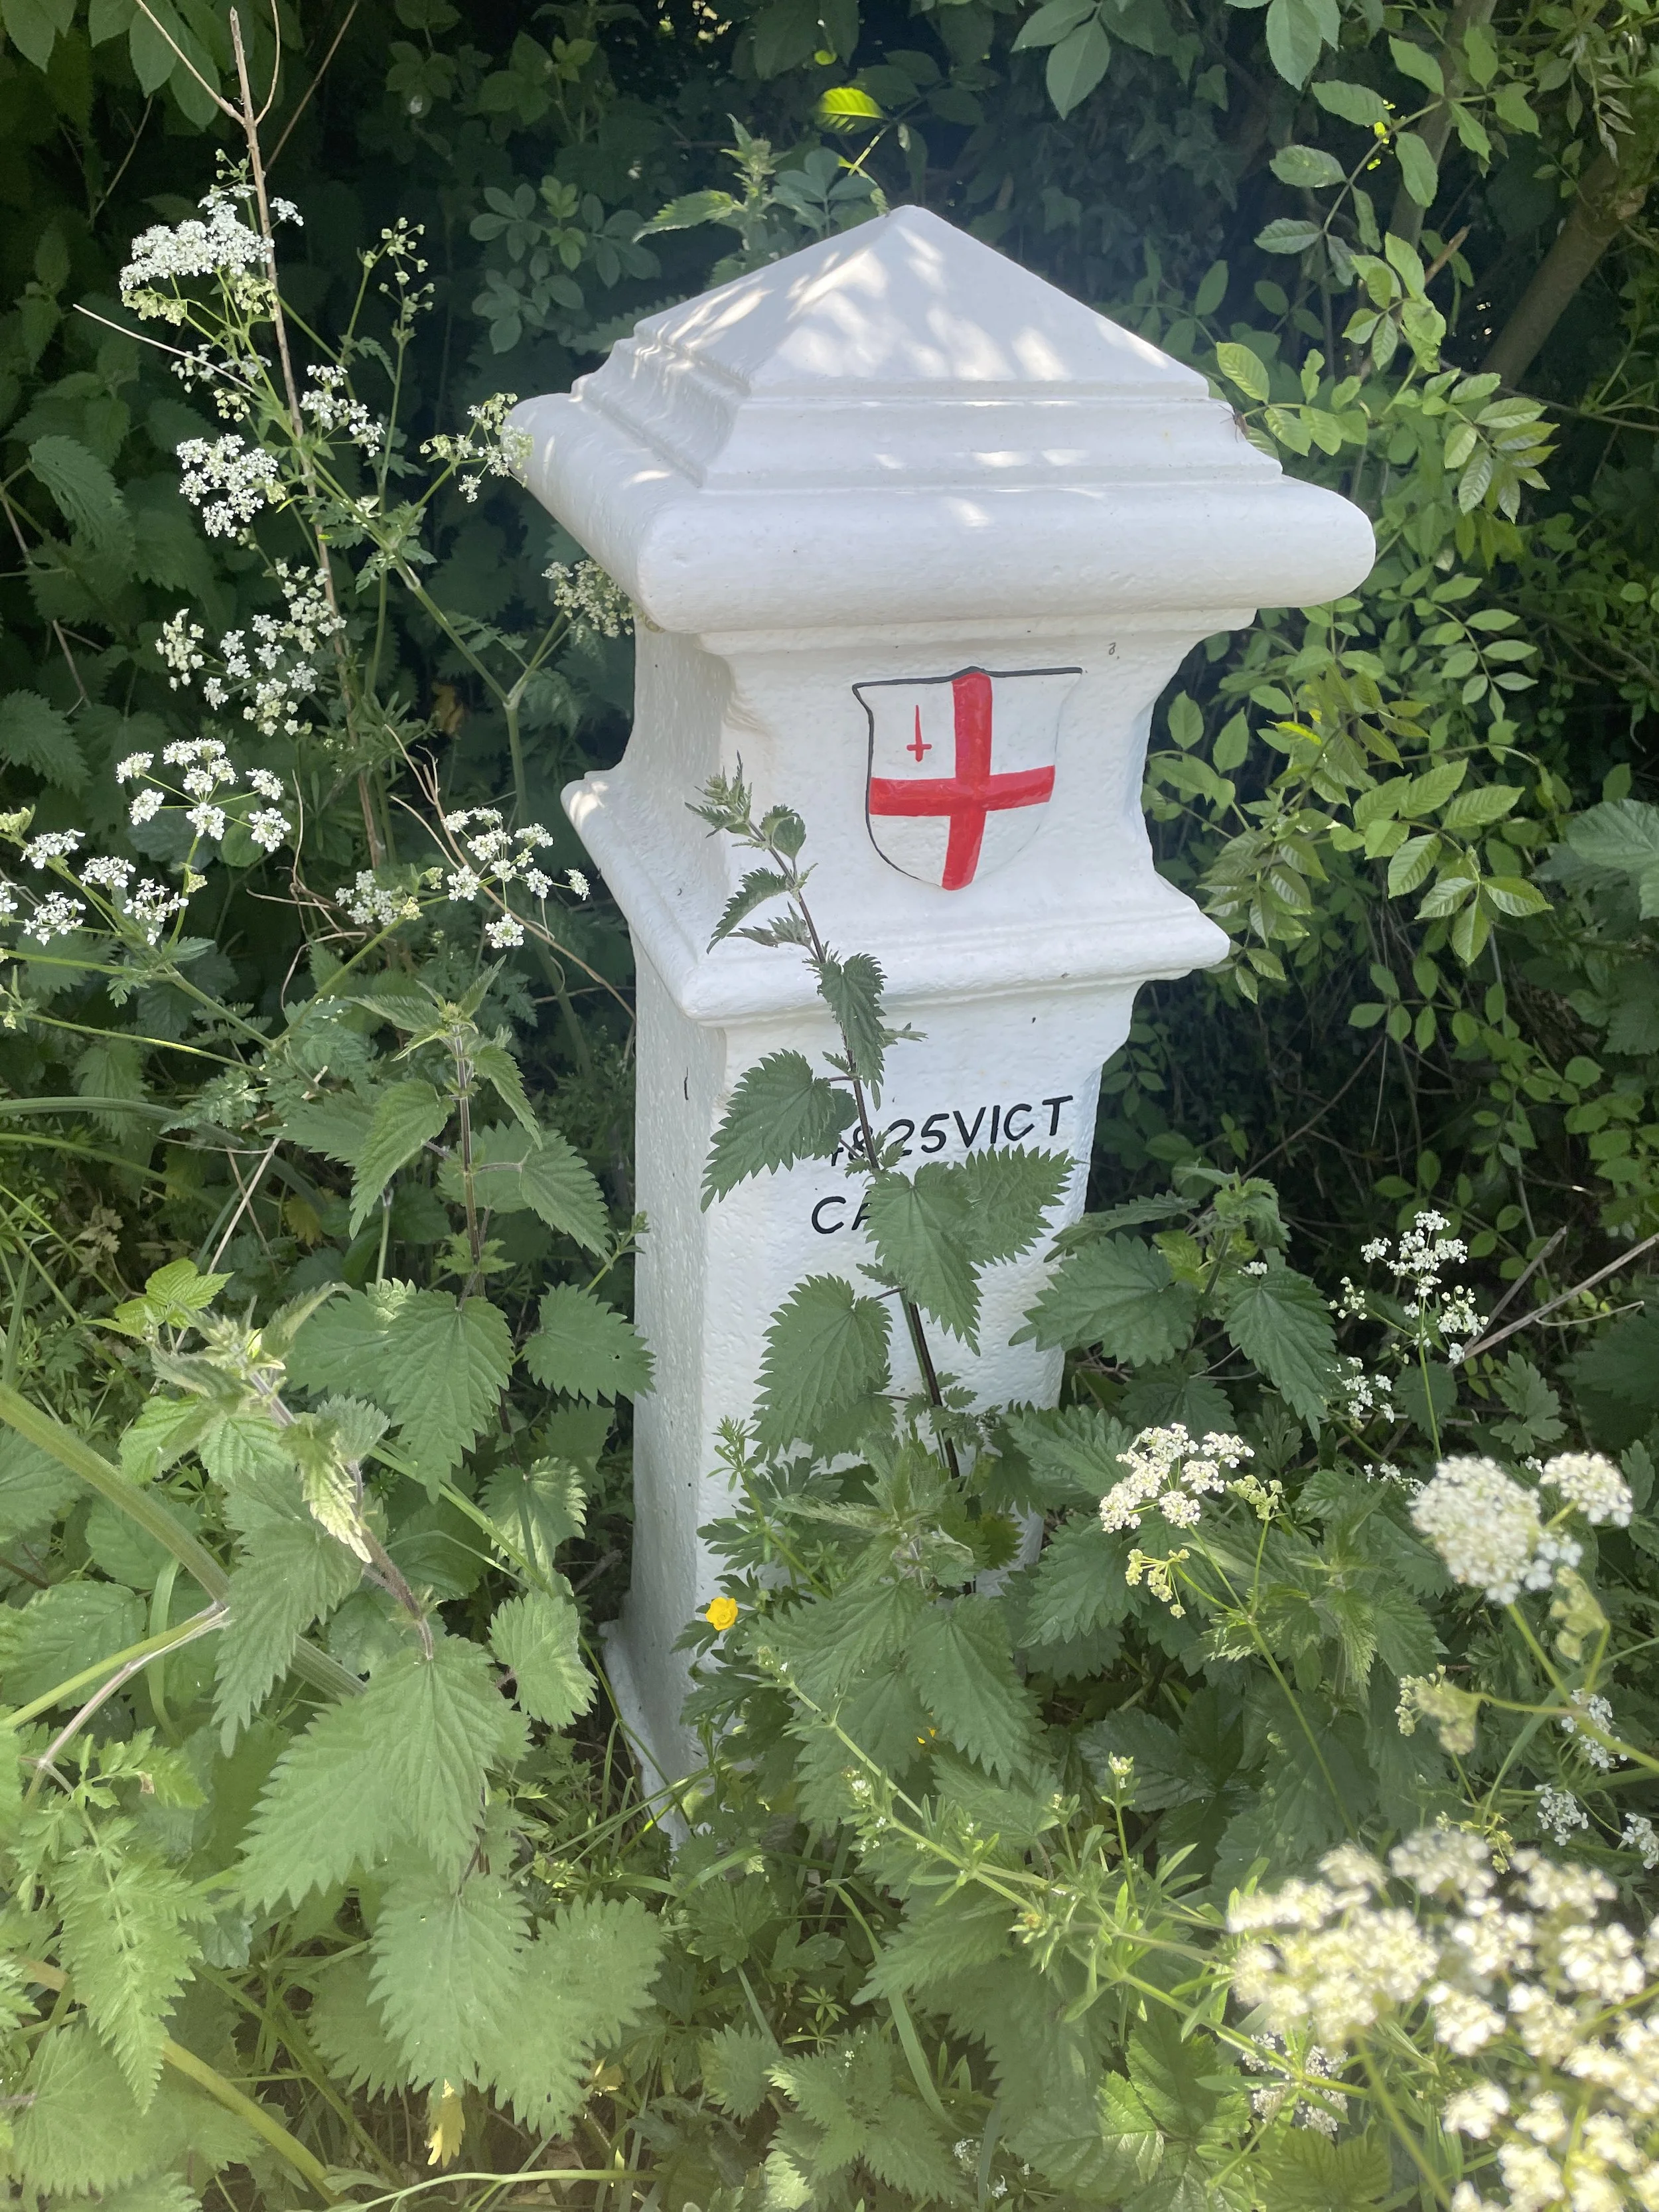
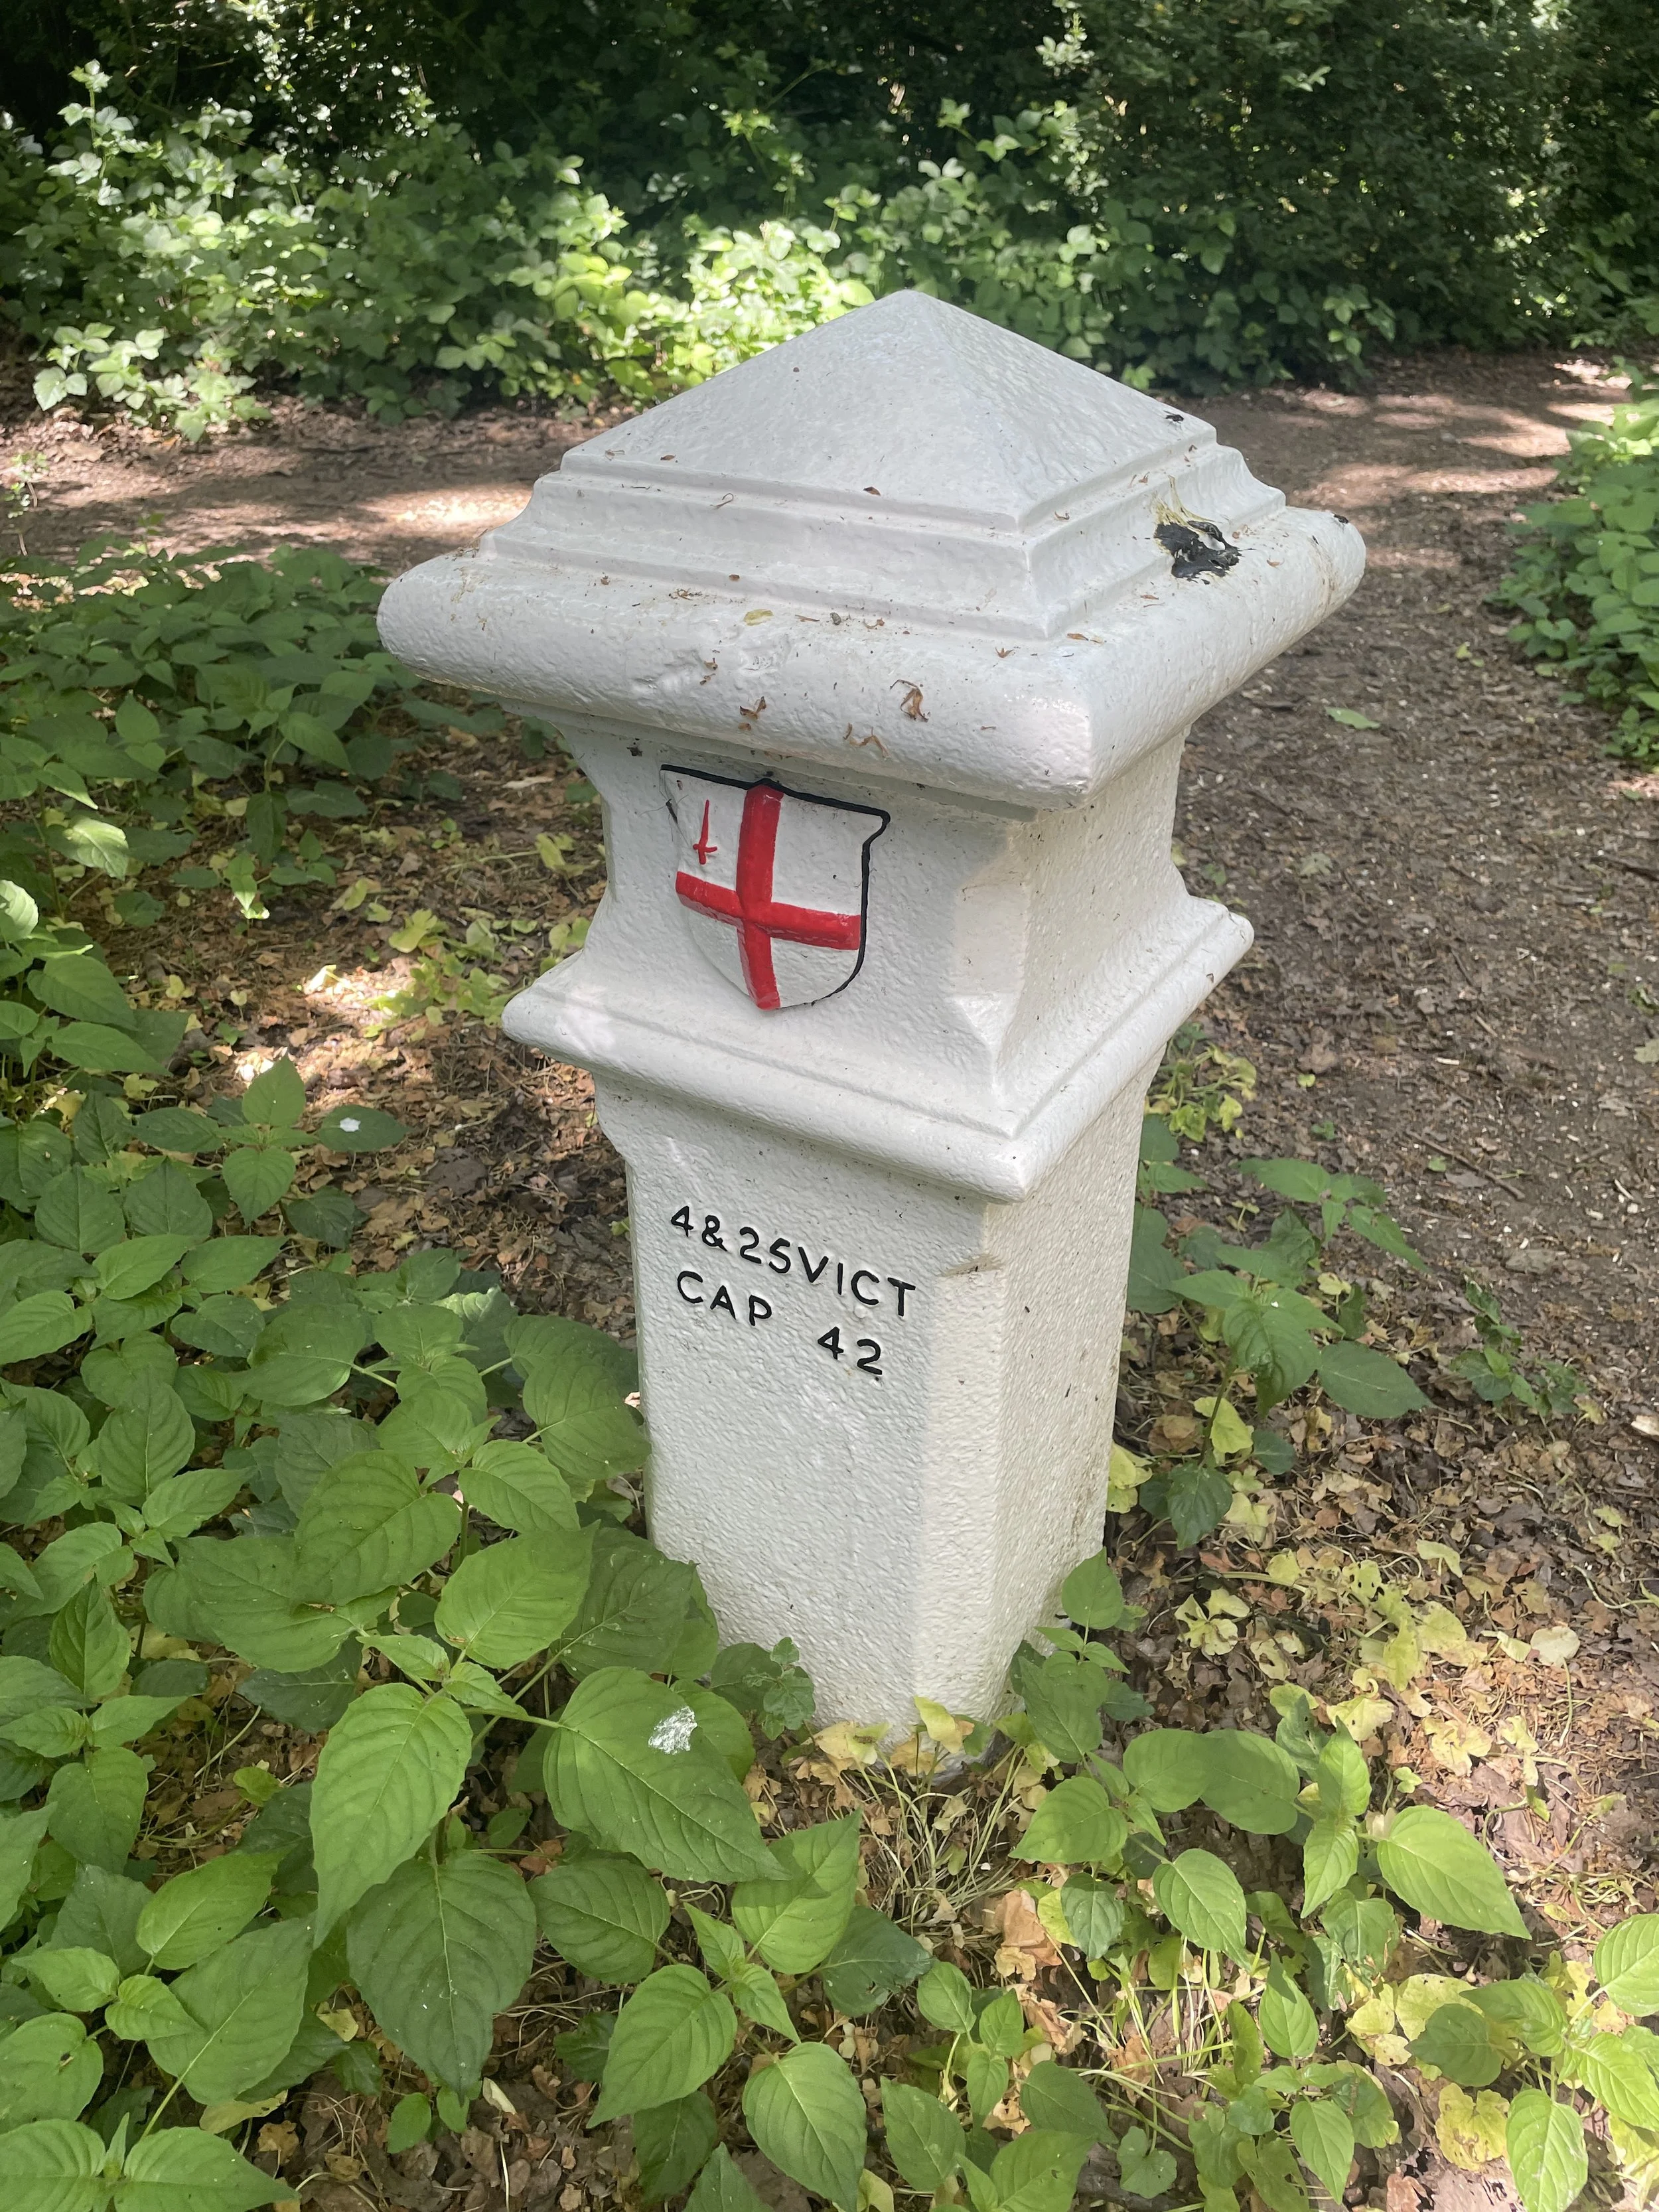
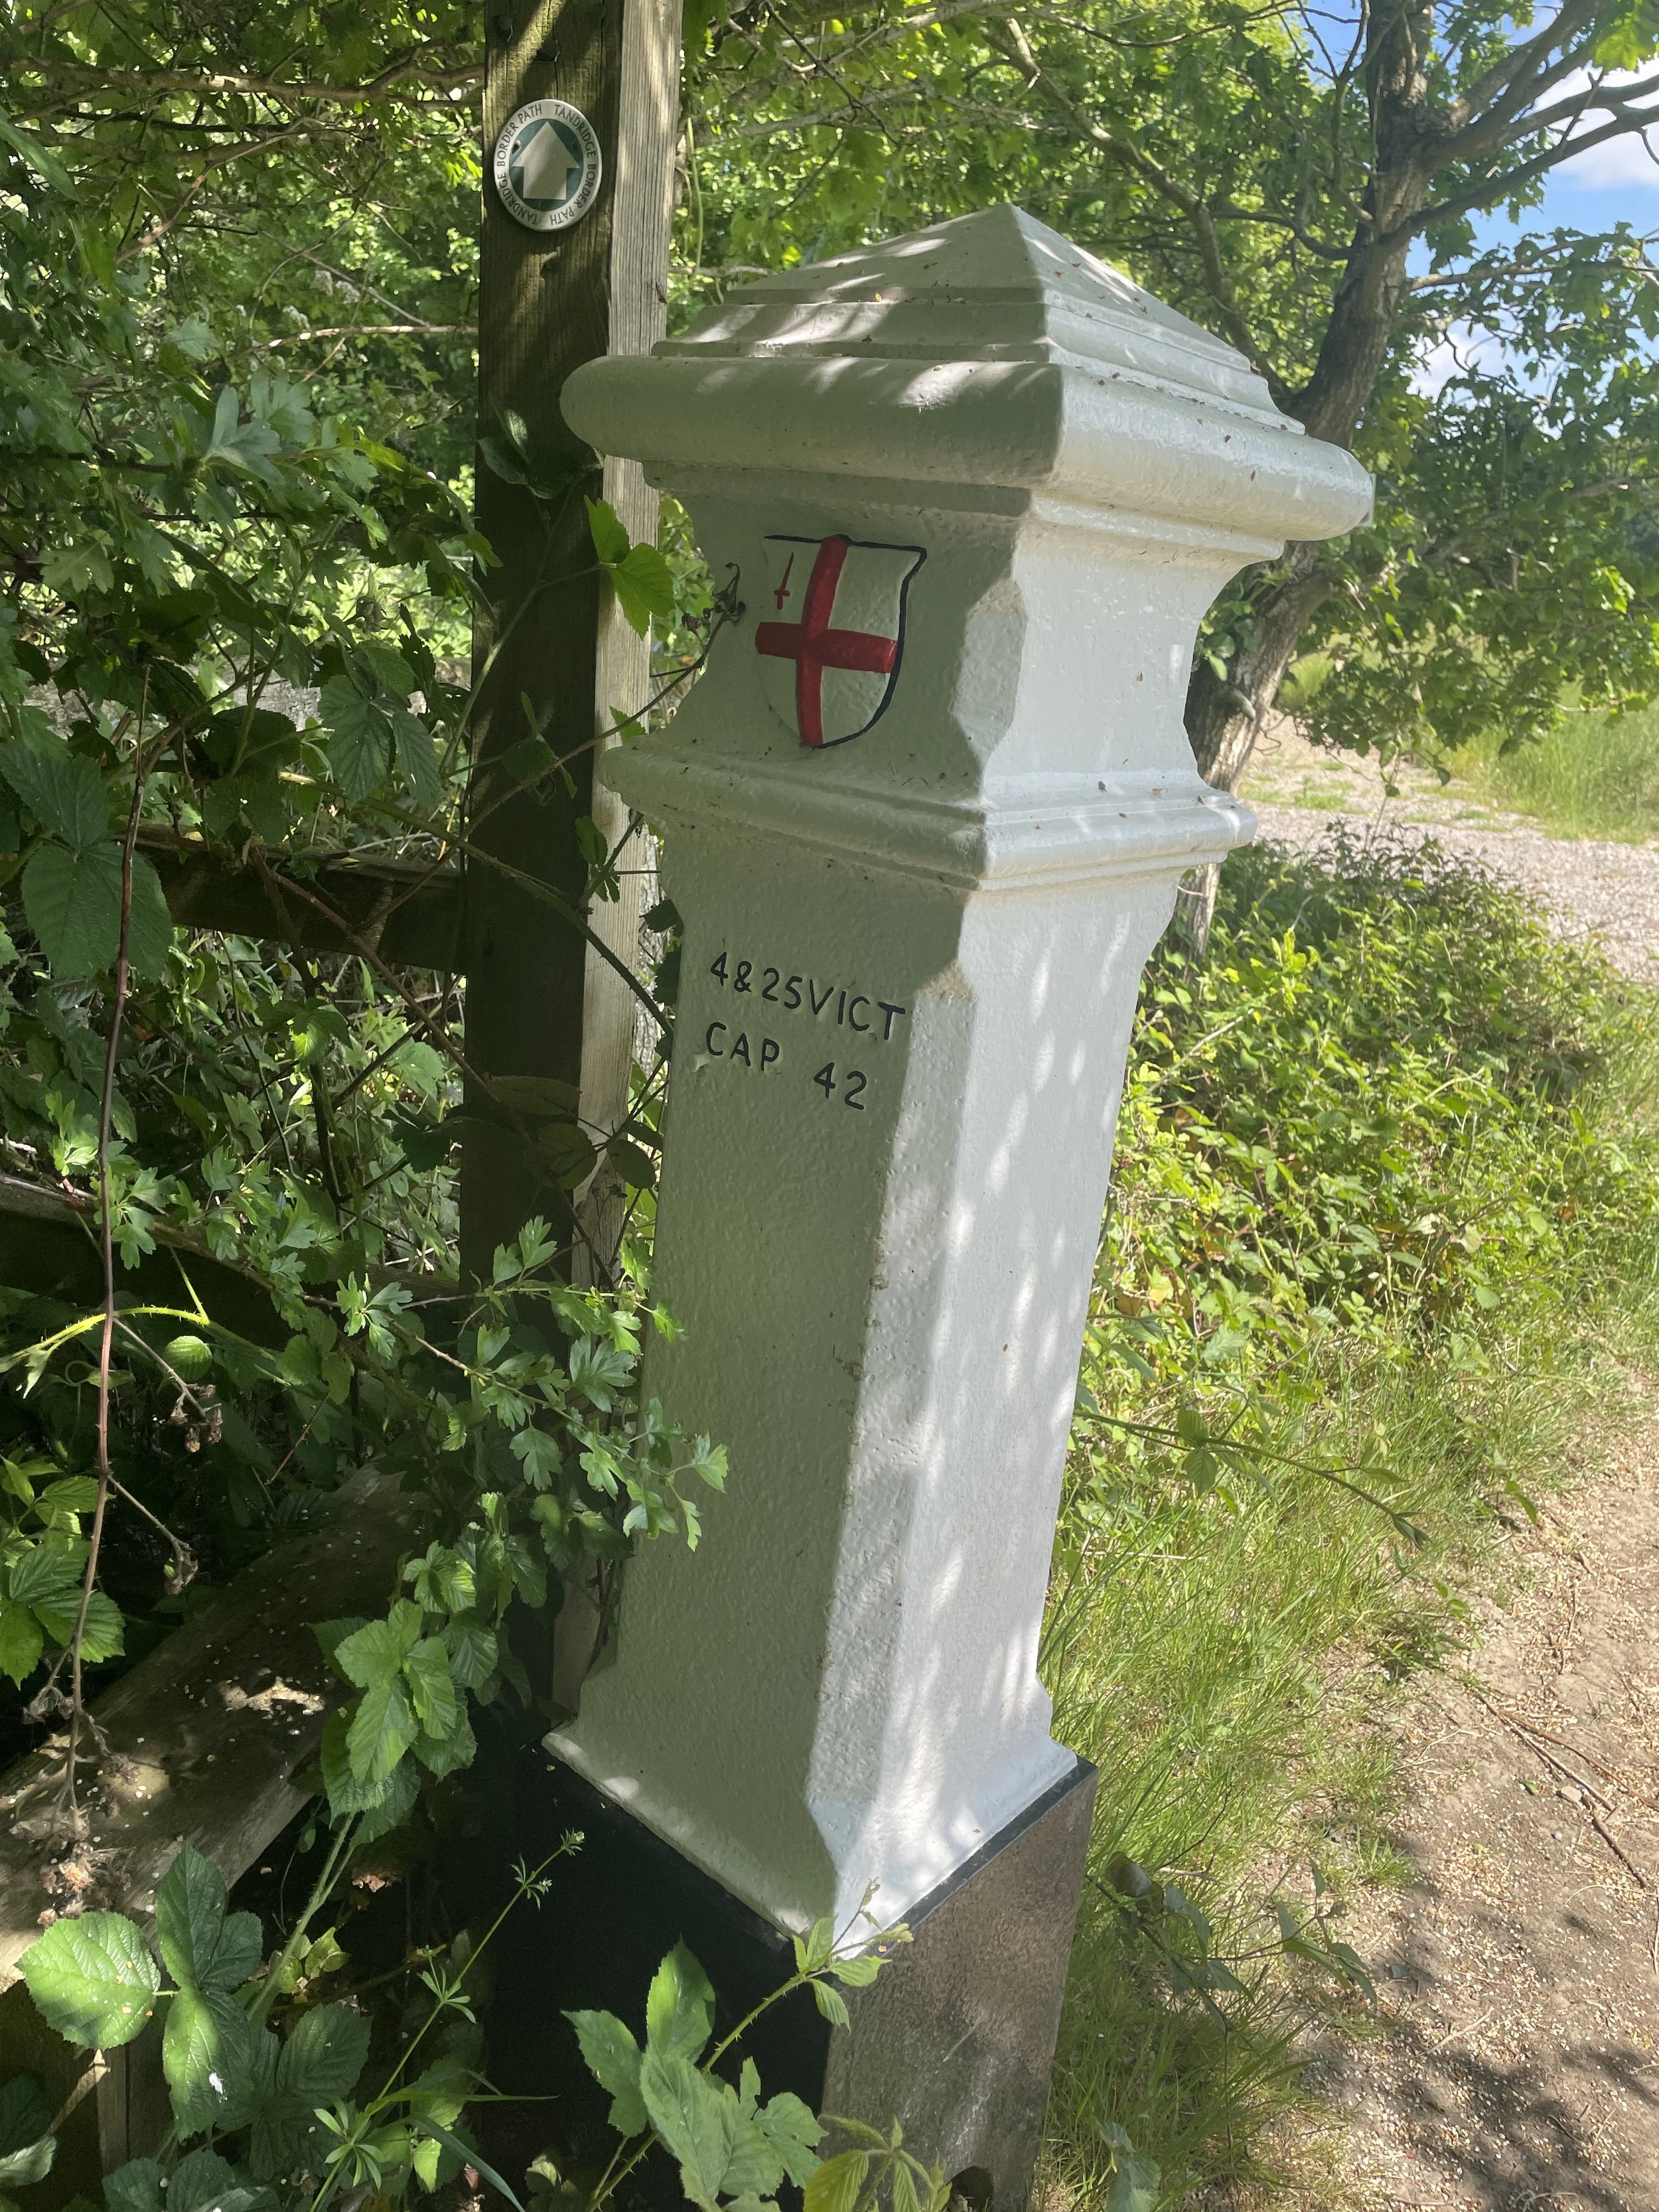
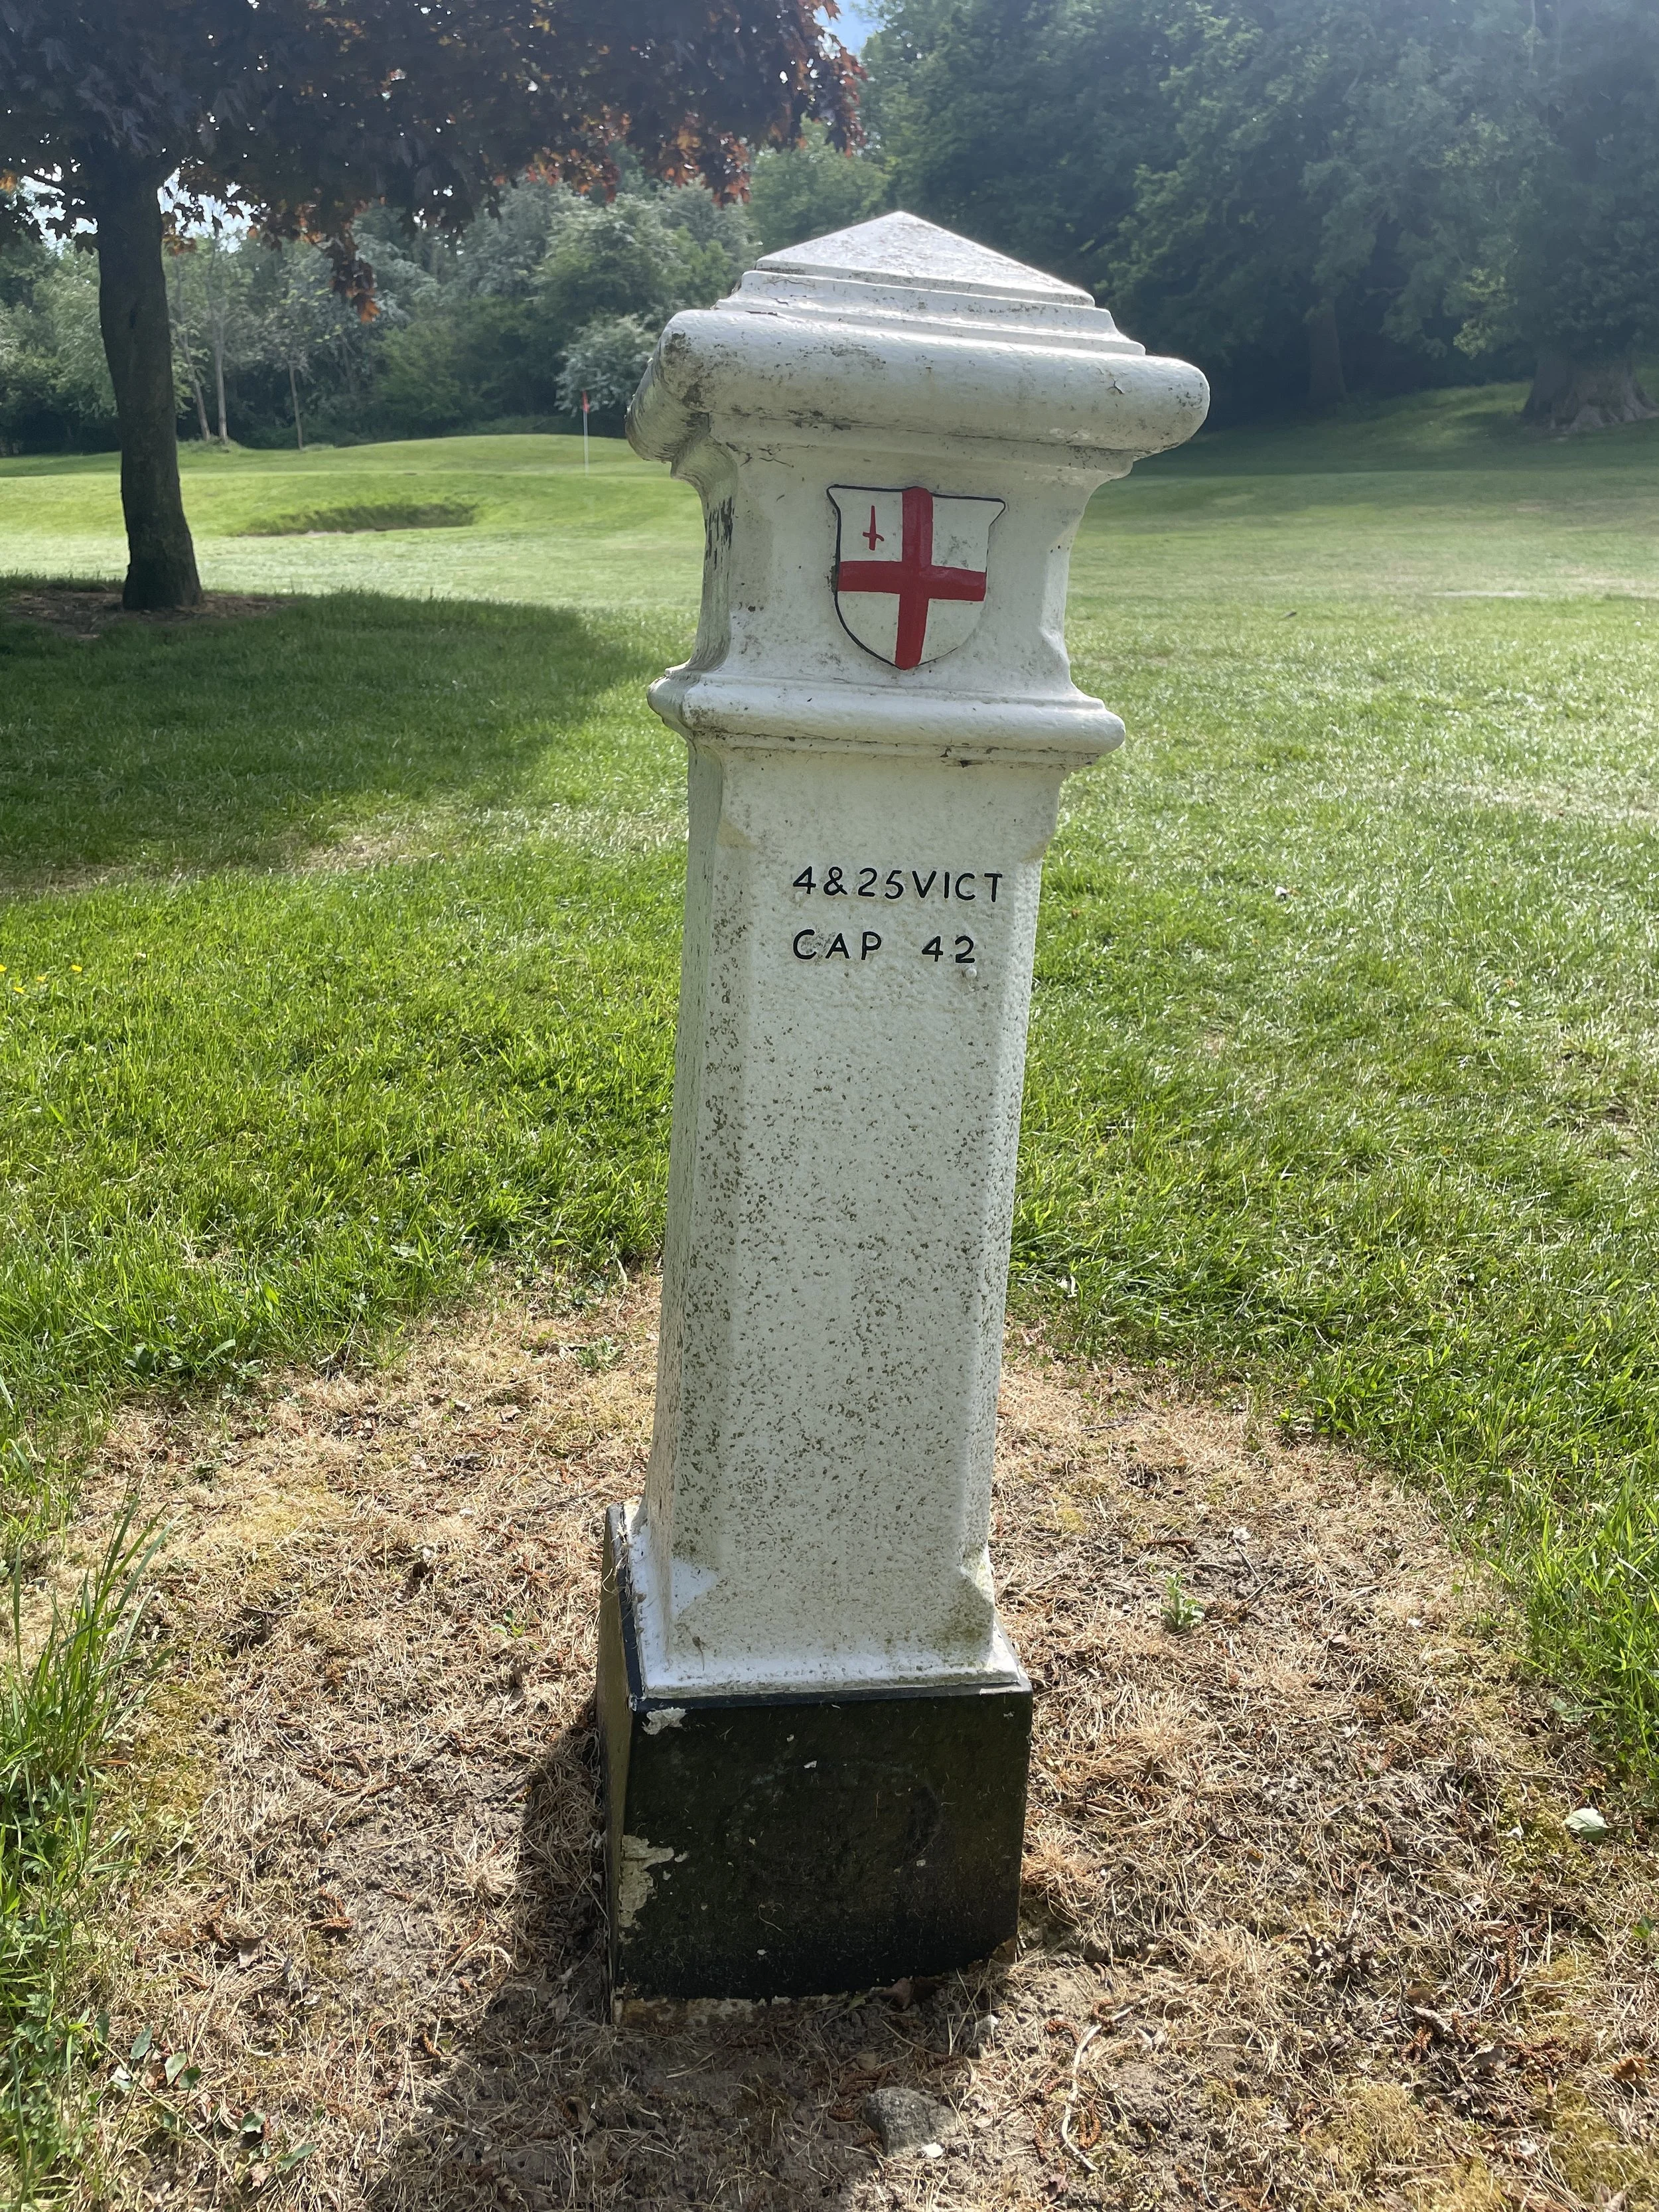
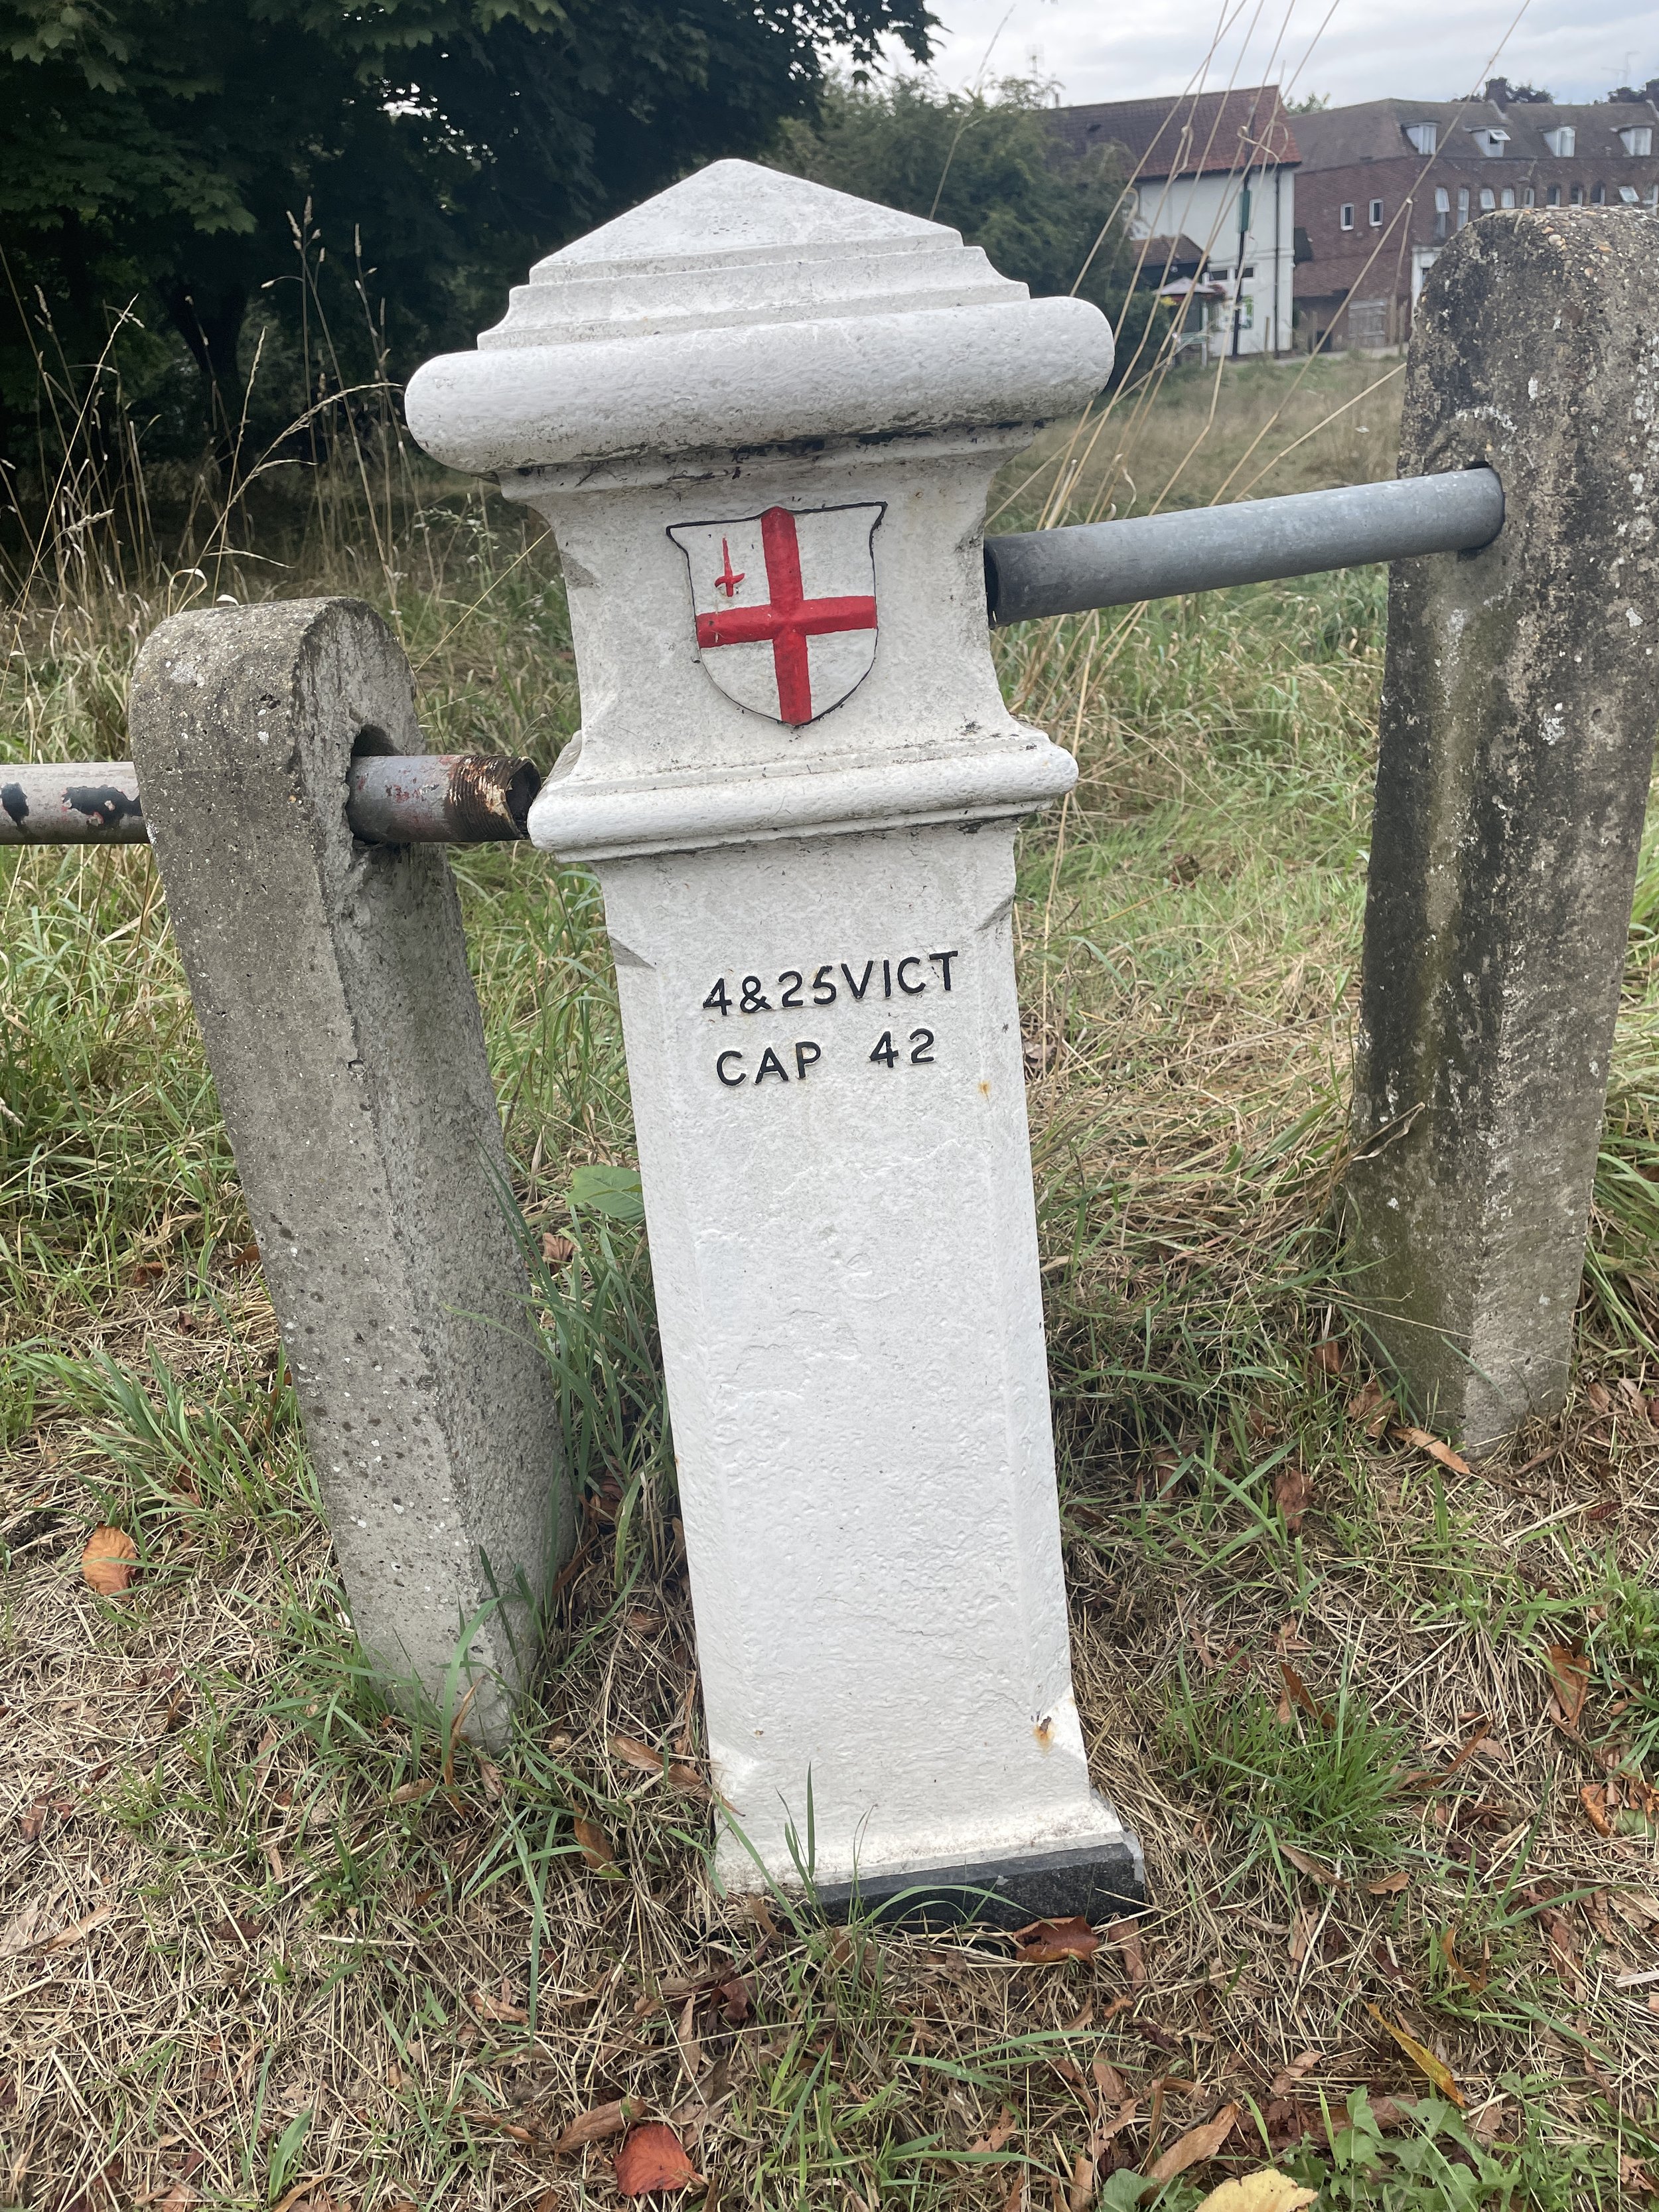
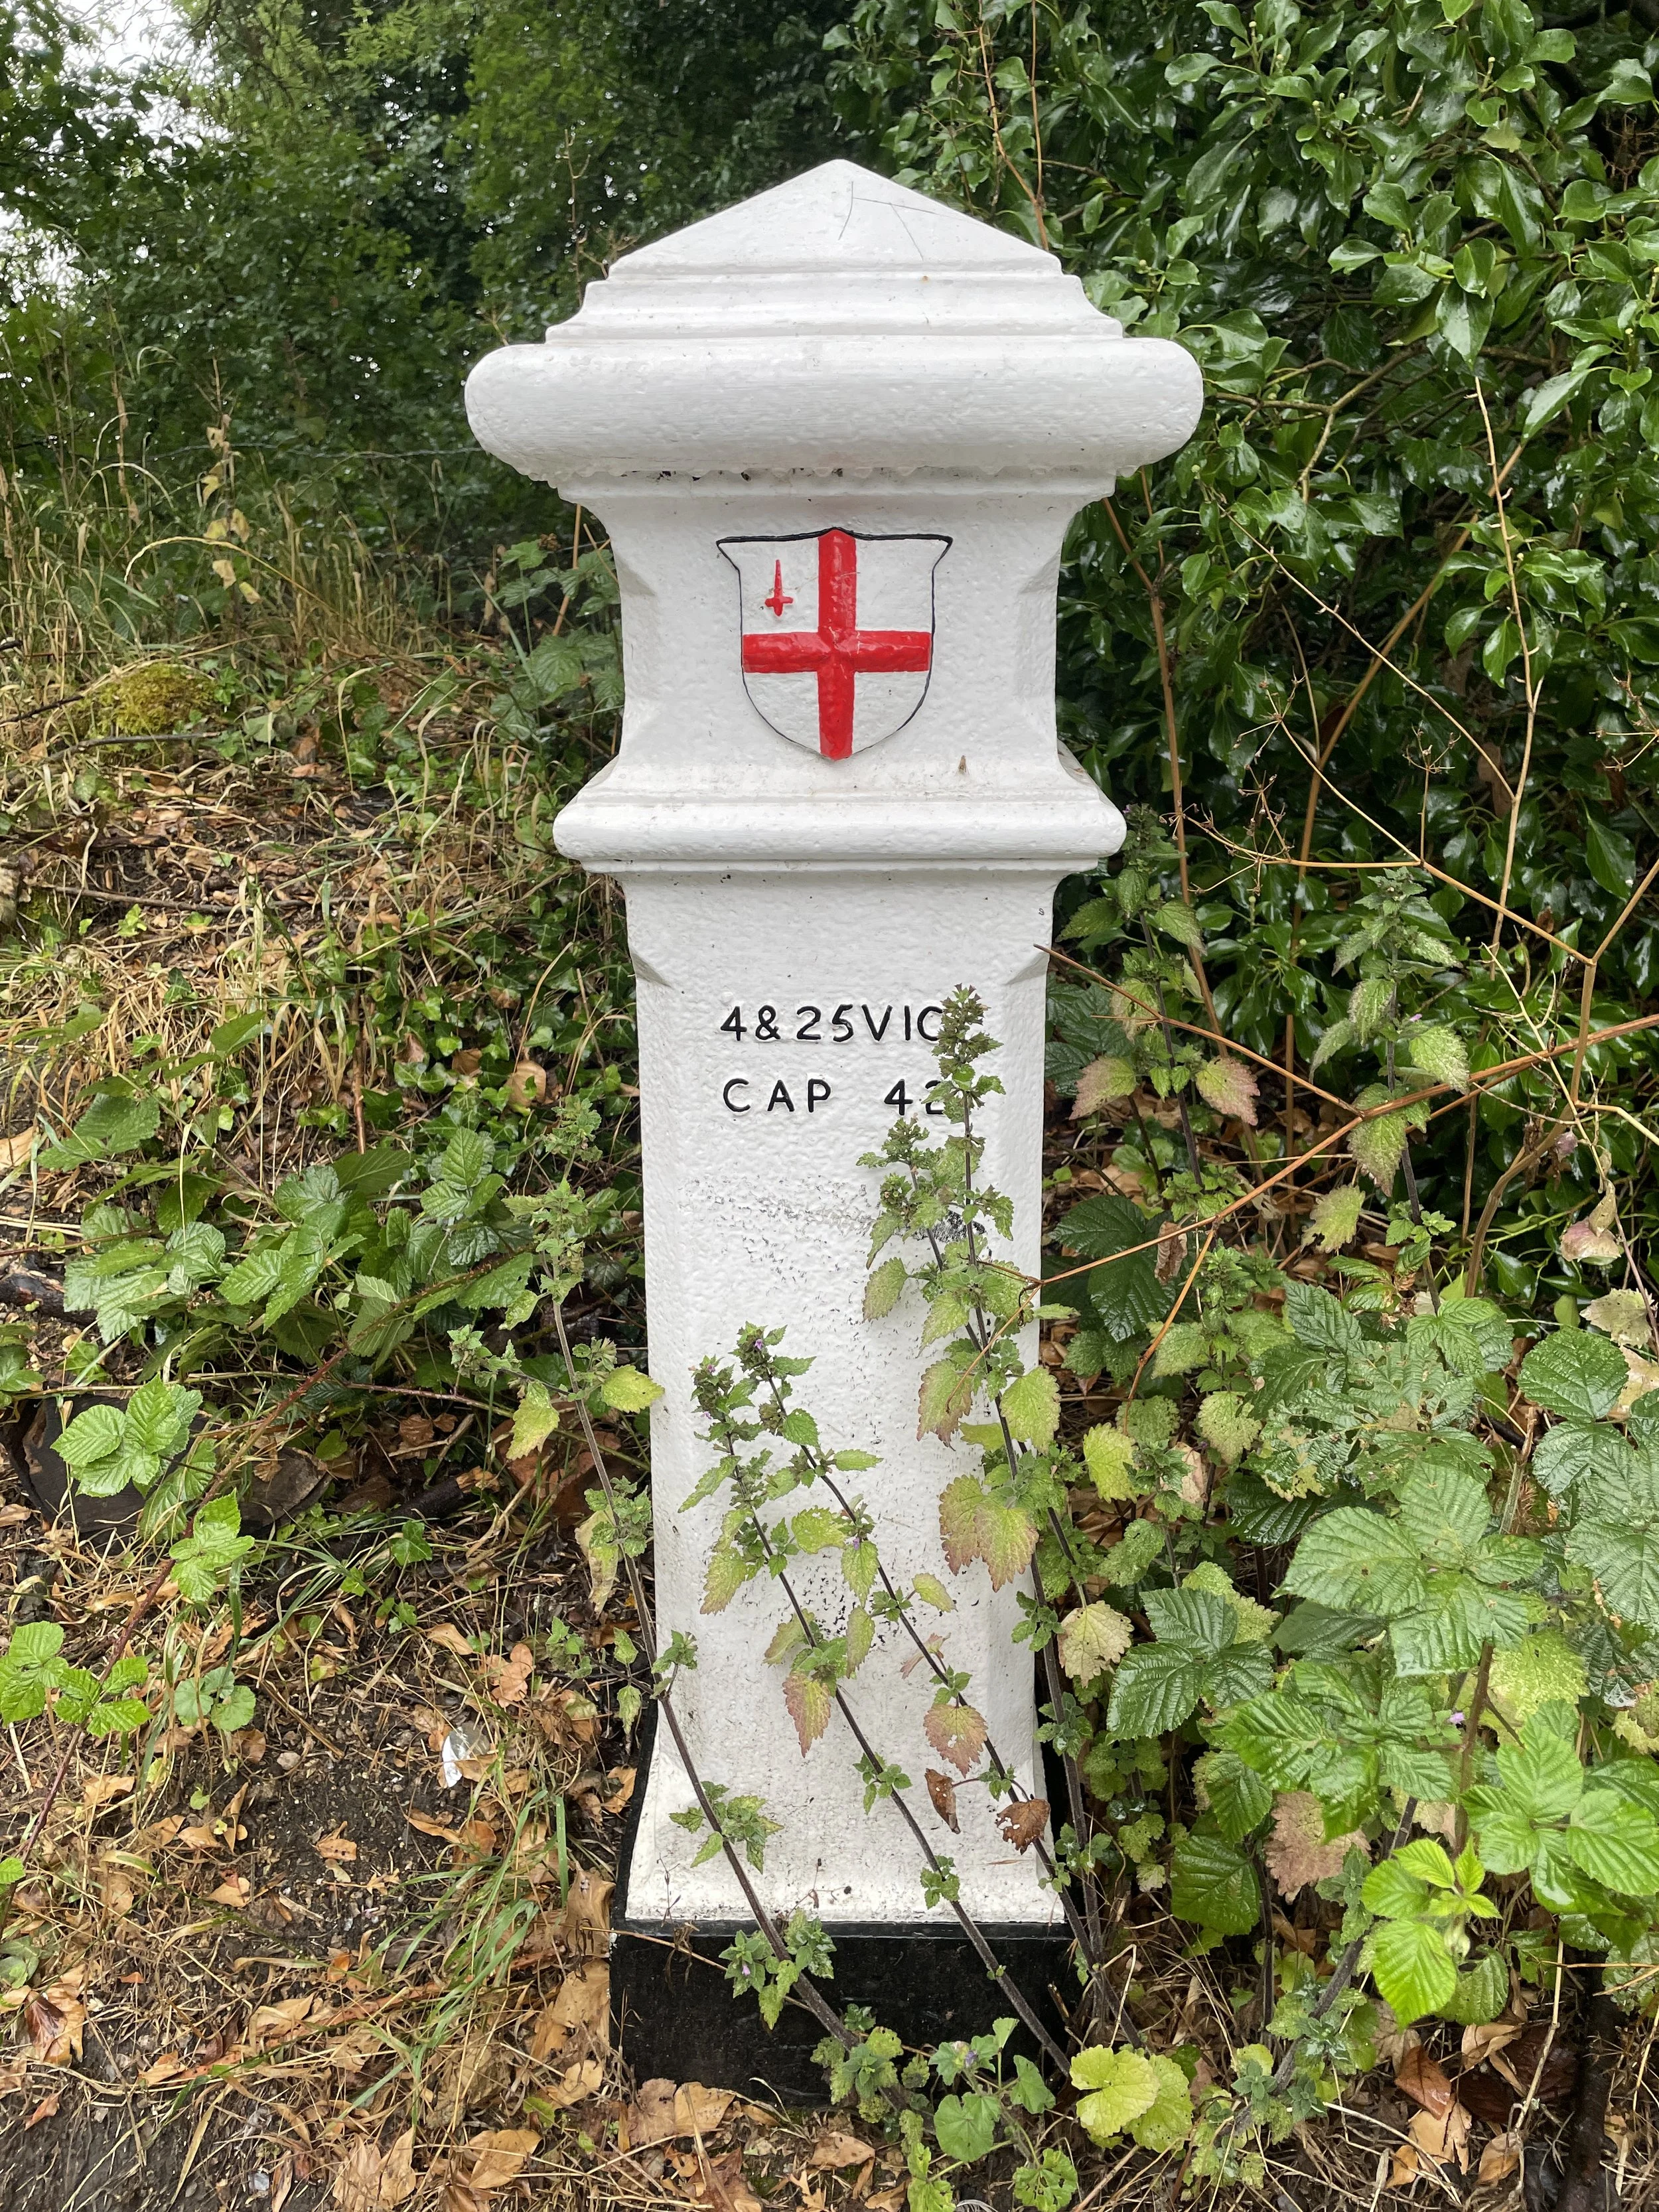
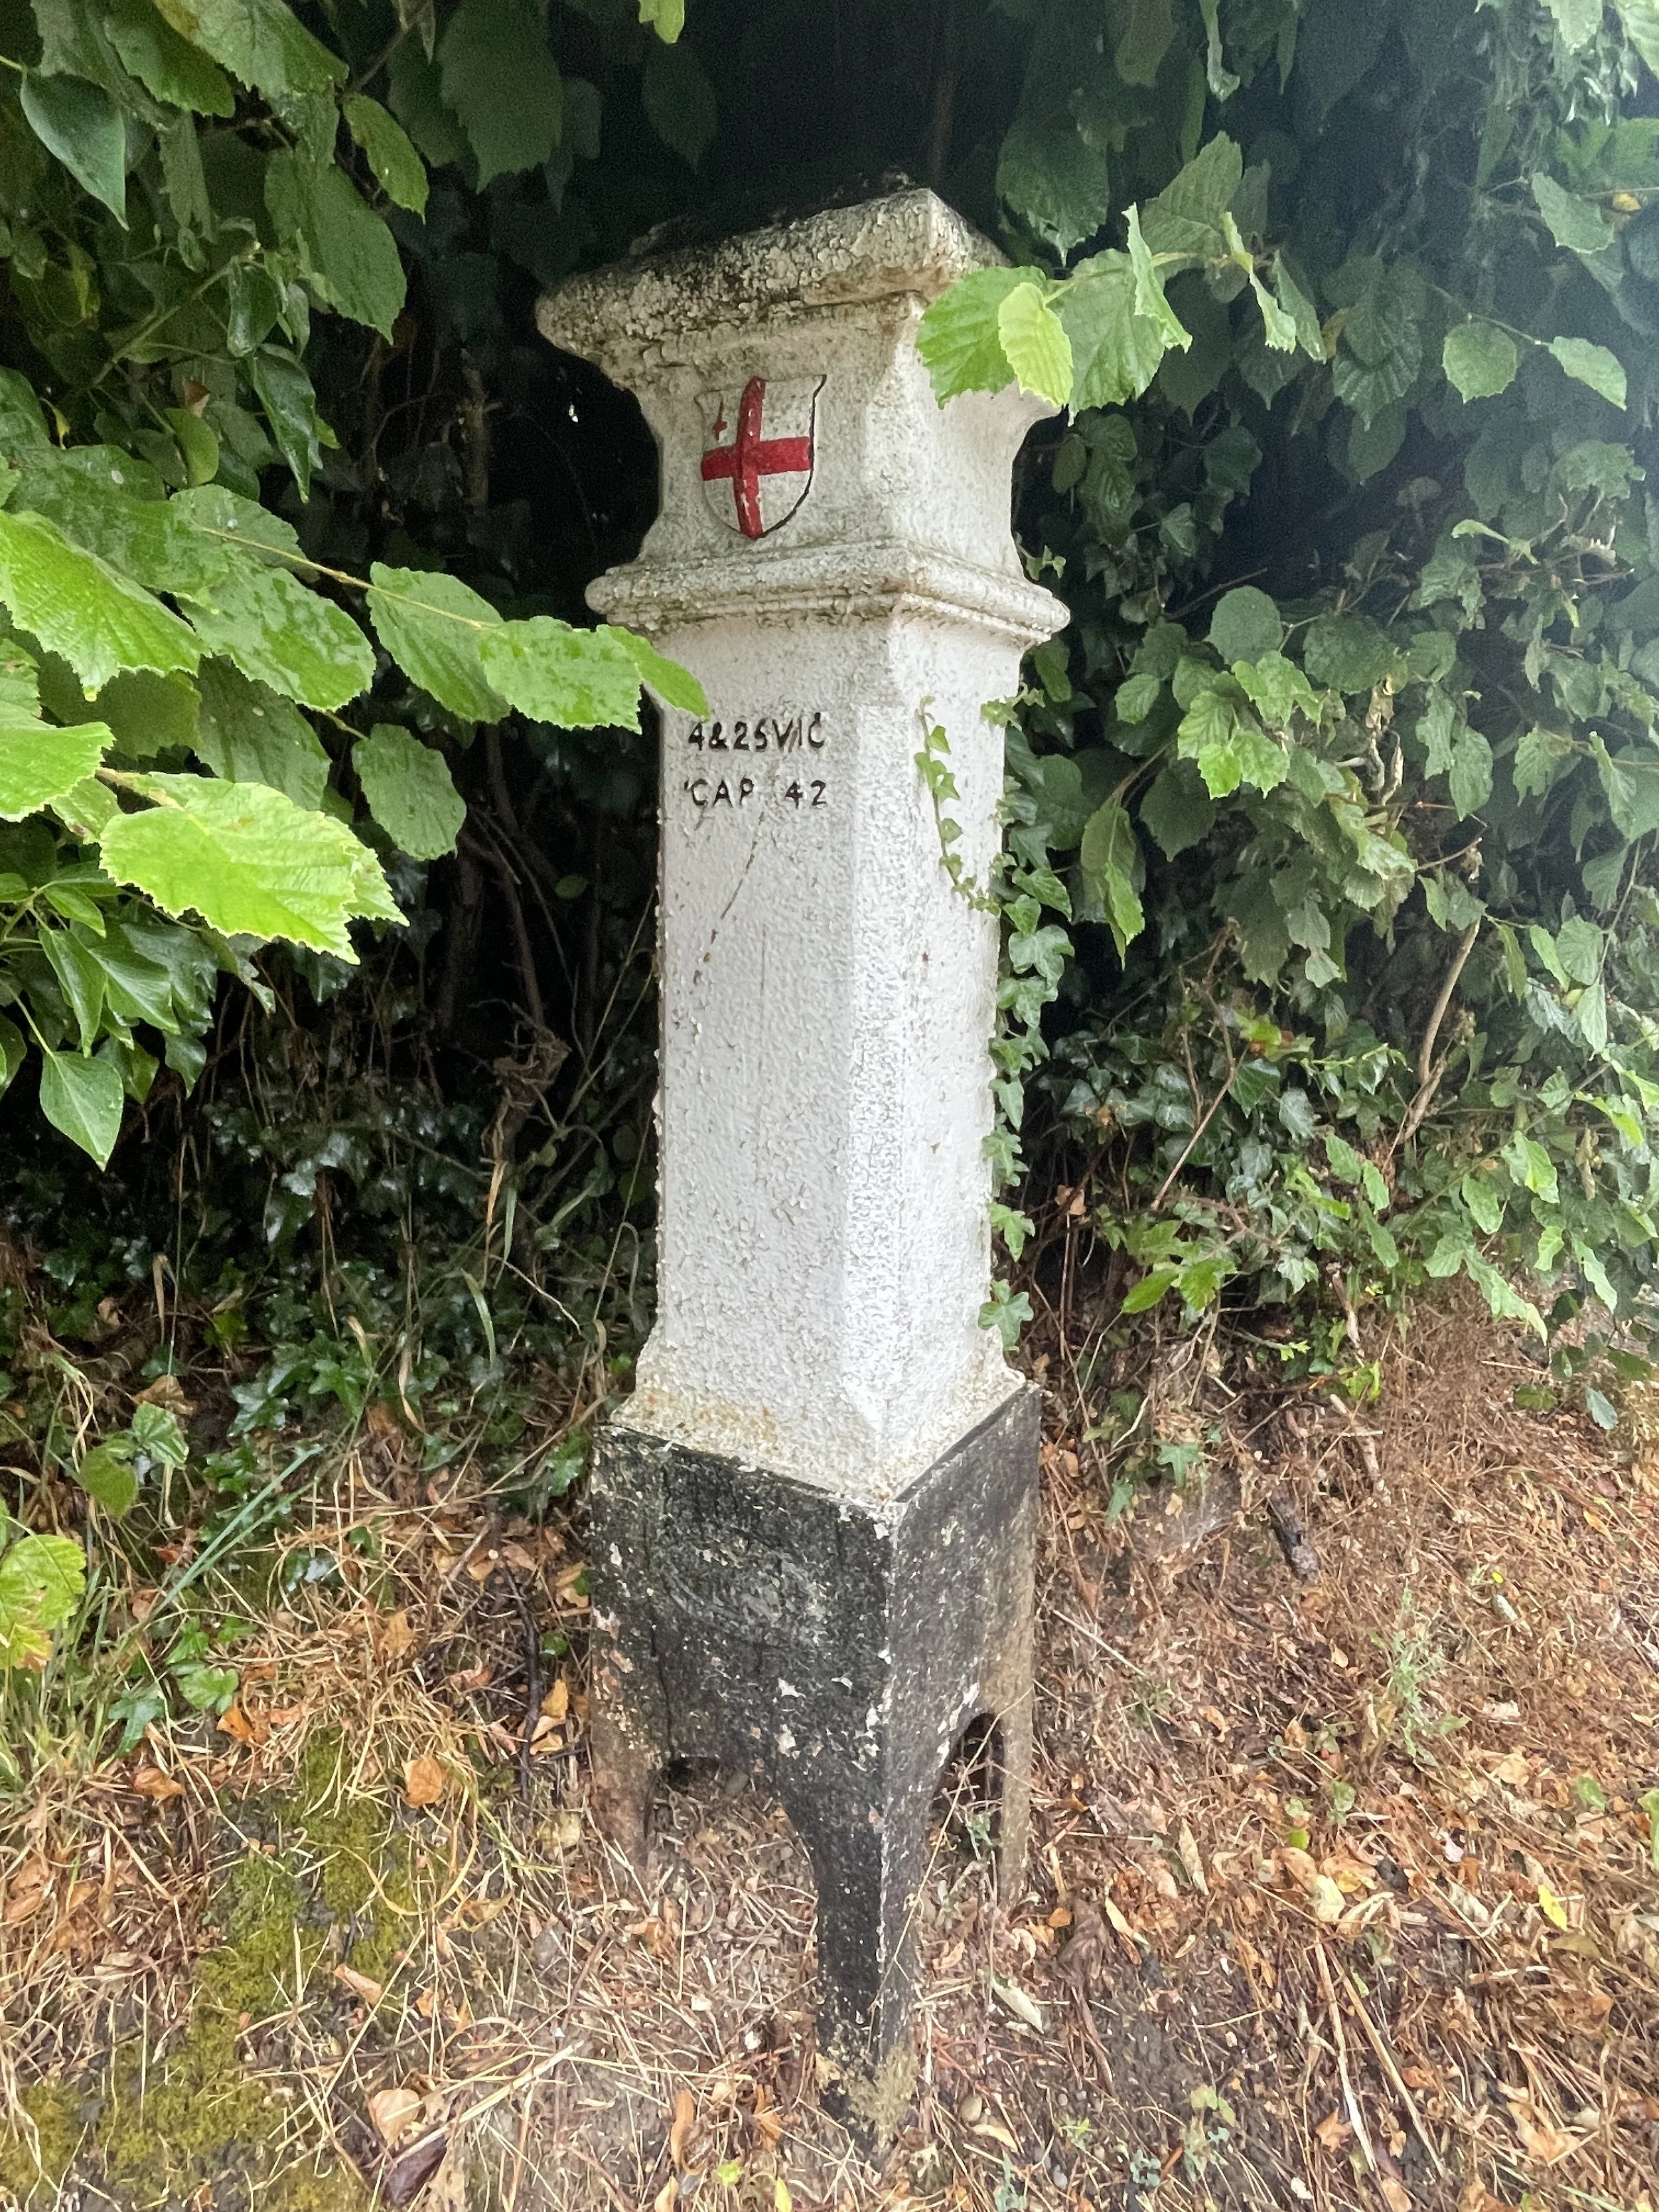
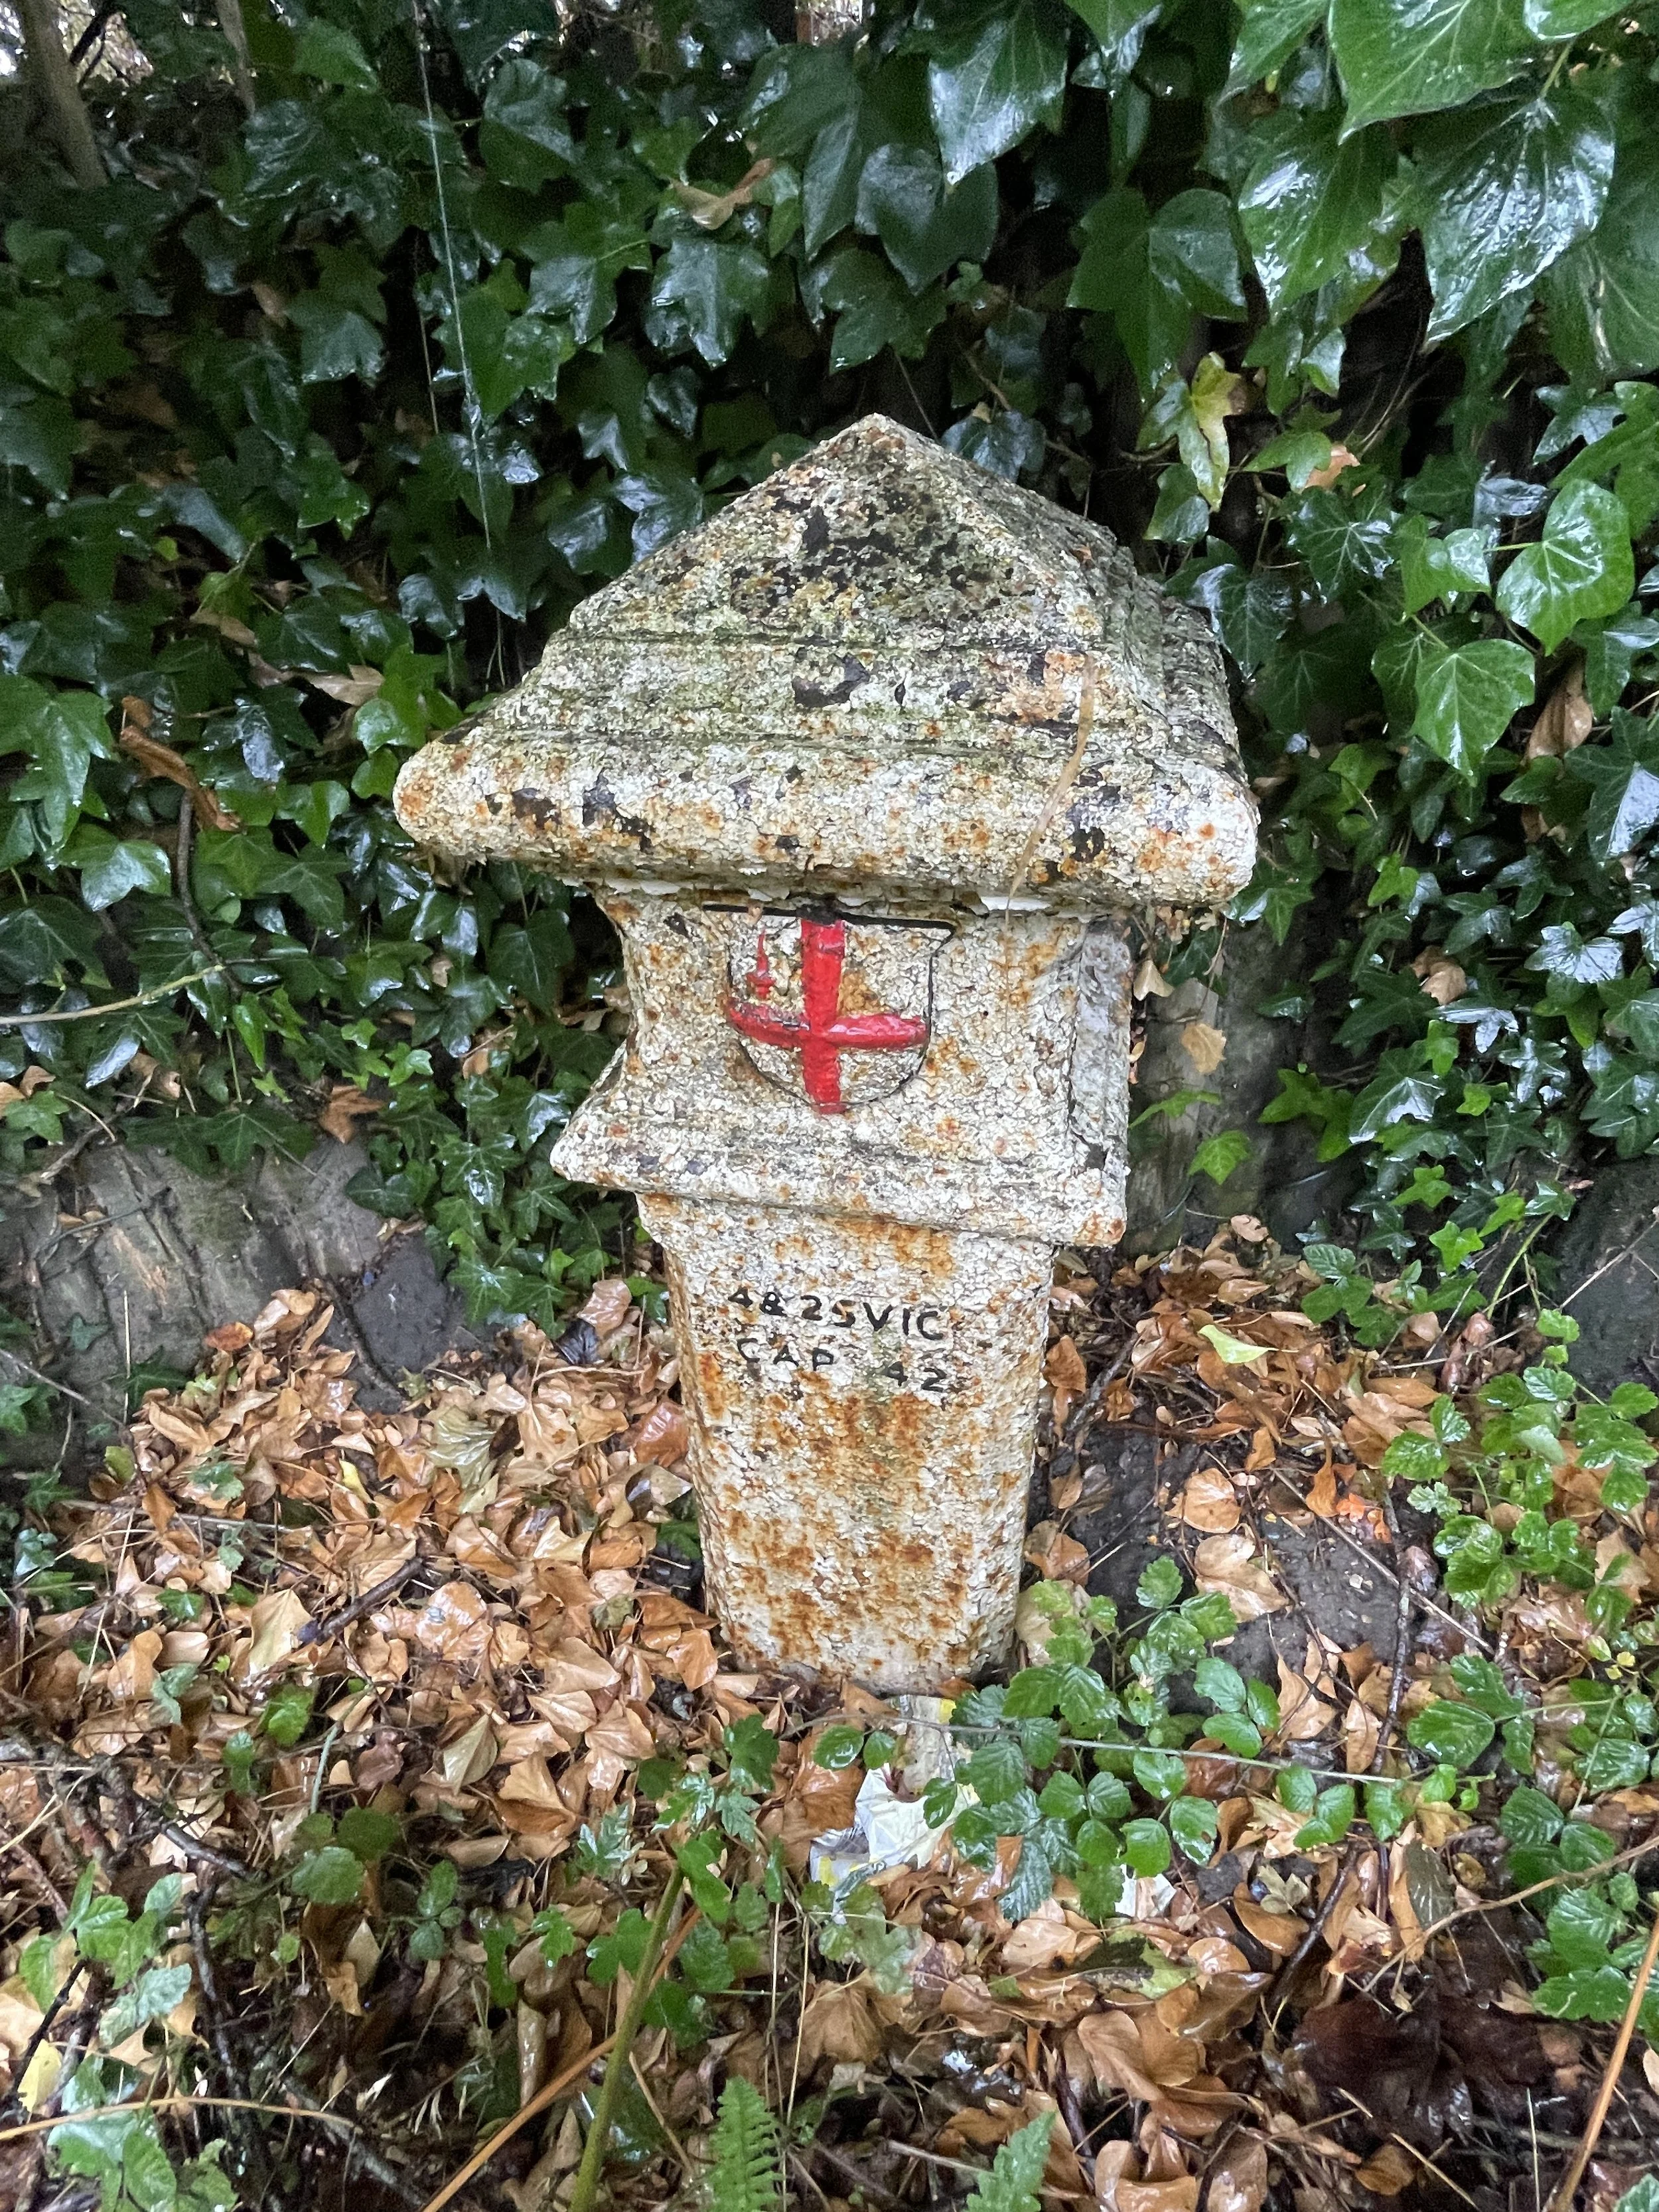
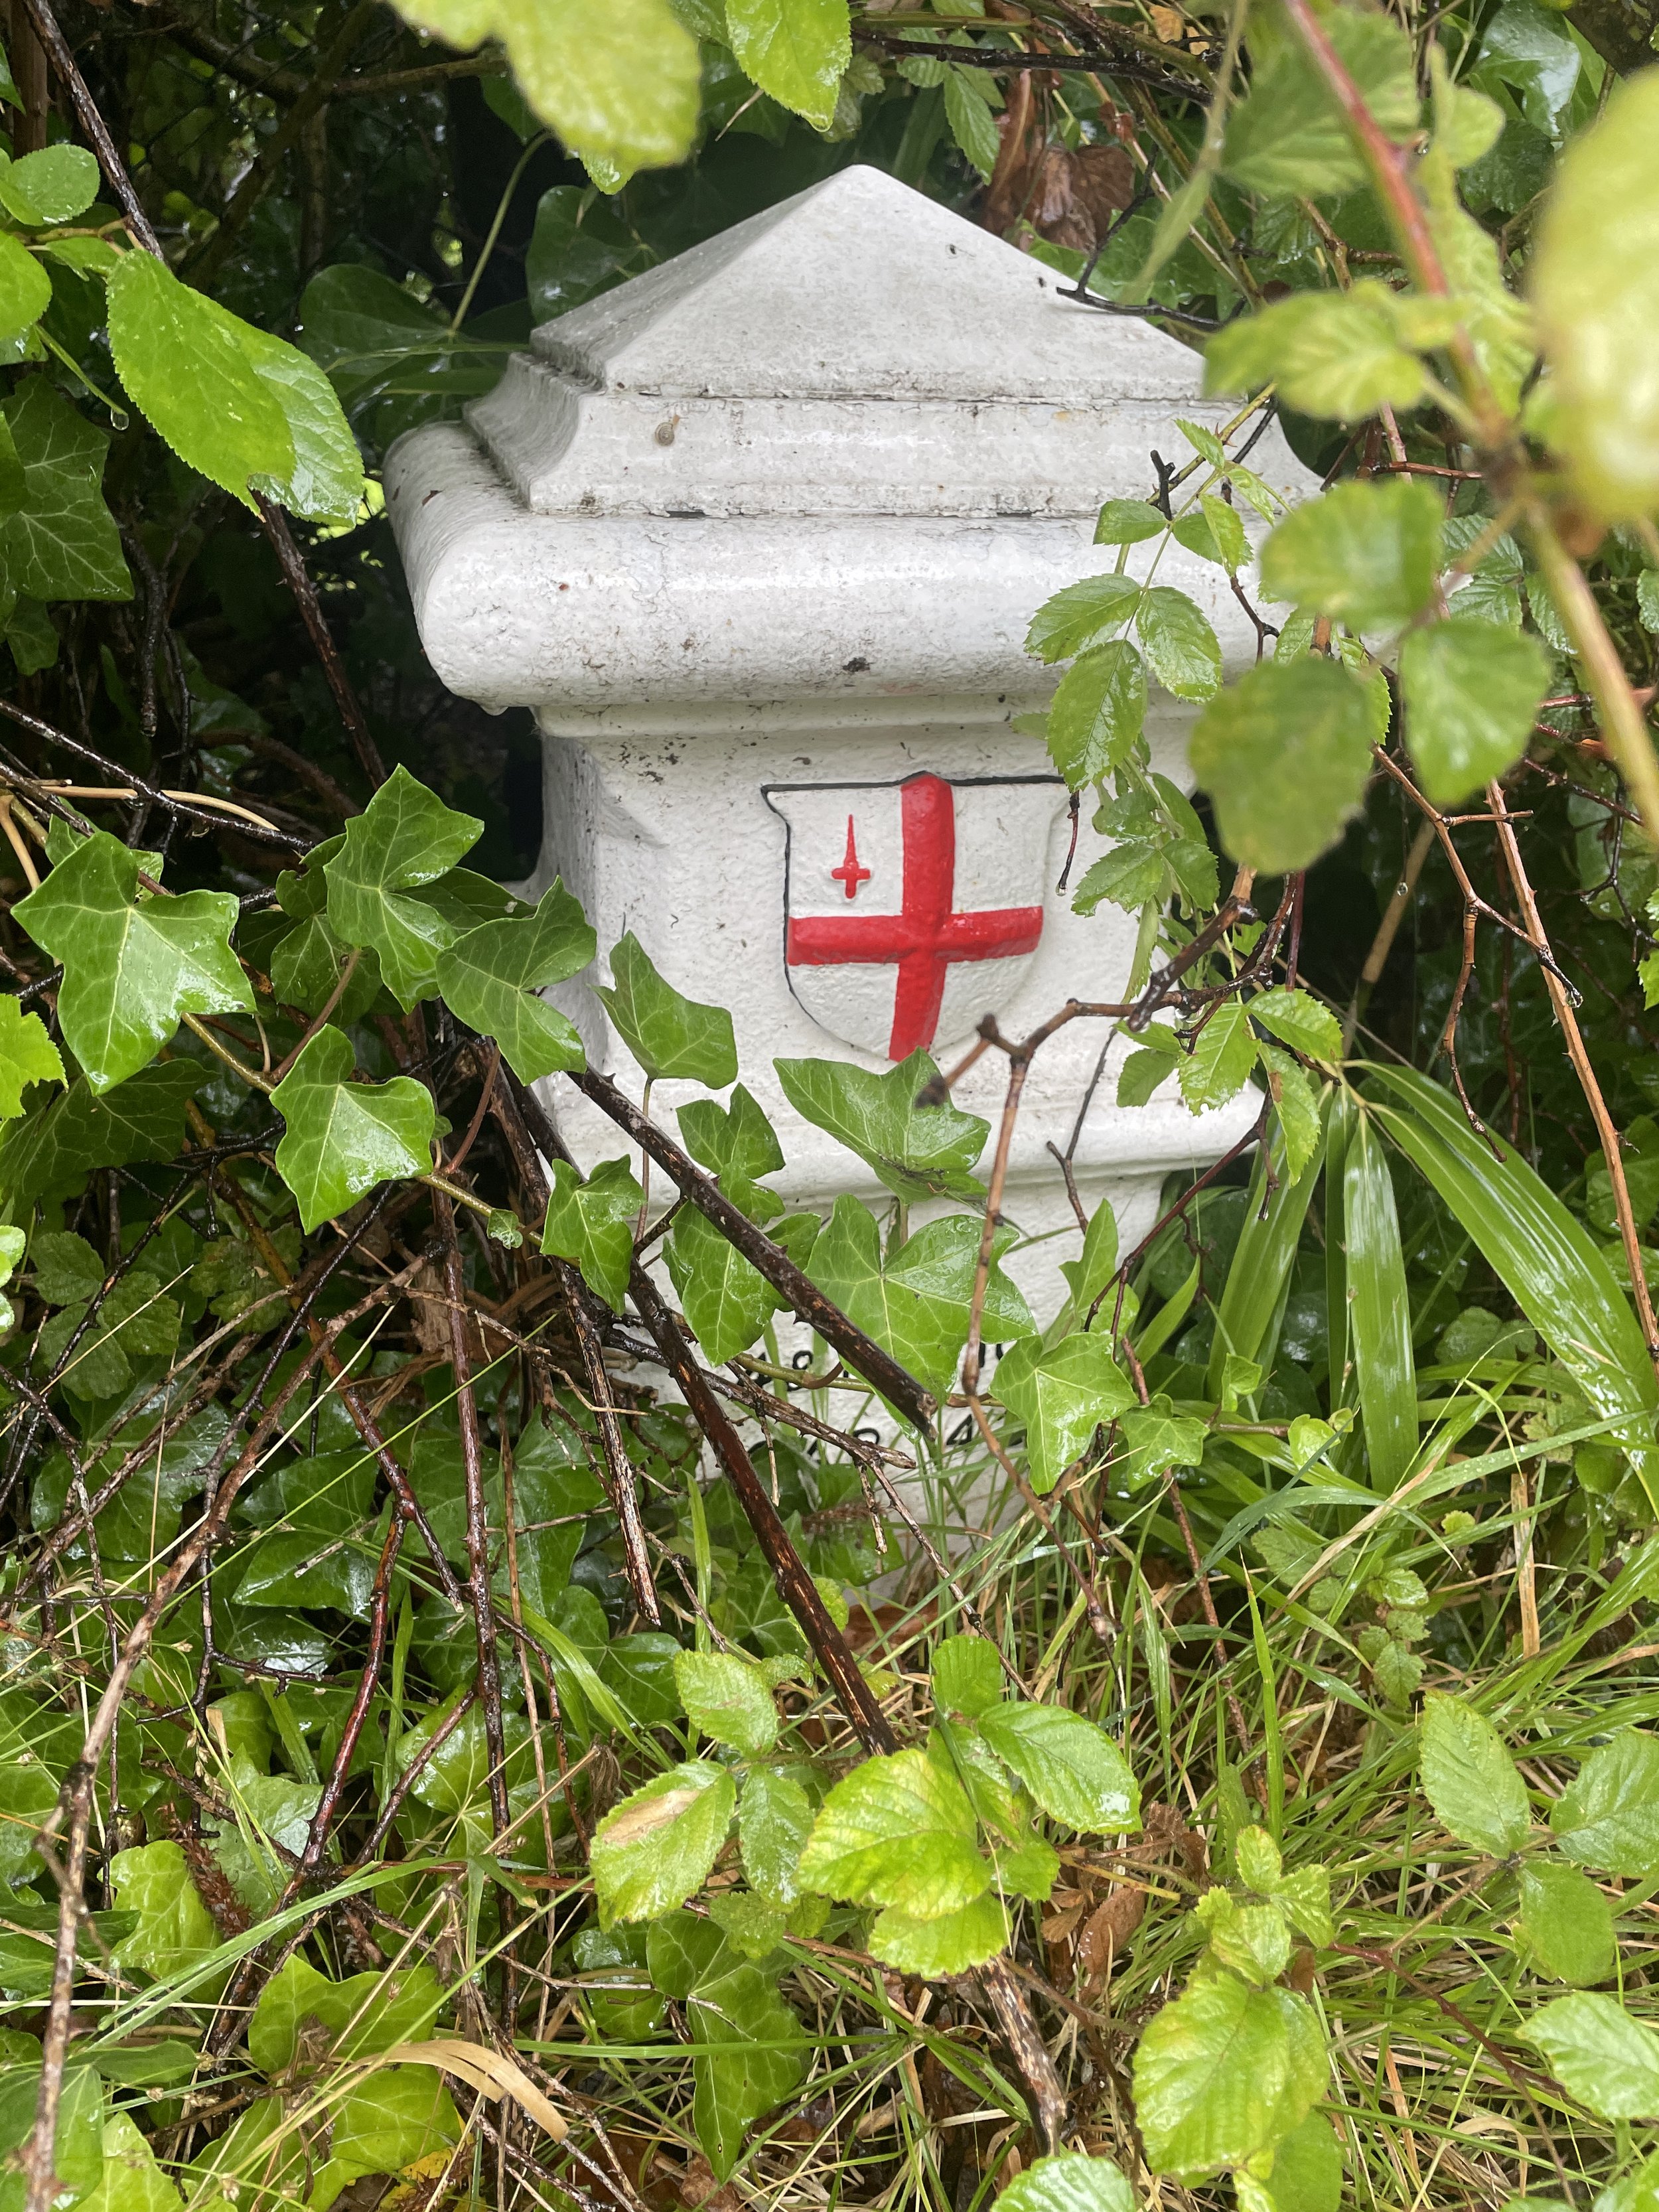
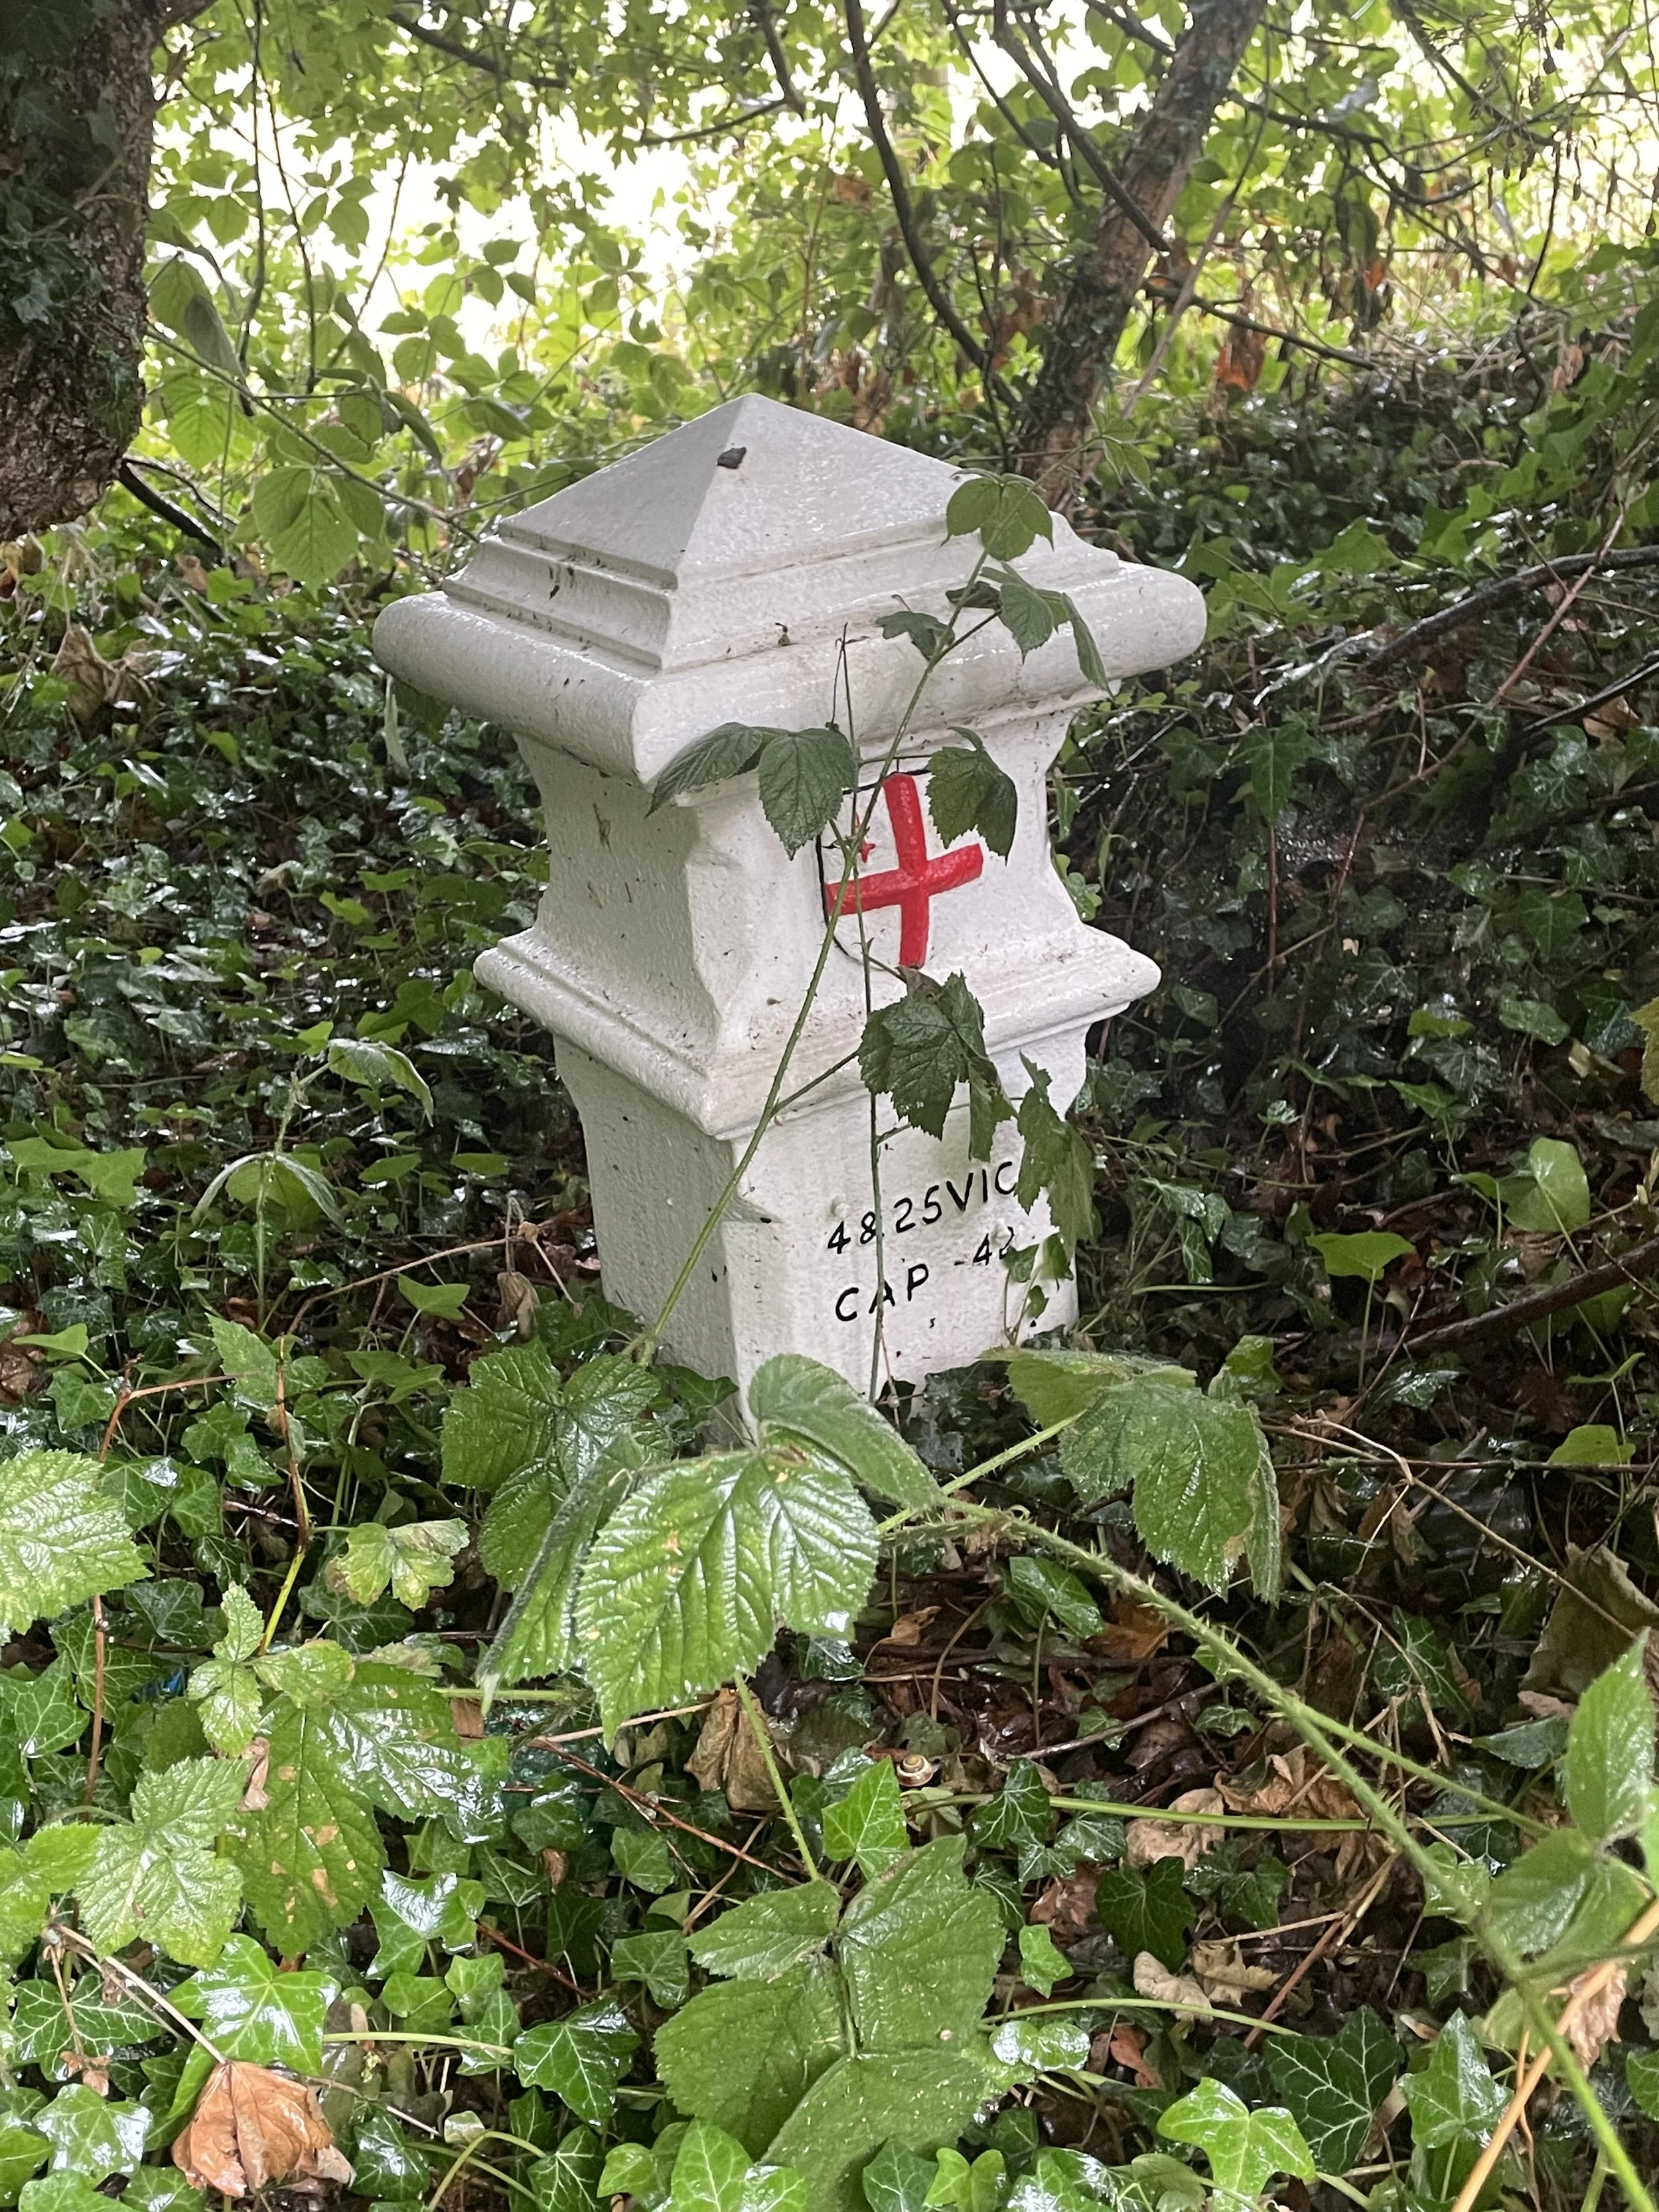
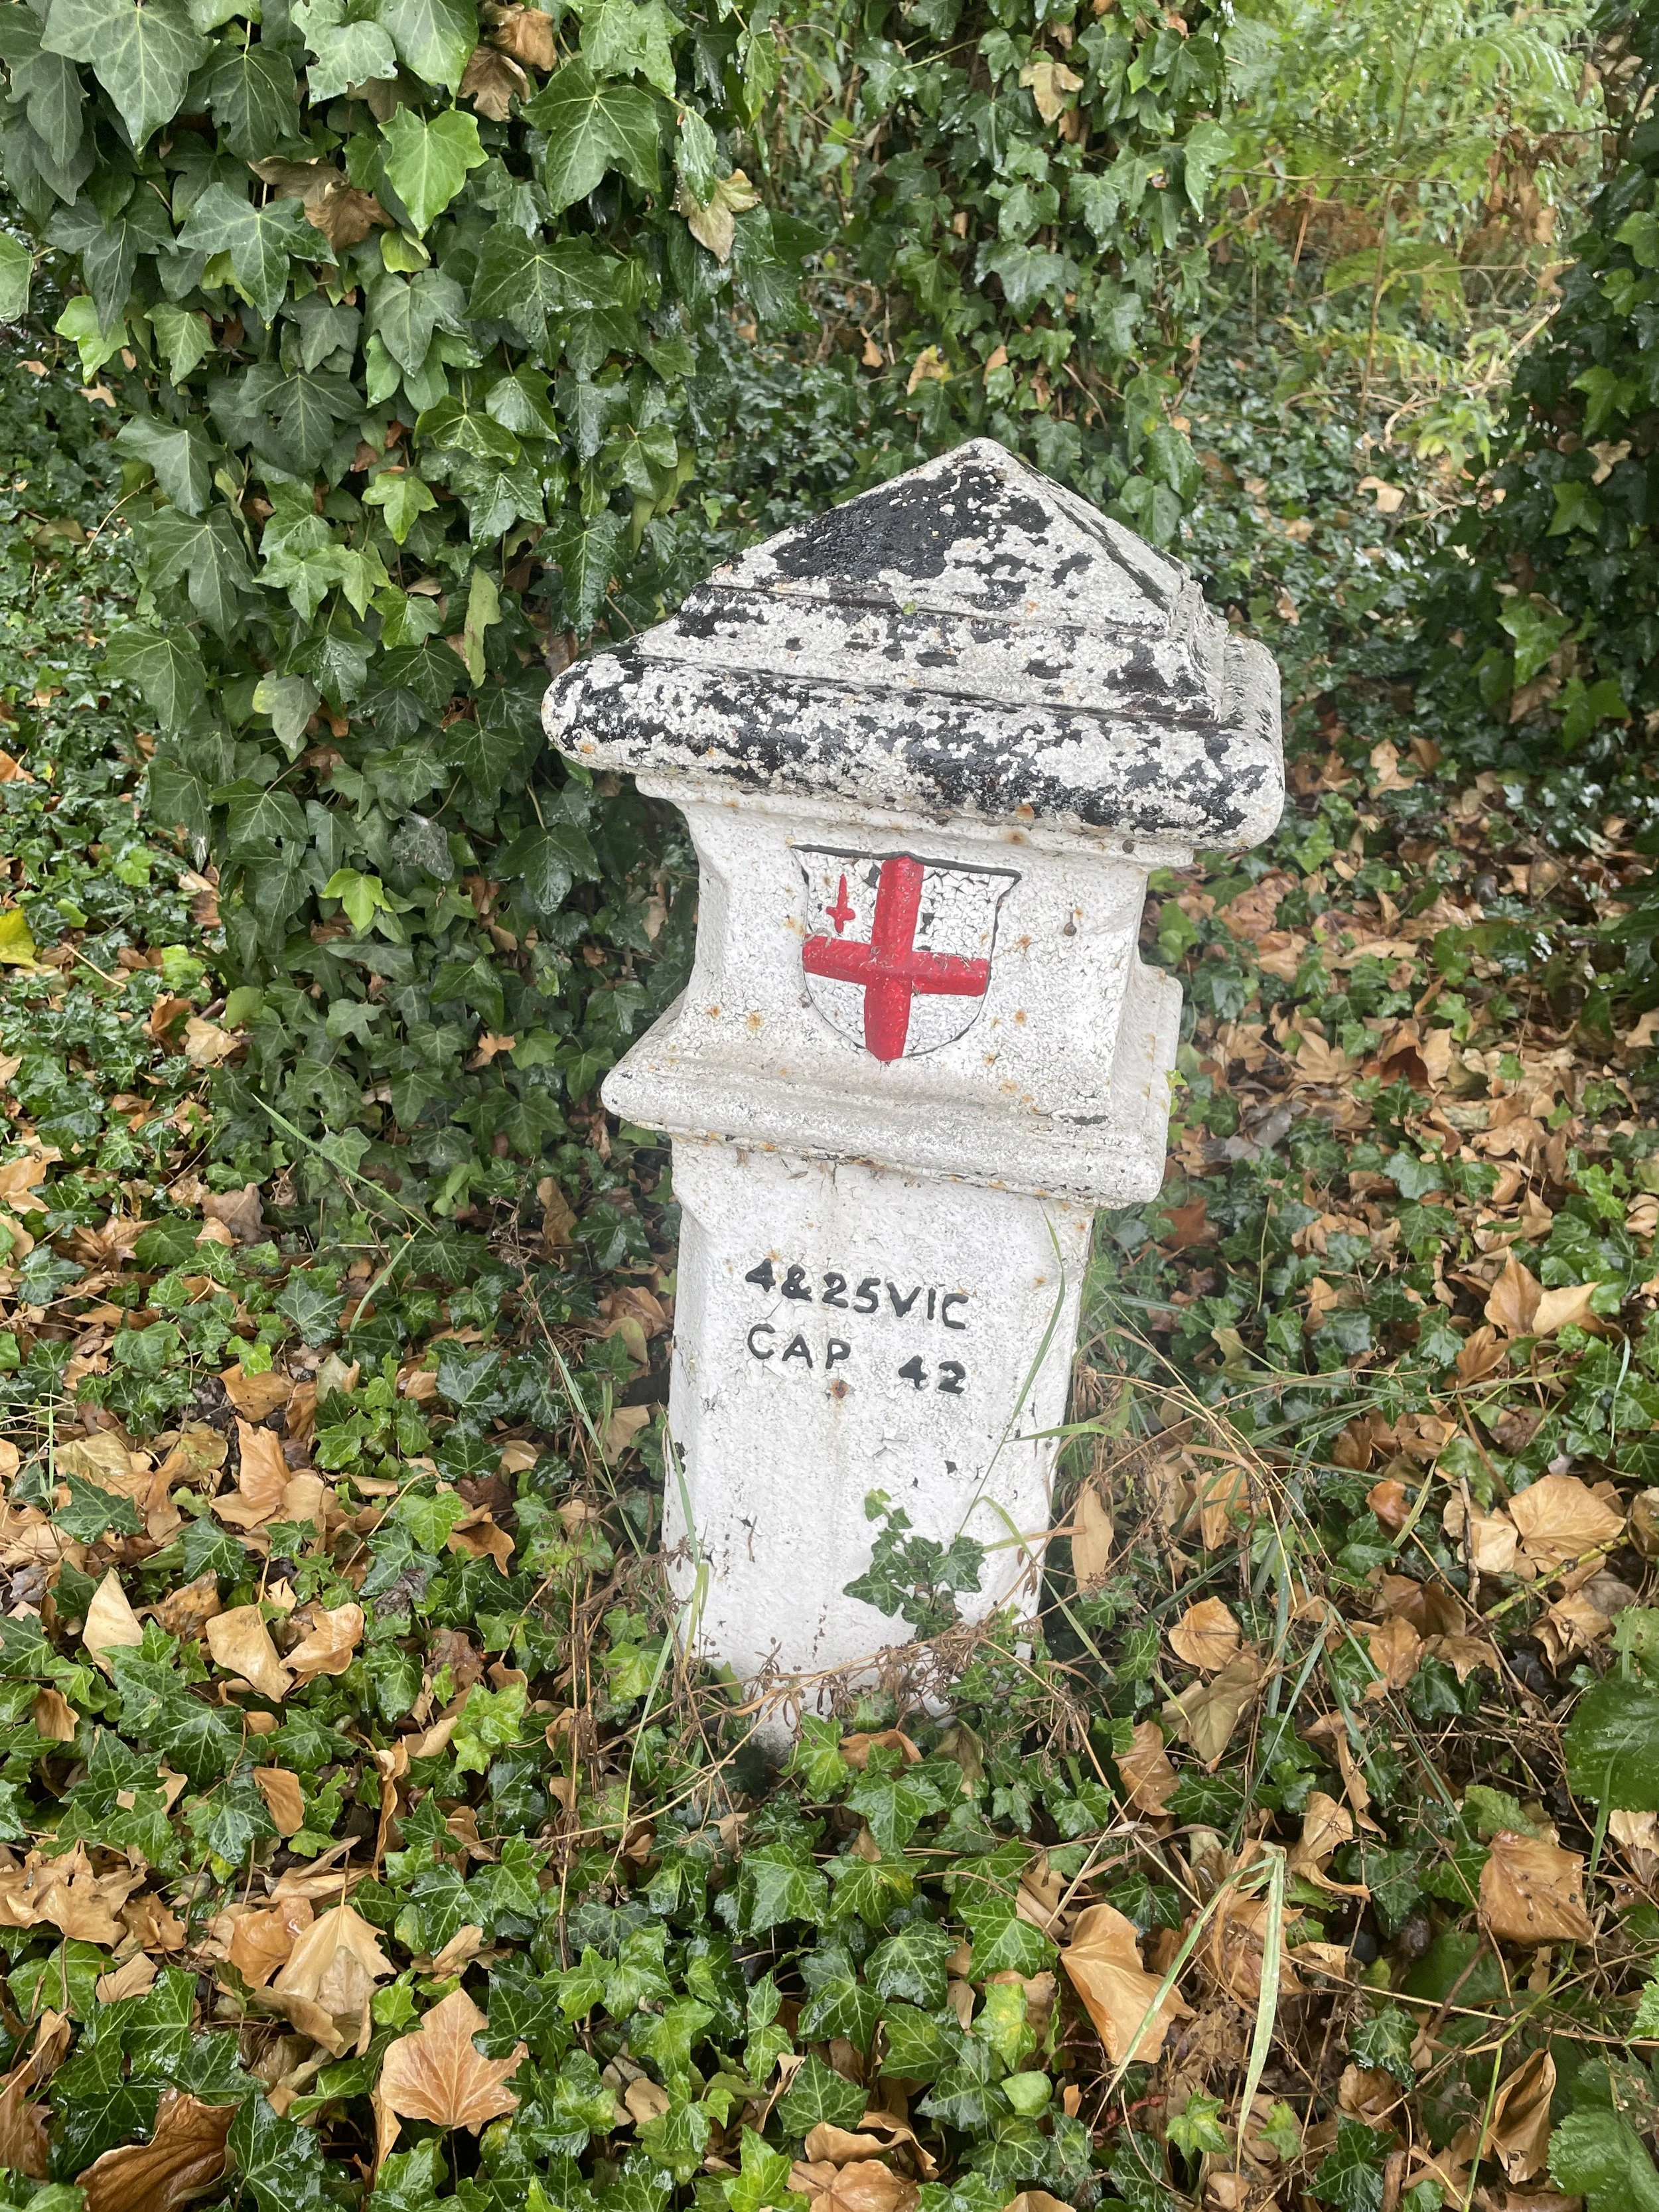
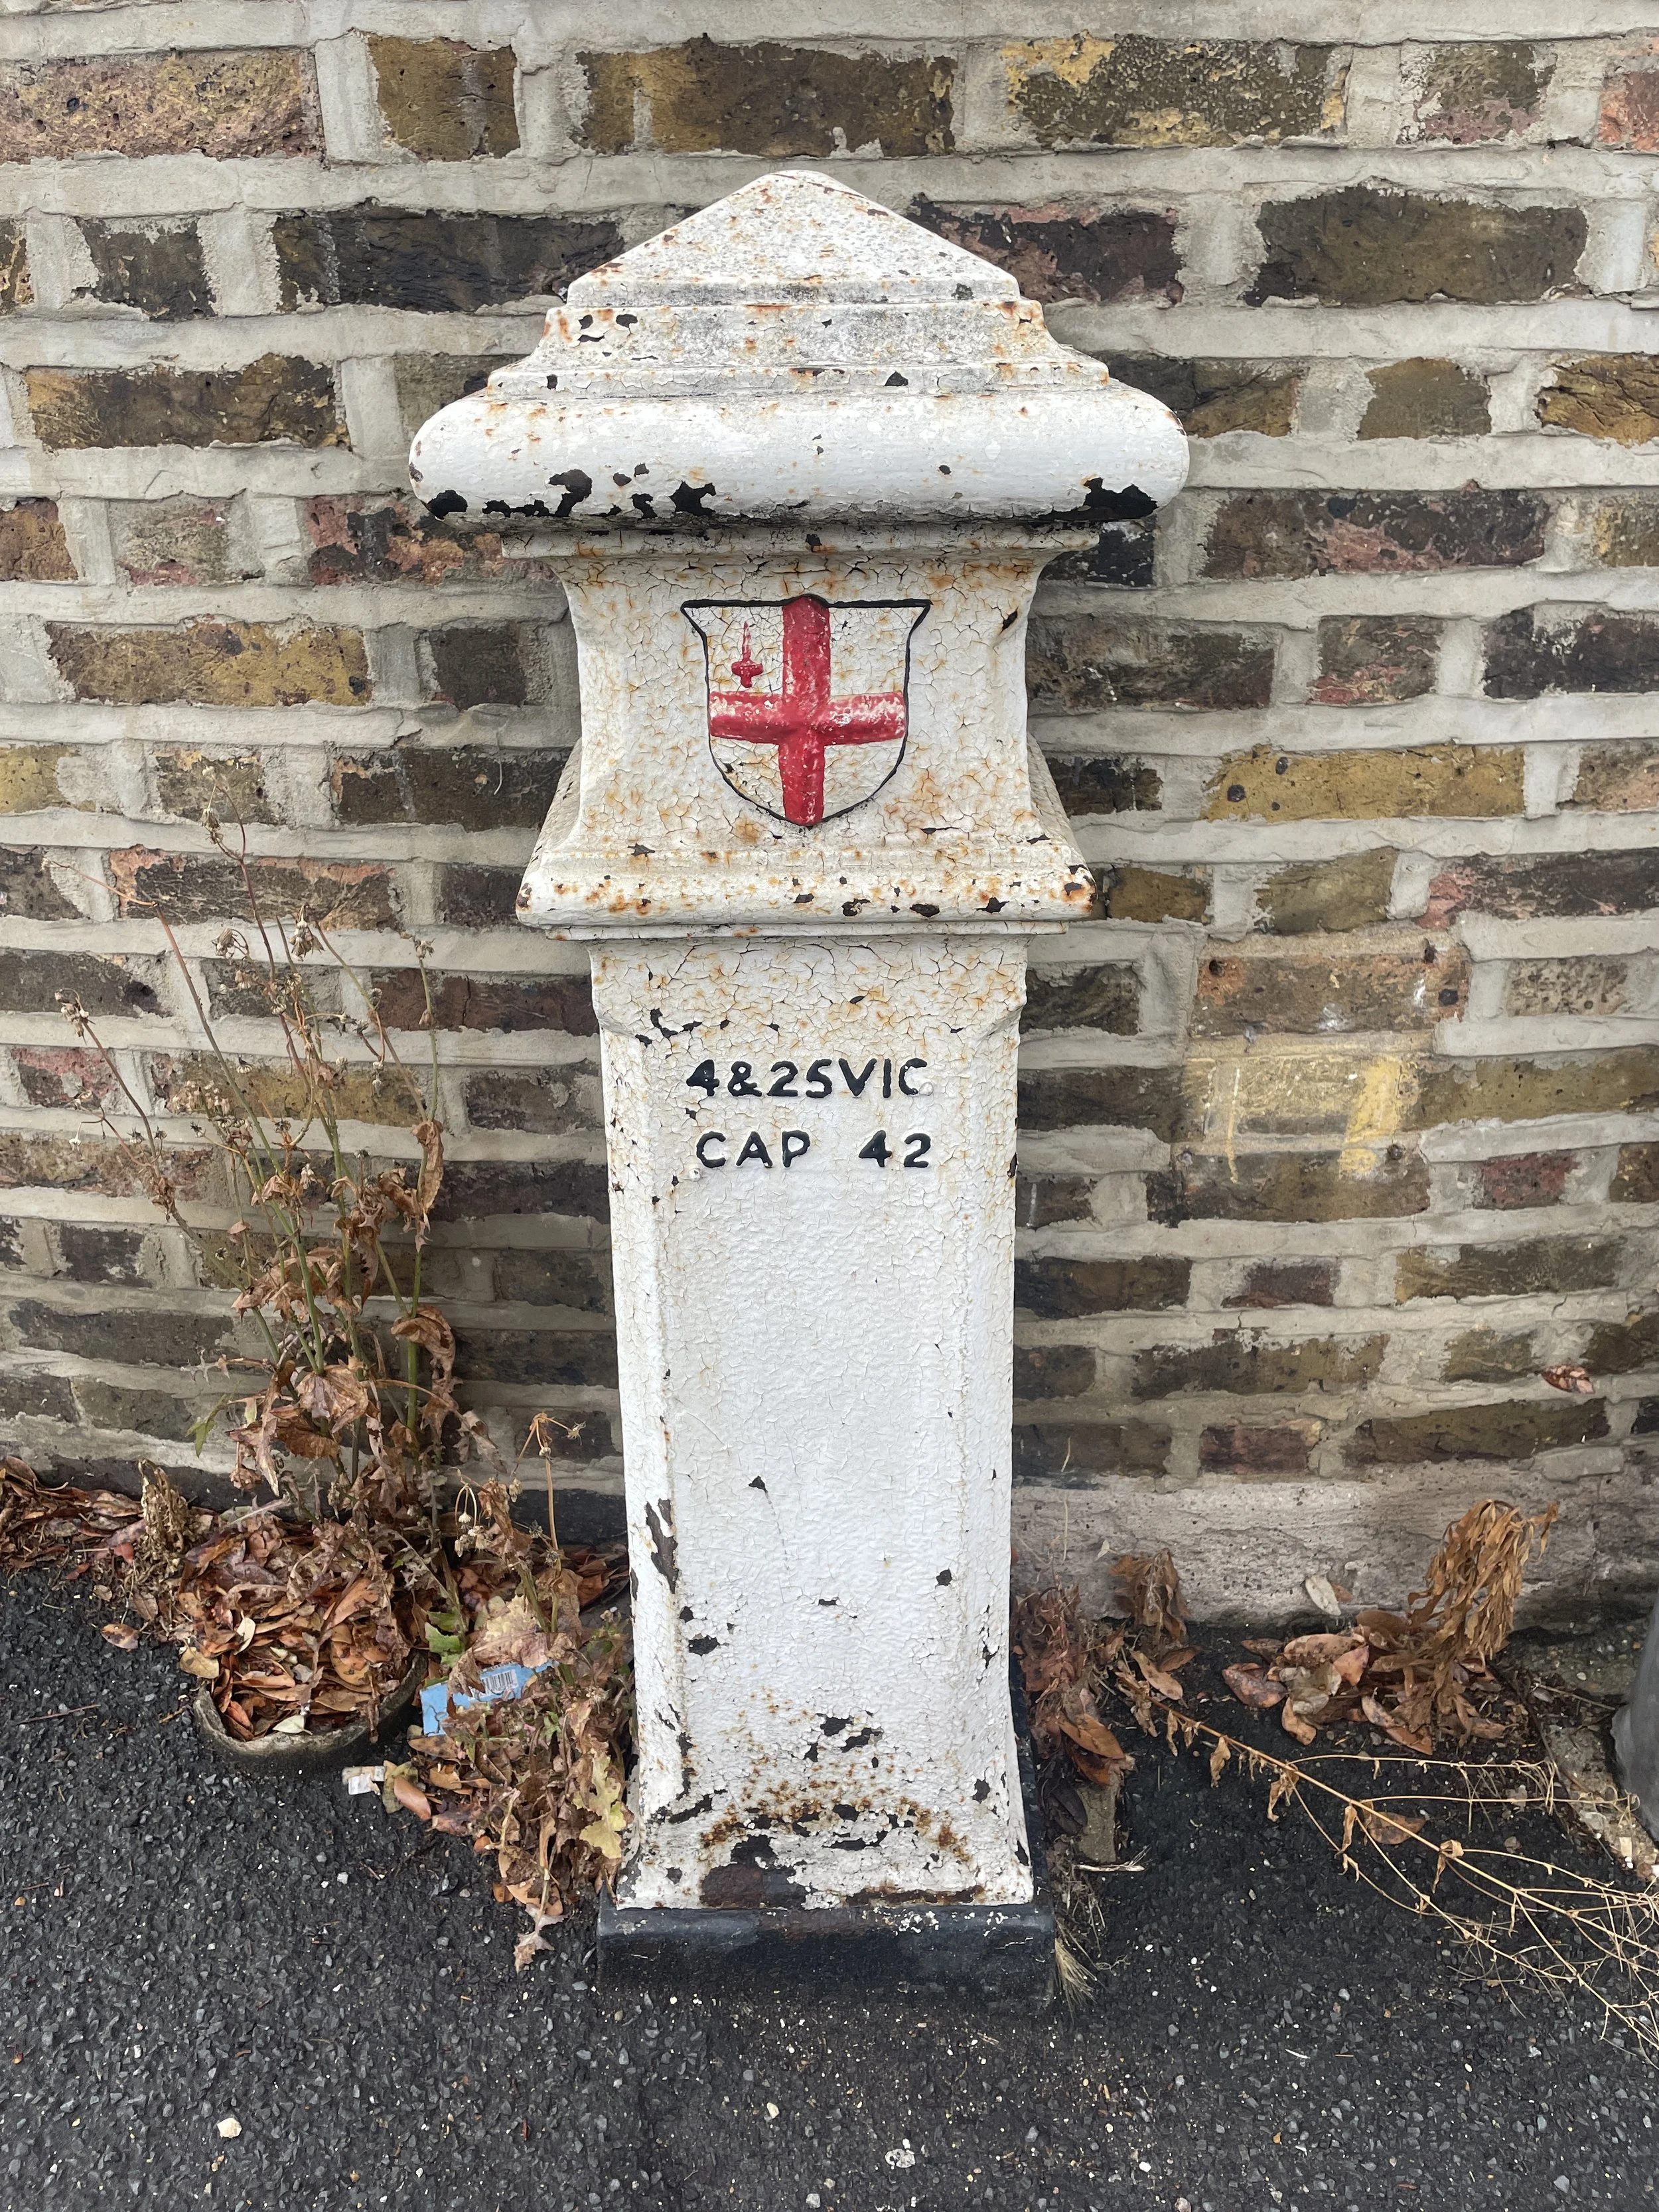
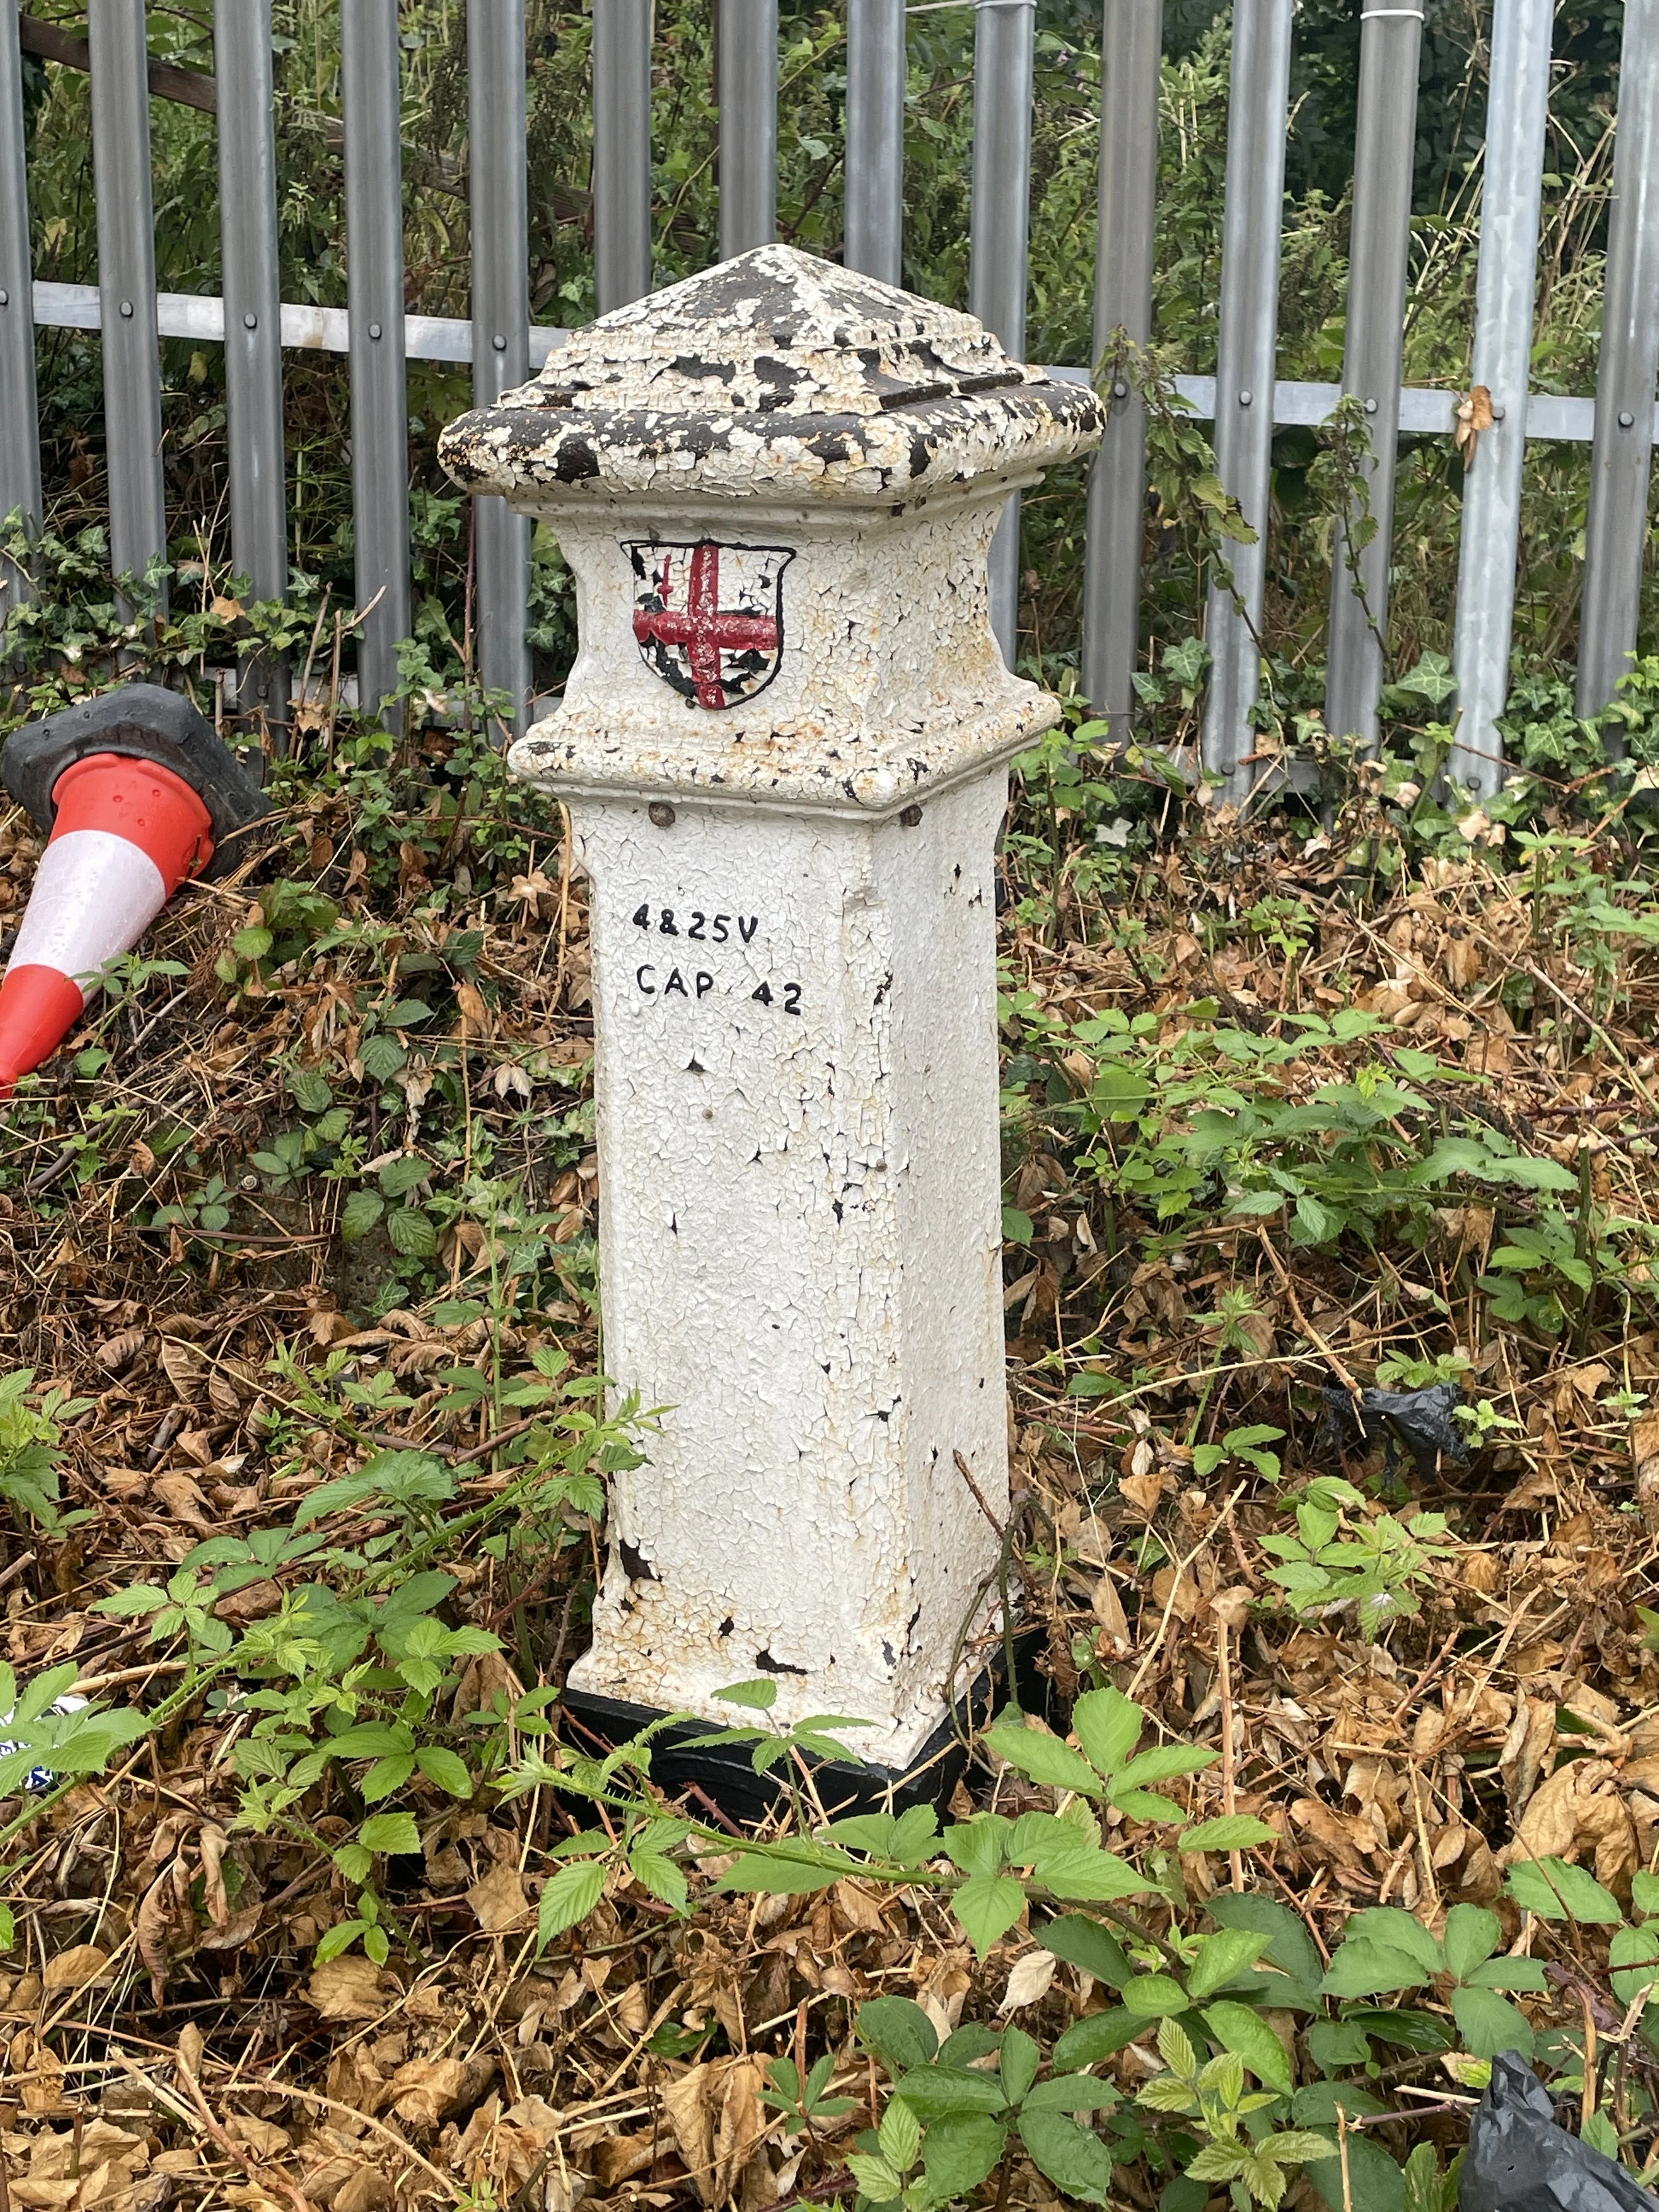
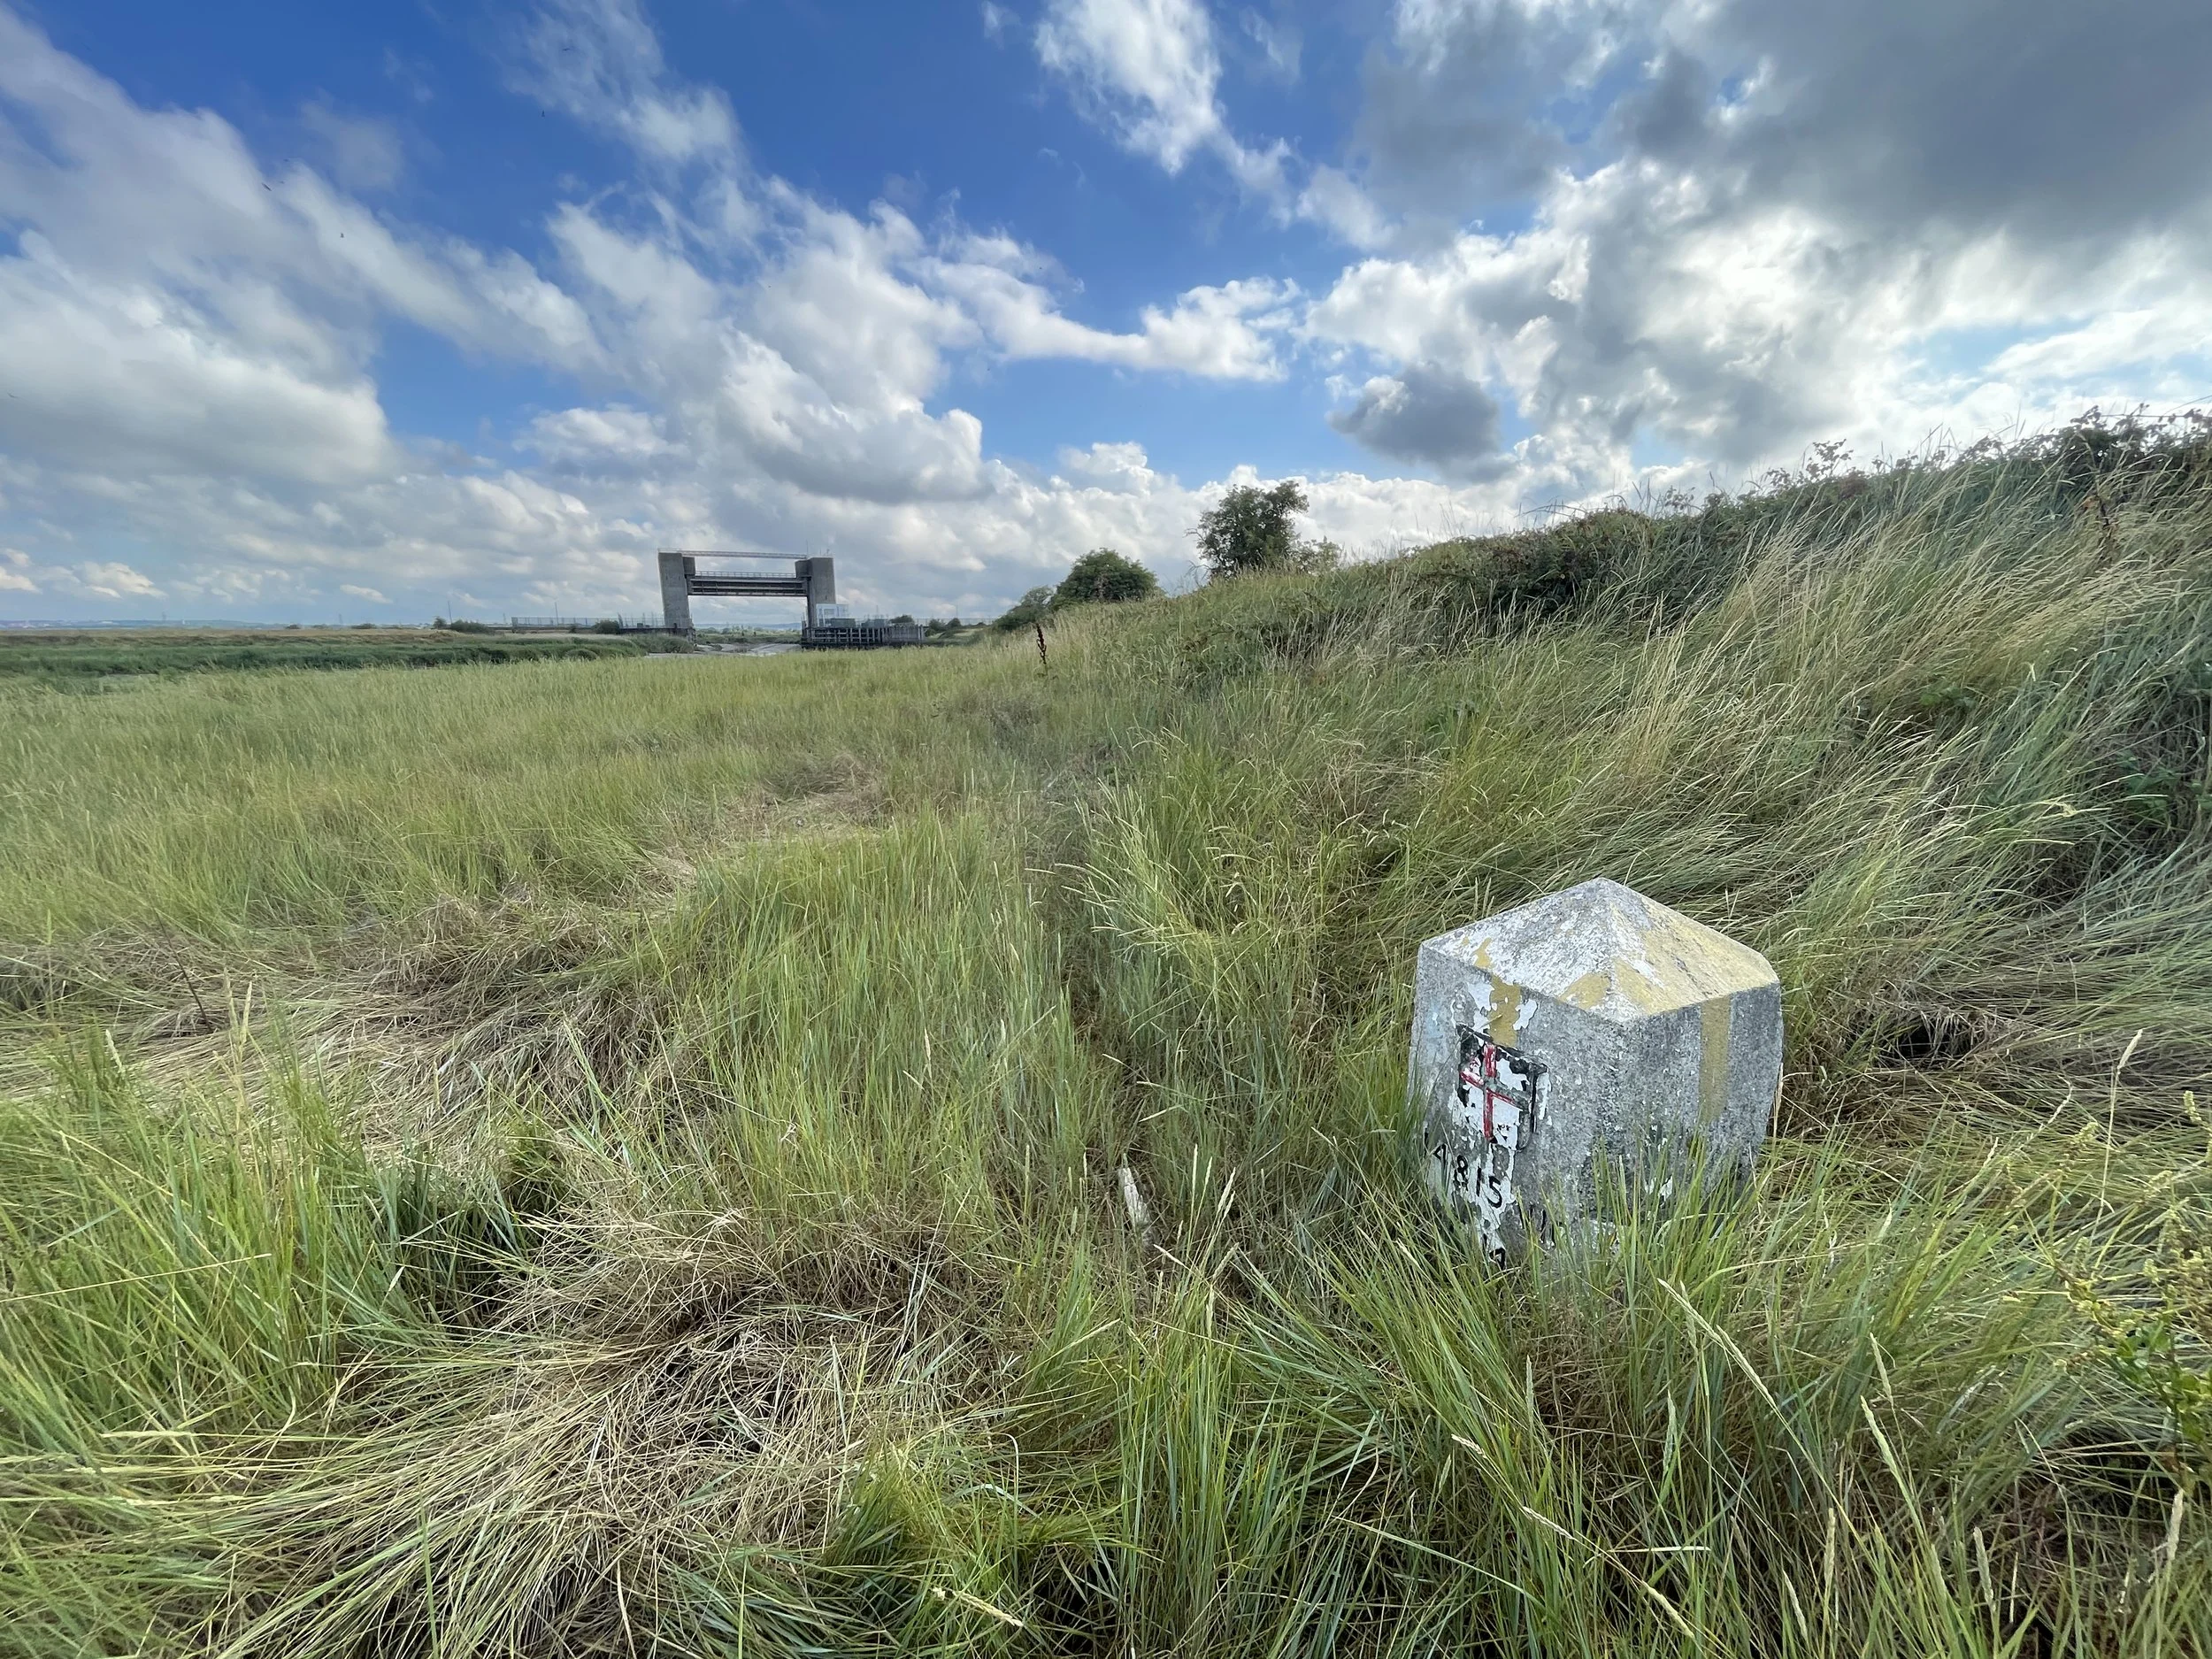
Midshires Way section covered: Bishopstone Road to the River Thame: 3.5 km
GPX File: get via Buy Me a Coffee
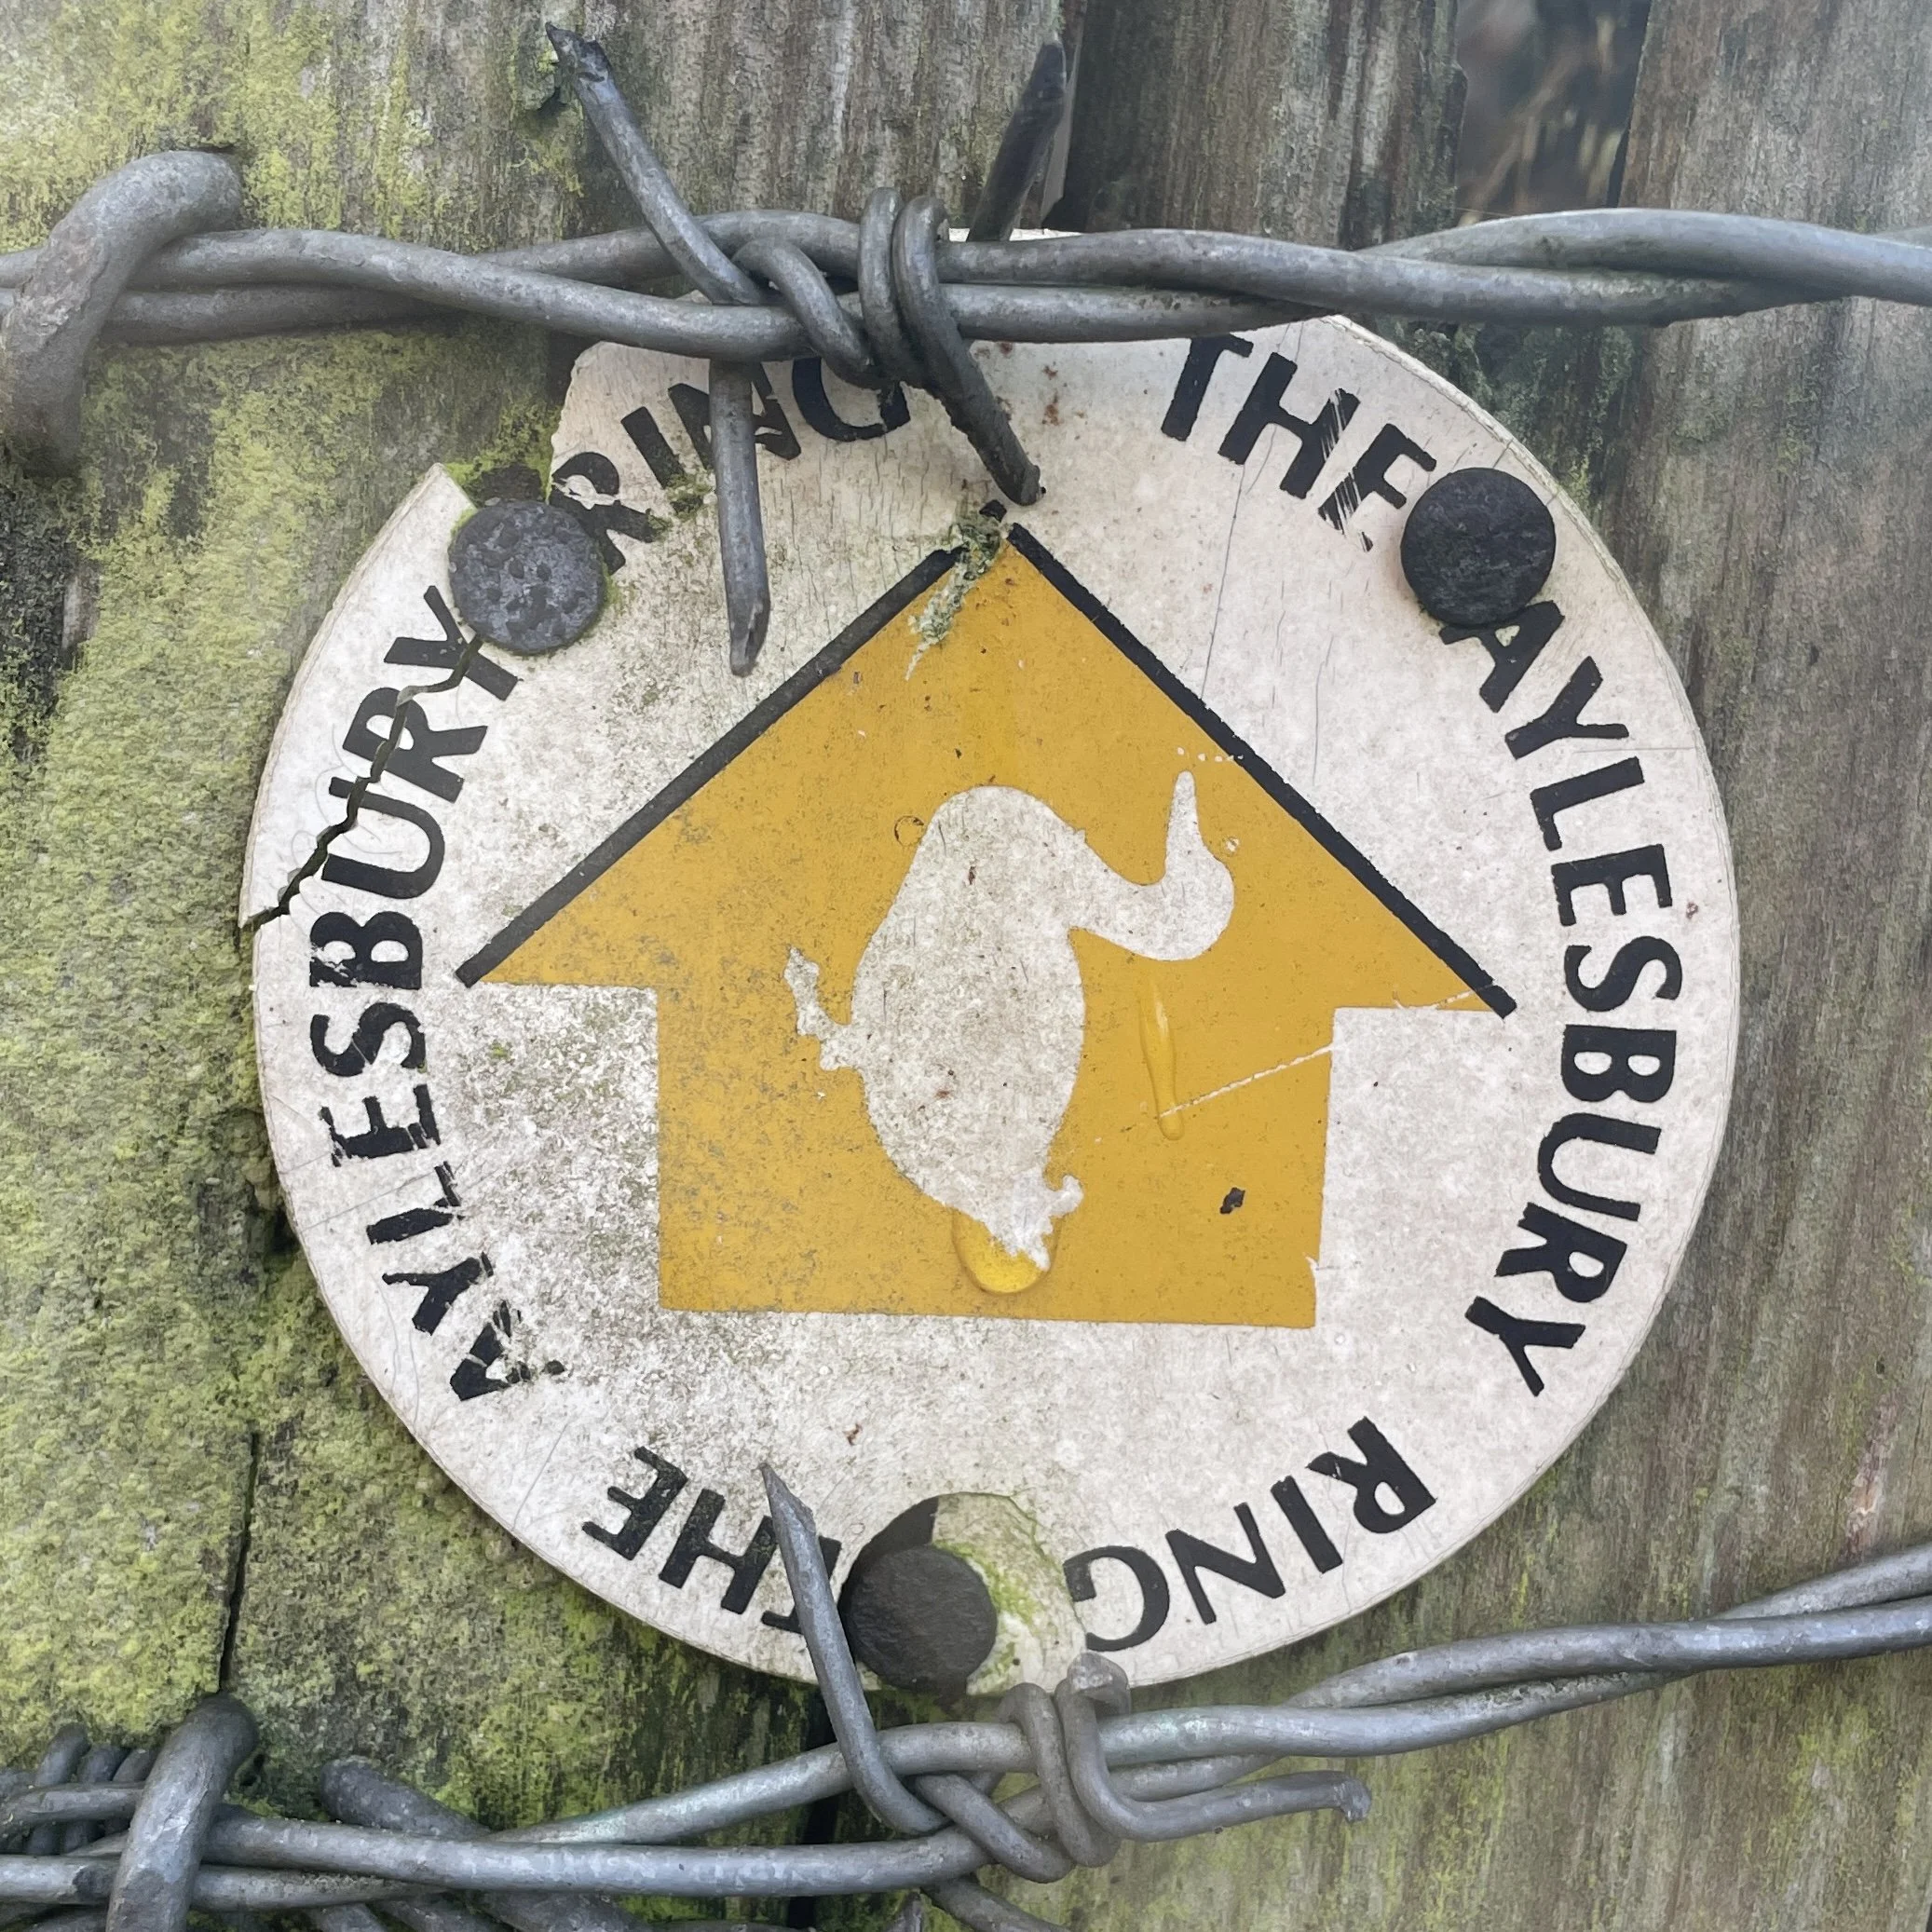
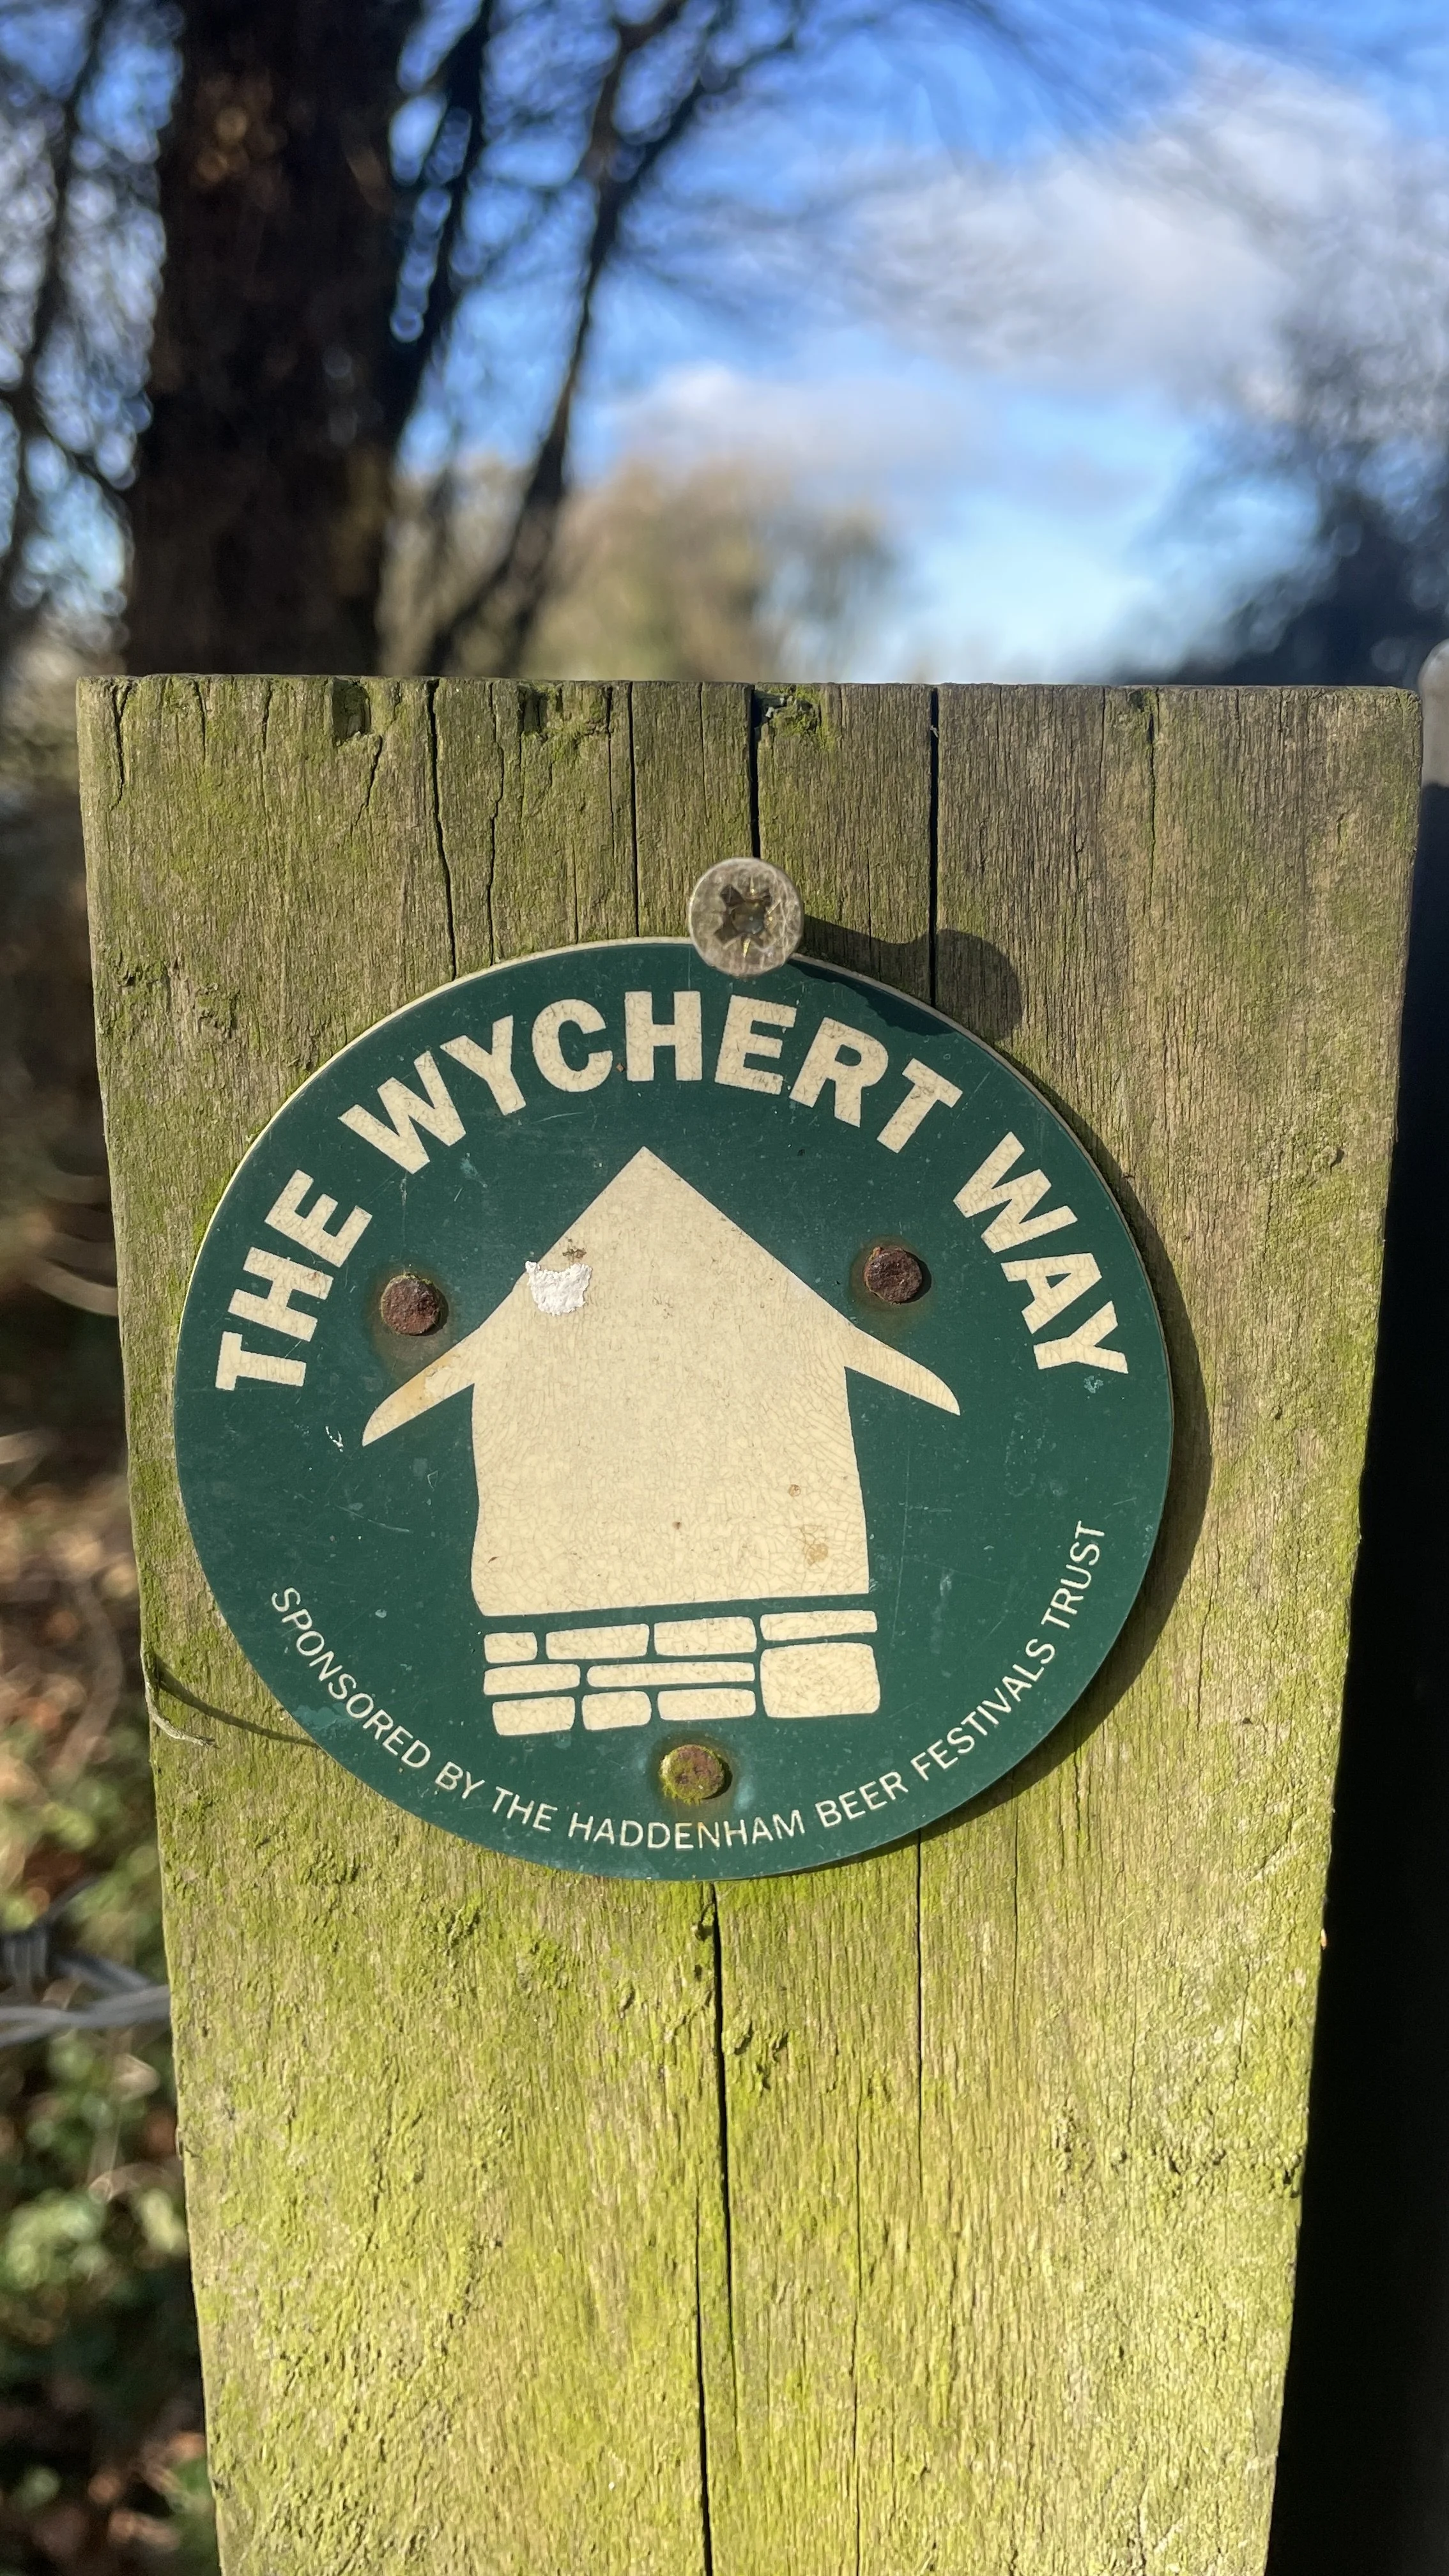
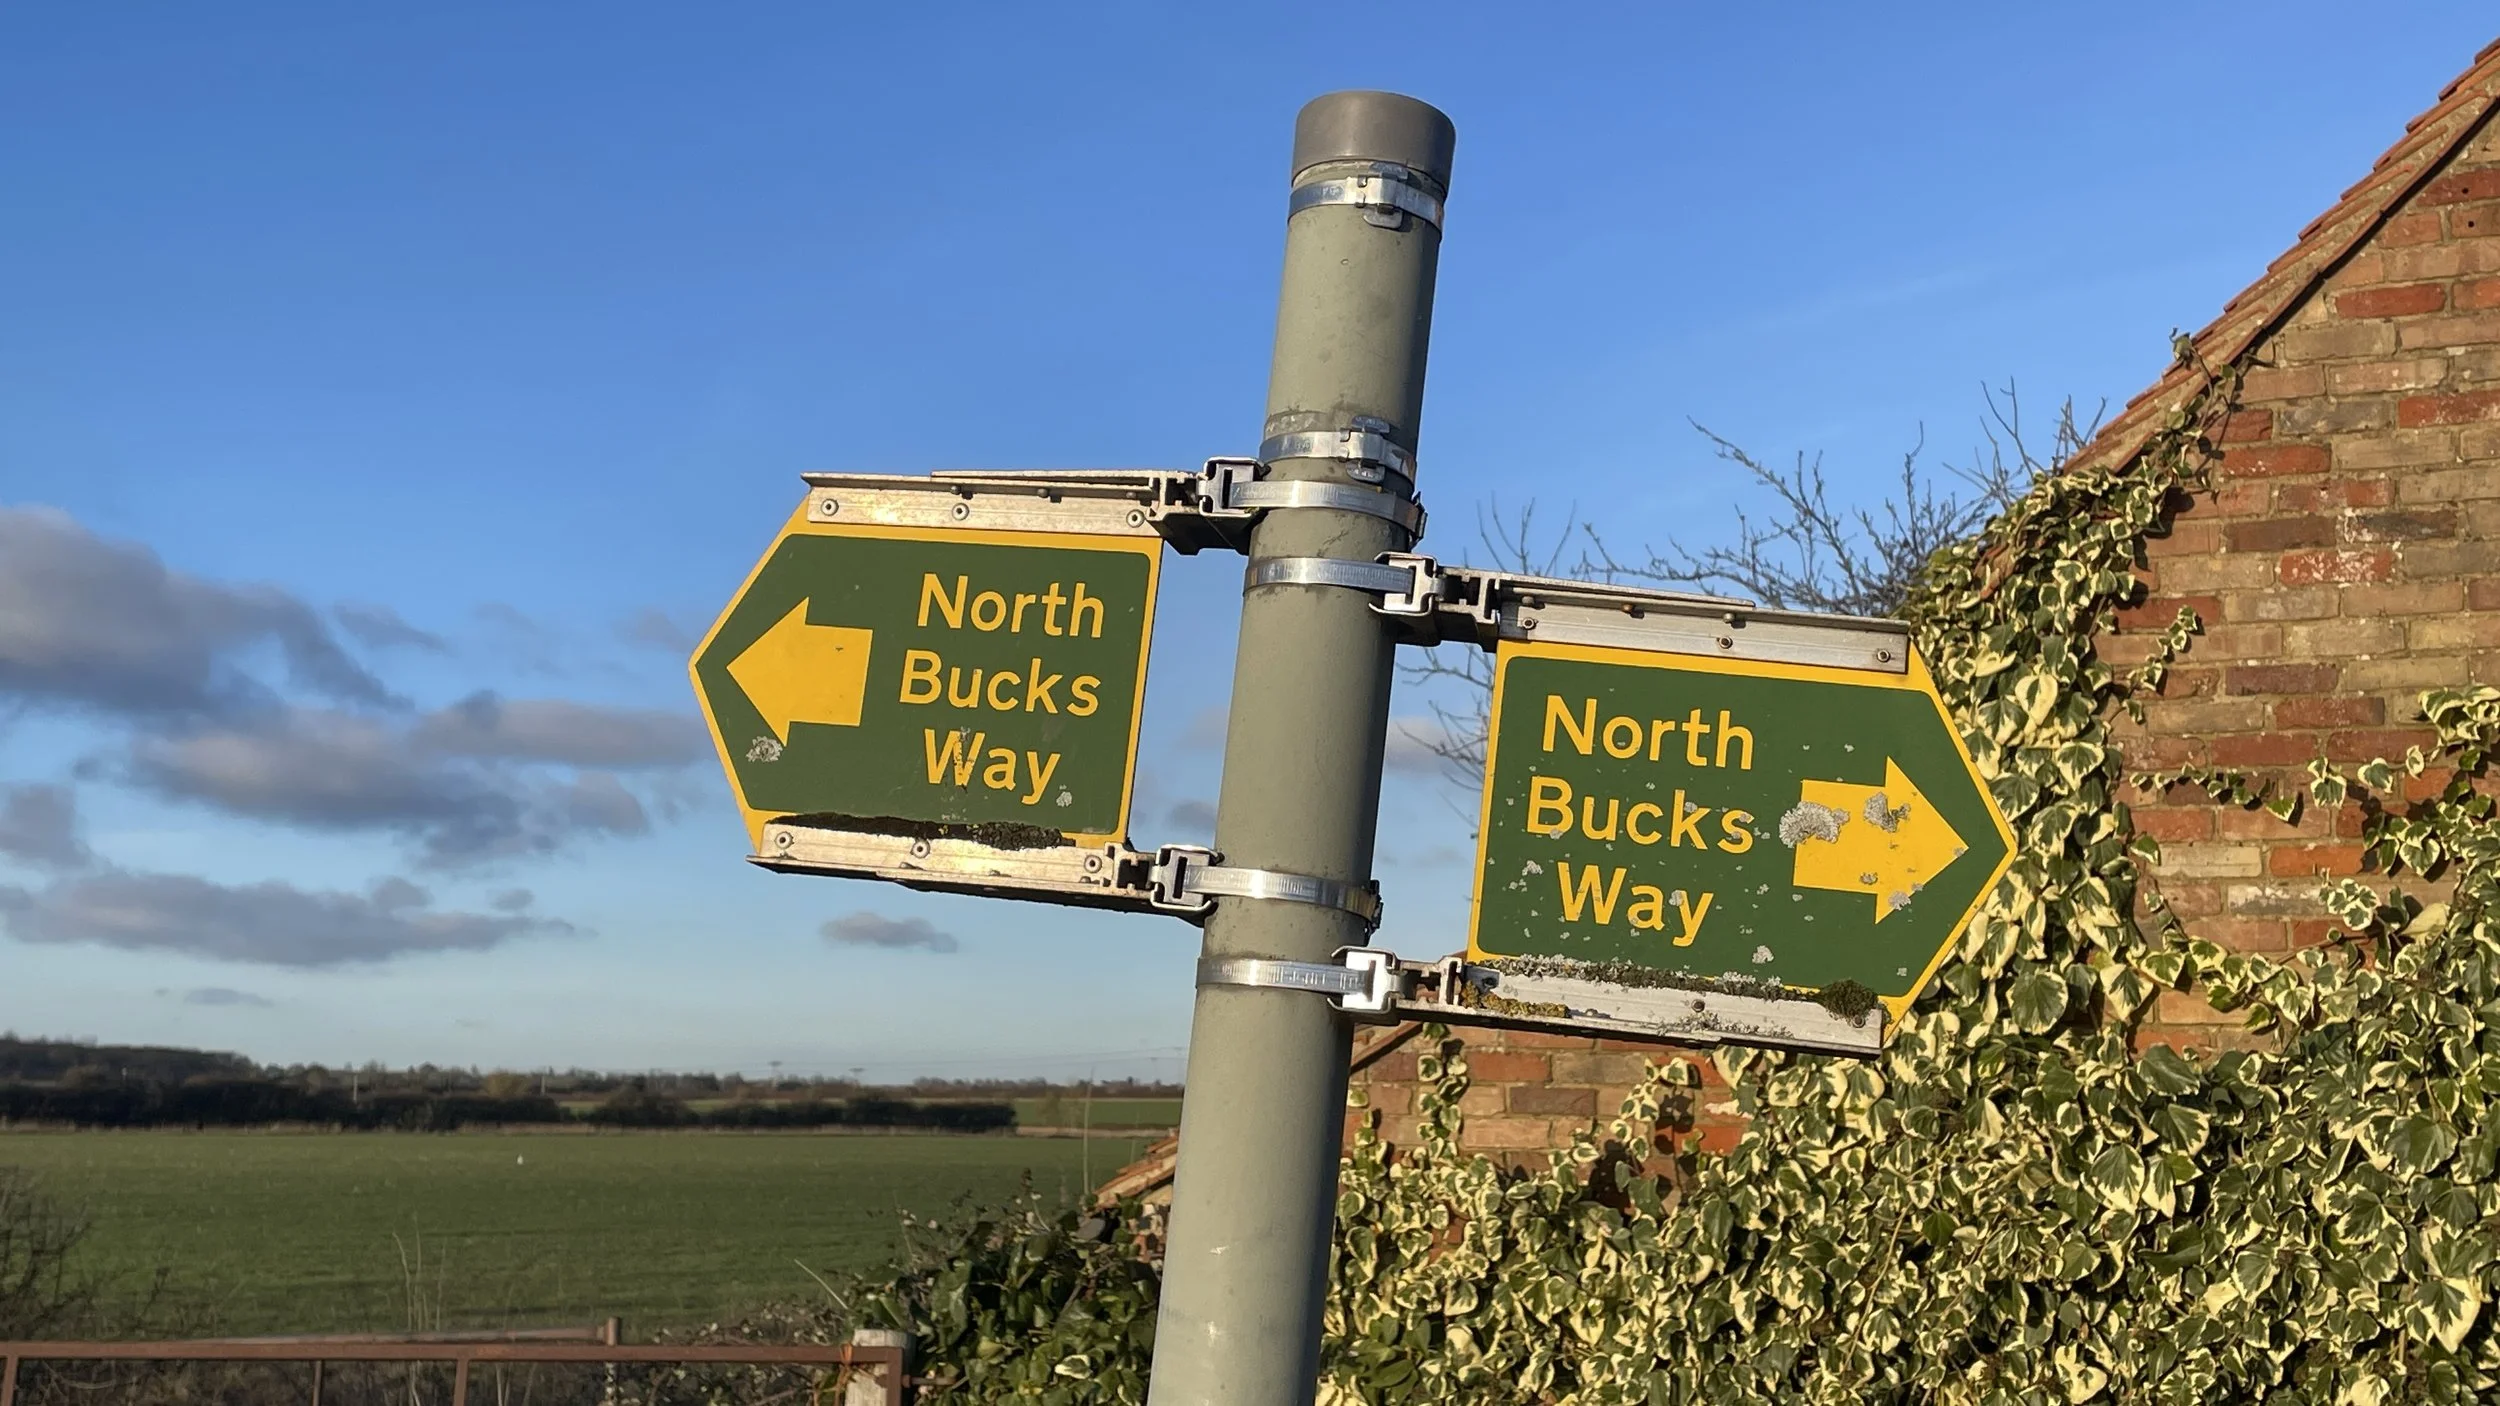
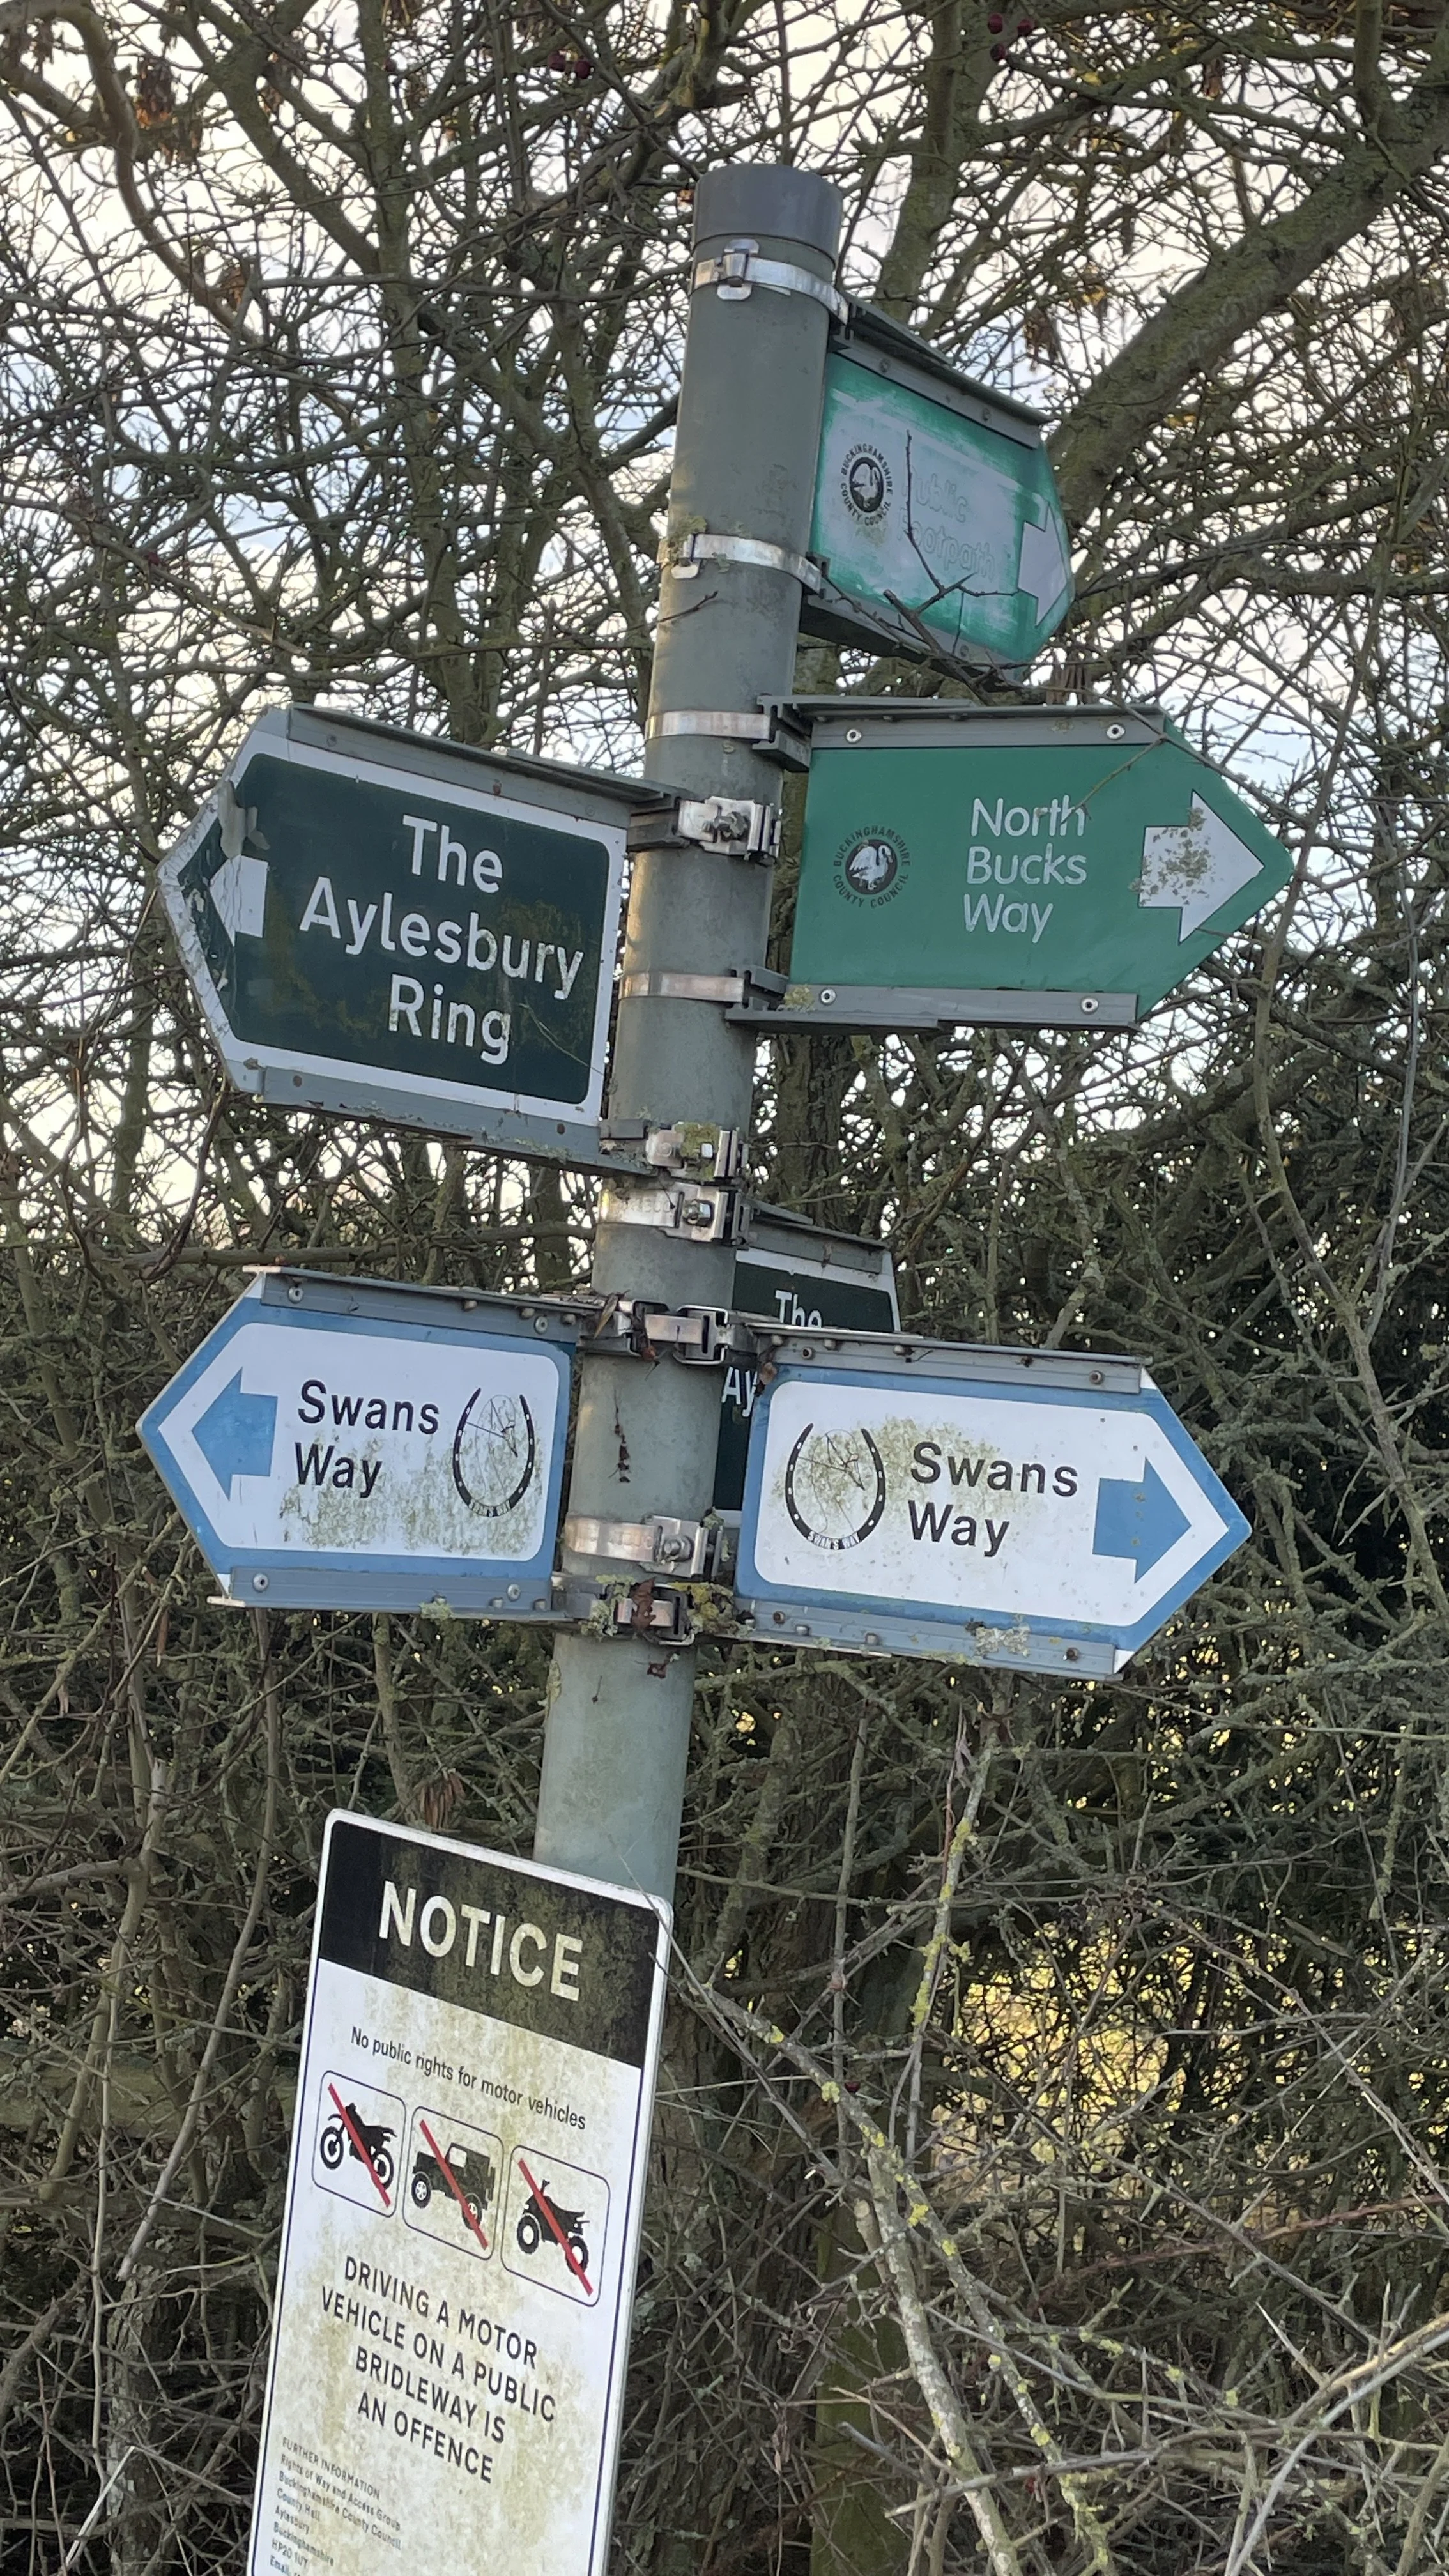
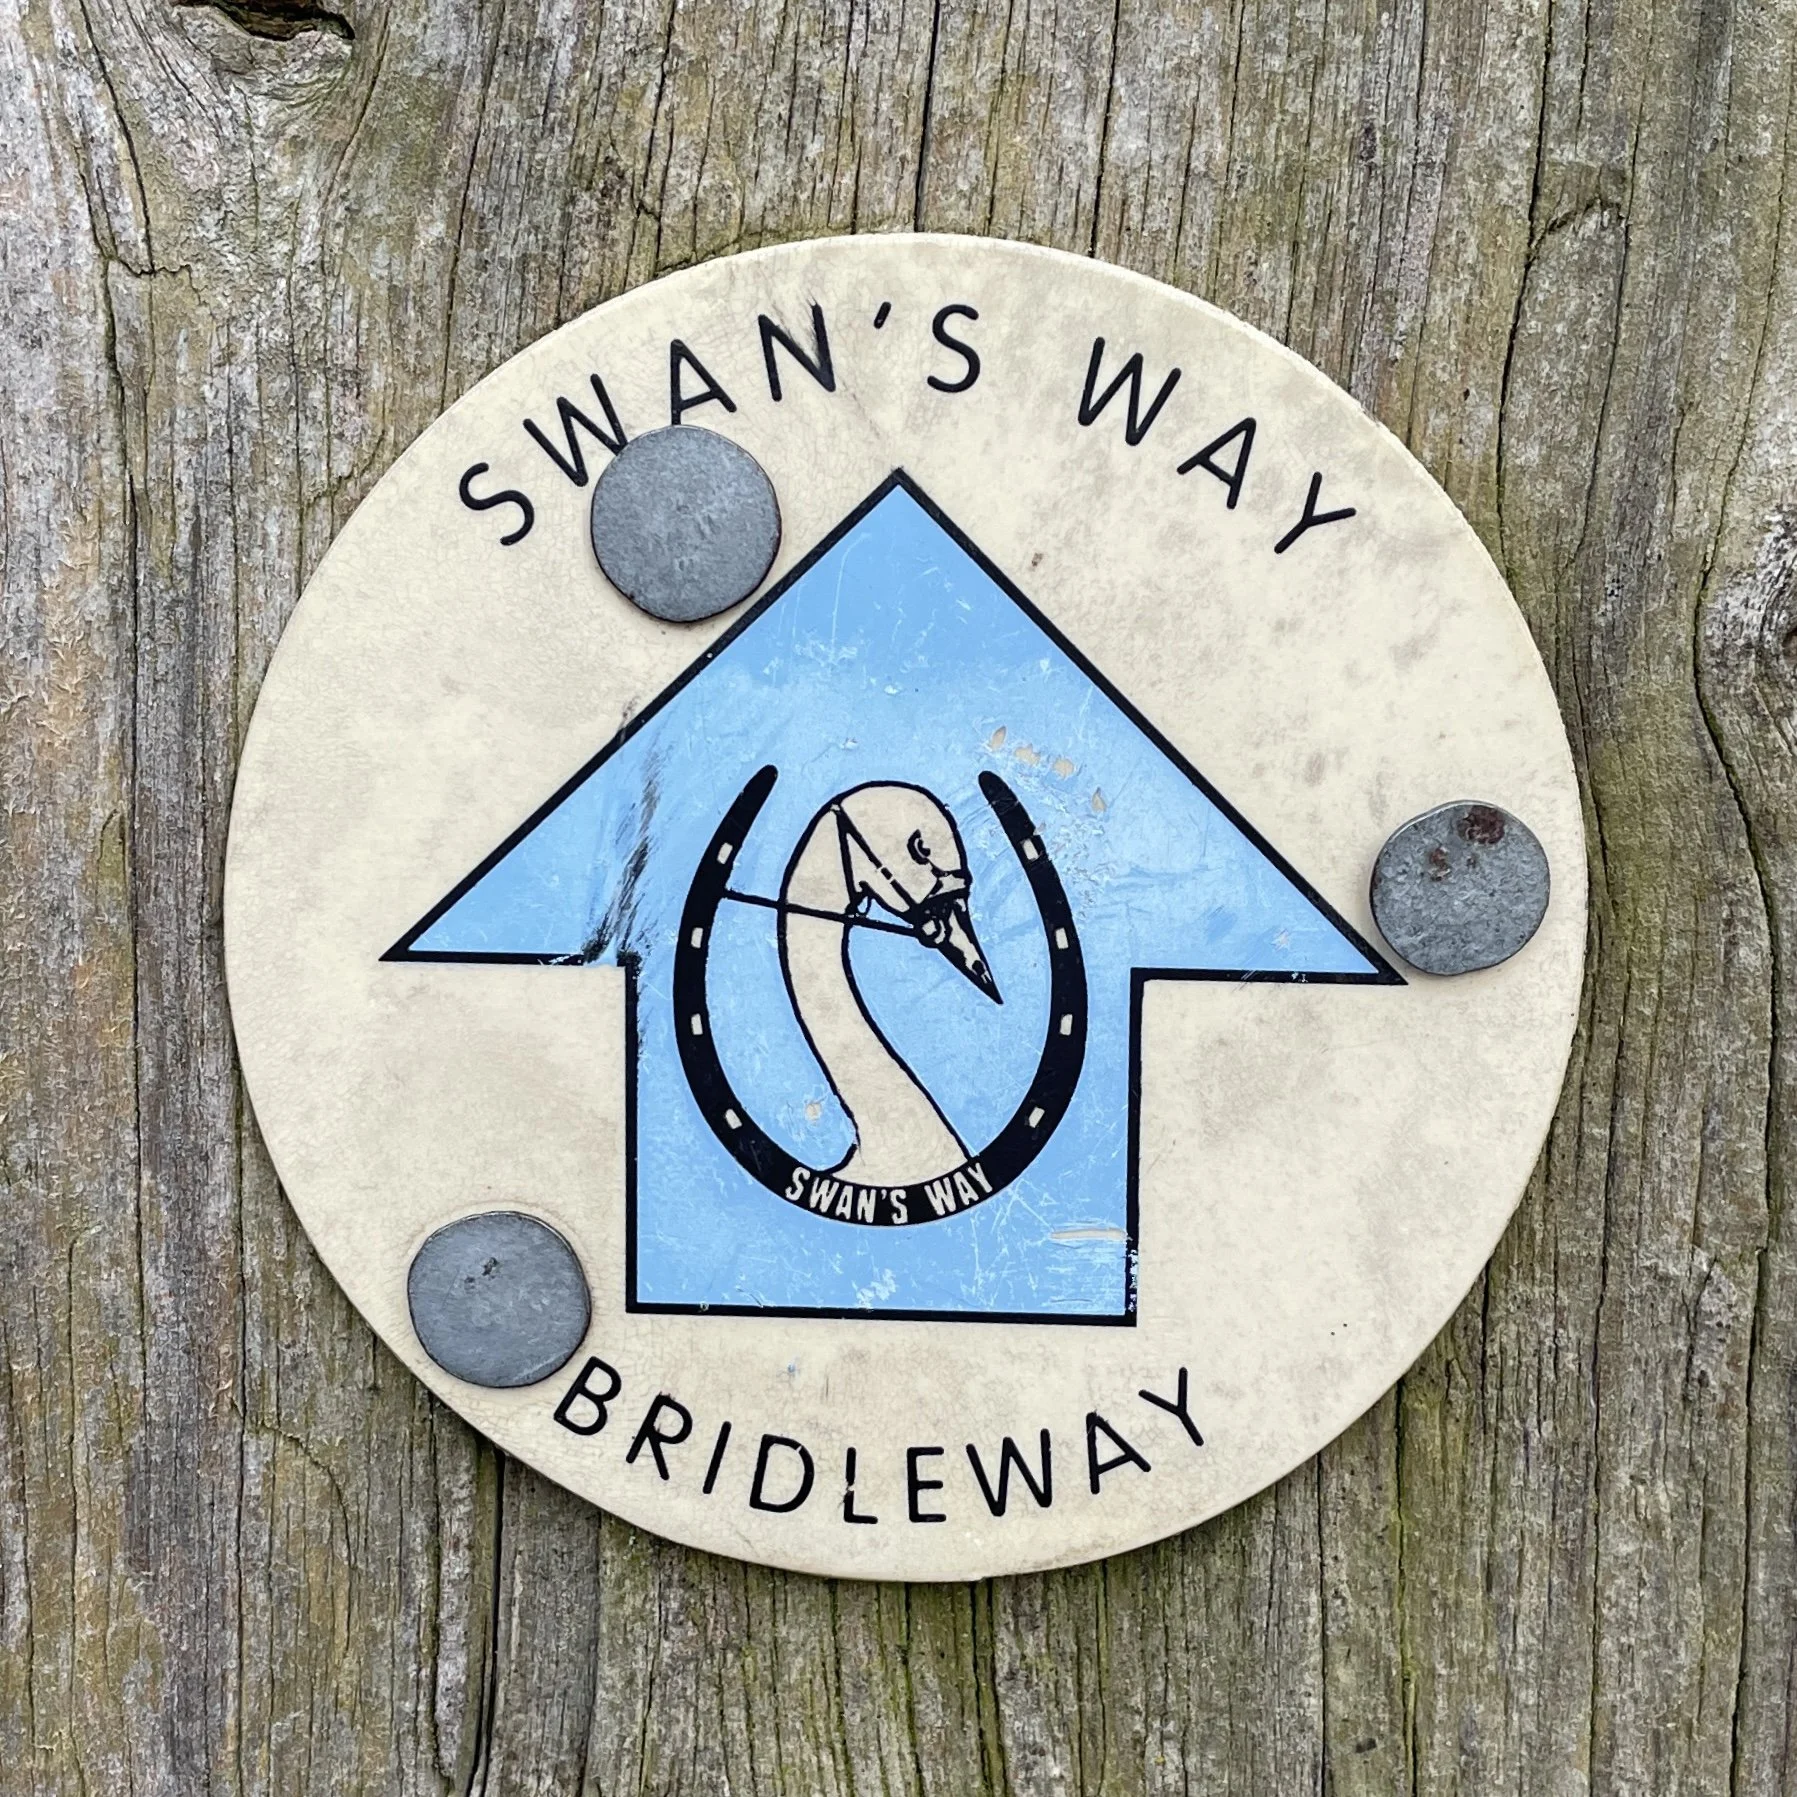
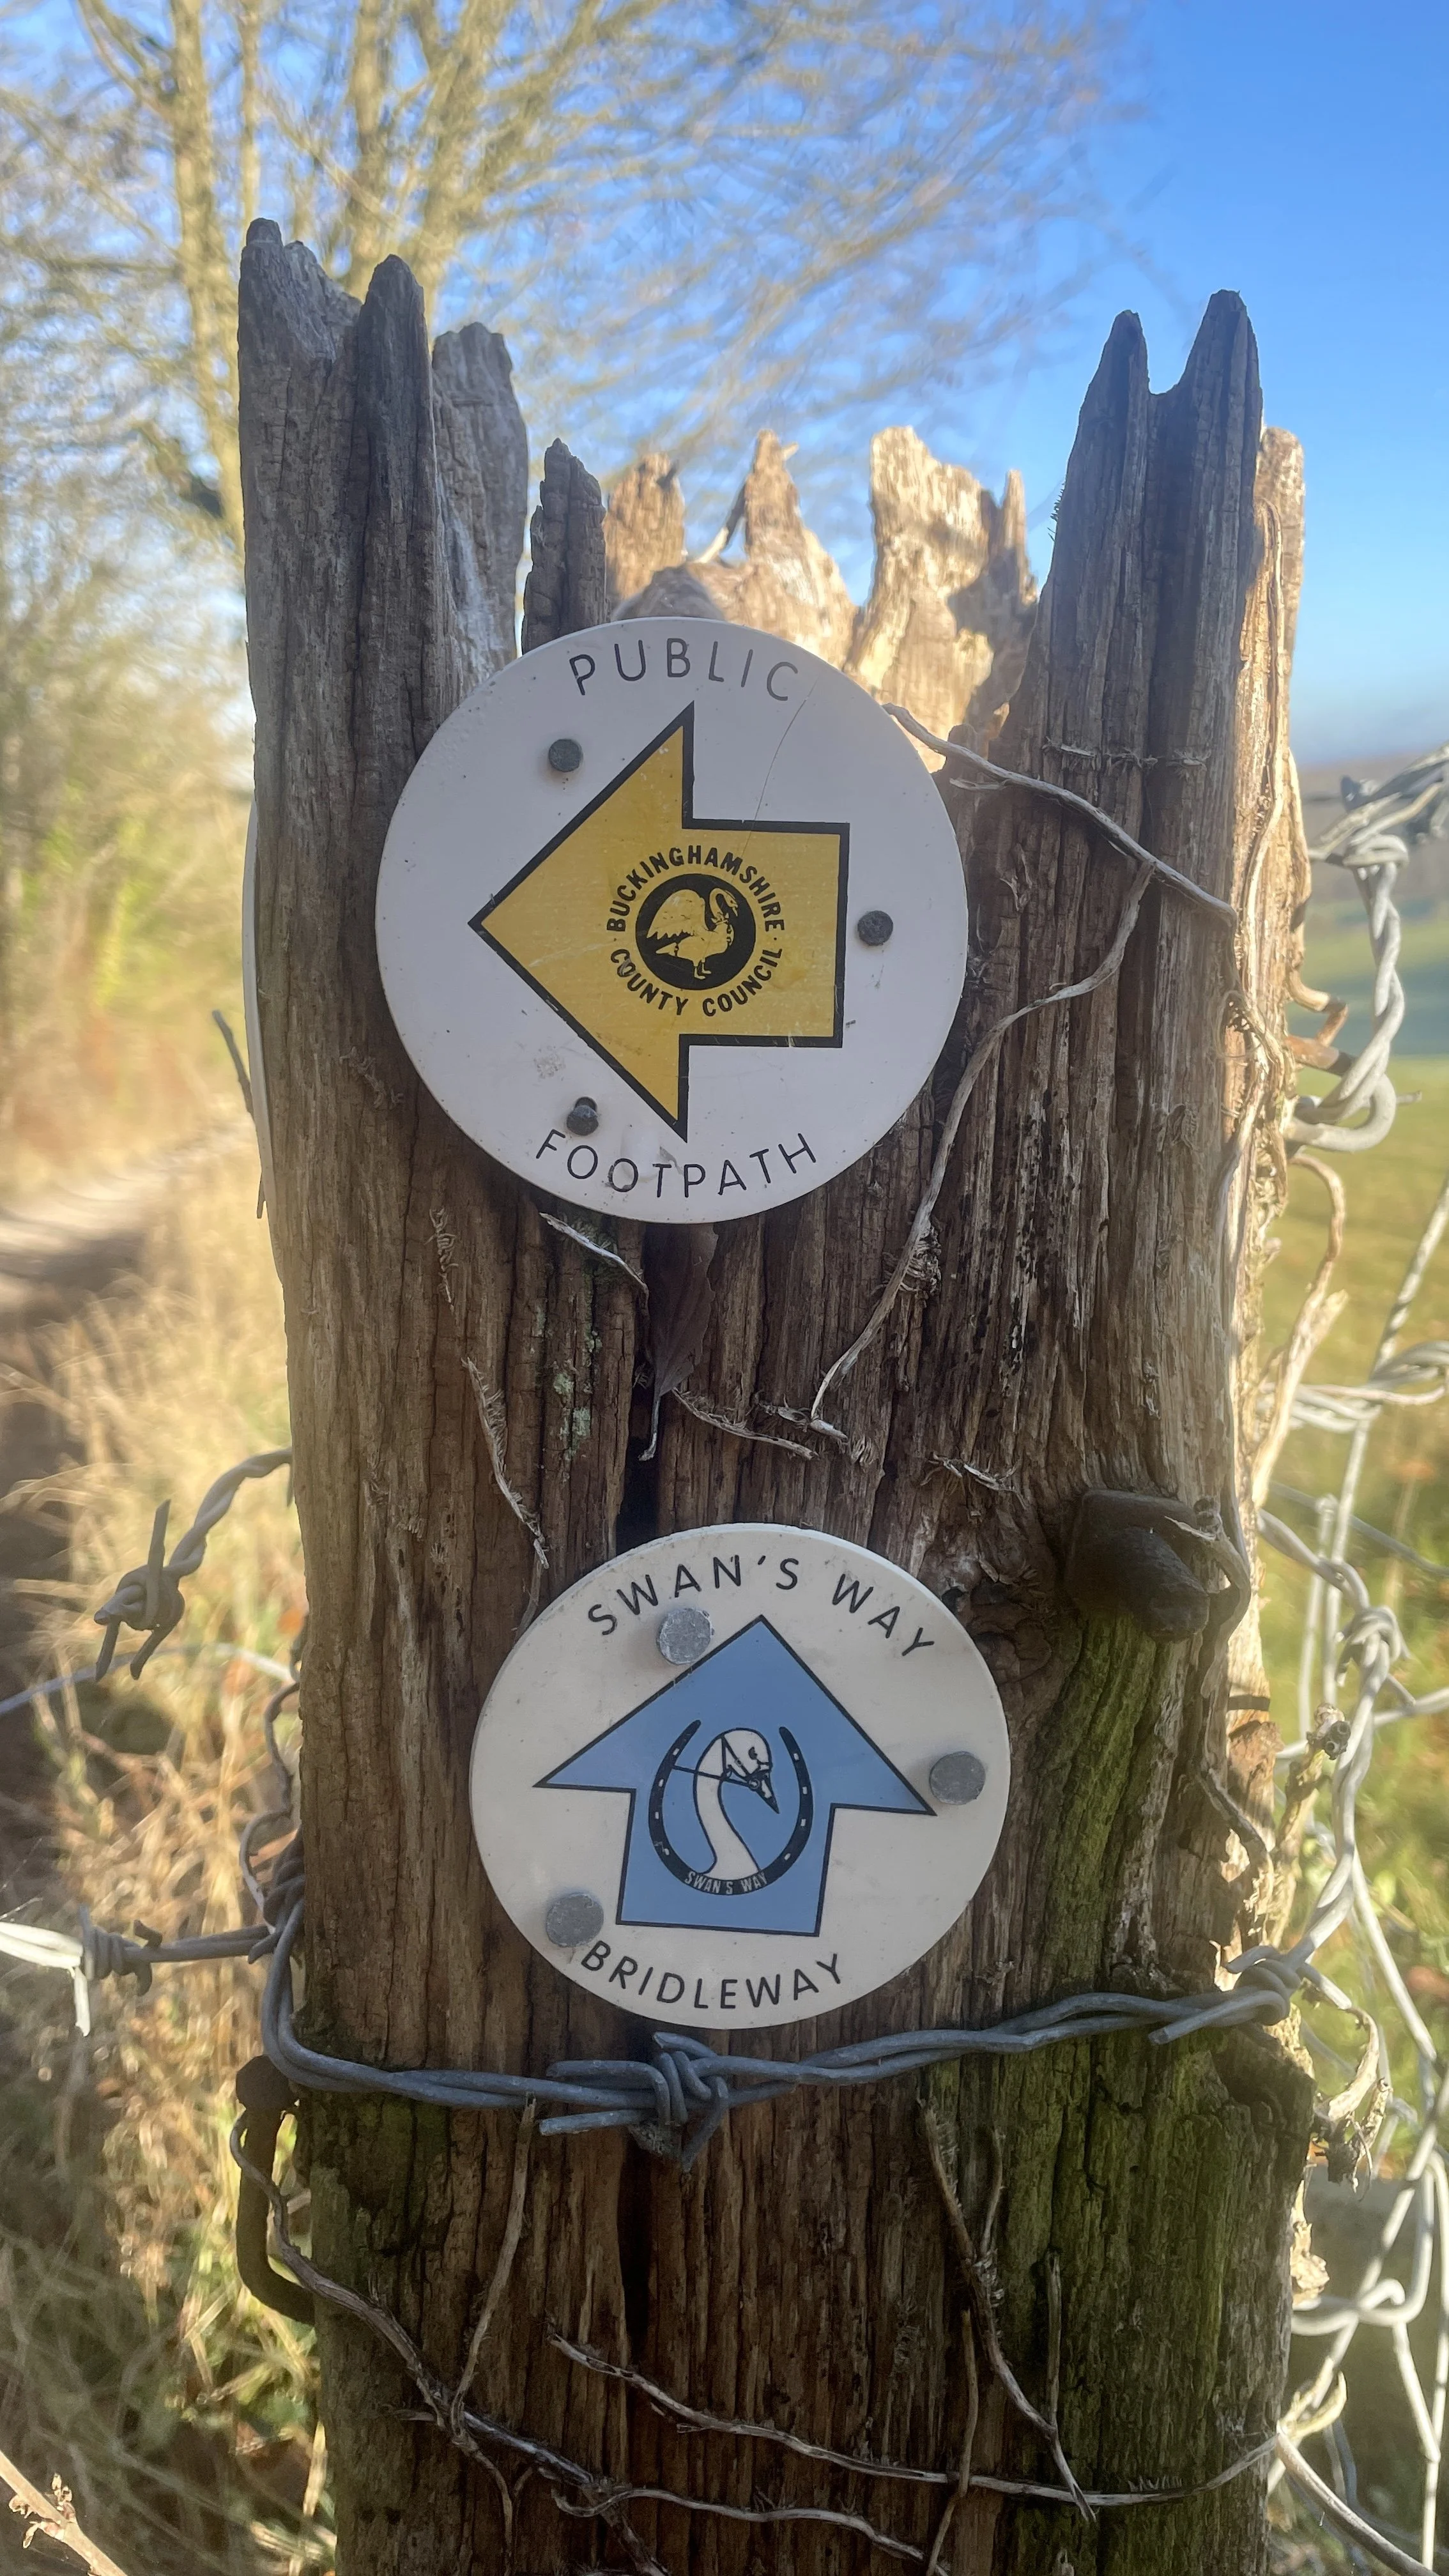
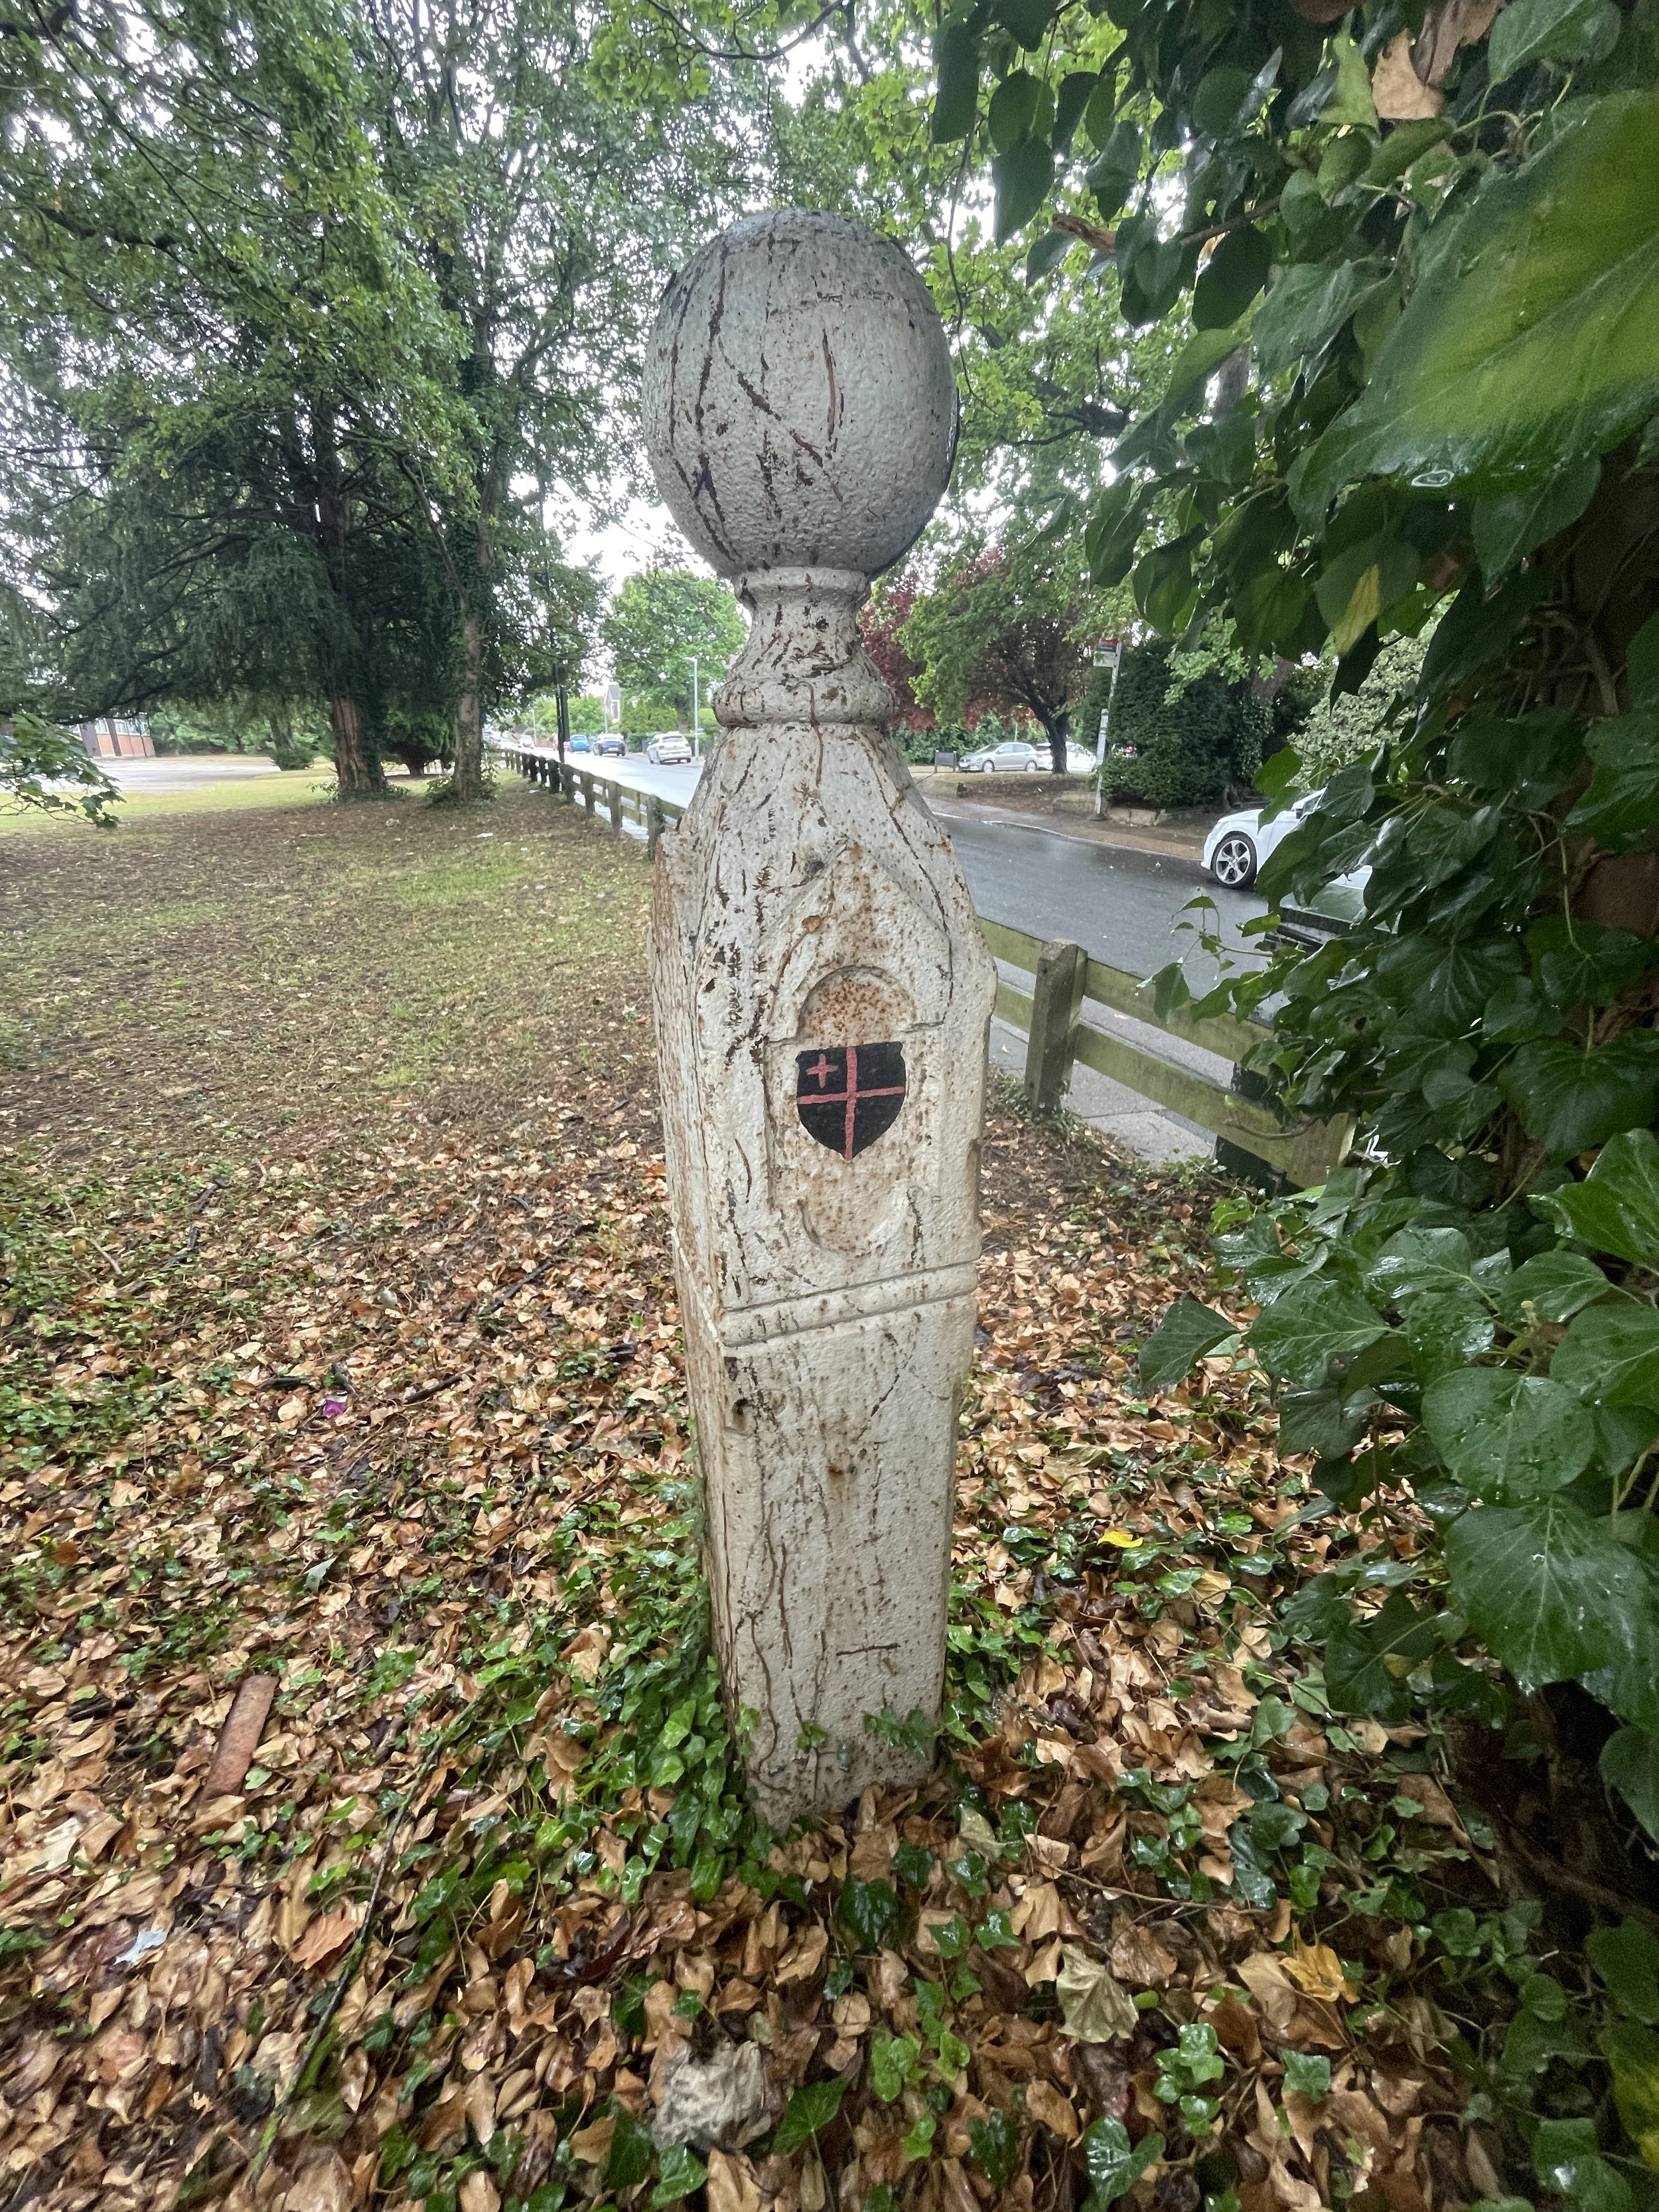
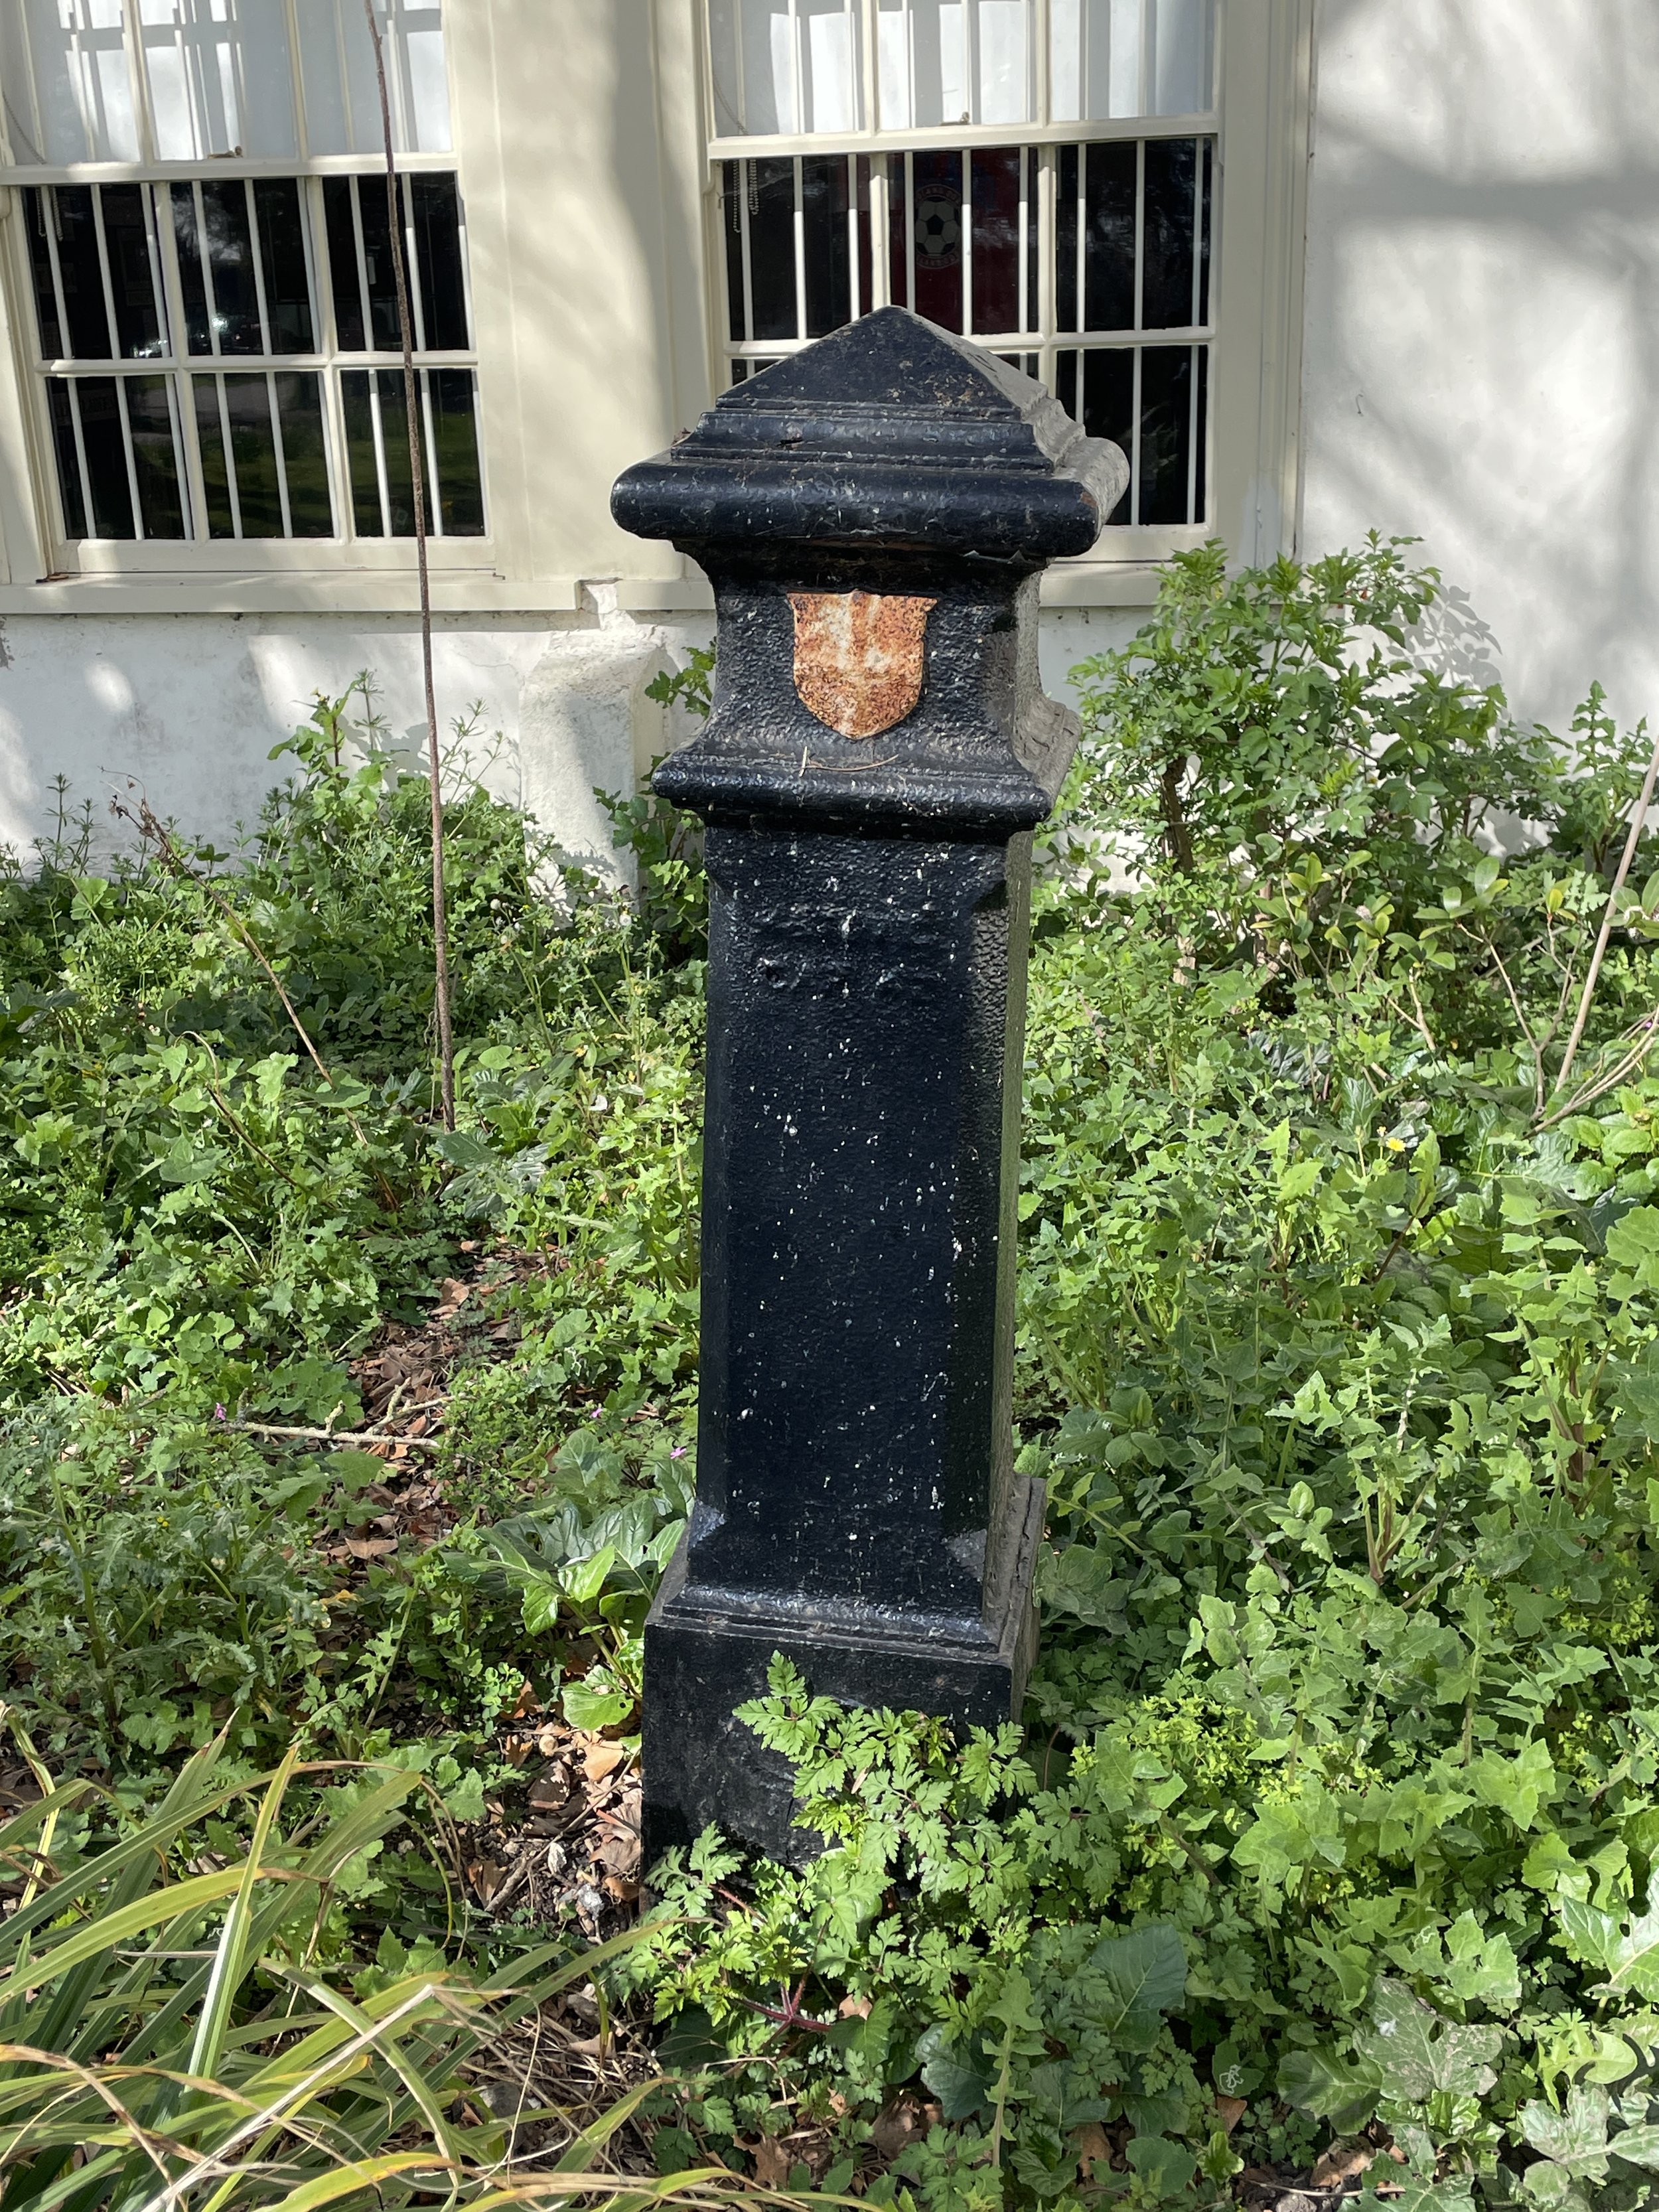
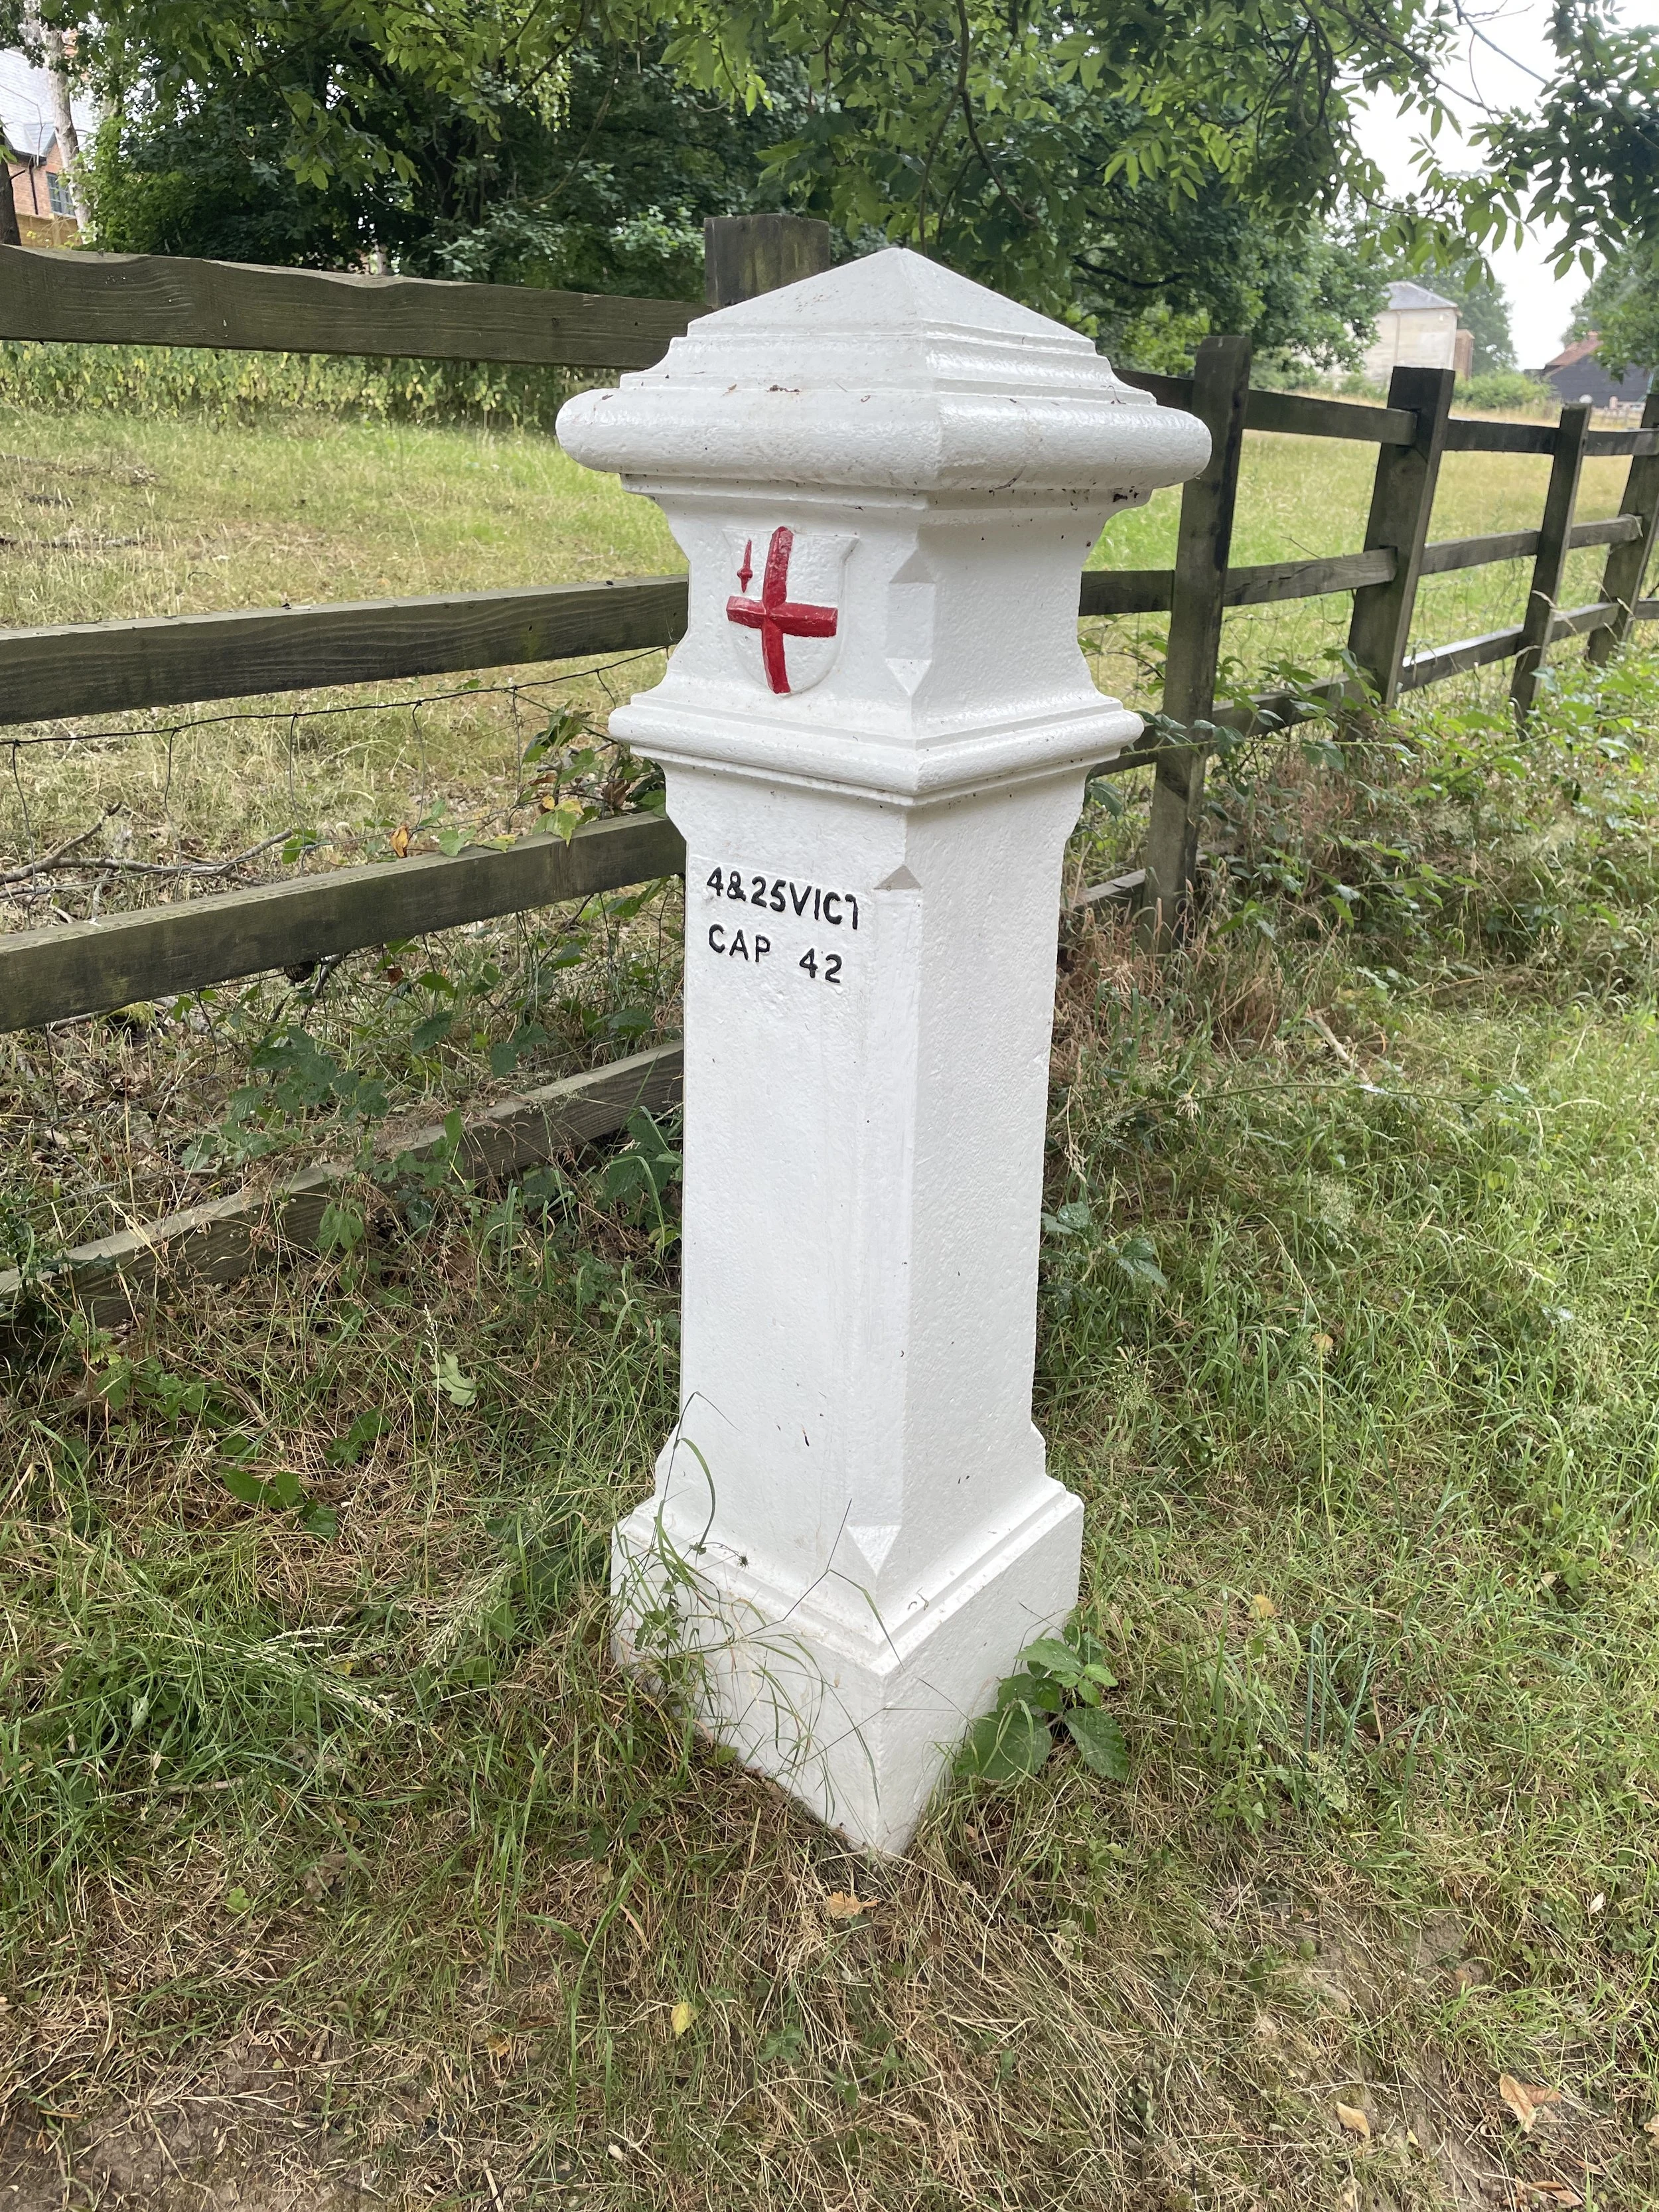
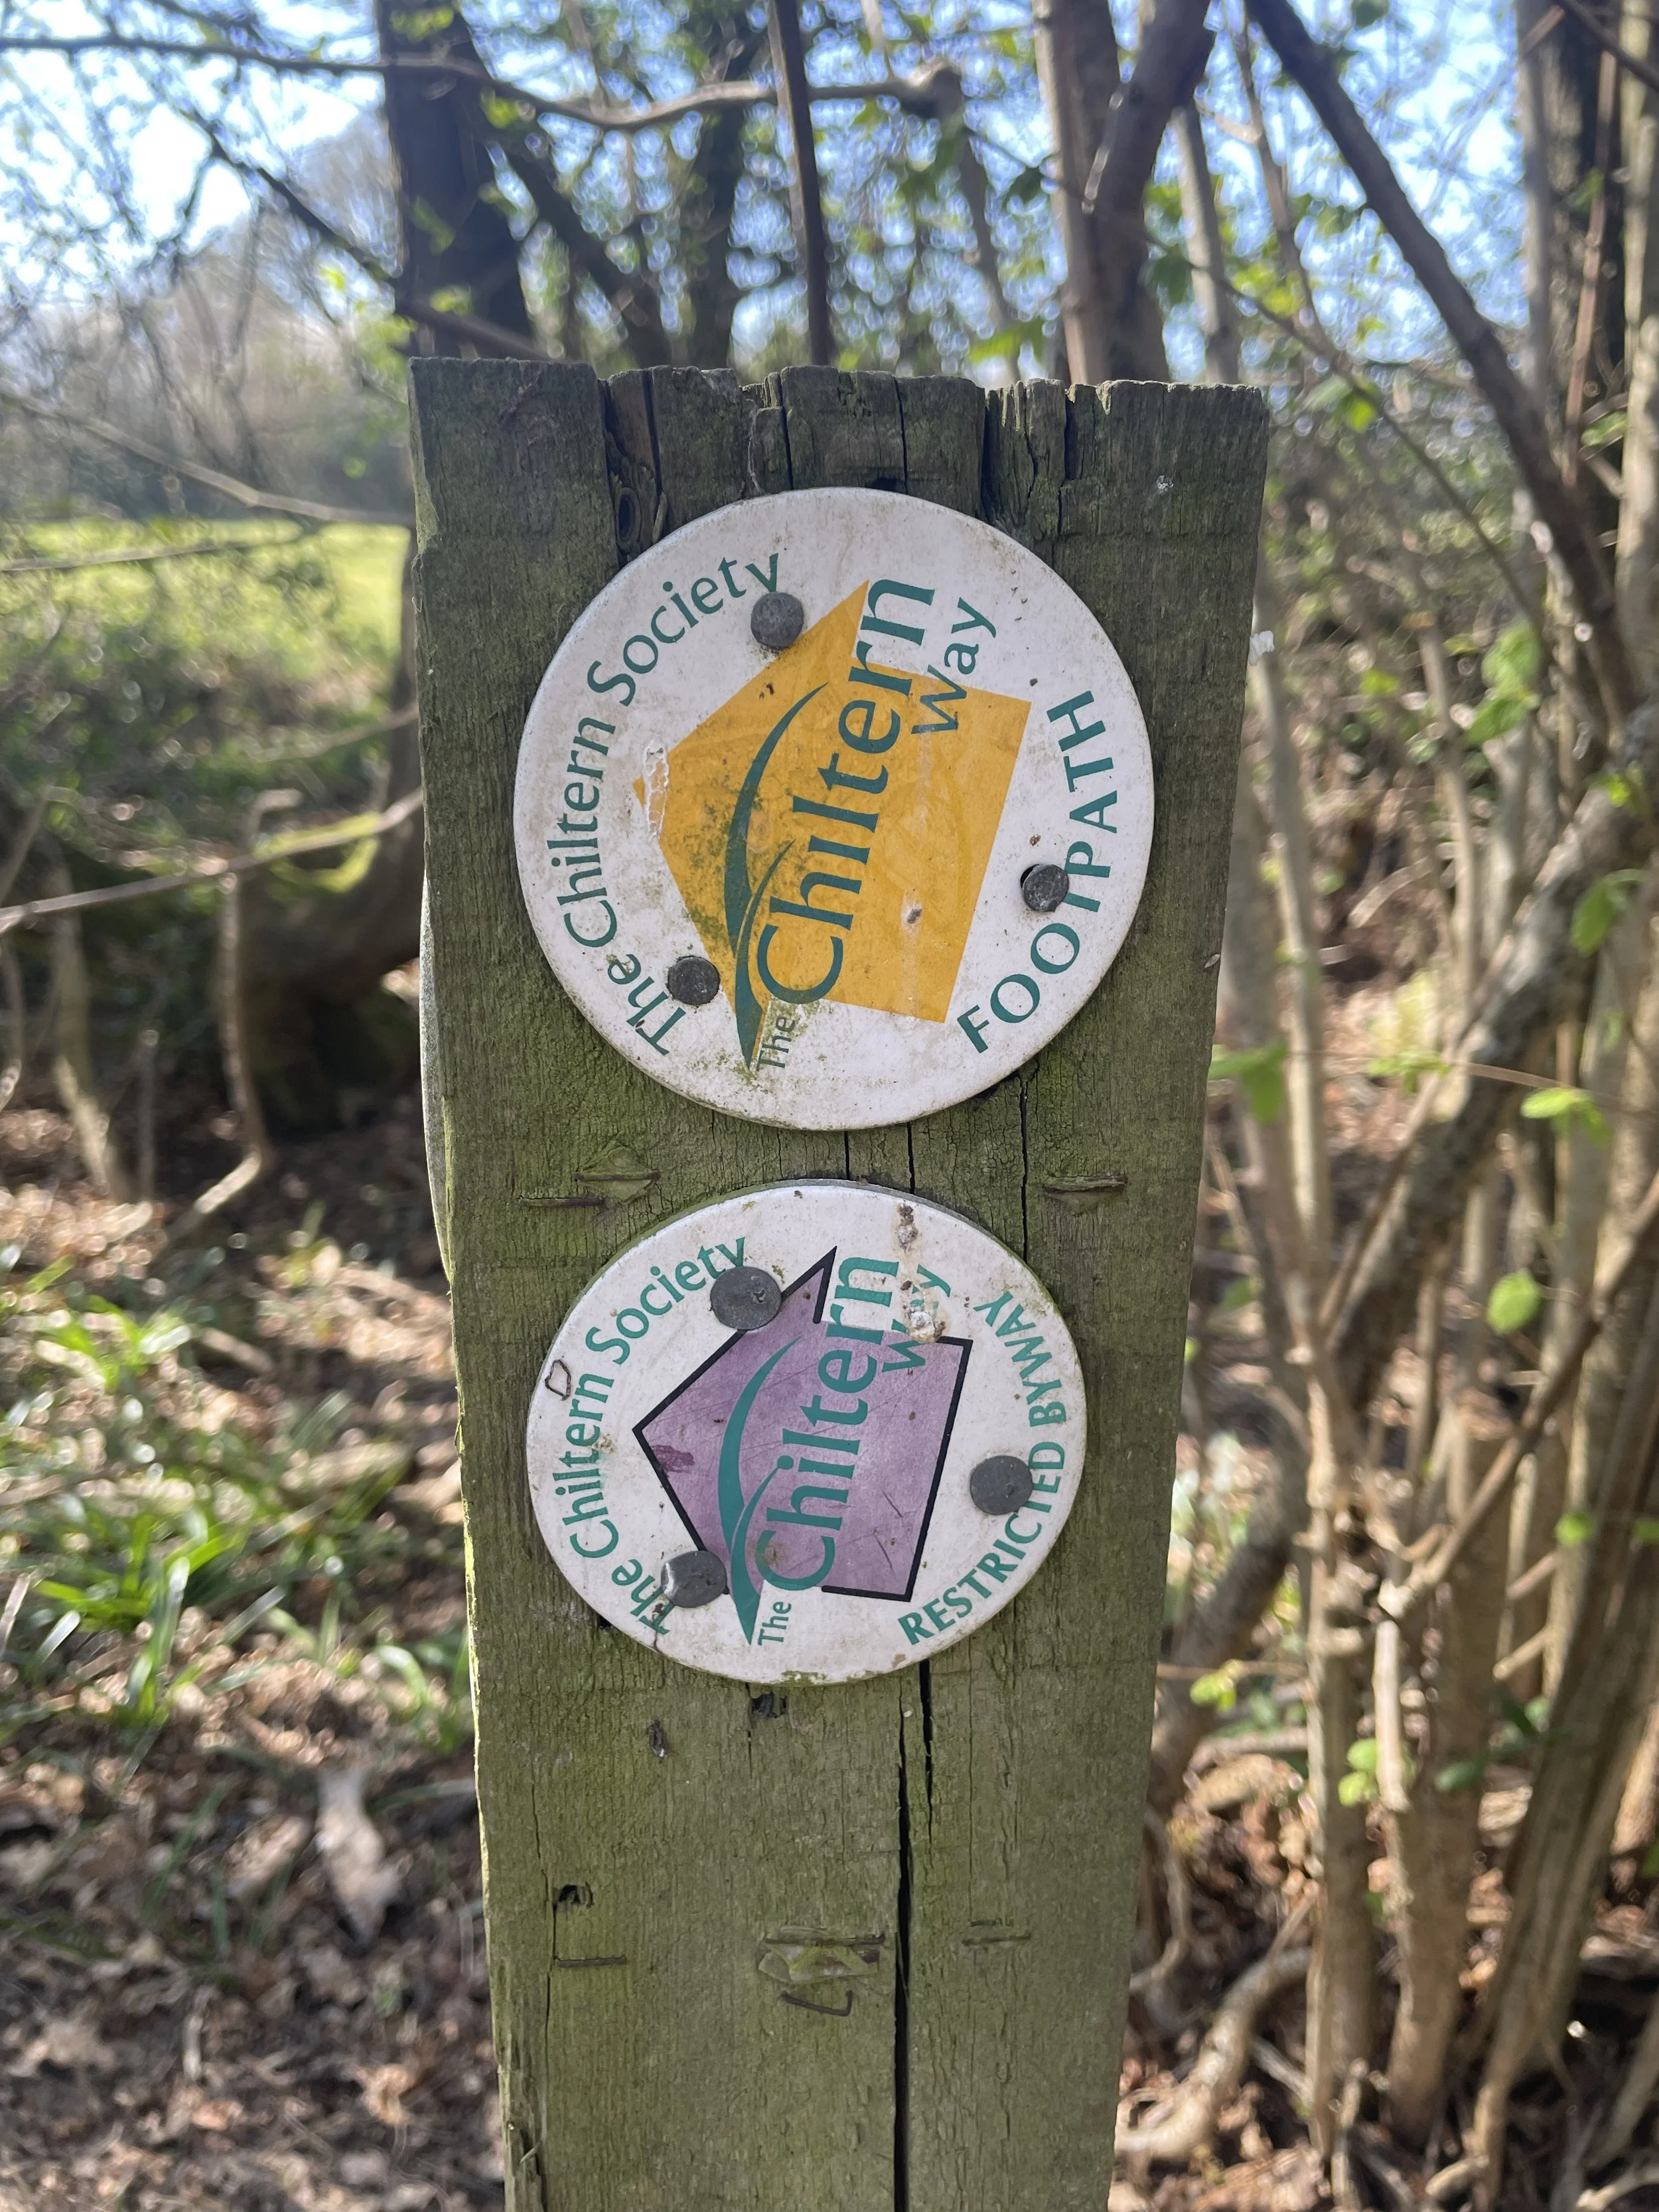
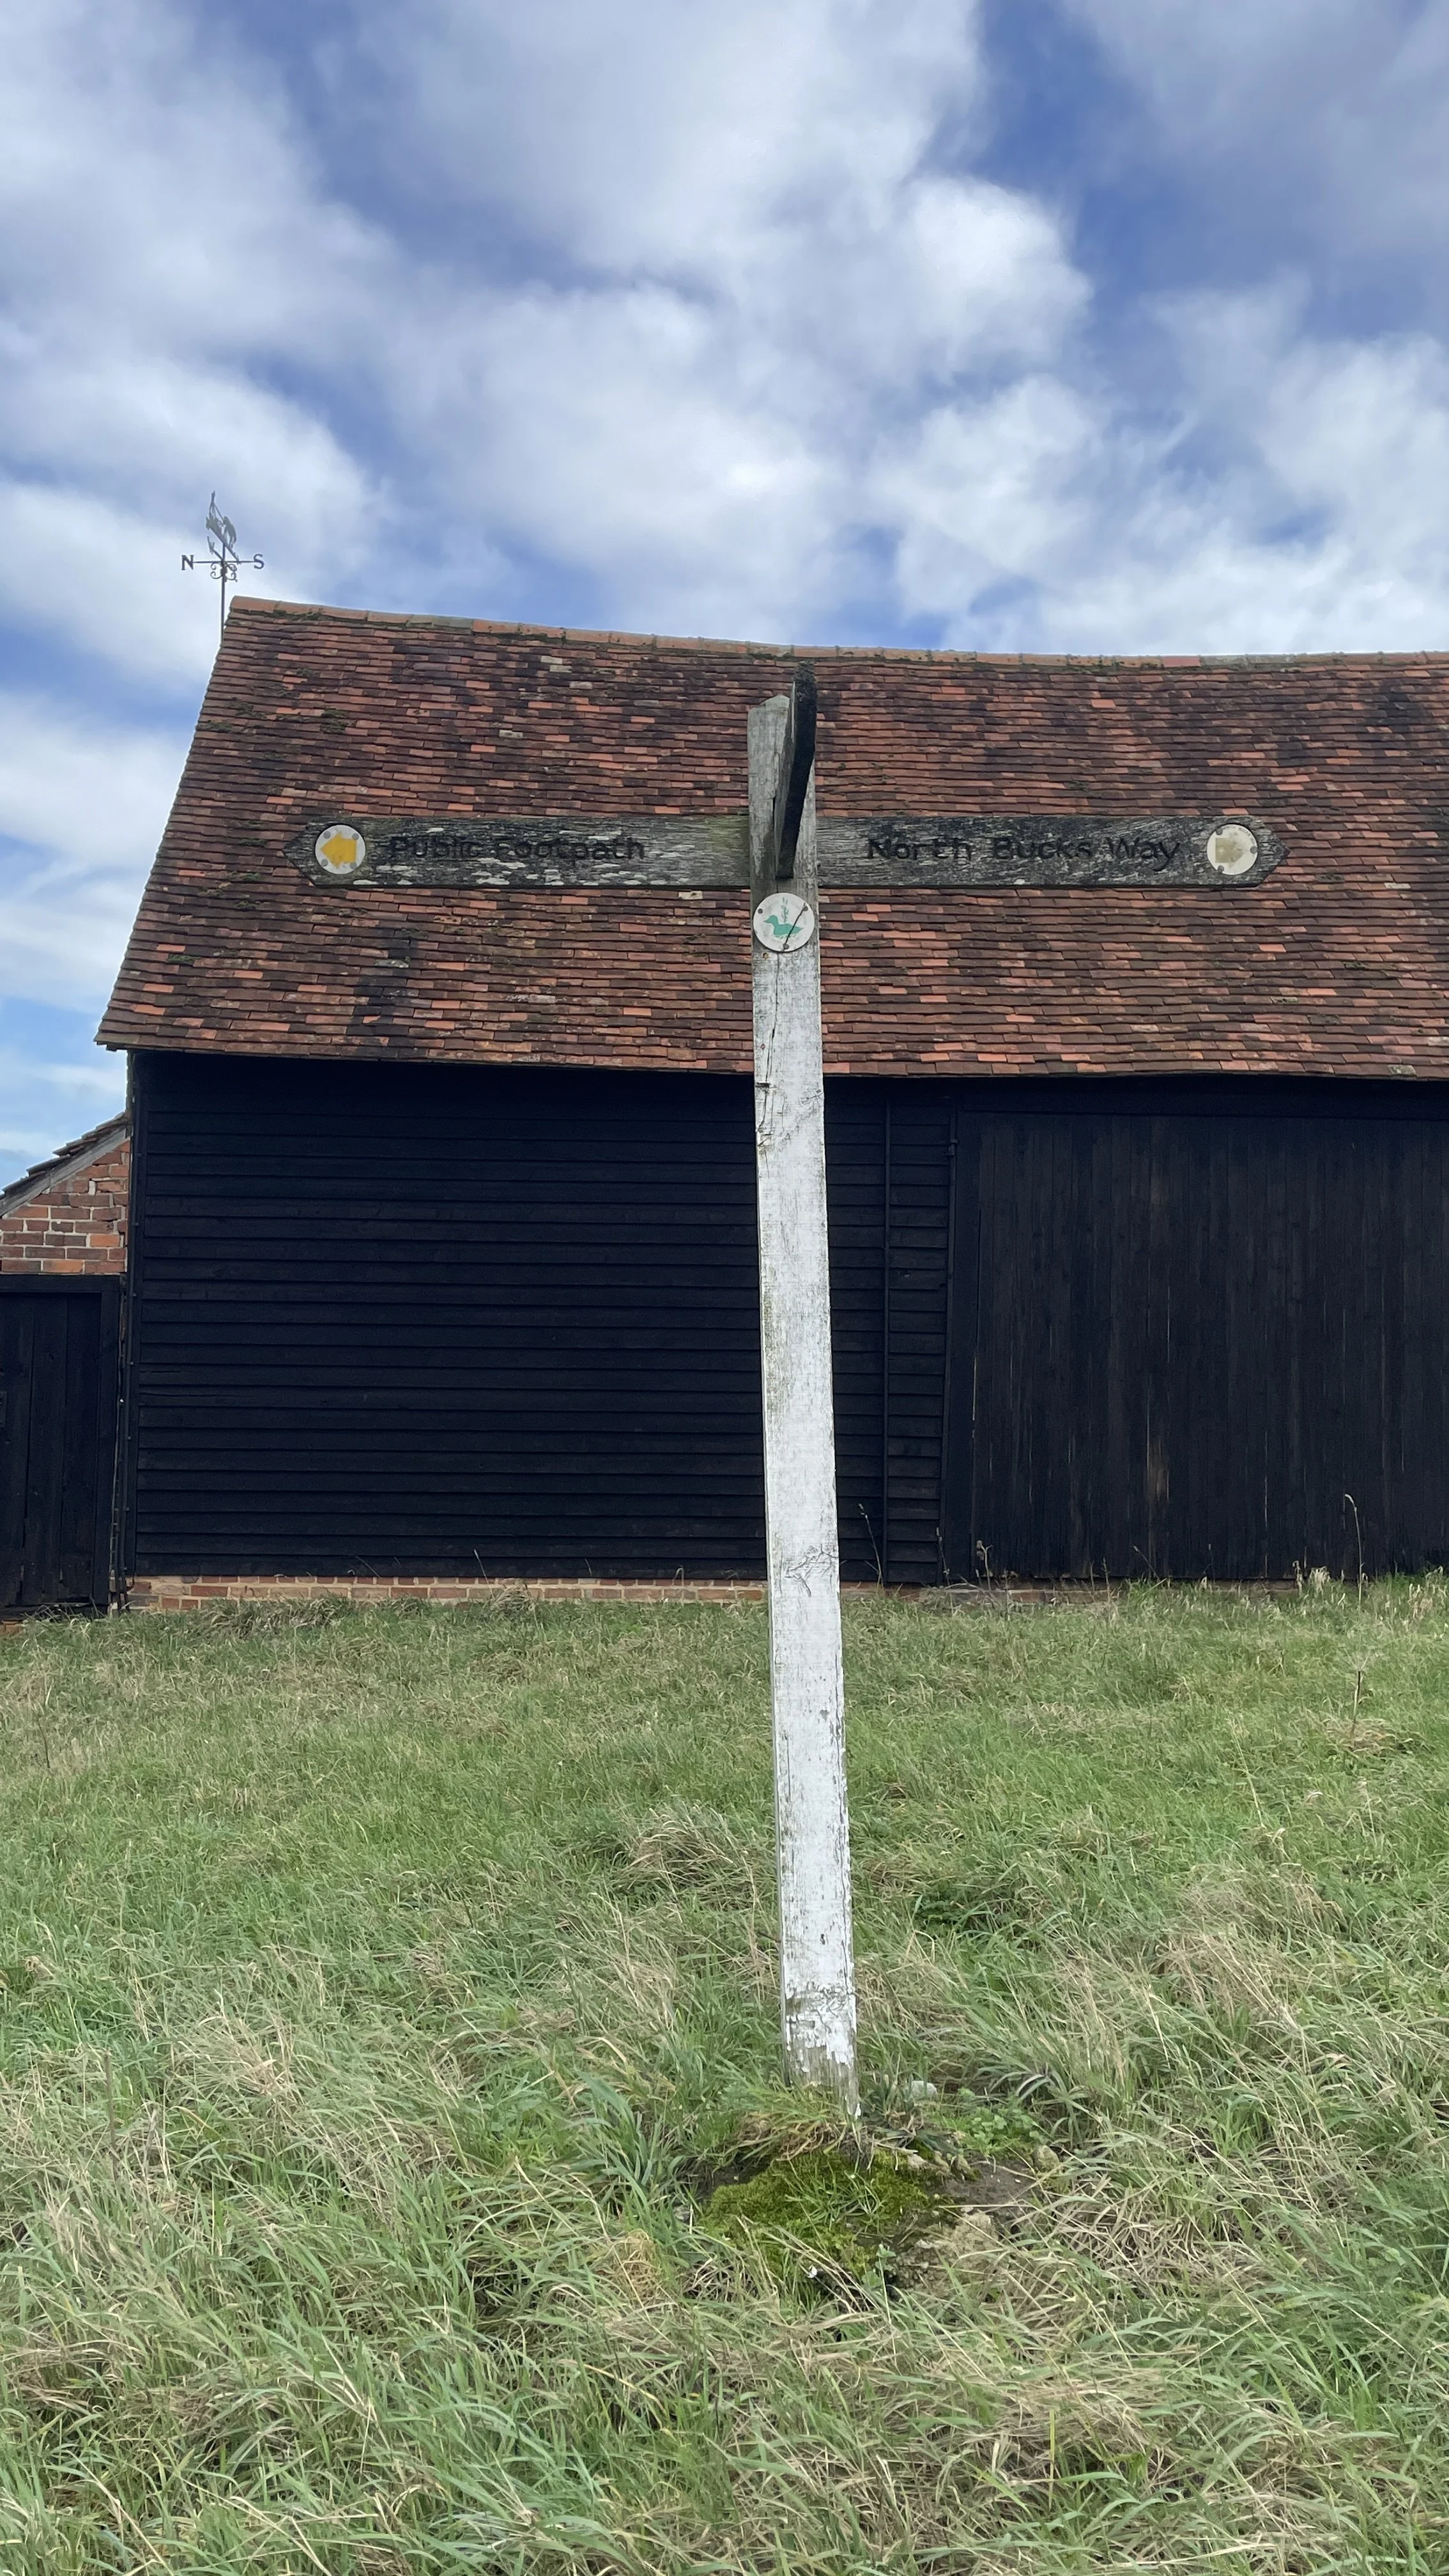
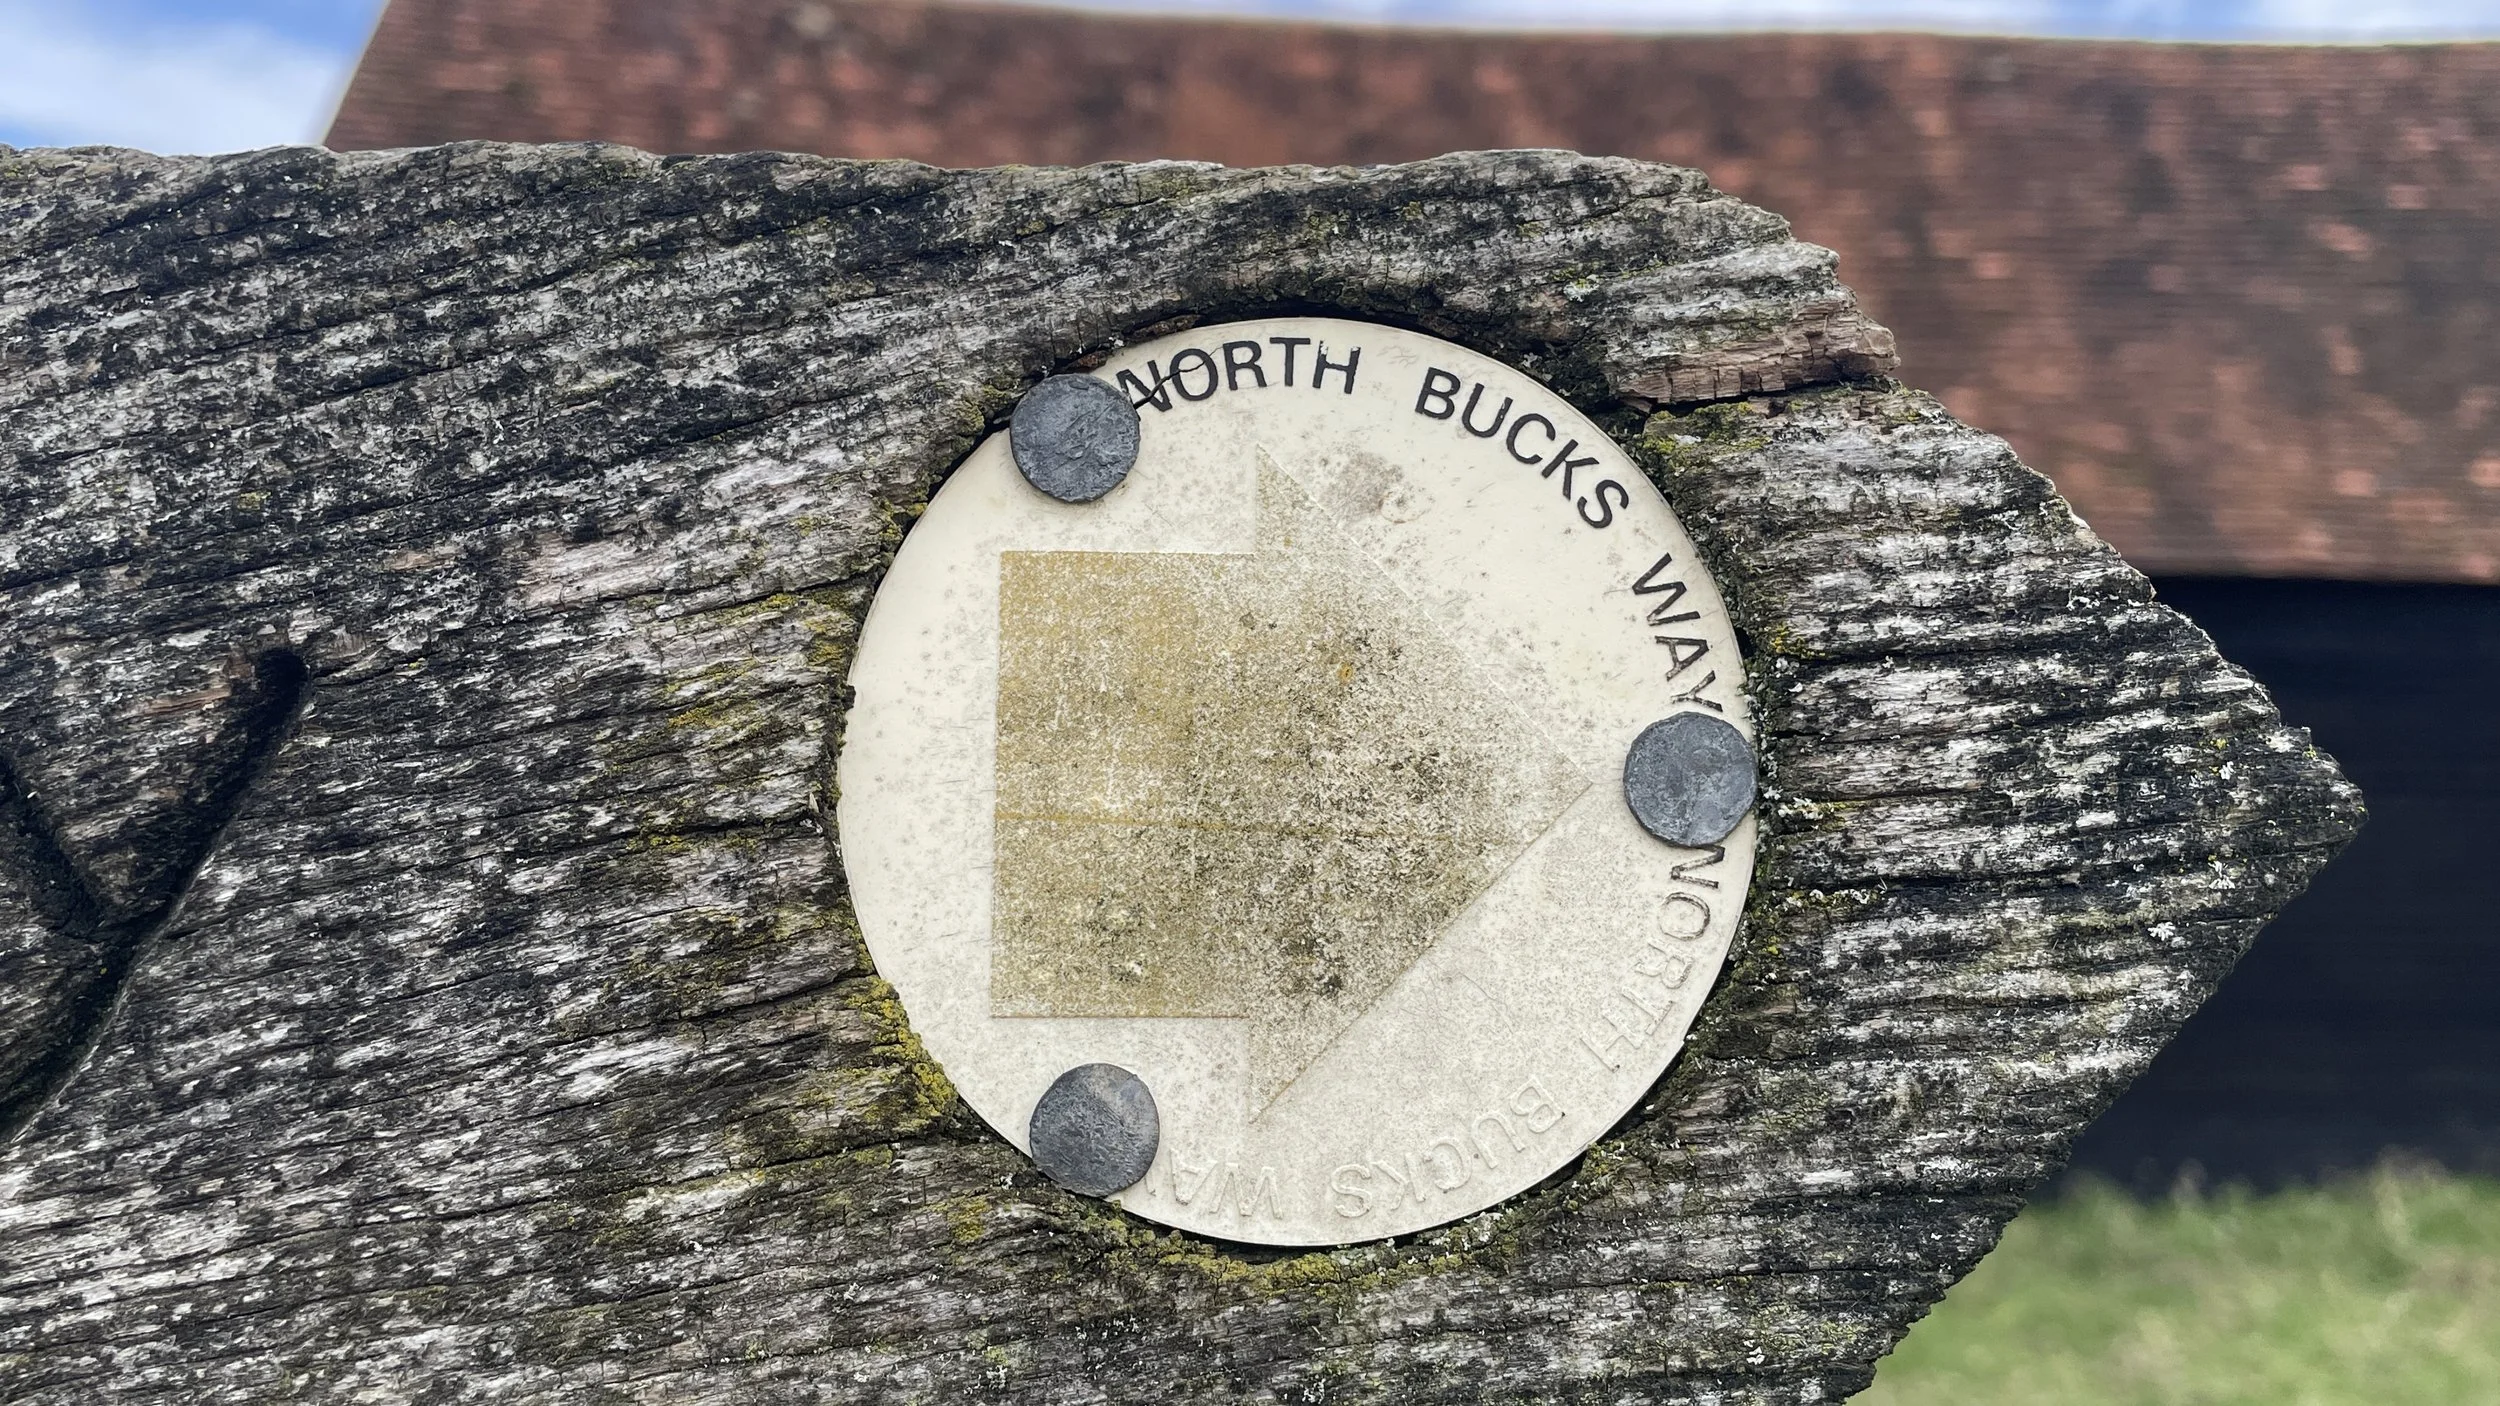
Other routes touched (walk): Midshires Way, The Swan Way, Thame Valley Walk, North Bucks Way
Other routes touched (cycle): Aylesbury Pebble Way
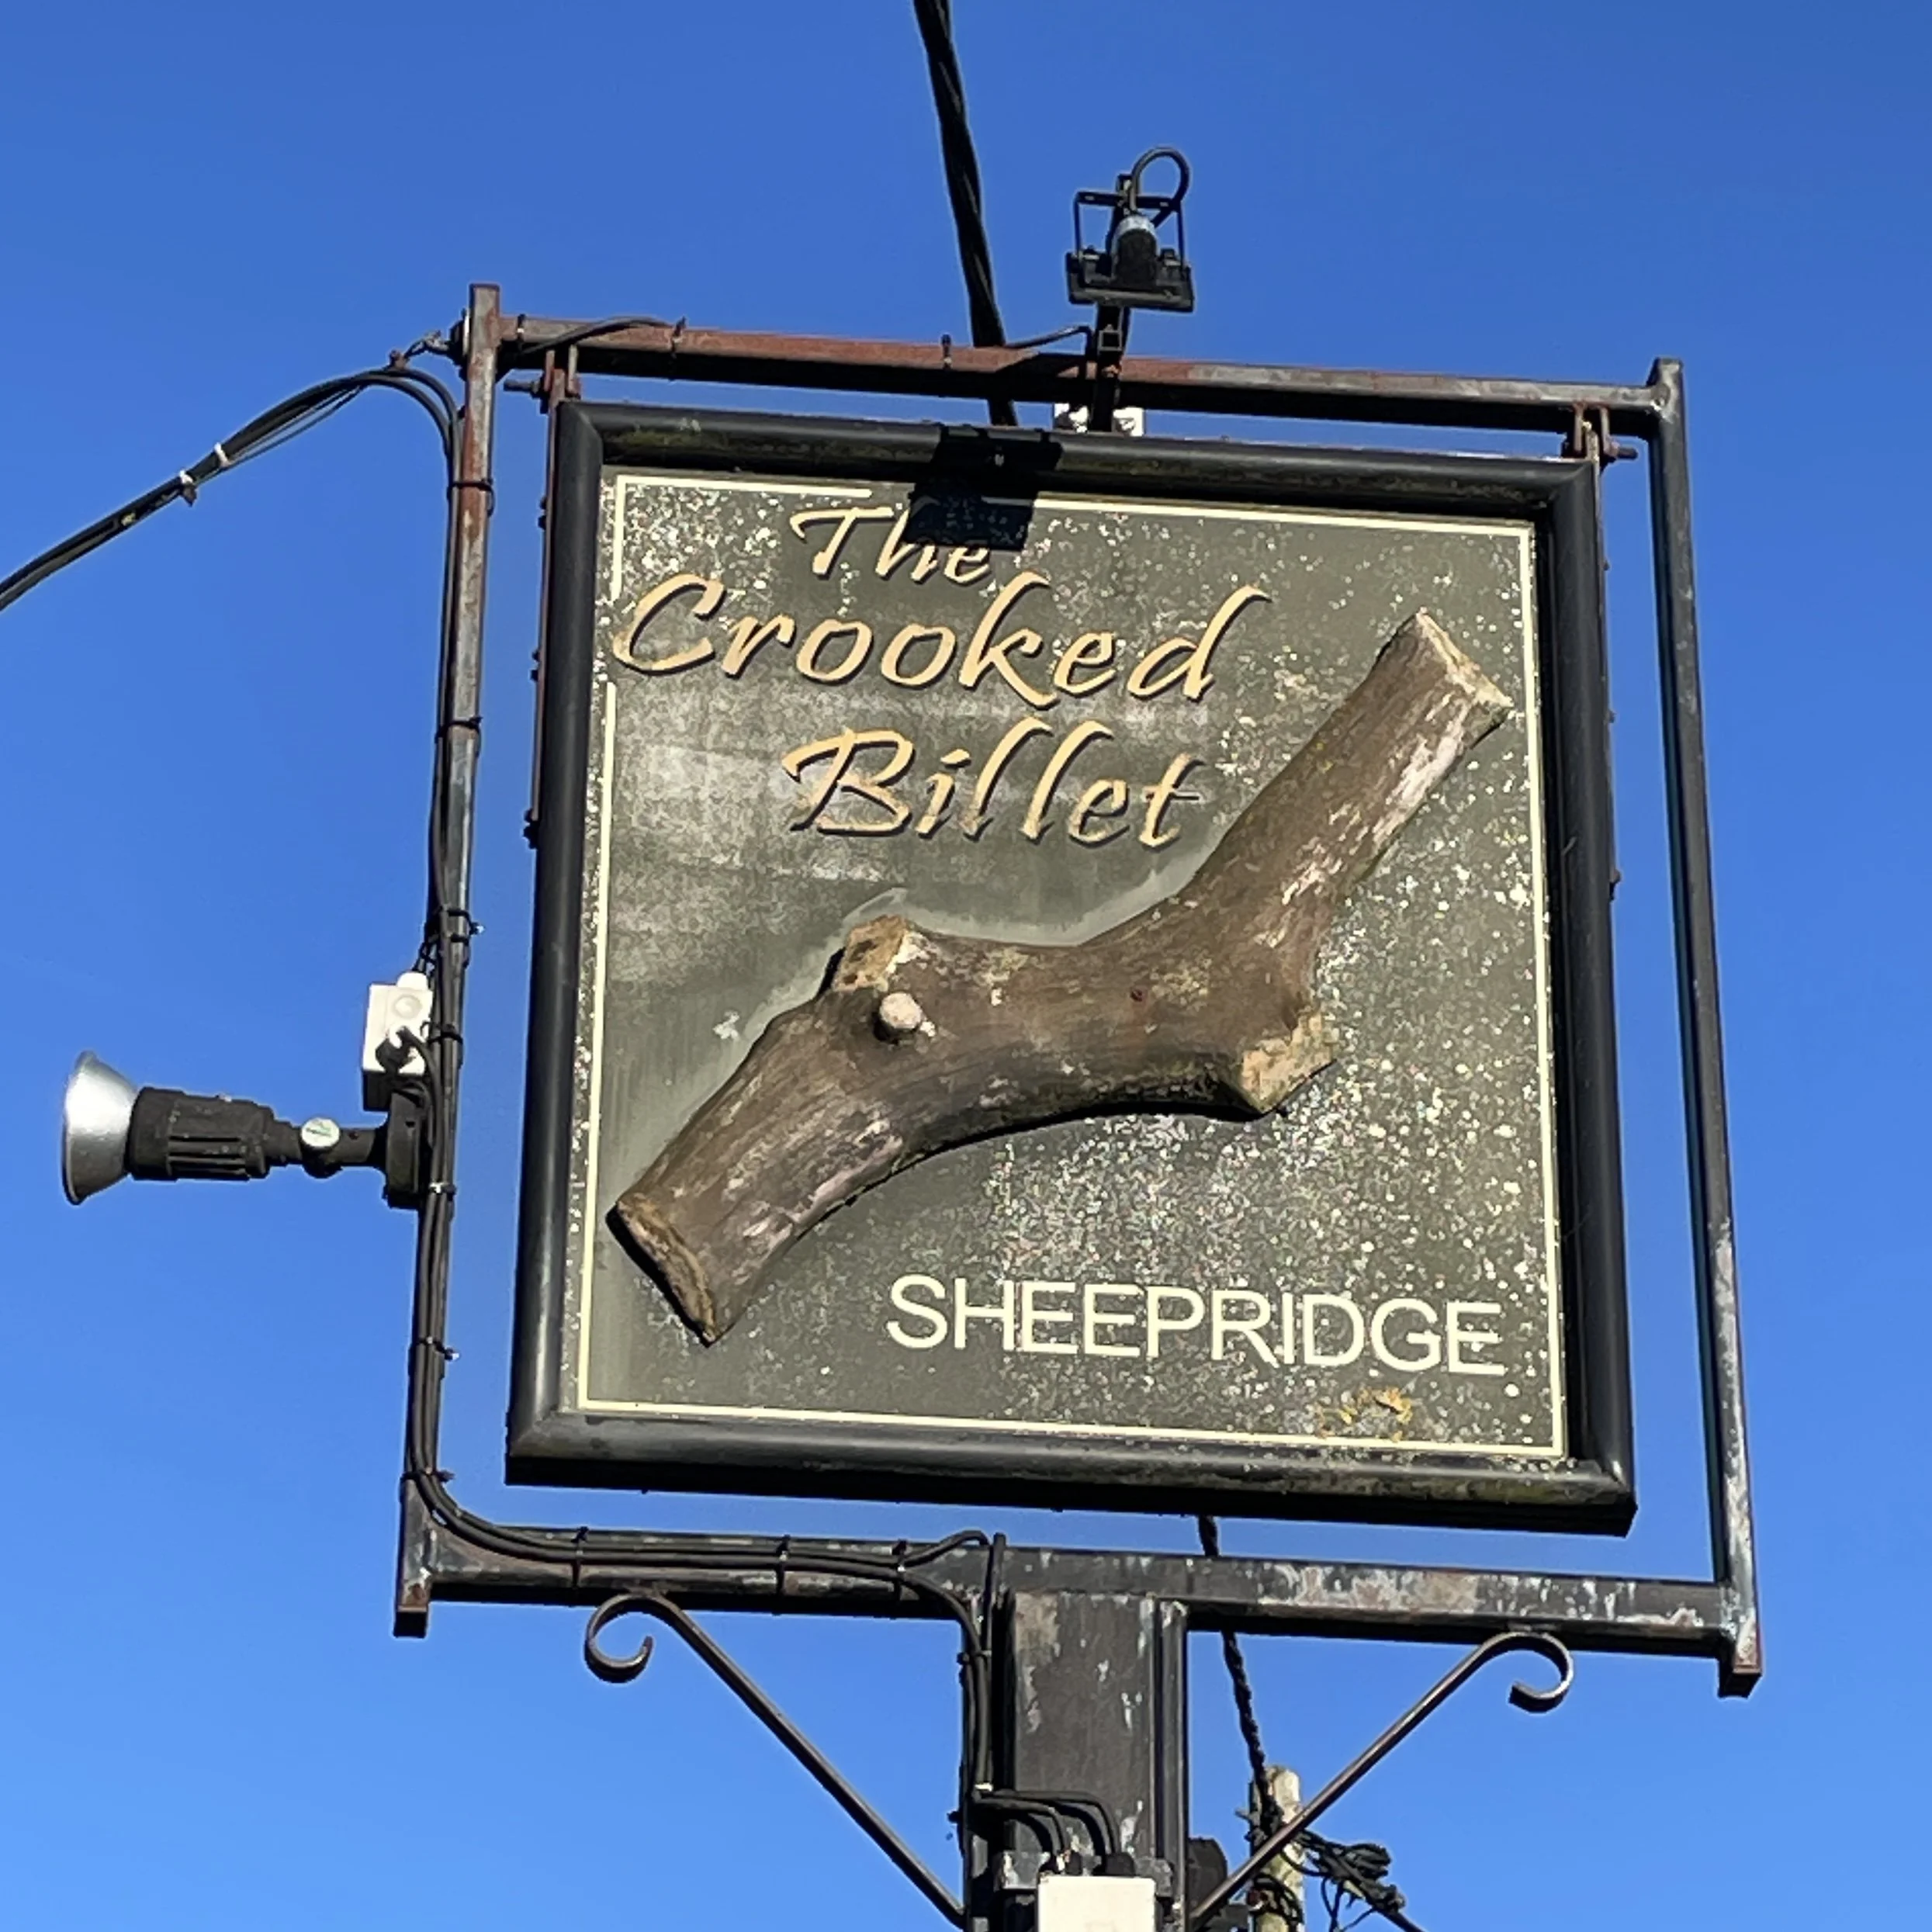
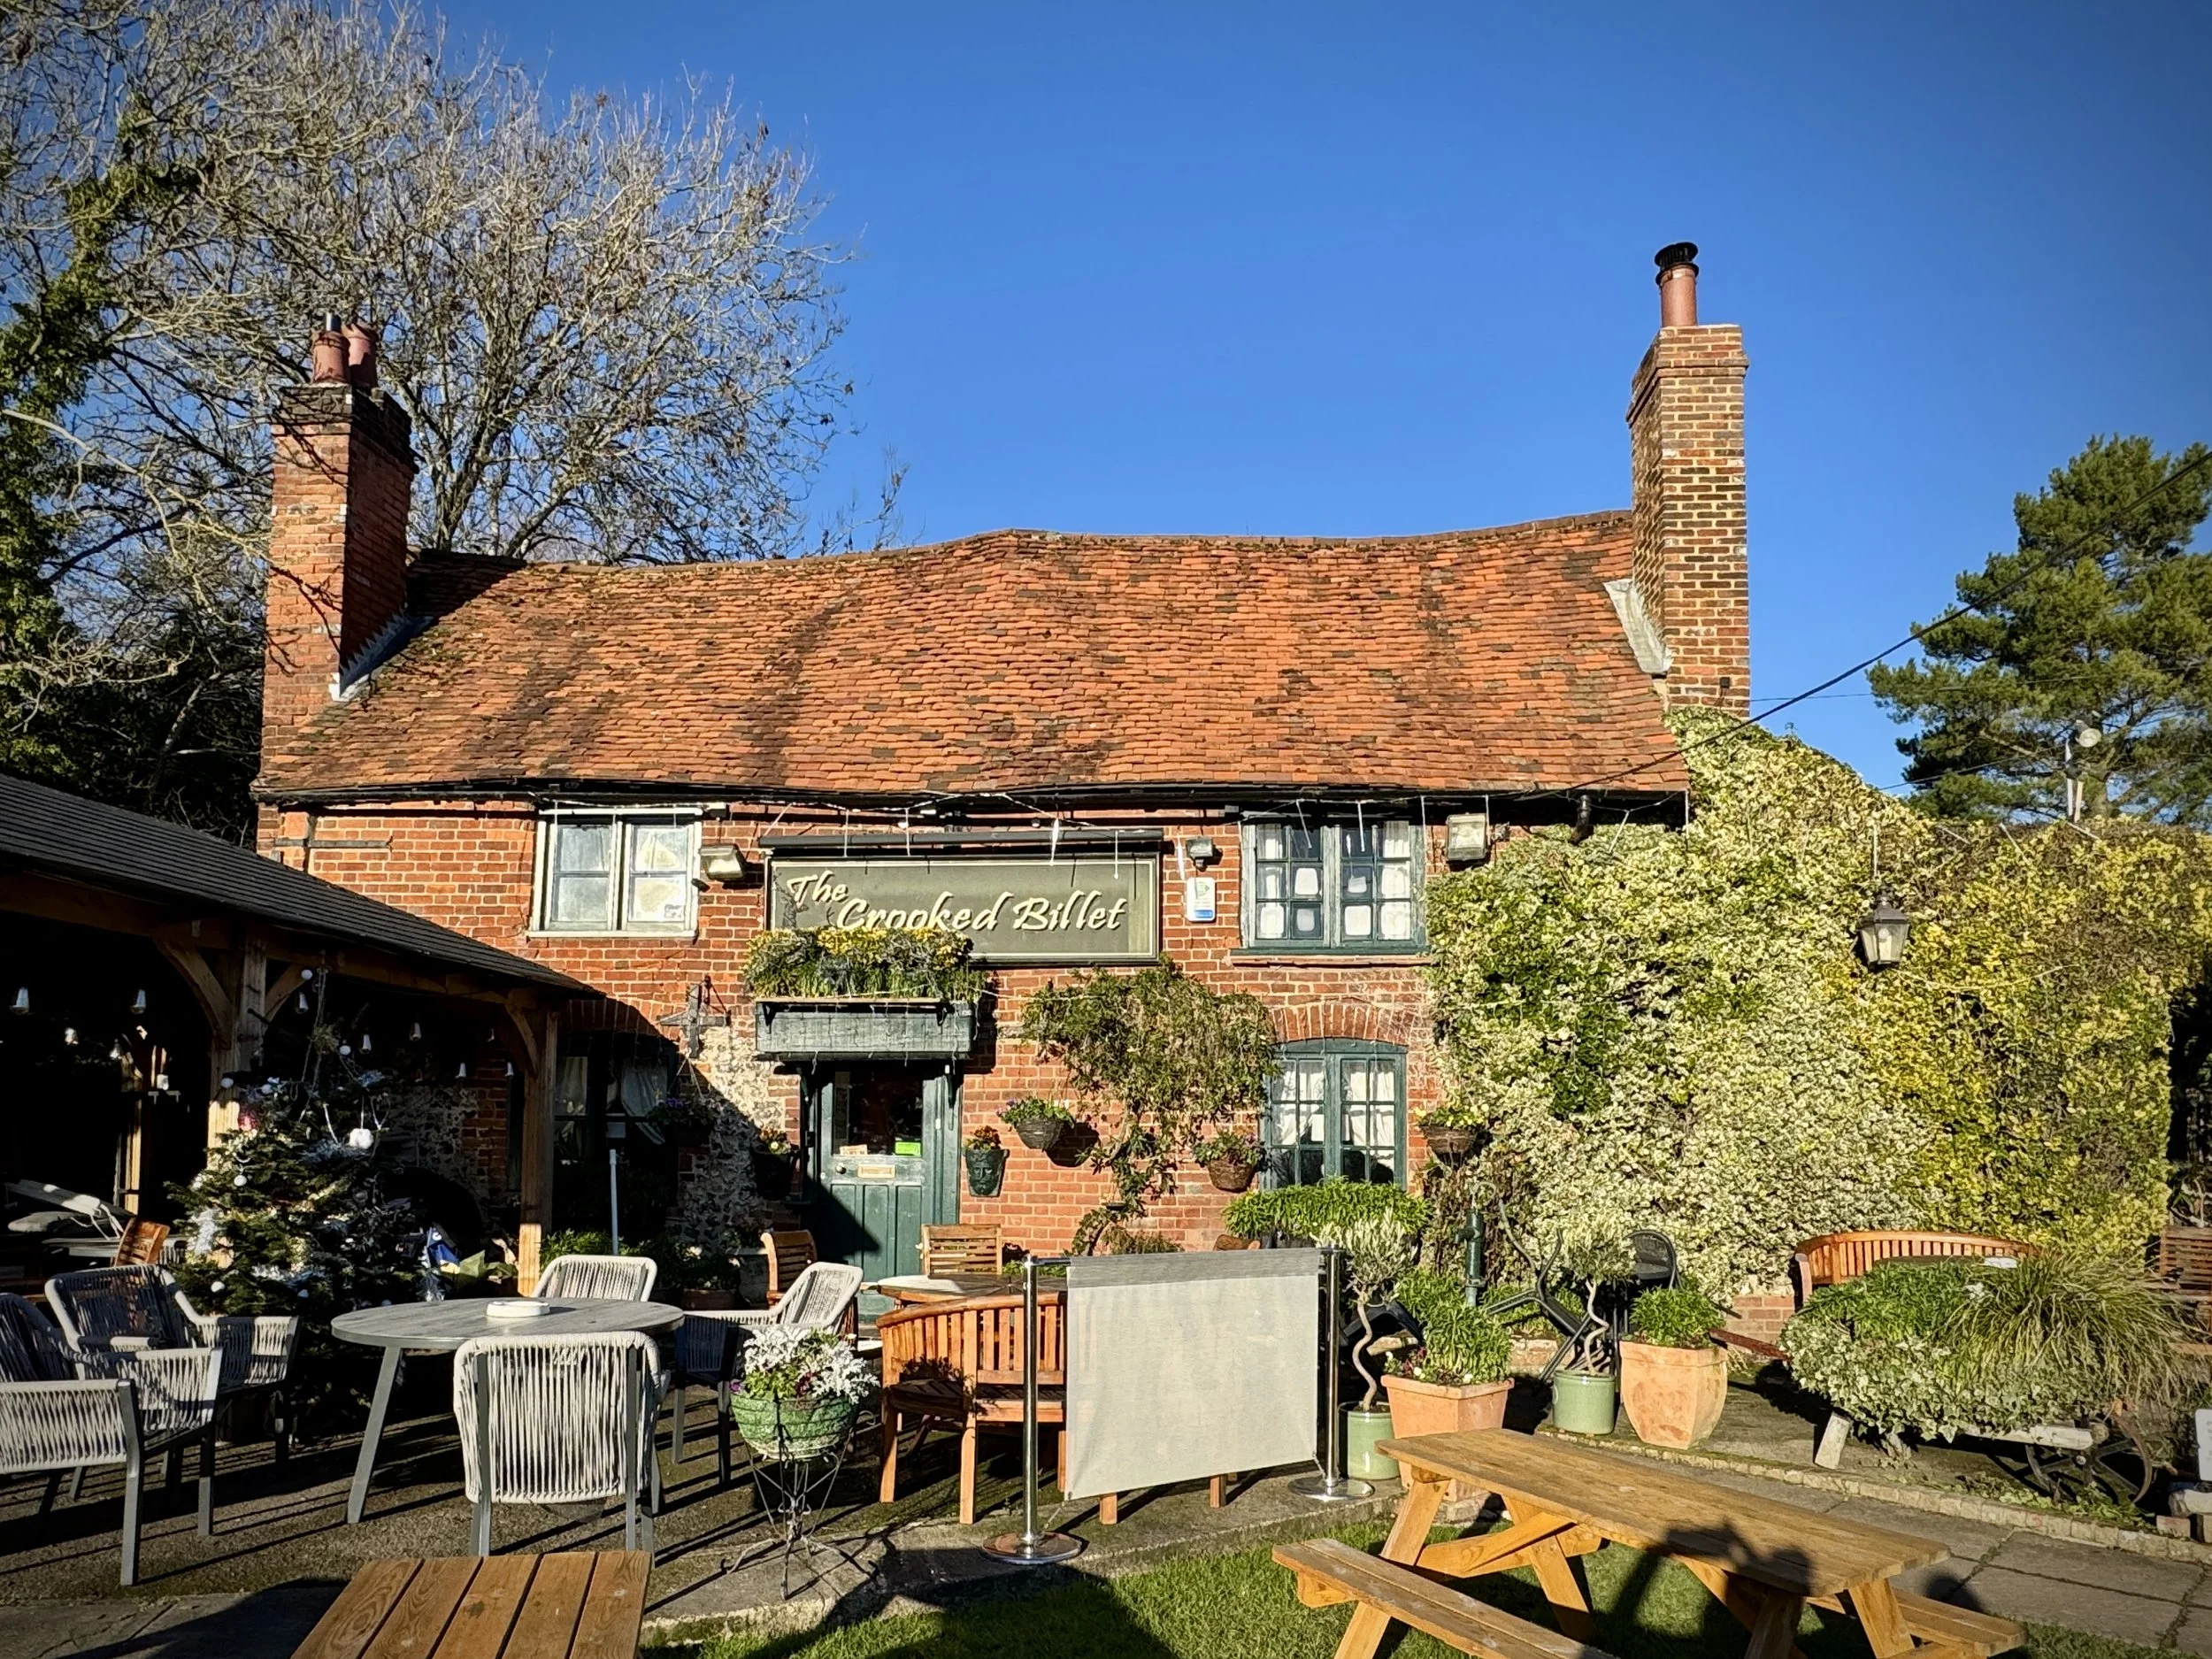
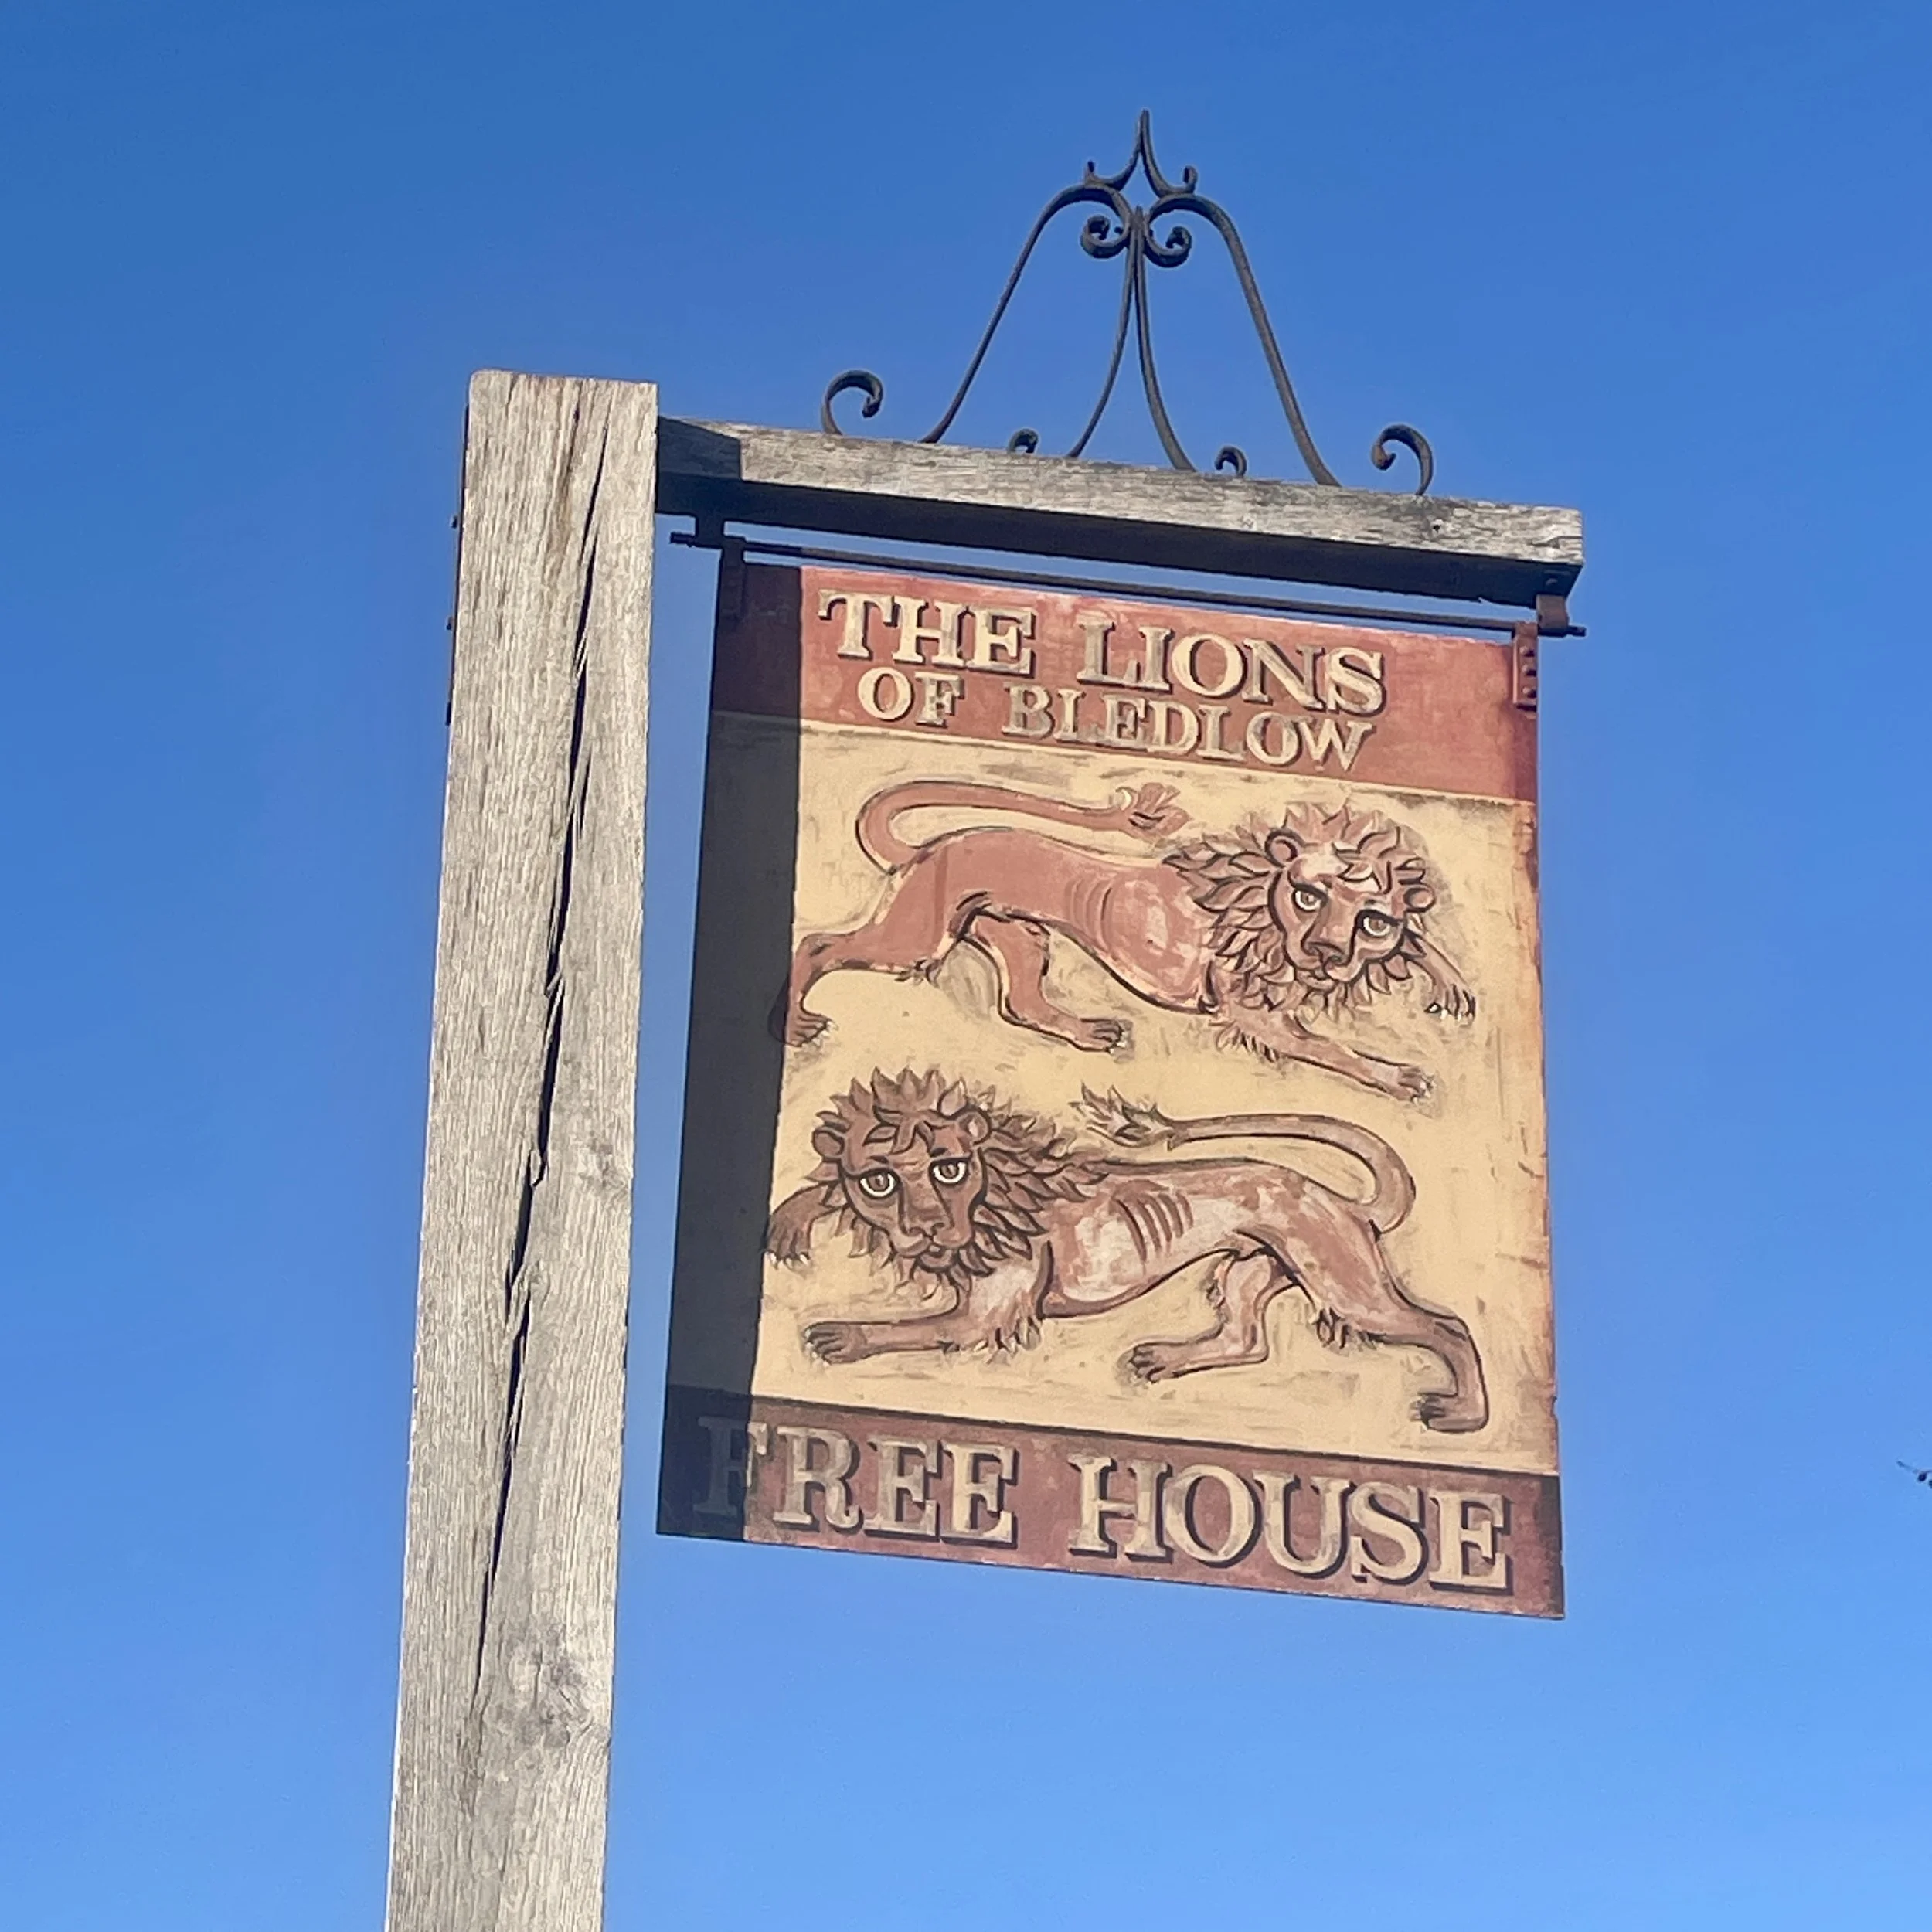
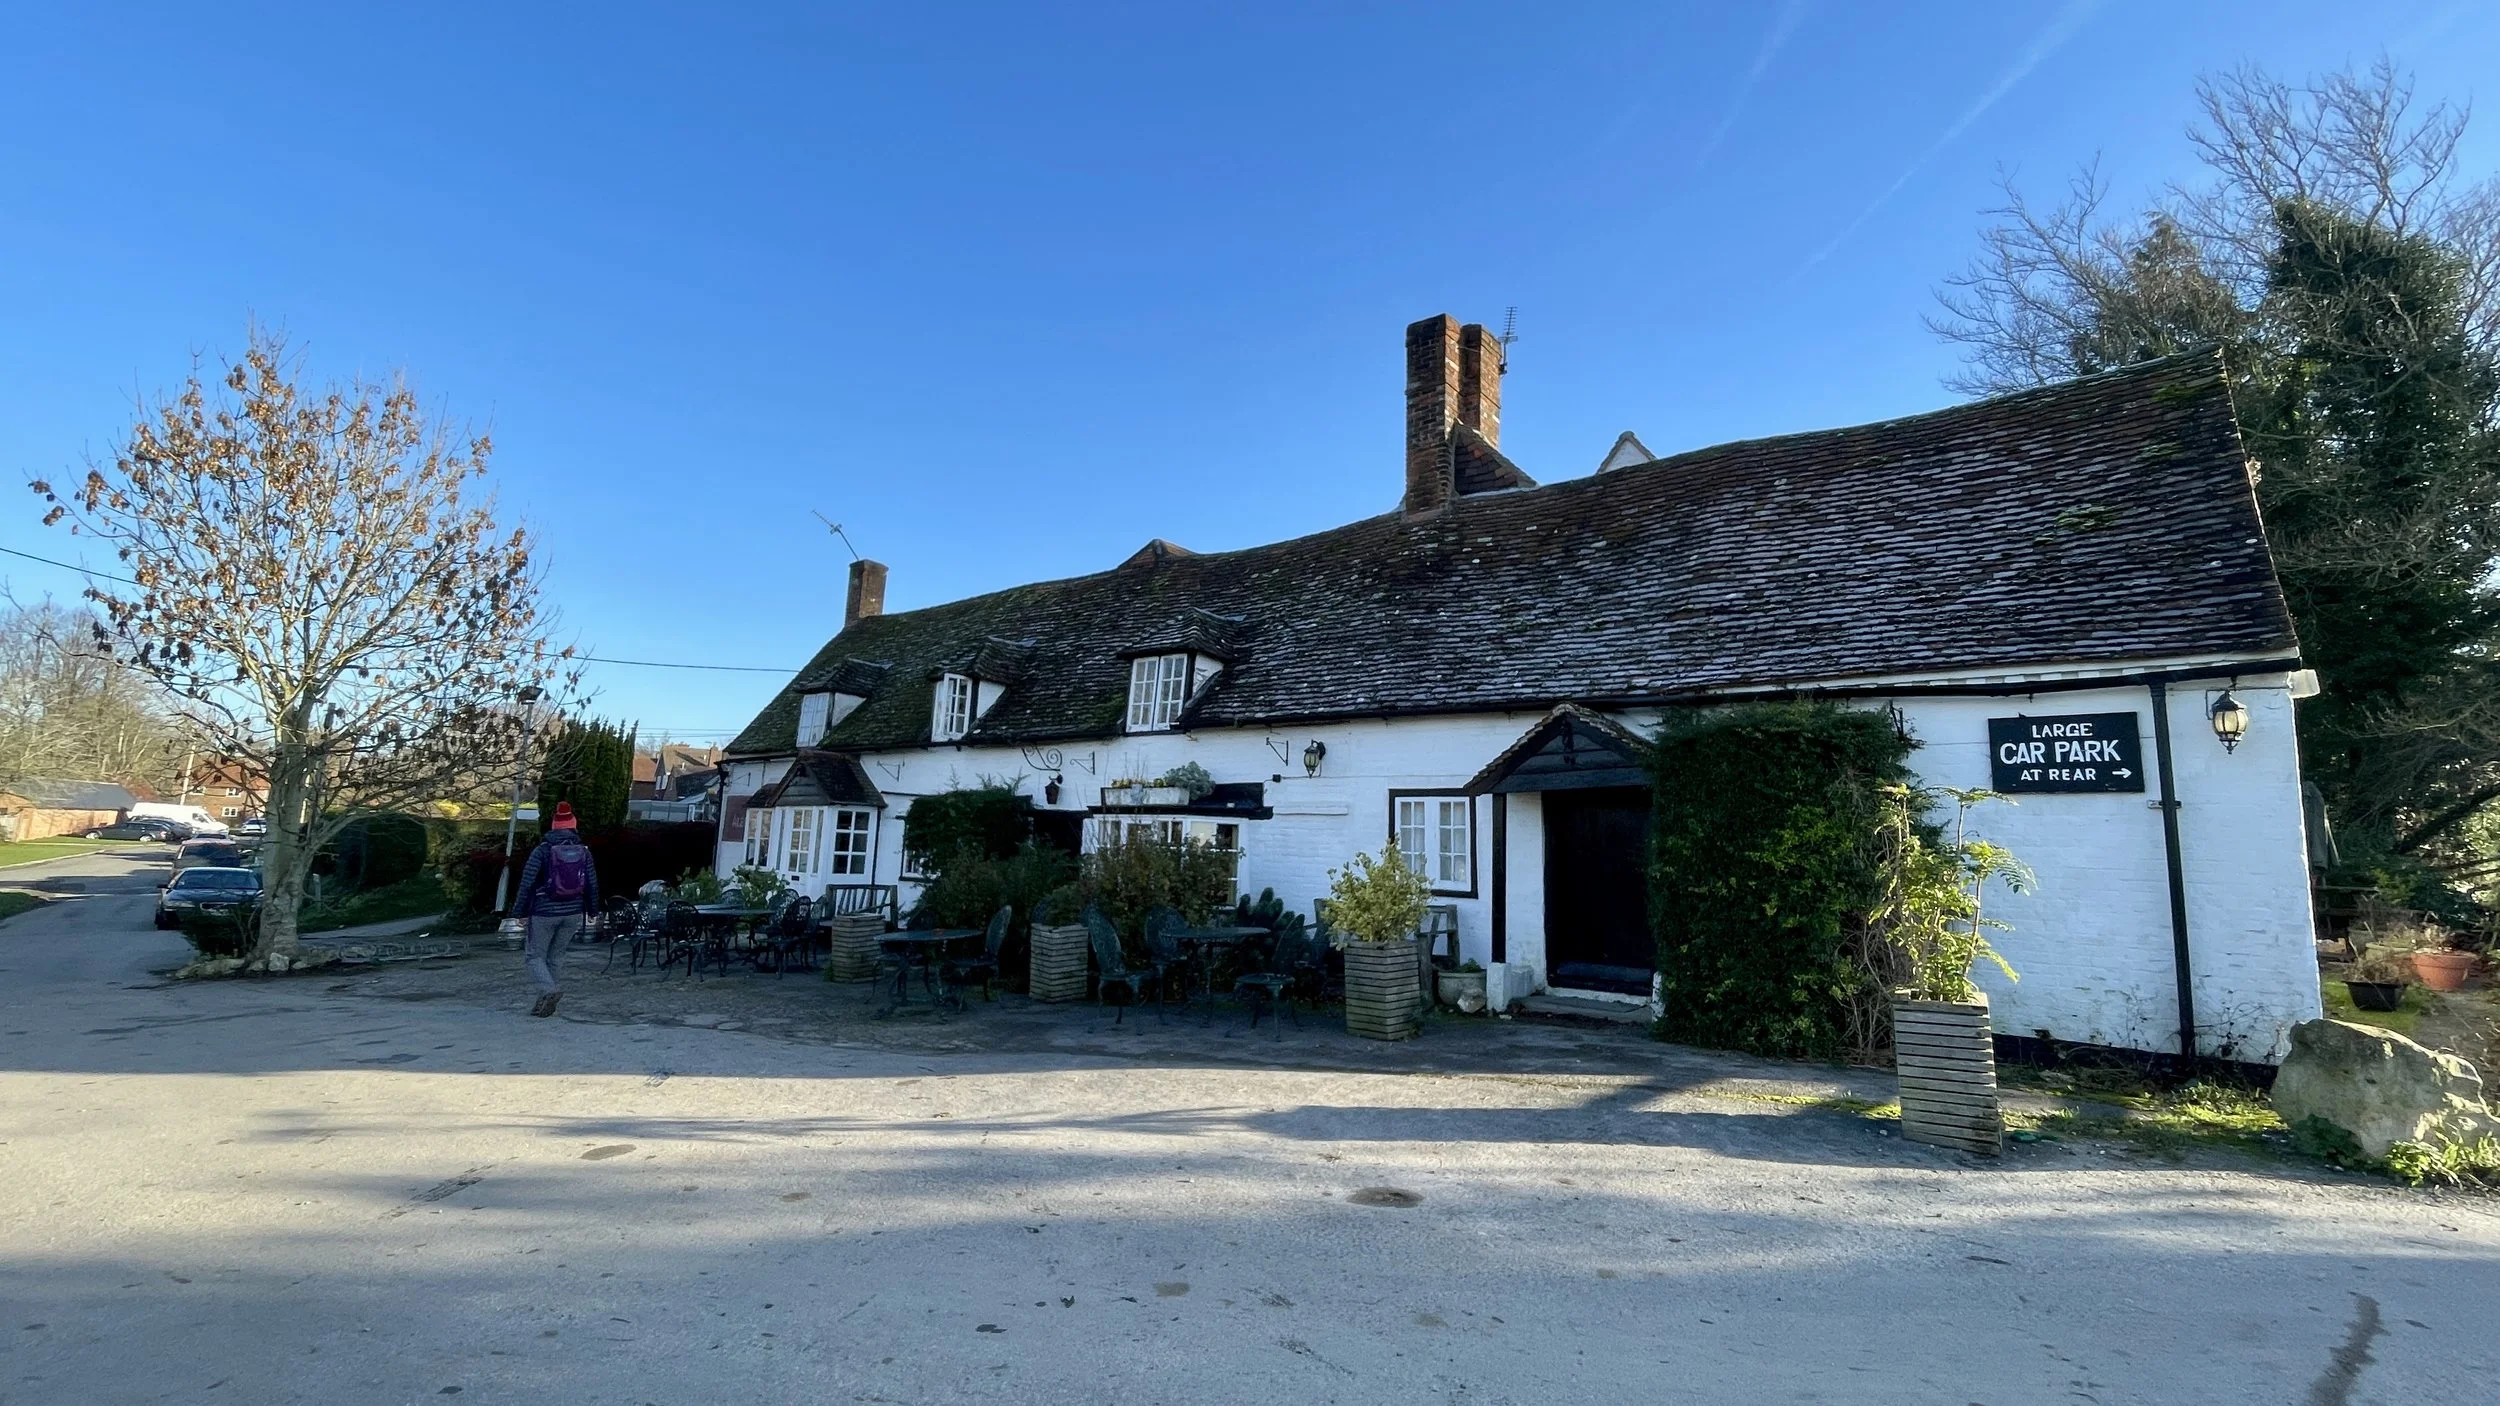
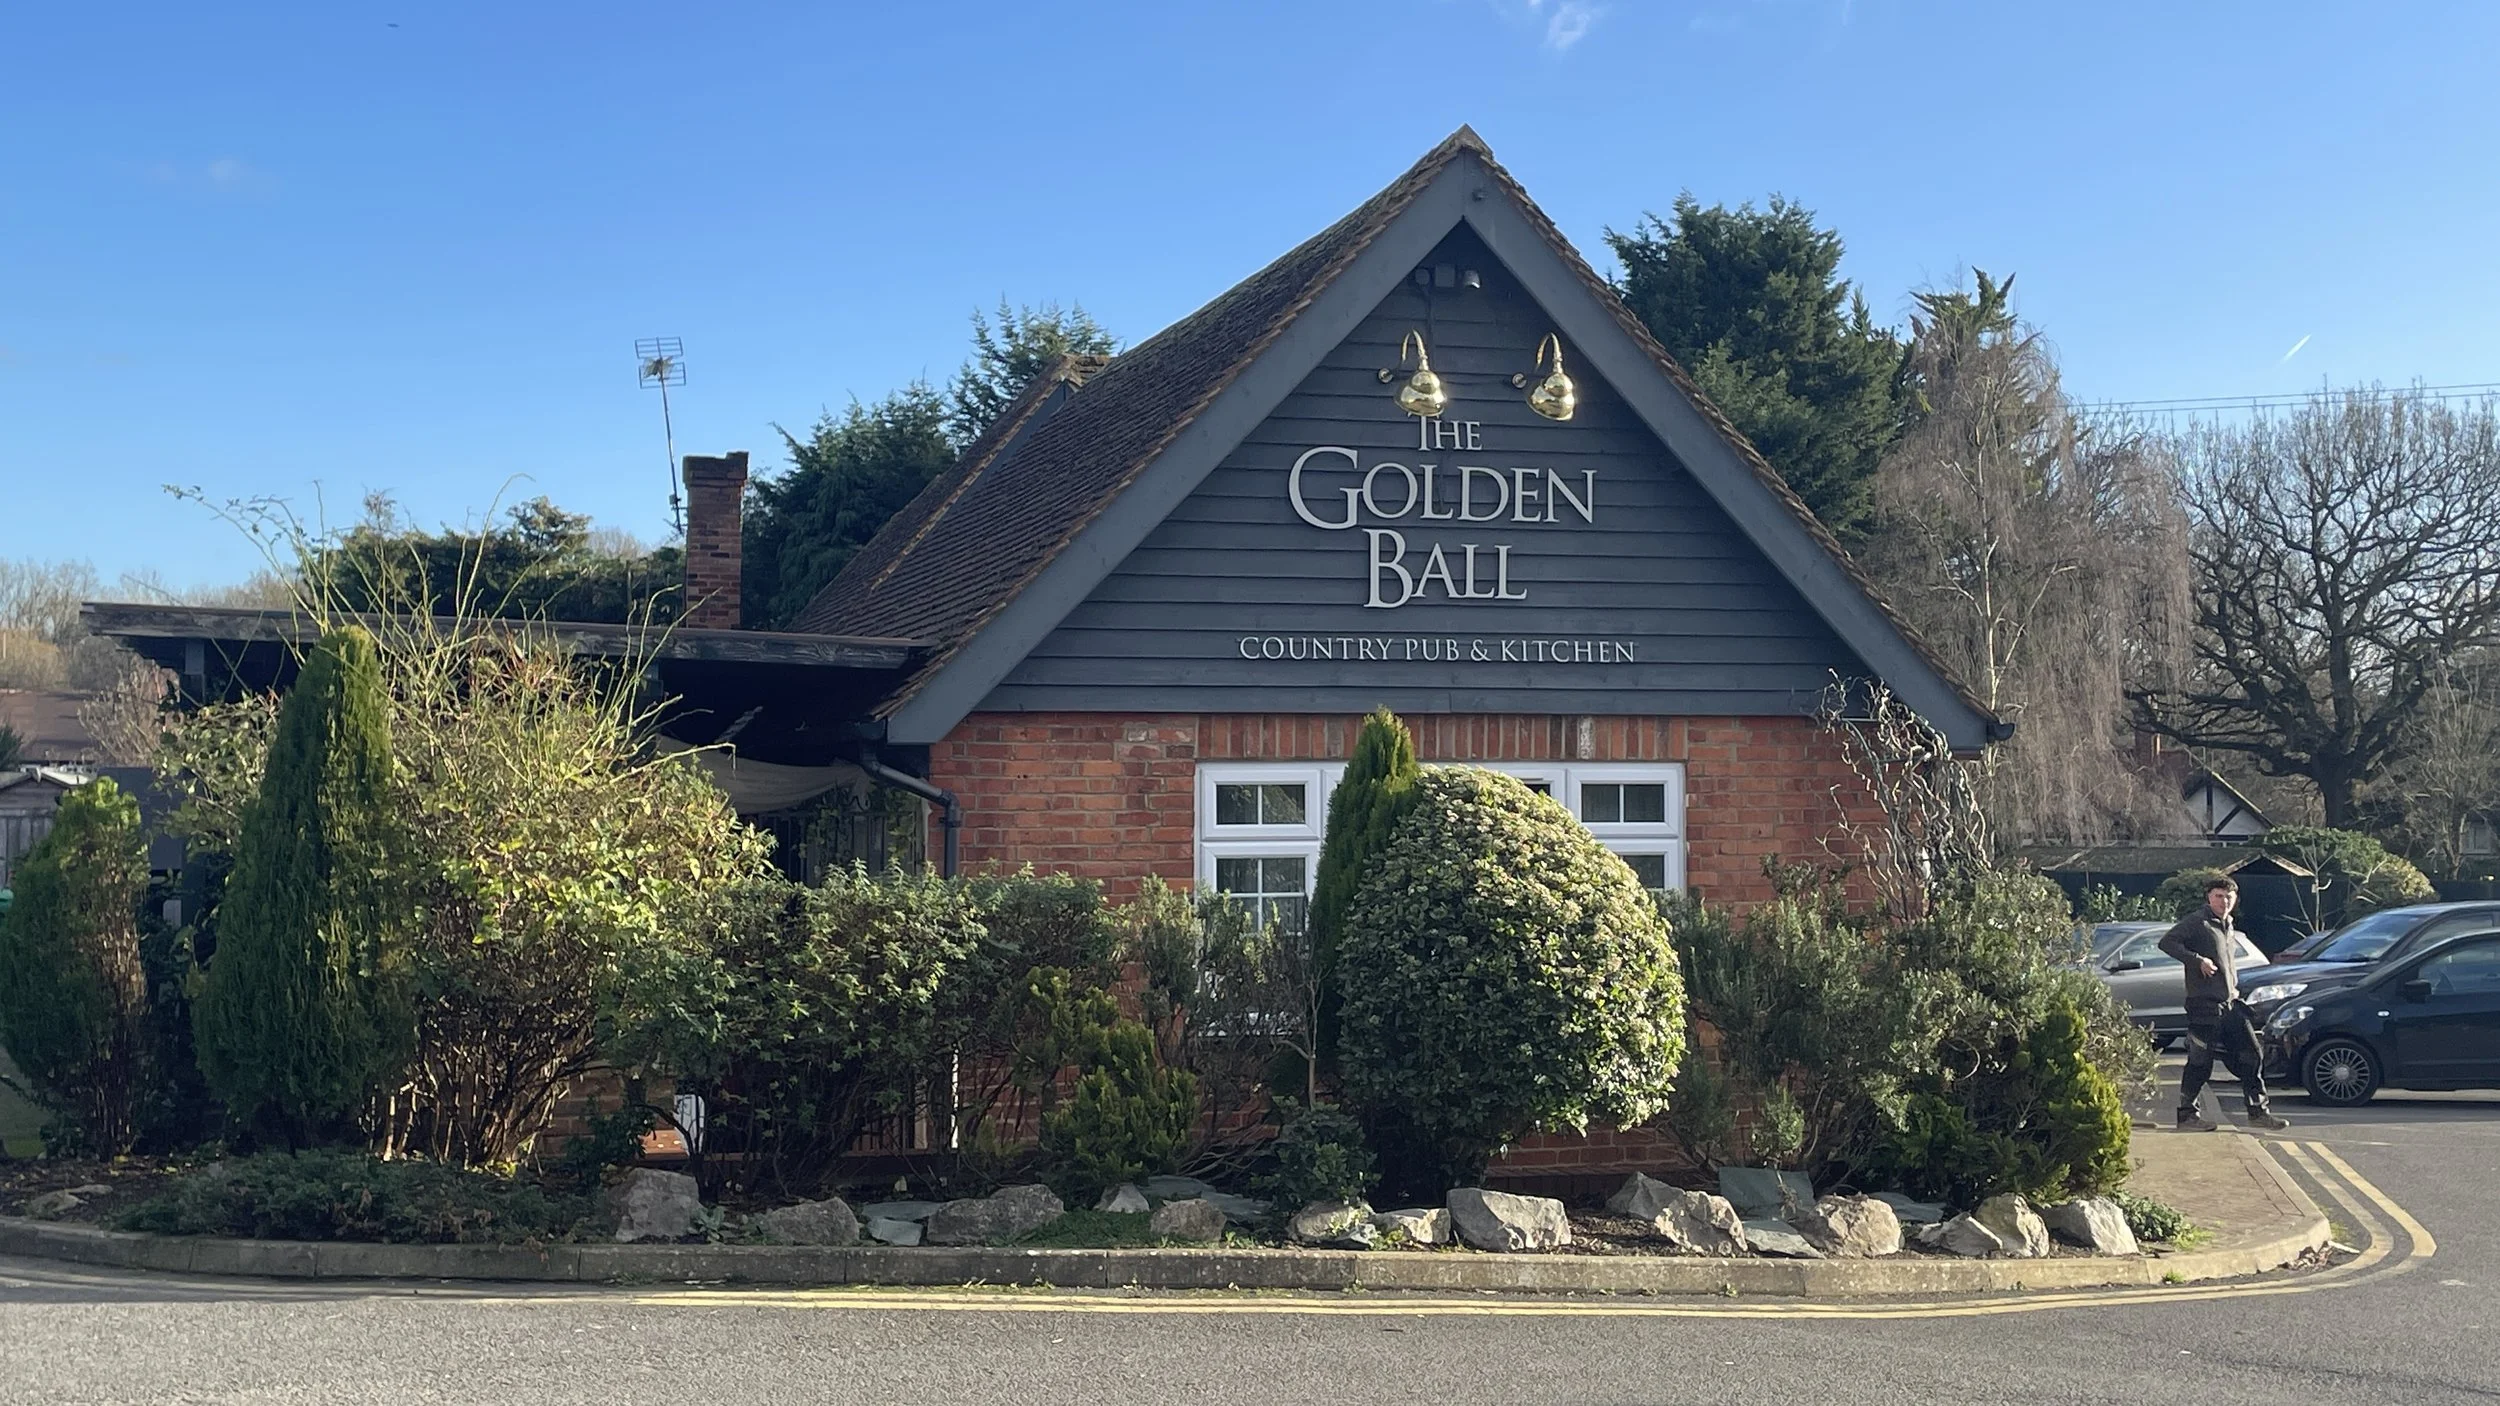
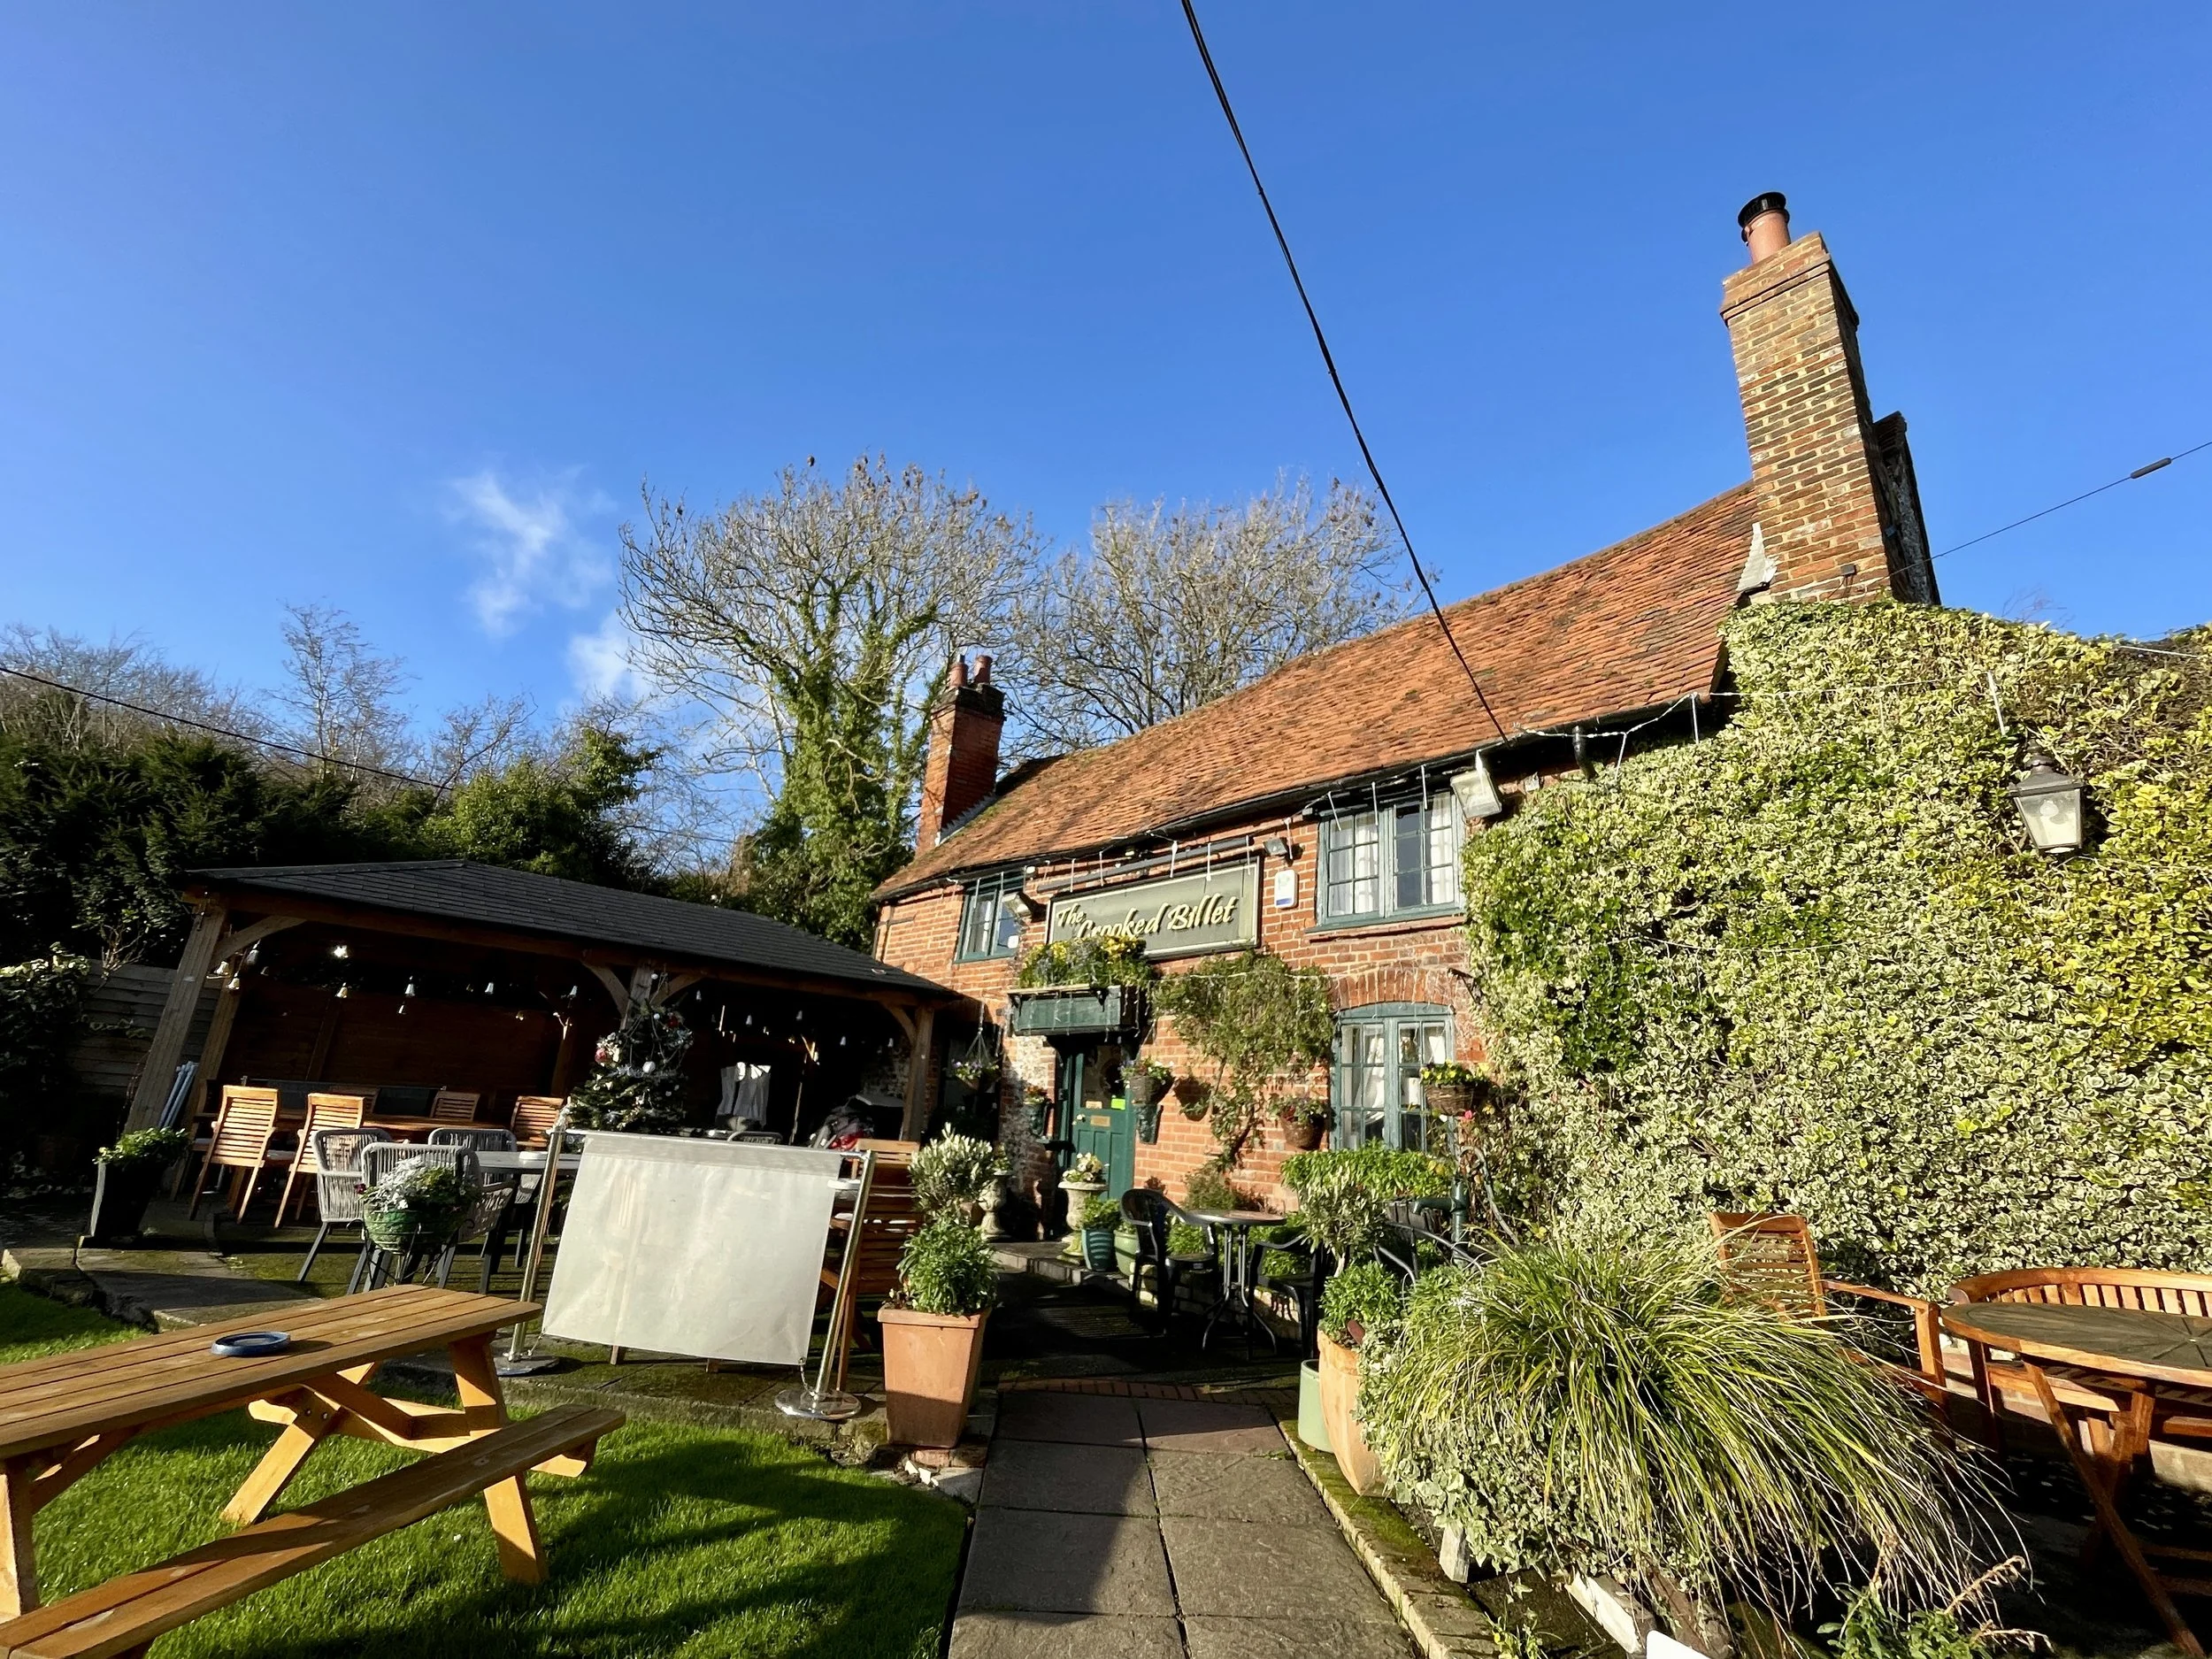
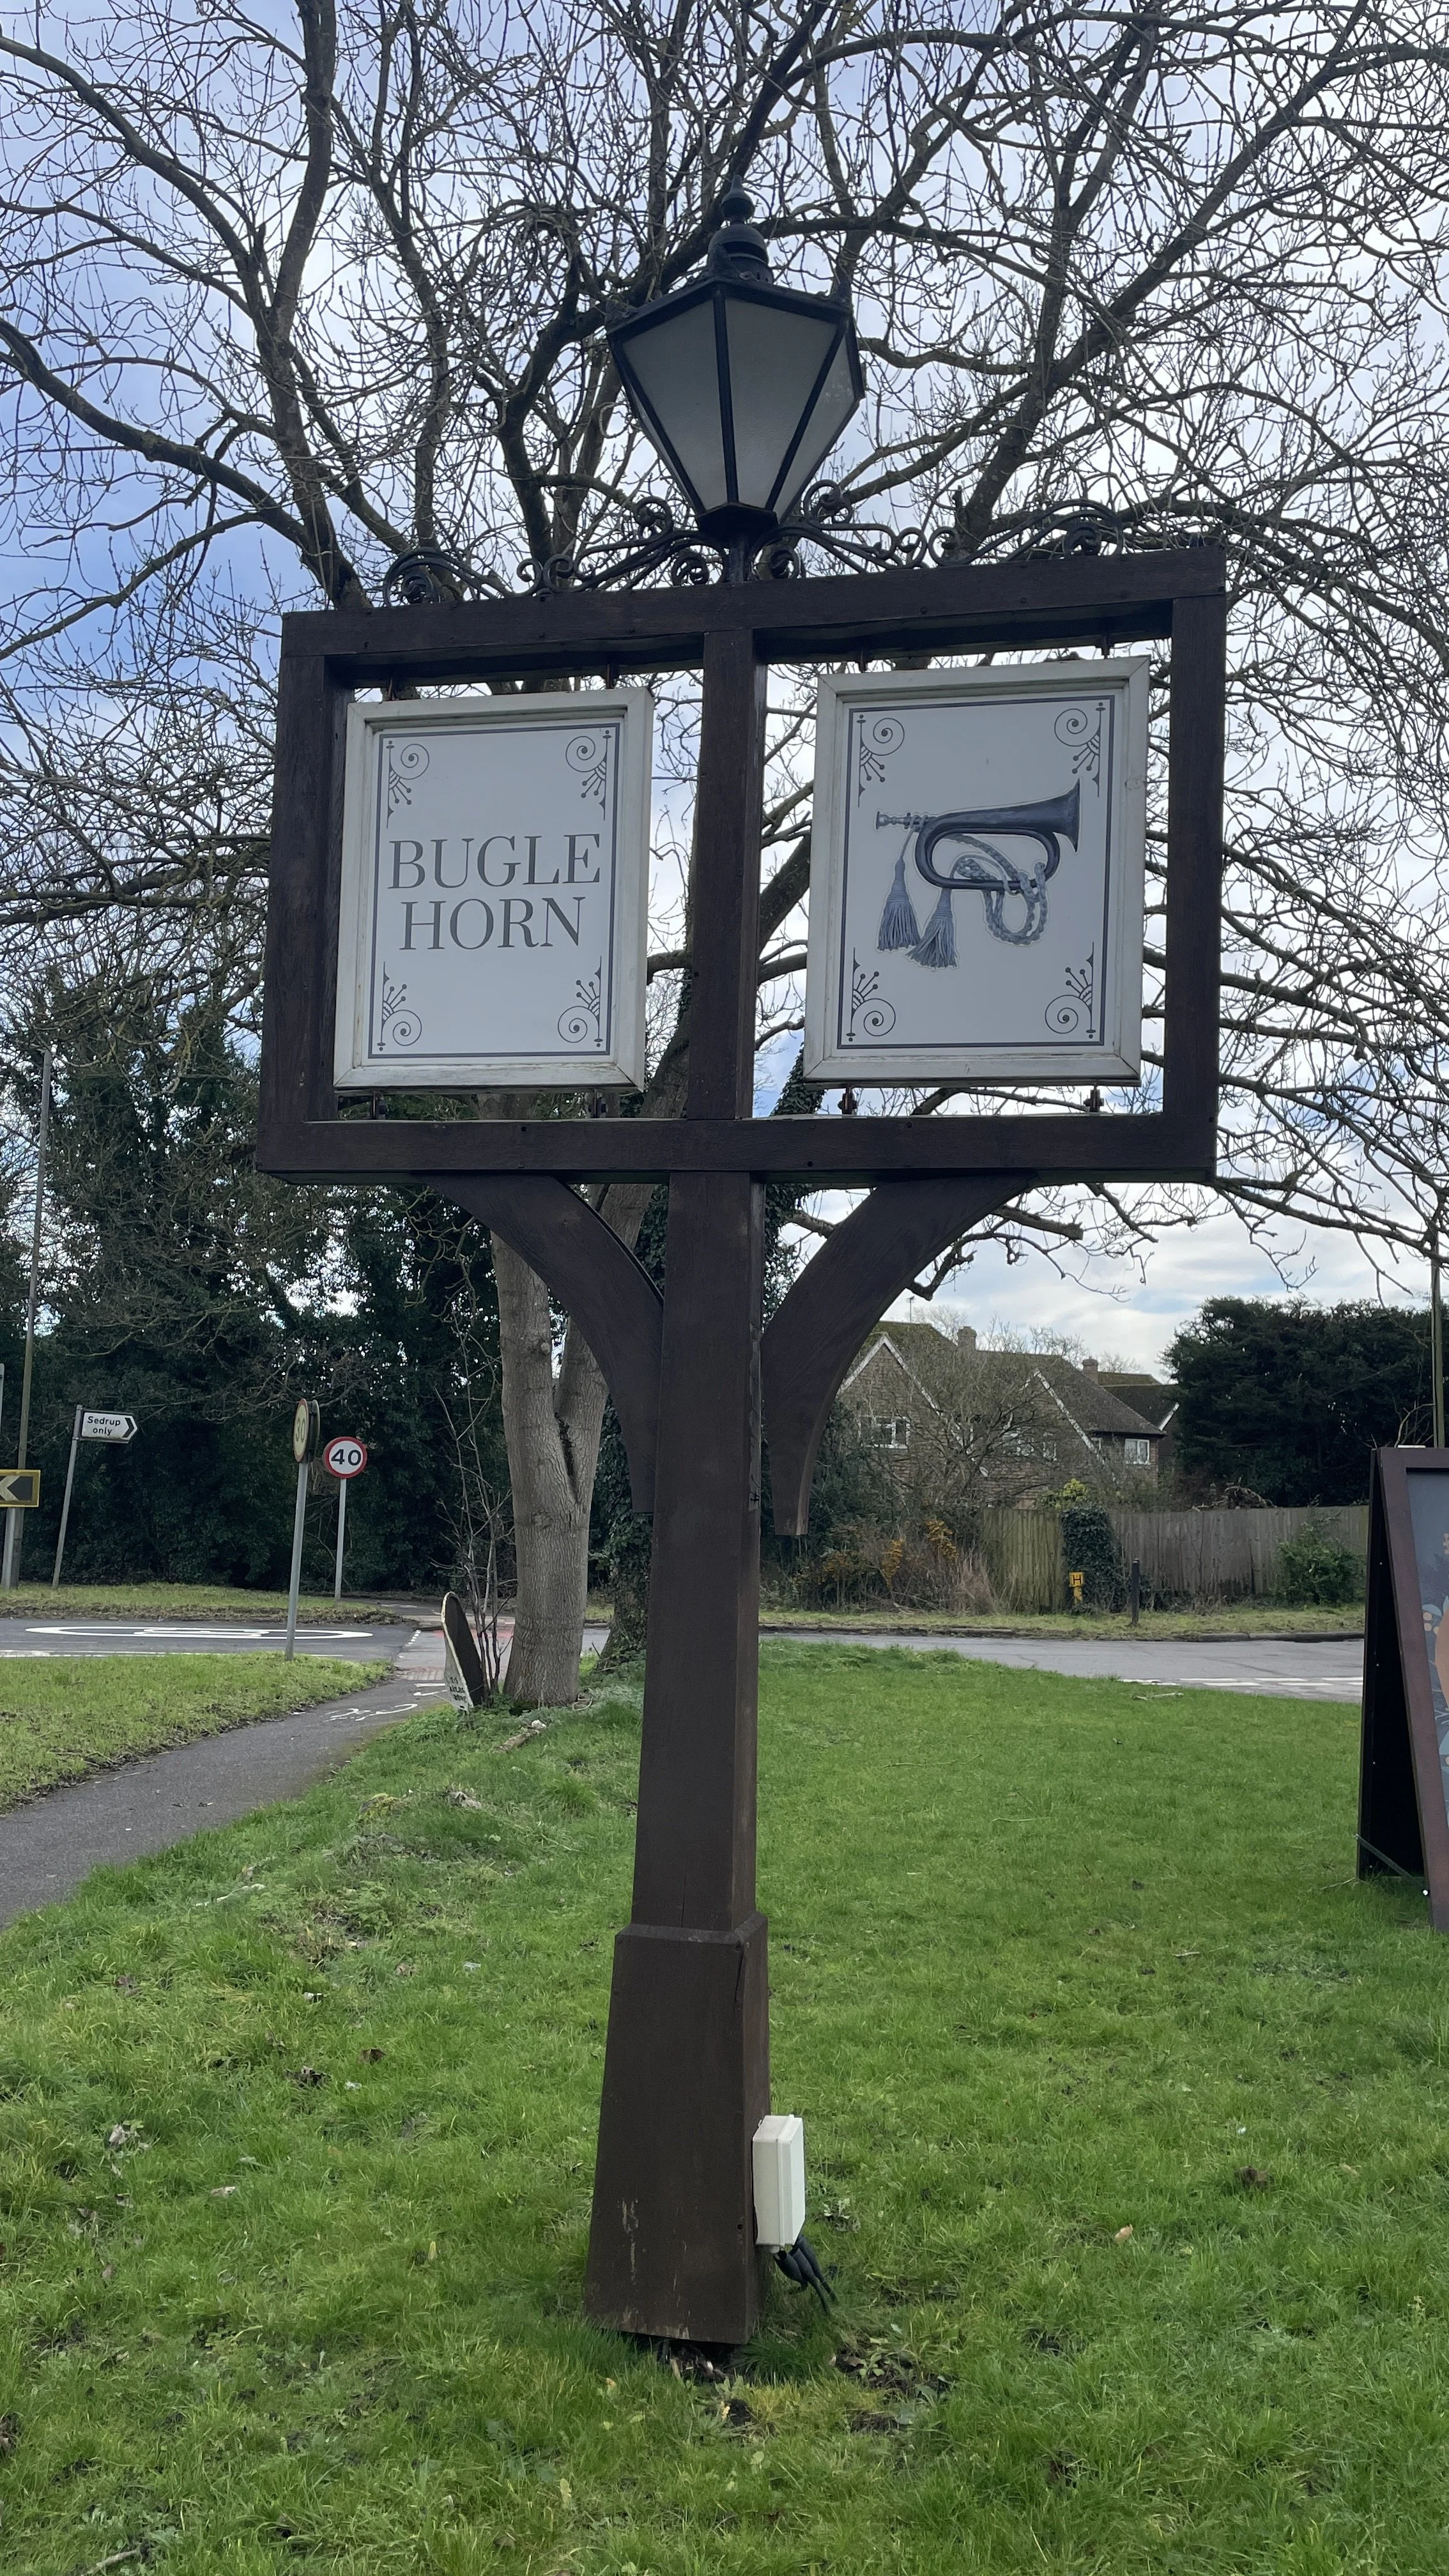
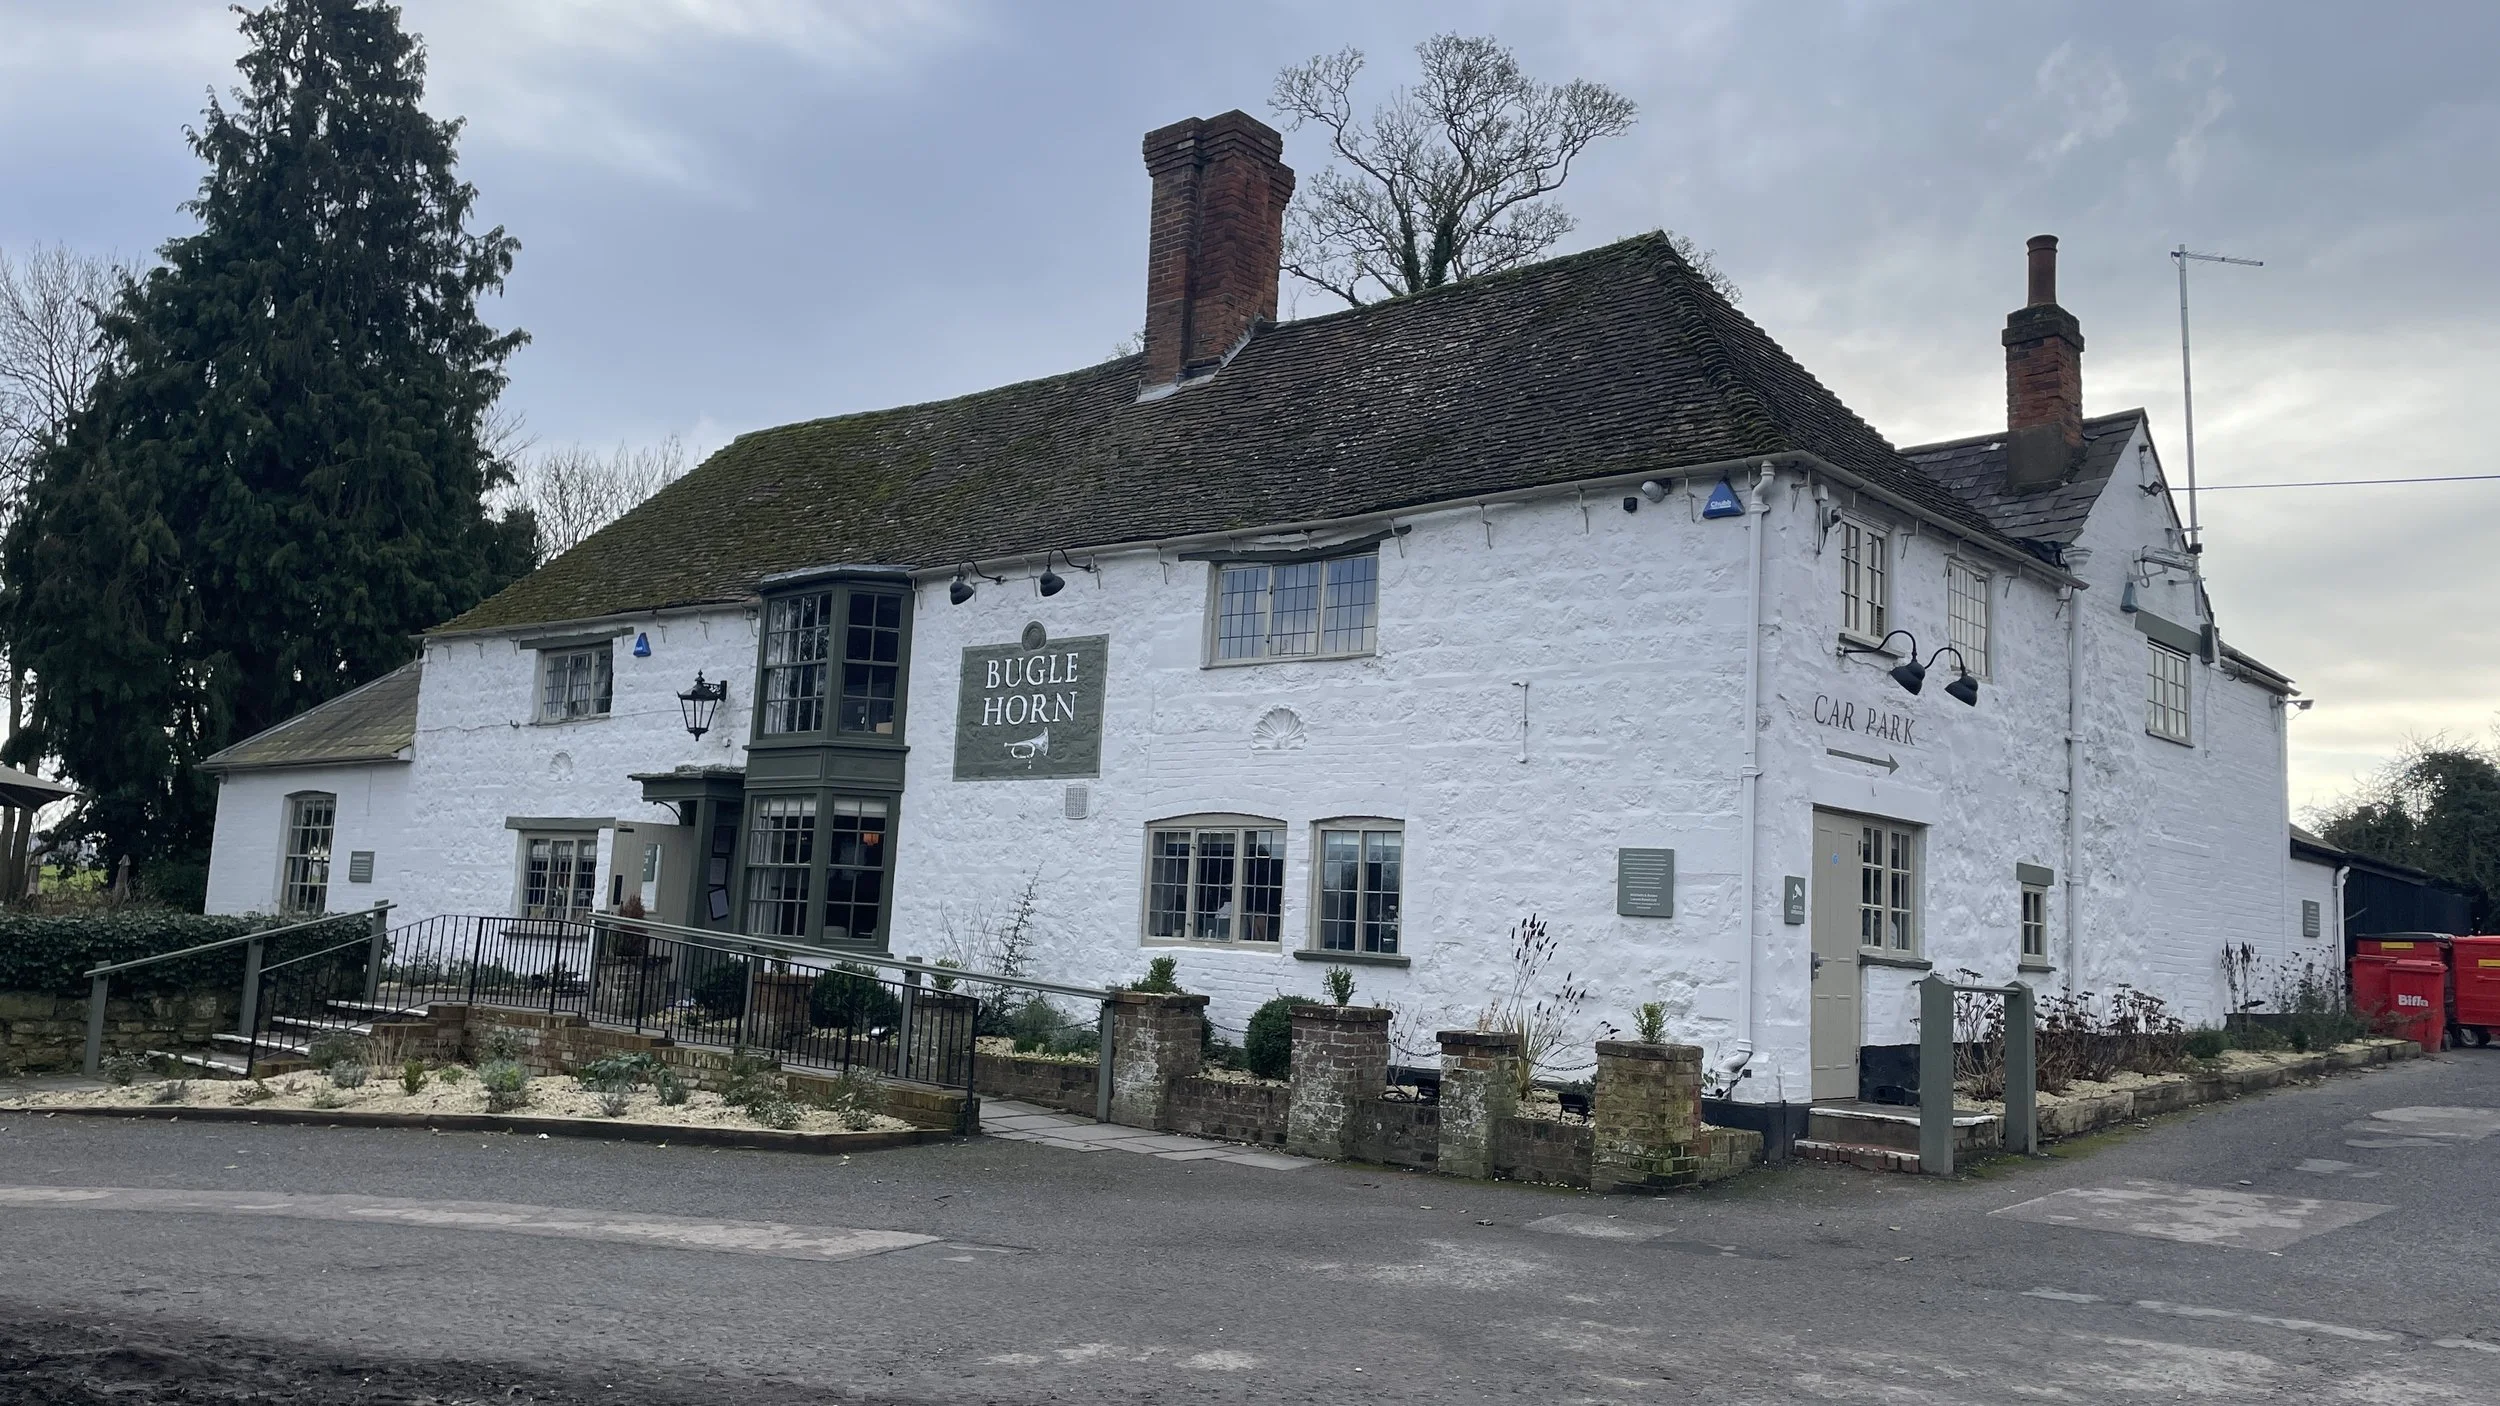
Pubs / Cafes on route: The Bugle Horn at 6.3 km in.
Map: Chiltern Hills North Map | Aylesbury, Berkhamsted & Chesham | Ordnance Survey | OS Explorer Map 181
Links: Stone, Hartwell, River Thame
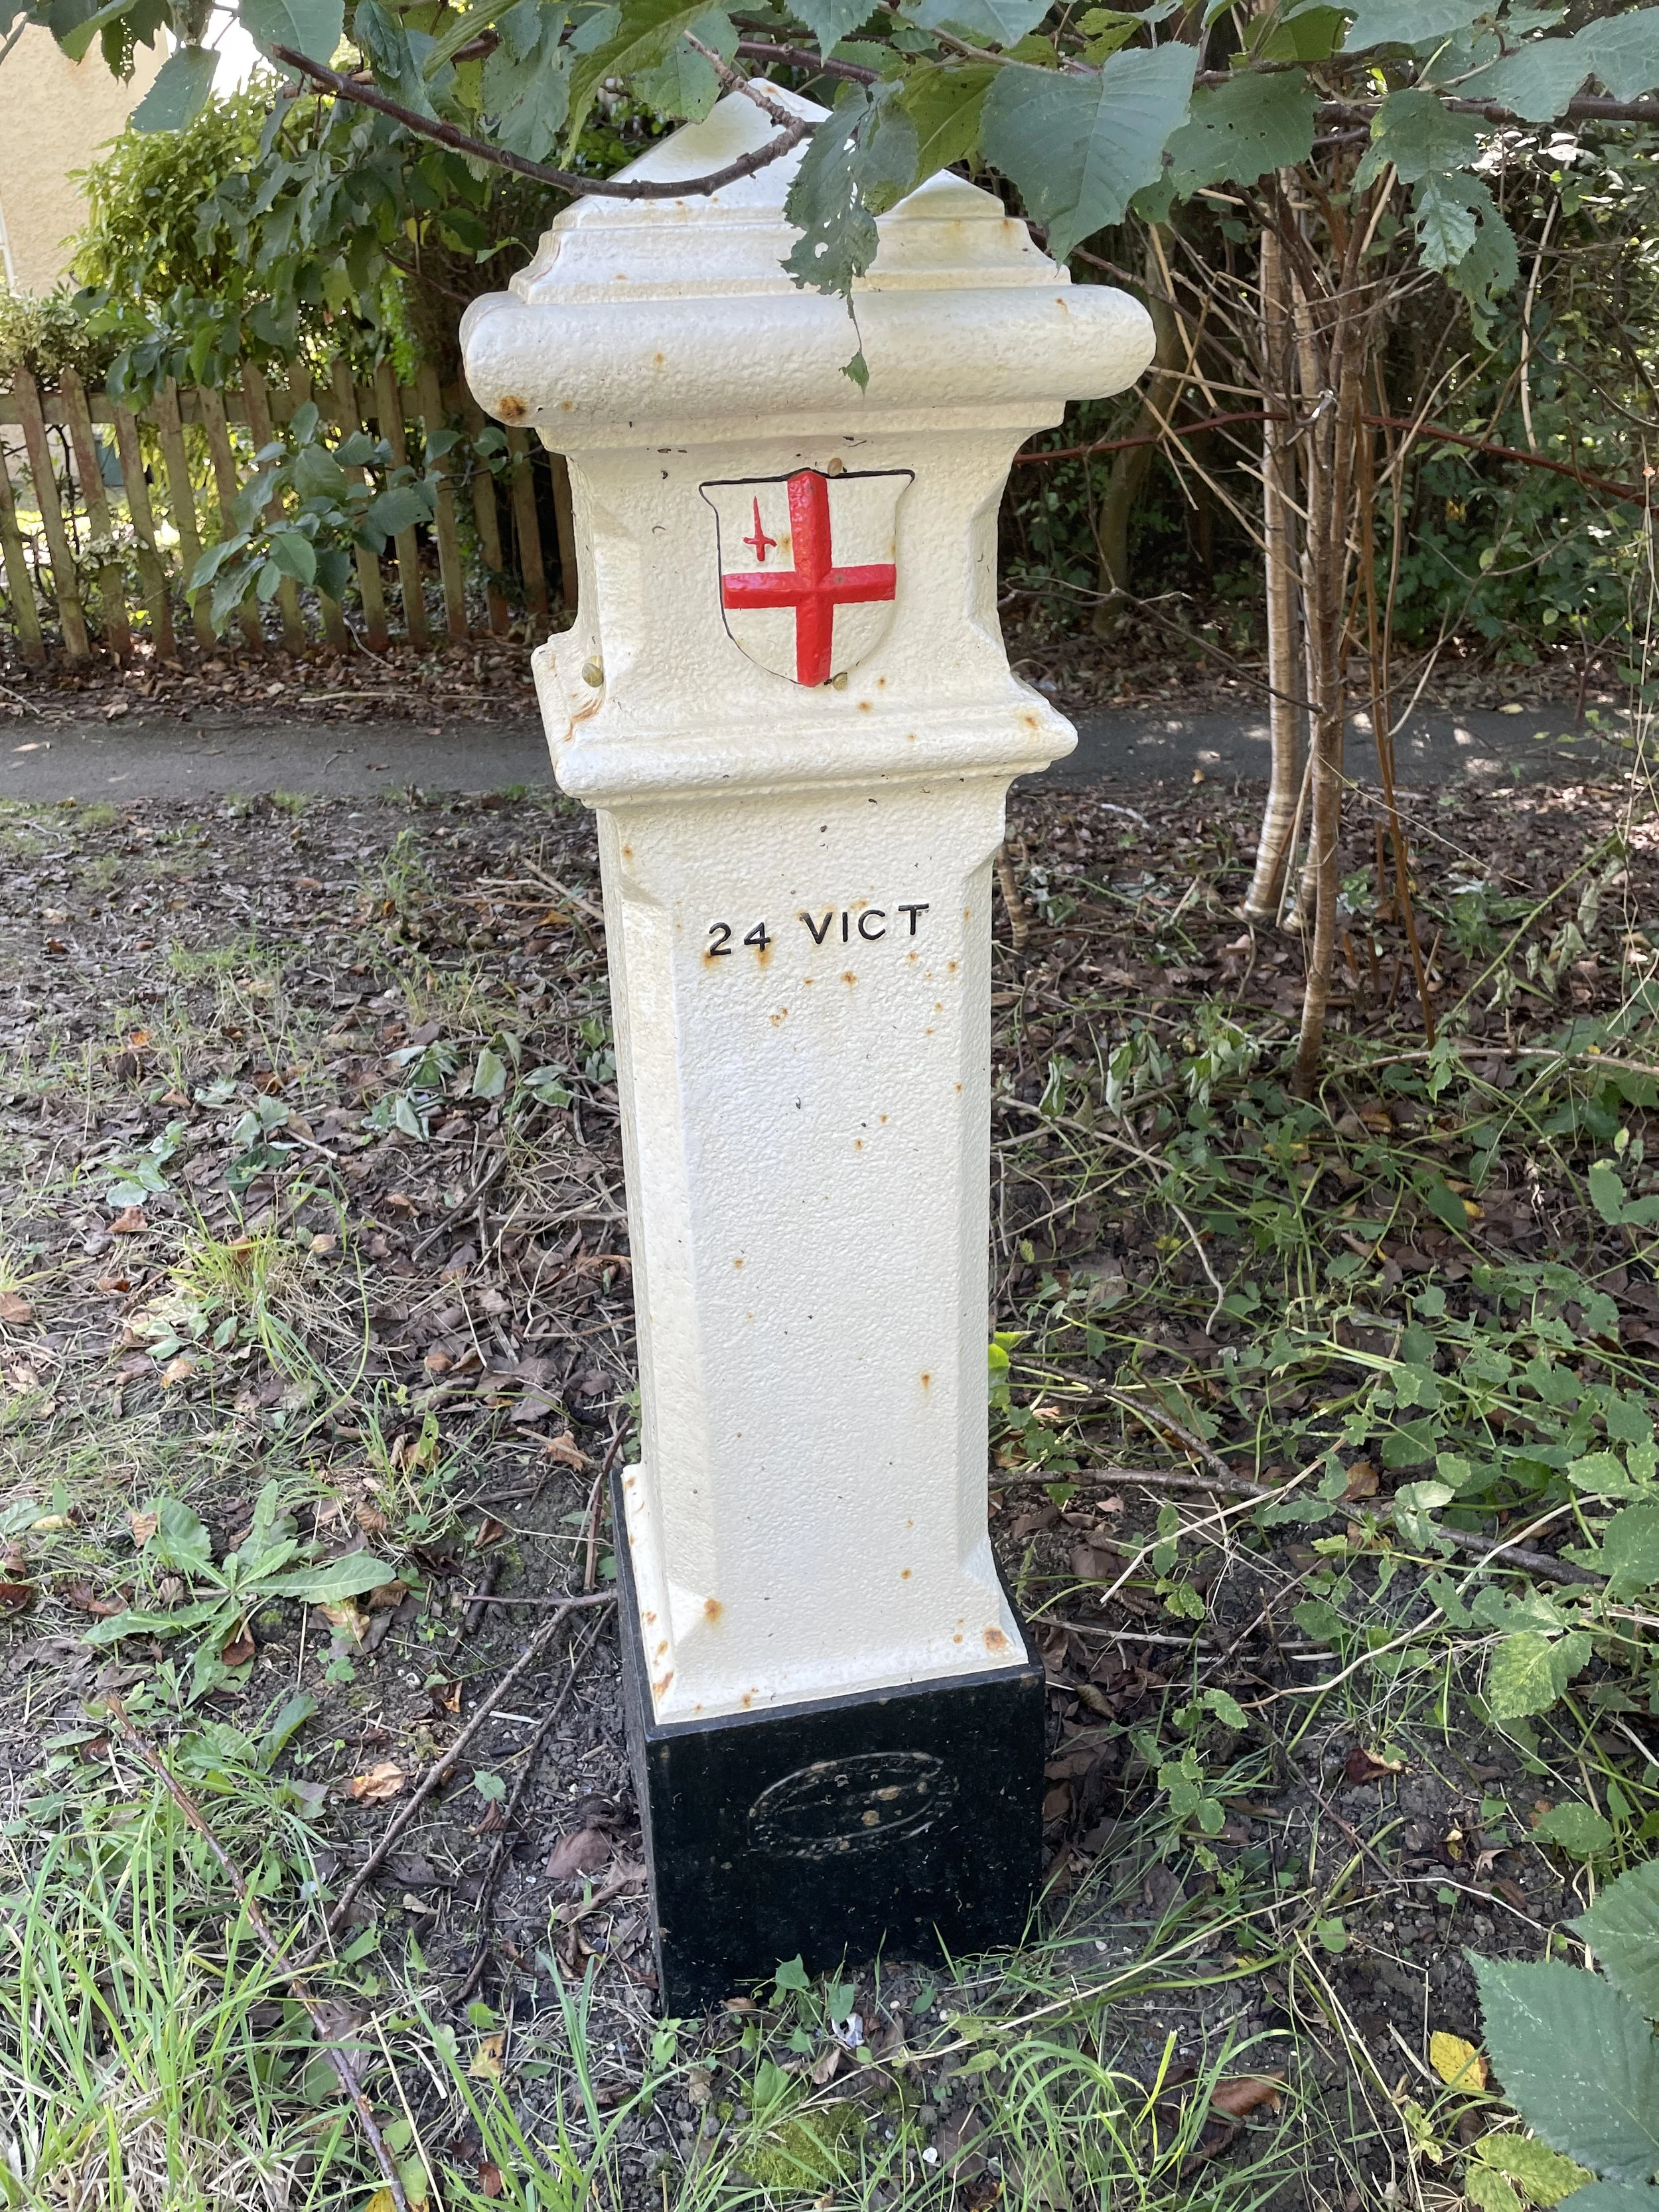
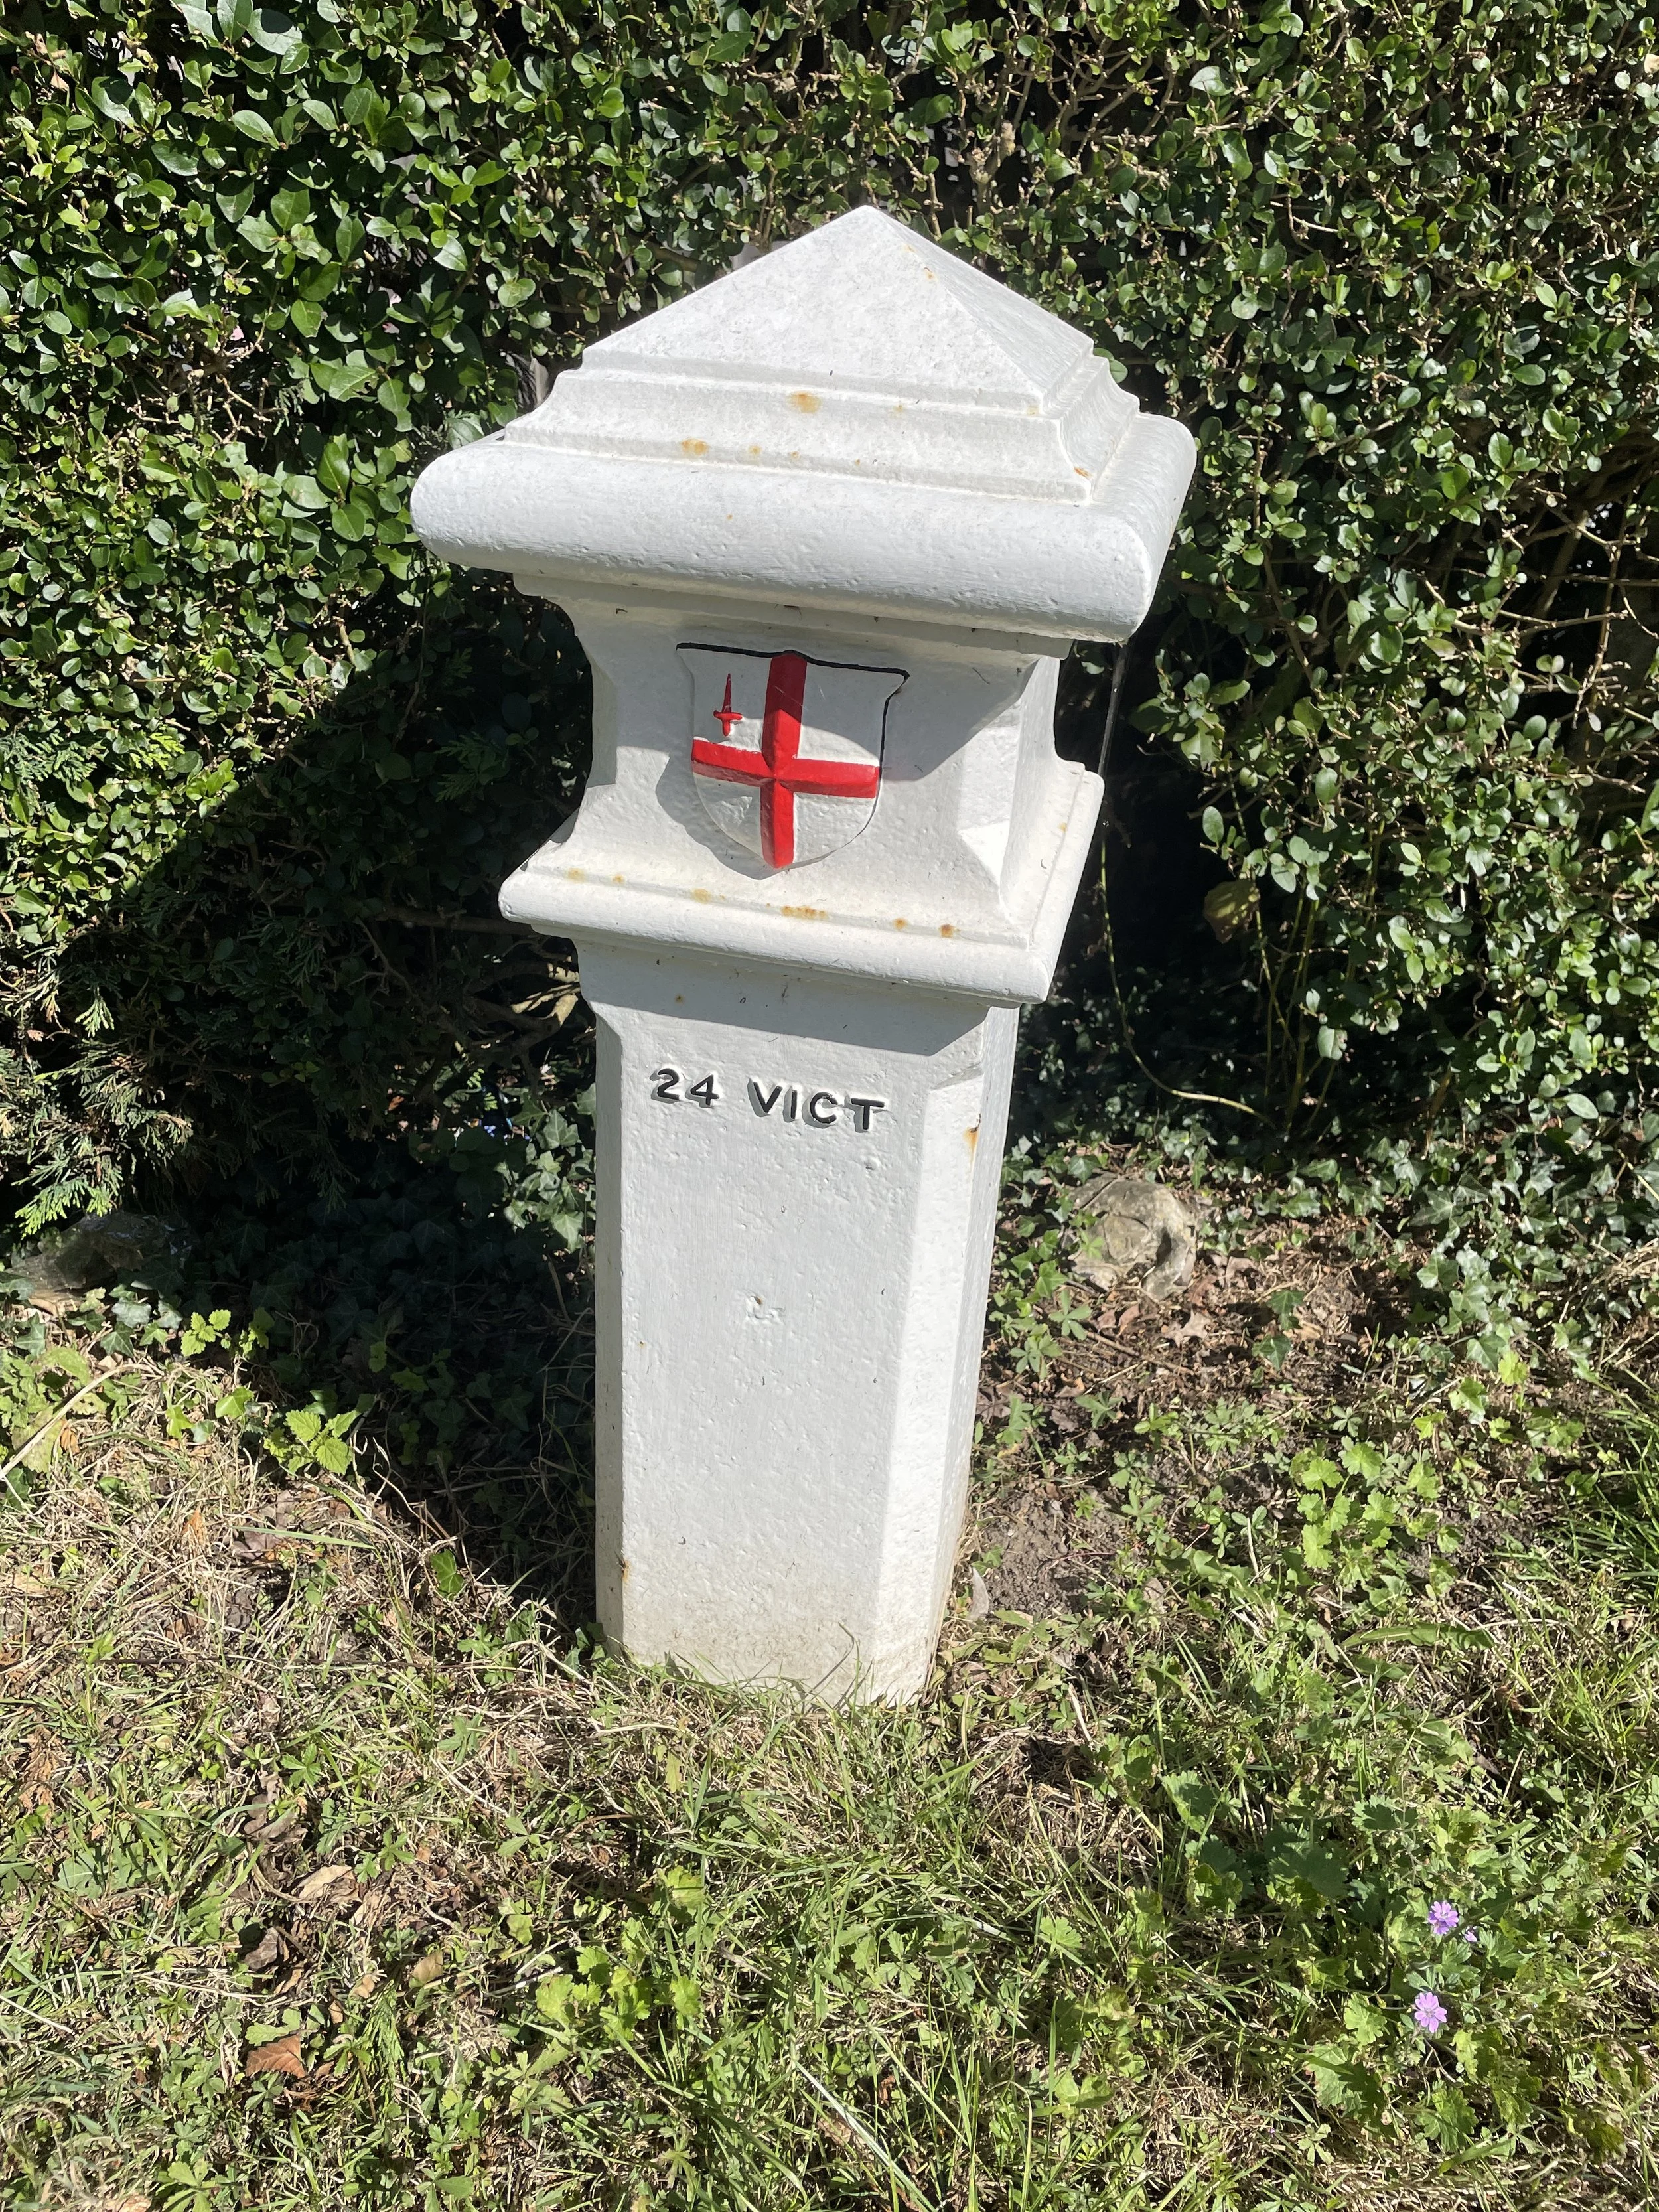
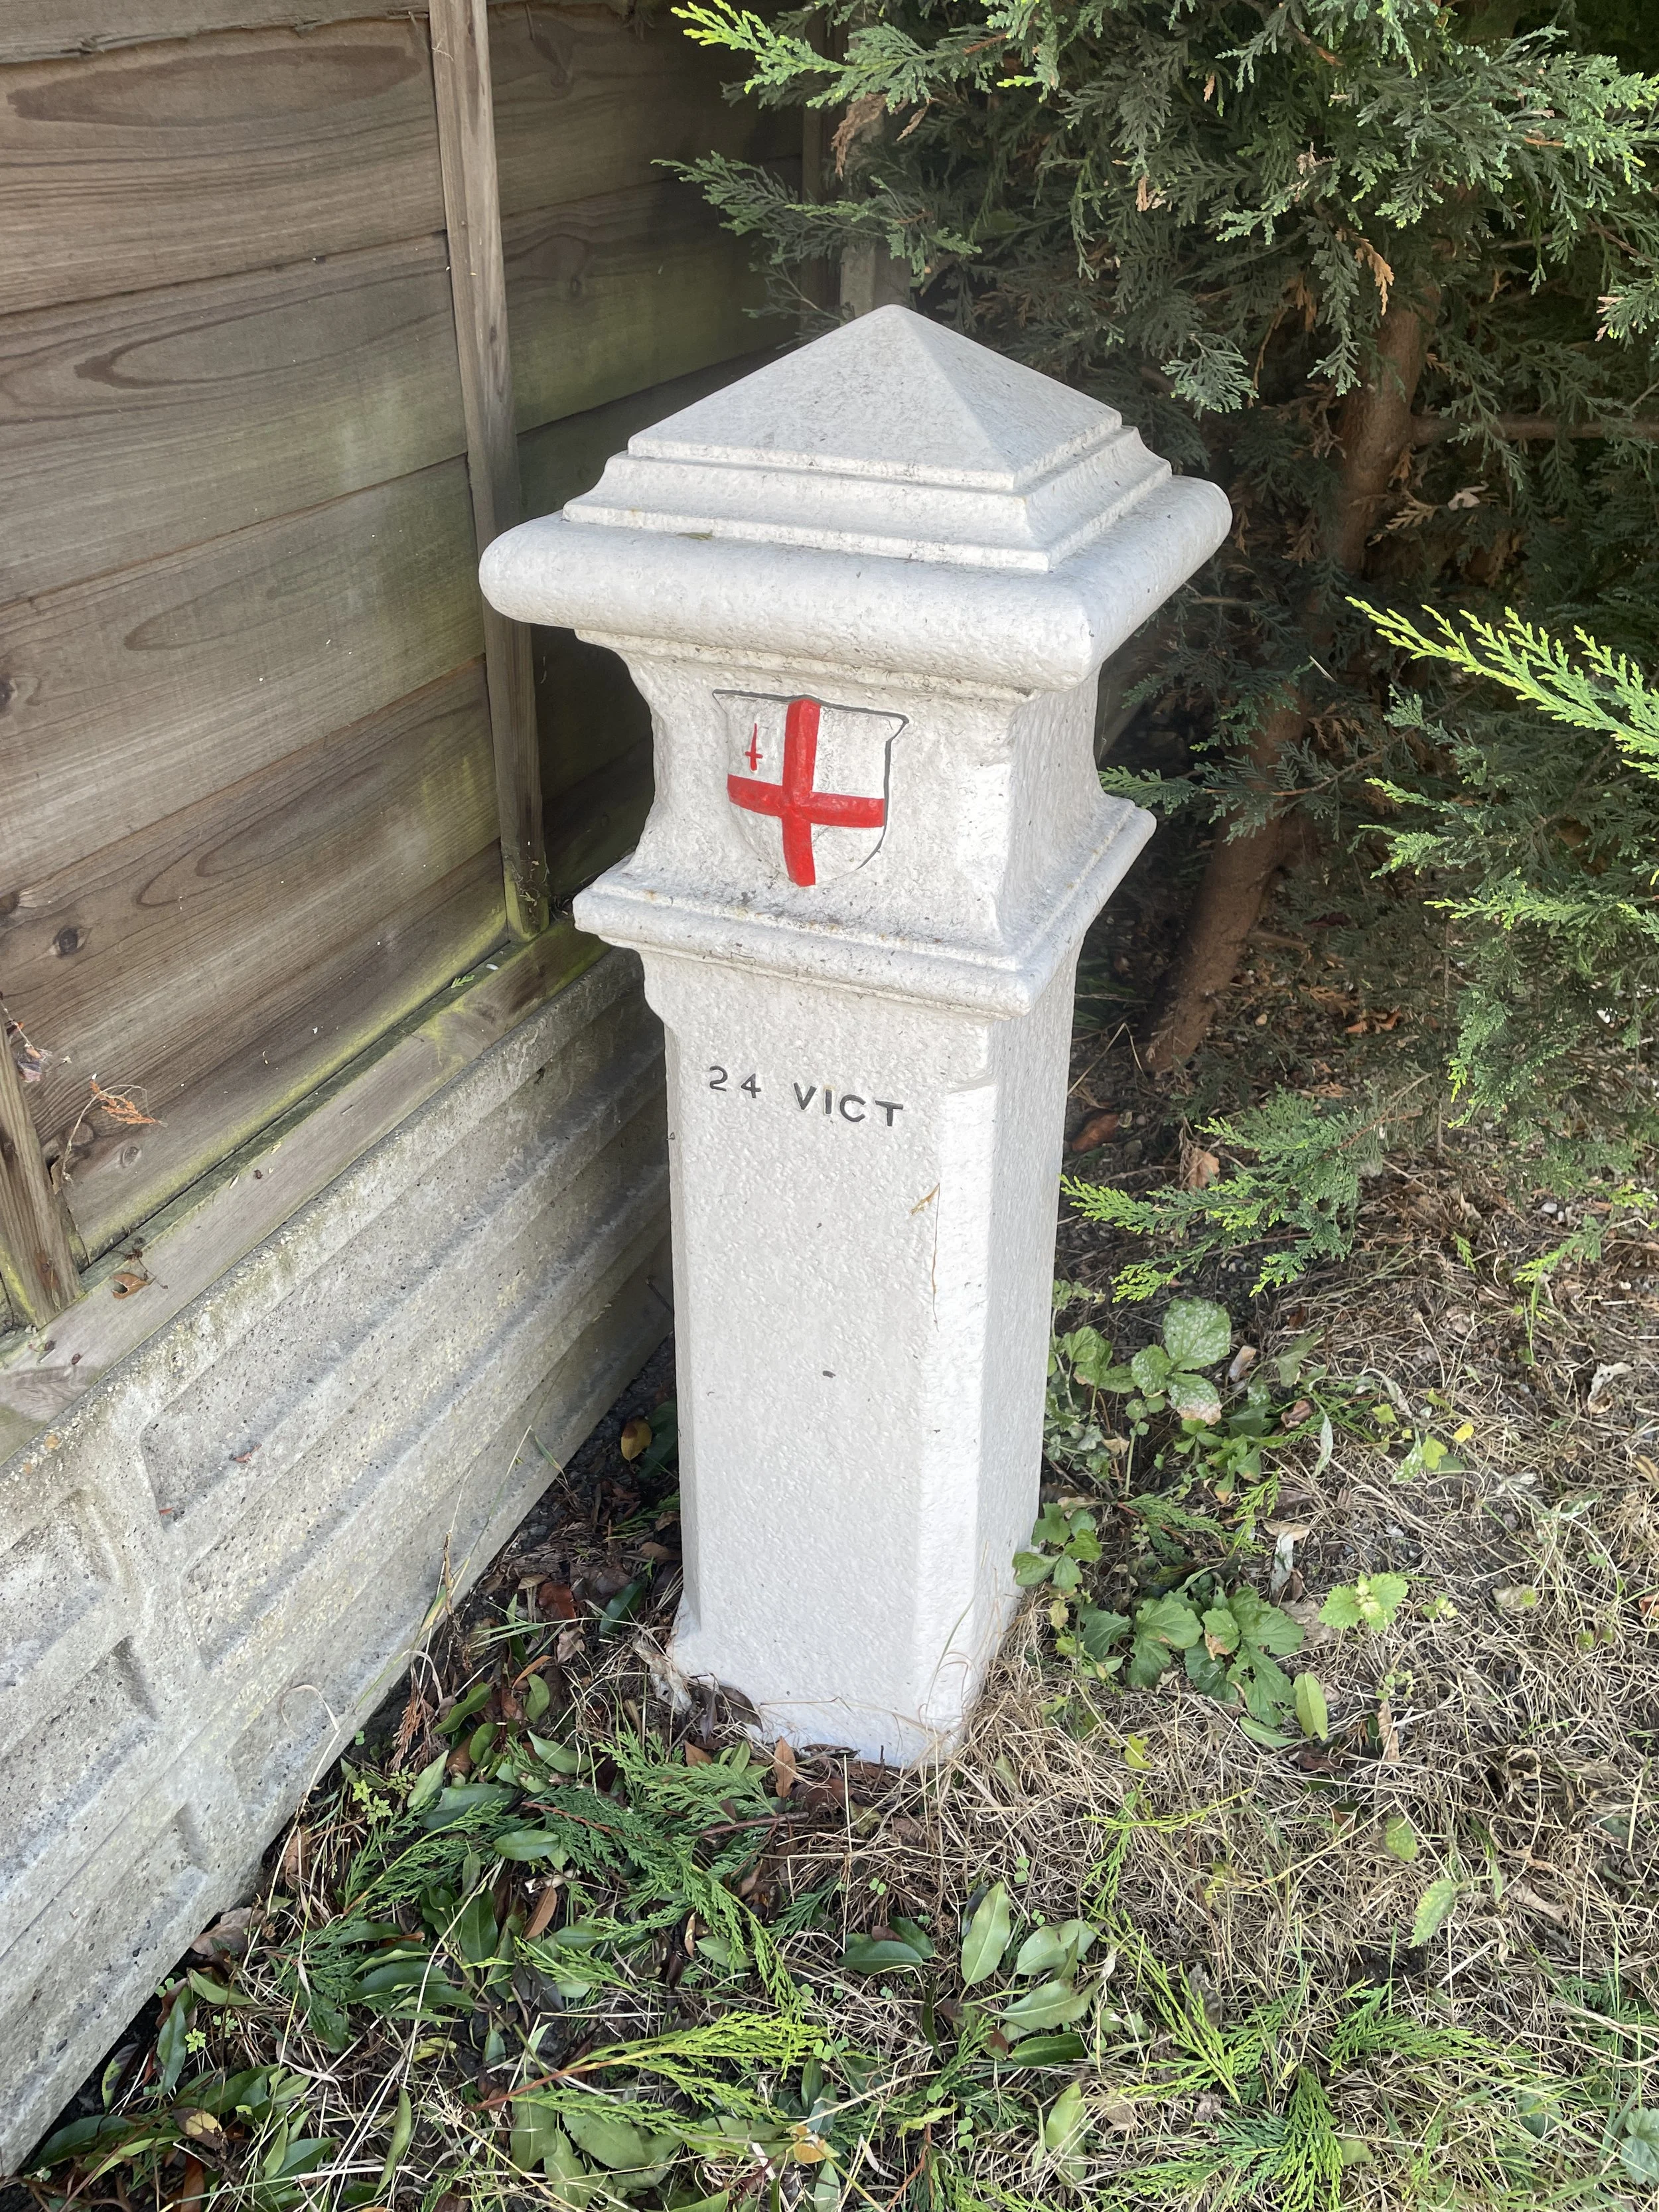
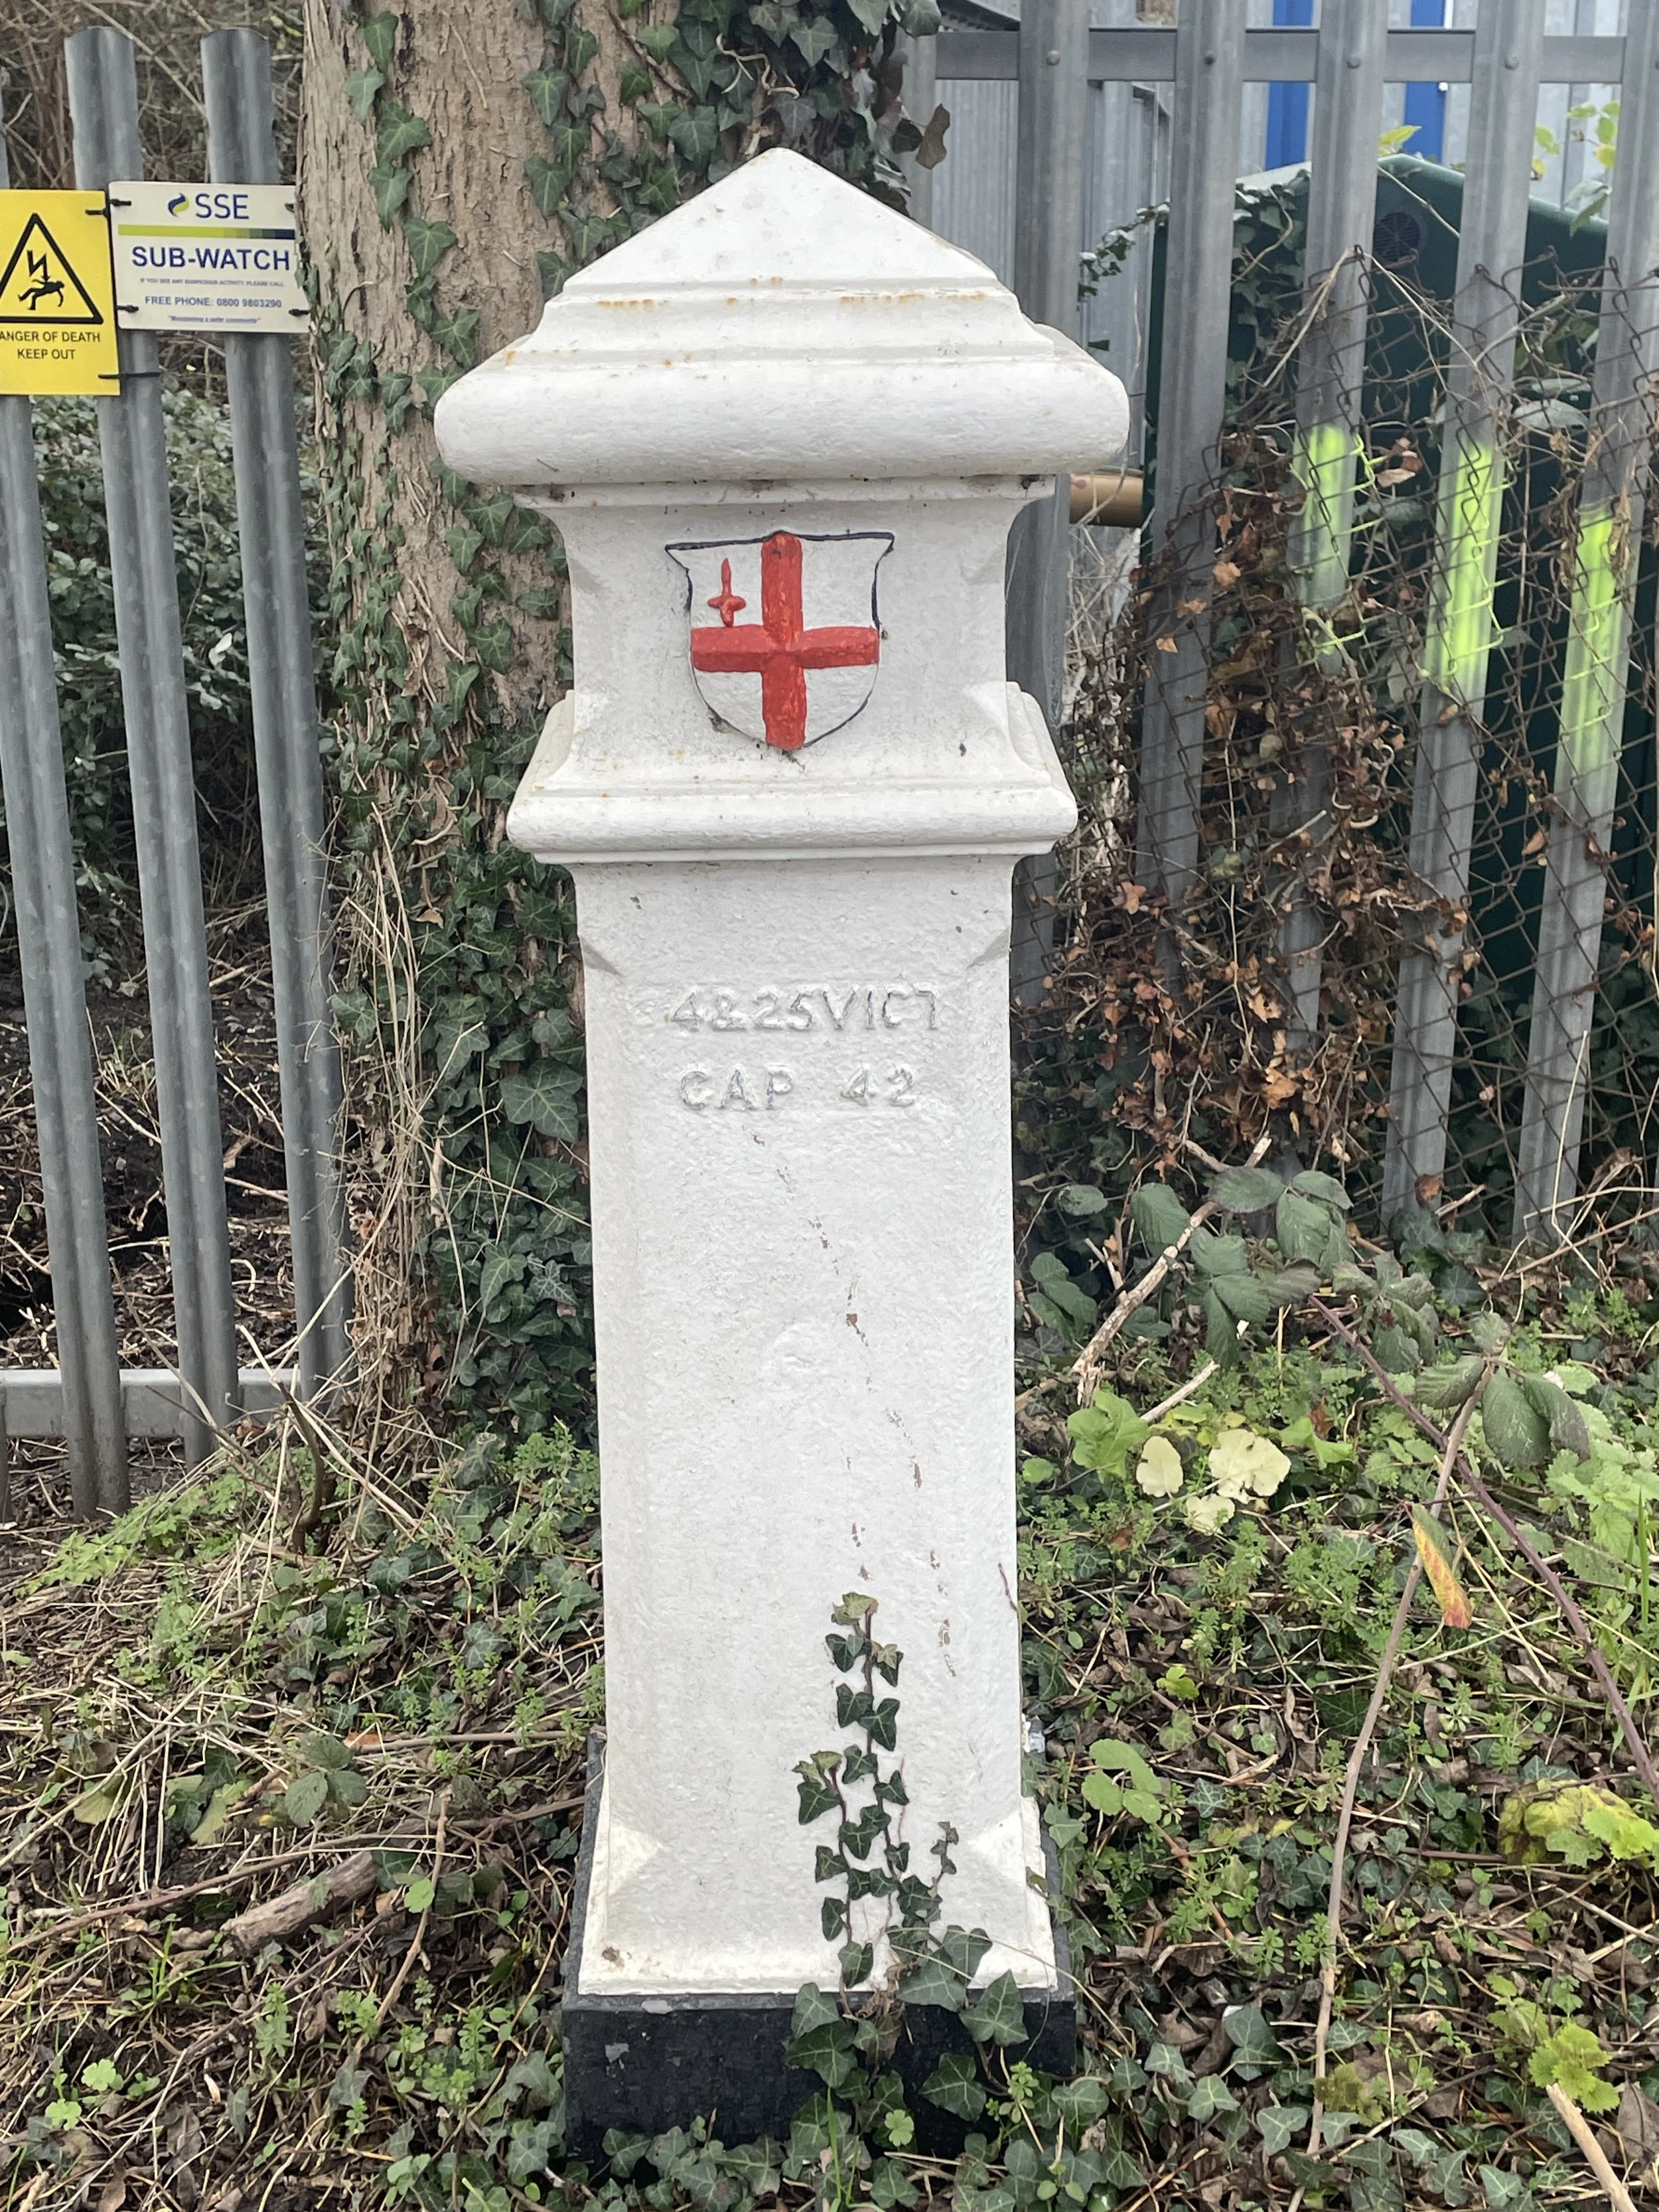
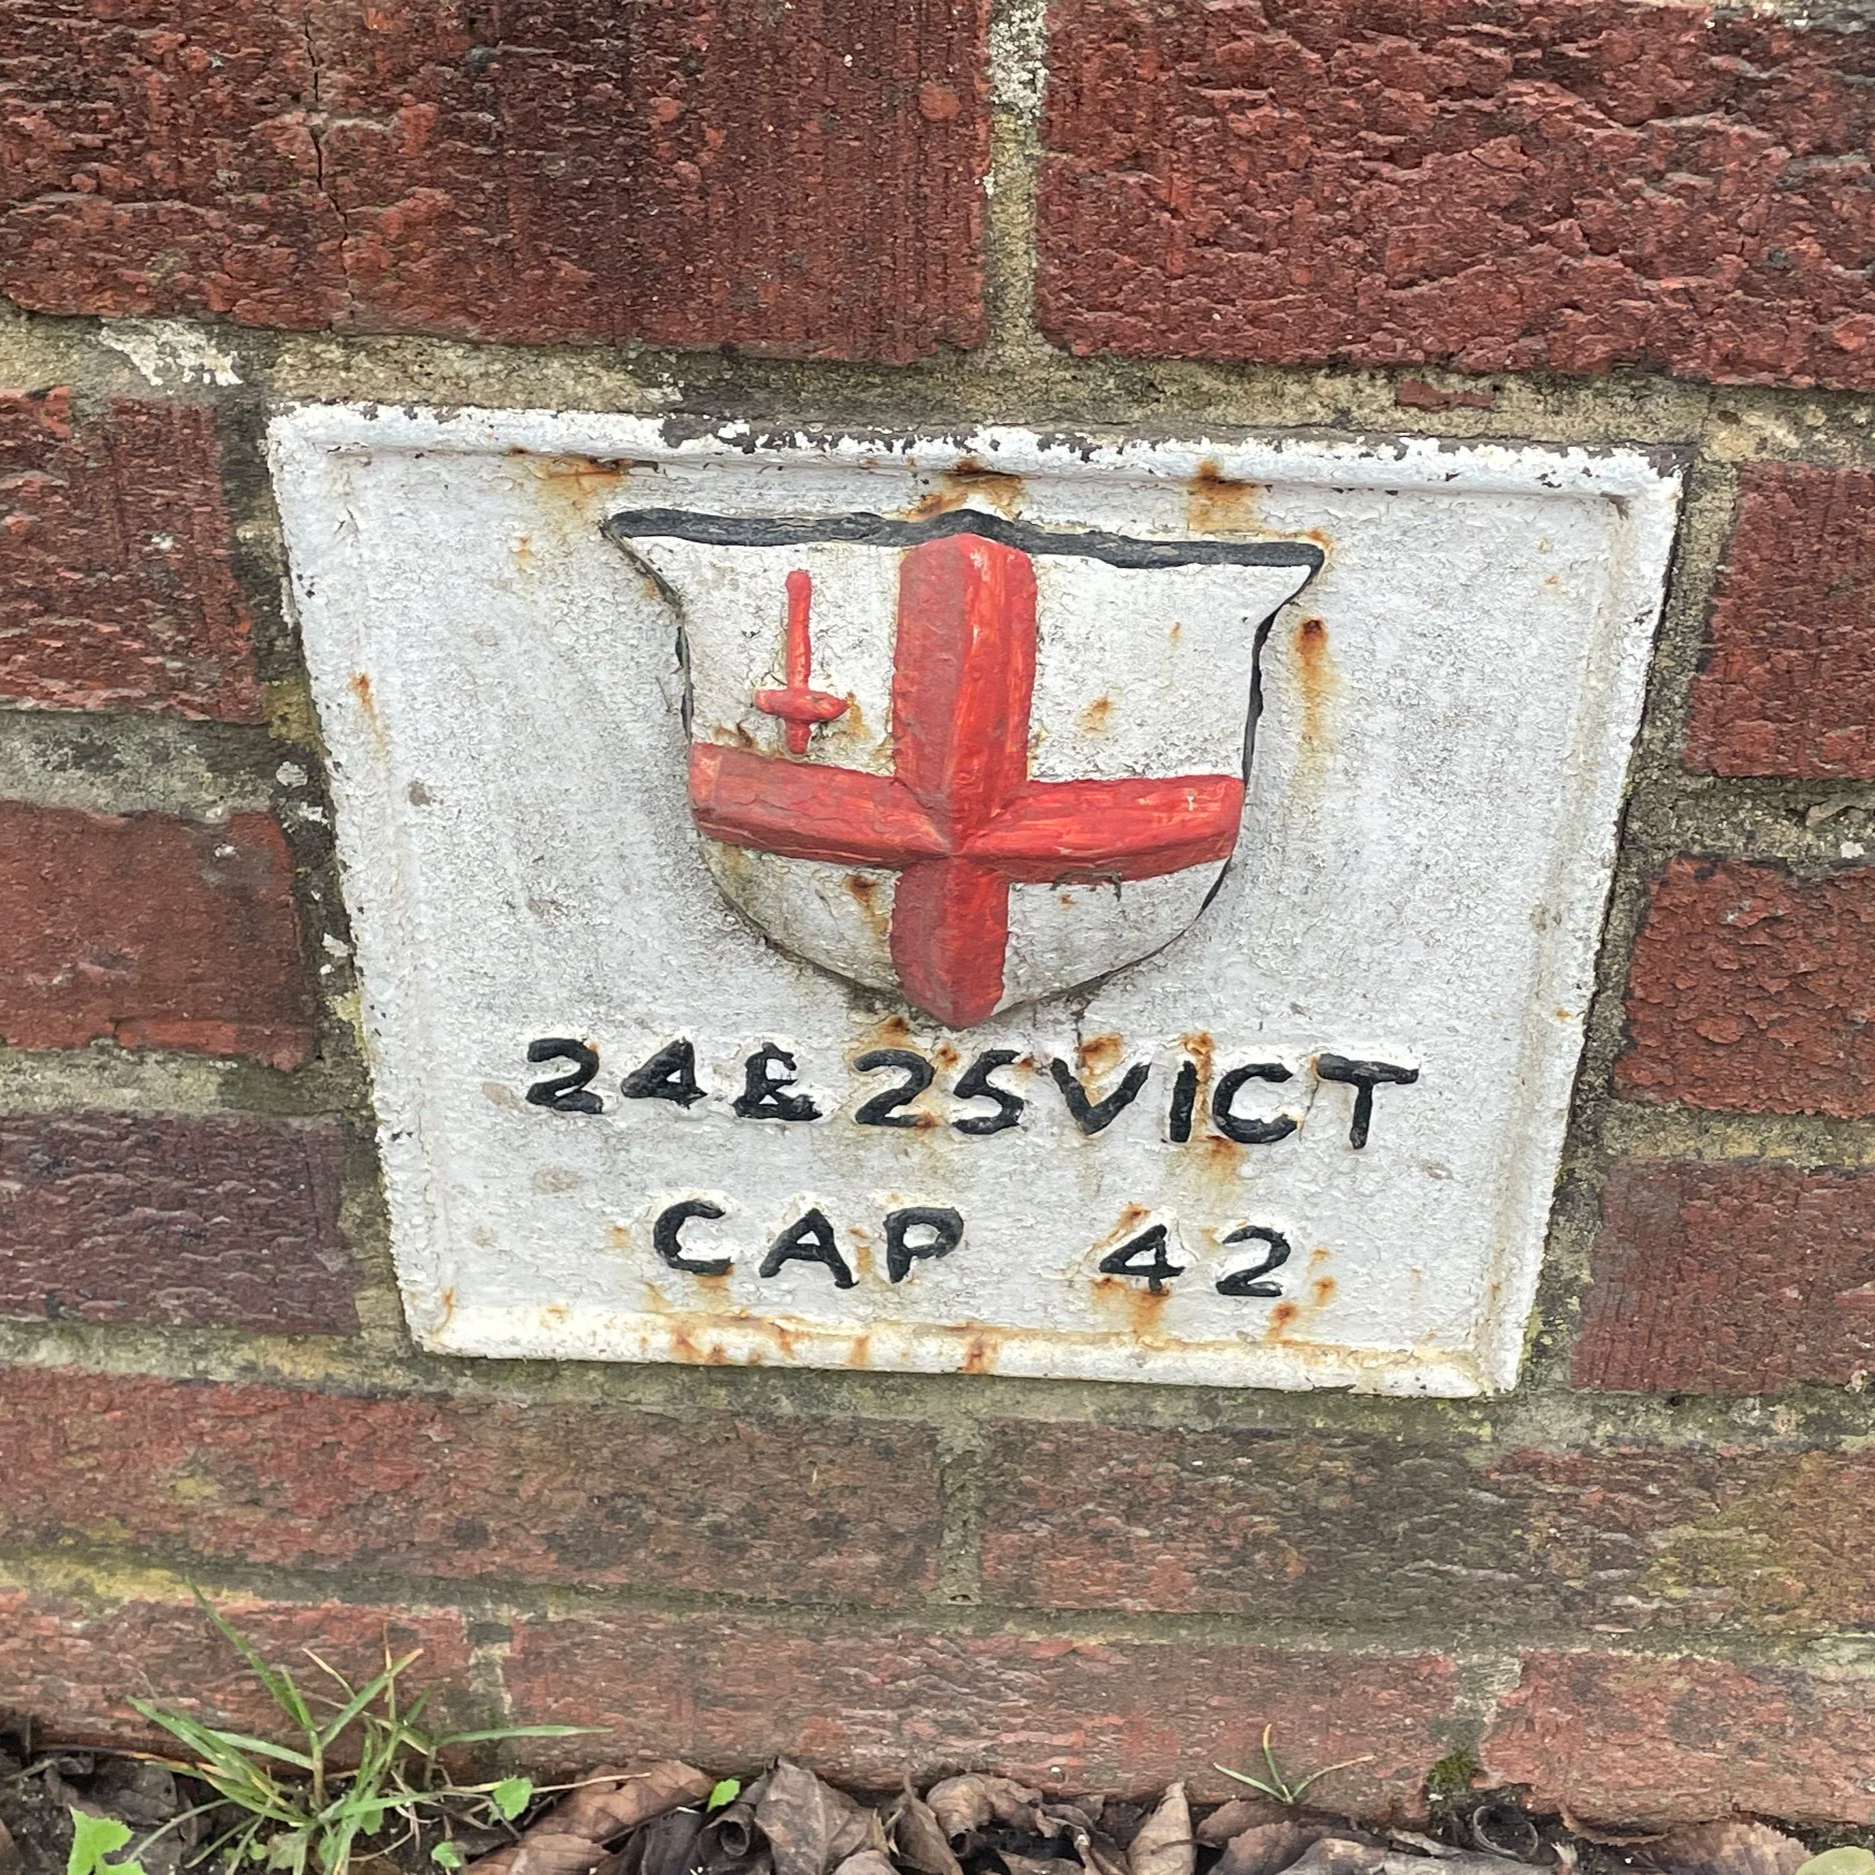
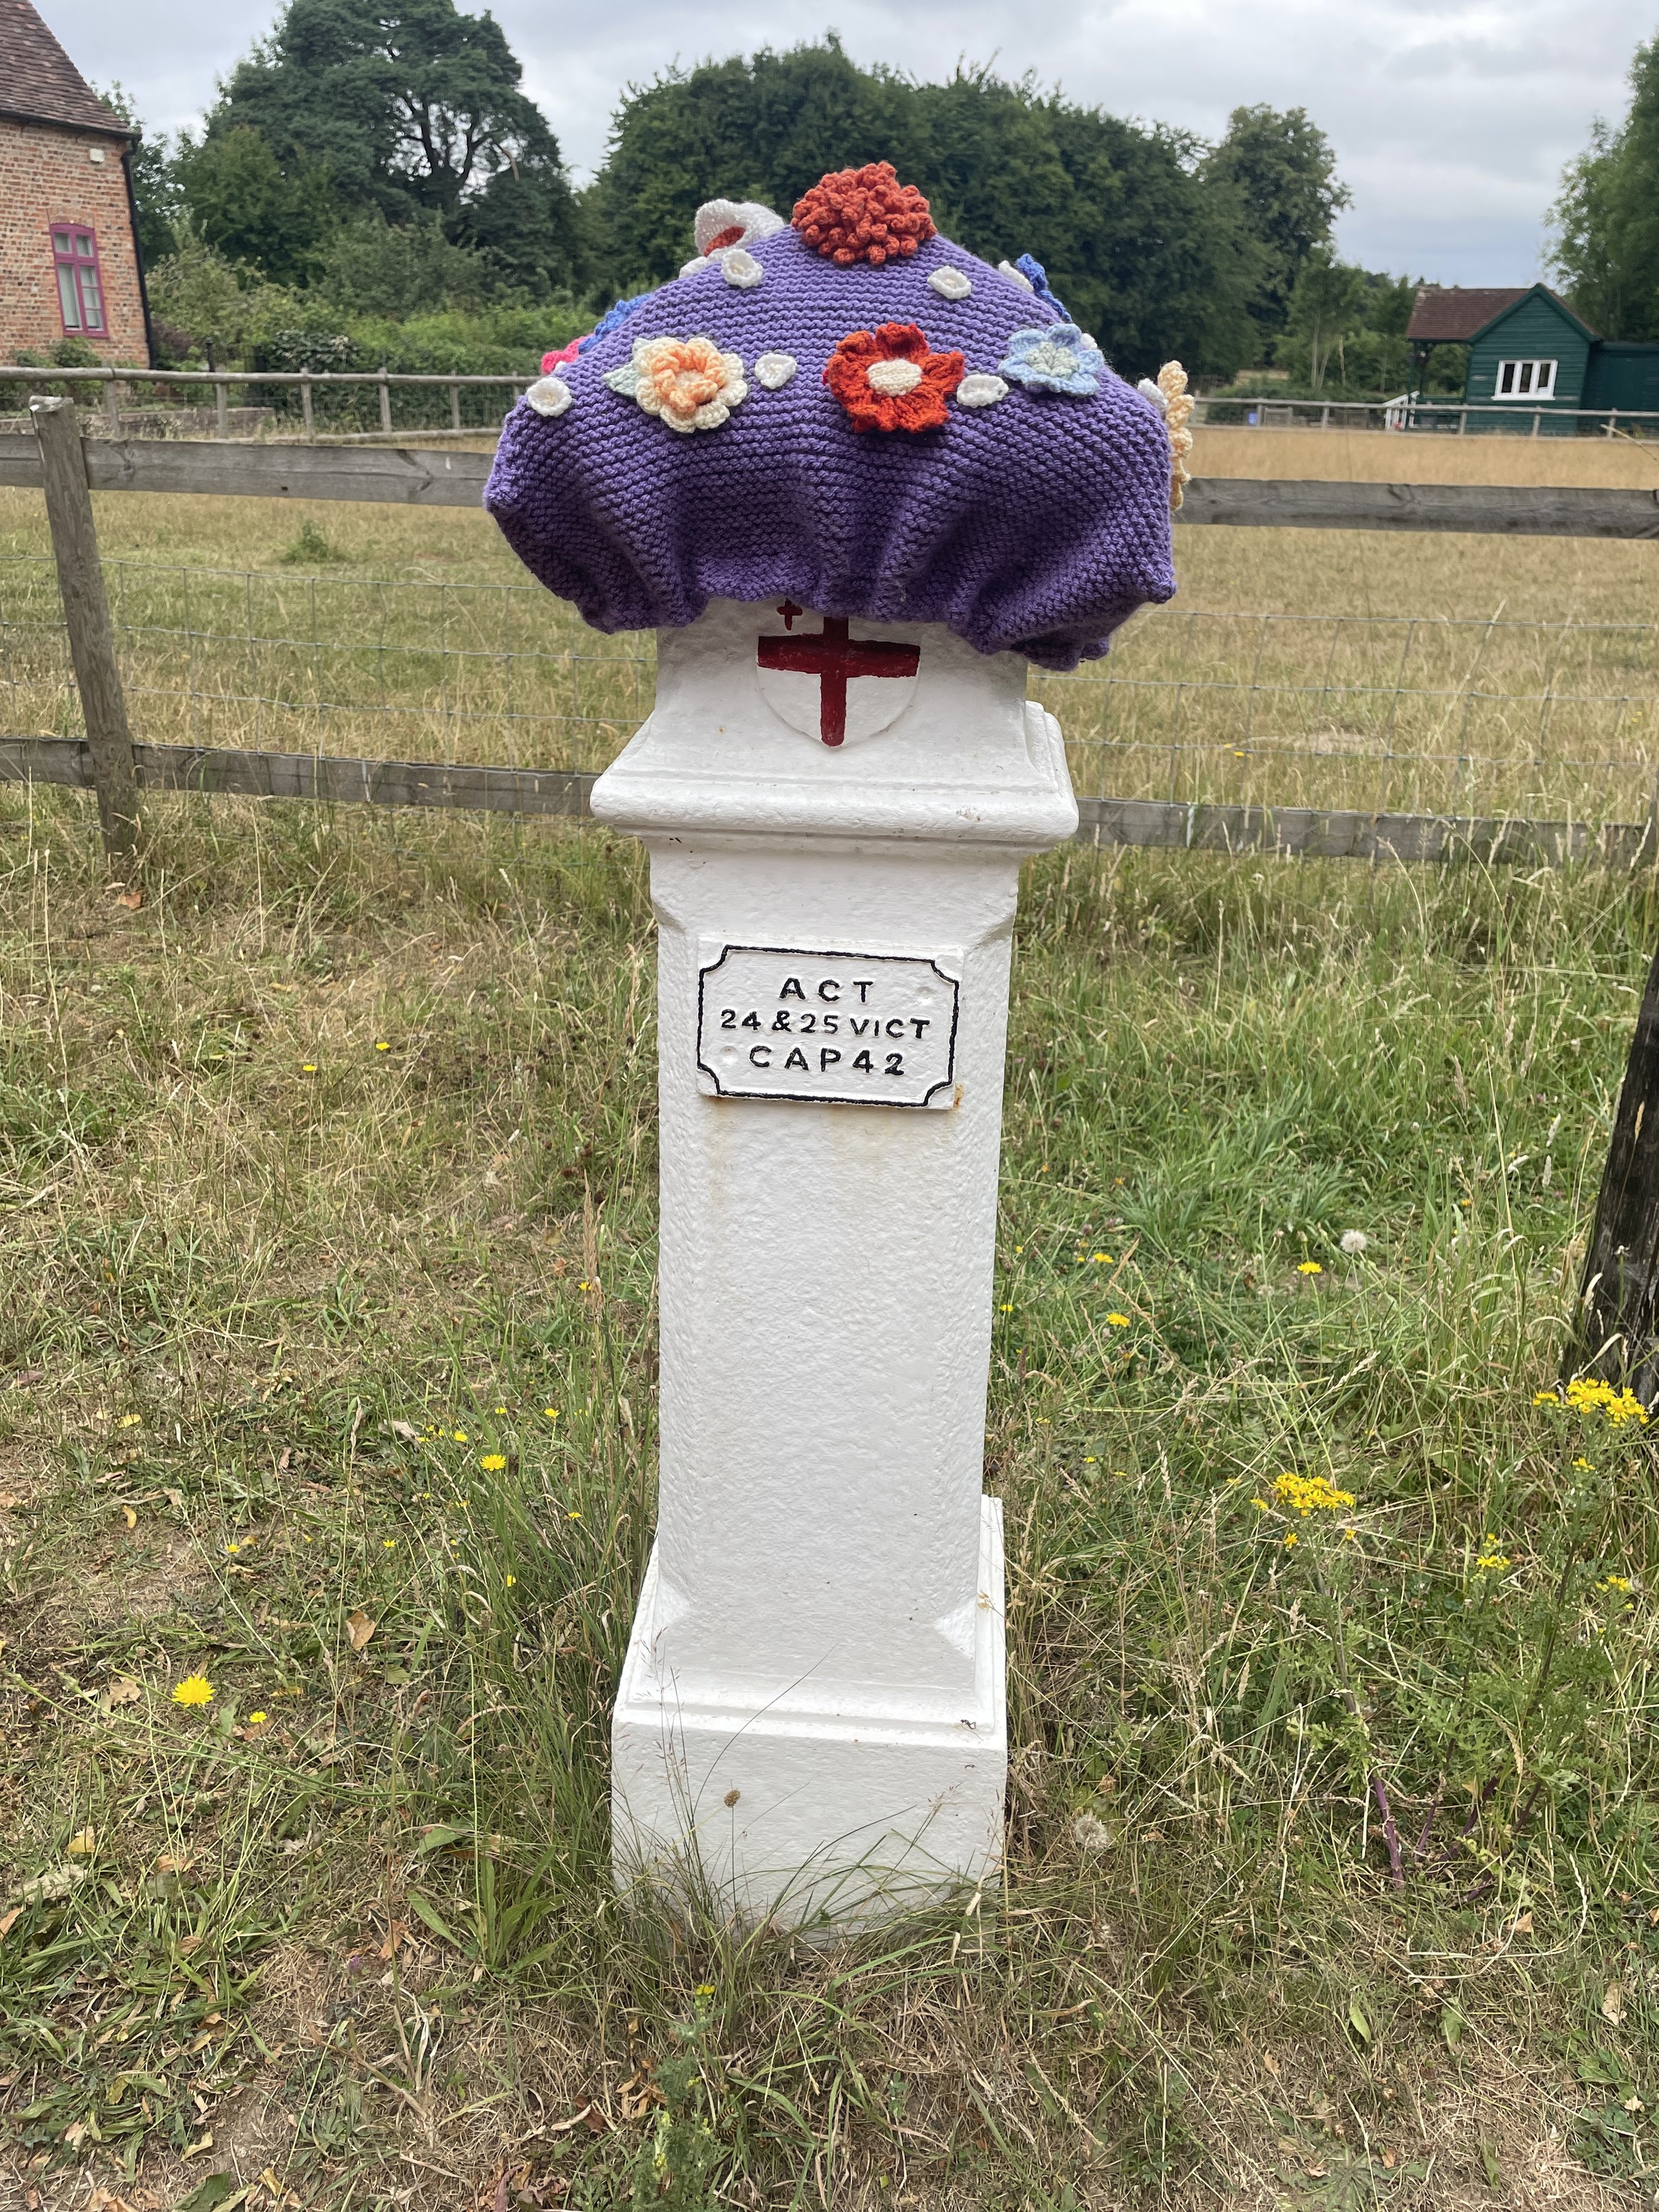
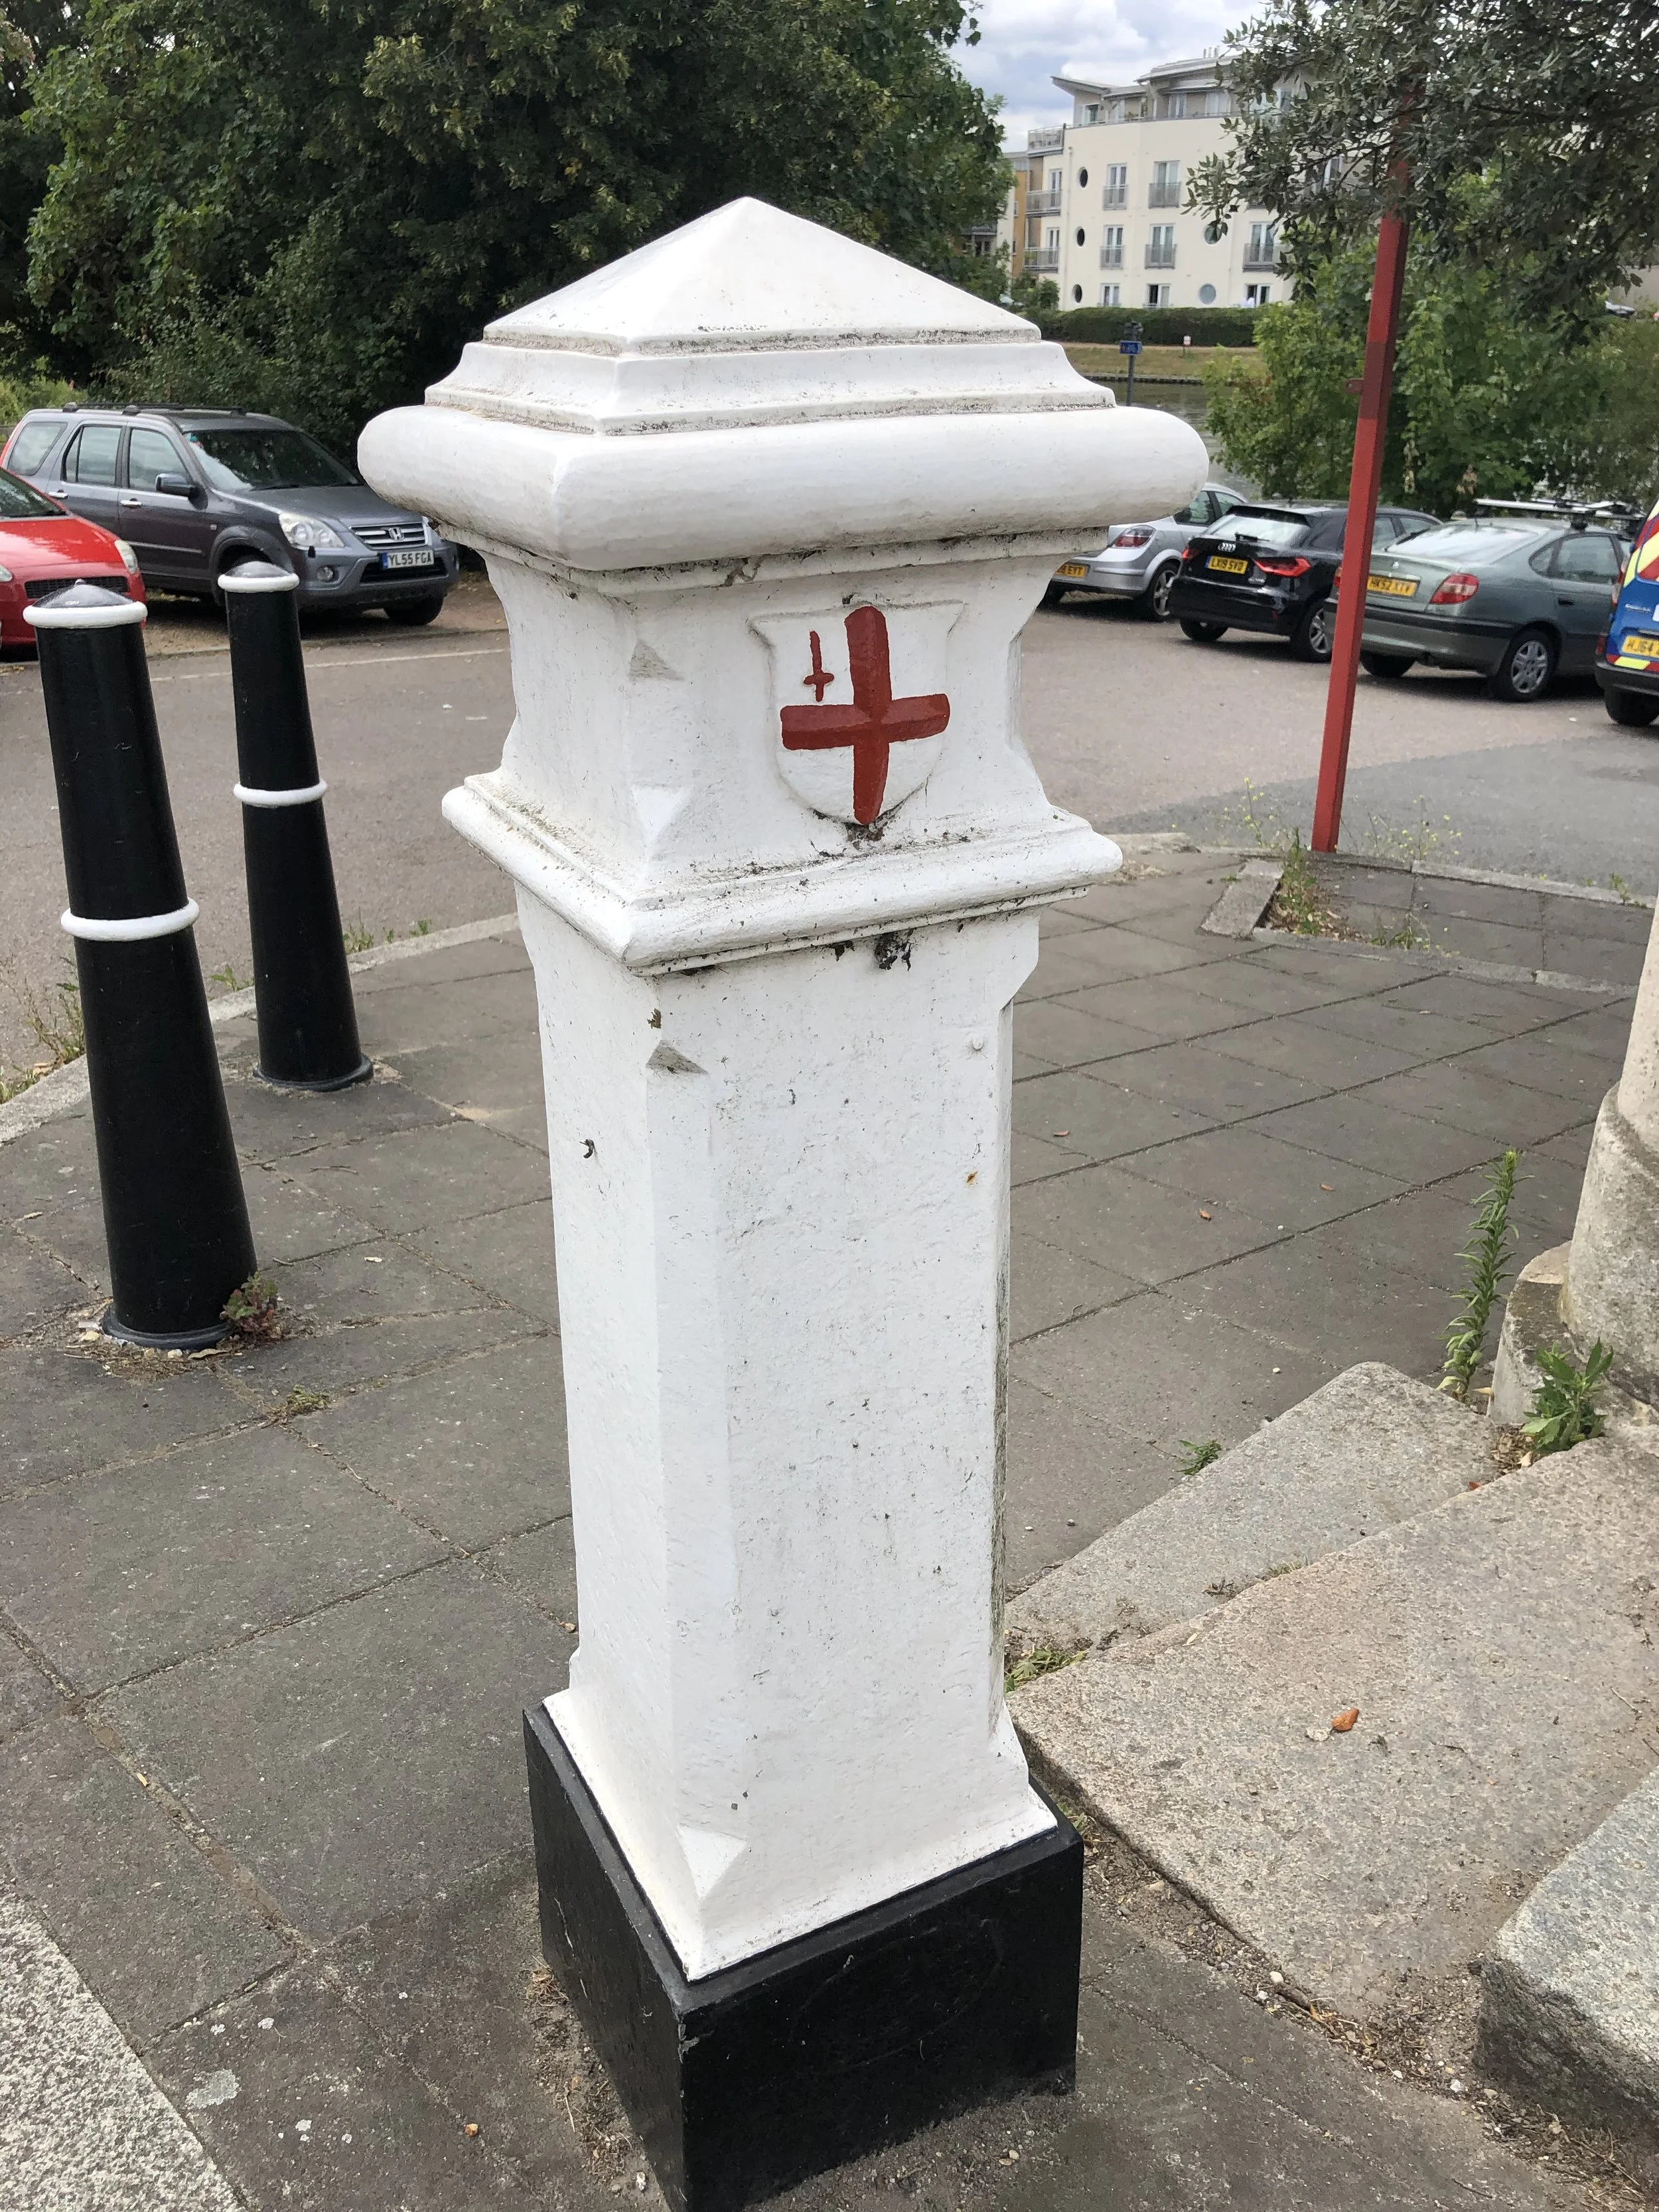
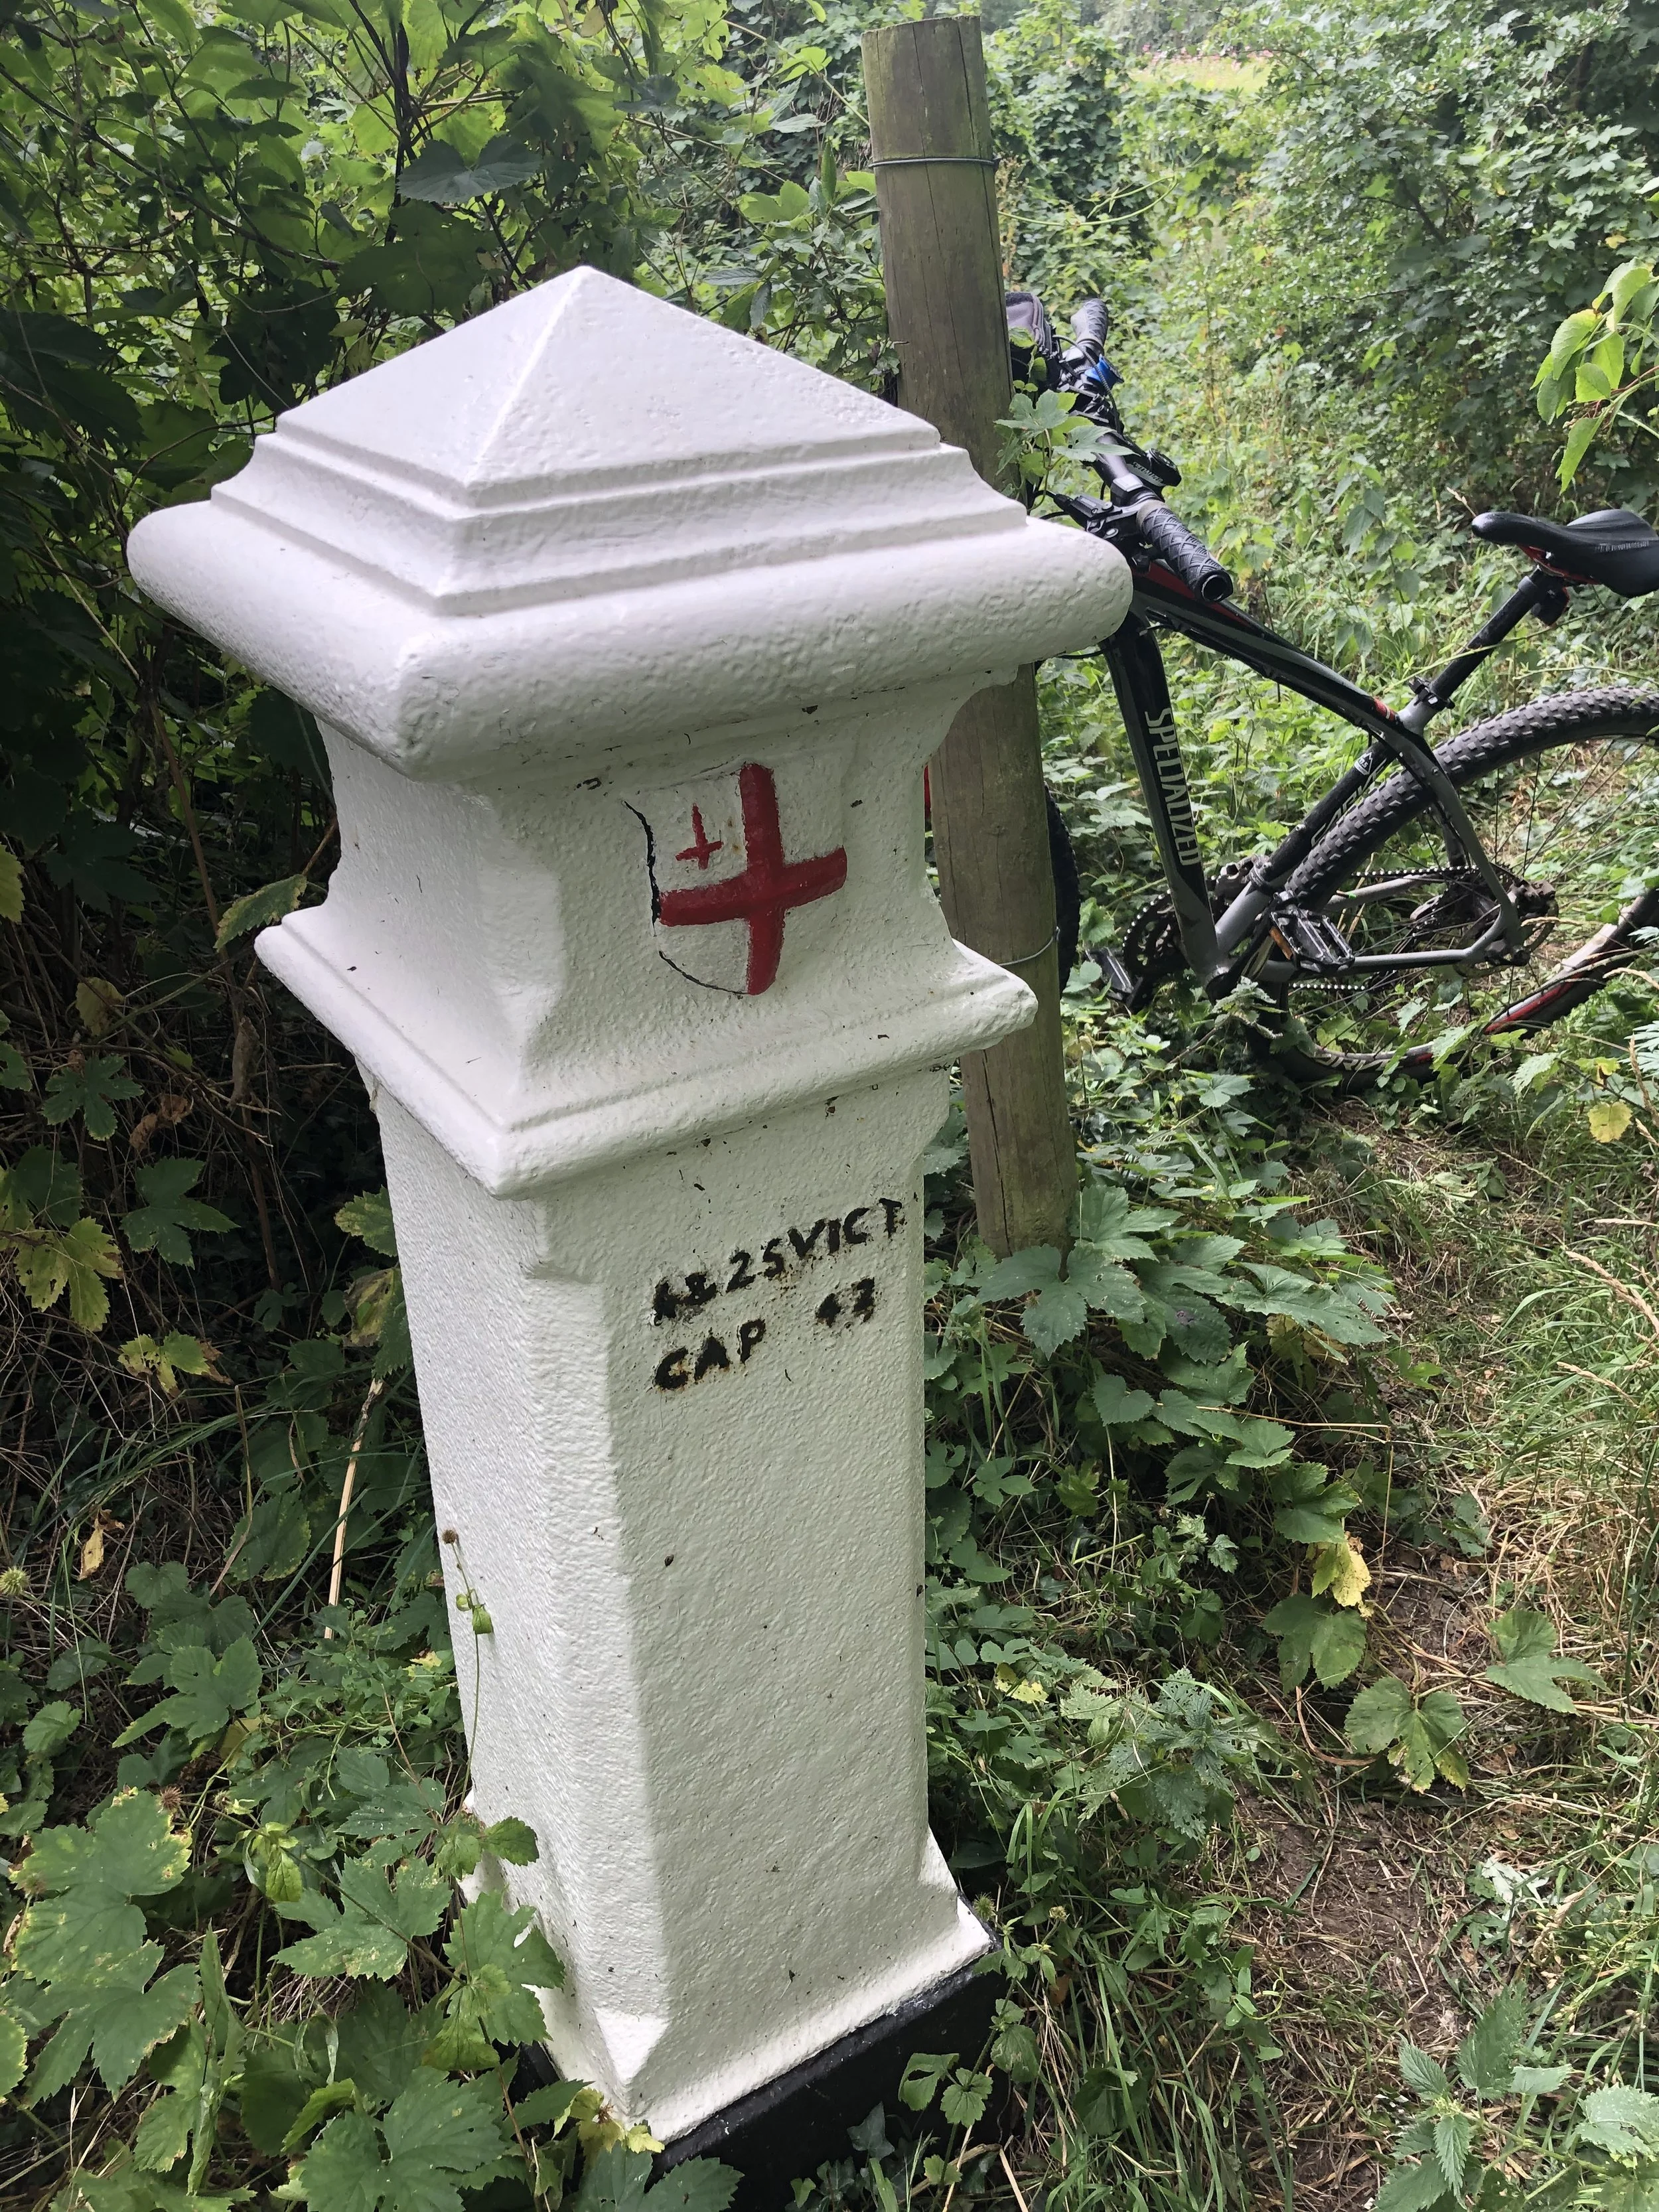
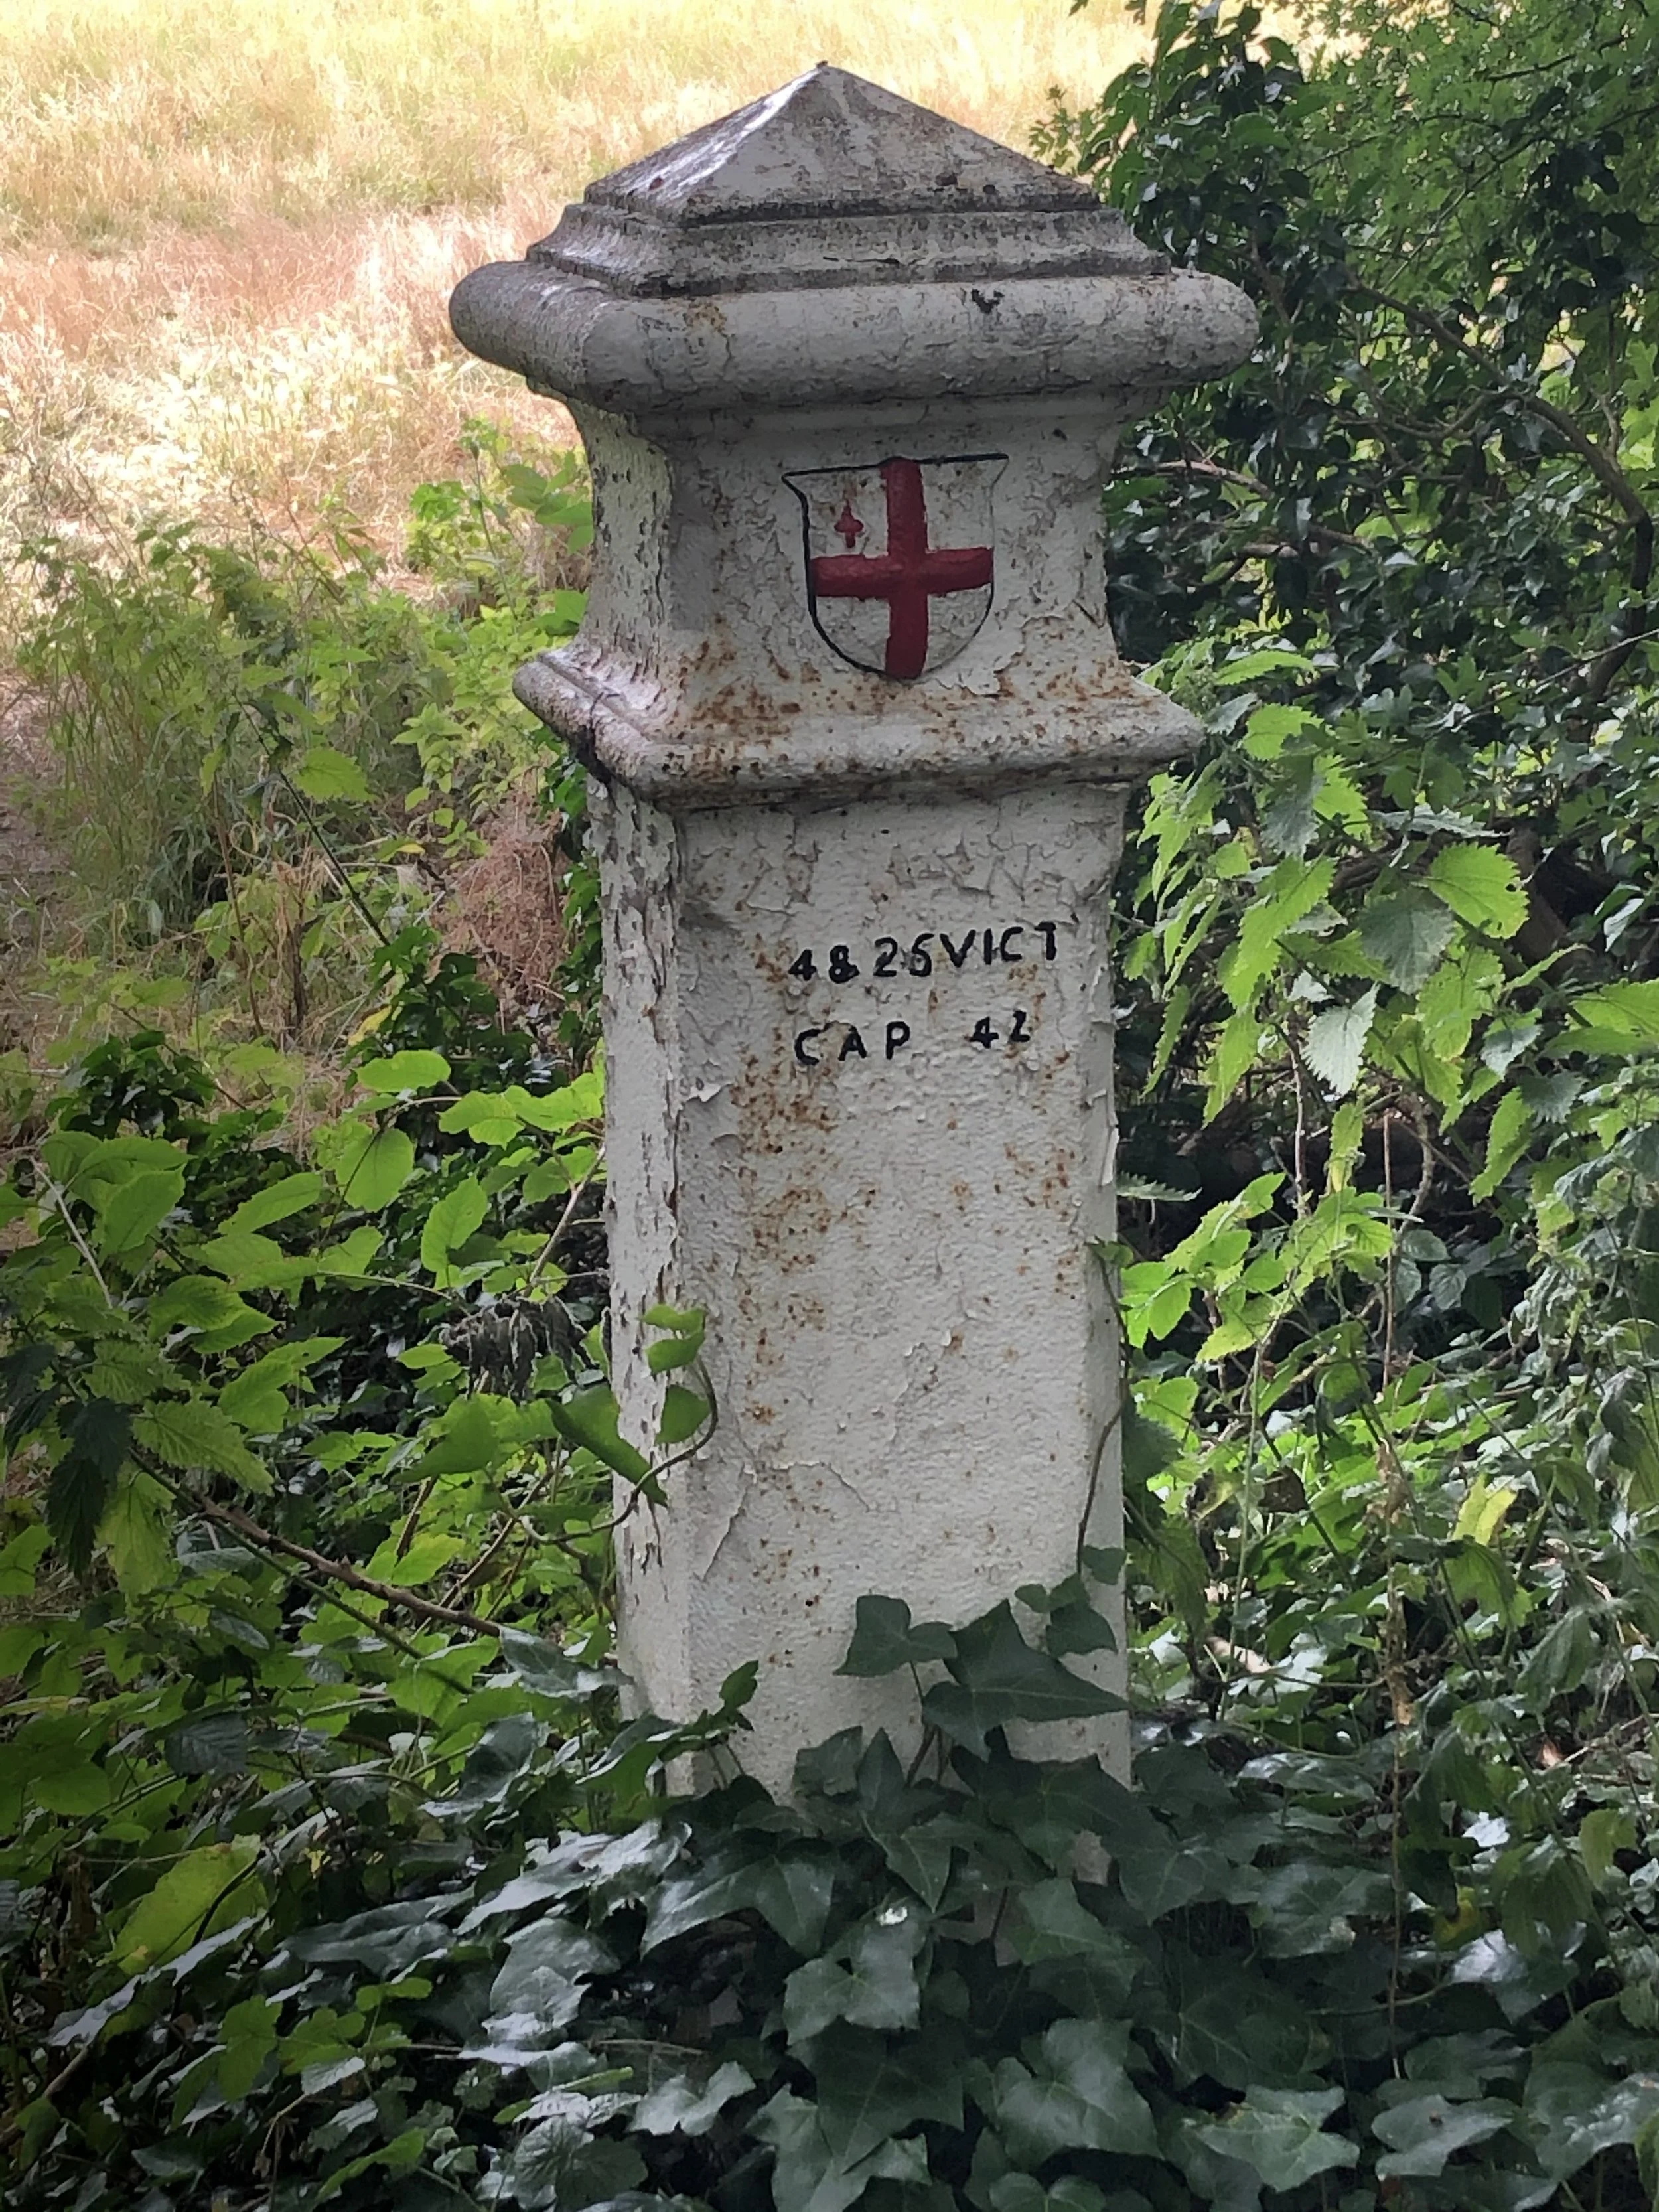
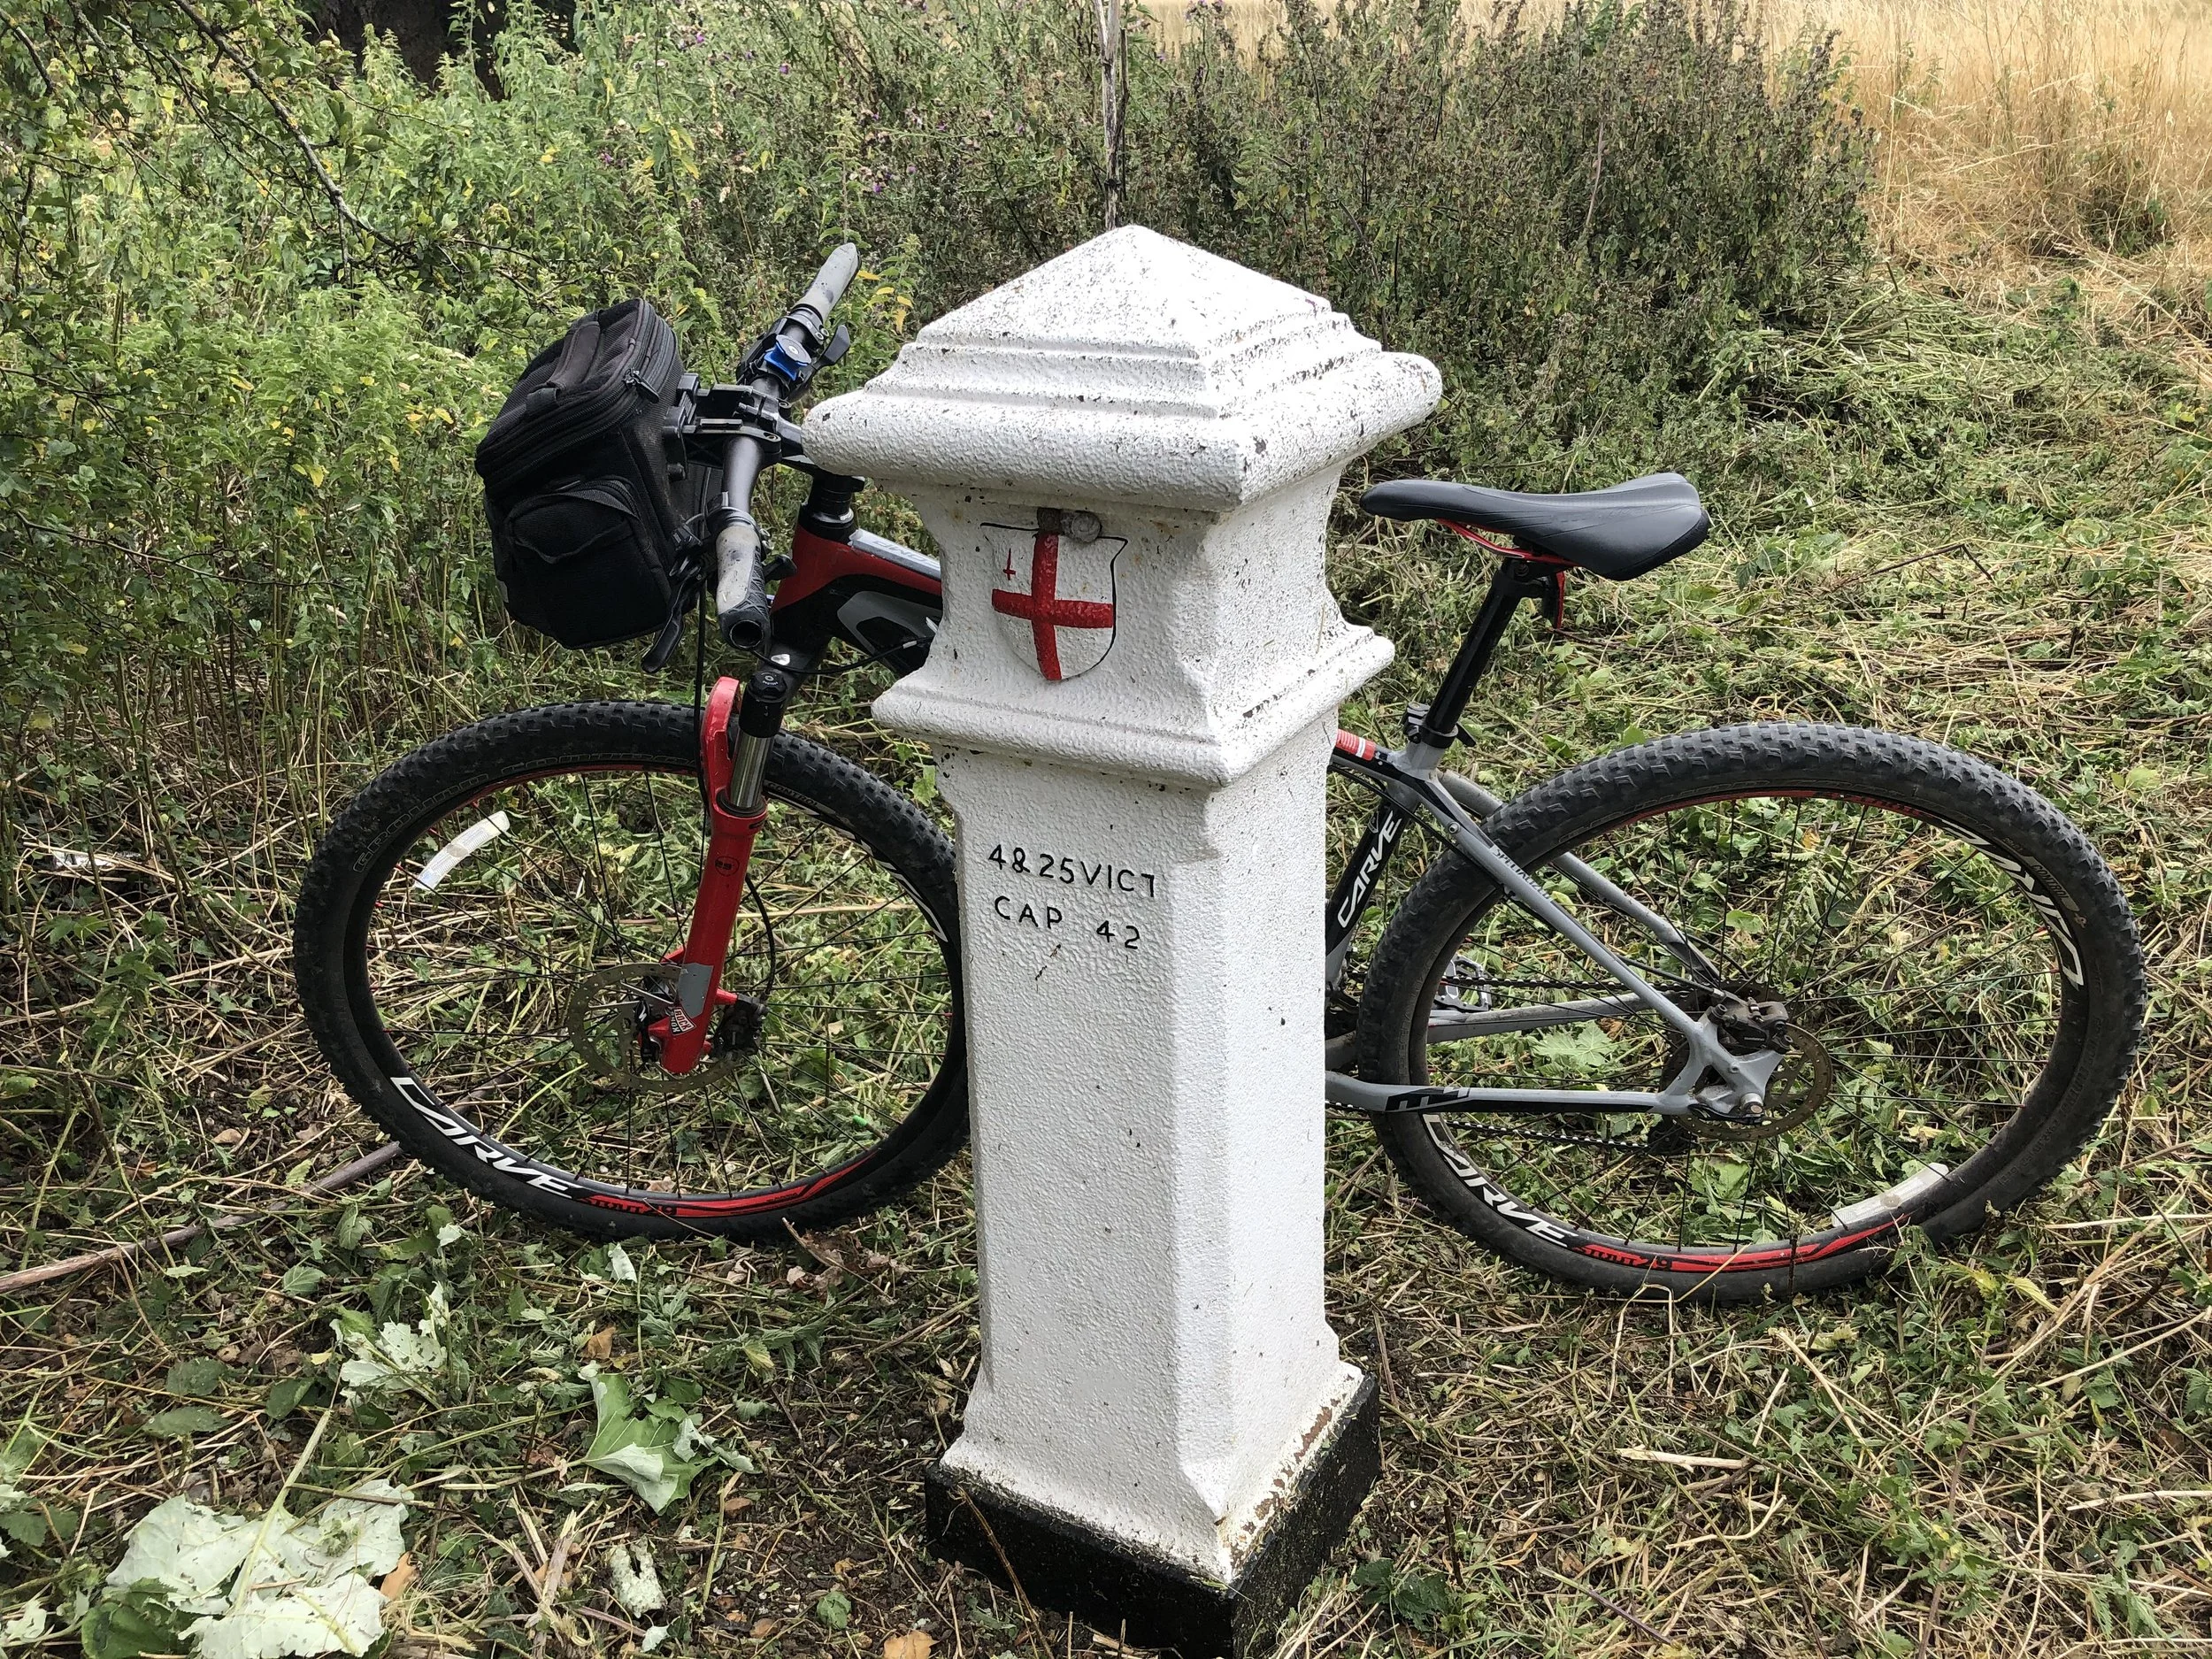
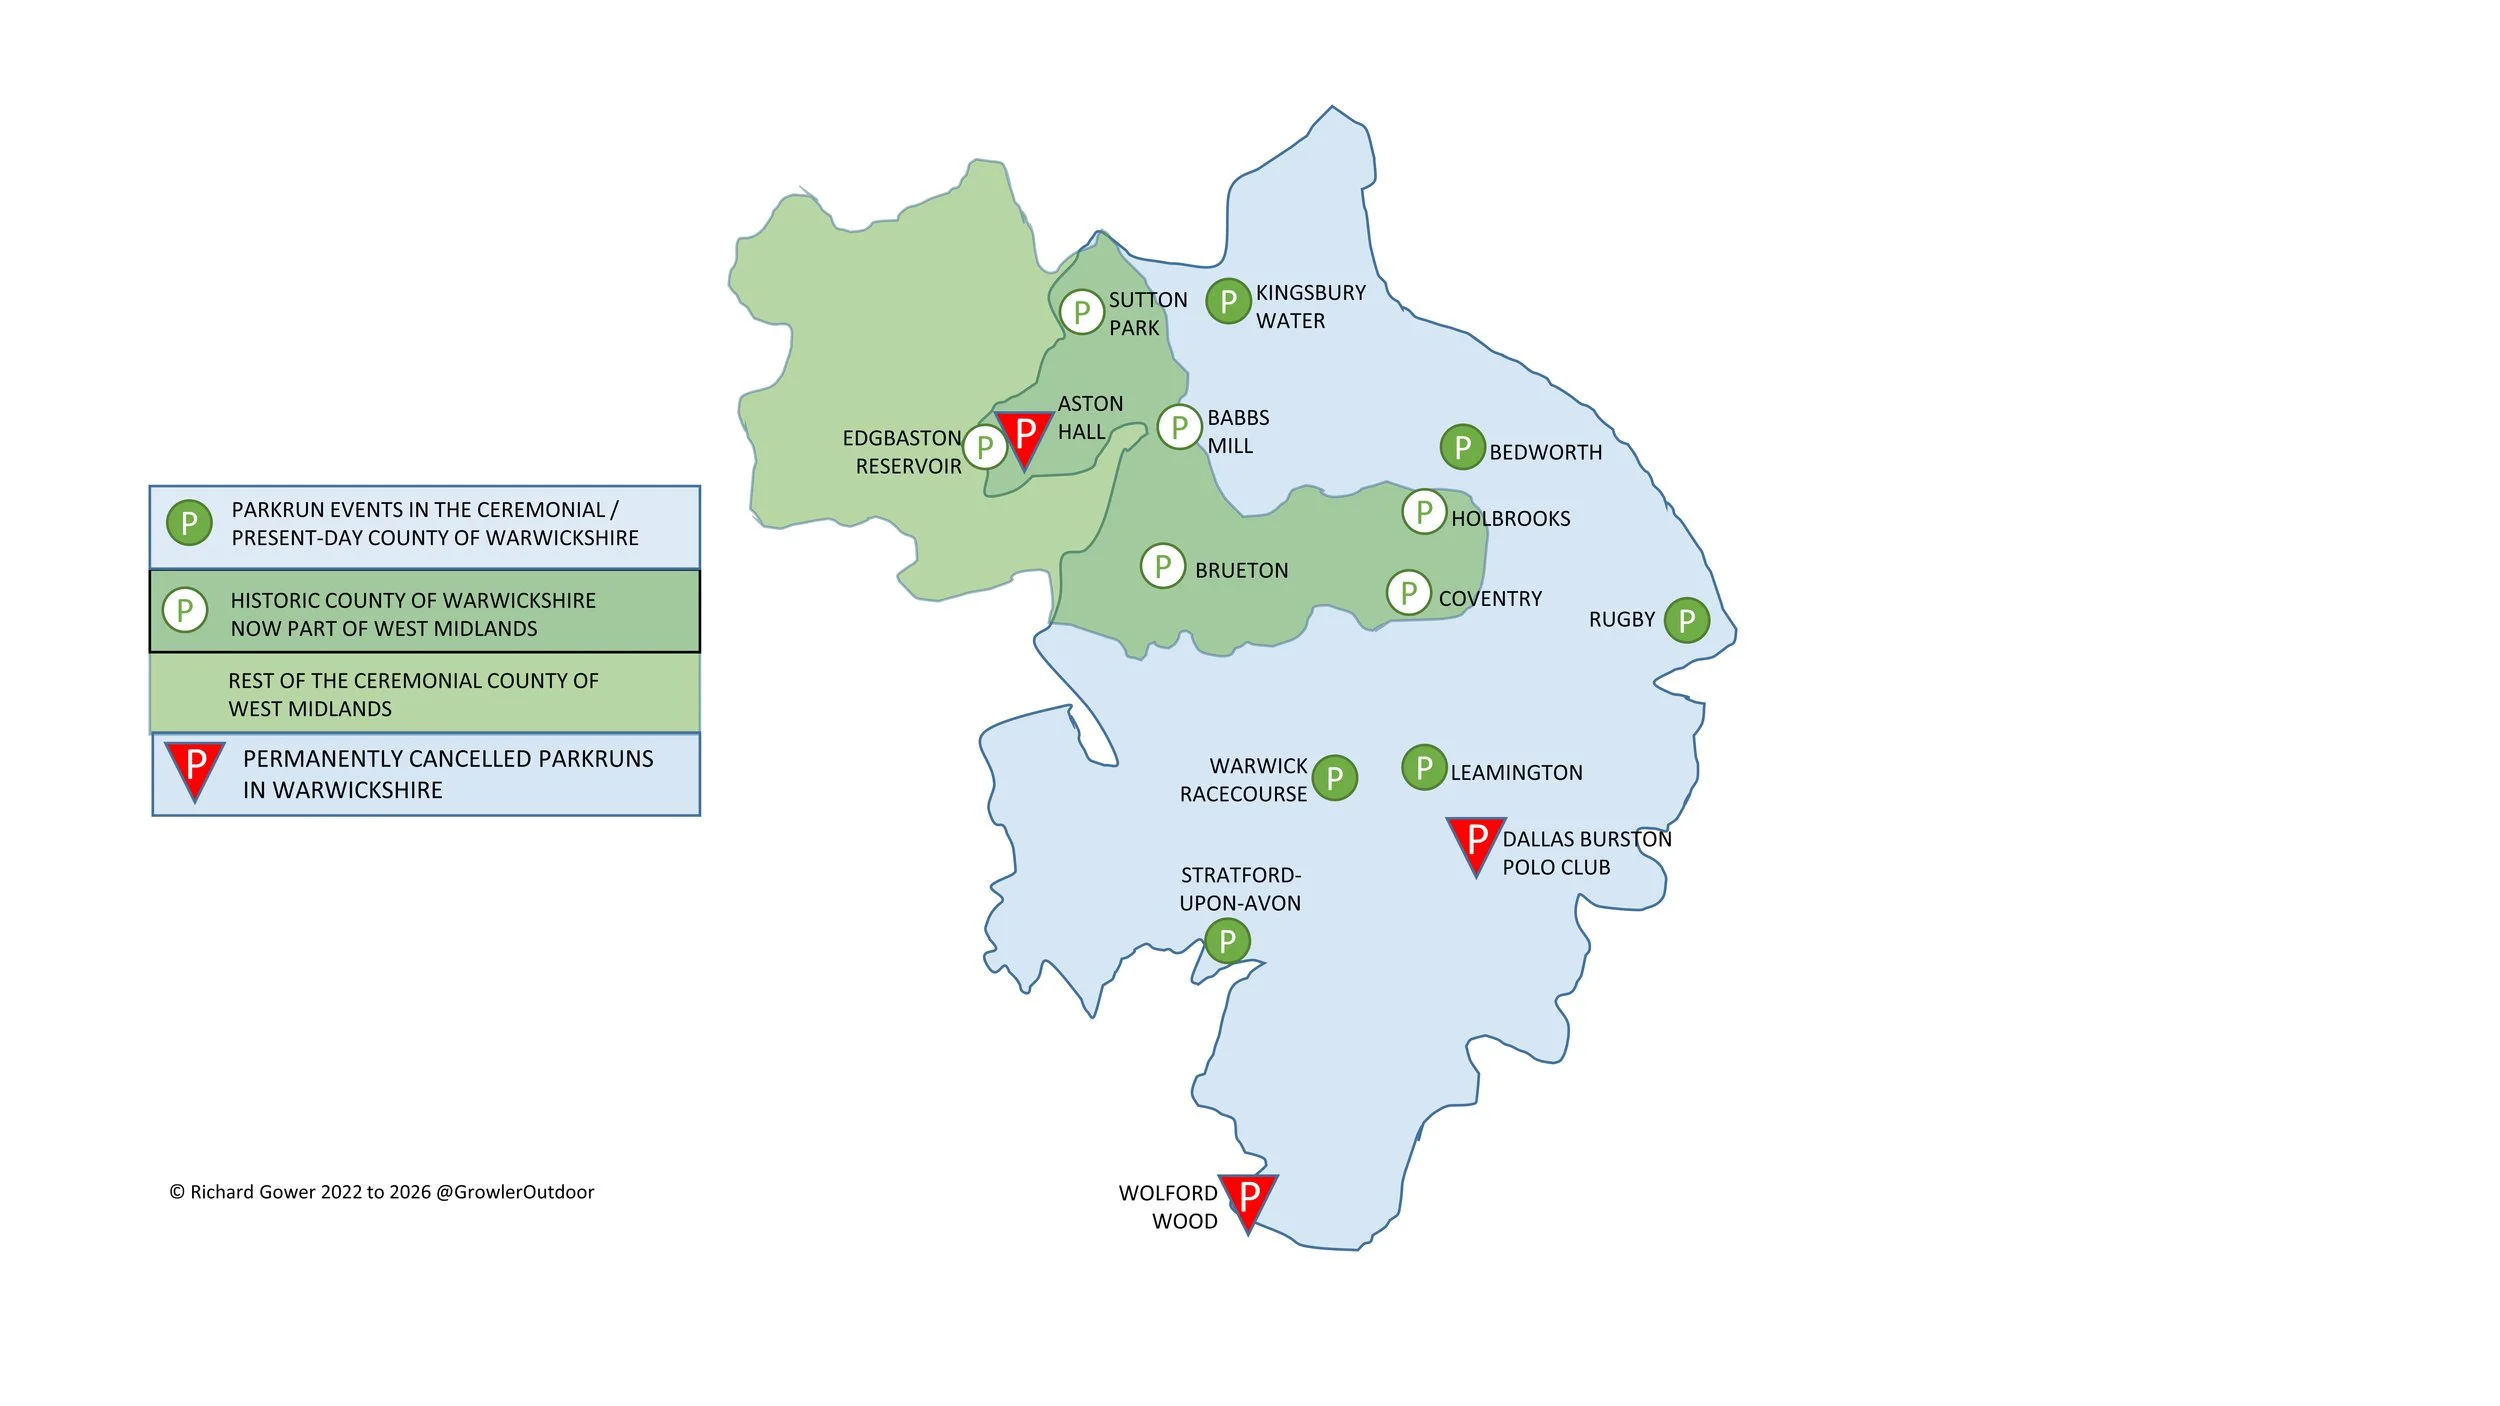
This is part of a series of short circular walks following the length of the Midshires Way in Buckinghamshire. The Midshires Way is a 225-mile (362 km) trail that journeys through the rural heart of Middle England, linking the Ridgeway National Trail at Bledlow in the south to the Trans Pennine Trail at Stockport in the north. Opened in 1994, this route traverses several counties, including Buckinghamshire, Northamptonshire, Leicestershire, Nottinghamshire, Derbyshire, and Greater Manchester, following a scenic tapestry of ancient bridleways, quiet country lanes, and historic canals. In Buckinghamshire, the Midshires Way has a significant connection with the Swan's Way (often referred to as the Swan Way), a 65-mile long-distance bridleway. Essentially, the Swan's Way forms the backbone of the Buckinghamshire section of the Midshires Way, with the two routes being broadly coincident for approximately 50 miles between Salcey Forest and Bledlow. While the Swan's Way strictly adheres to bridleways to accommodate horse riders and cyclists, the Midshires Way sometimes offers alternative waymarked footpaths for walkers to avoid on-road sections.
Walking Directions
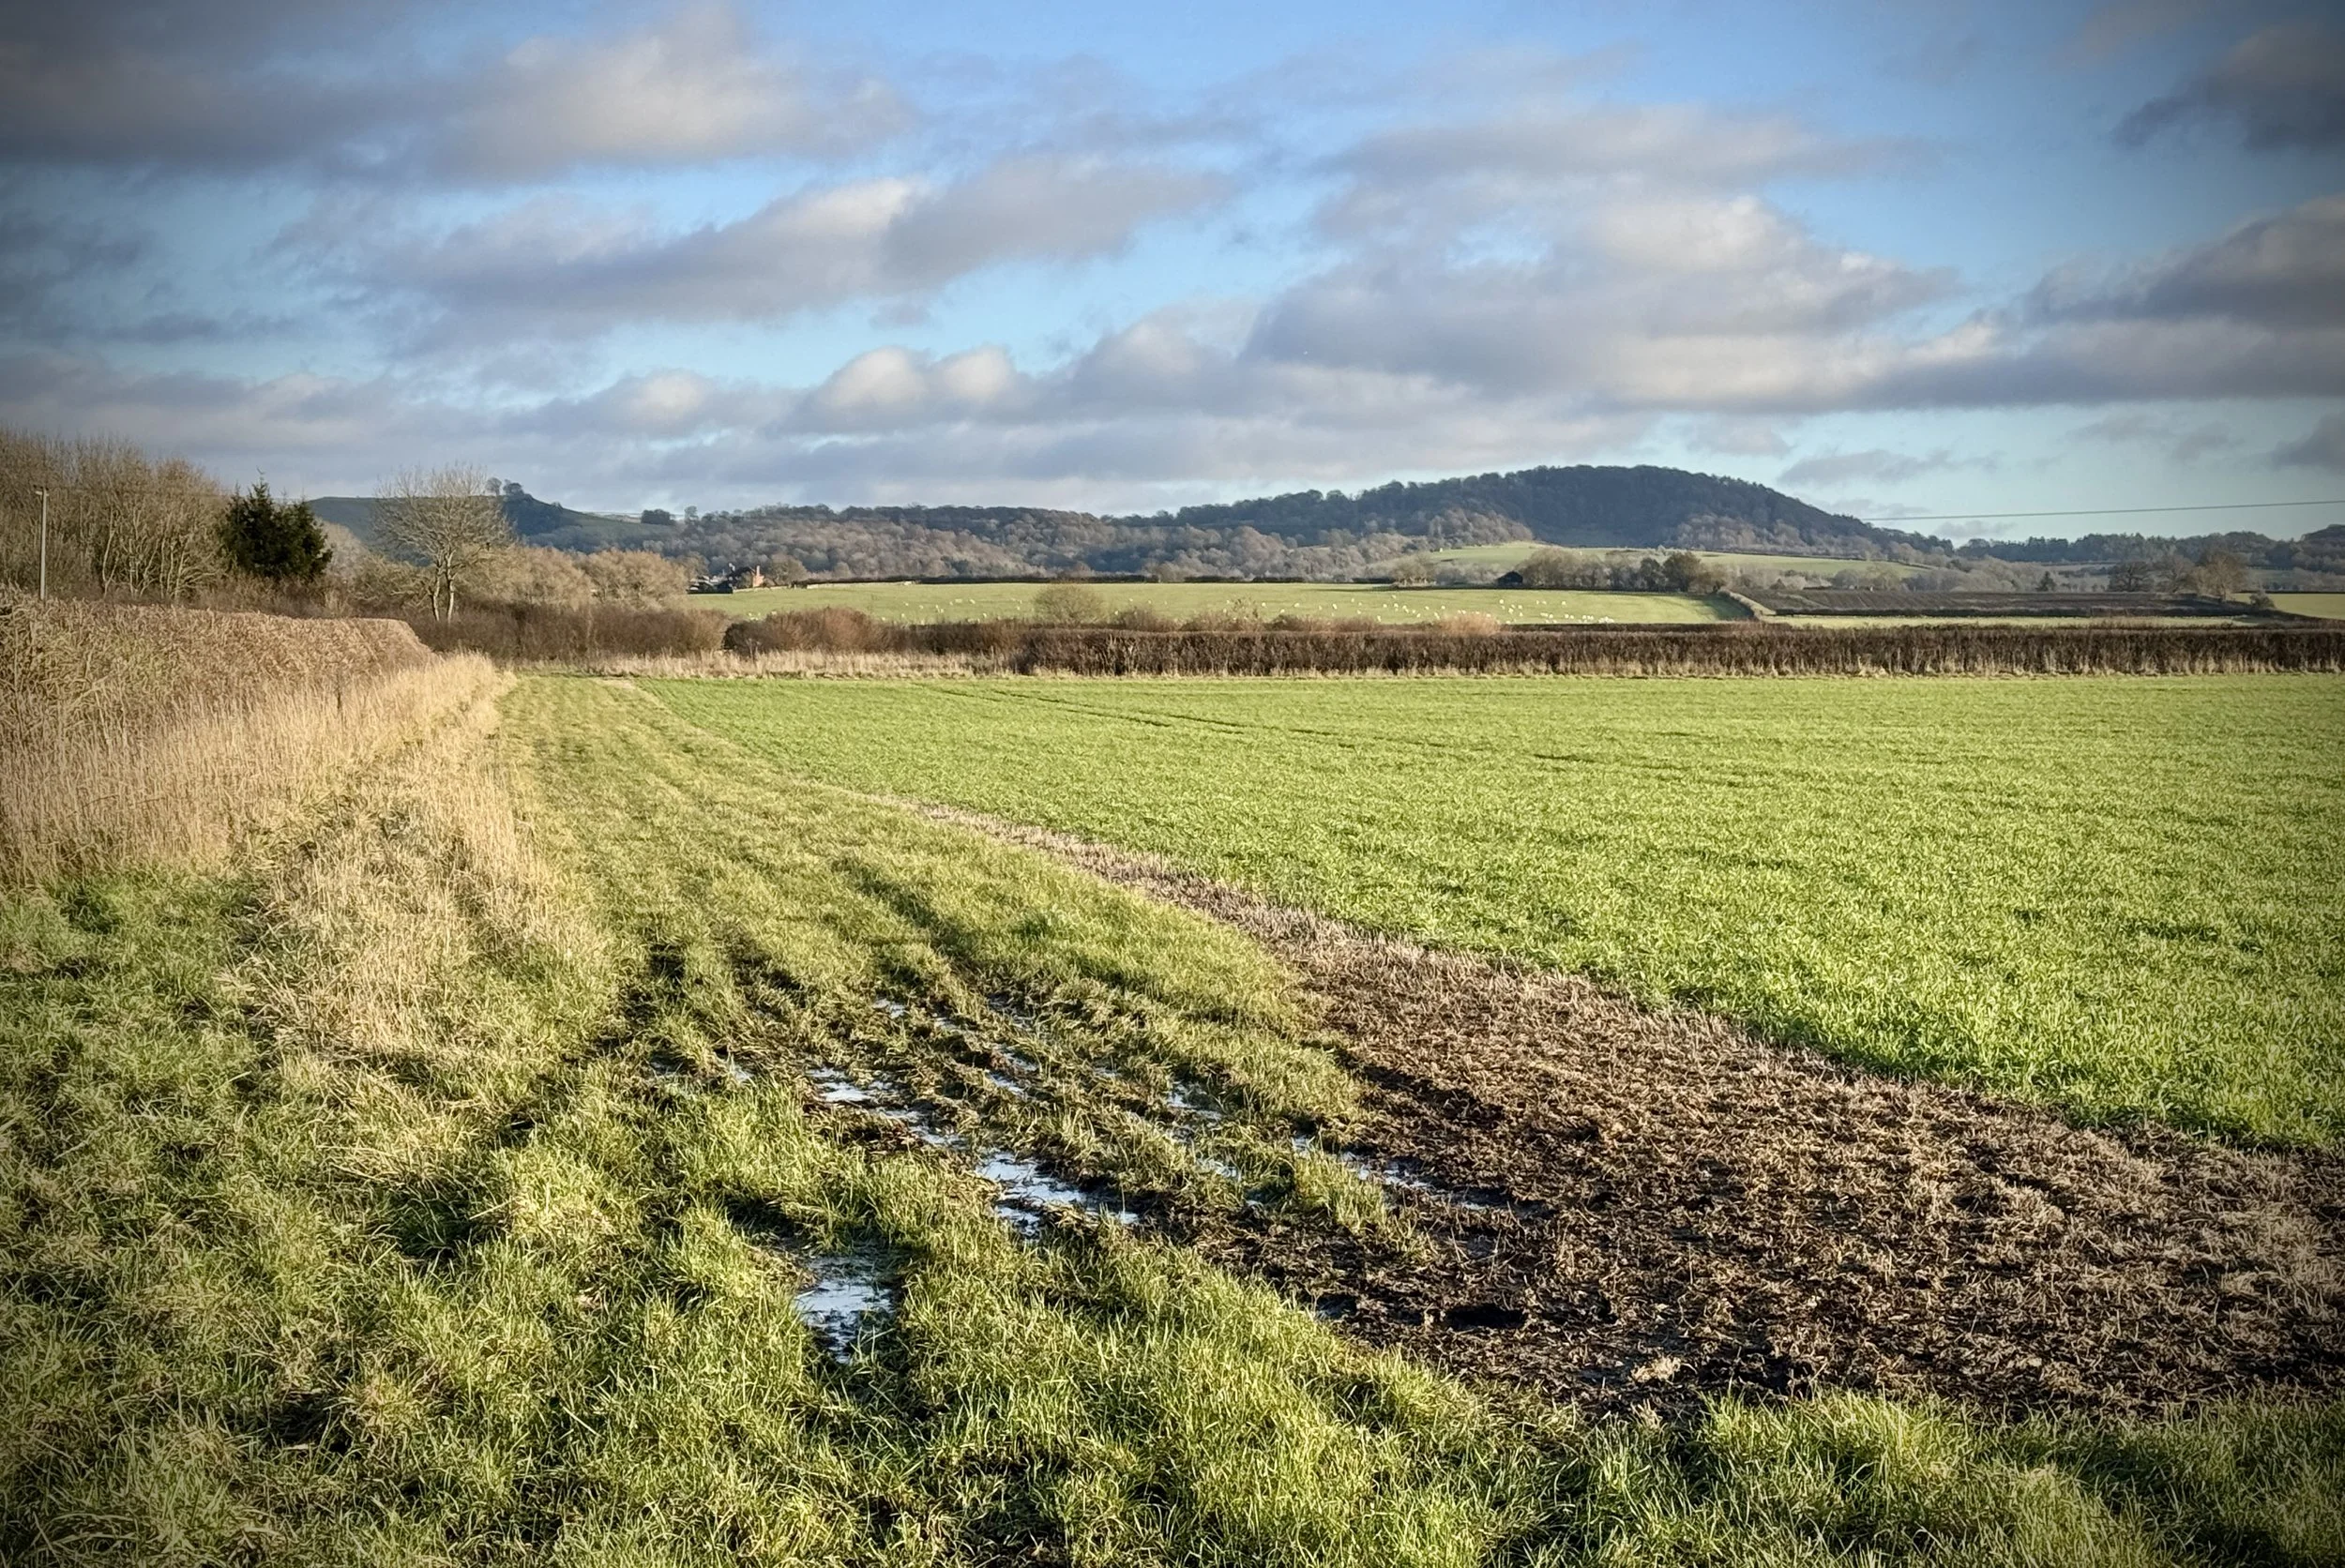
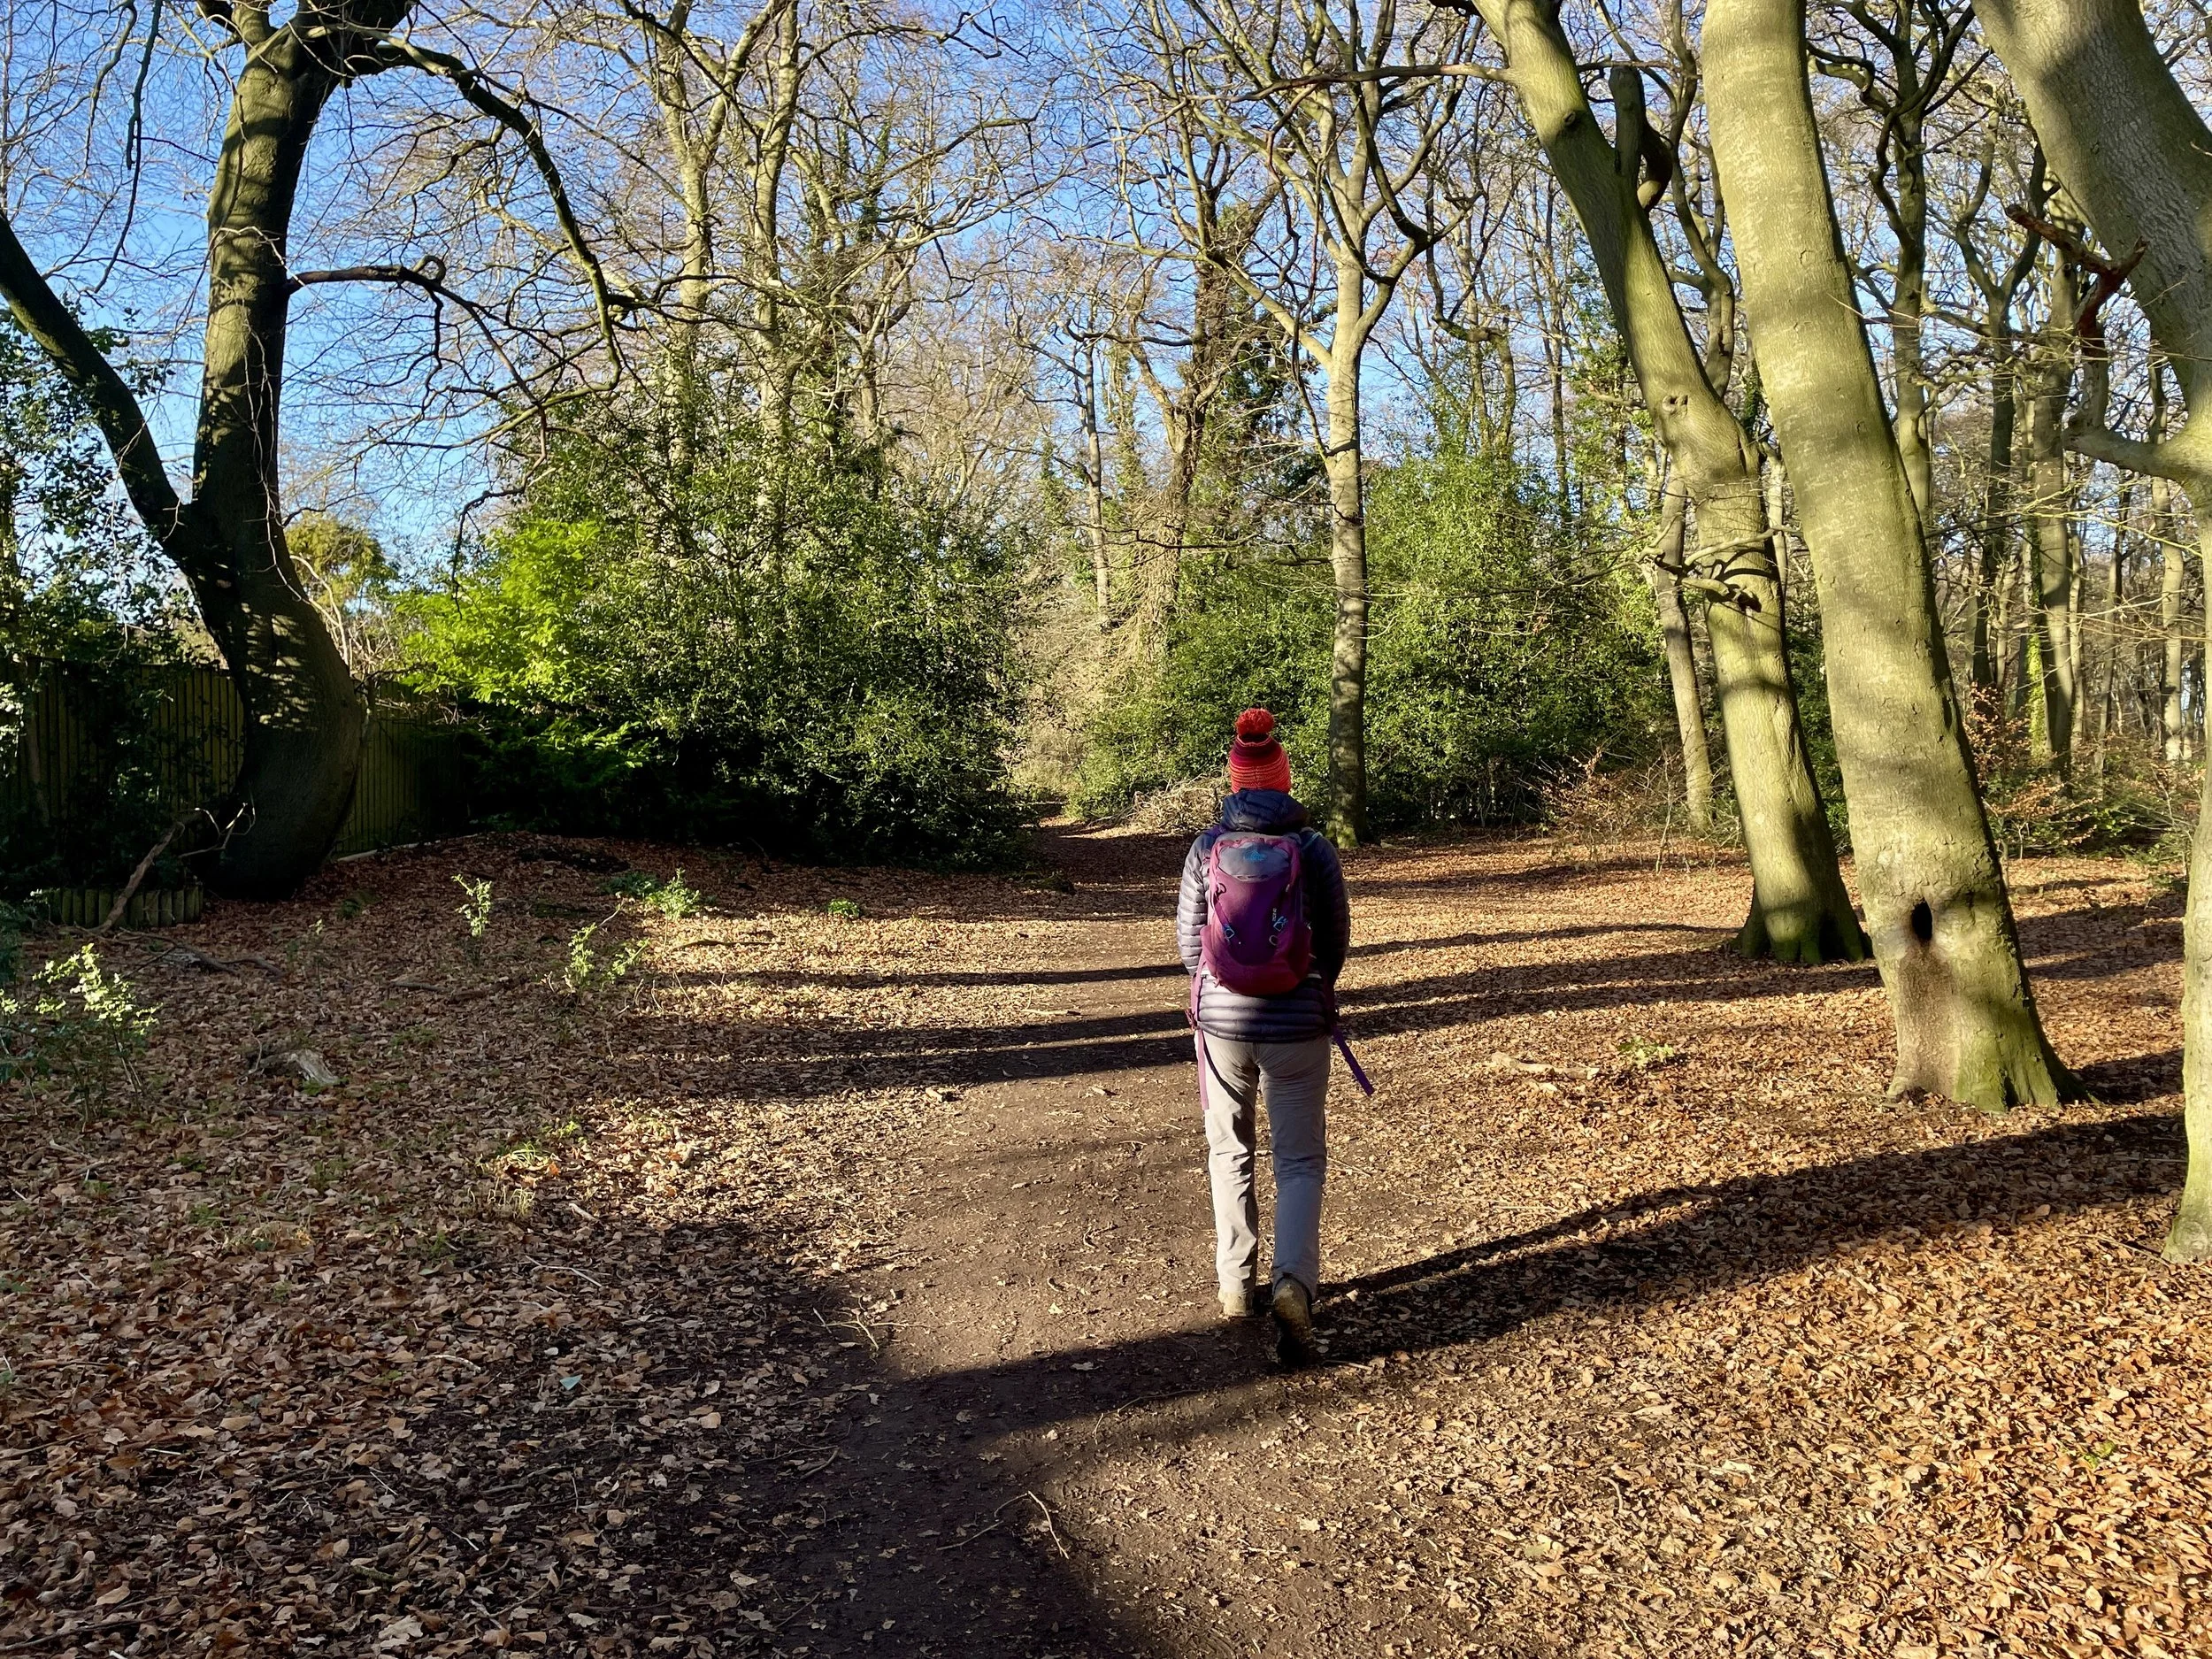
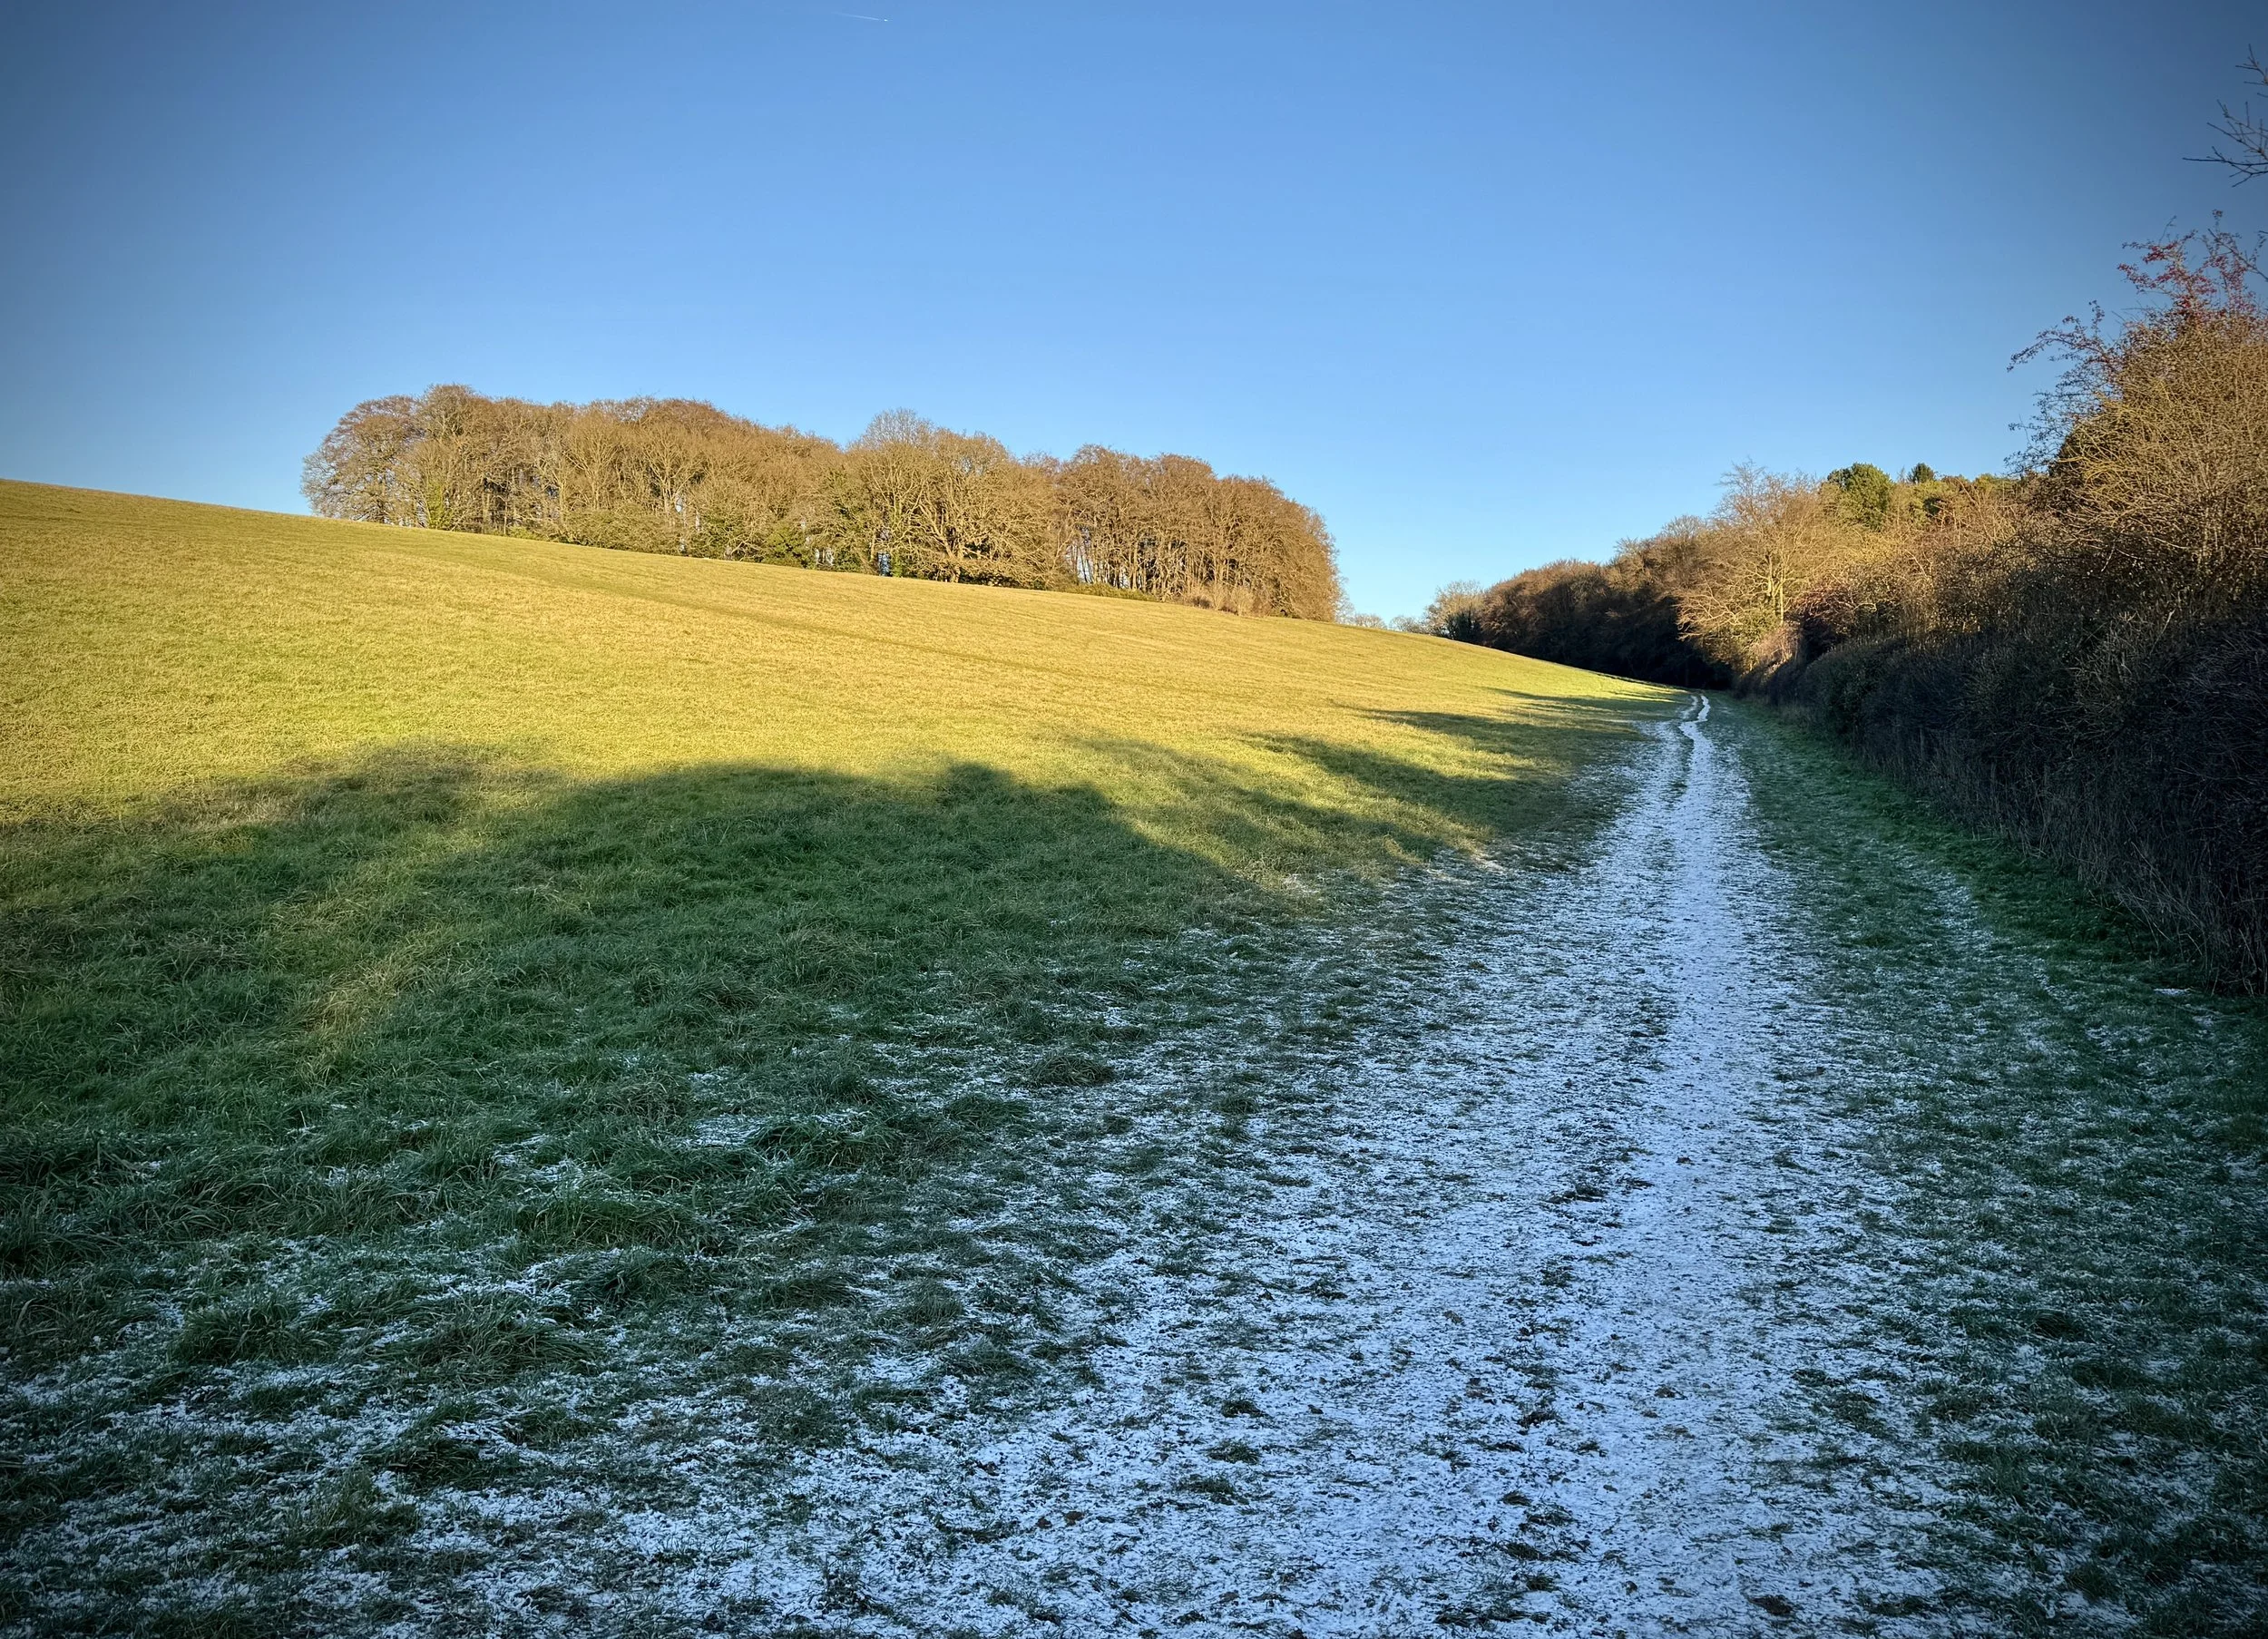
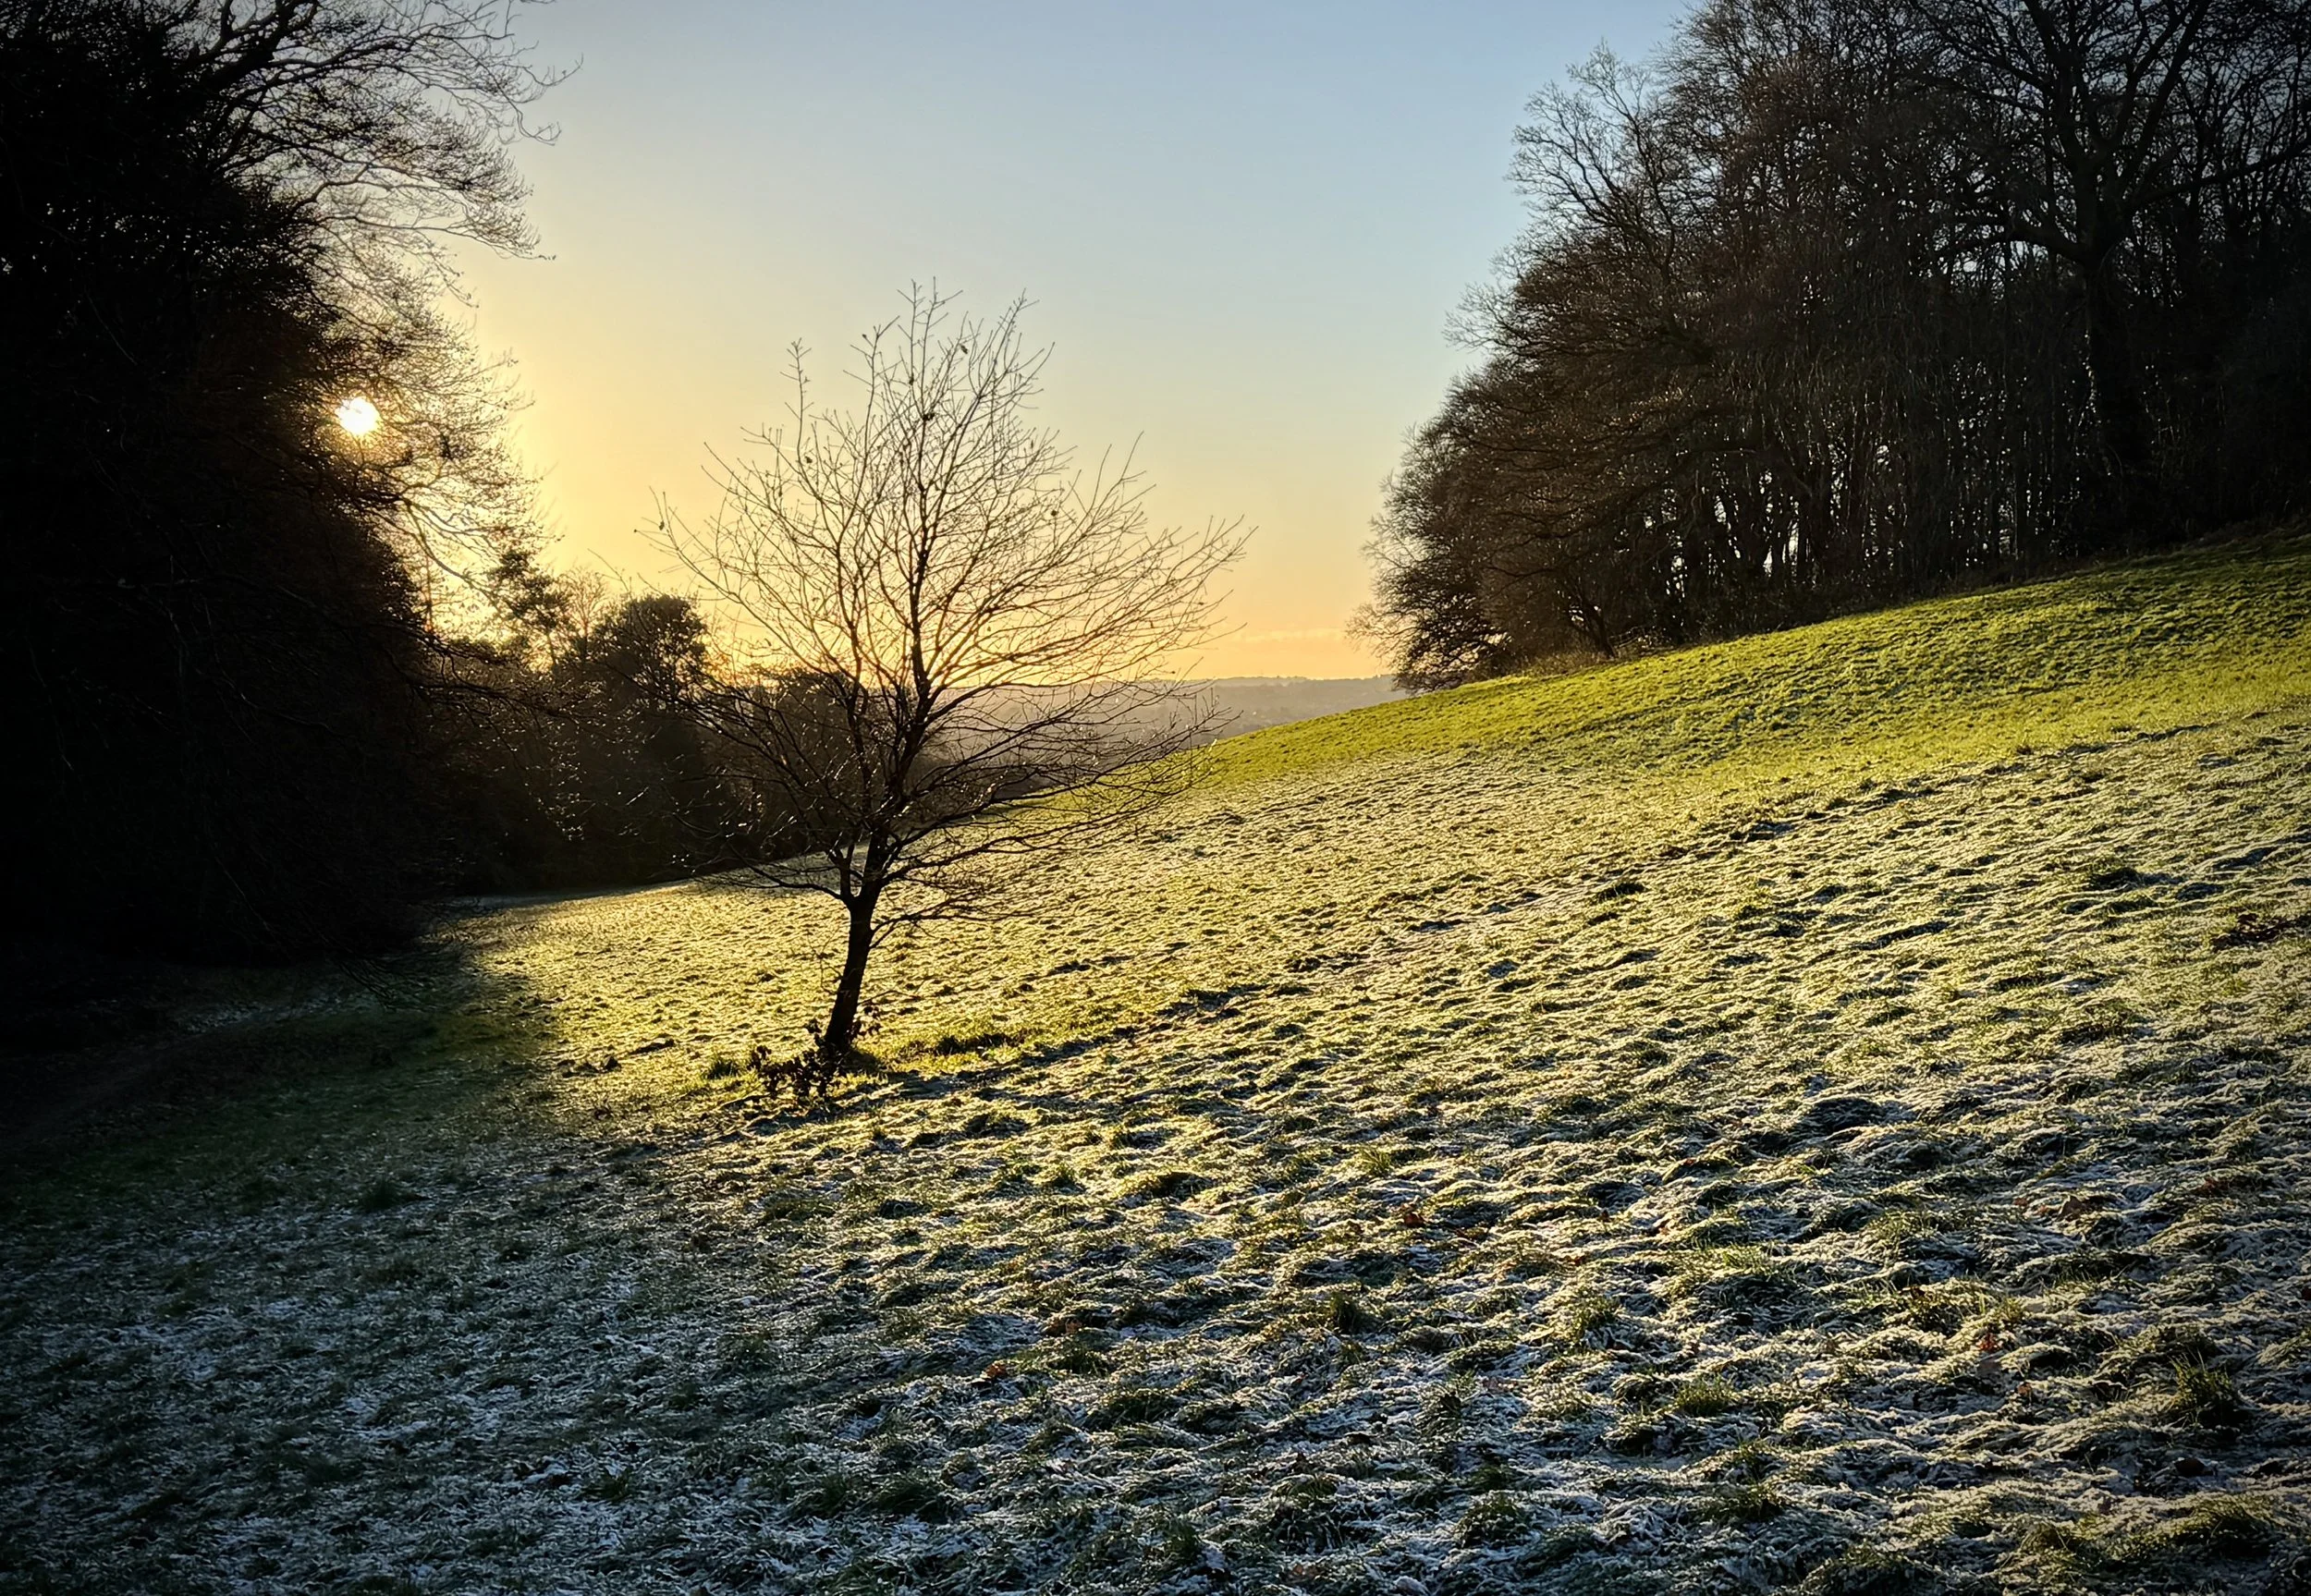
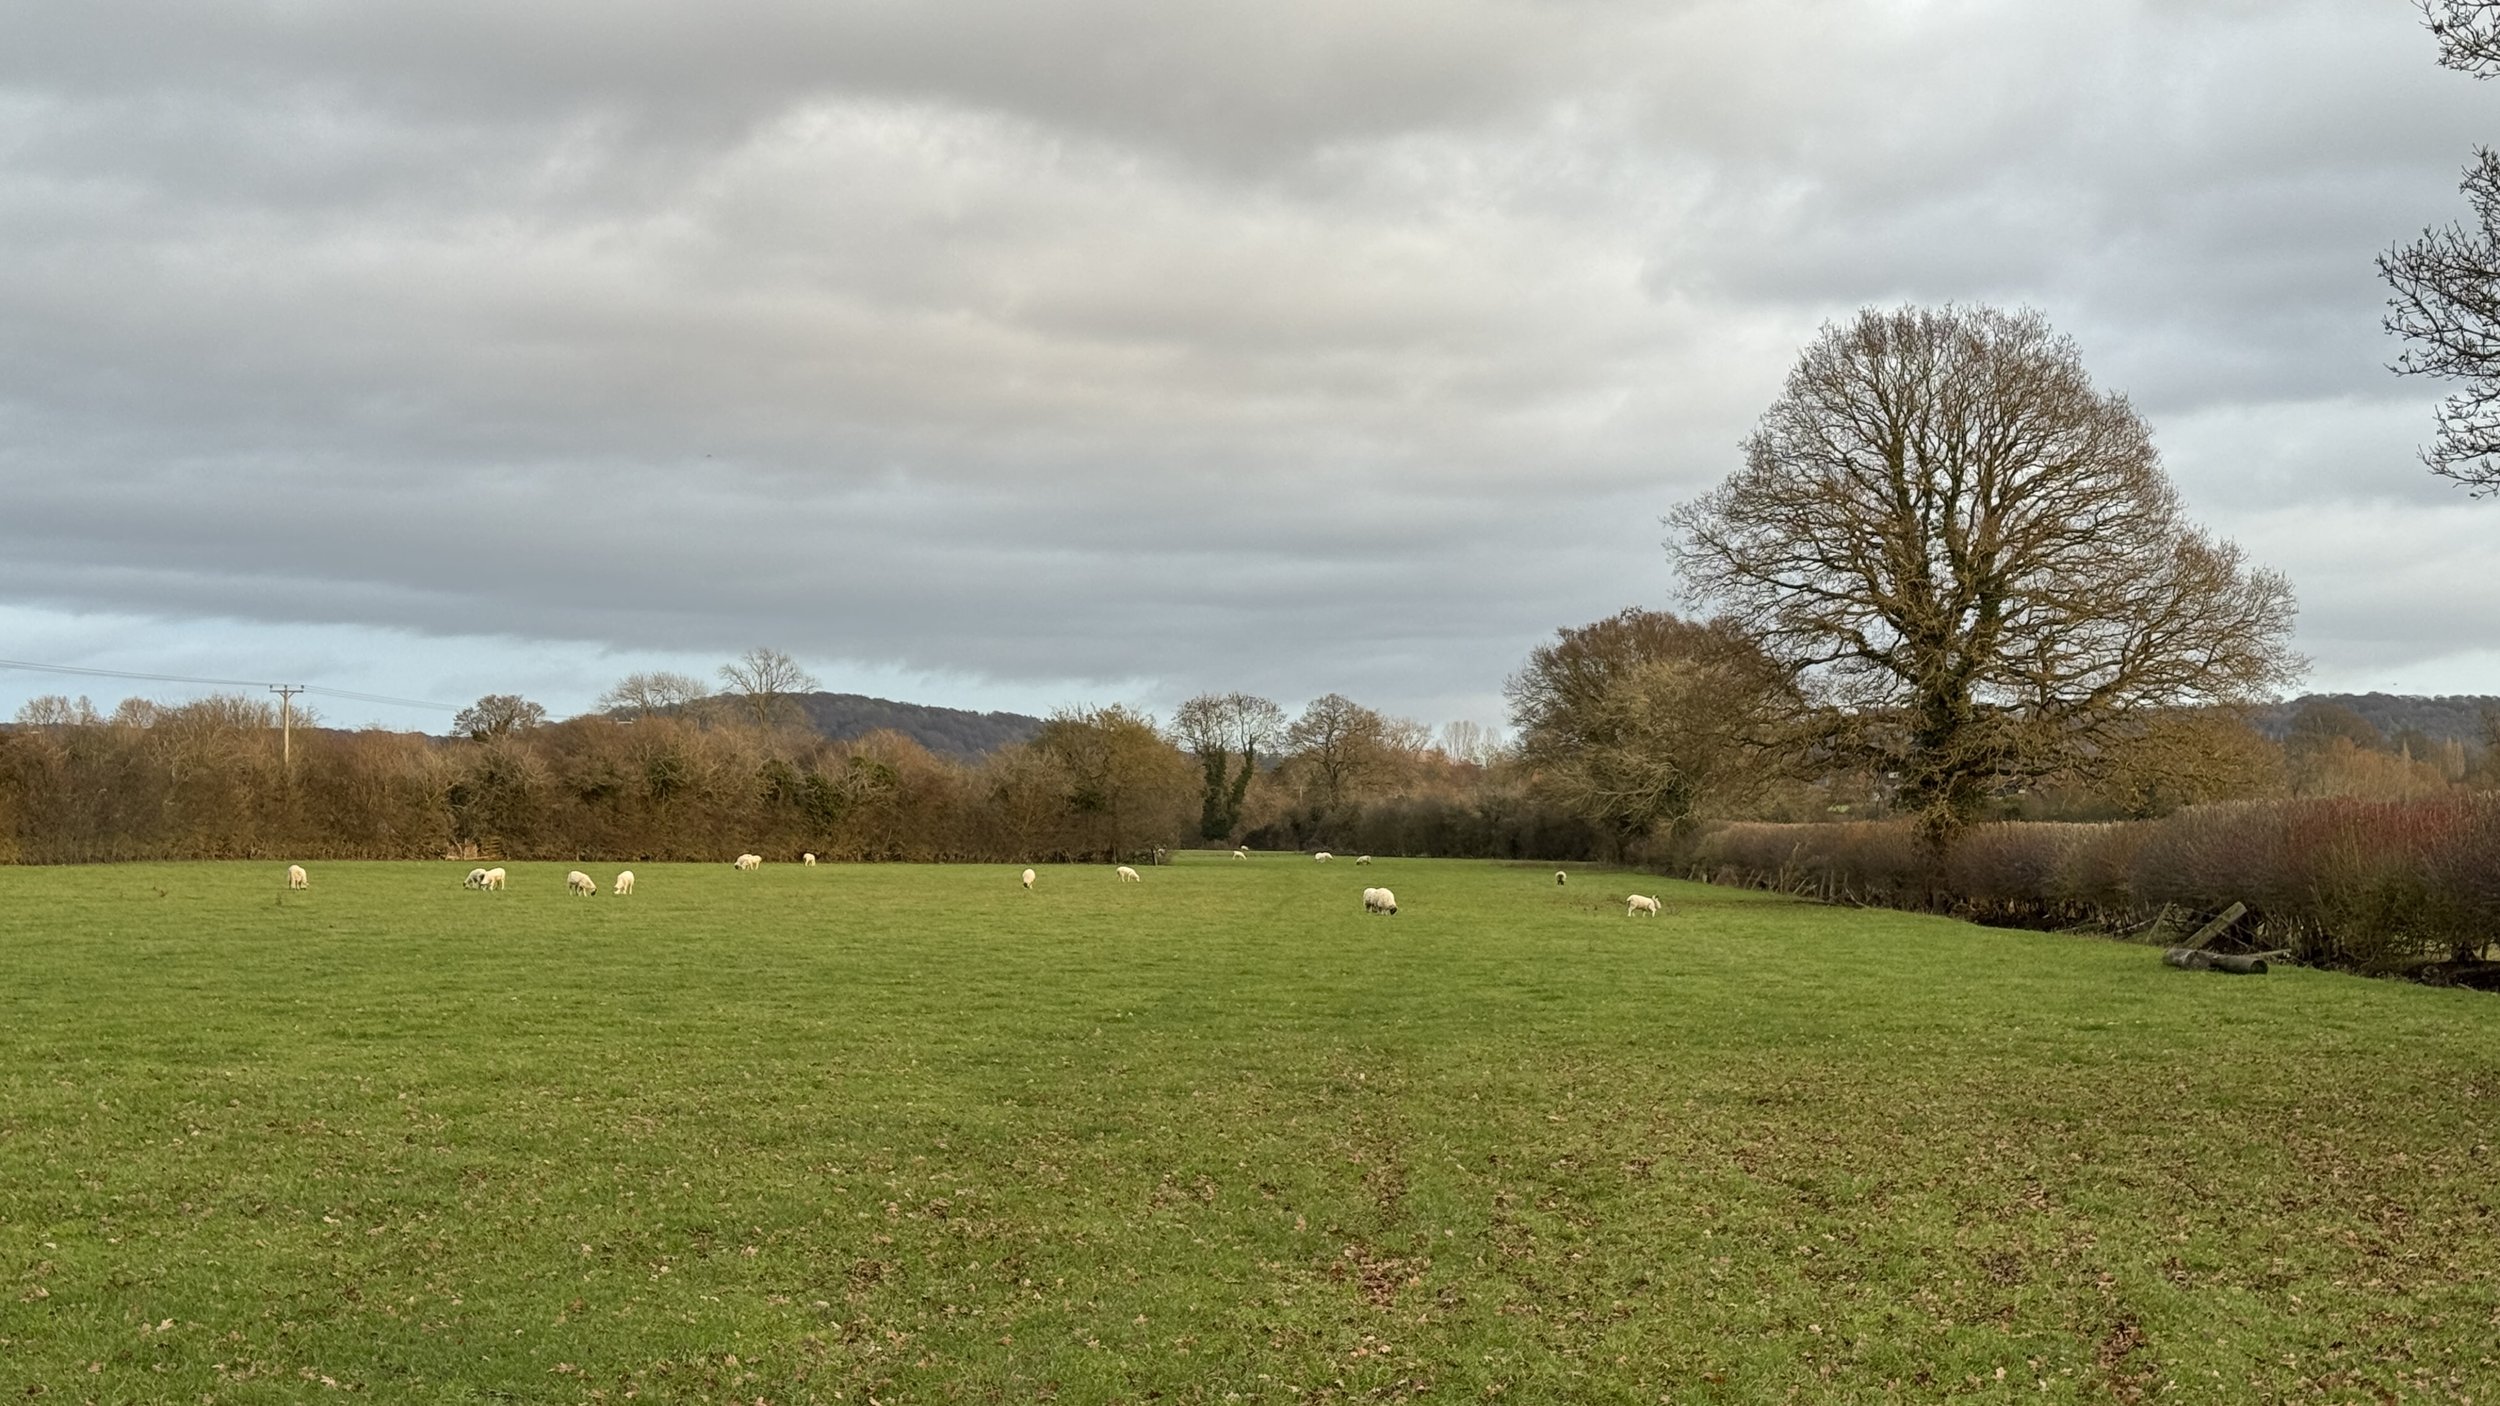
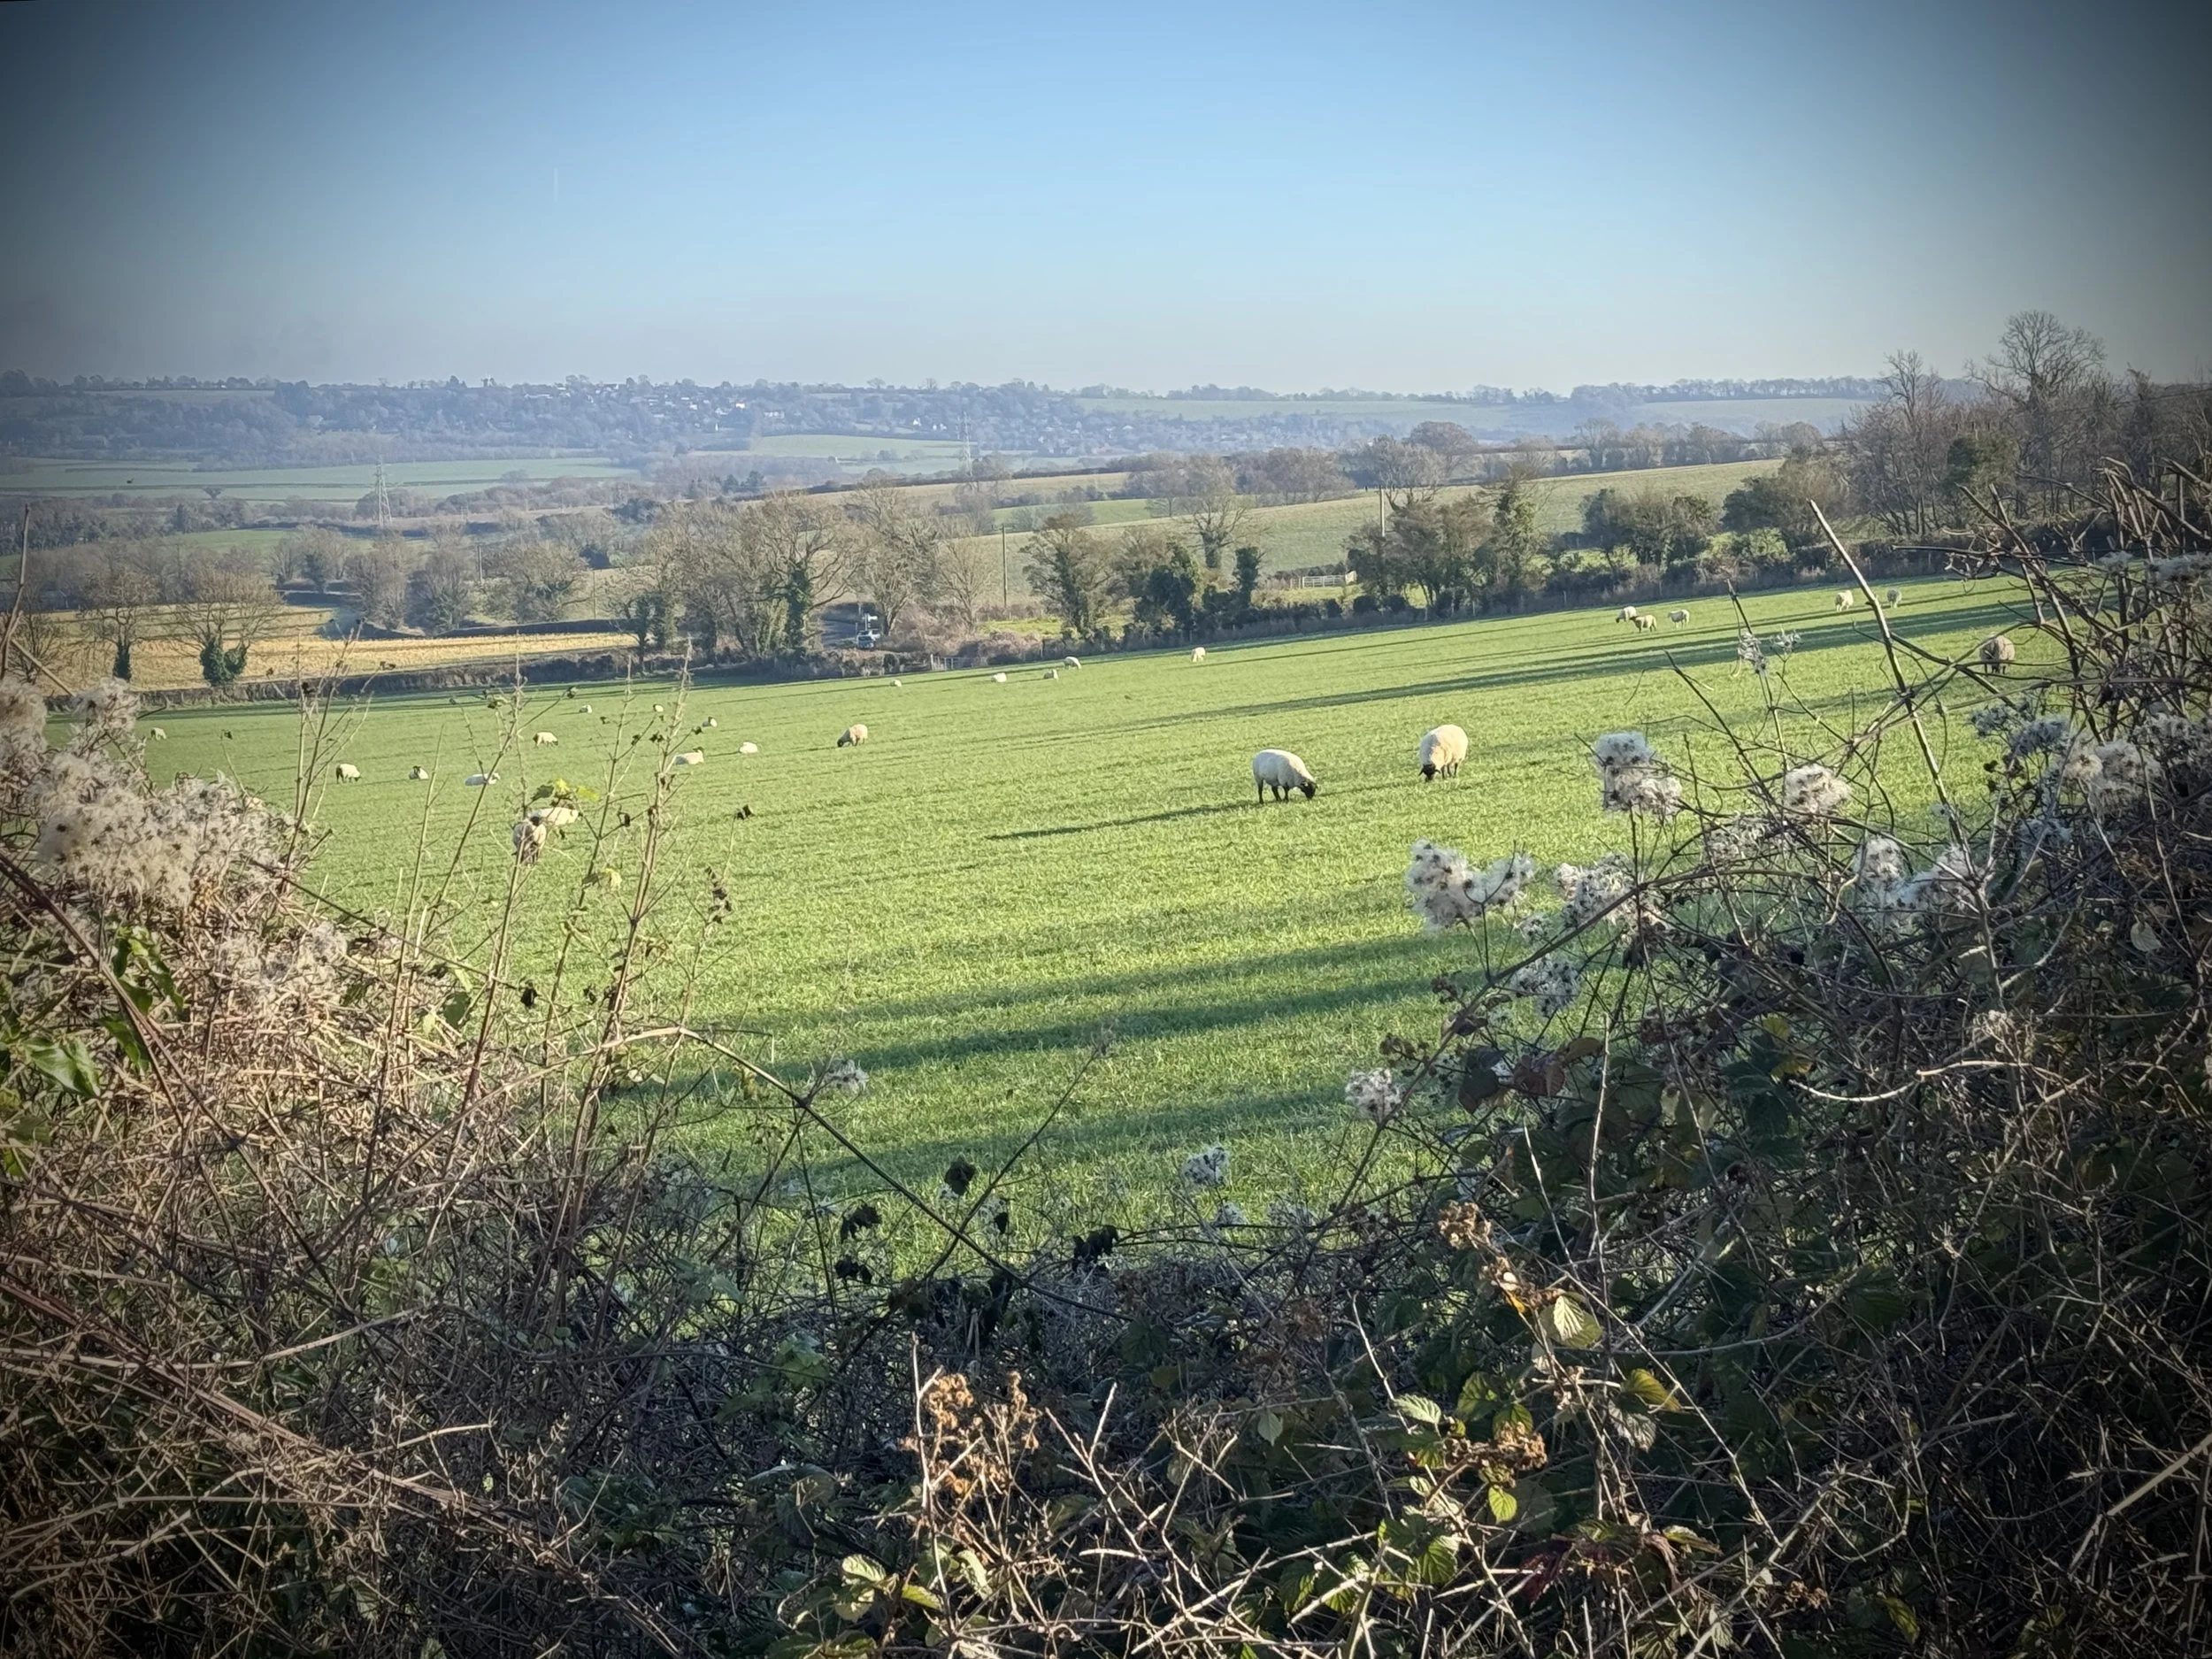
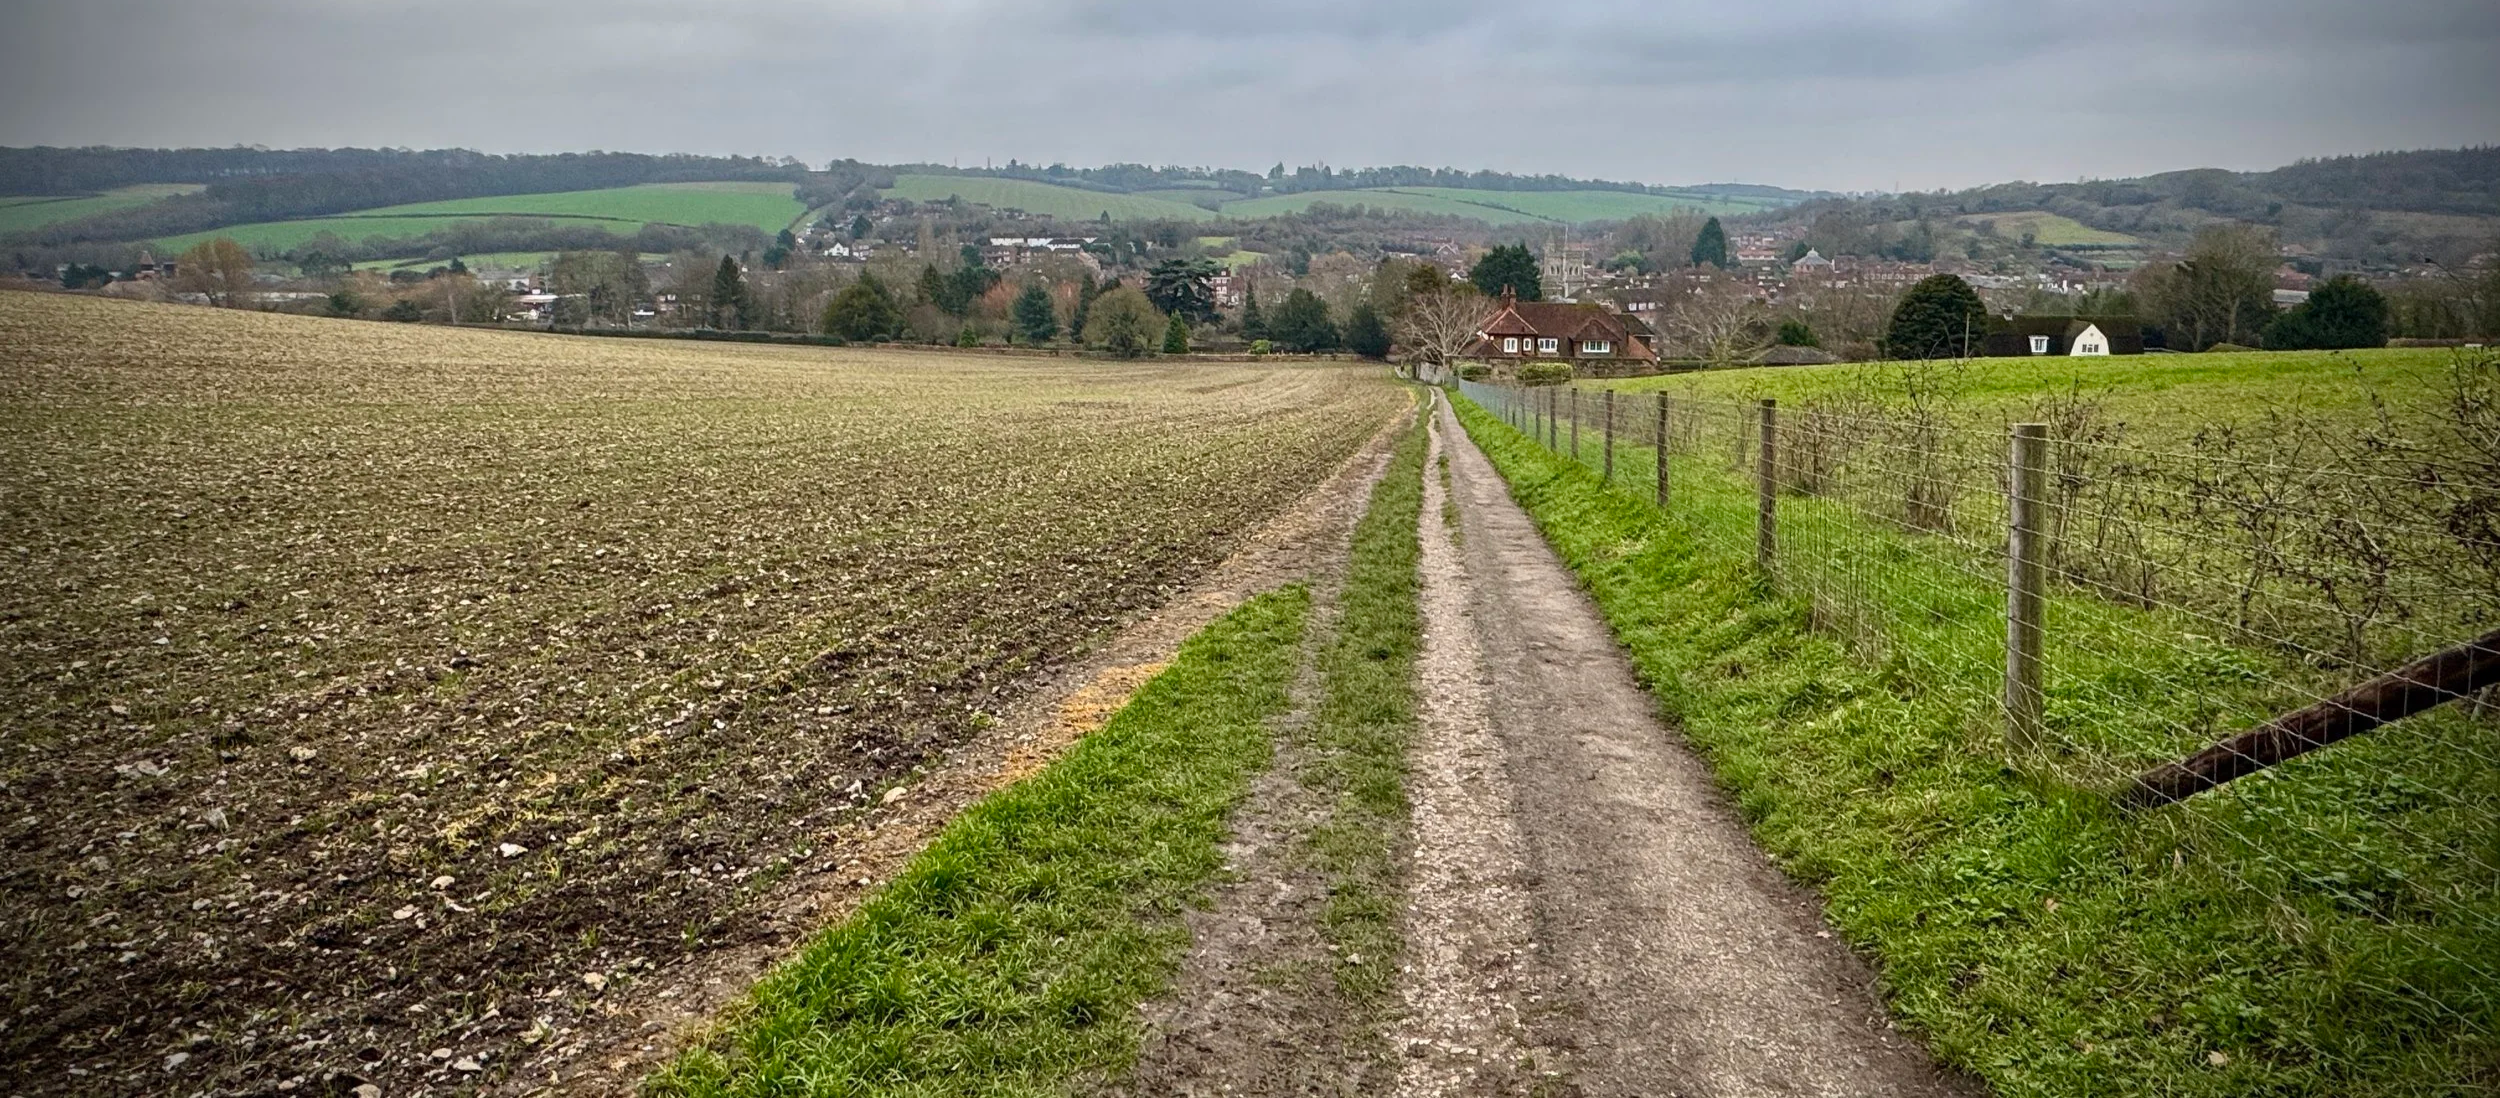
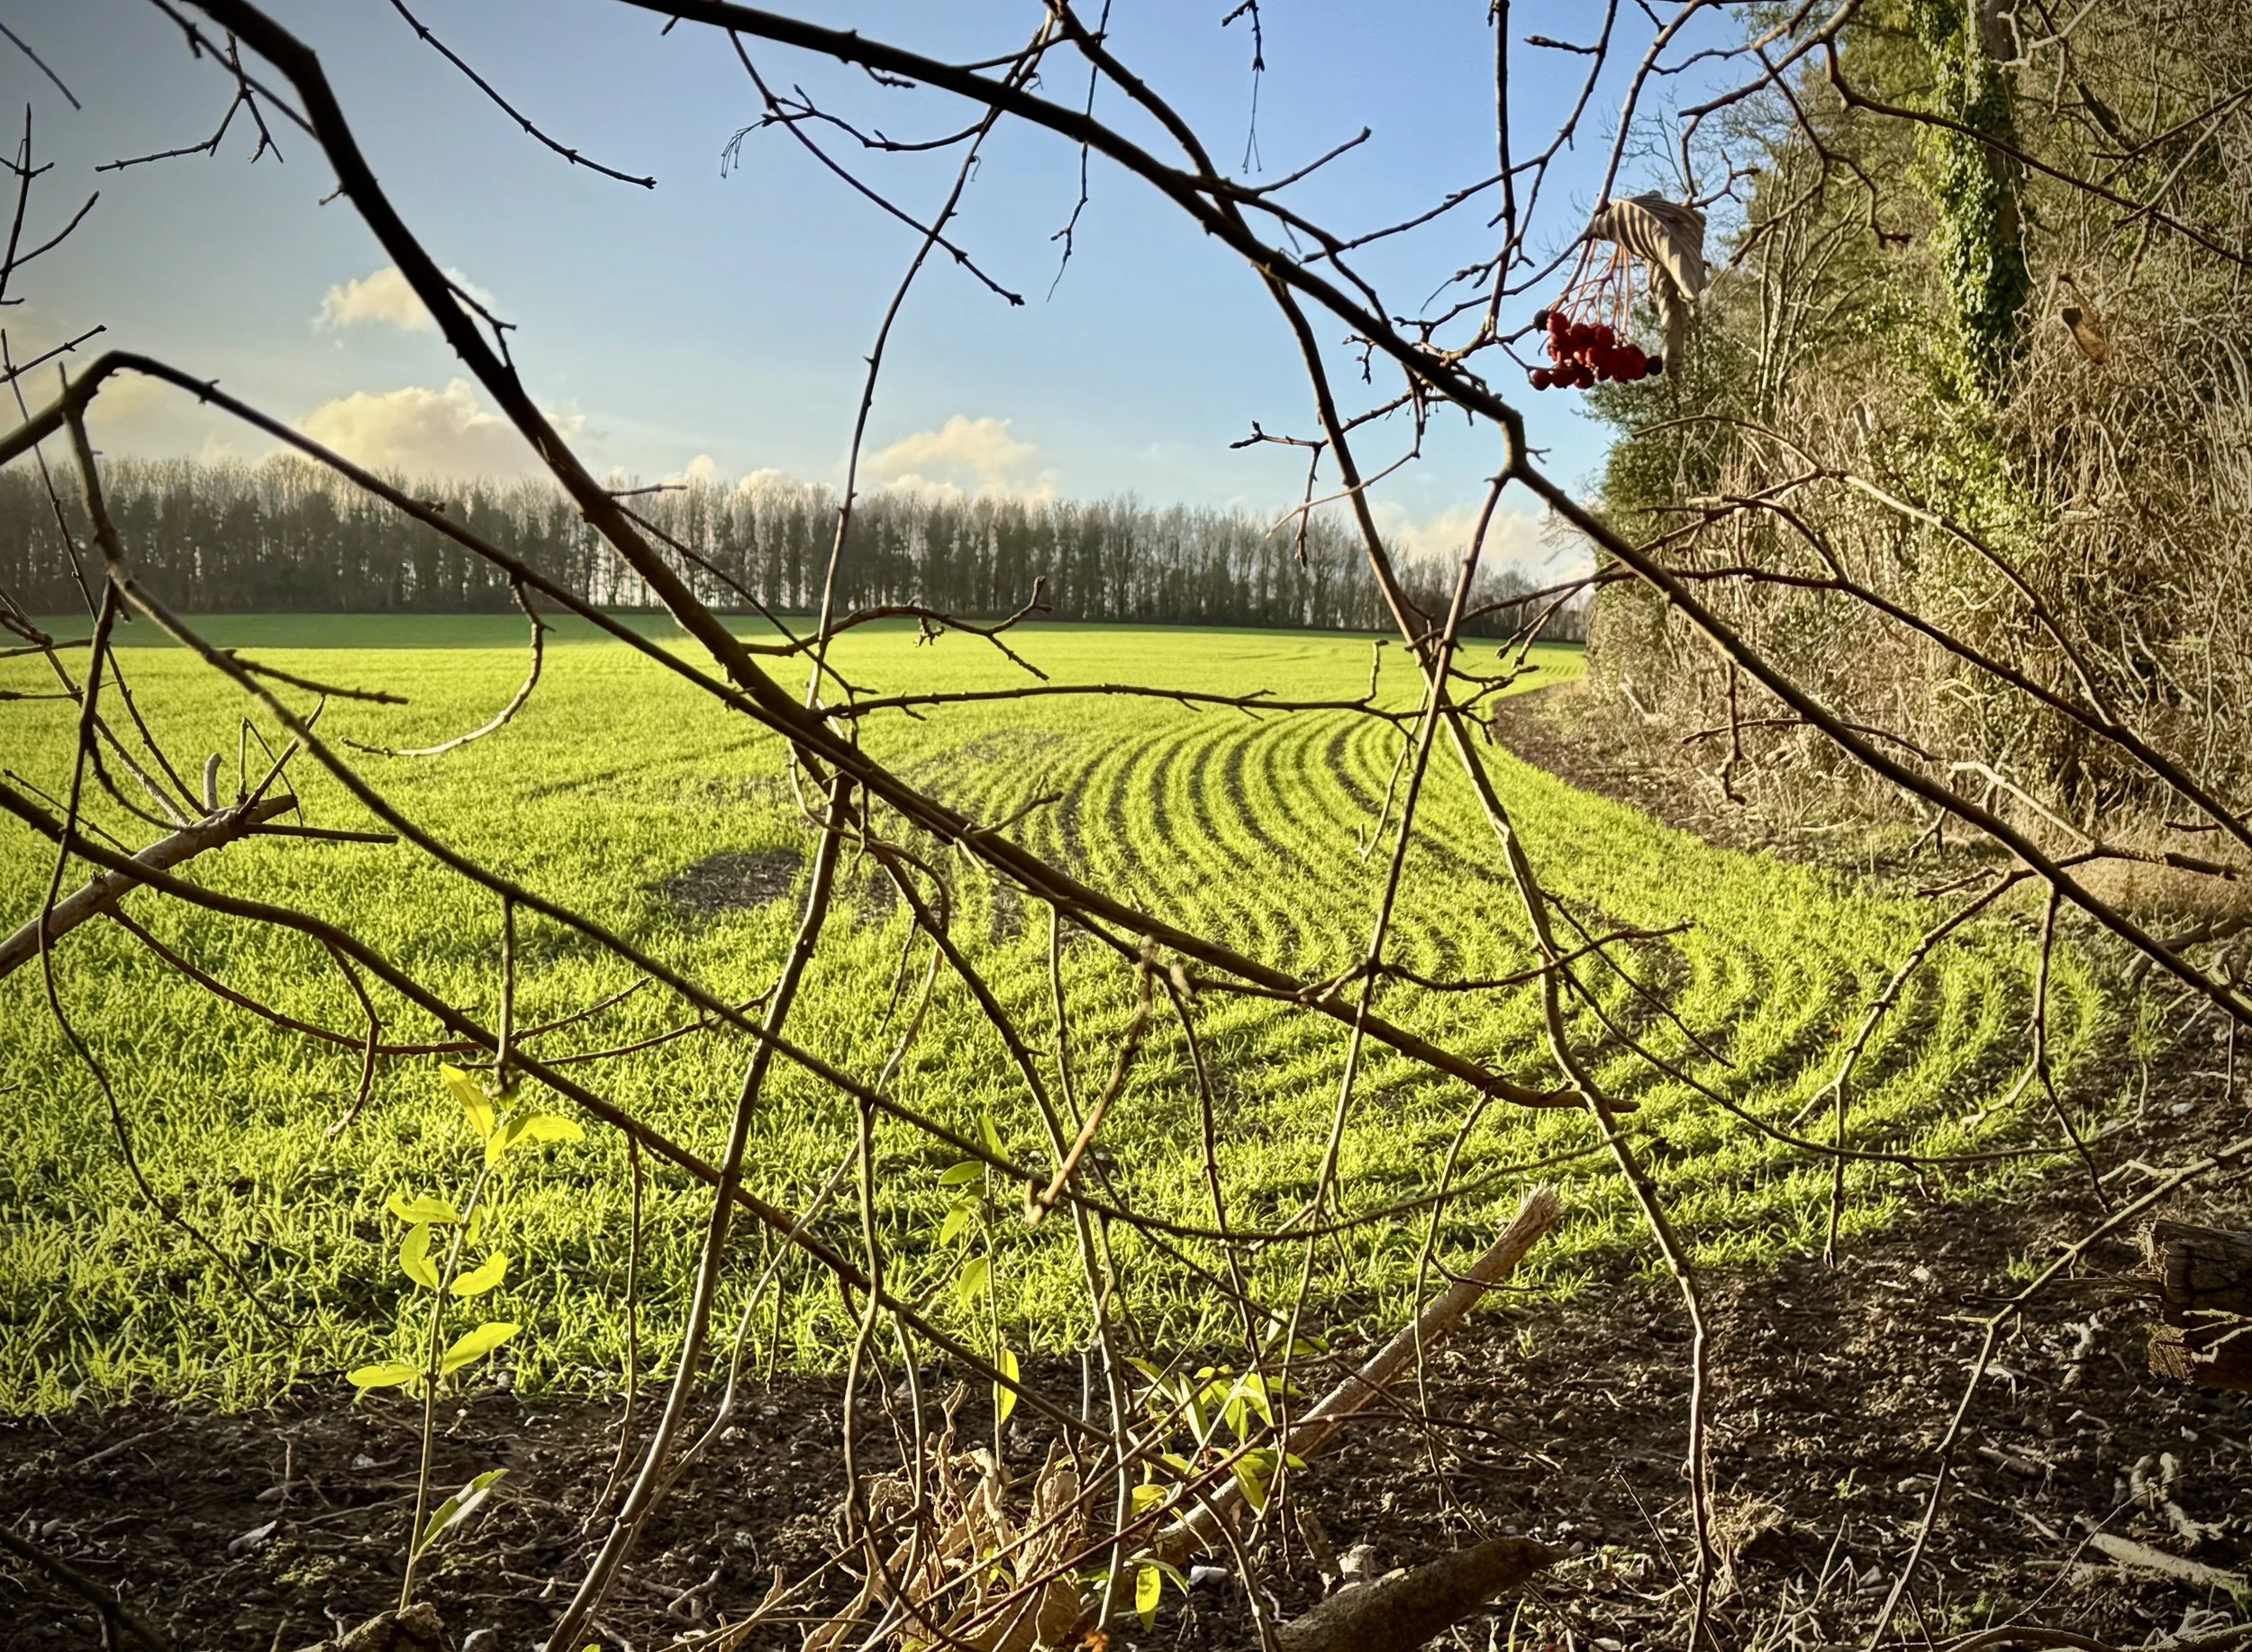
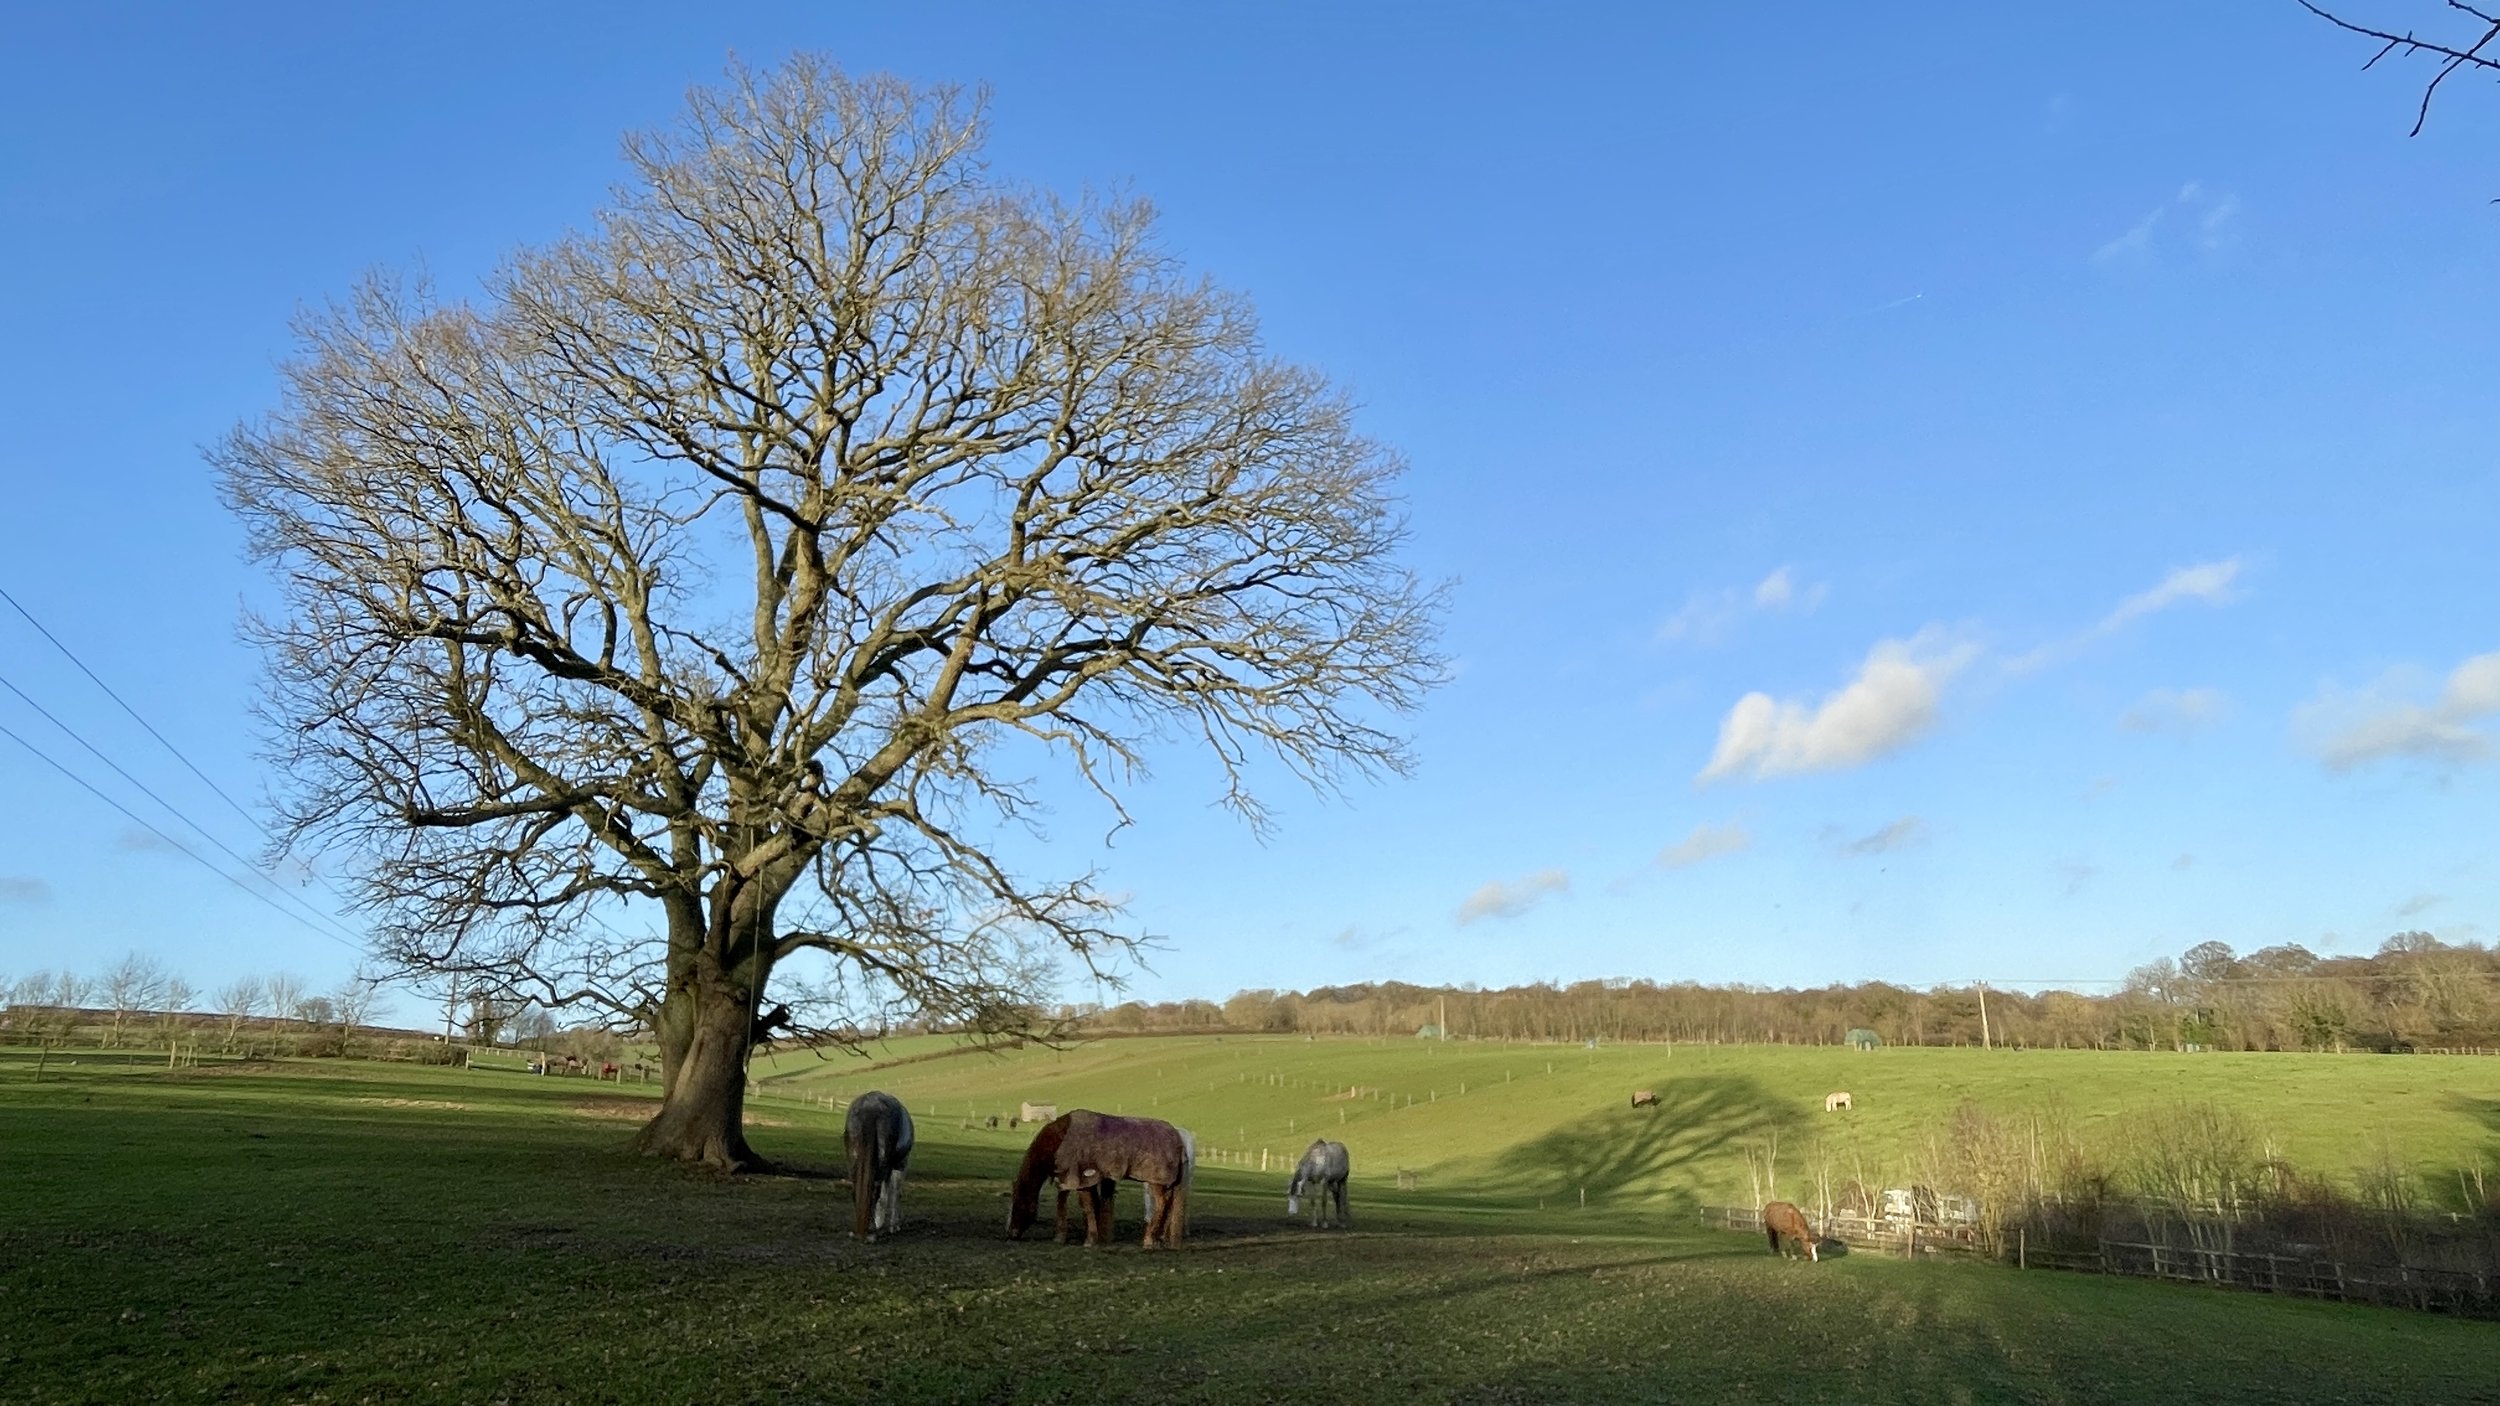
This walk explores a fascinating slice of Buckinghamshire history, linking the ancient village of Stone with the grand estate of Hartwell House. The route offers a pleasing contrast between the open, agricultural landscapes typical of the Aylesbury Vale and the manicured, historic parkland of Hartwell, where you can spot 18th-century follies and a decorative bridge.
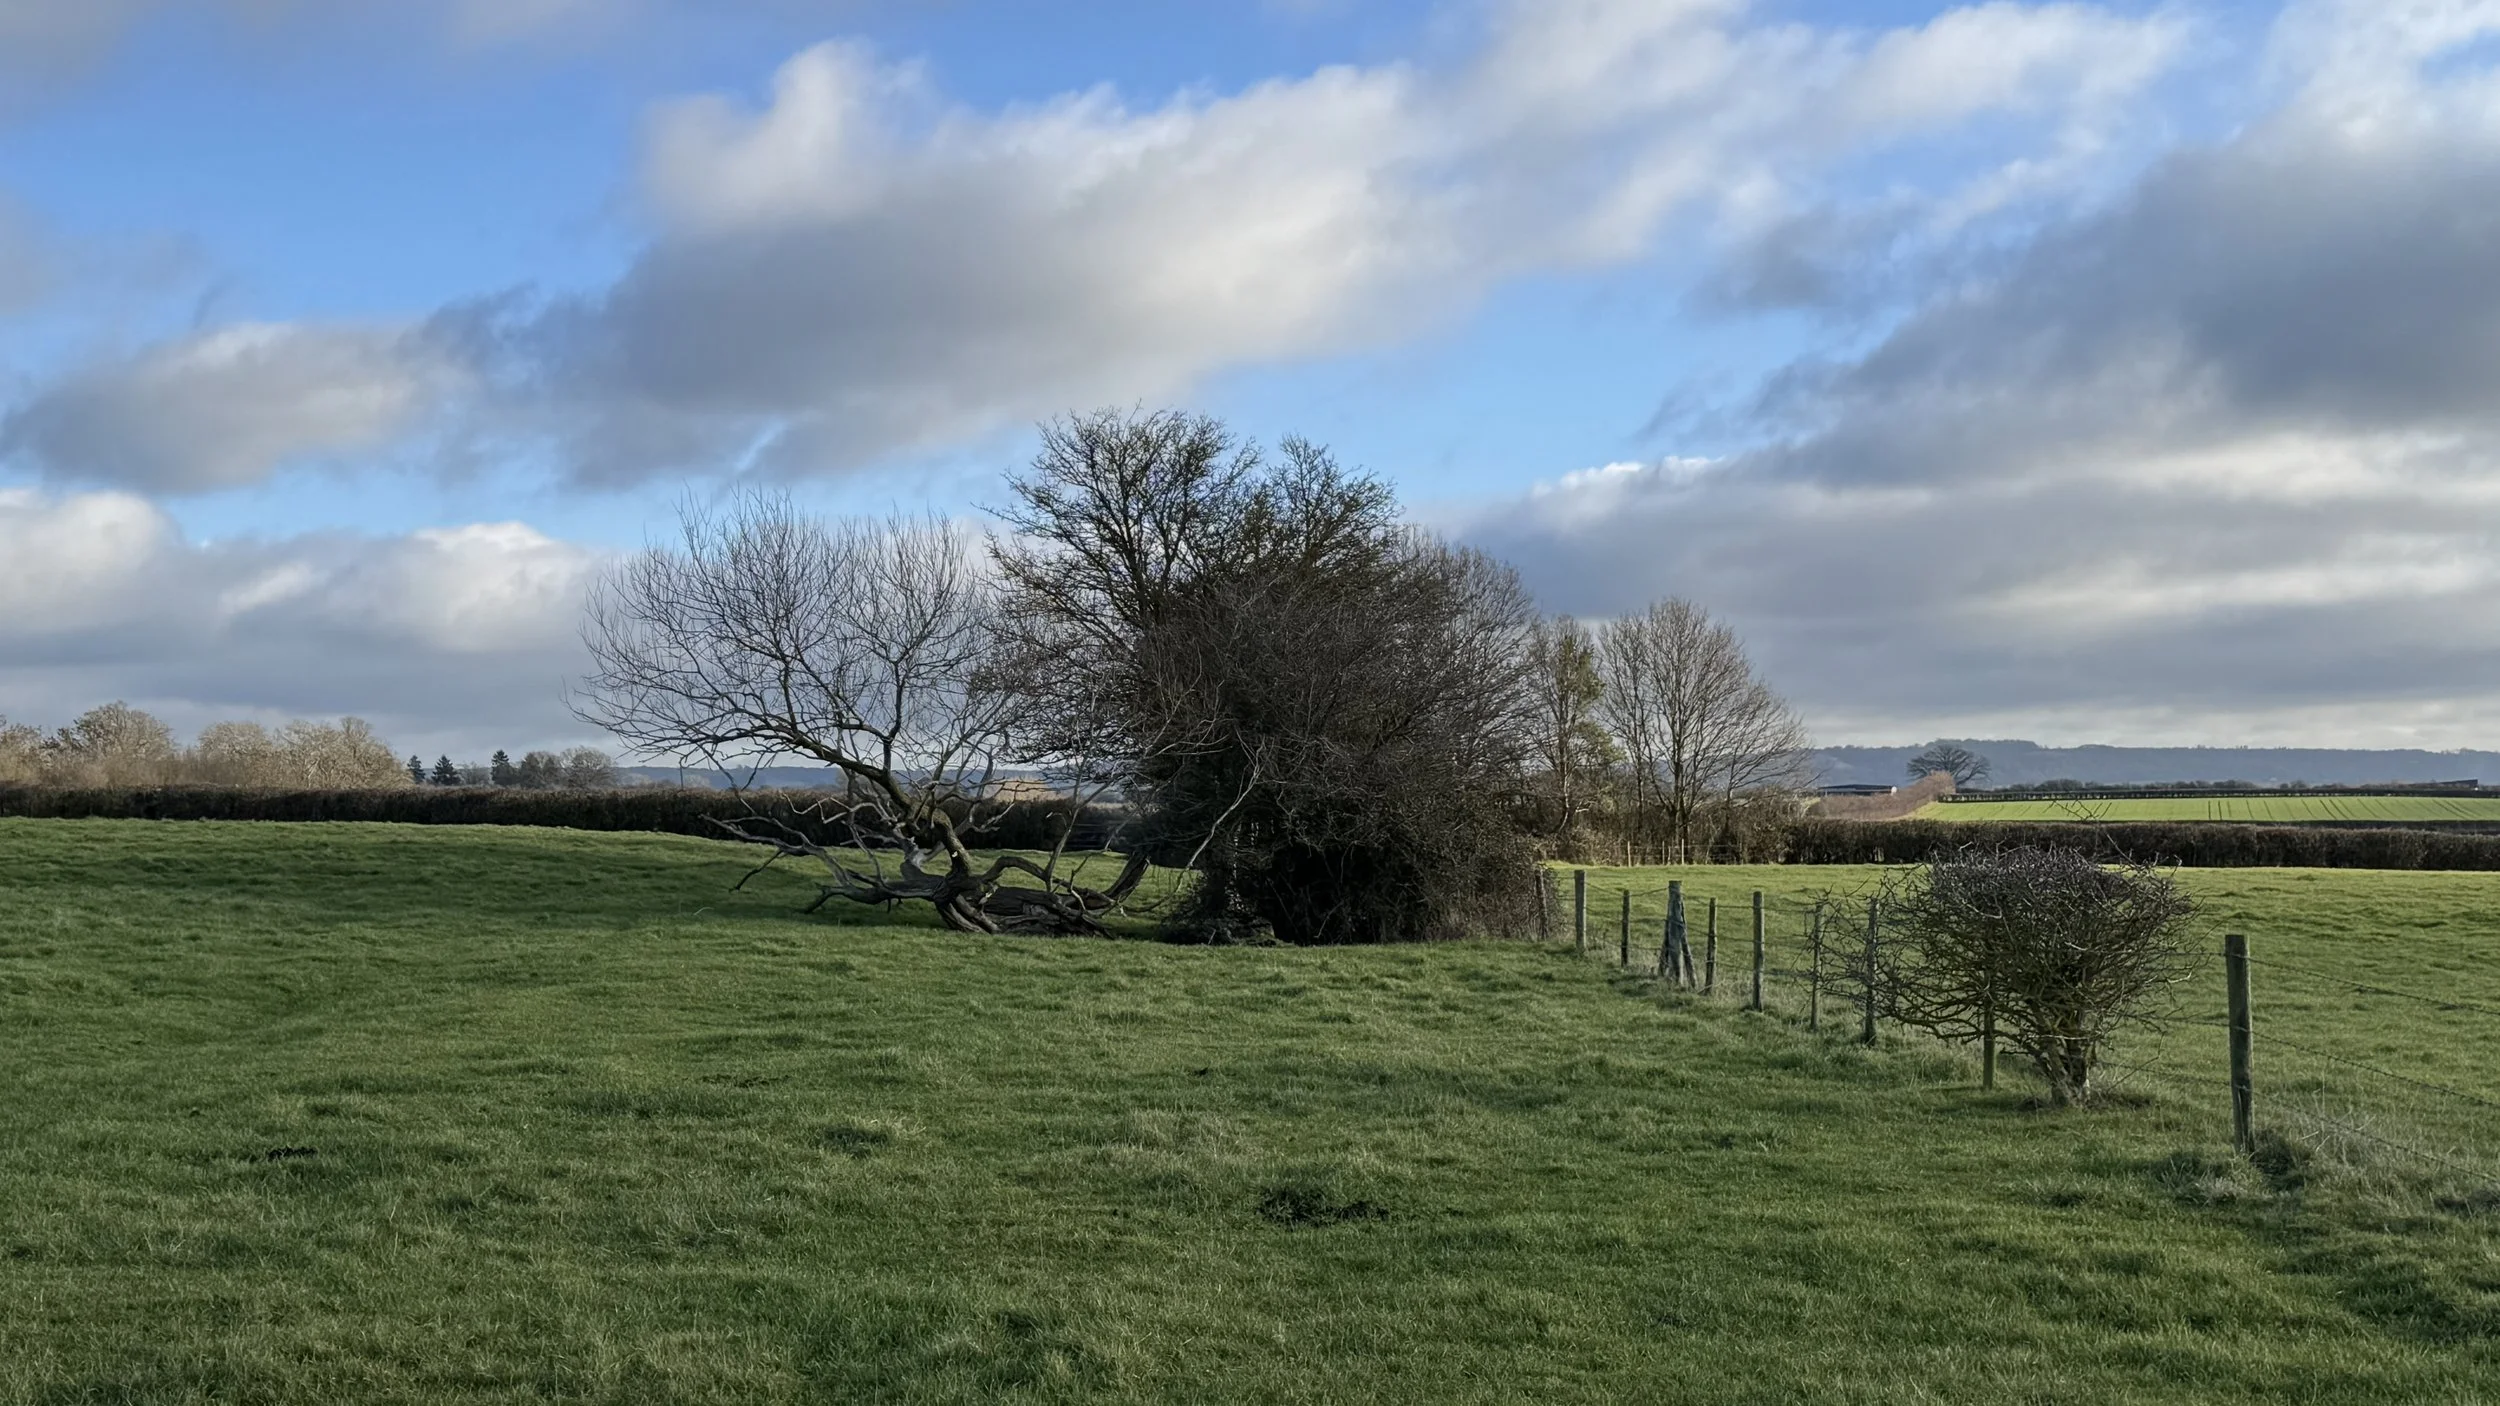
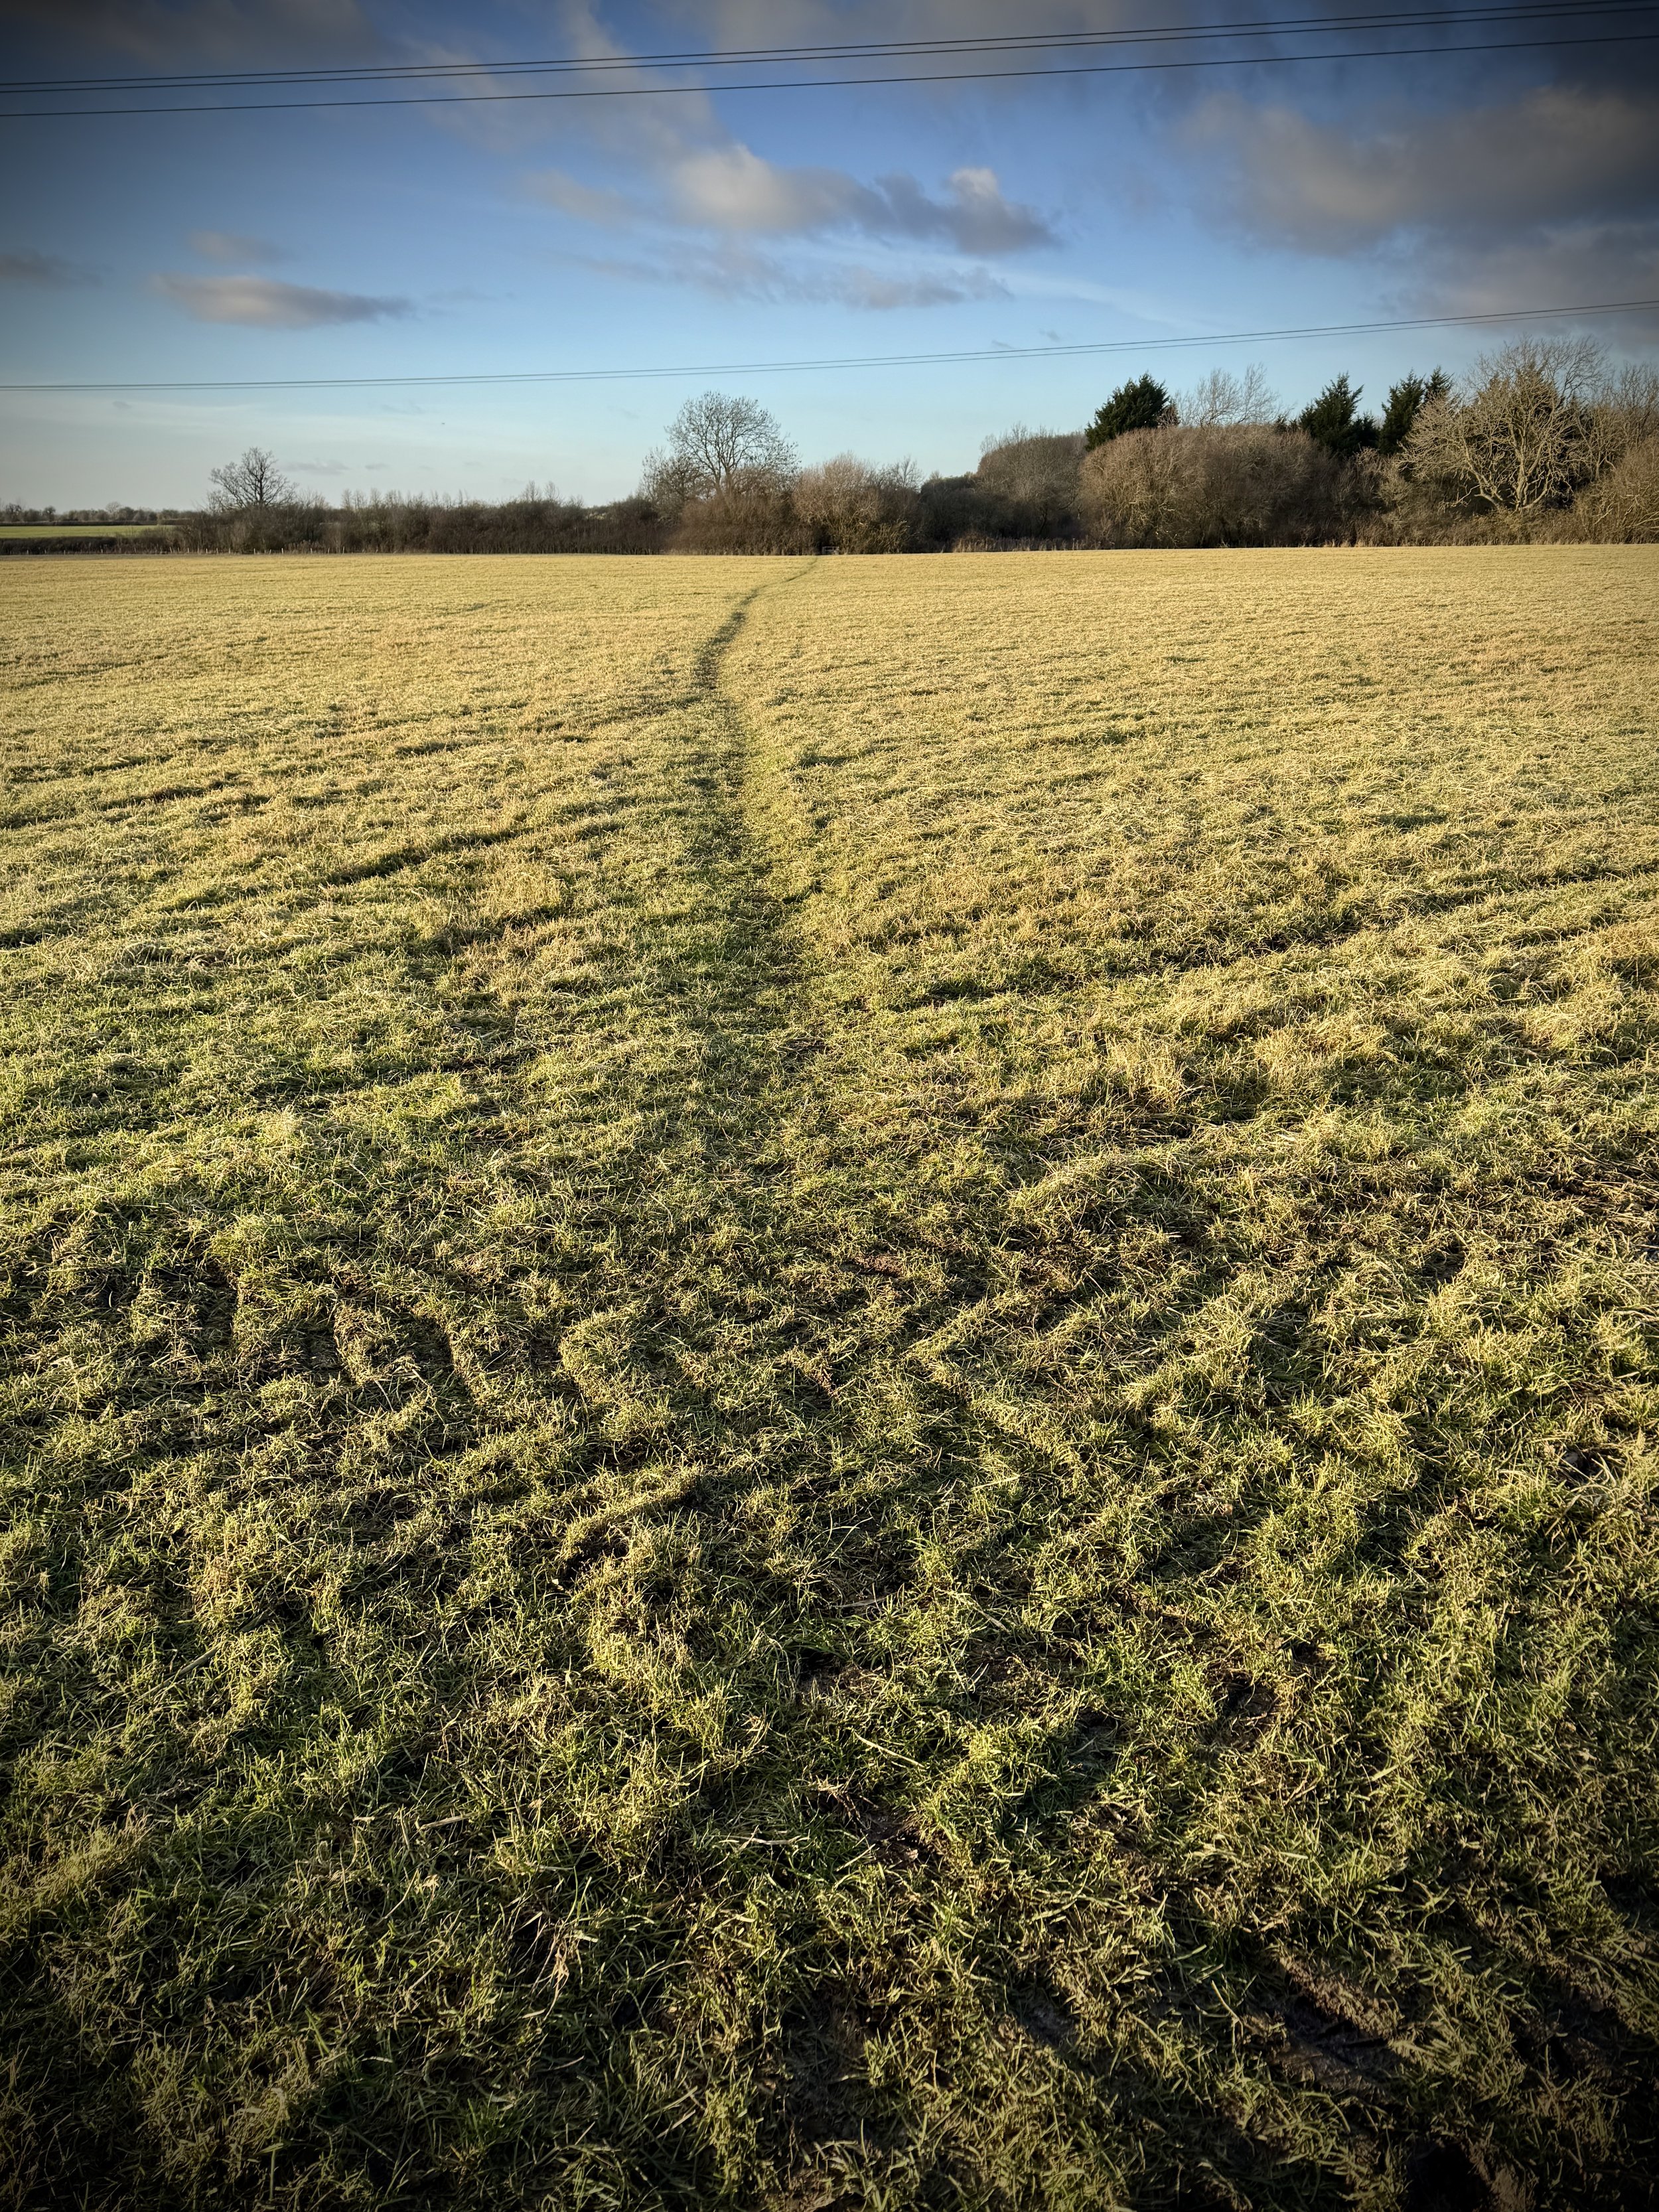
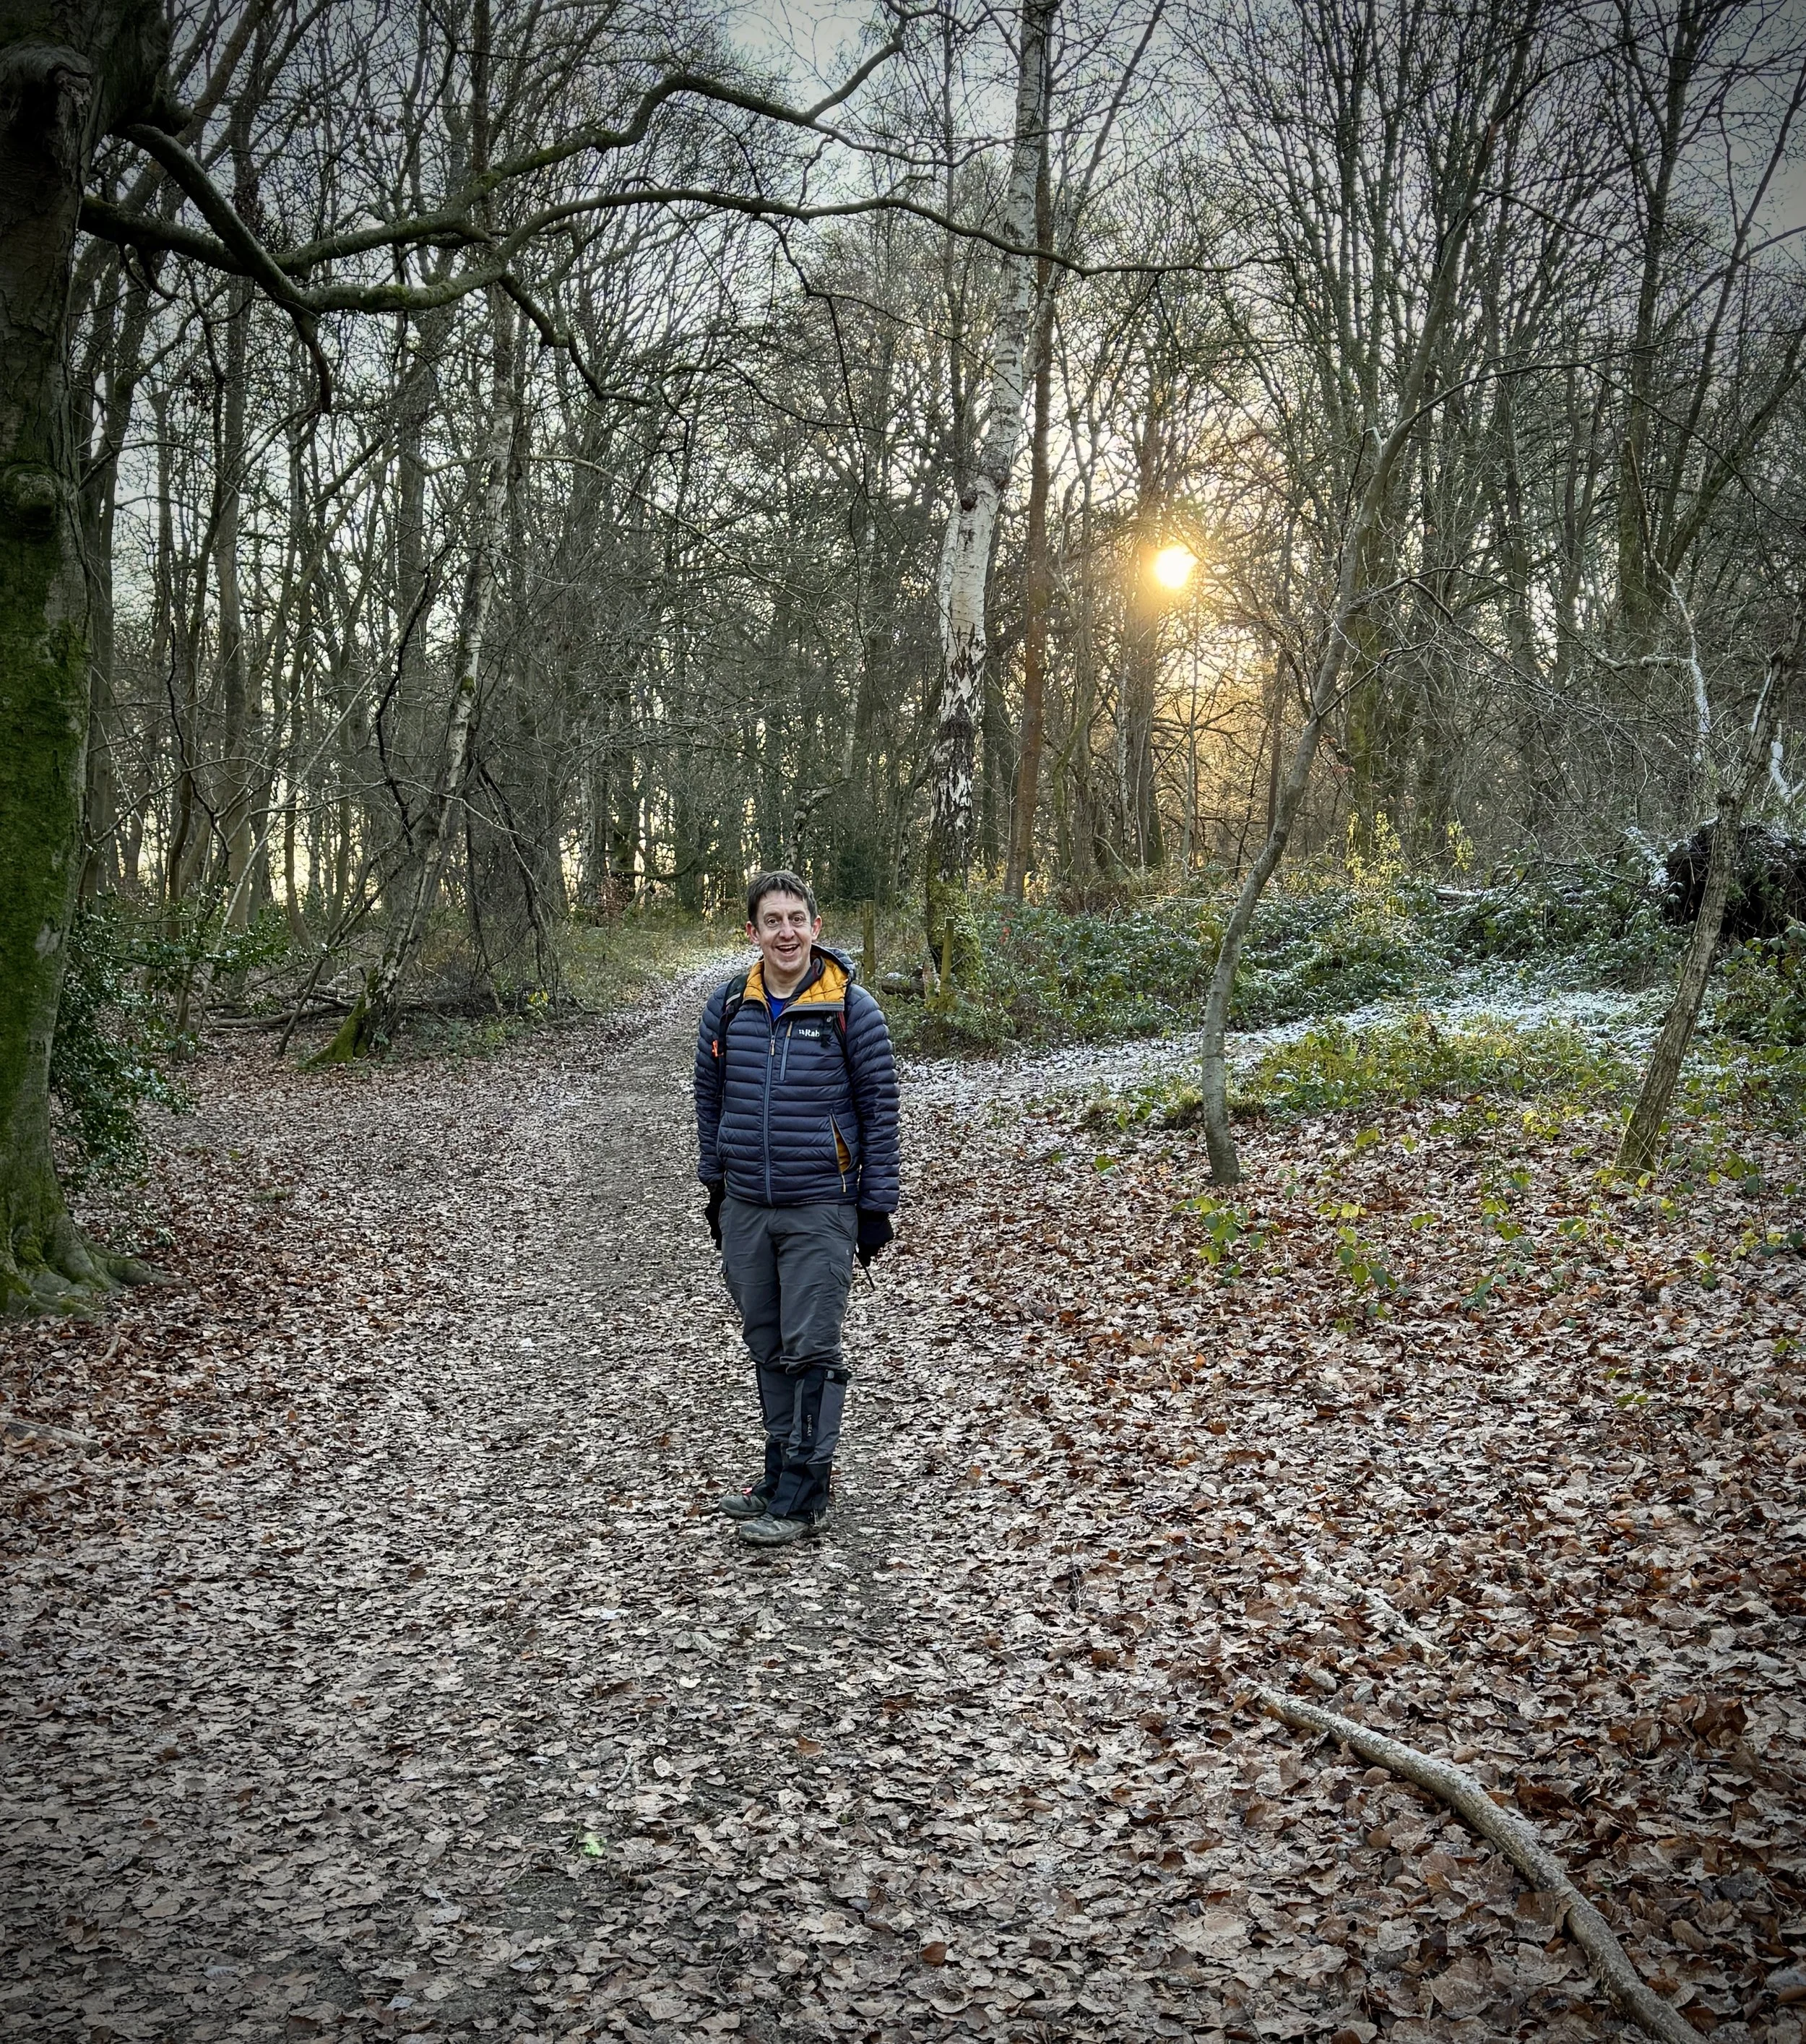
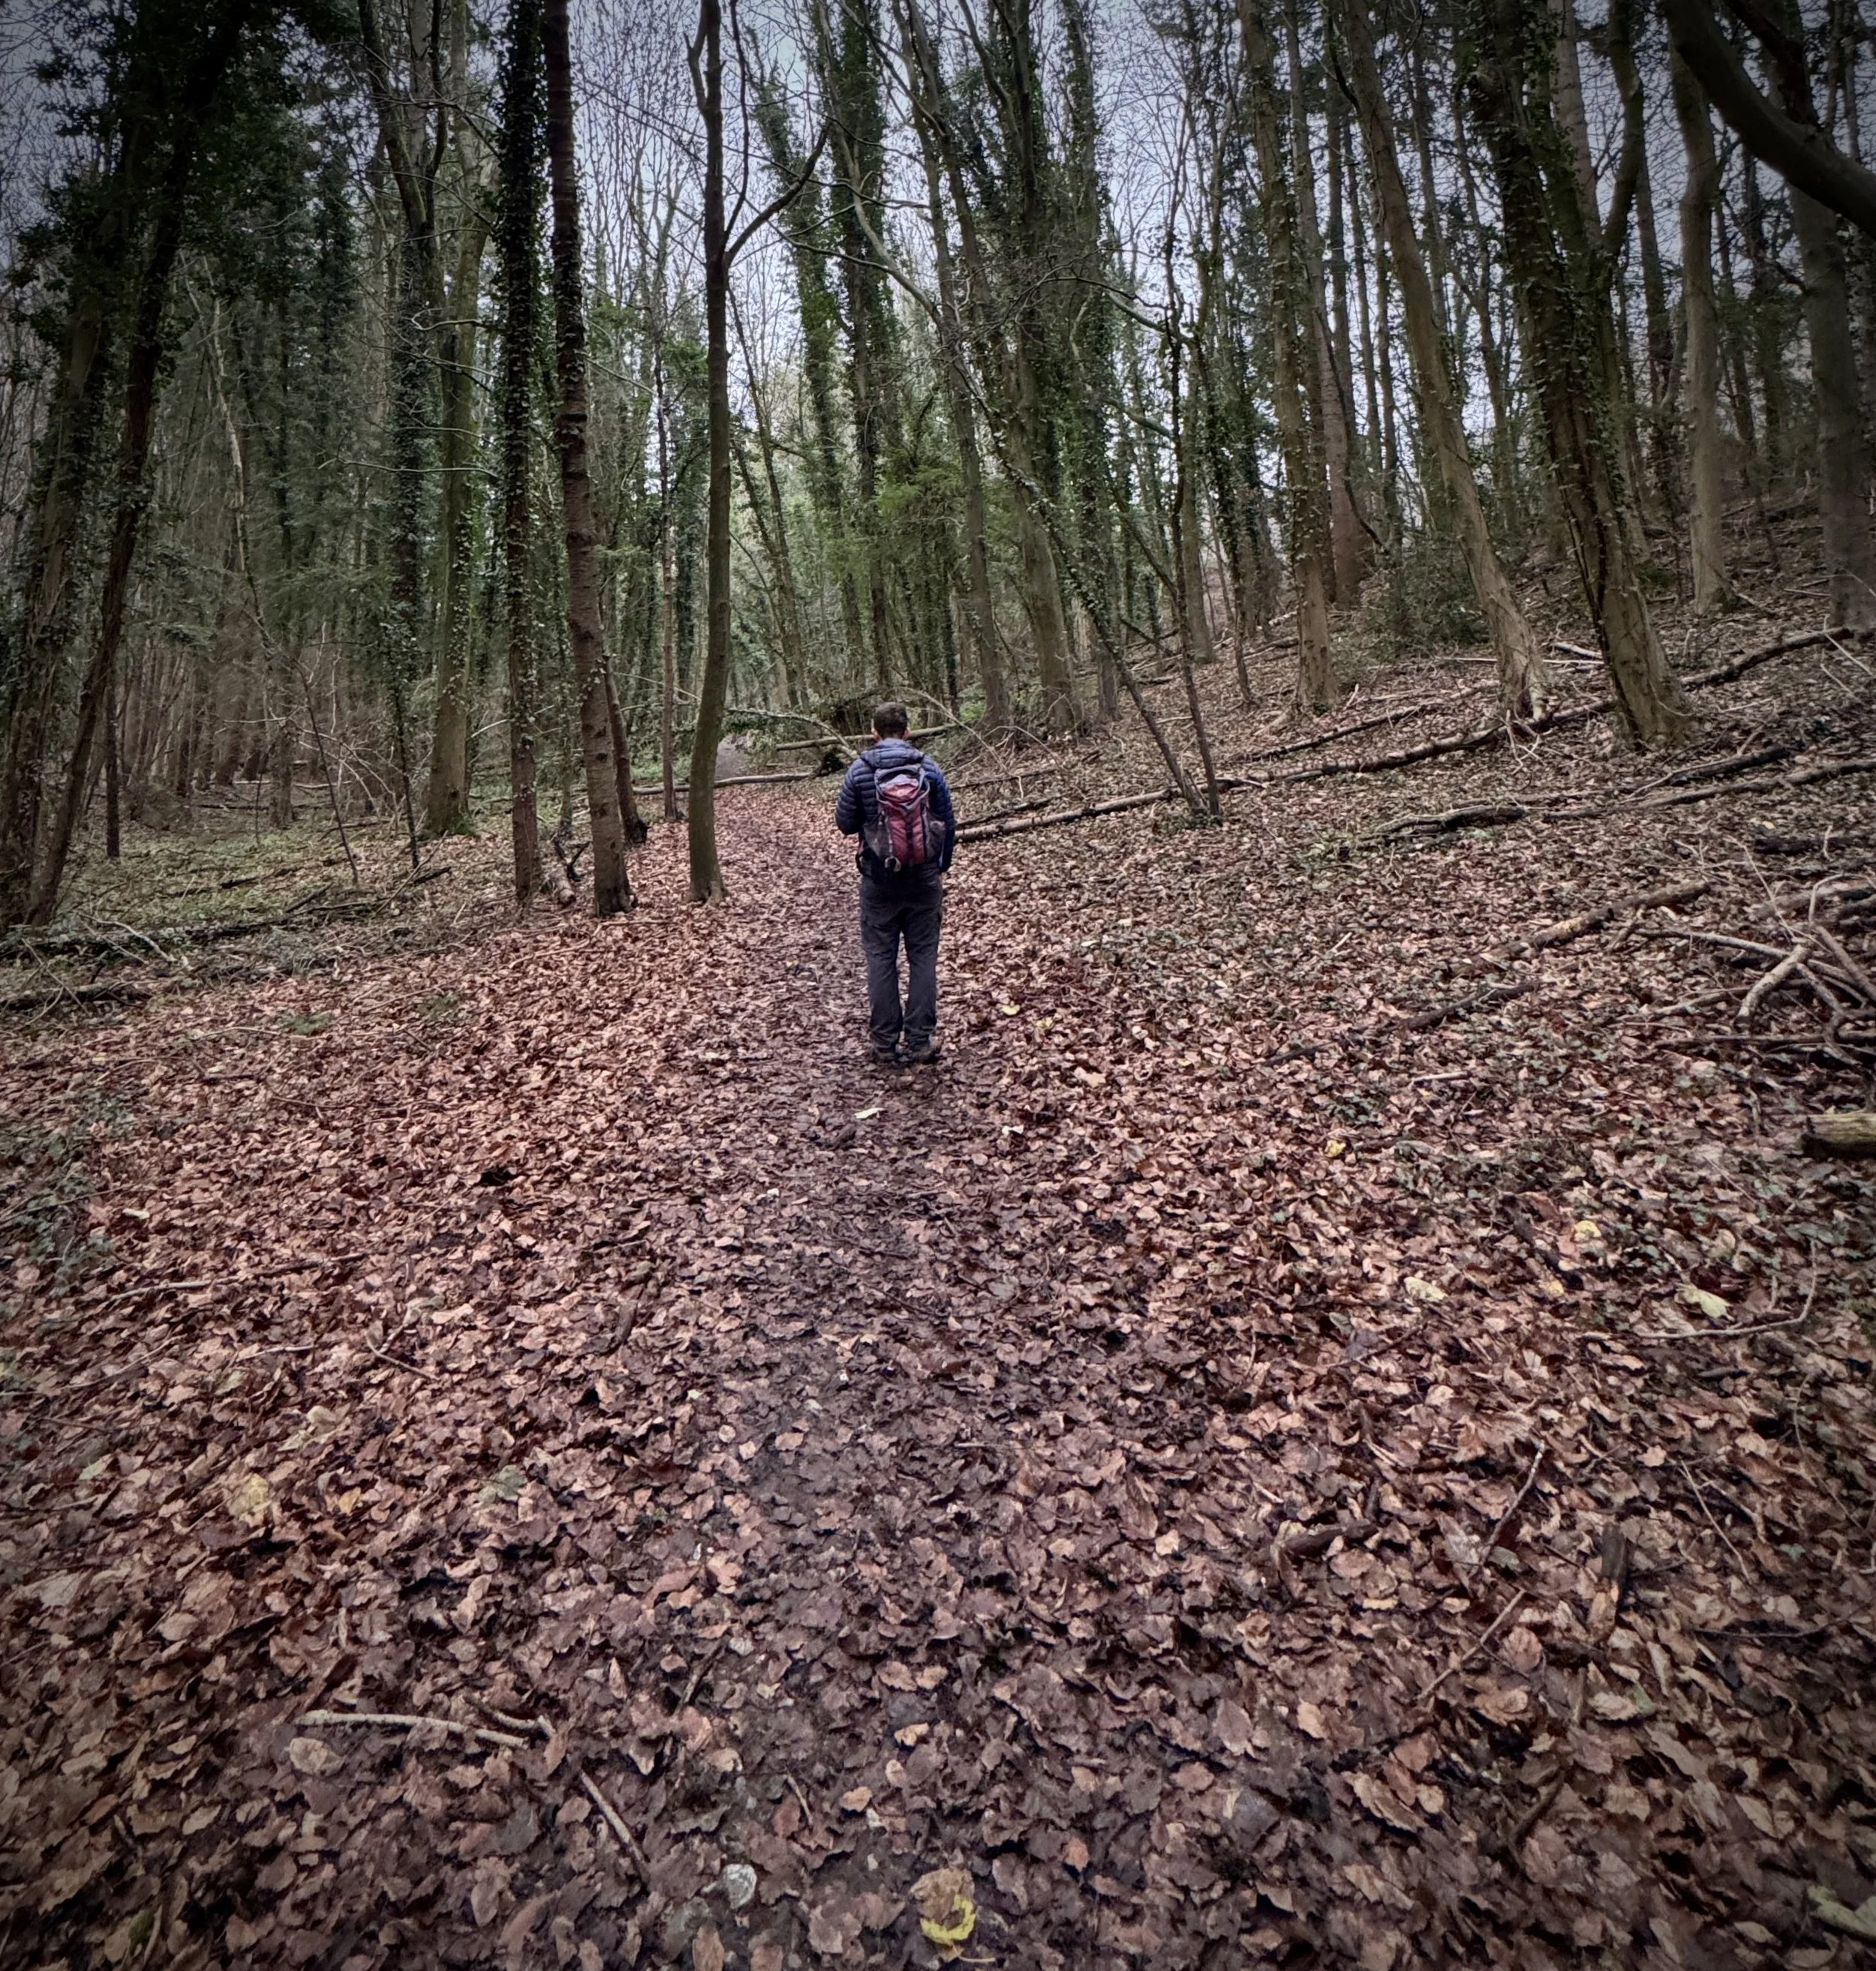
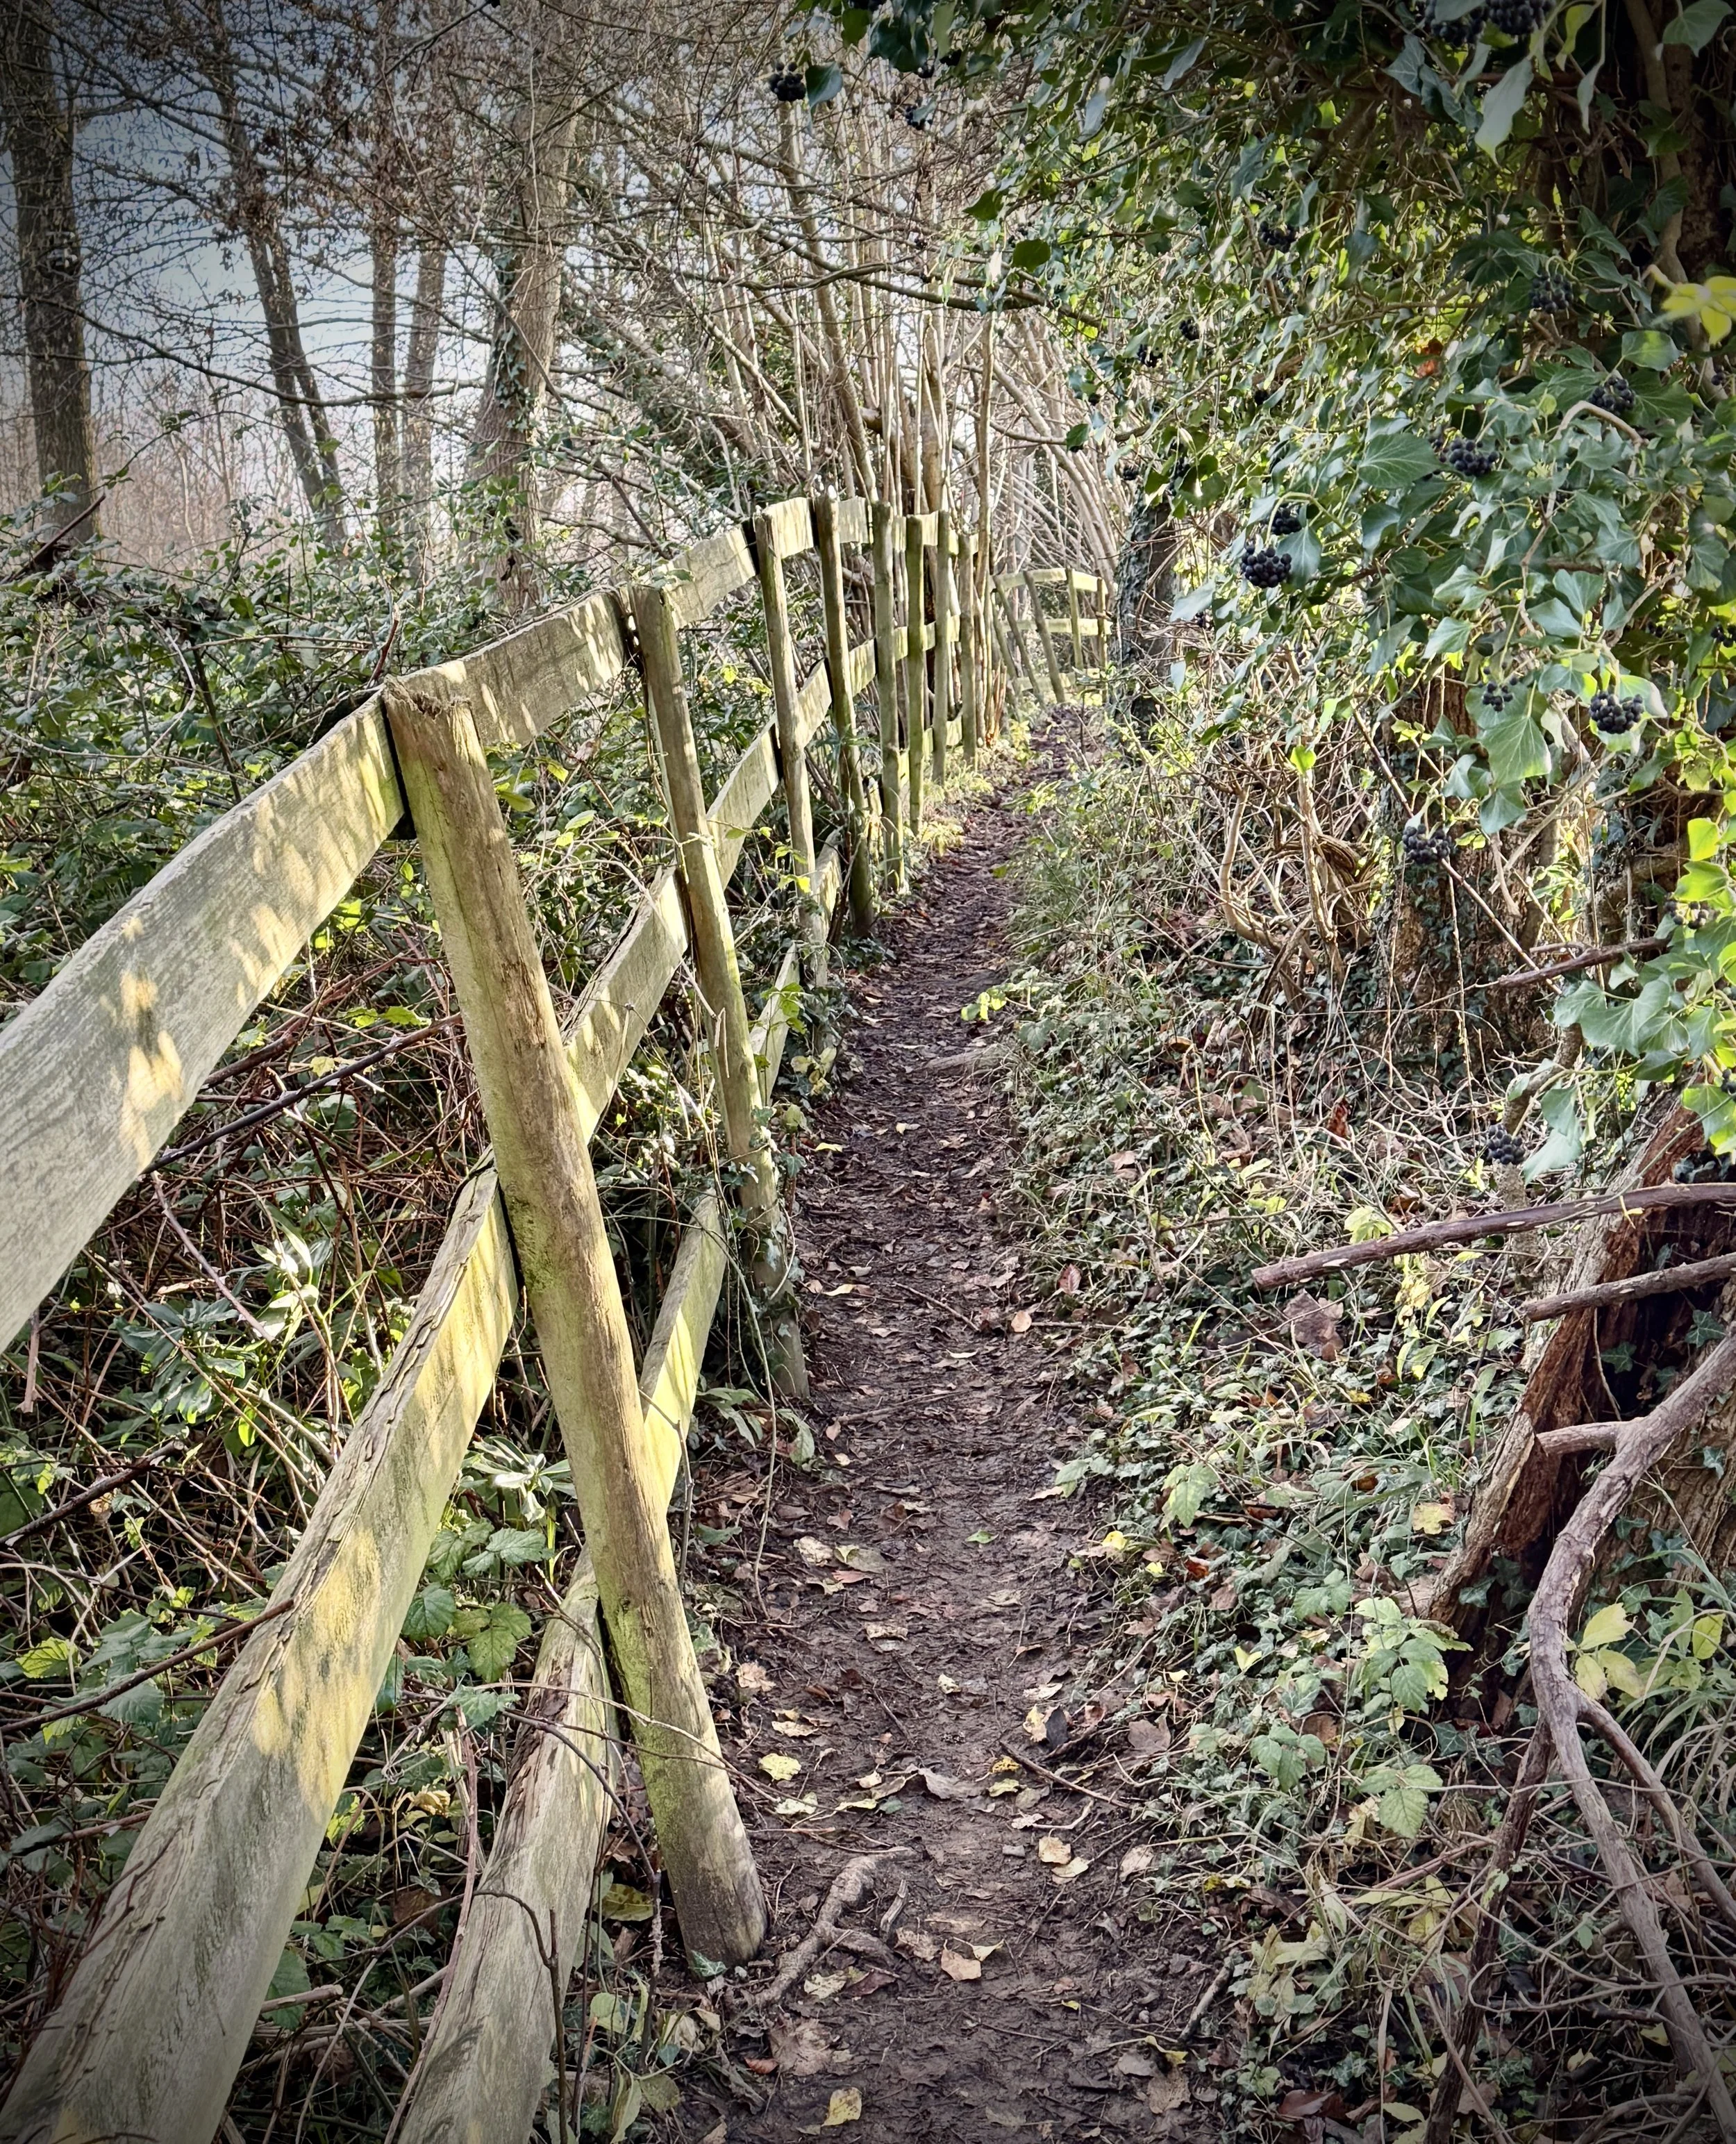
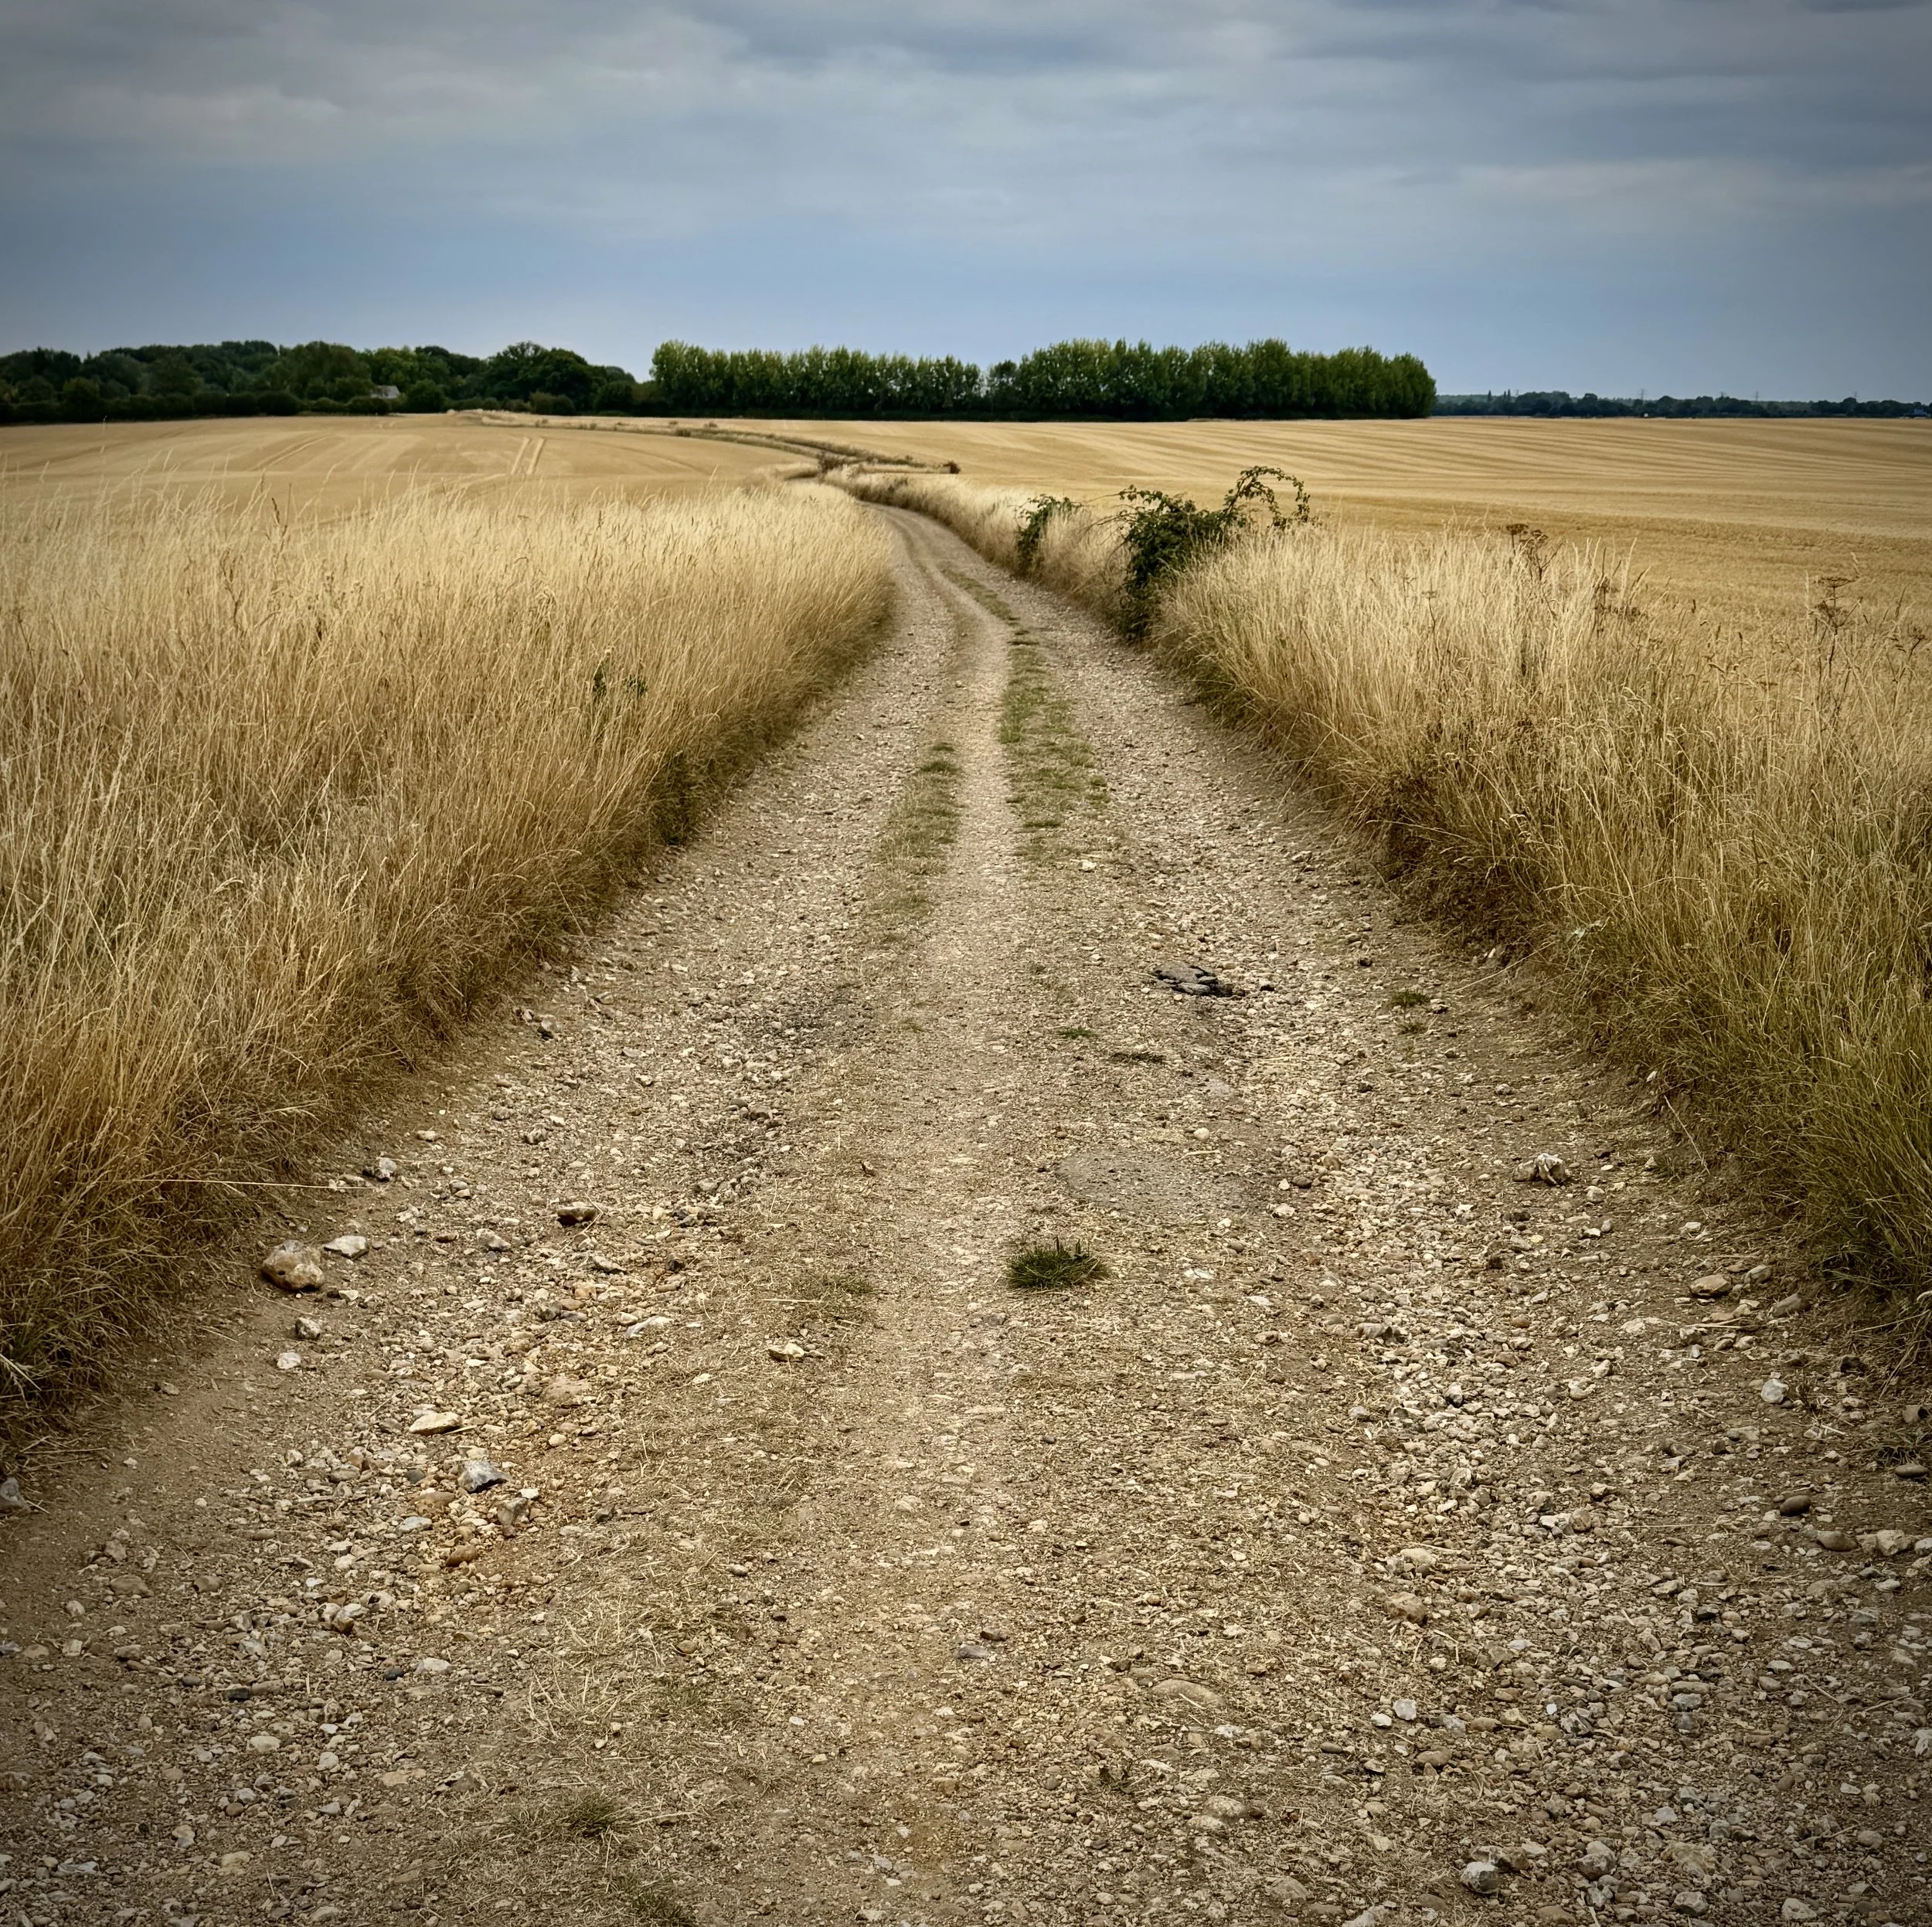
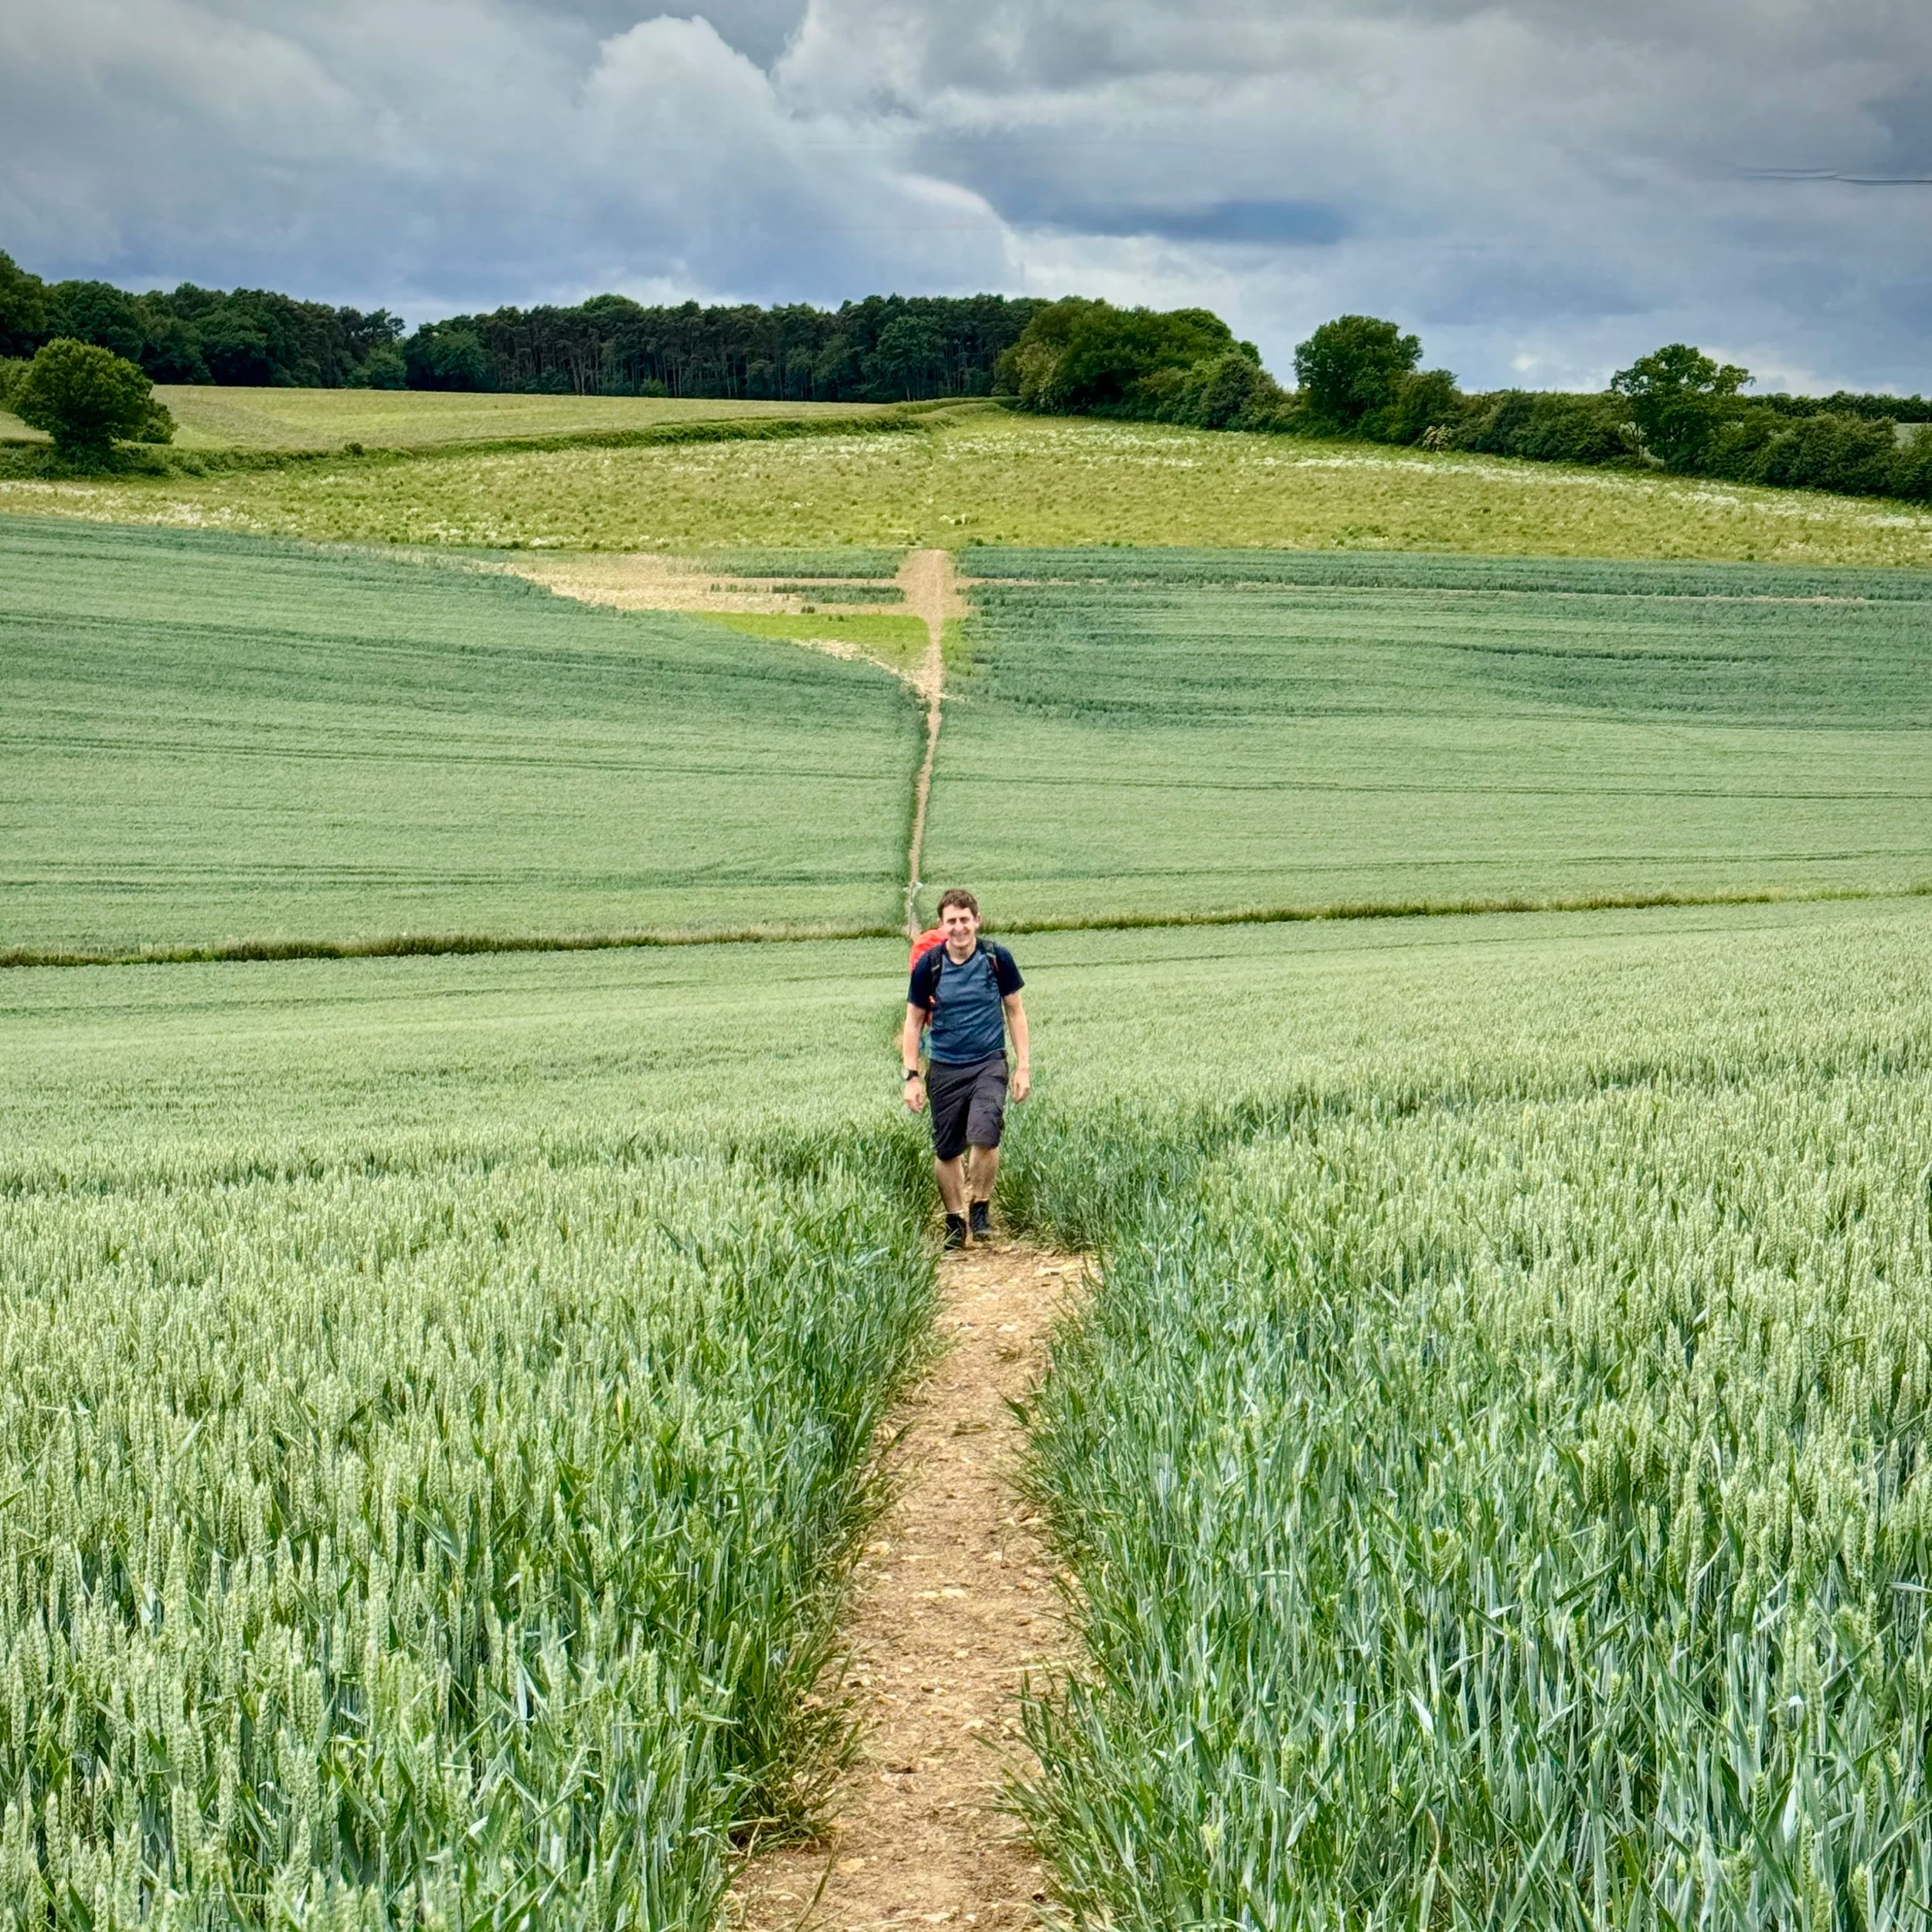
The path is generally gentle and well-marked, following a section of the long-distance Midshires Way before looping back through the quiet fields south of the River Thame. It is a walk that combines architectural interest with rural tranquillity.
The guidance below will help you navigate but don’t use it as a fully accurate turn-by-turn guide. Always take a map and/or a GPX route and prepare well for the weather and terrain.
Start at the Village Hall in Stone, where there’s free on-street parking and head west along A418 Oxford Road.
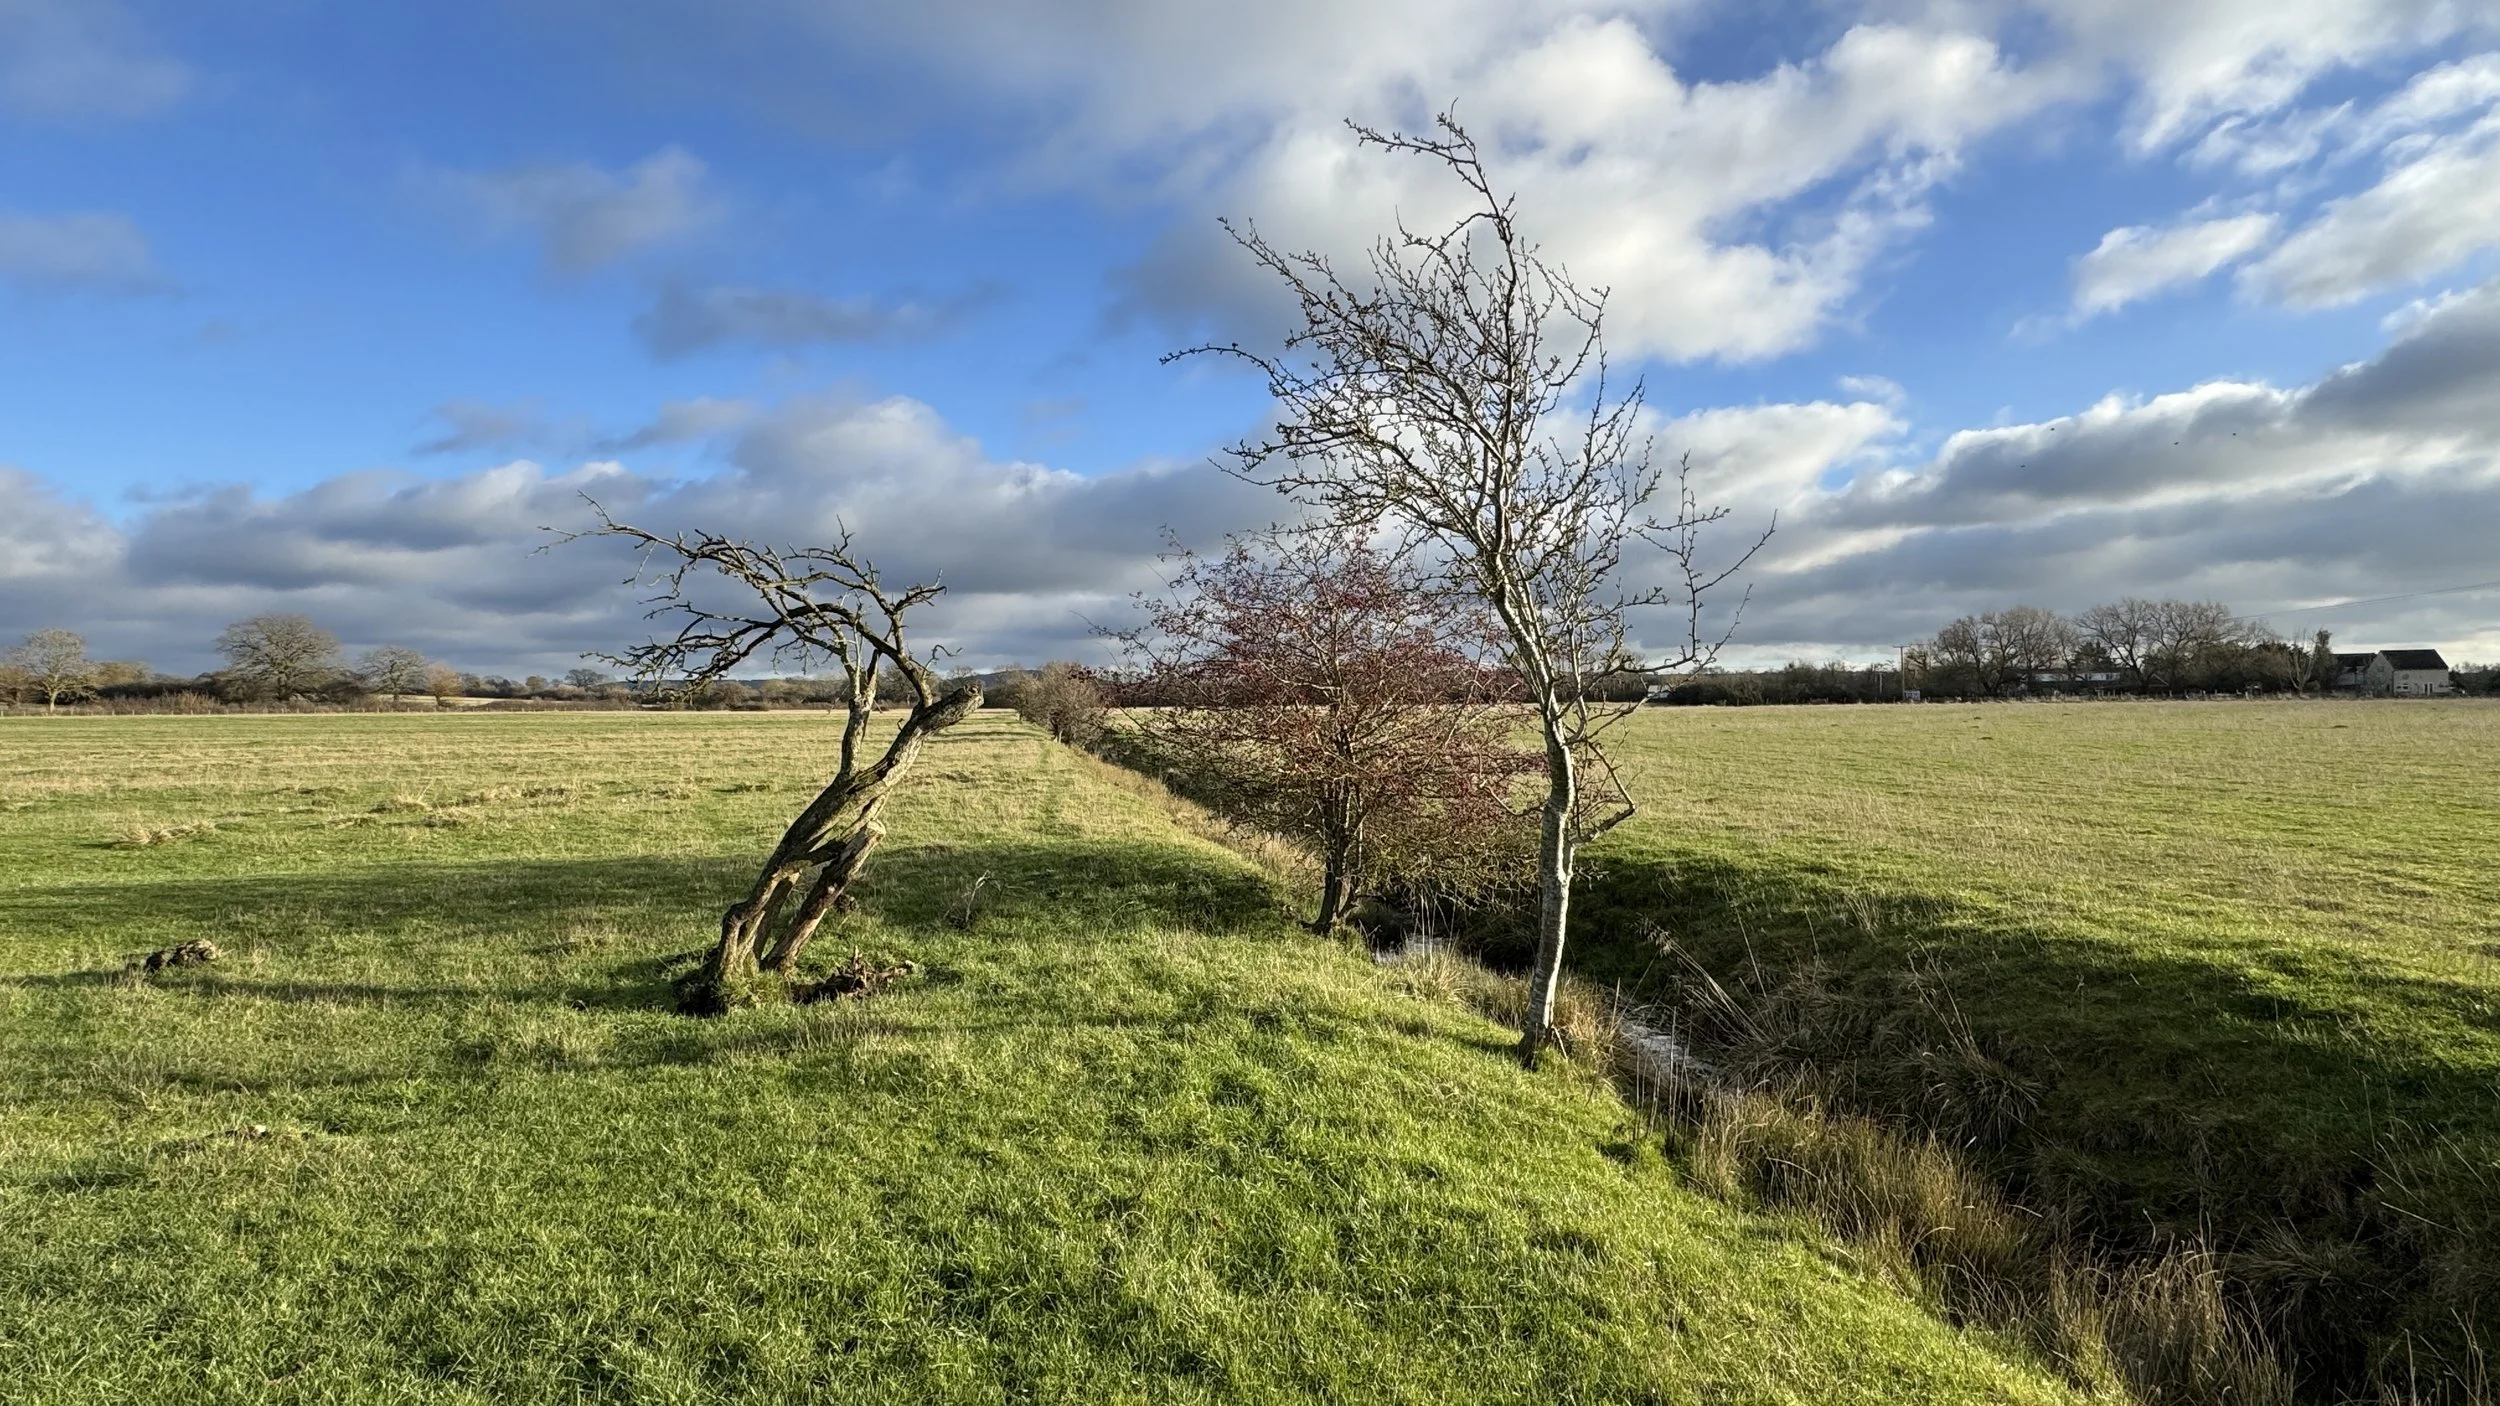
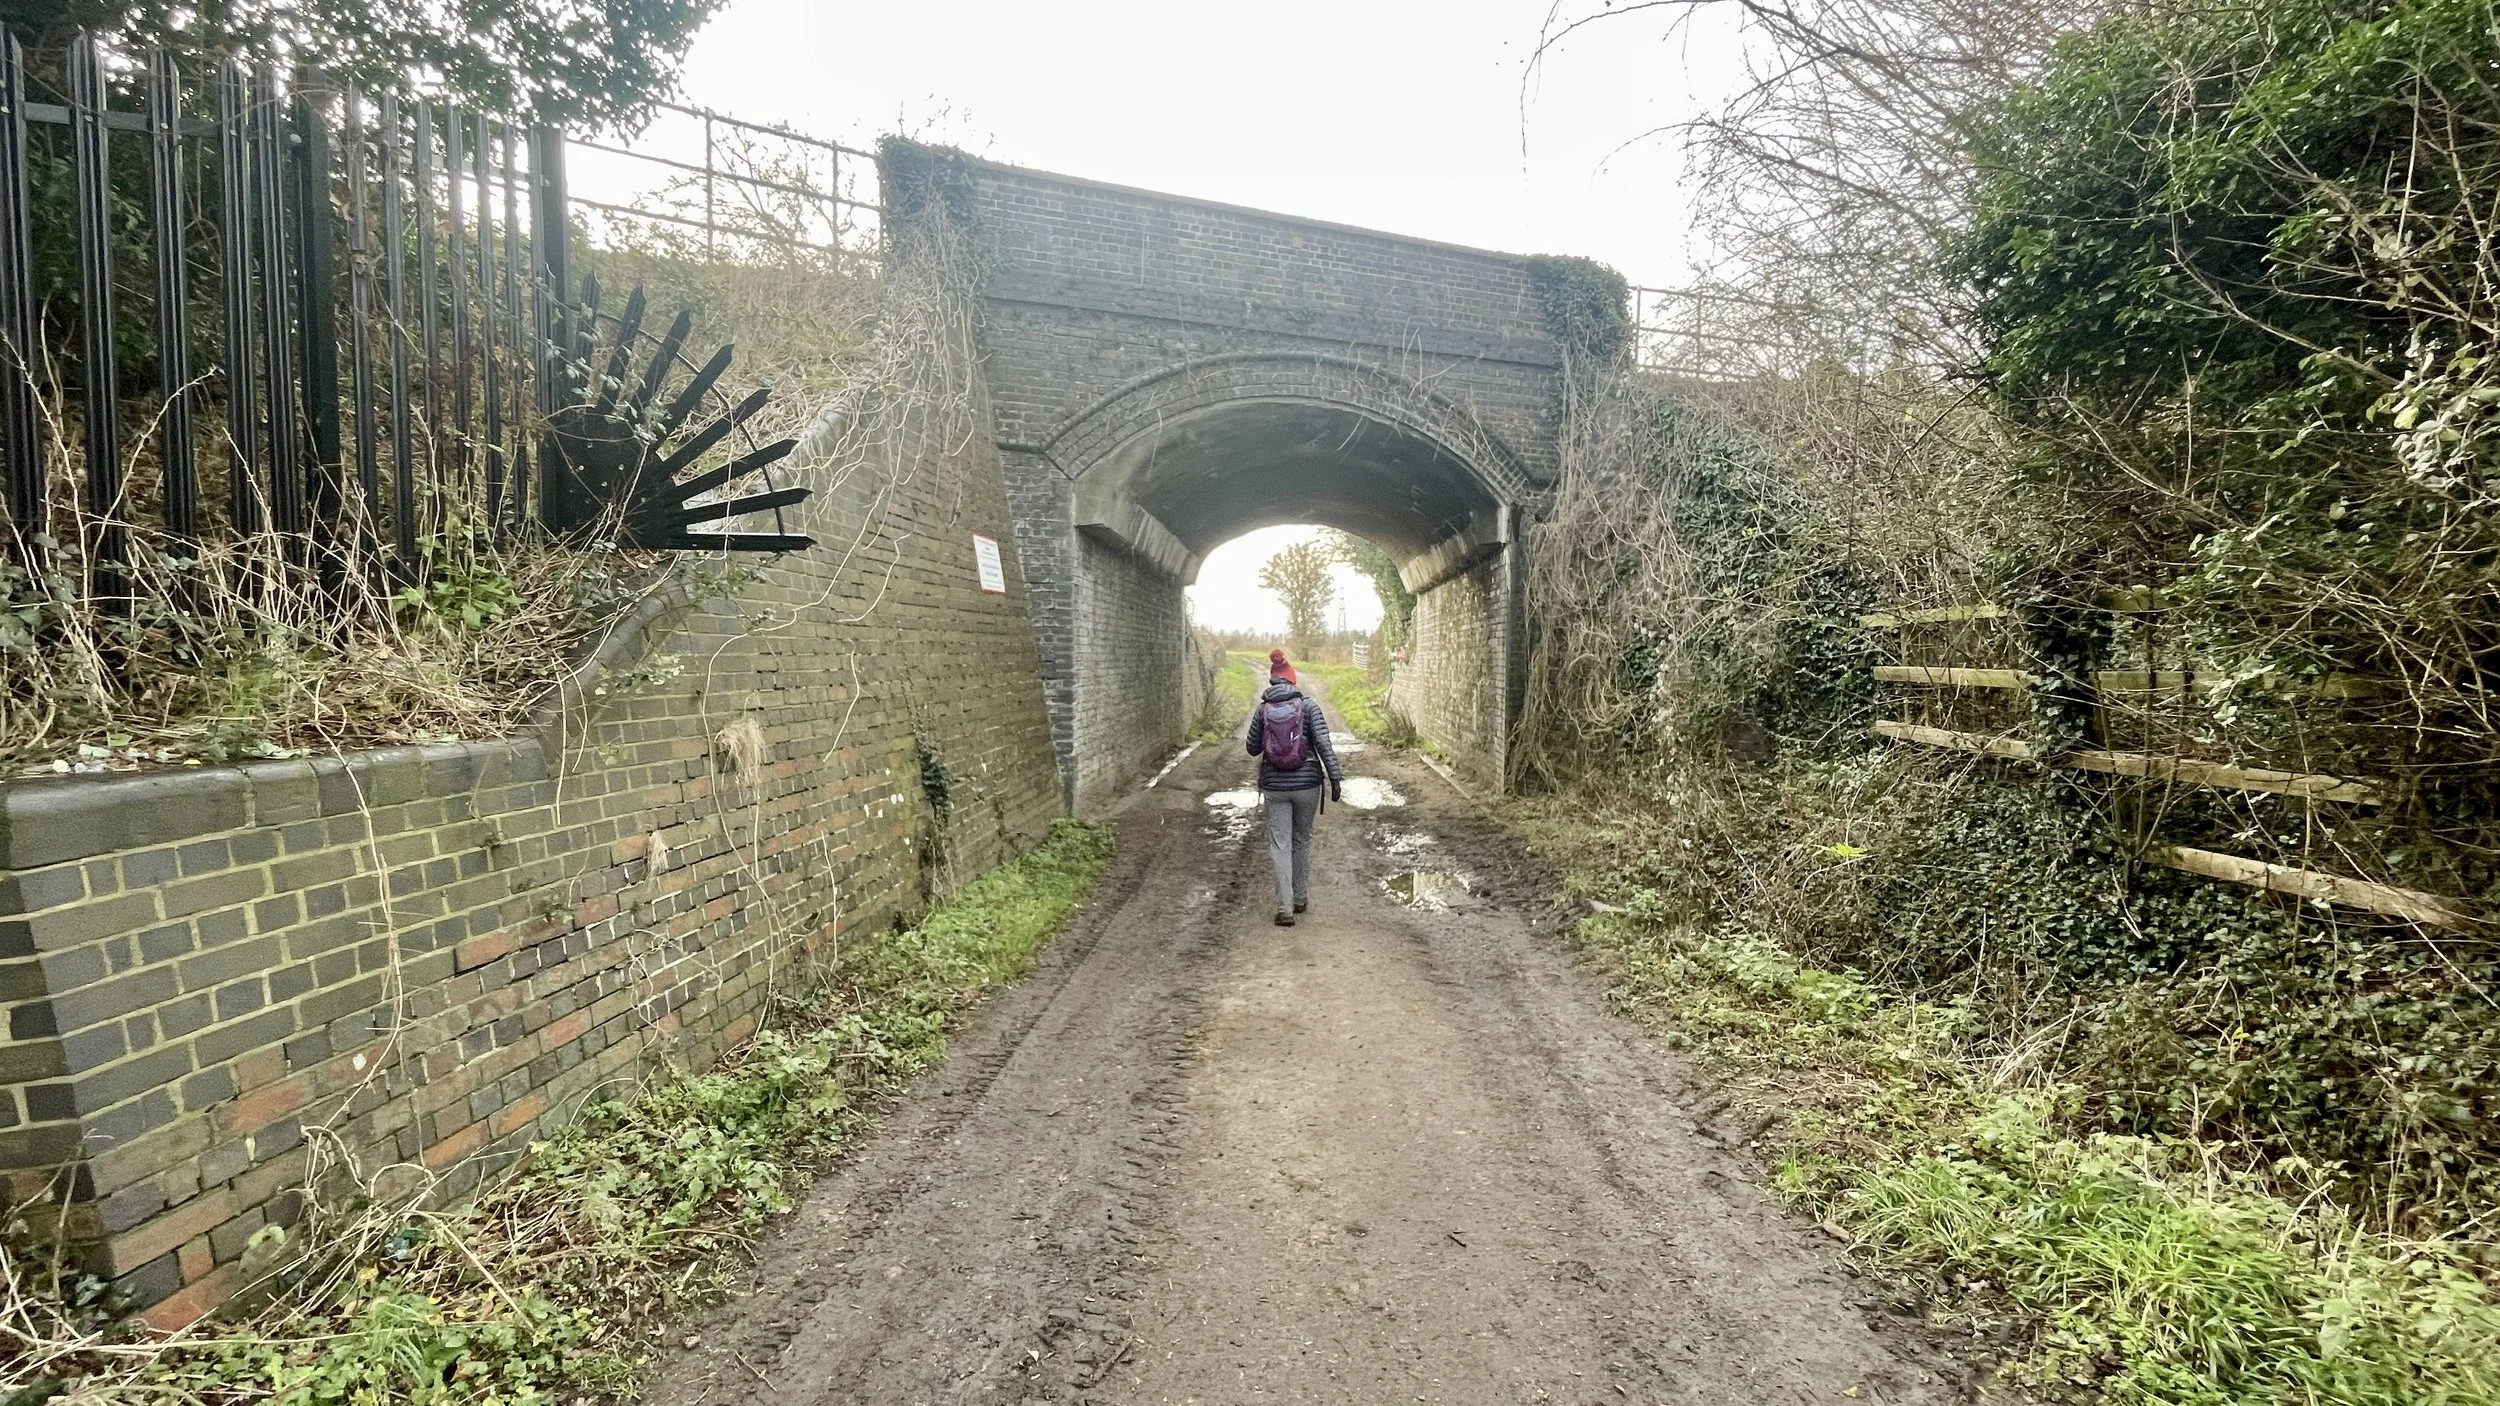
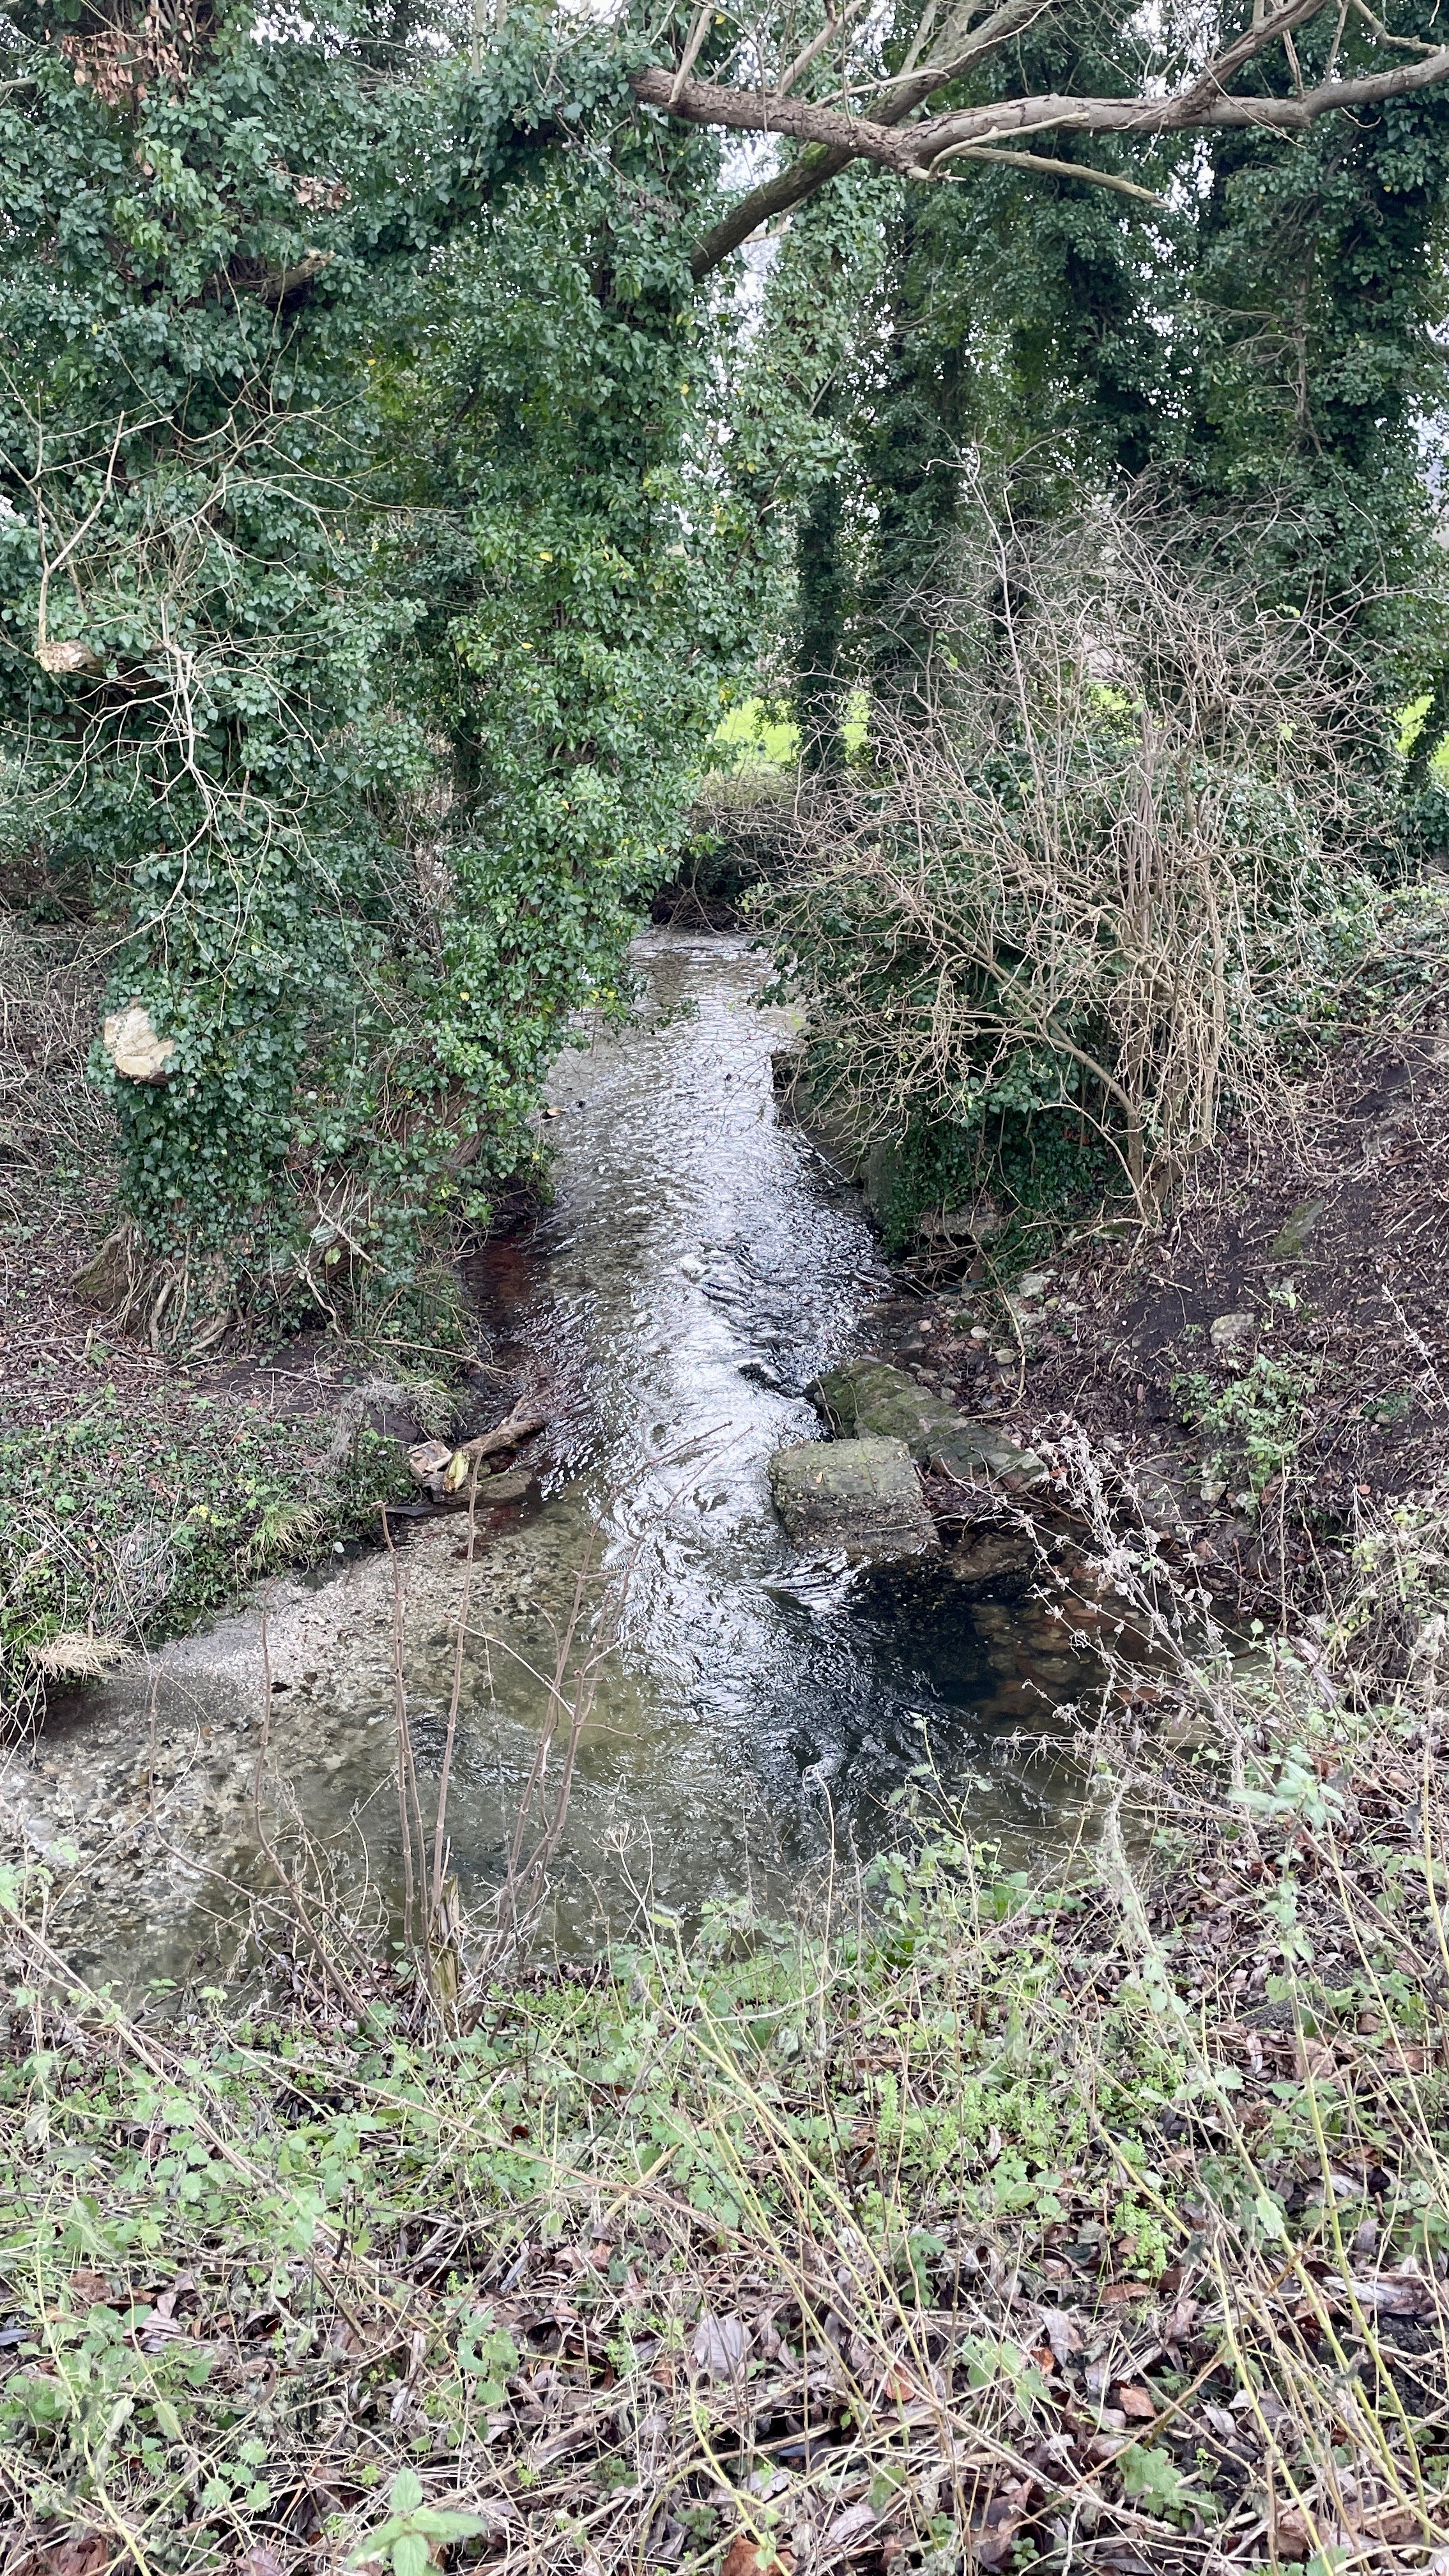
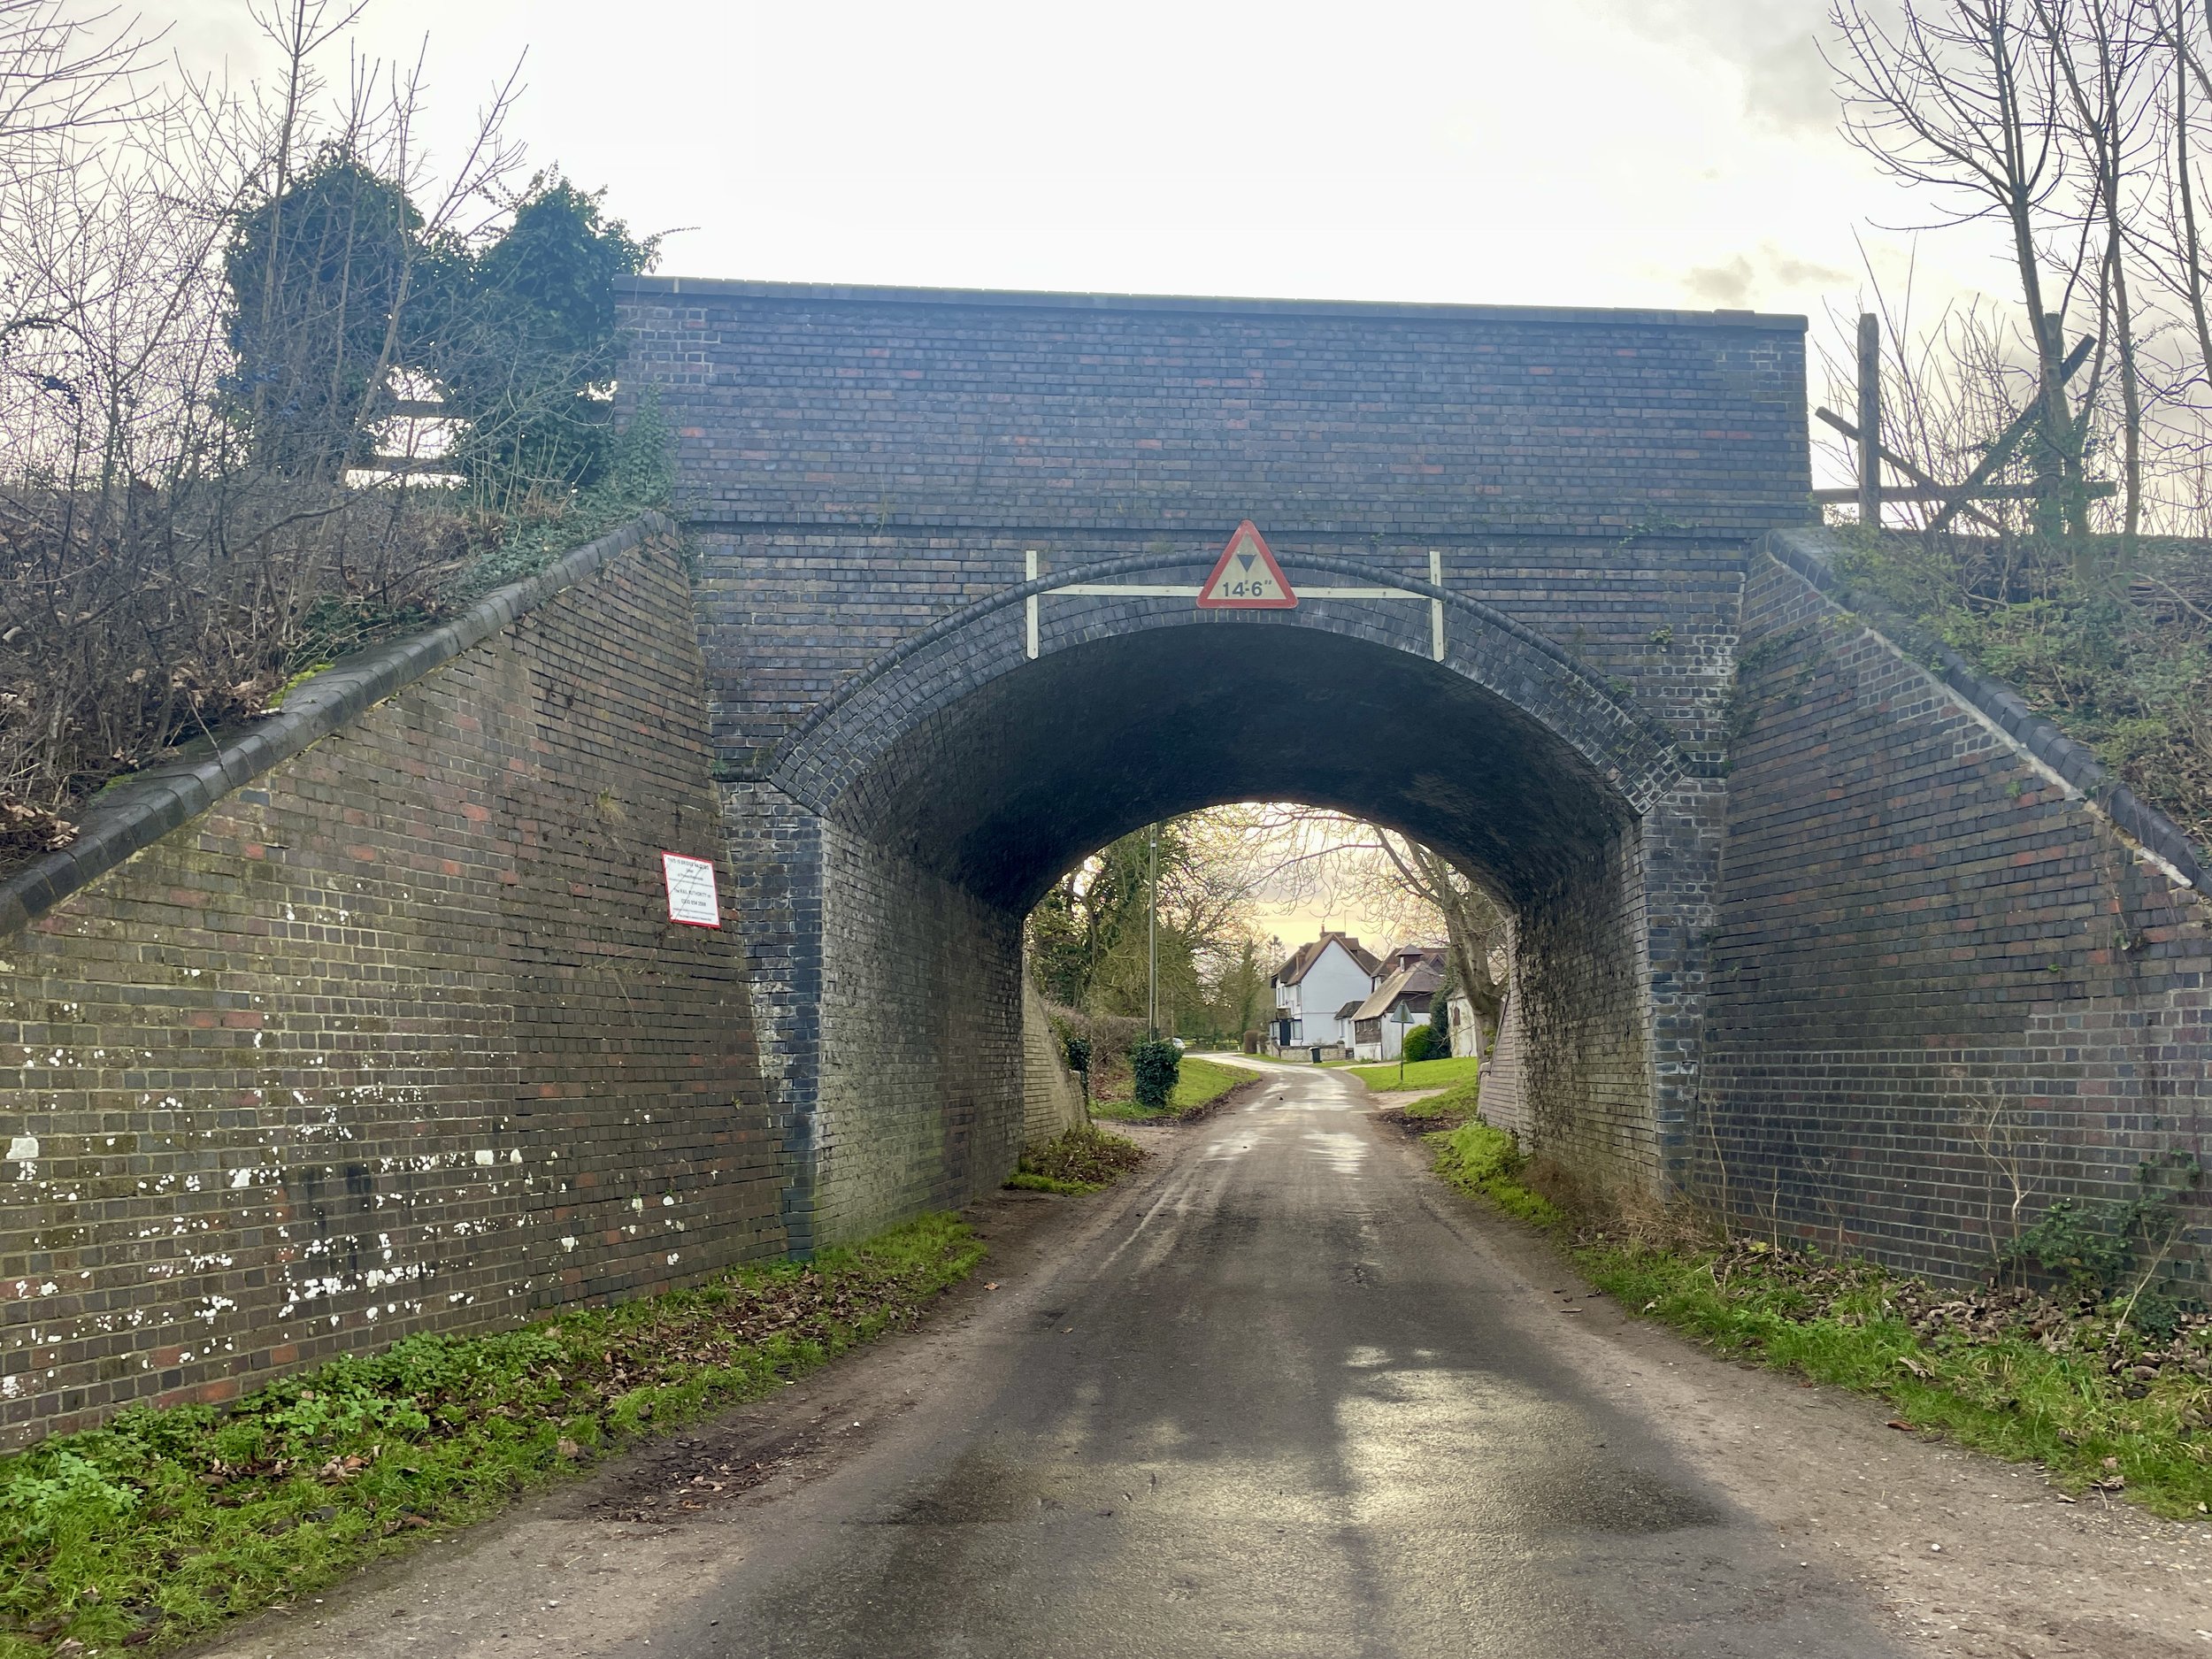
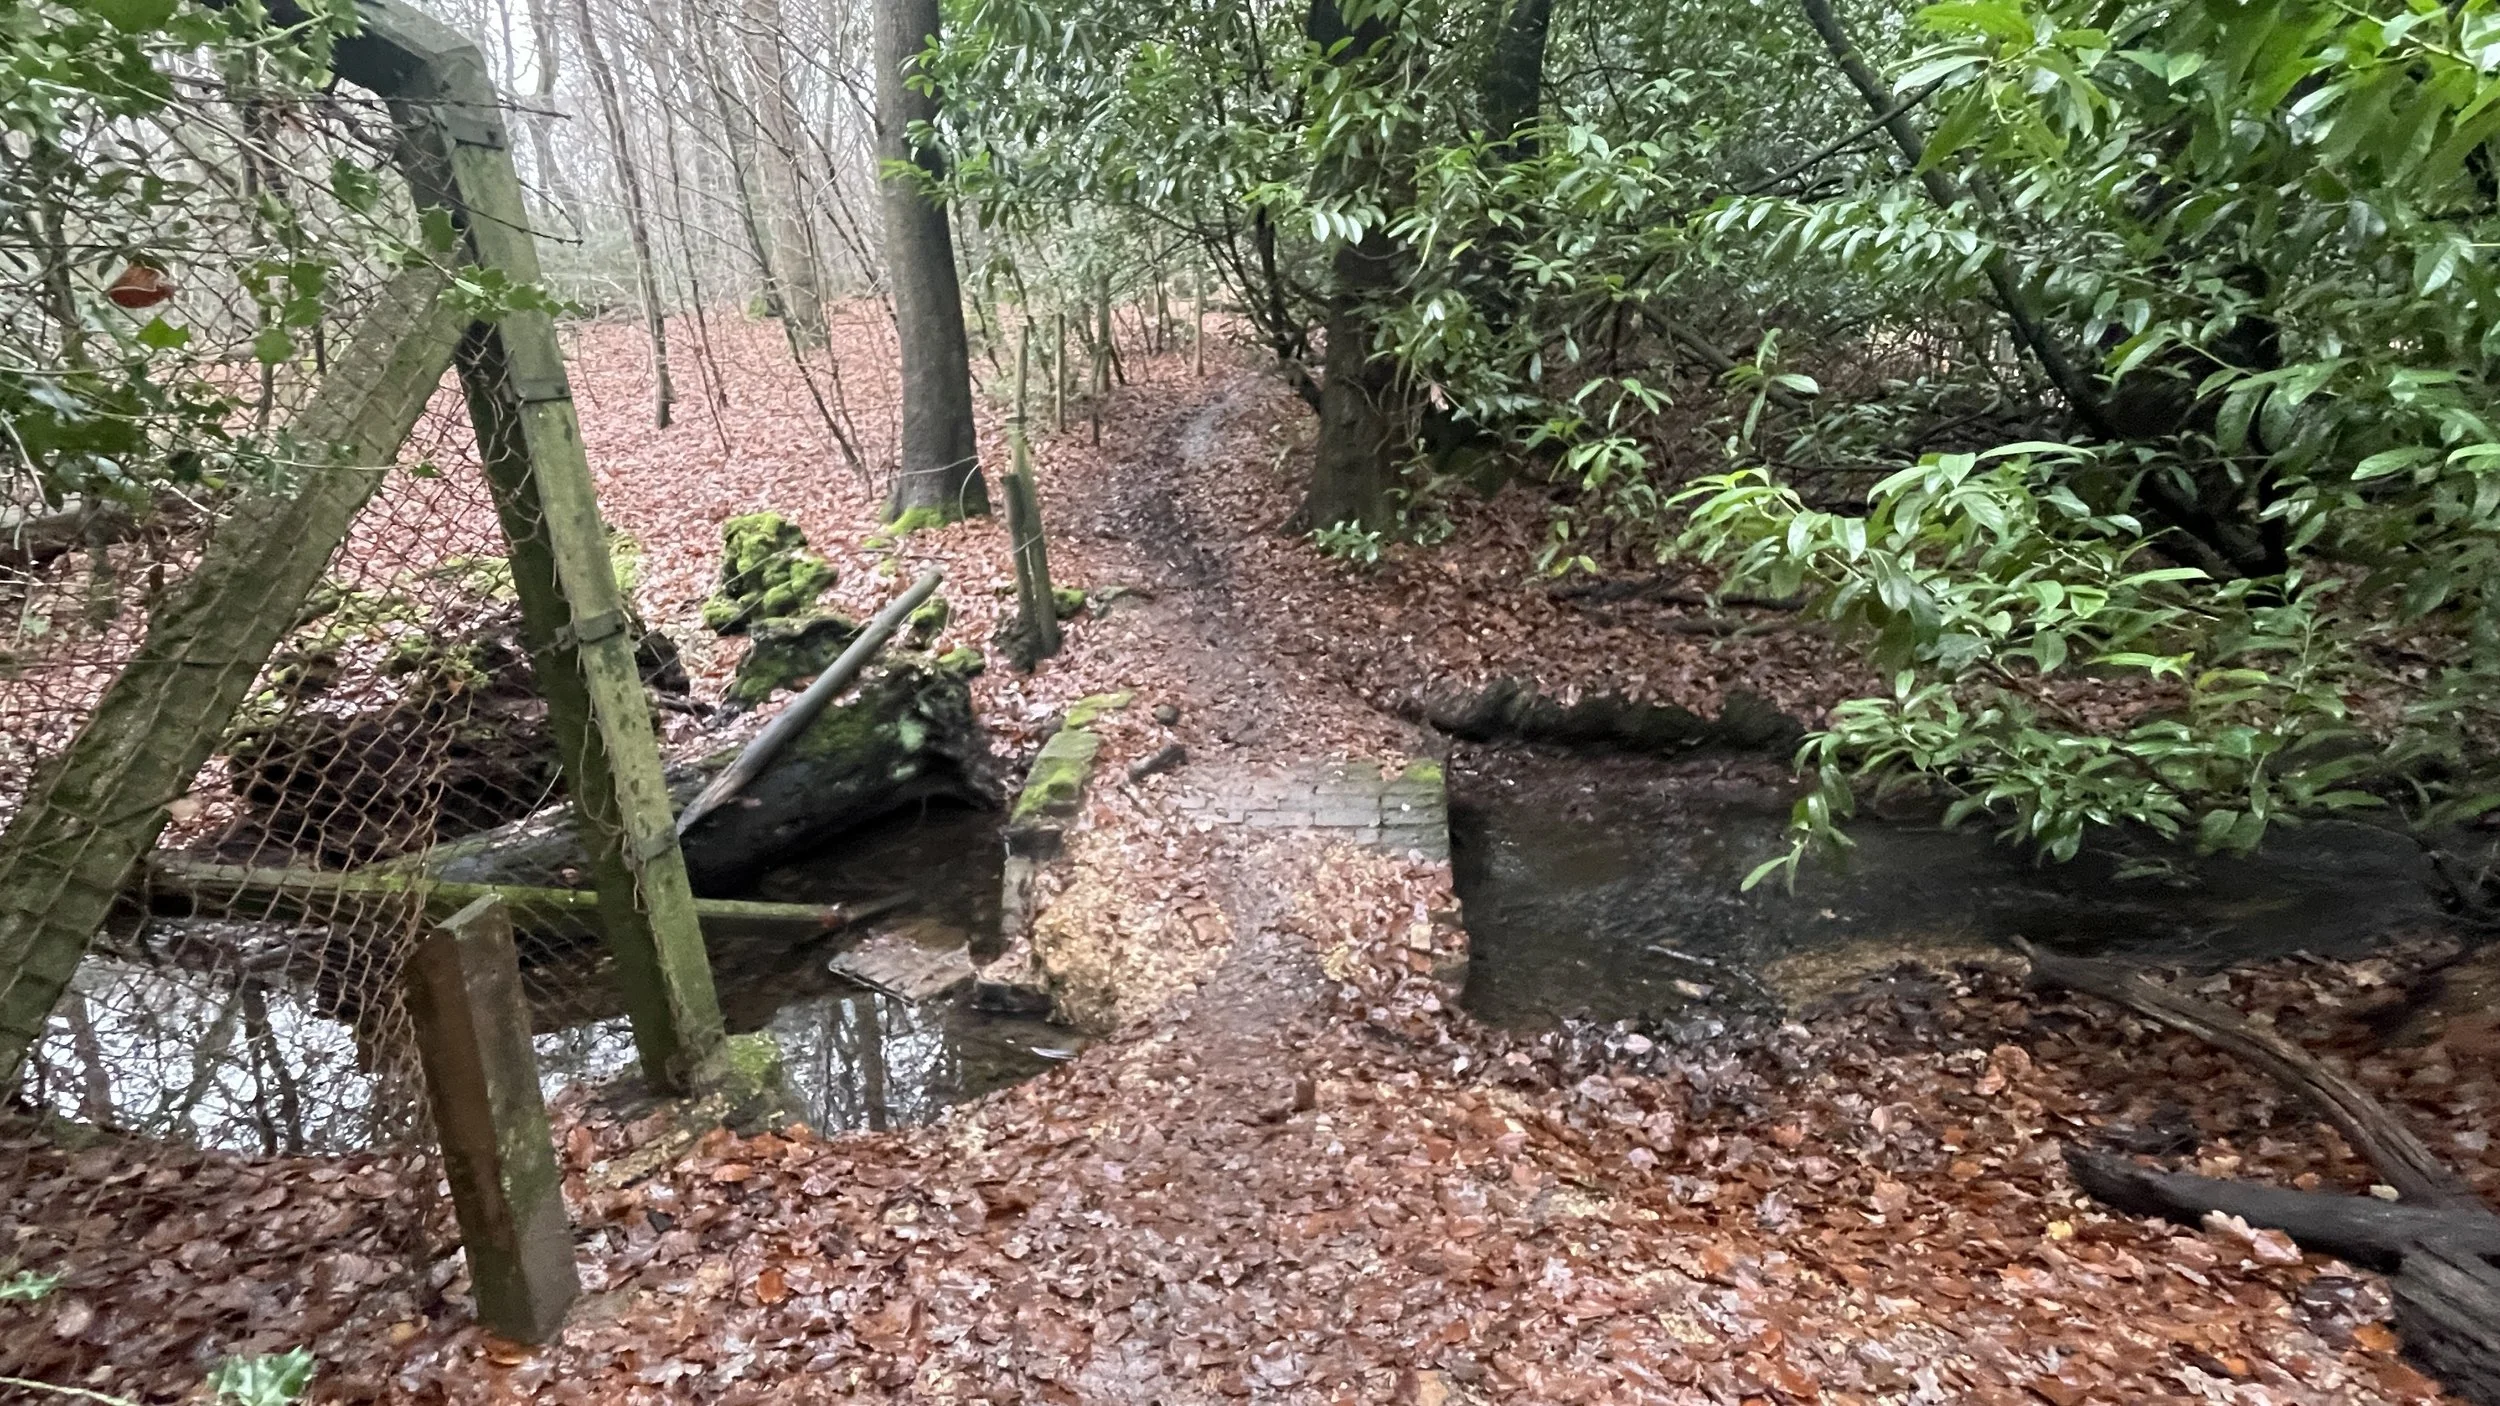
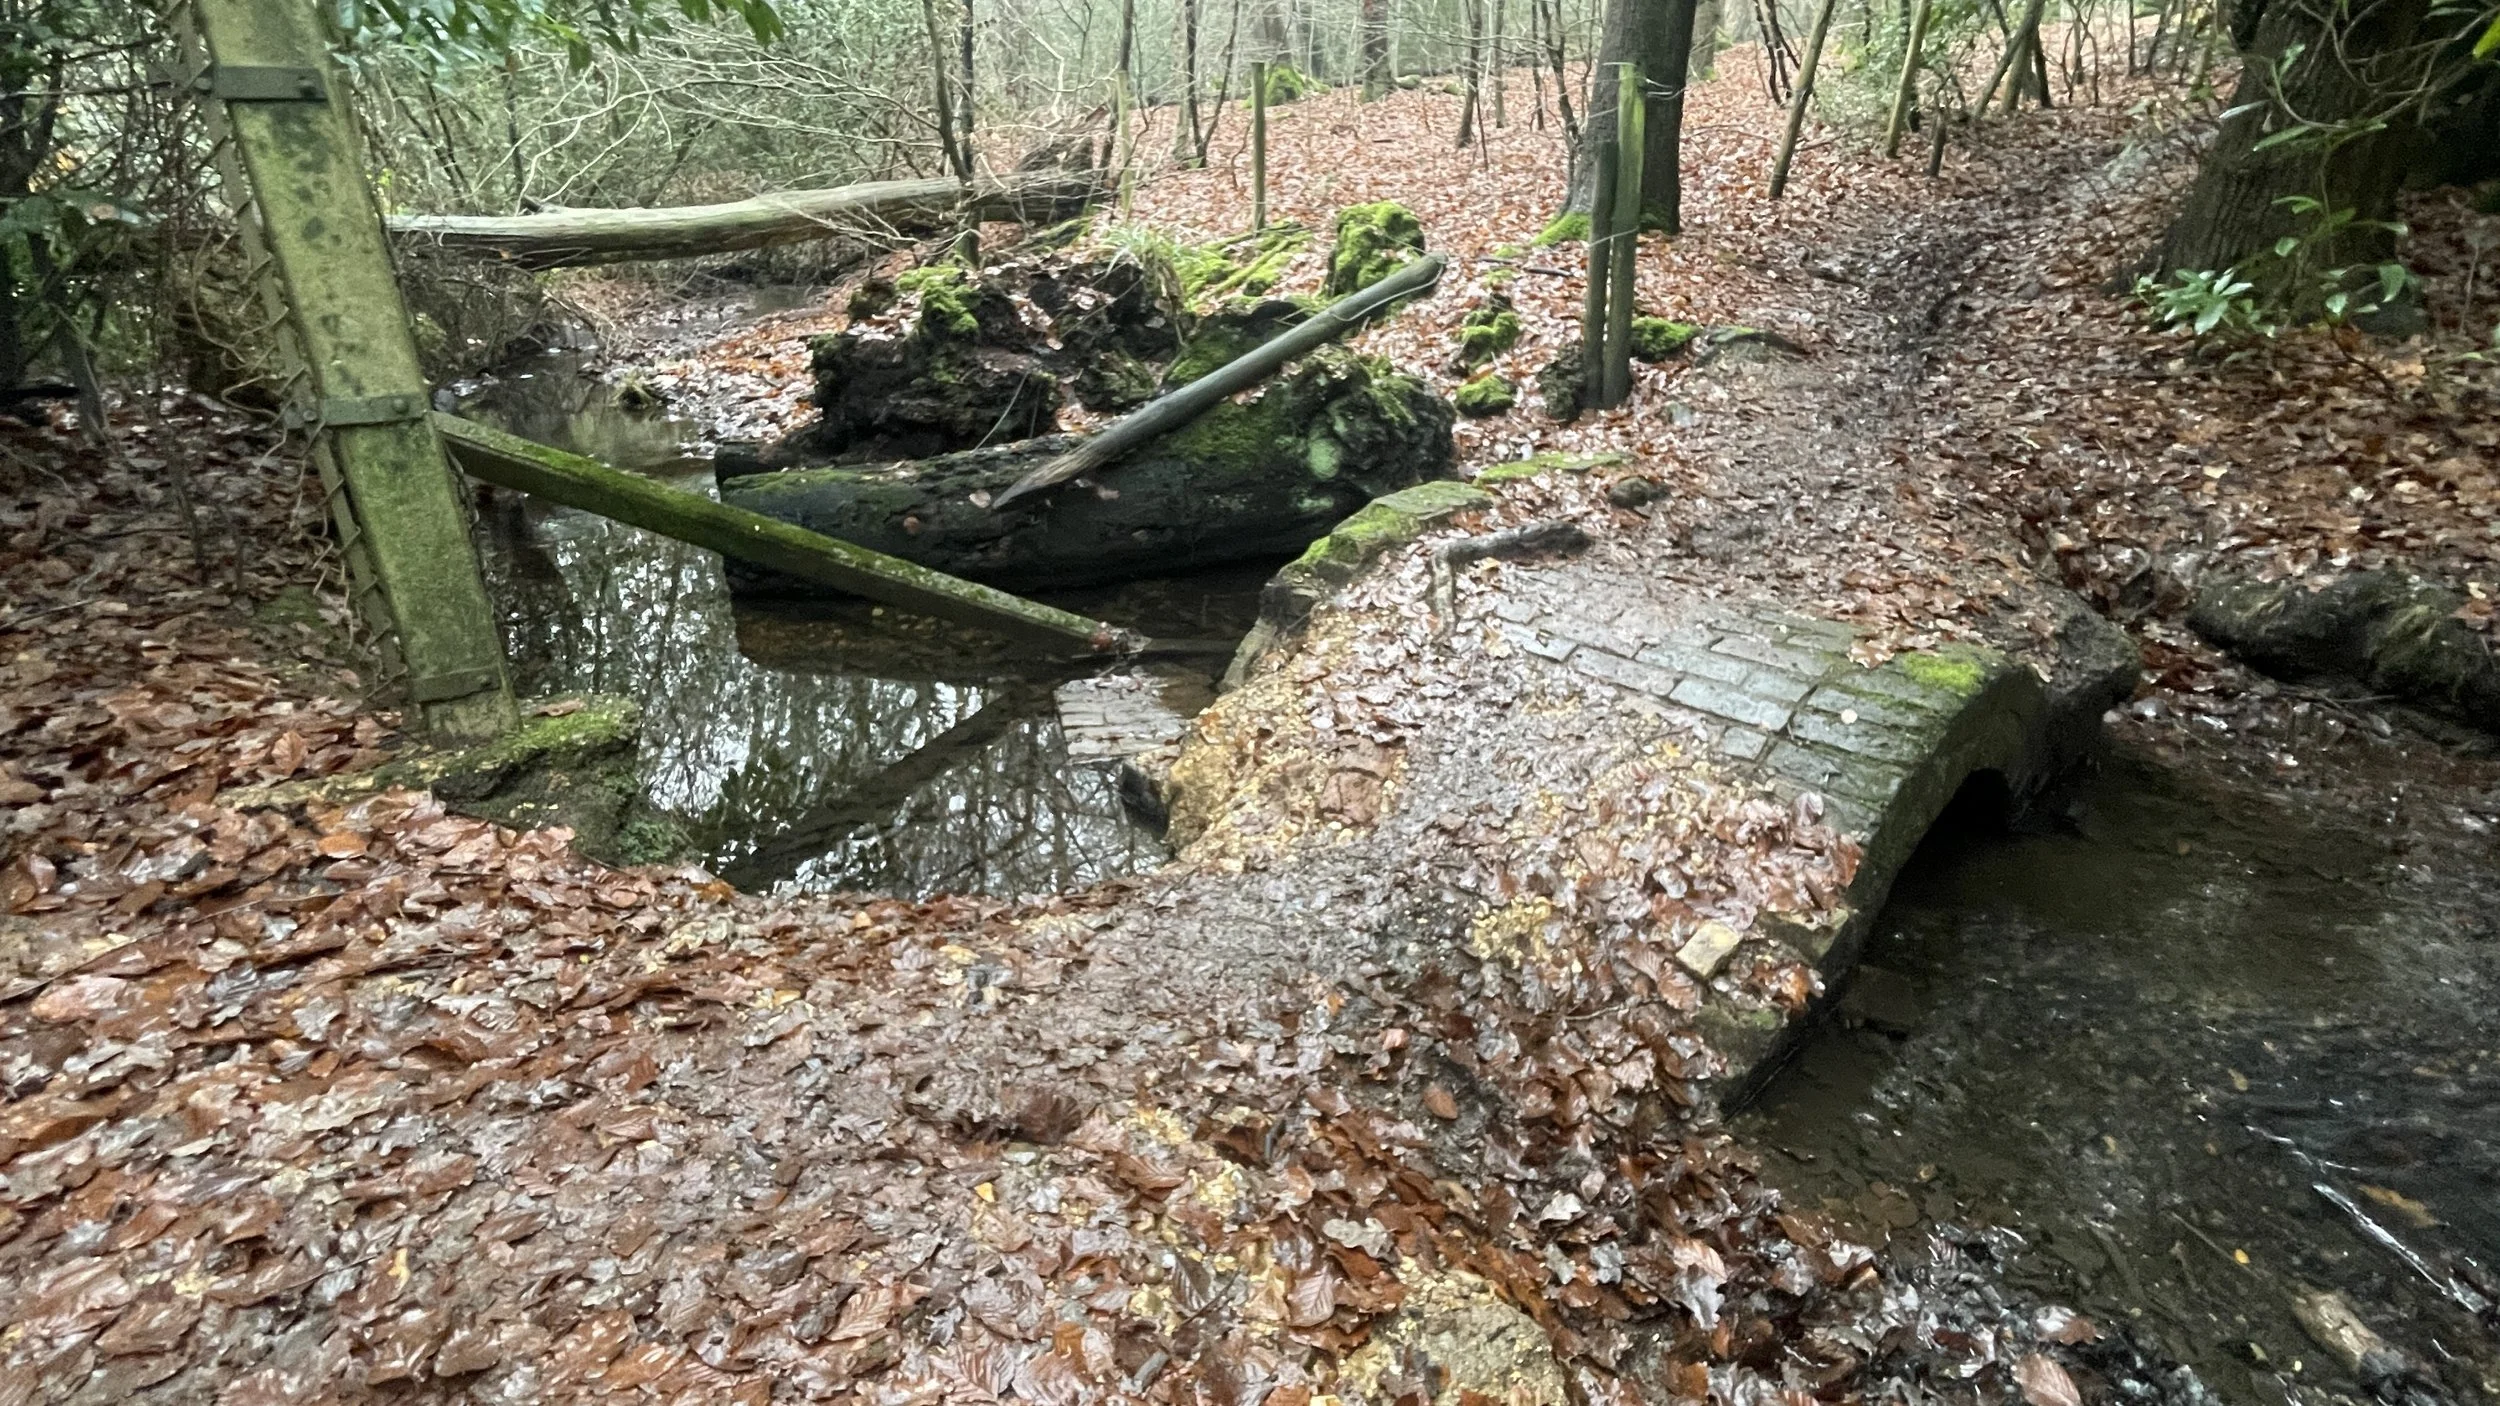
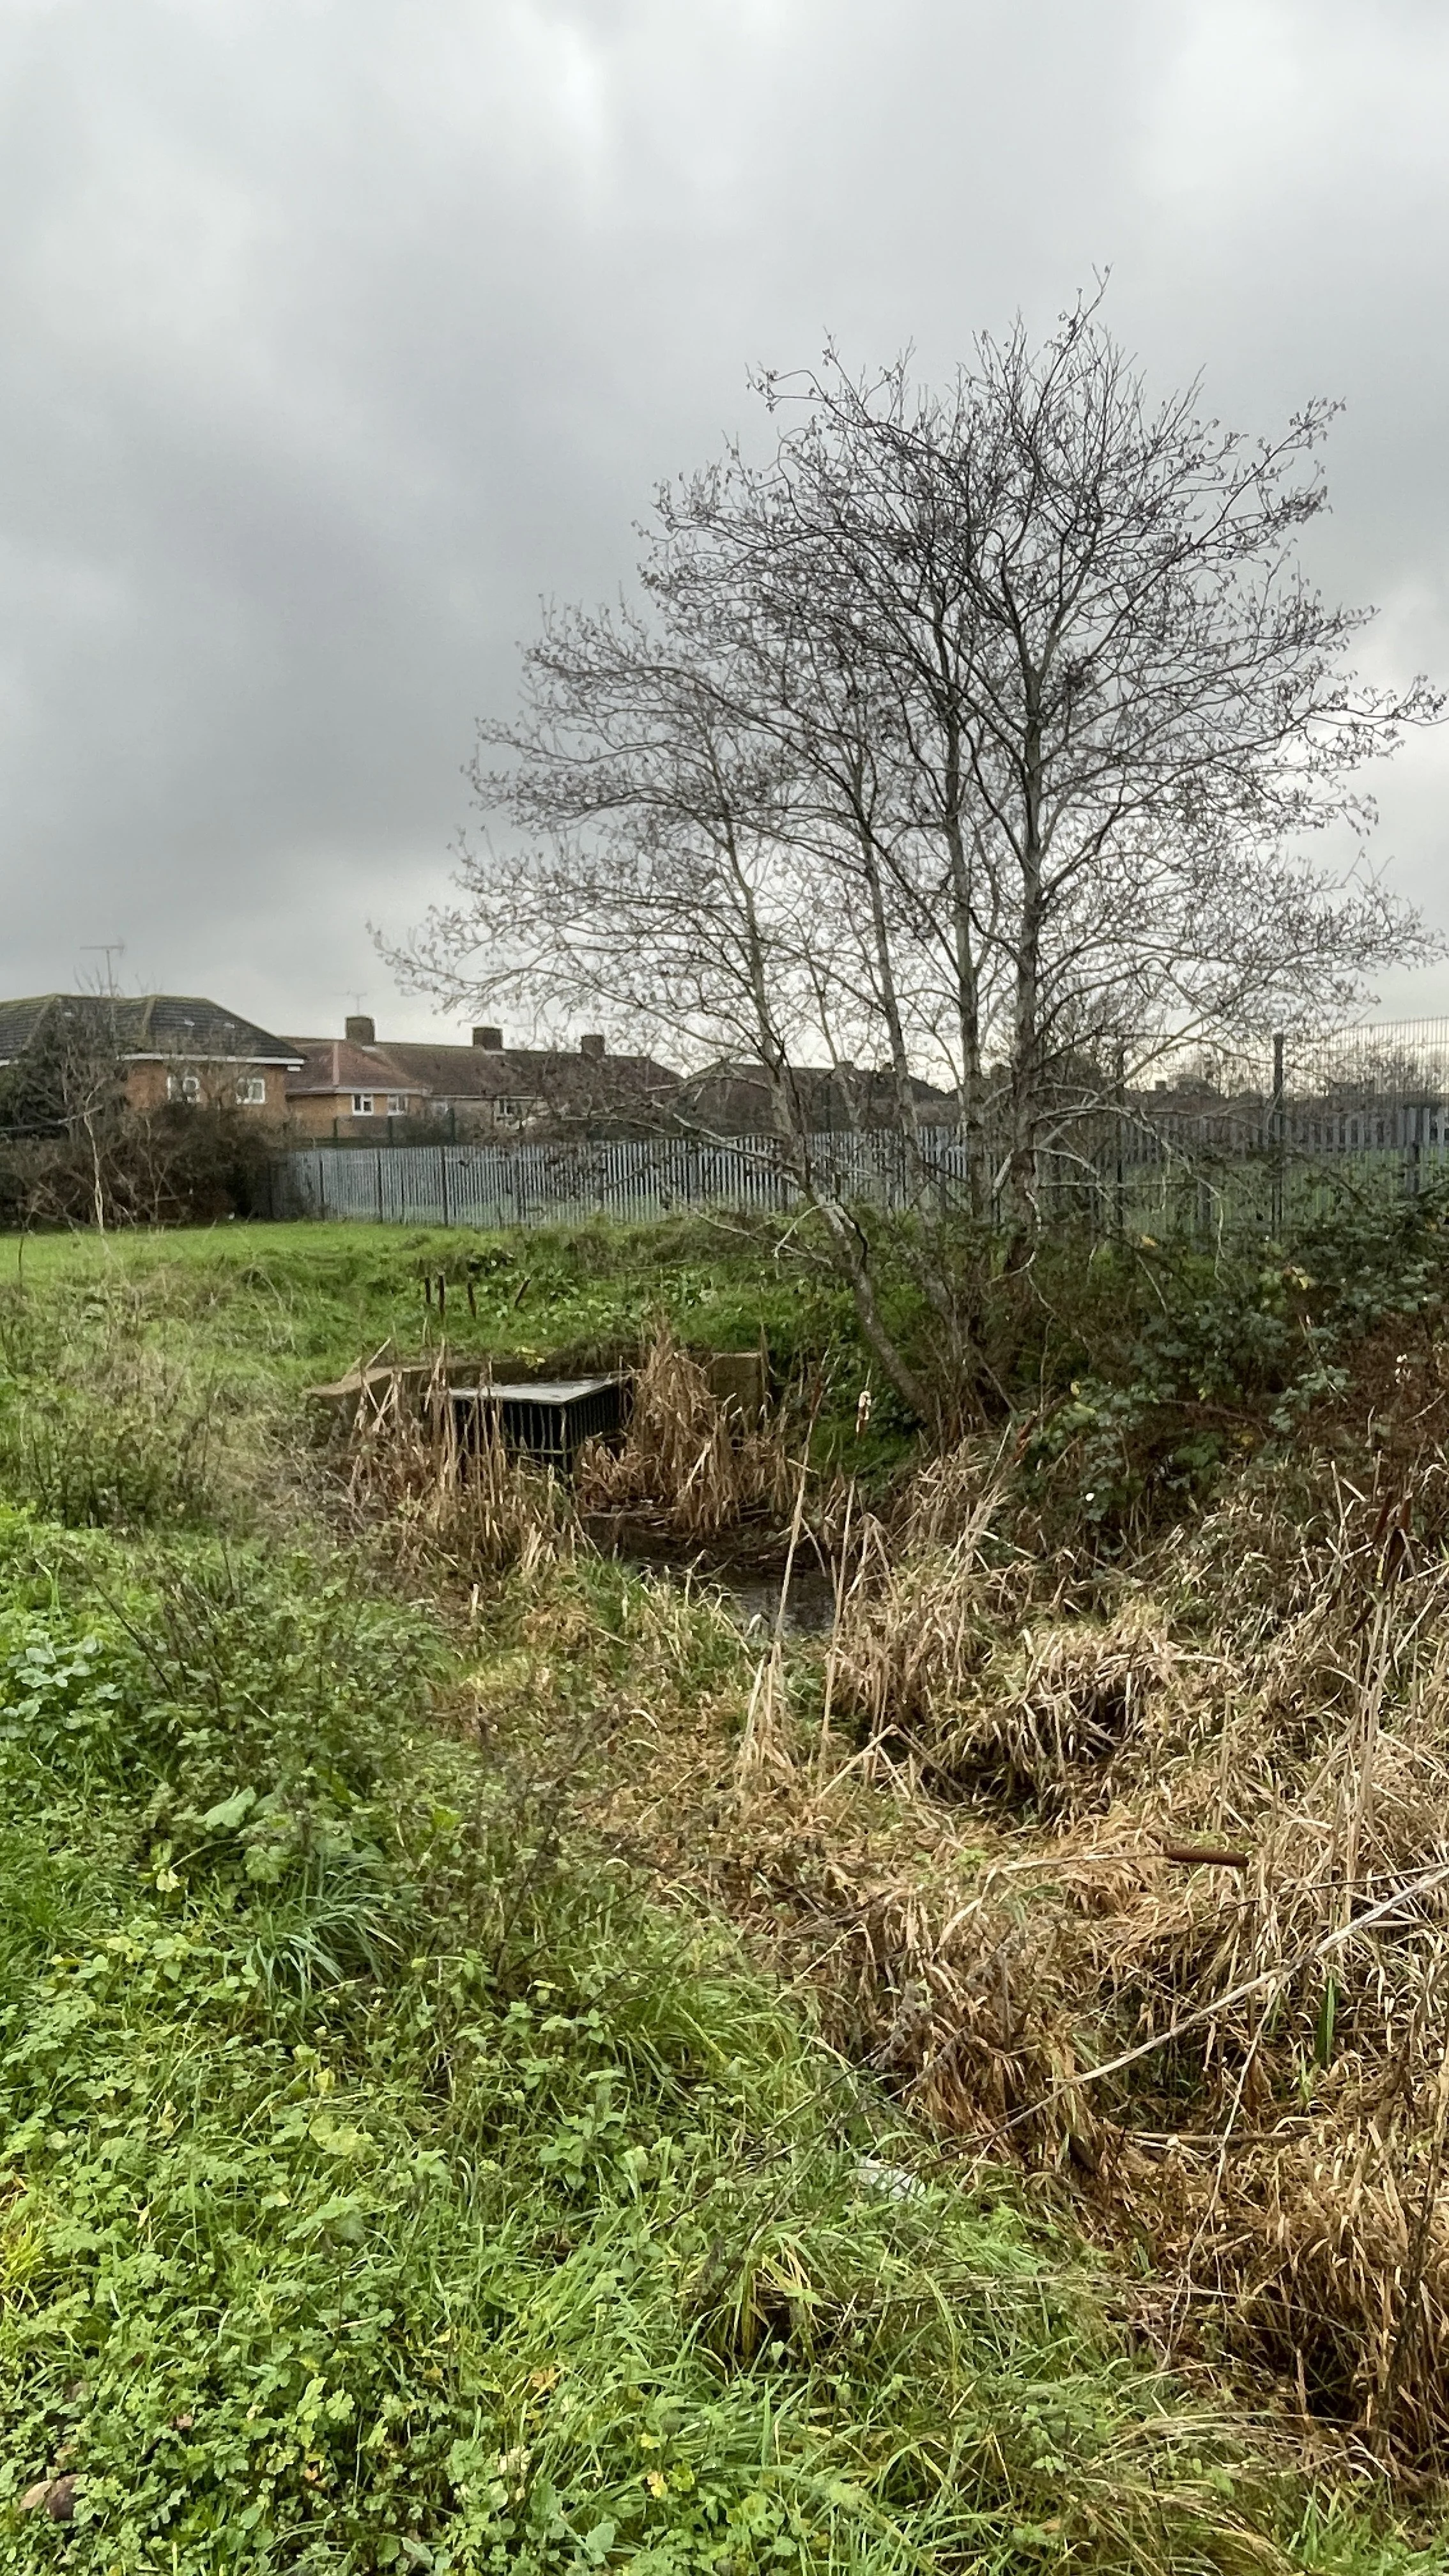
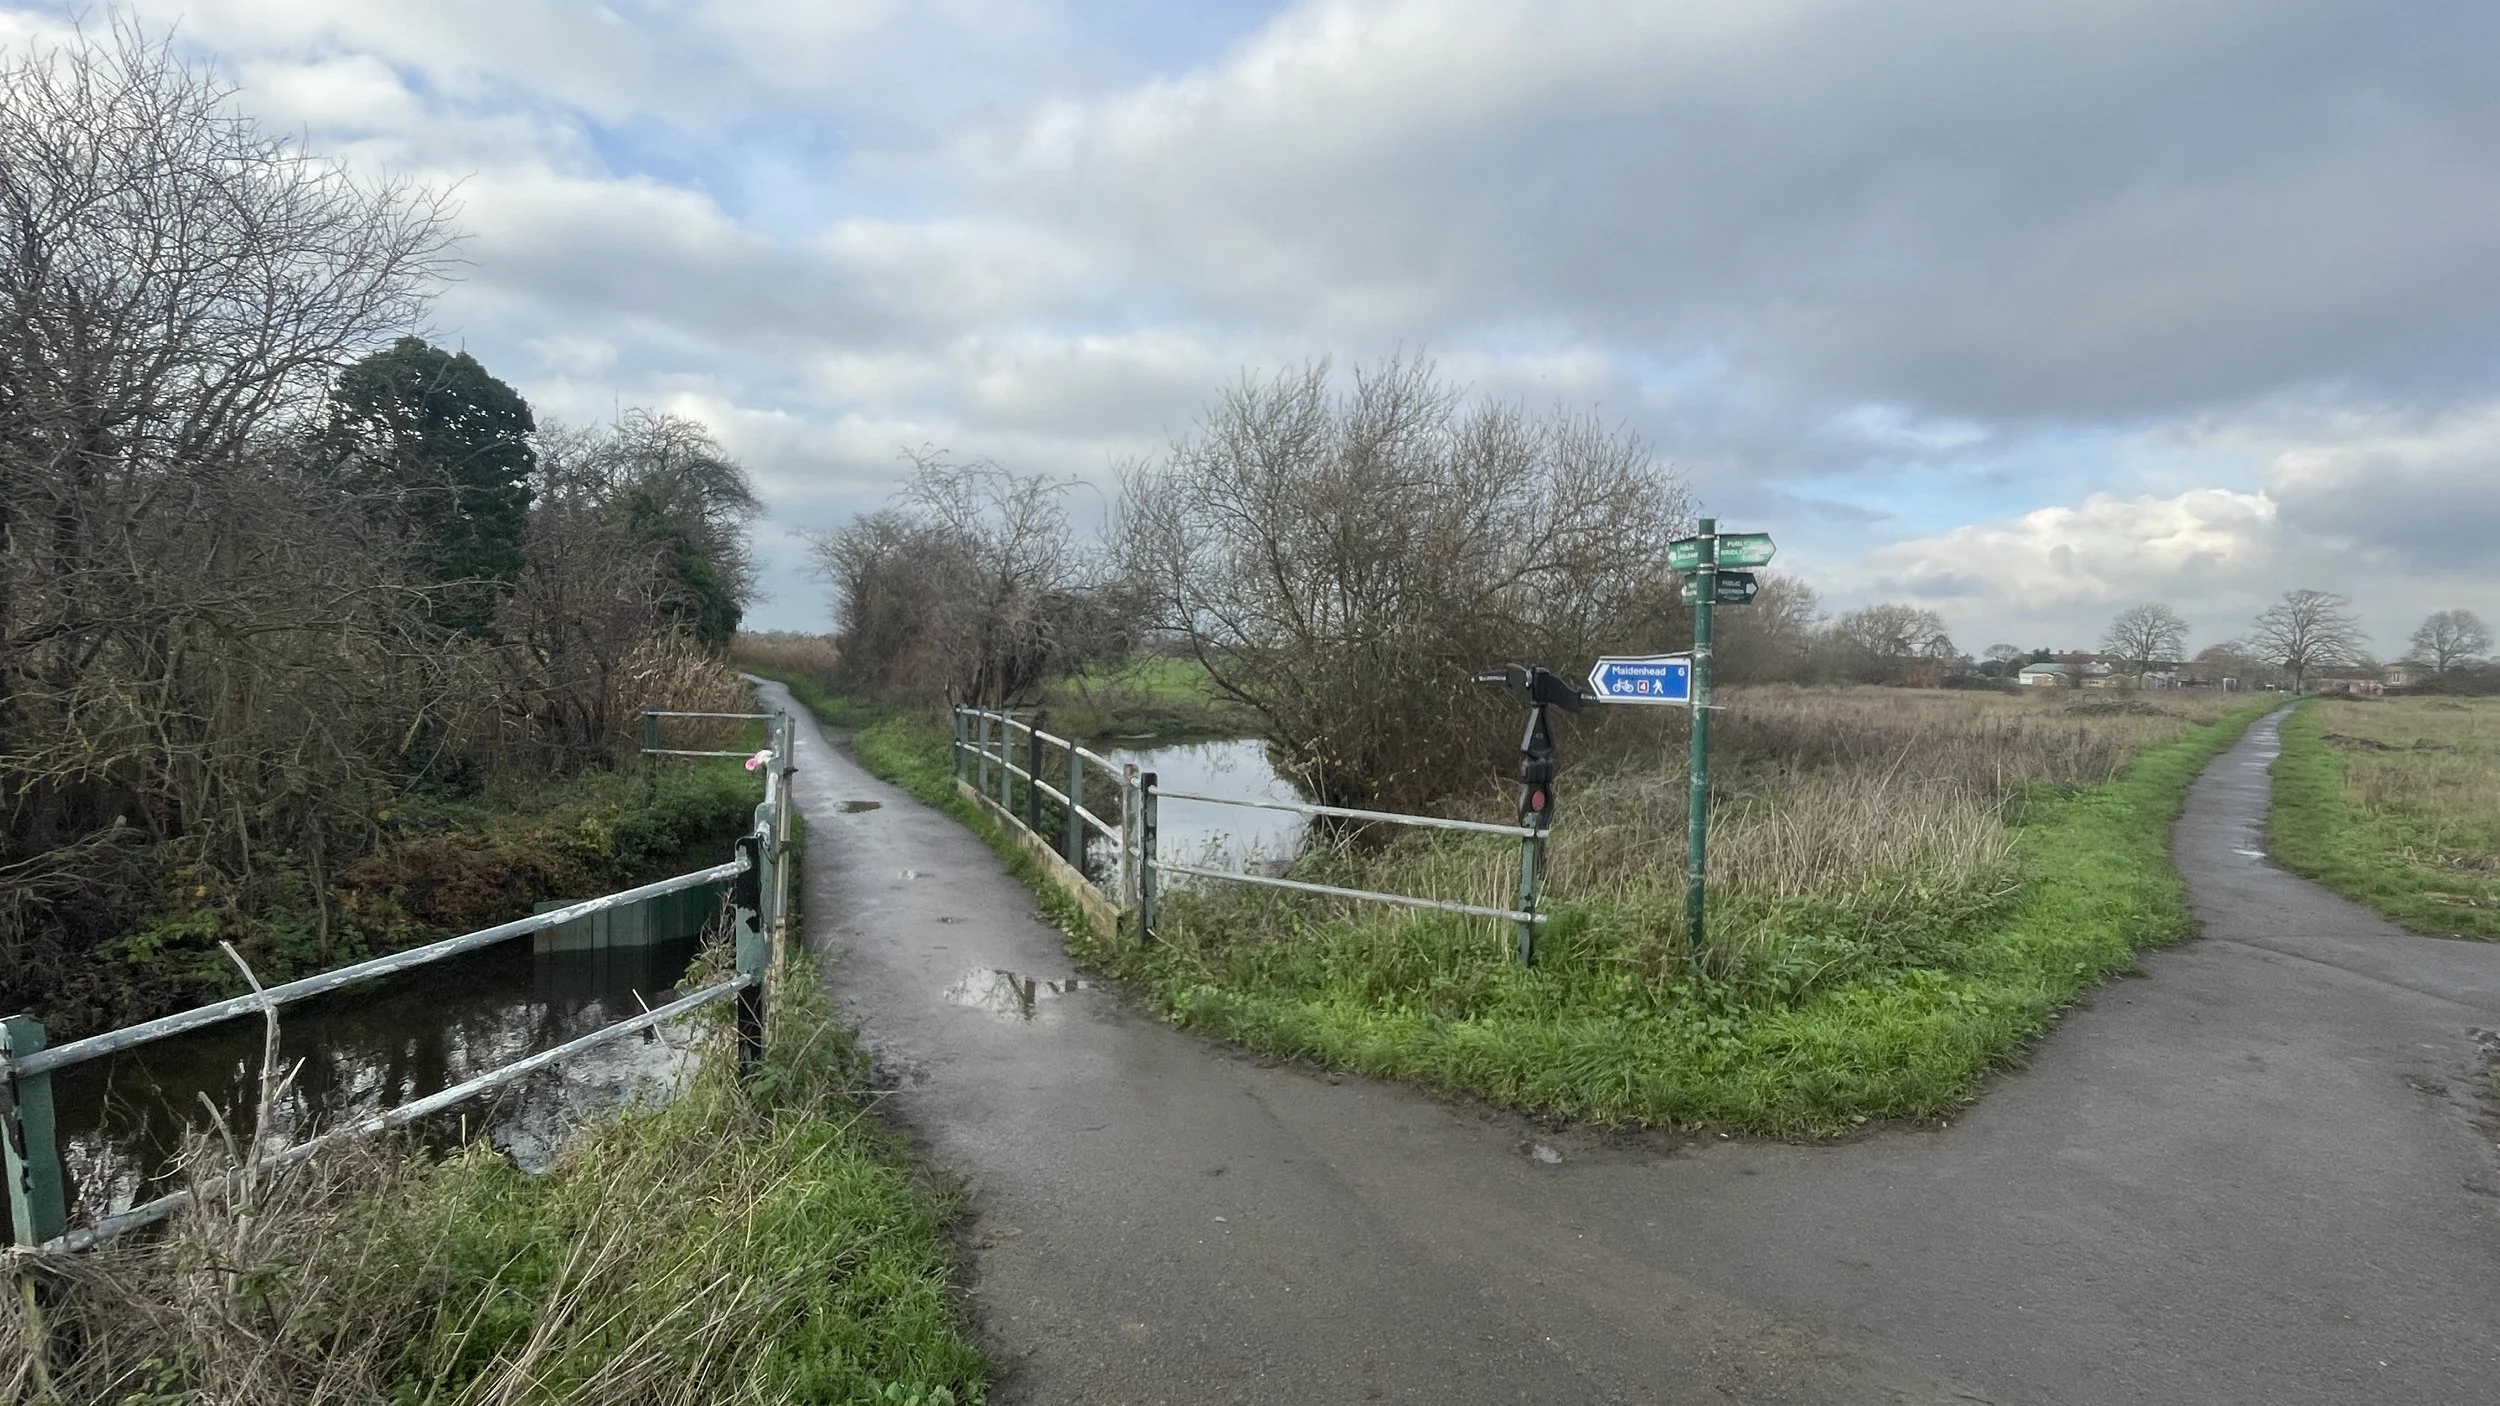
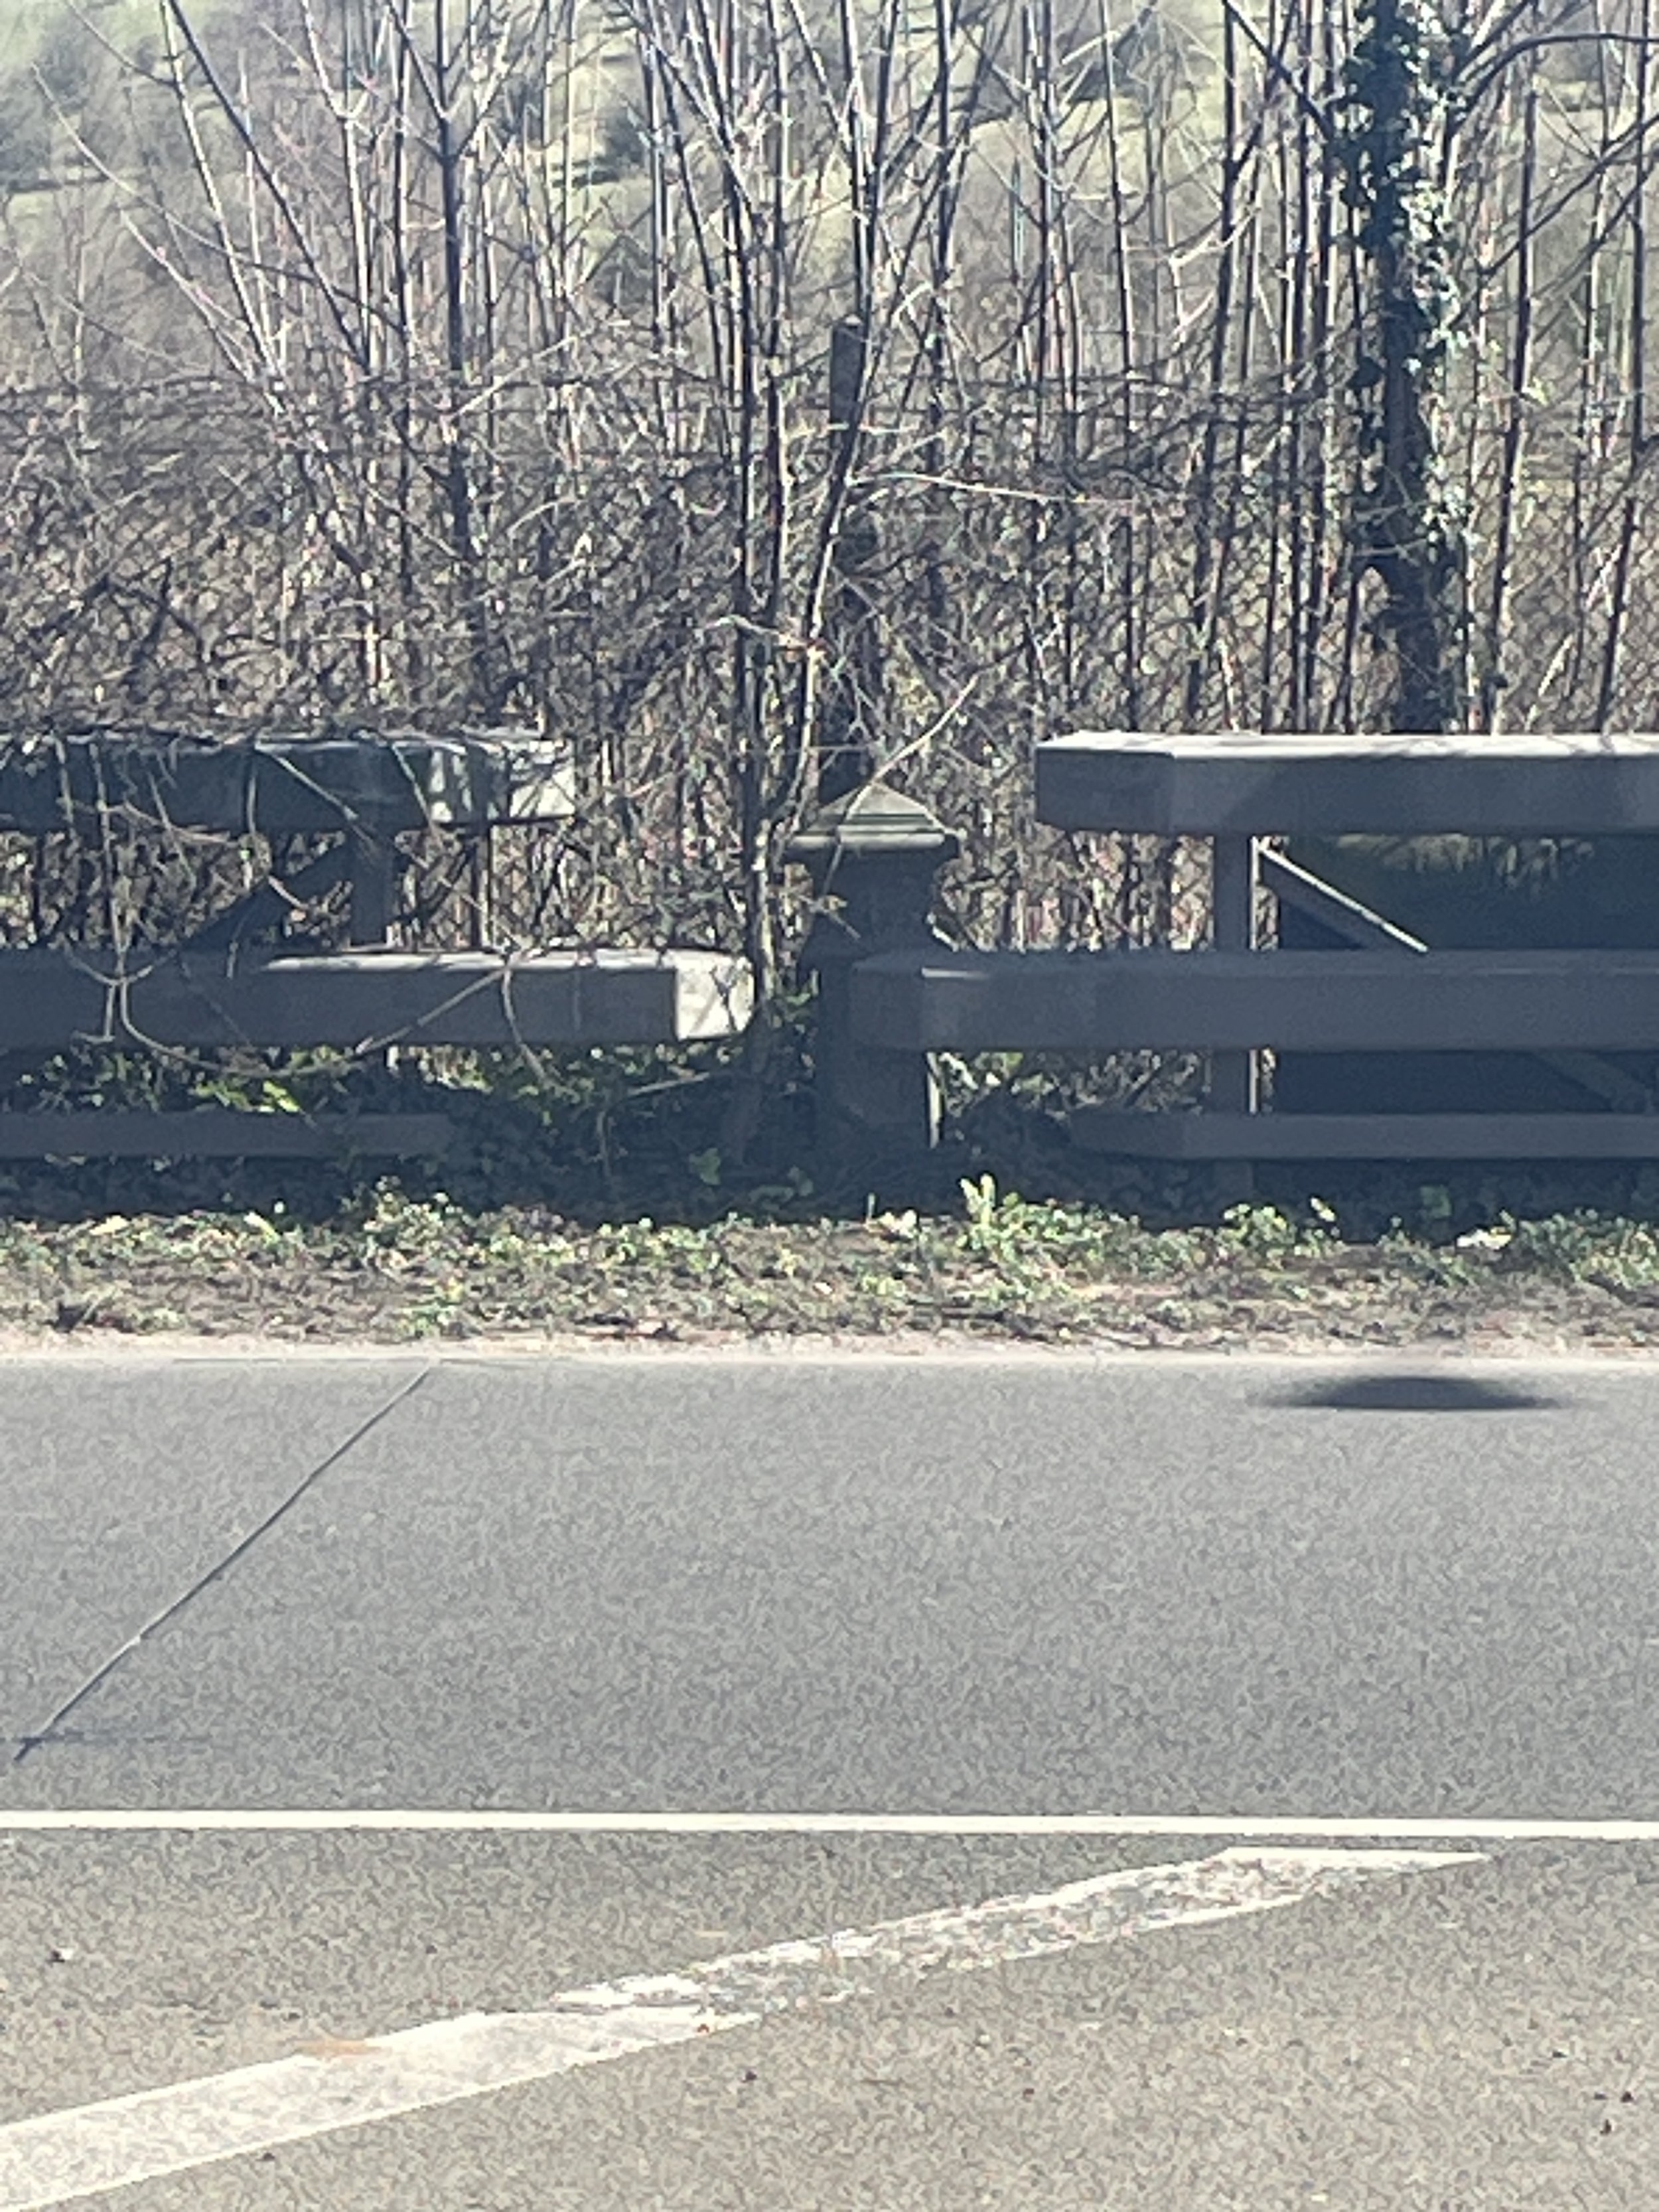
Take a right onto Eythorpe Road and follow it in a north-westerly direction for 1.9 km until you cross over a tributary of the River Thame.
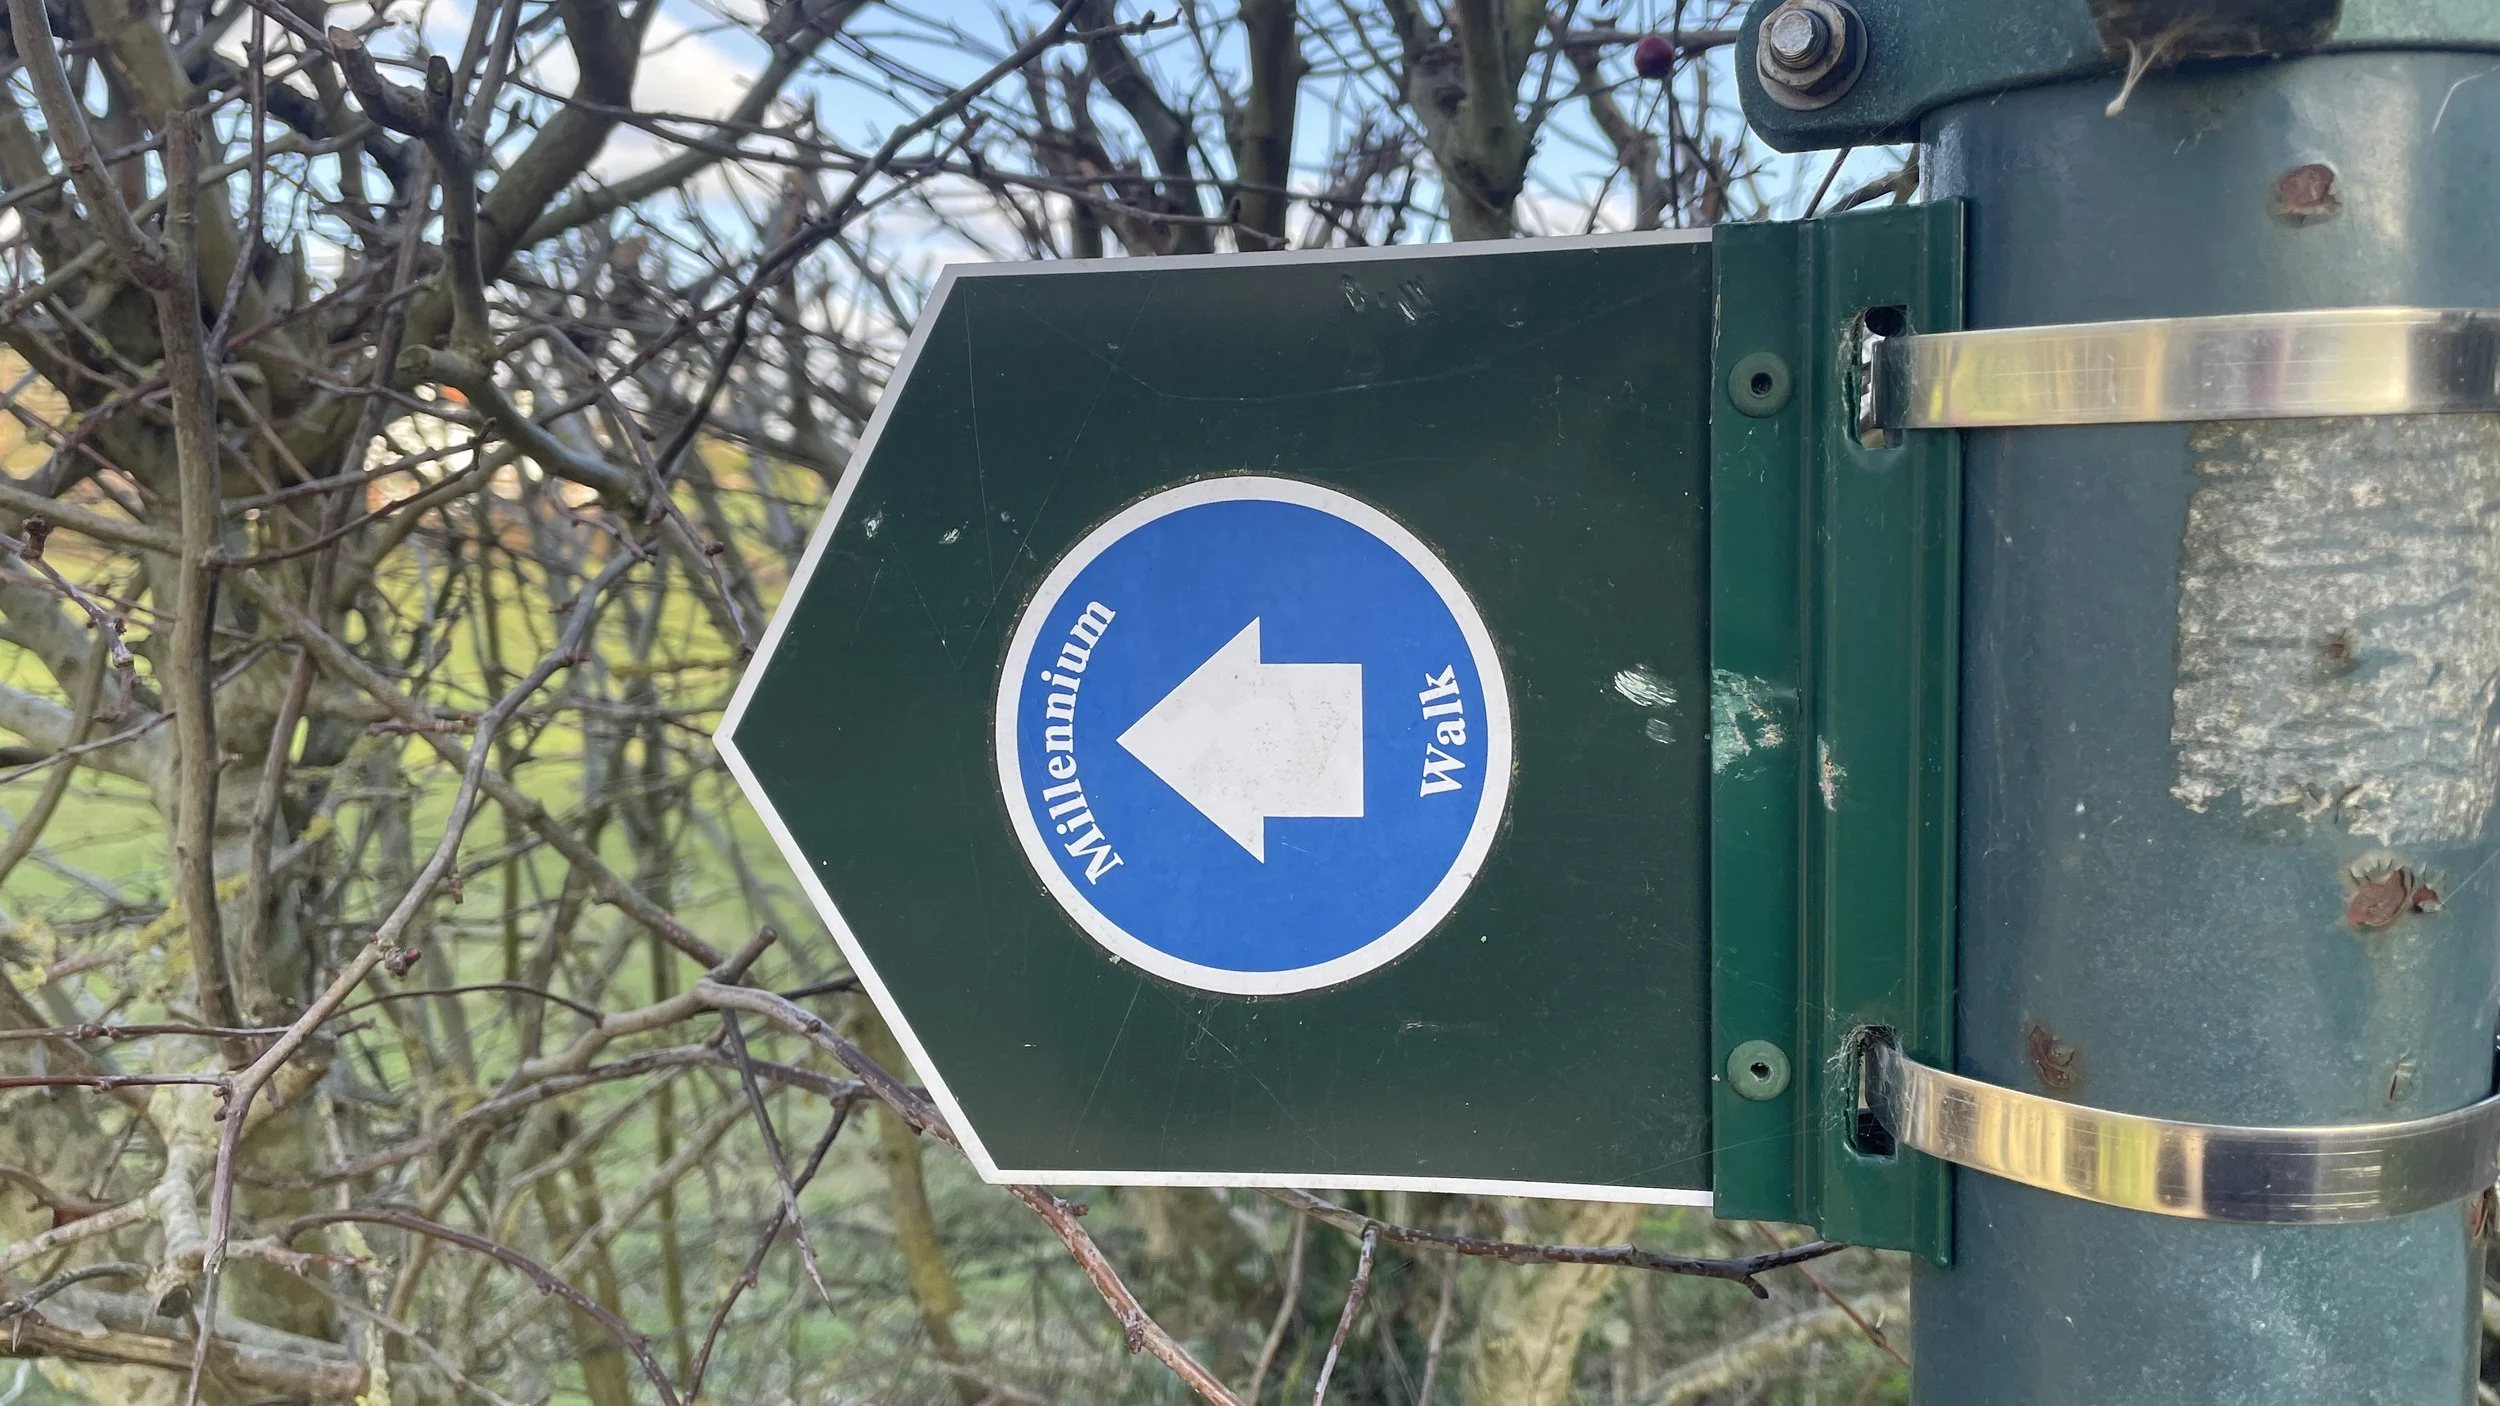
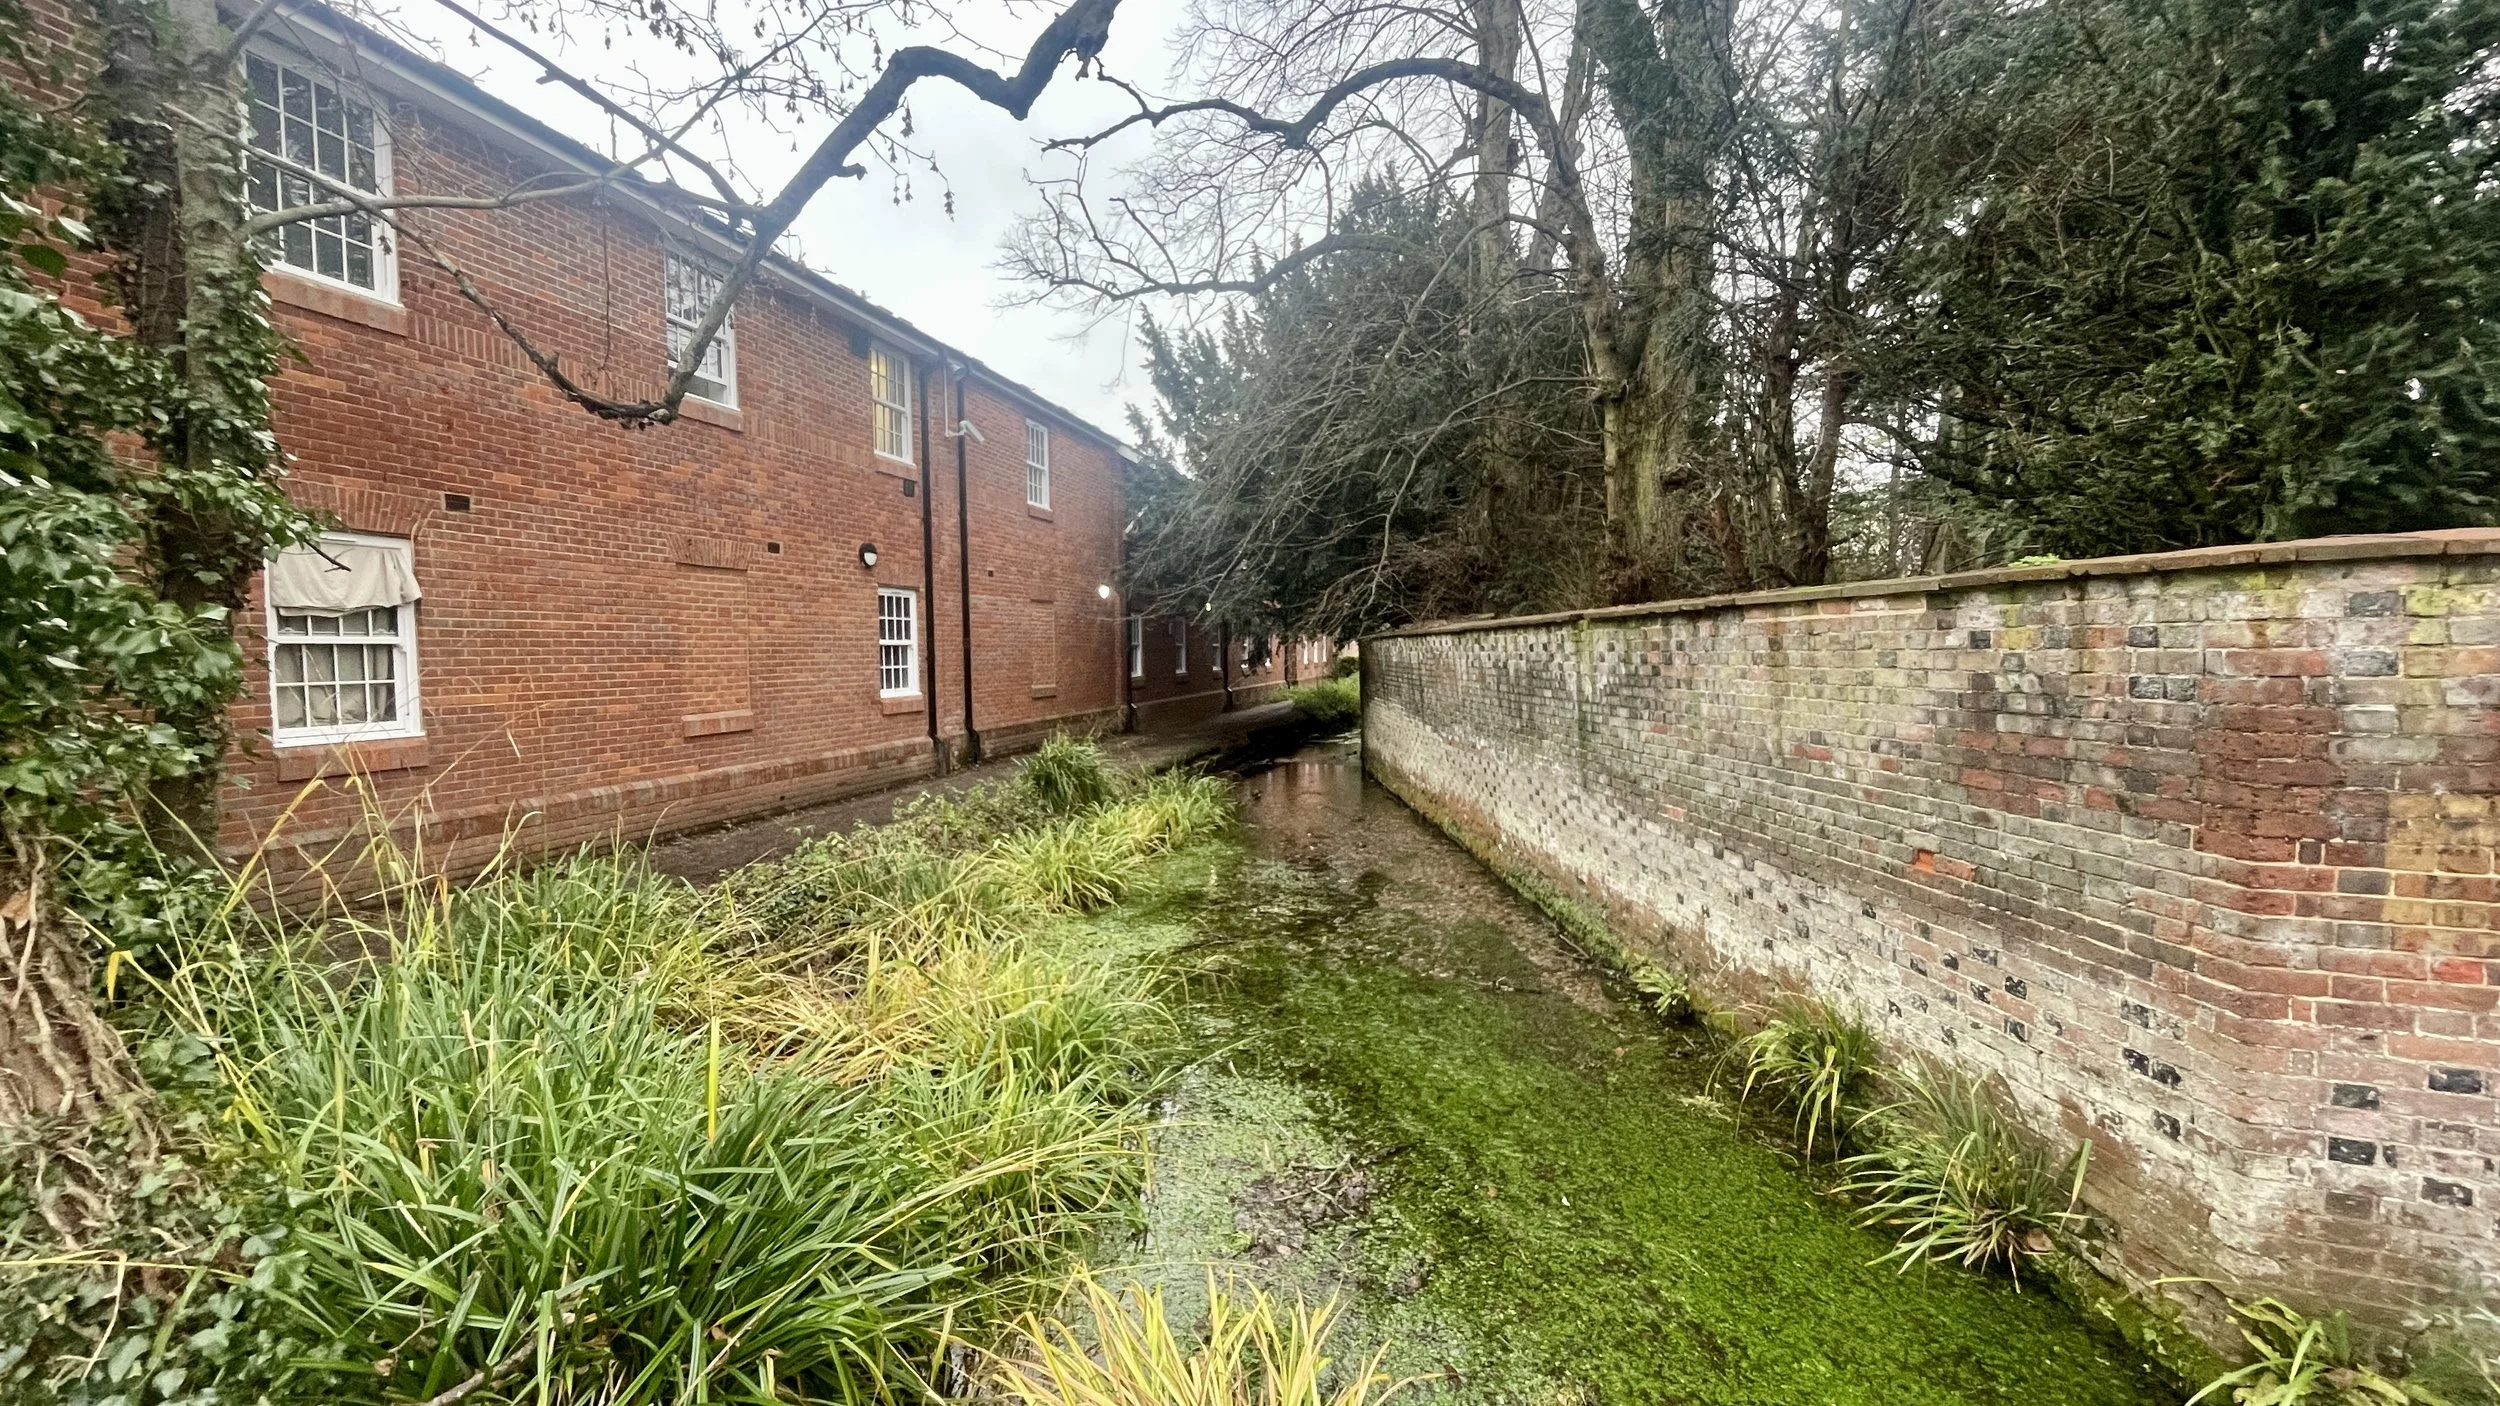
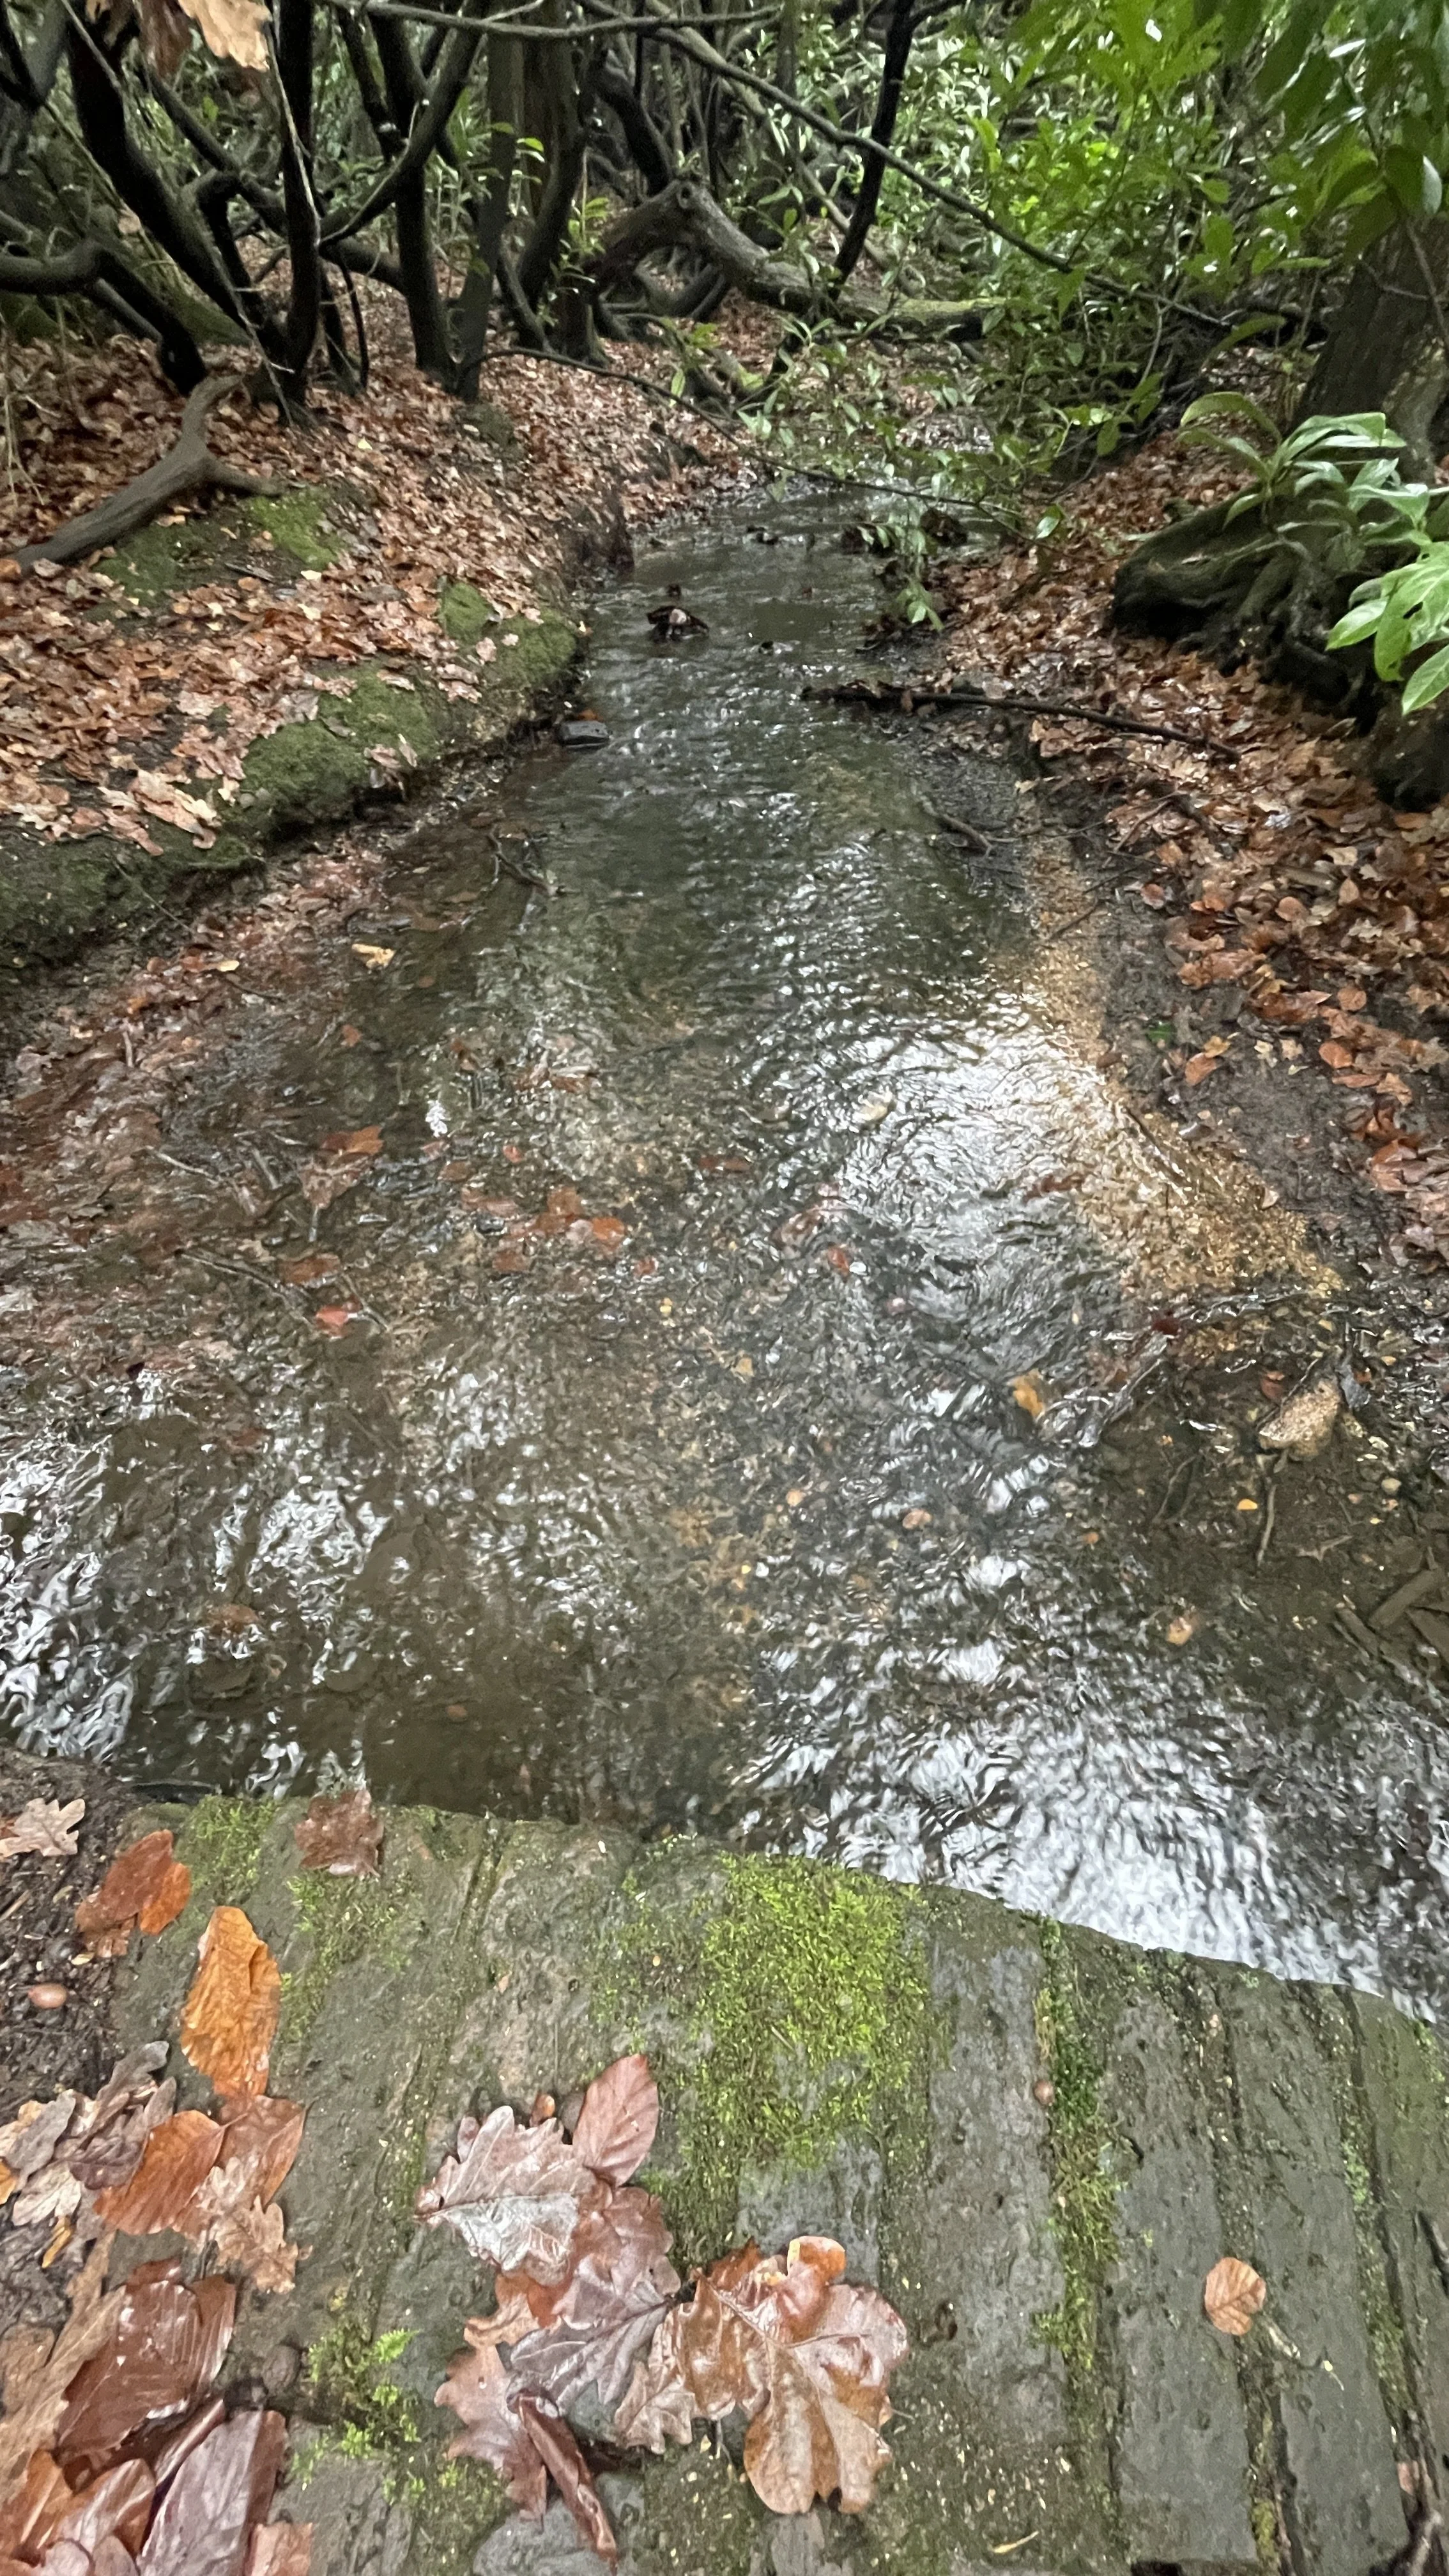
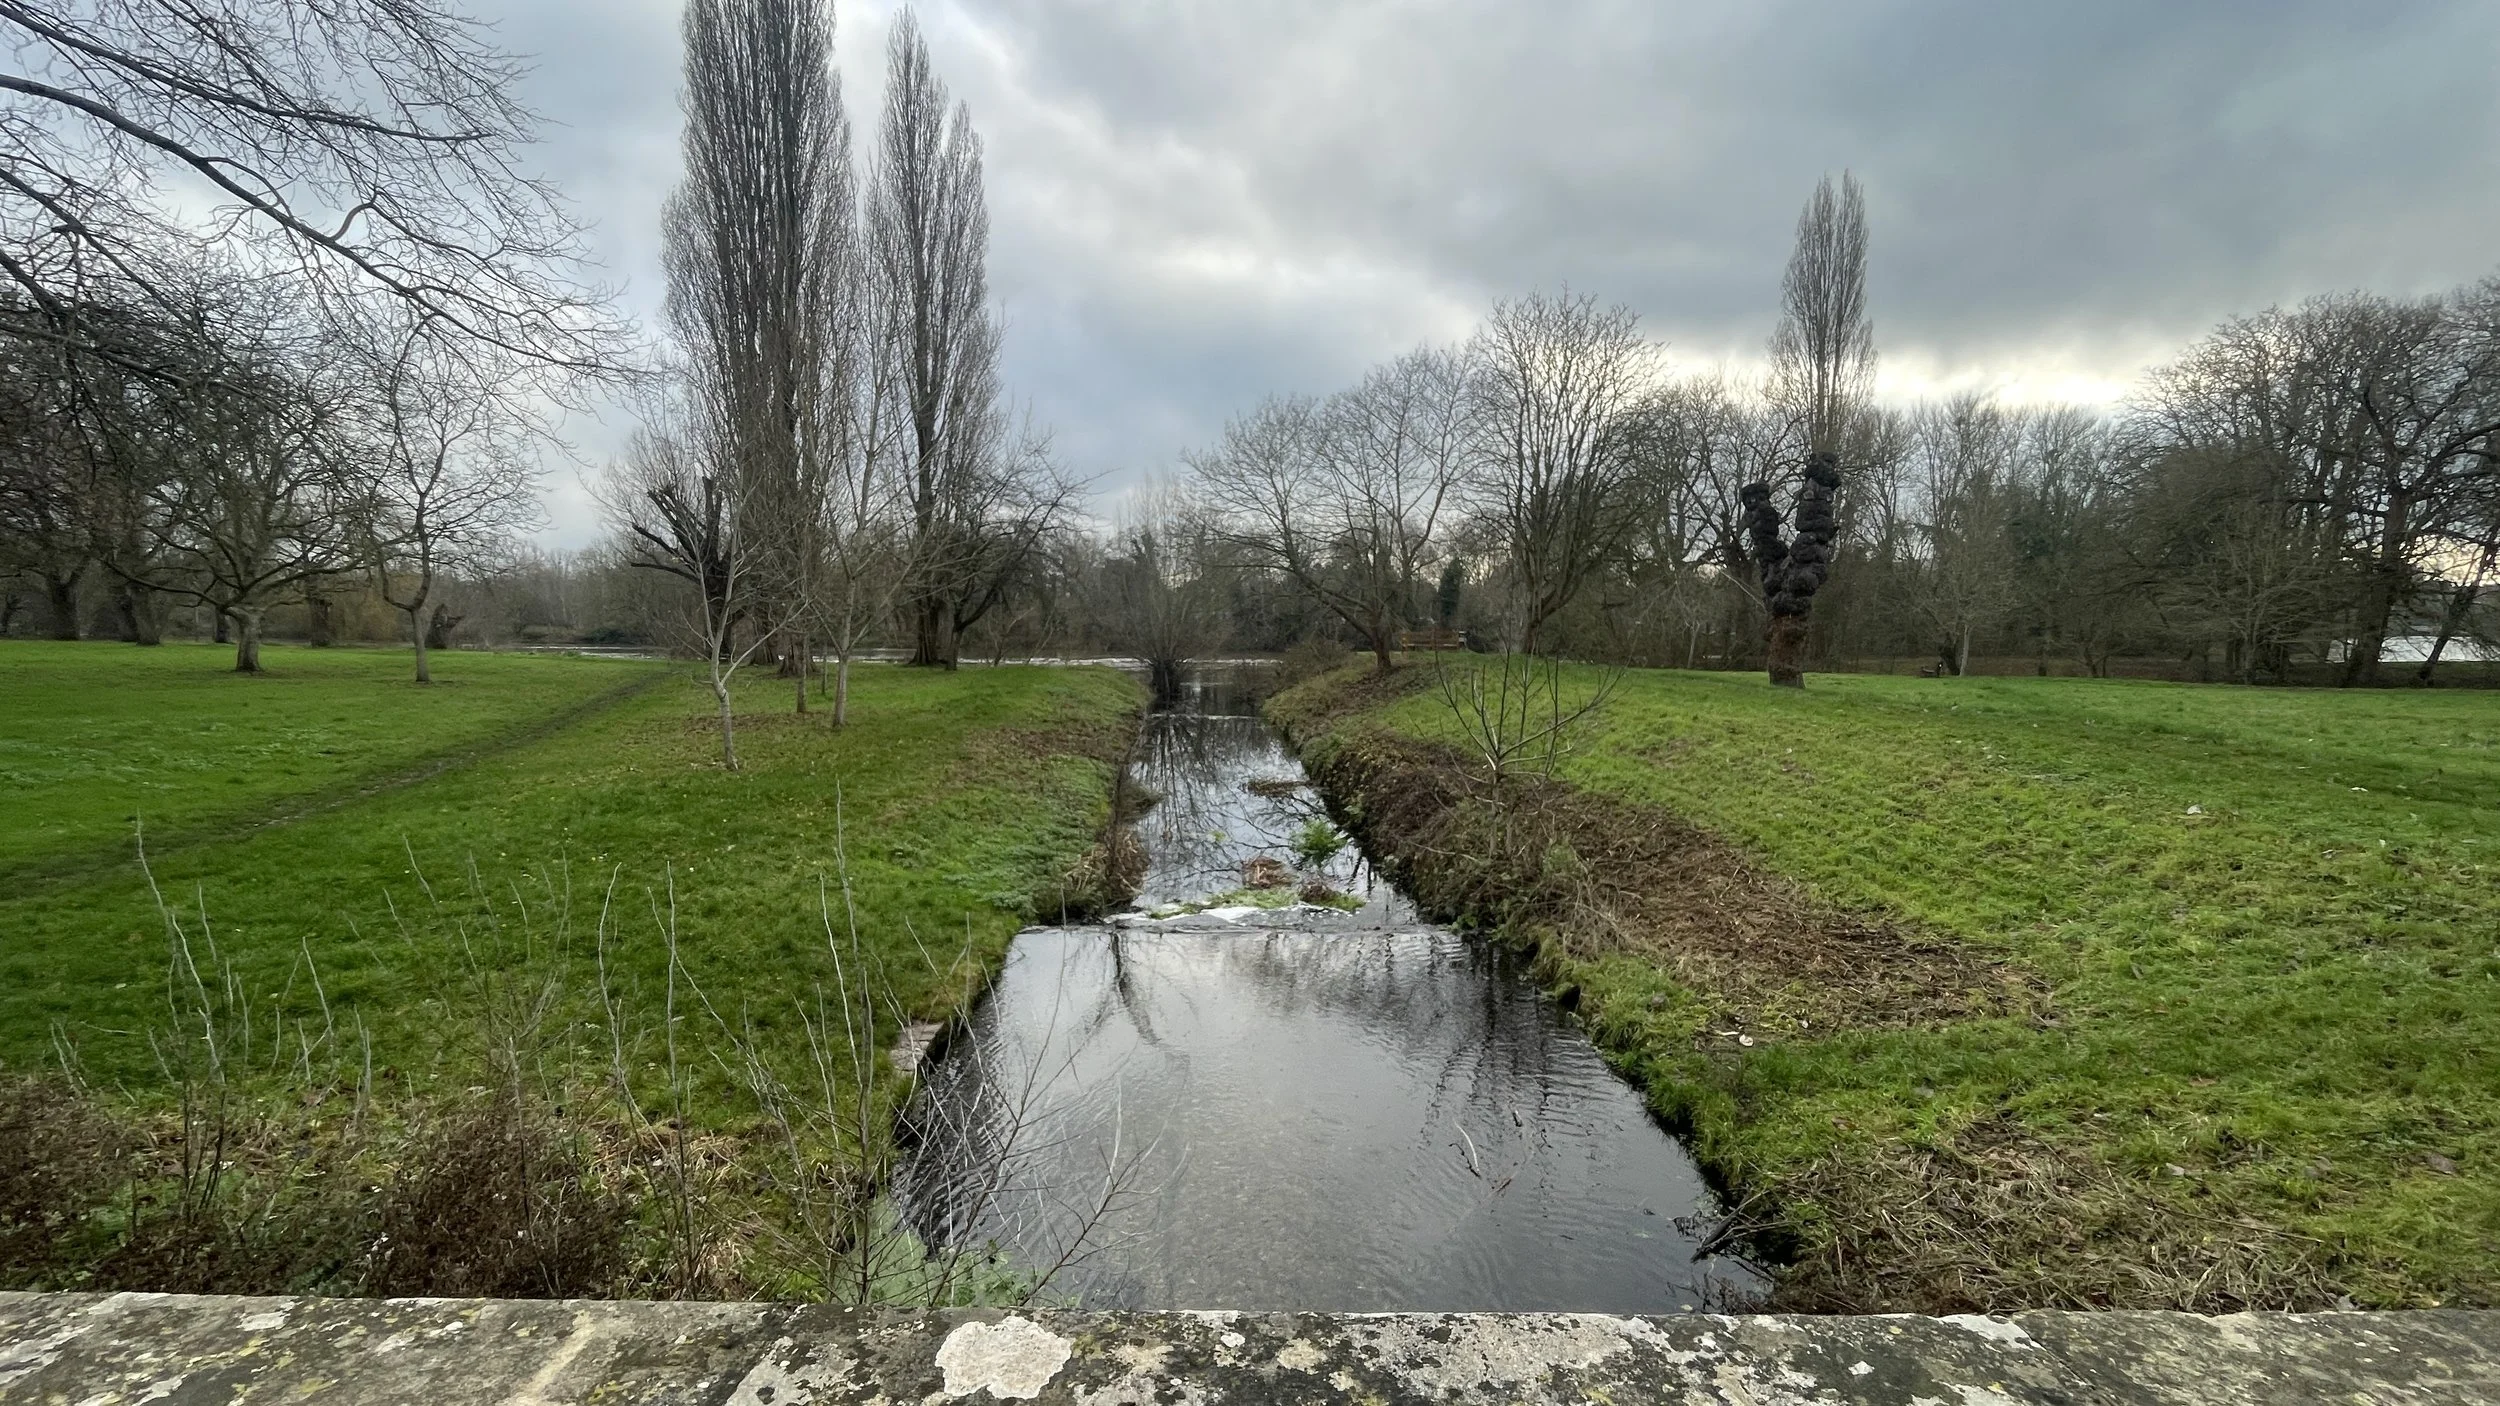
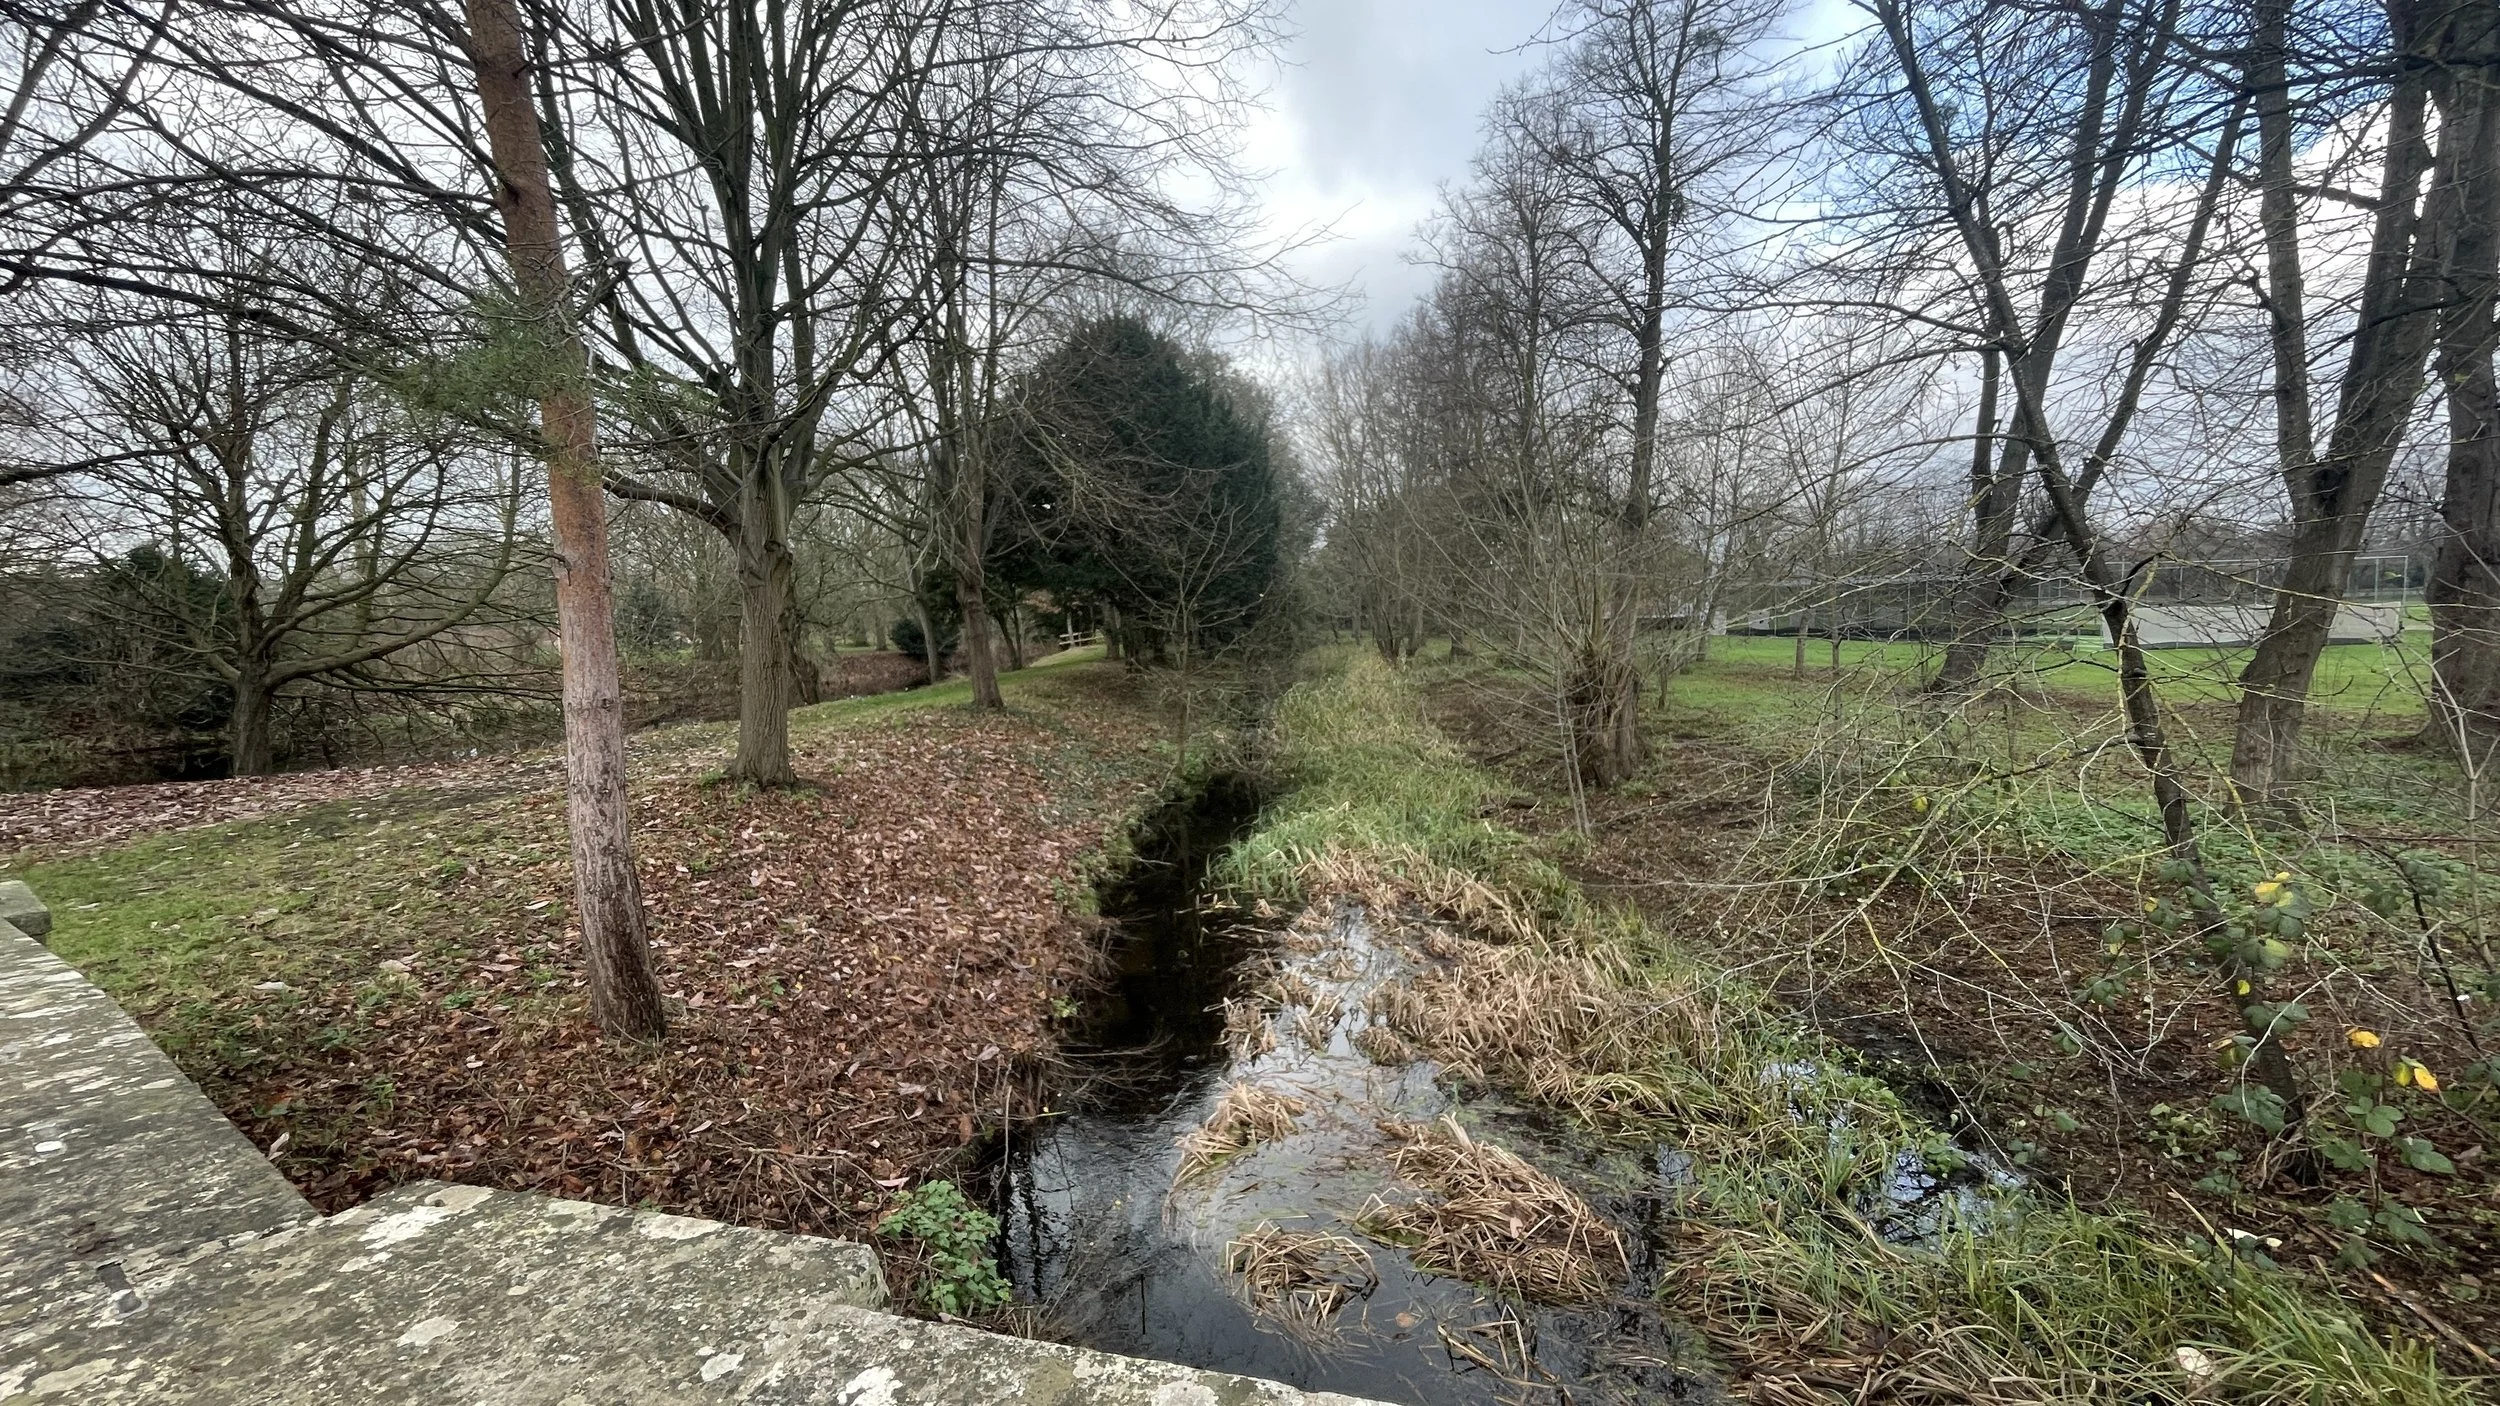
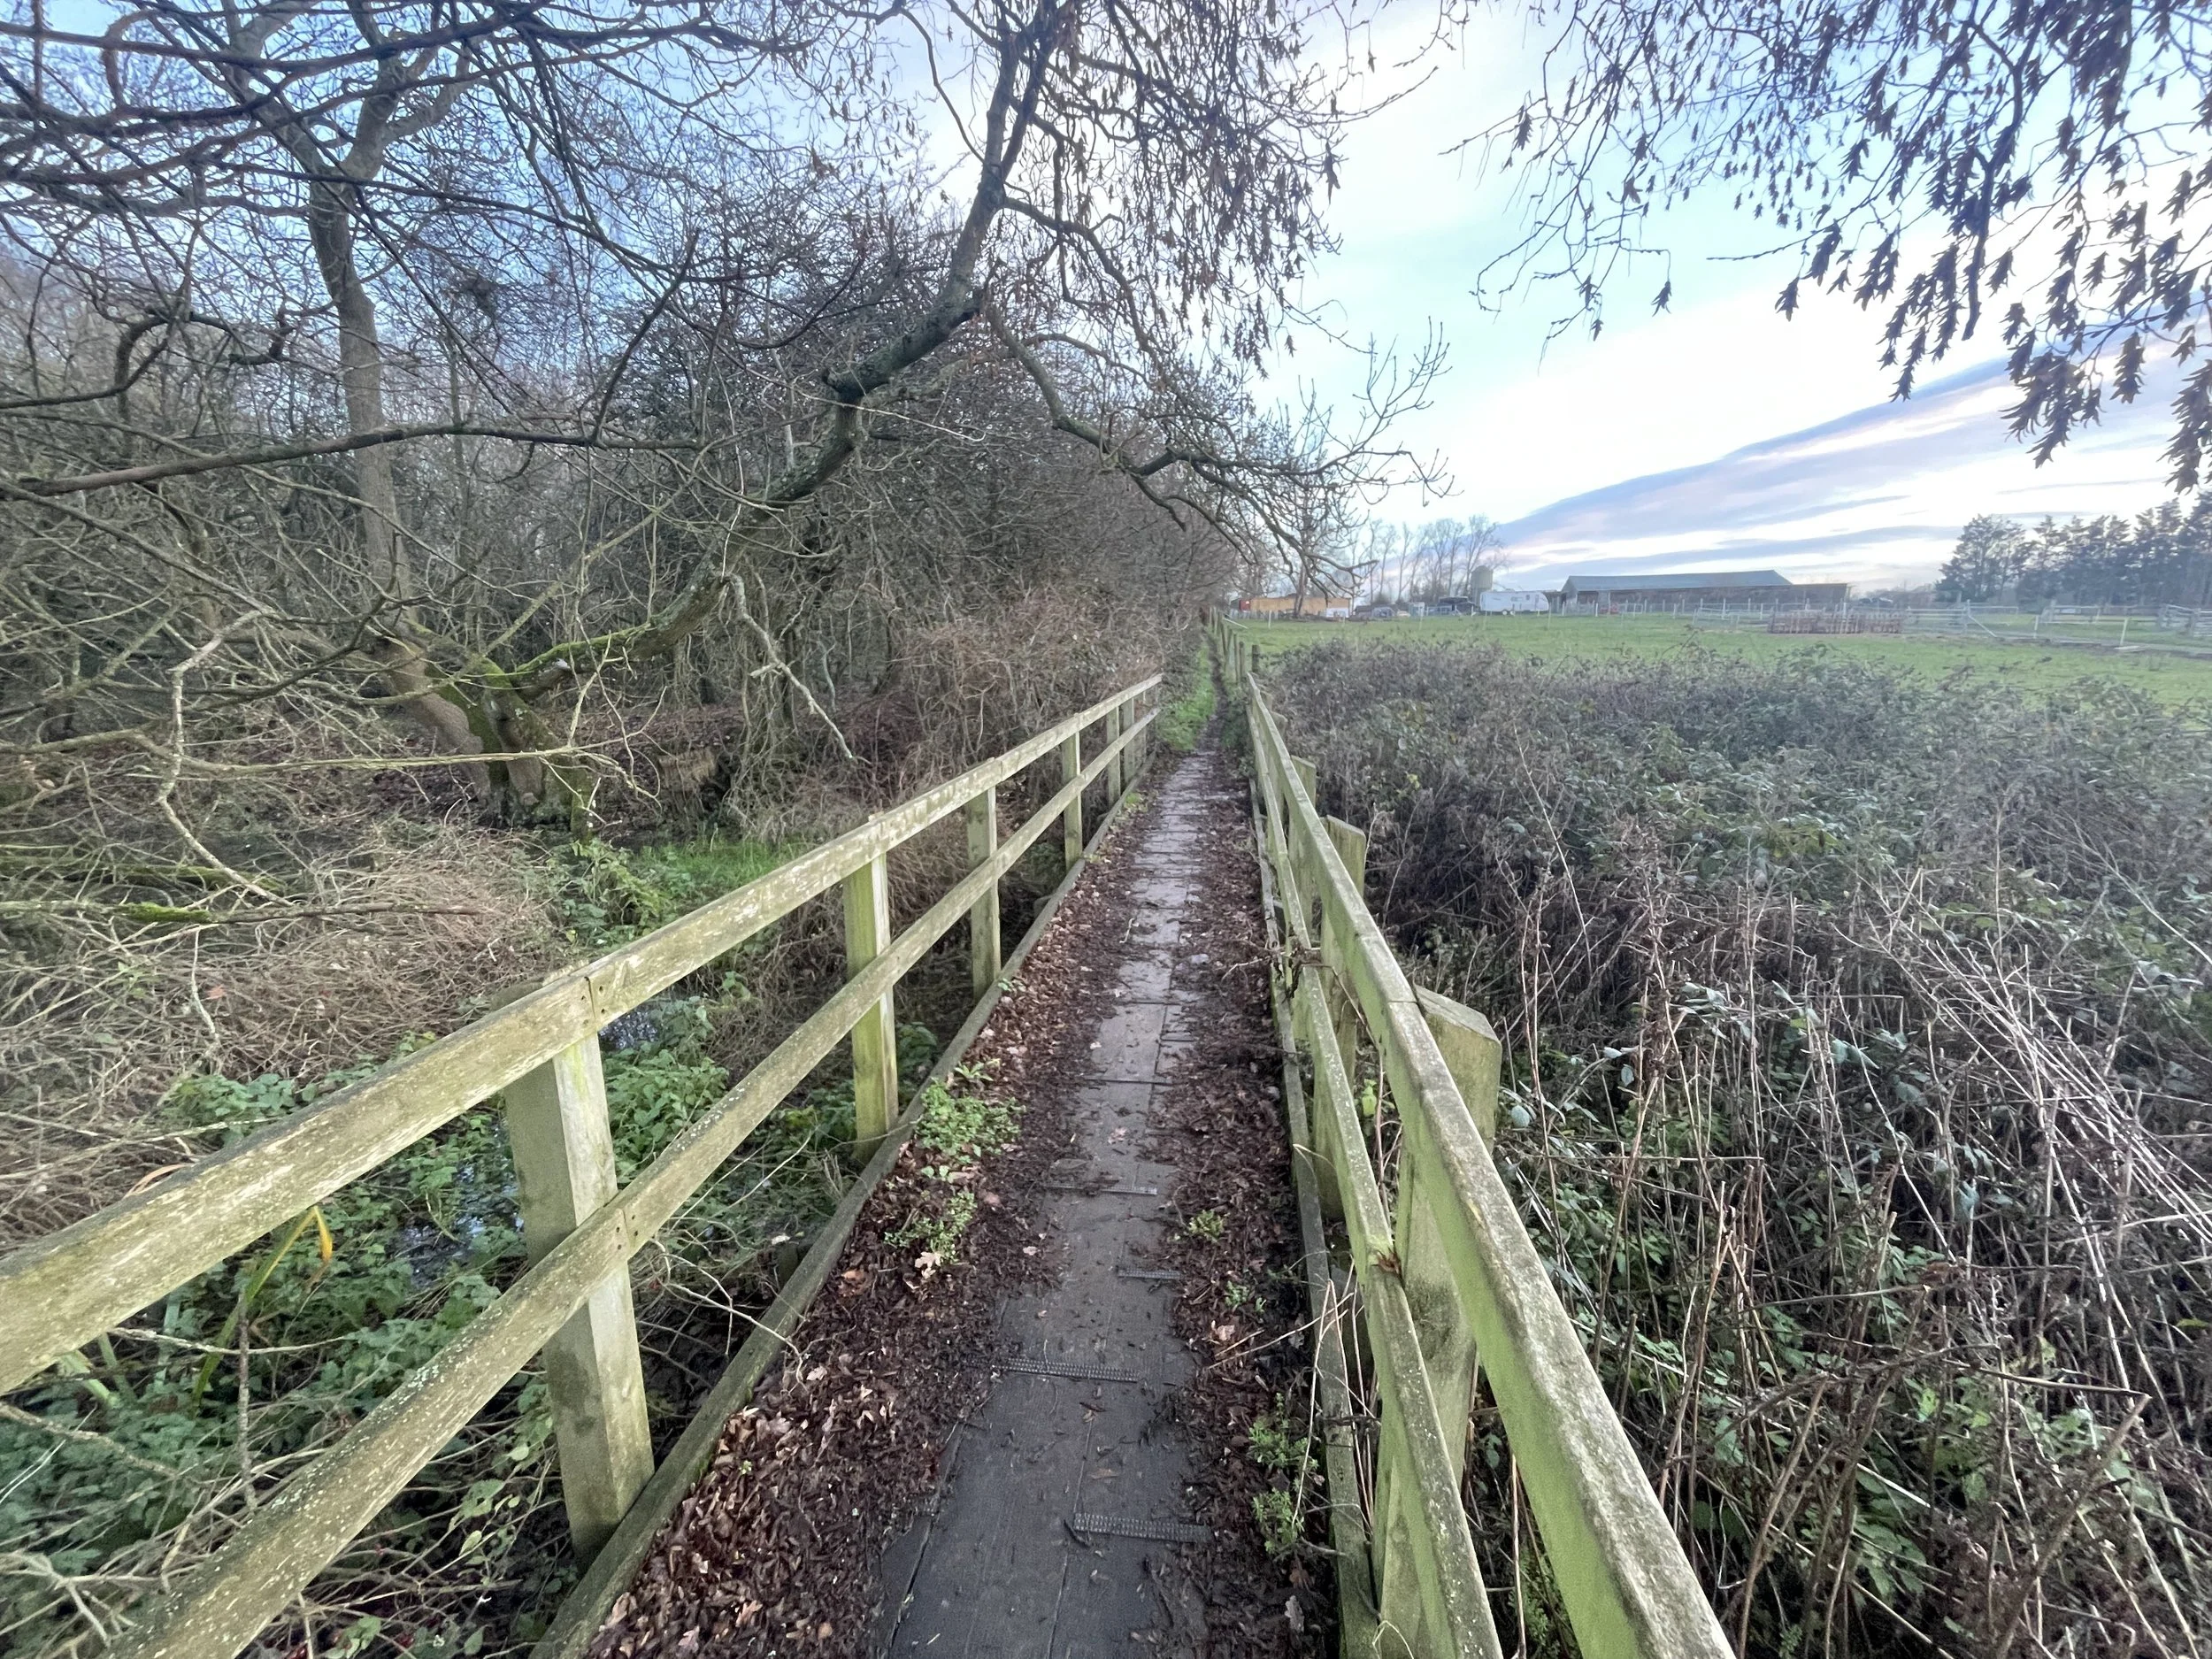
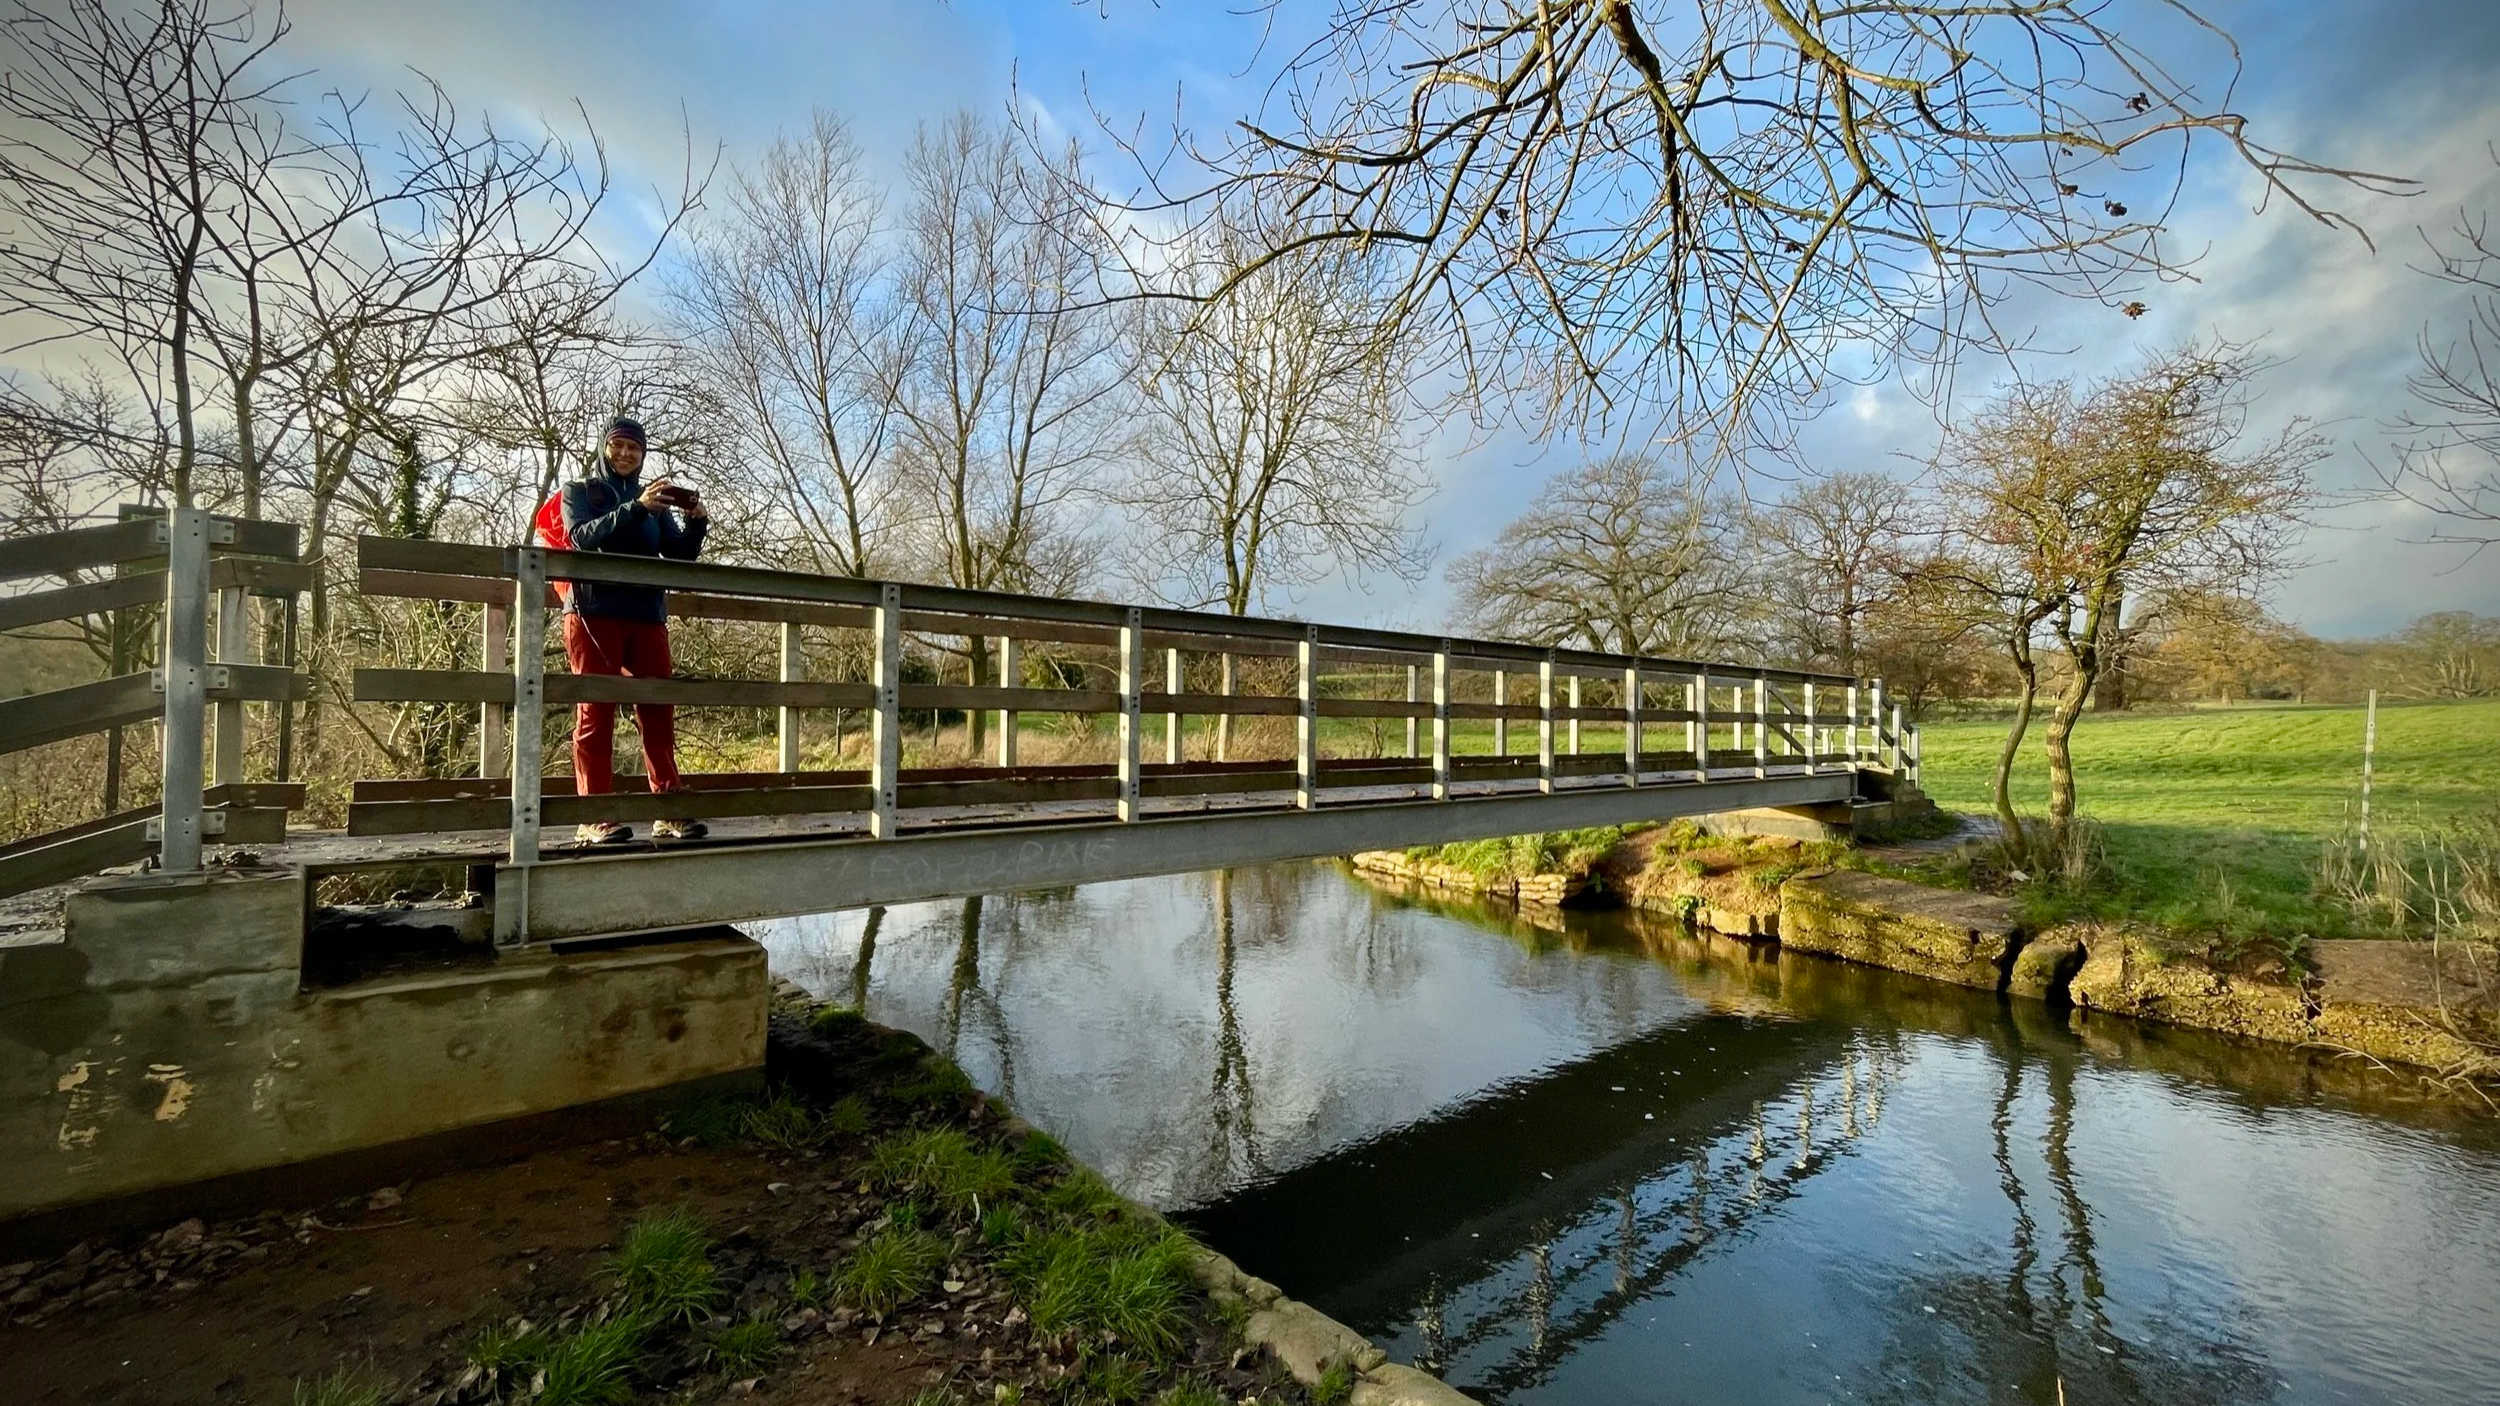
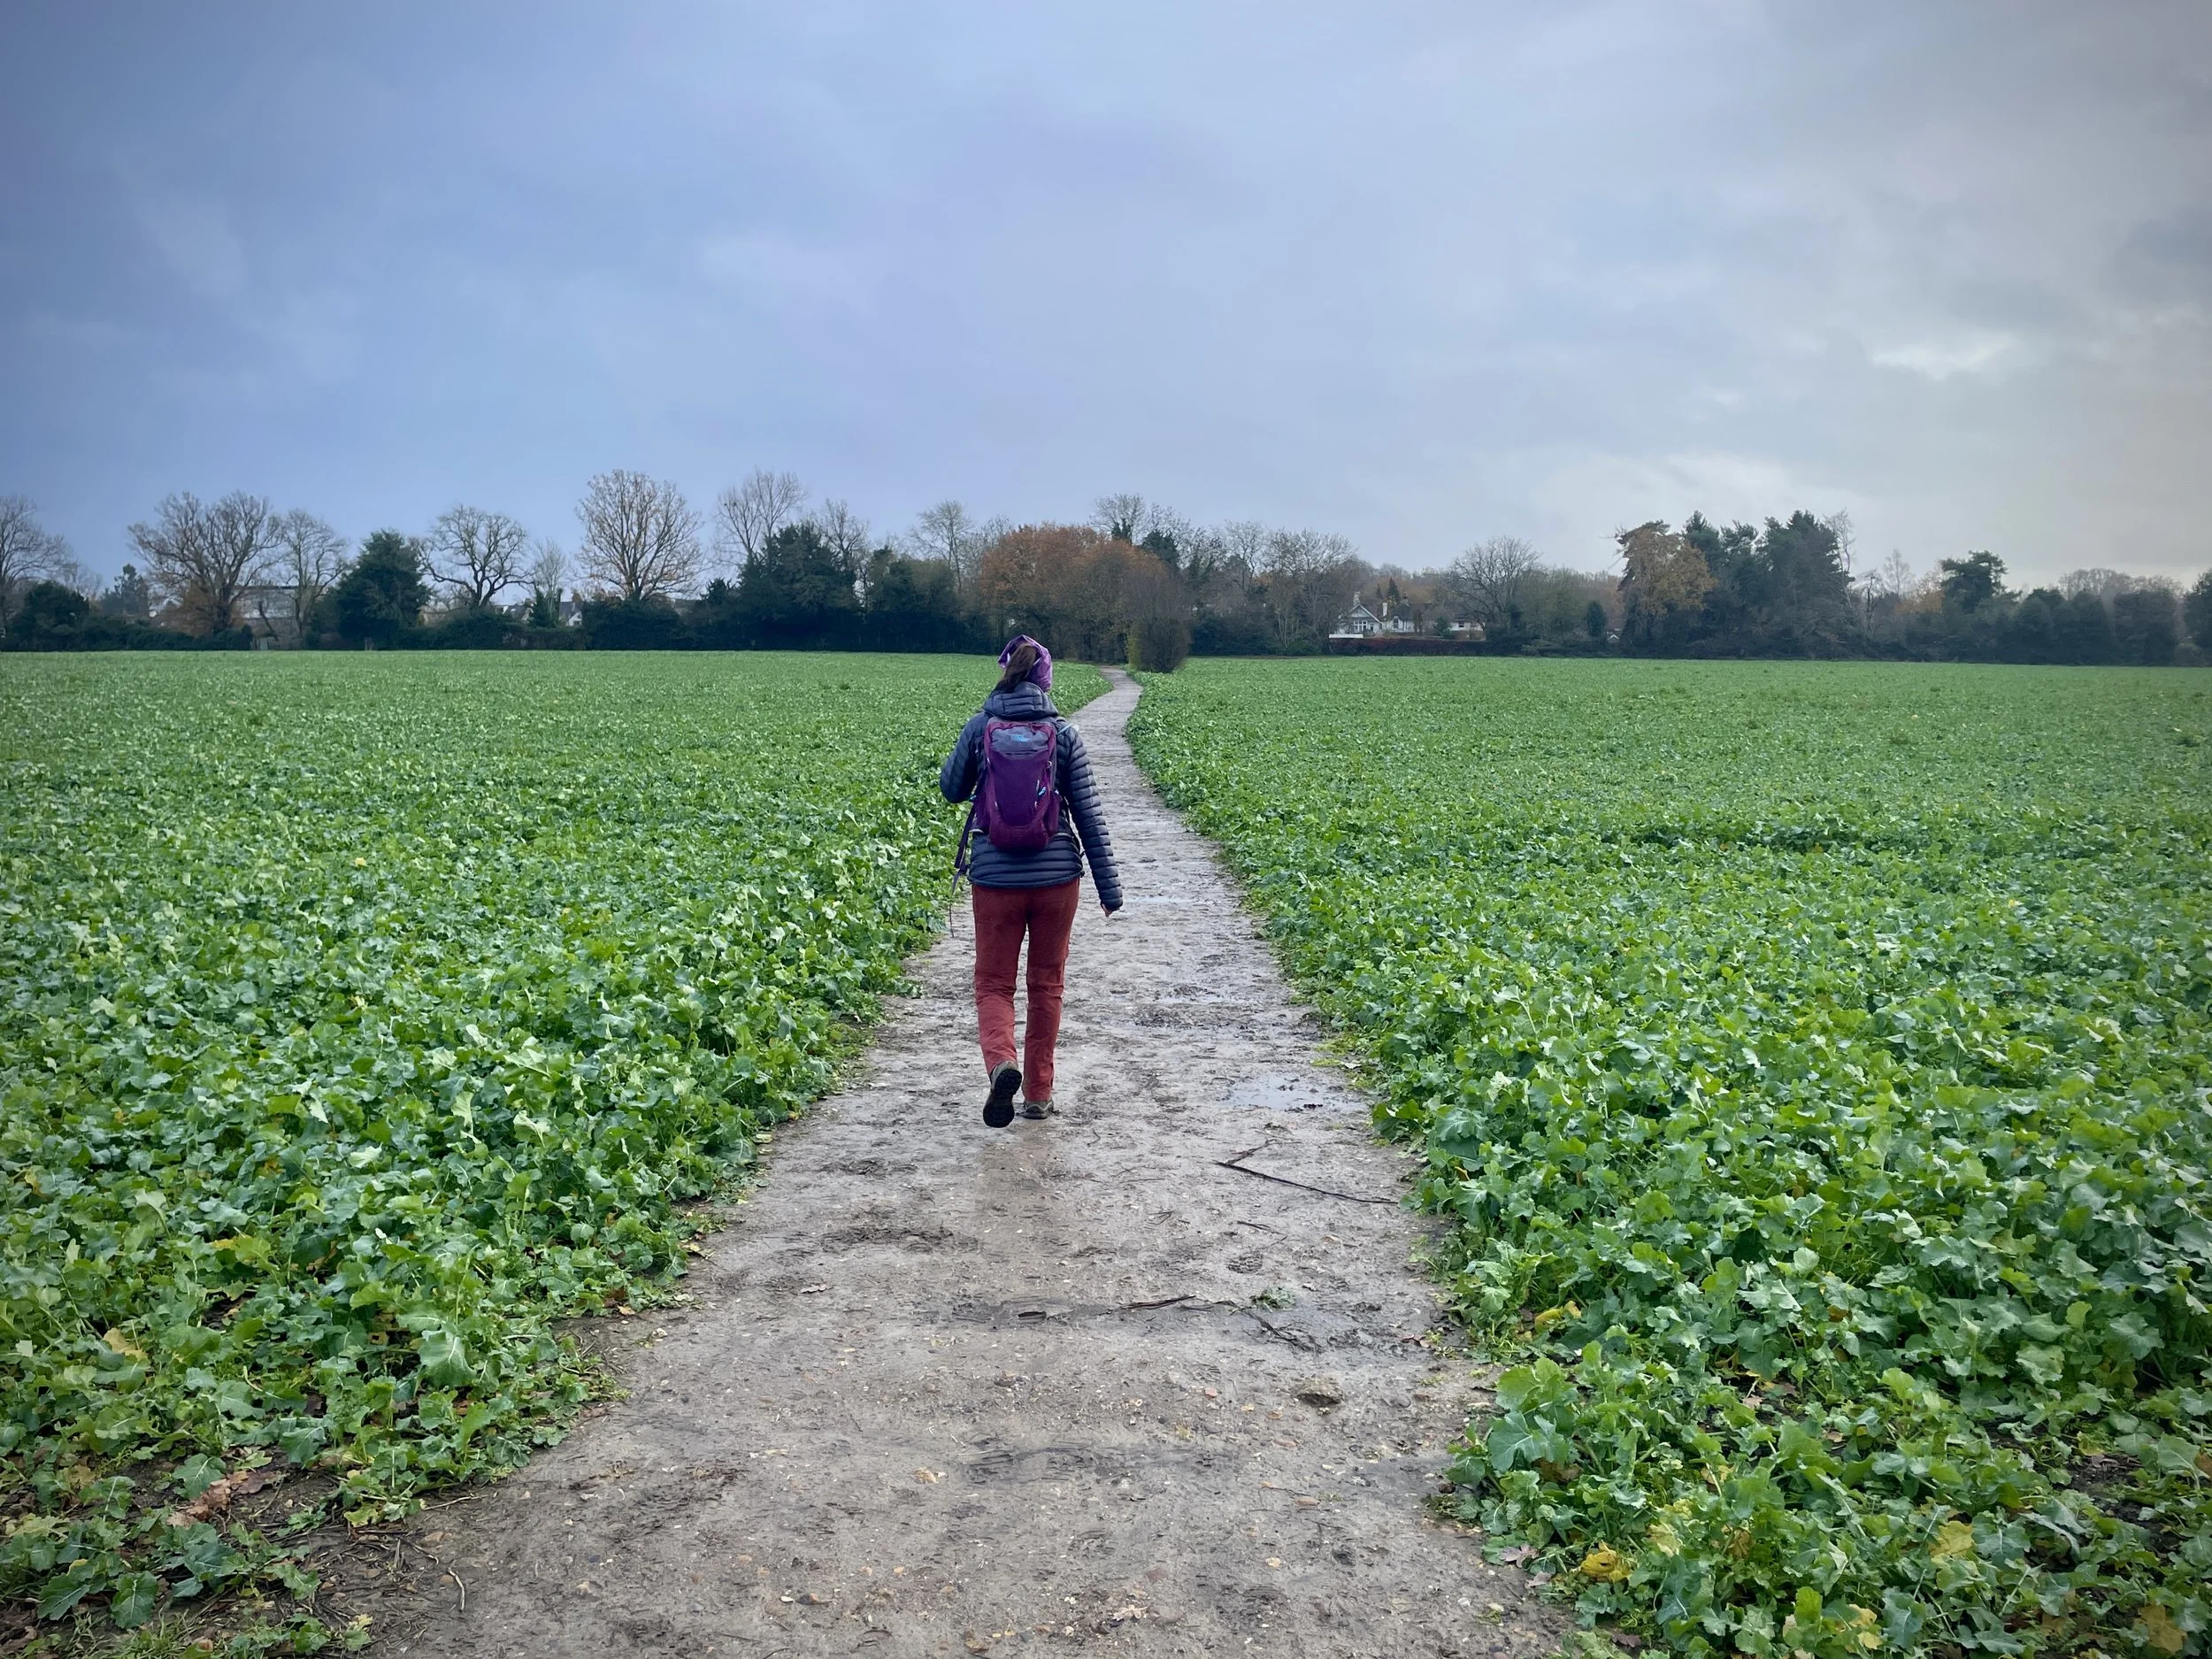
After the River Thame take the footpath on the right that follows a path between the River Thame to the left and the tributary to the right.
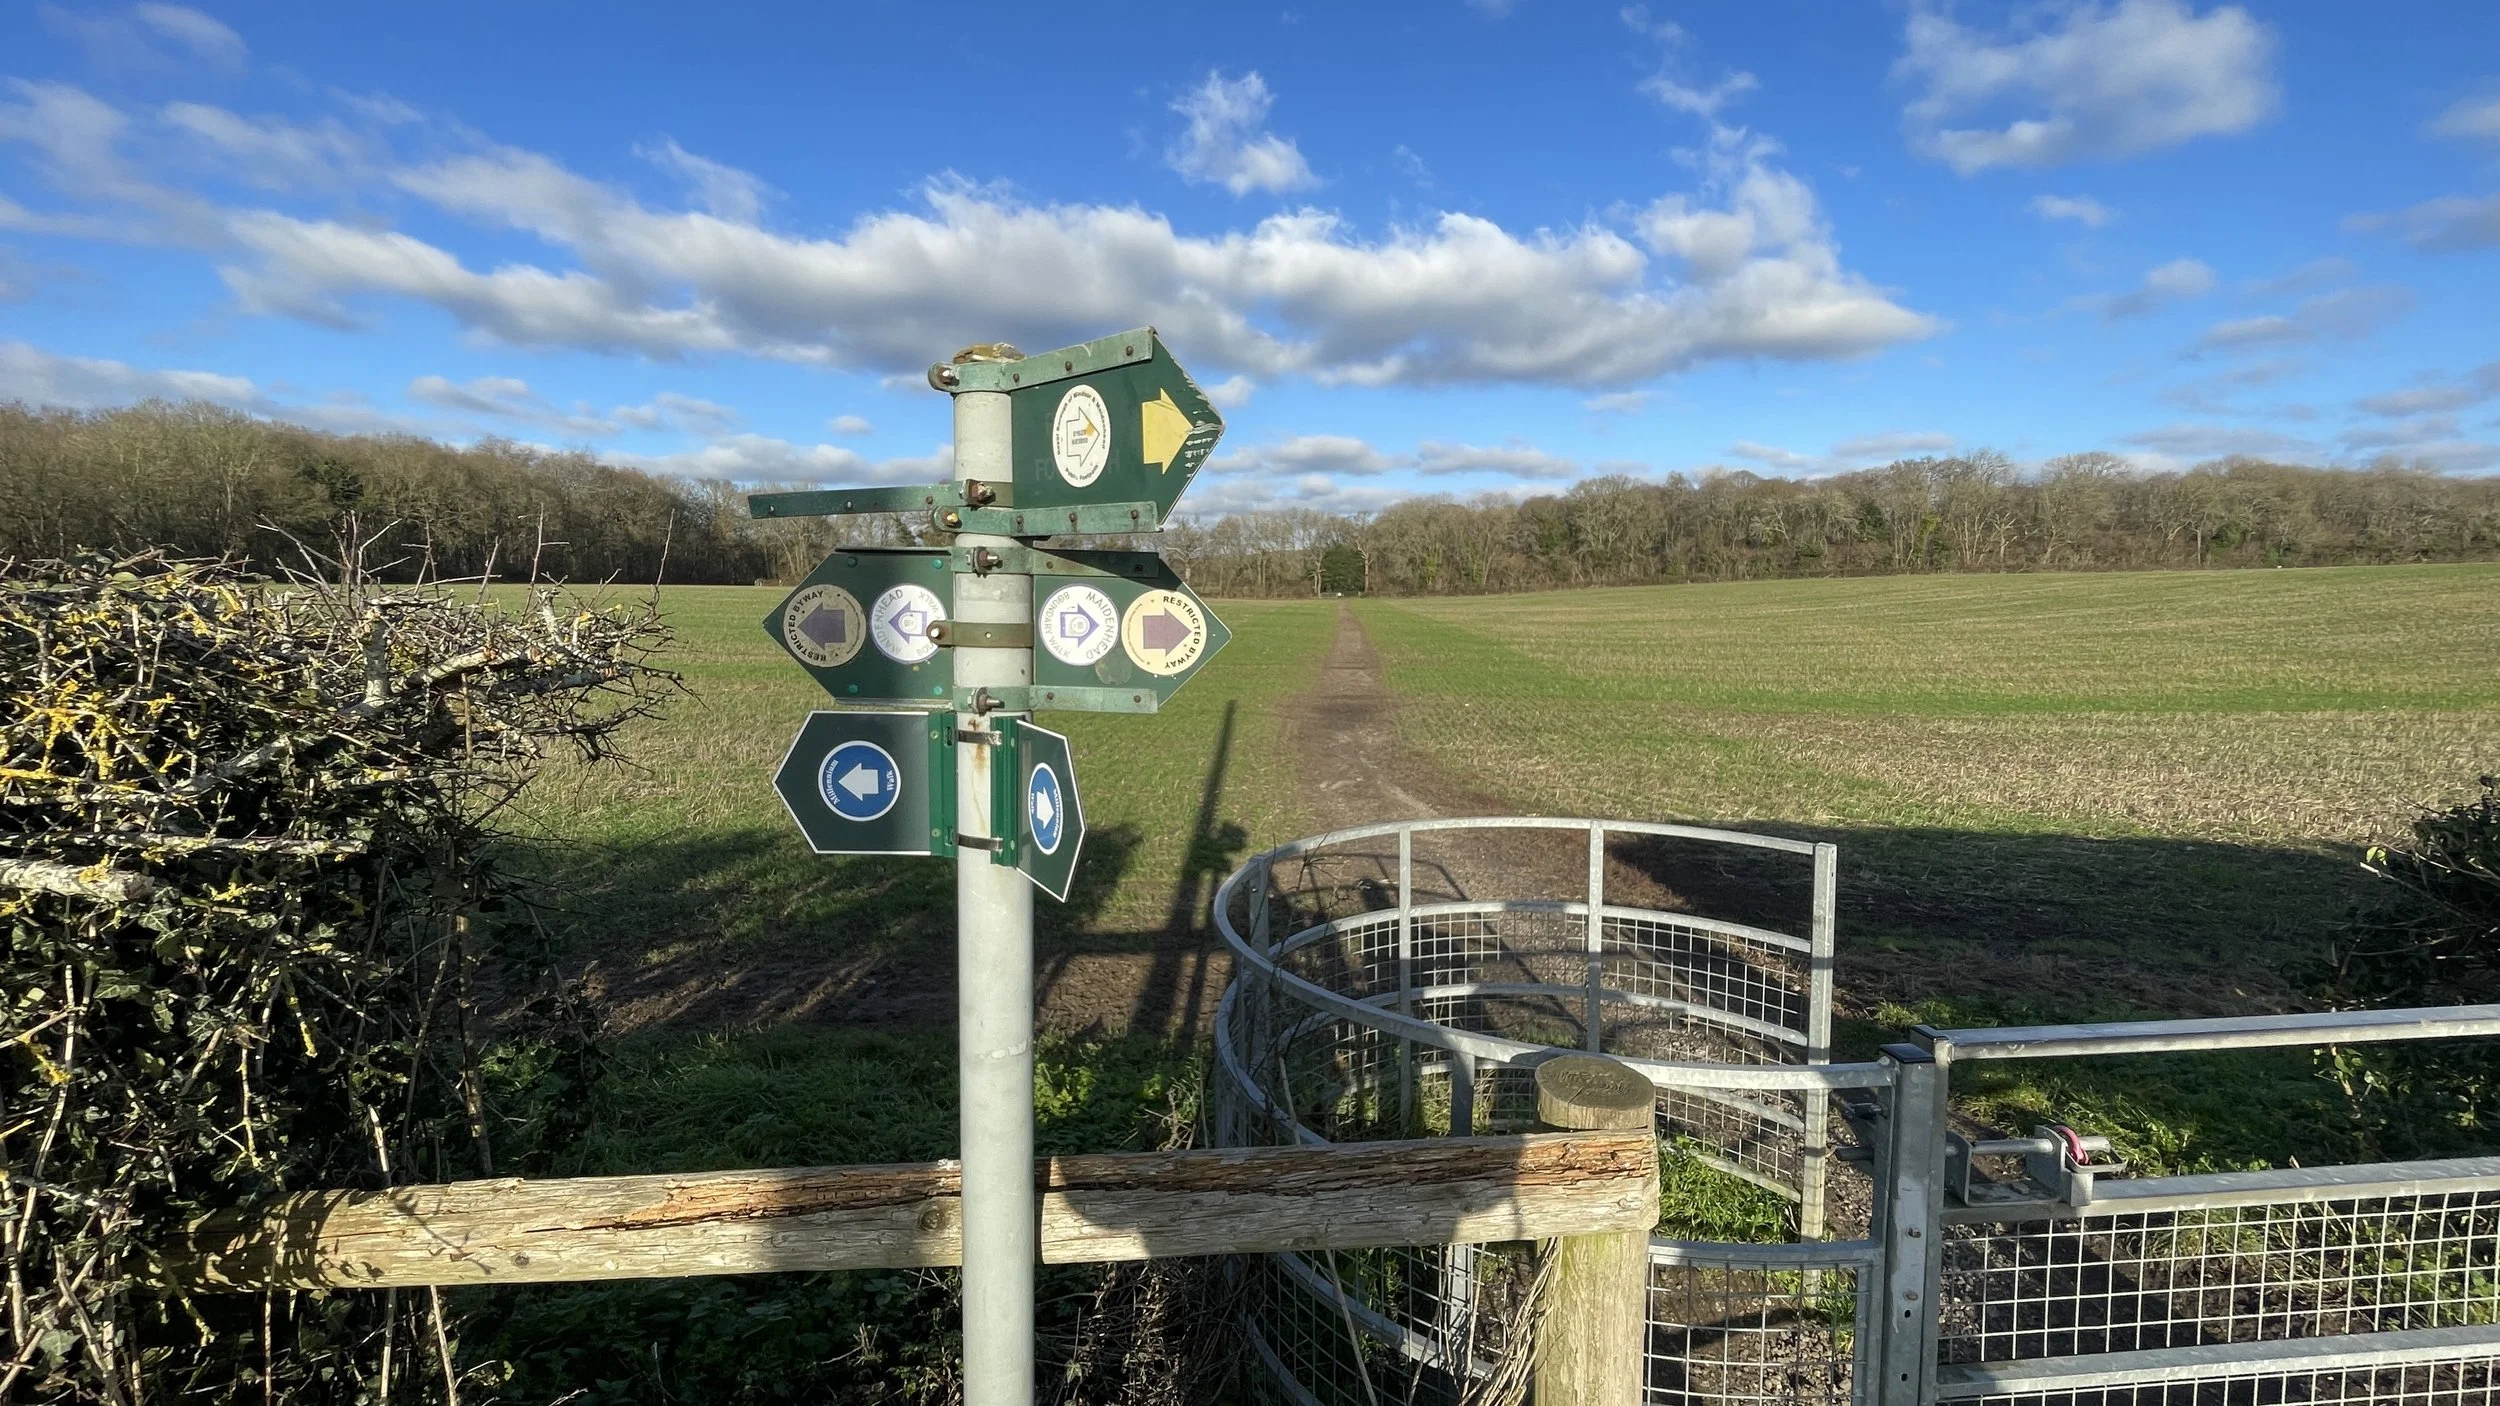
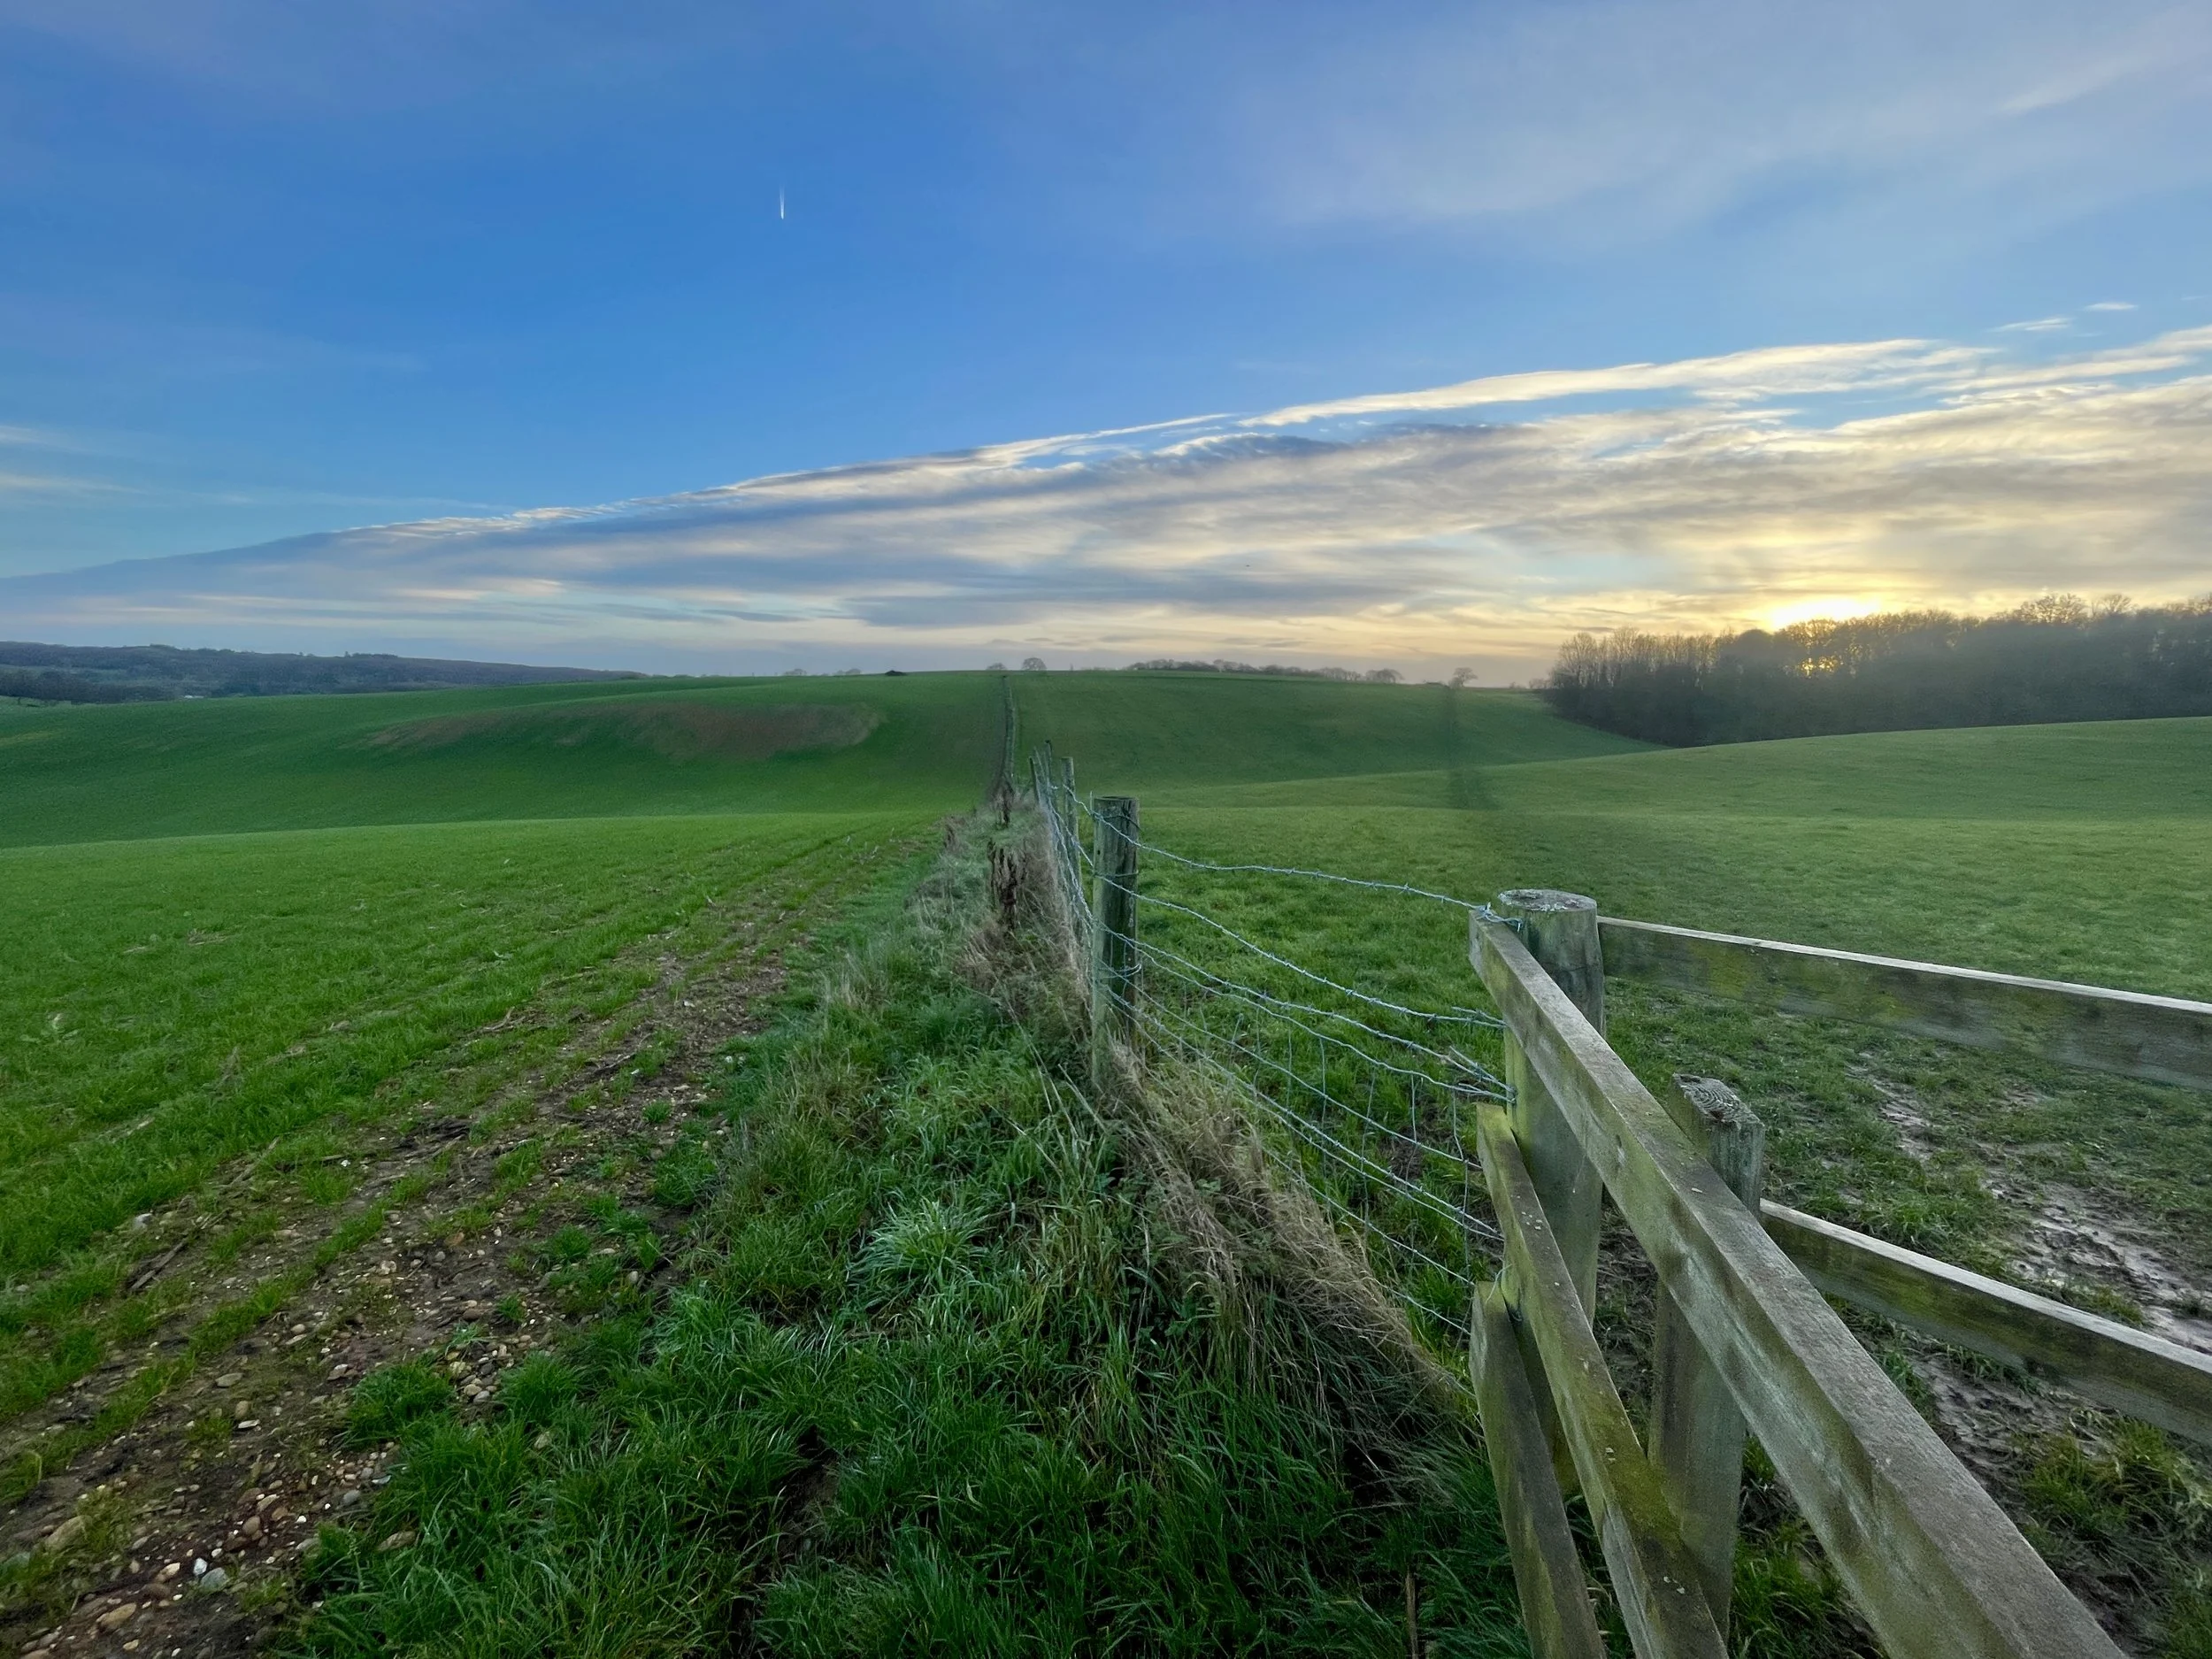
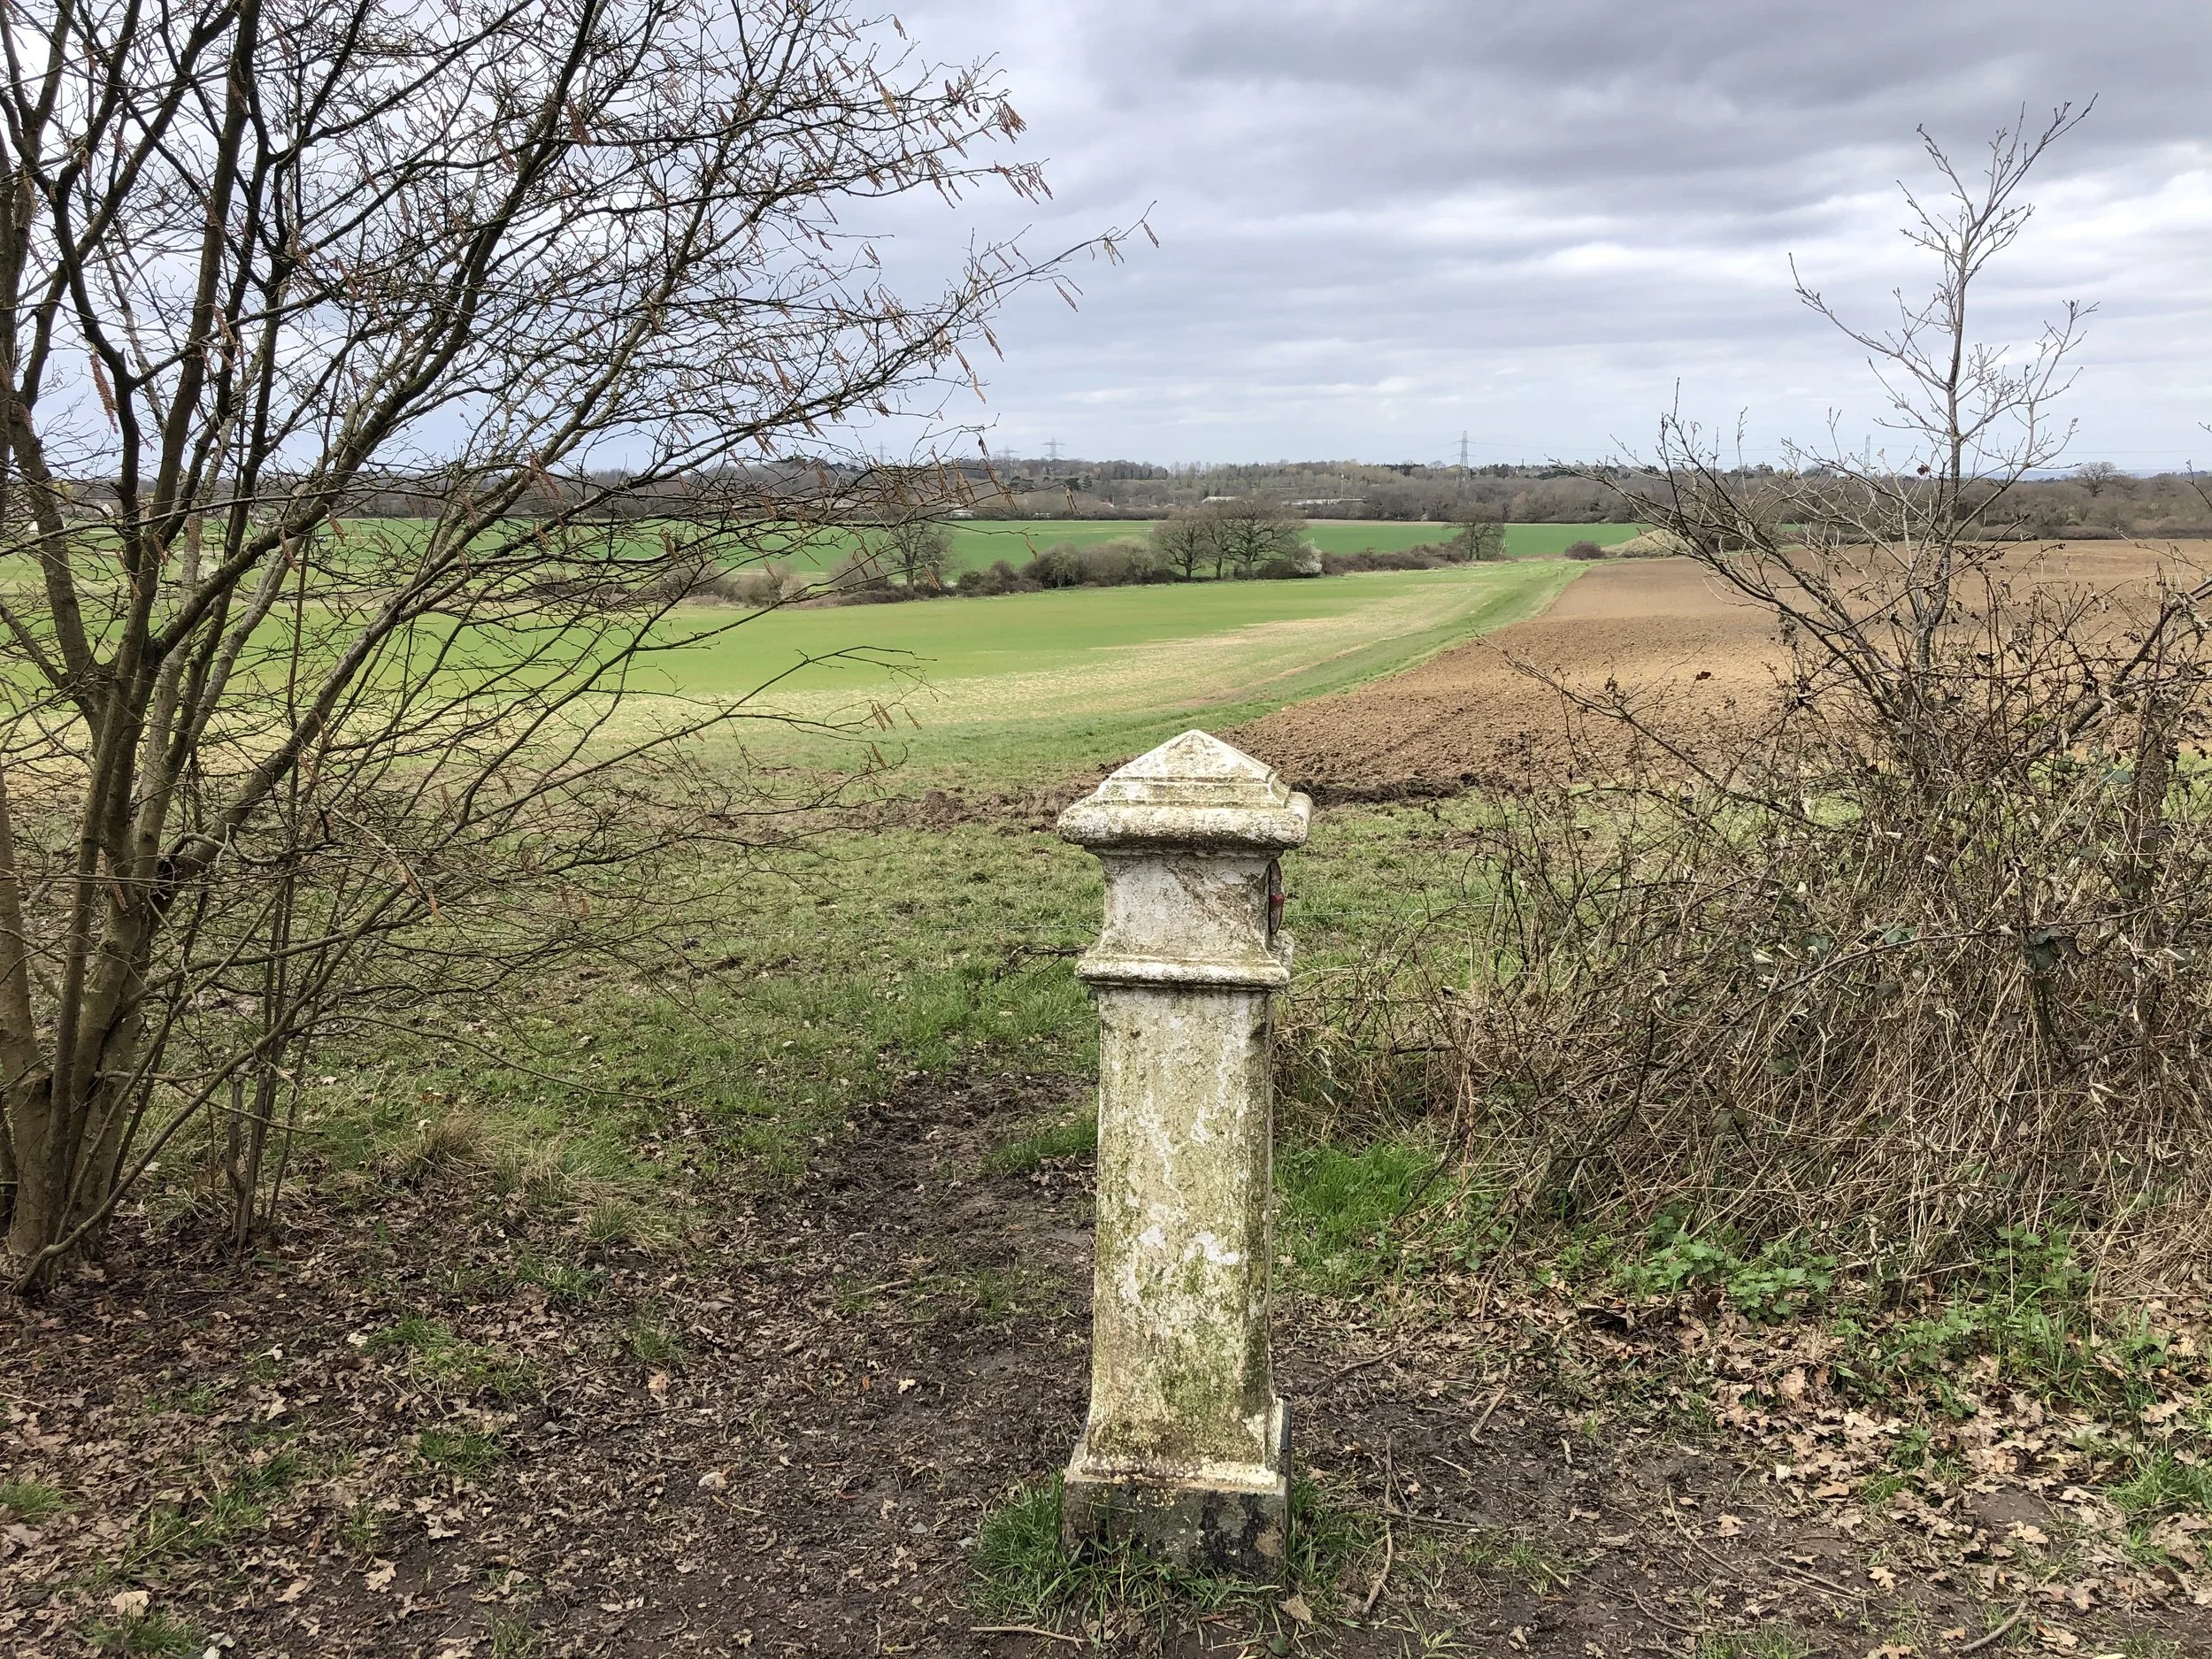
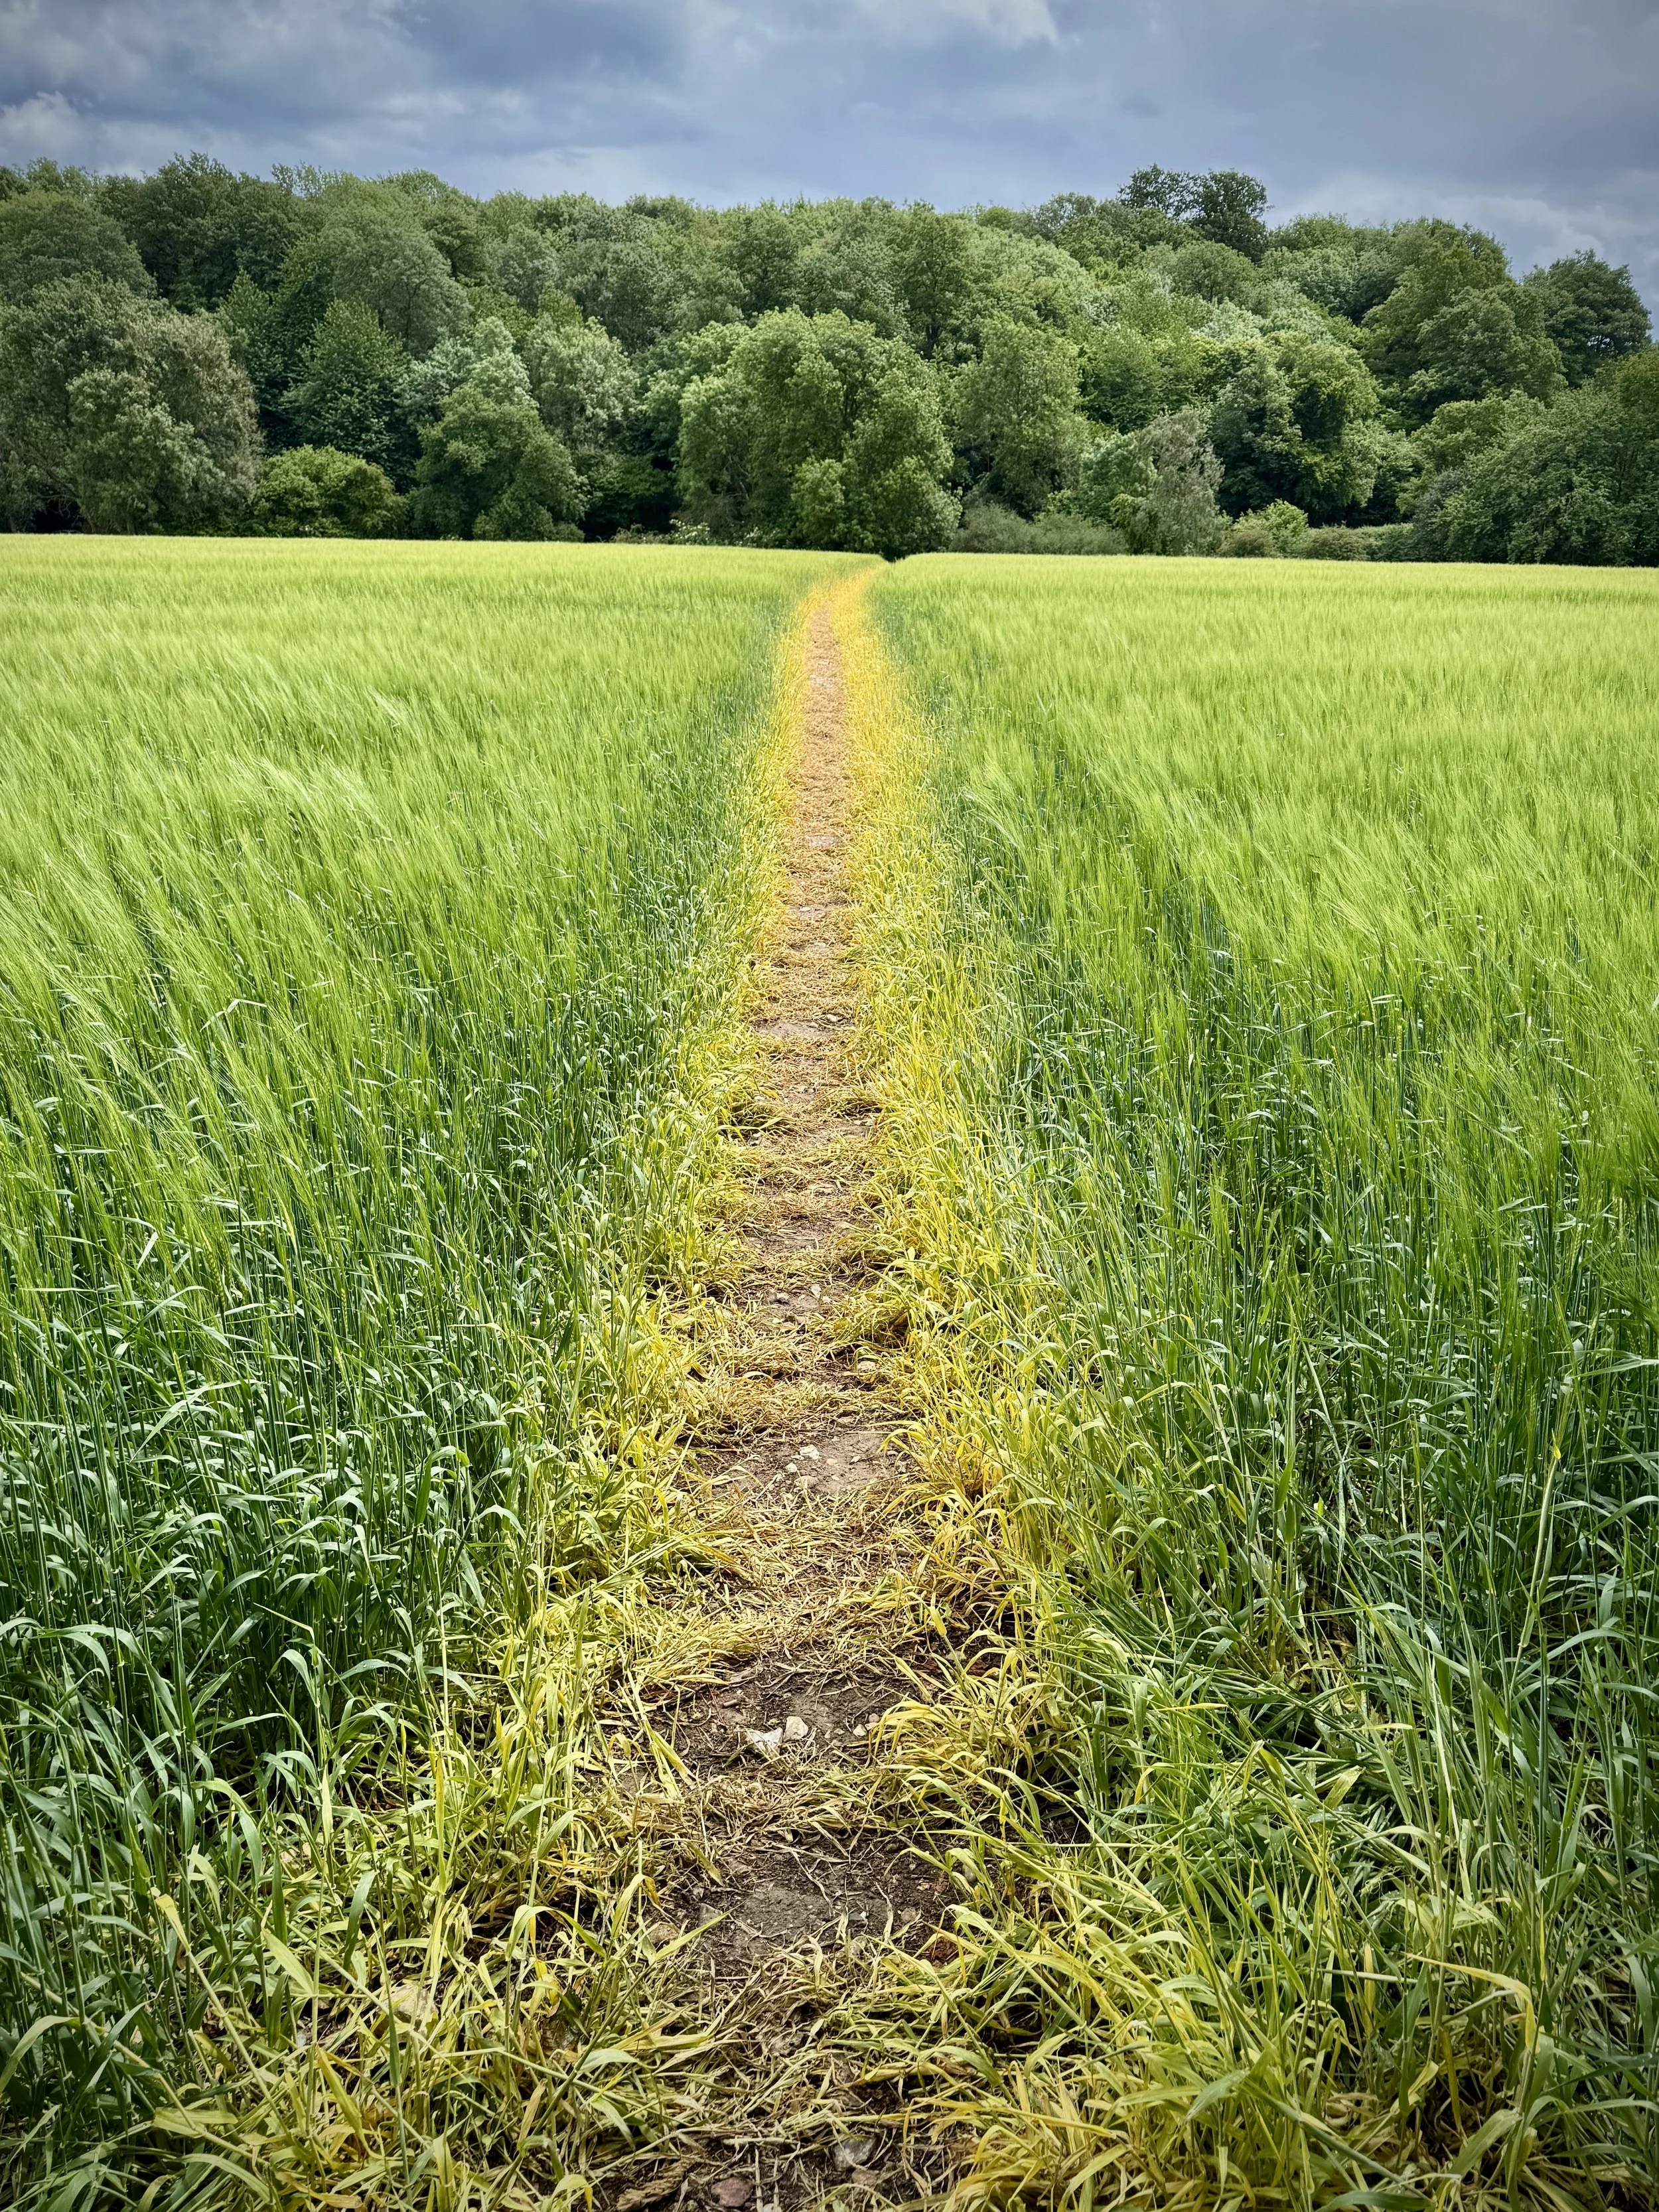
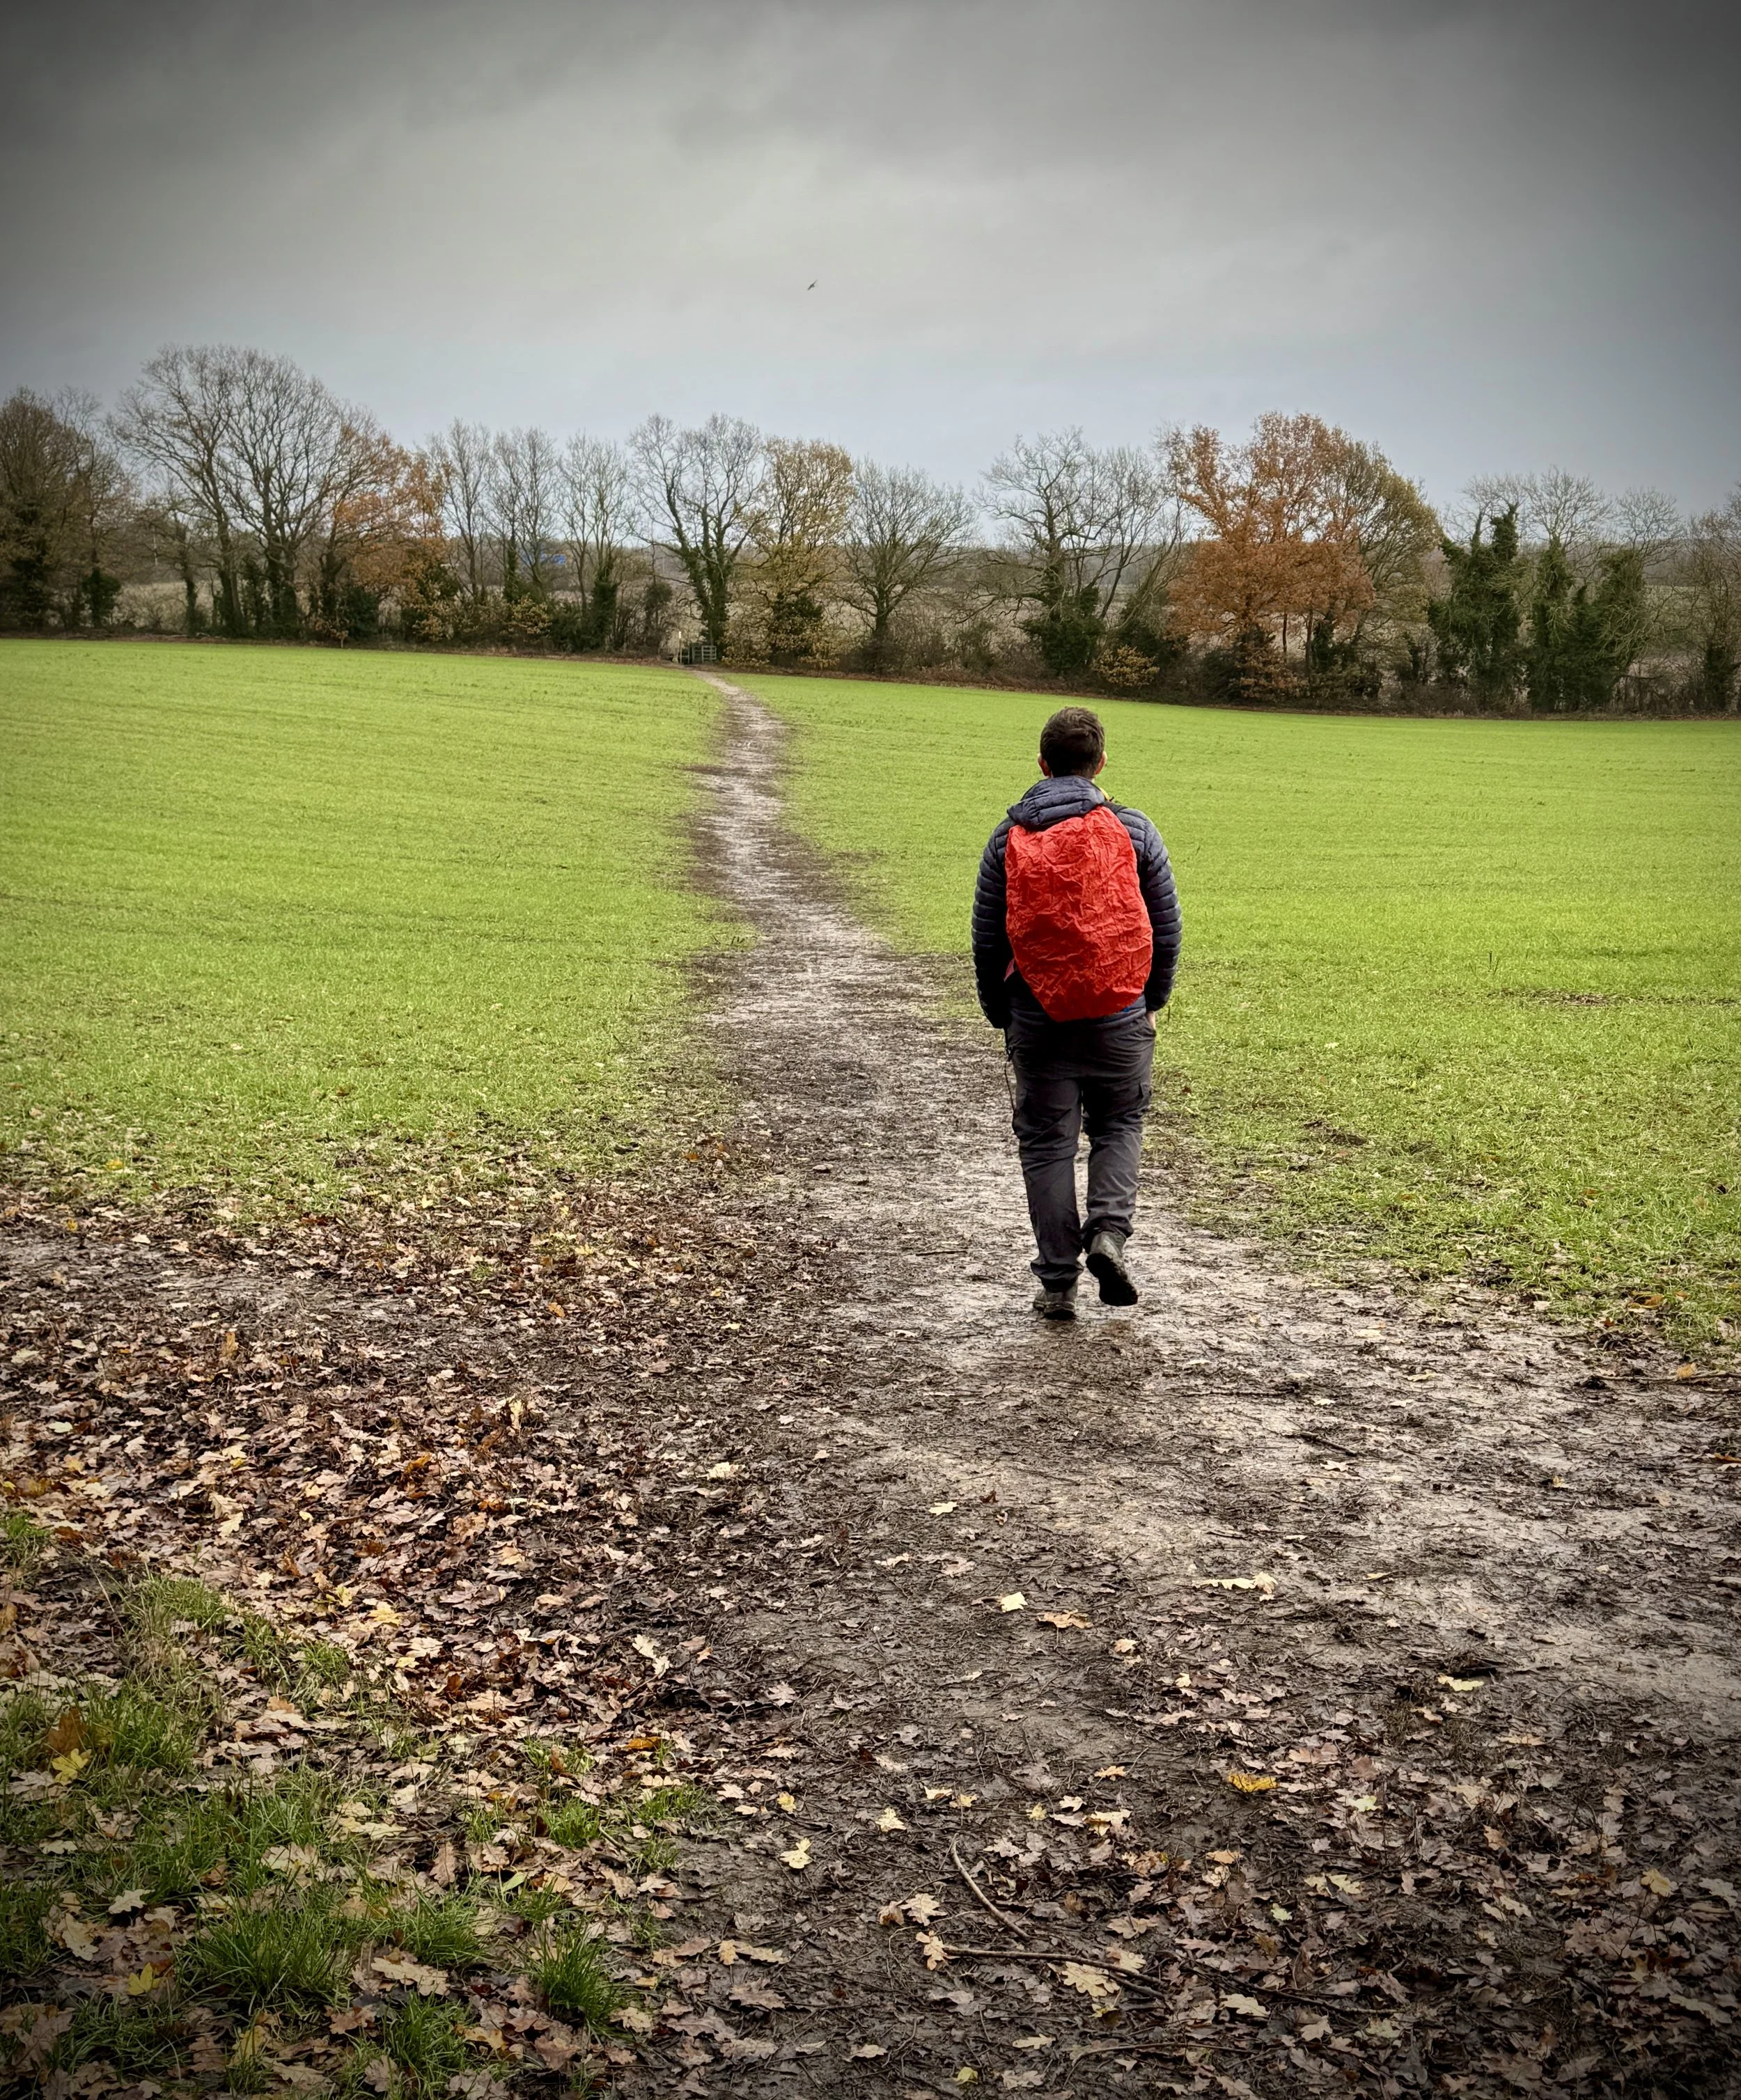
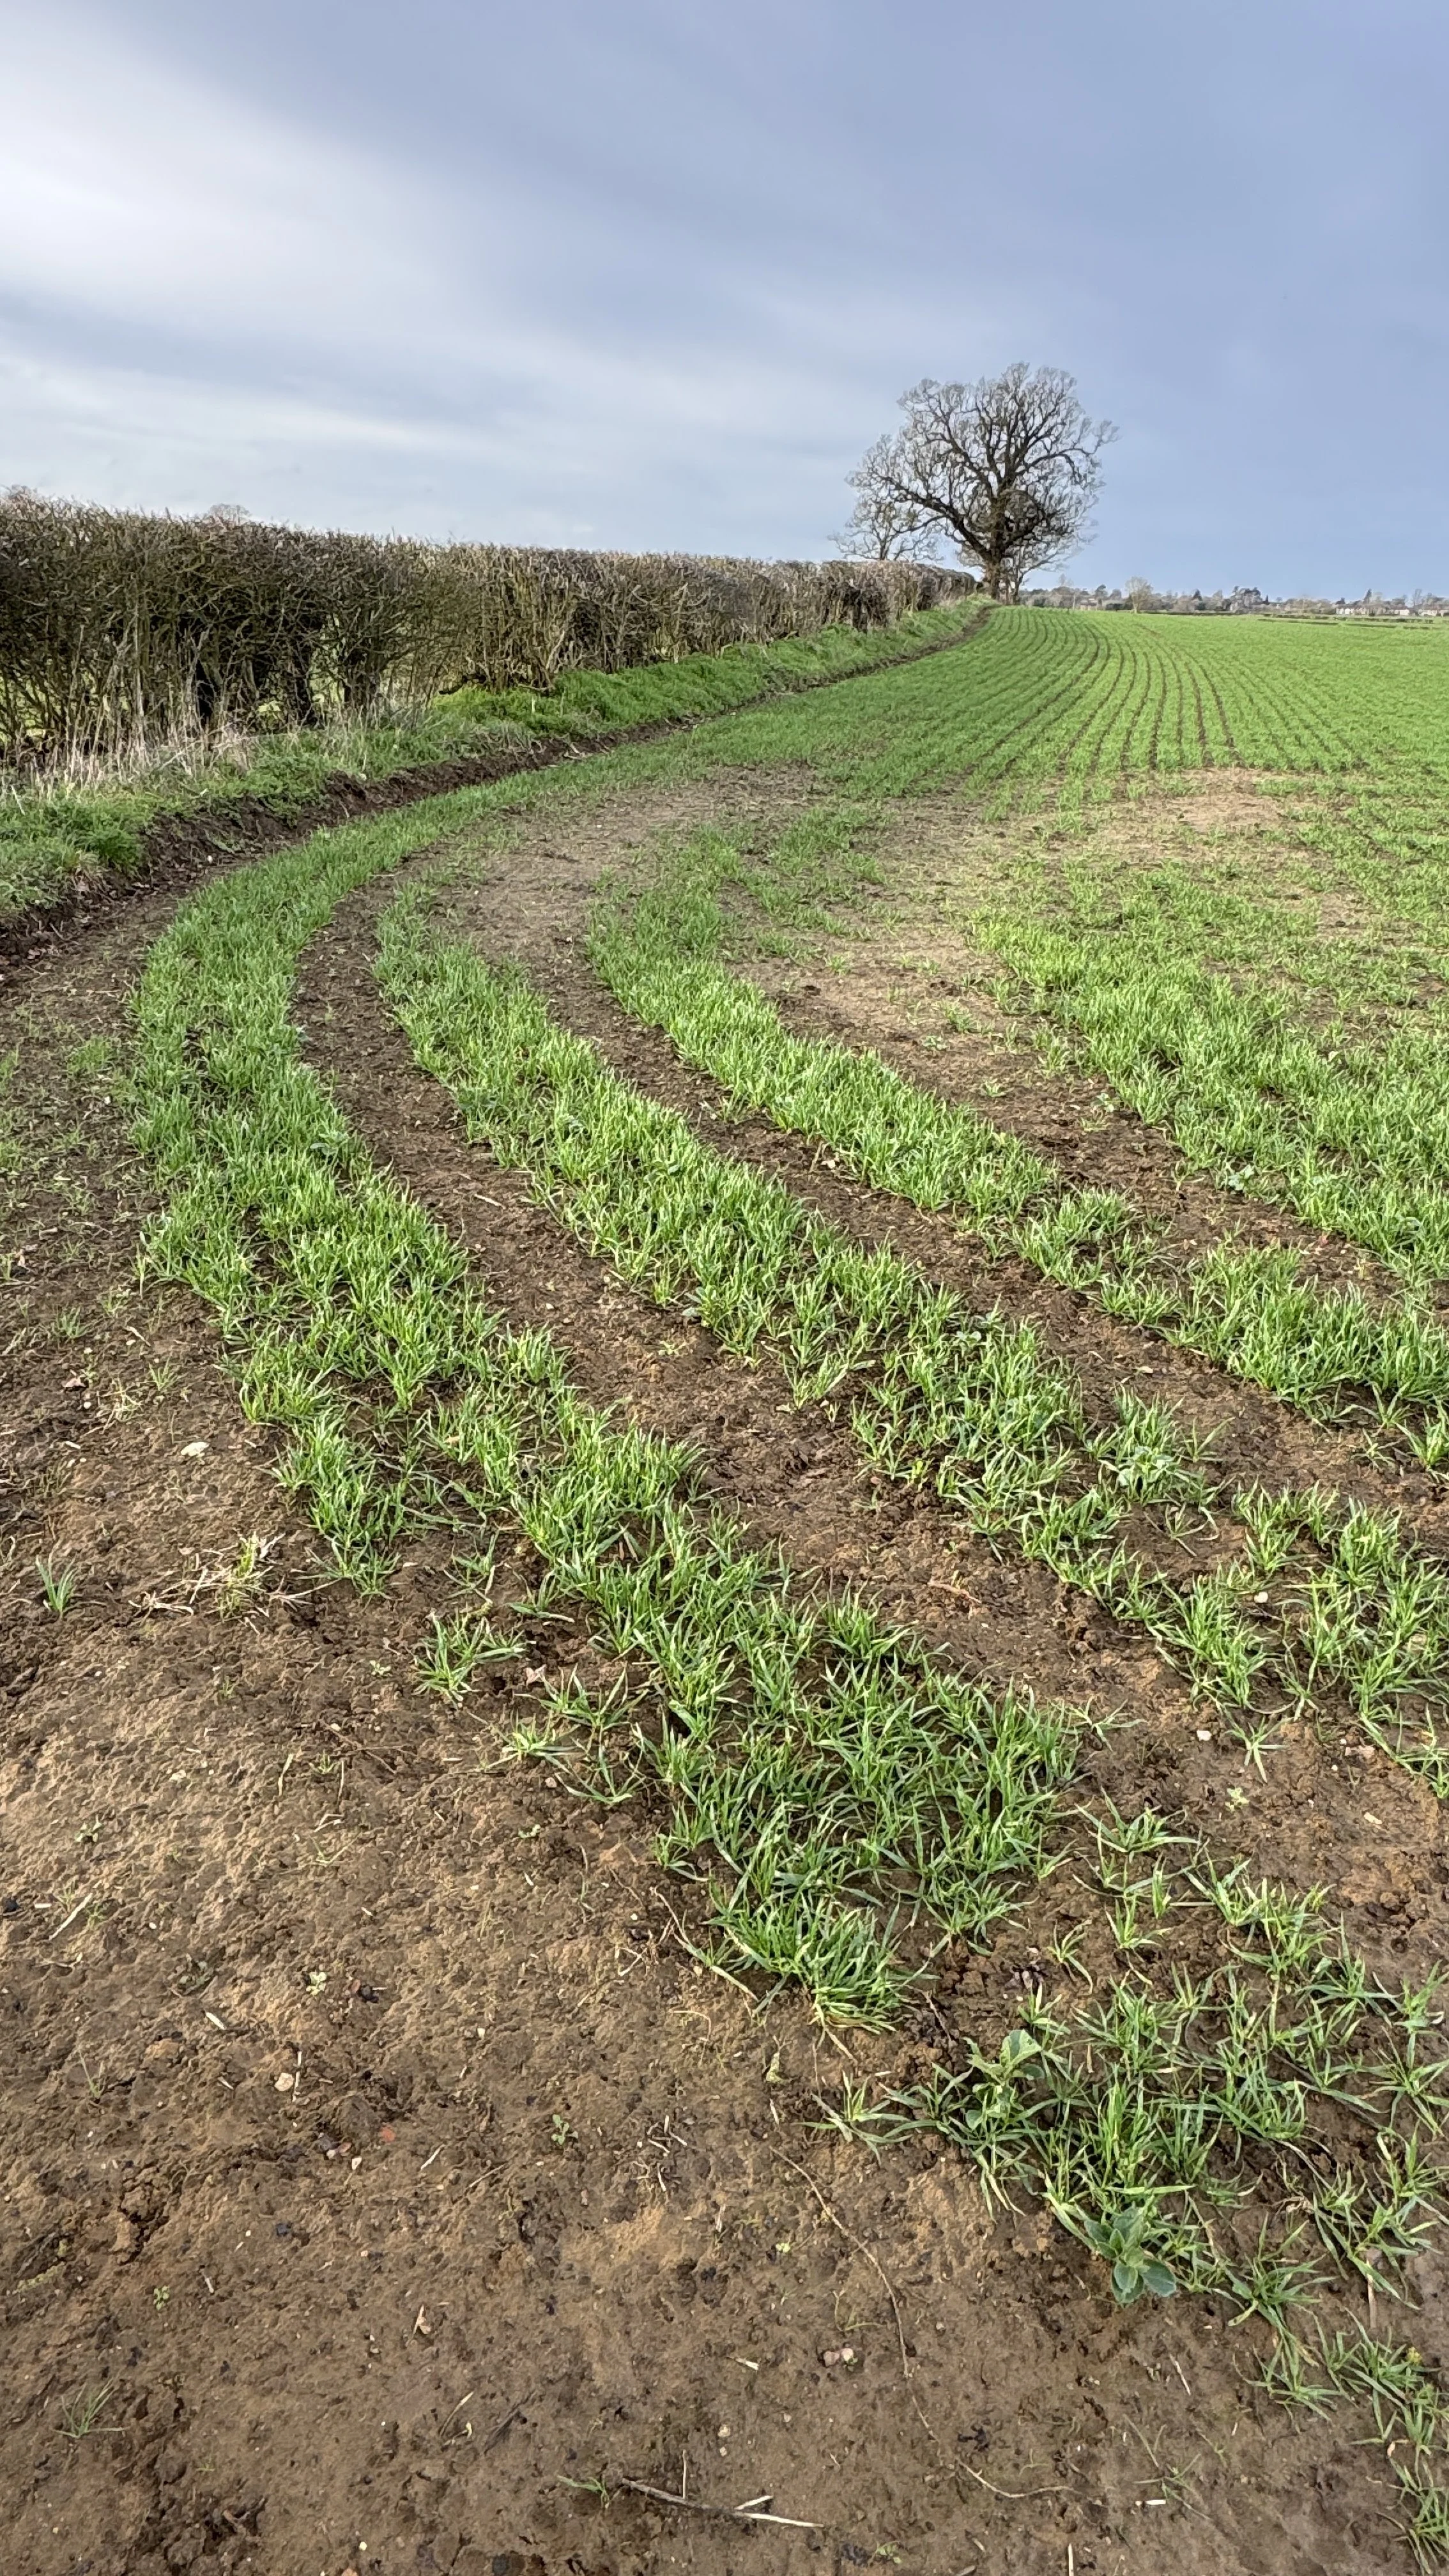
After ~1.5 km take a right to leave the Thame Valley Walk to stay on the North Bucks Way heading across fields in a south-easterly direction.
When you reach the farm buildings take a right to continue along the North Bucks Way in a southerly direction.
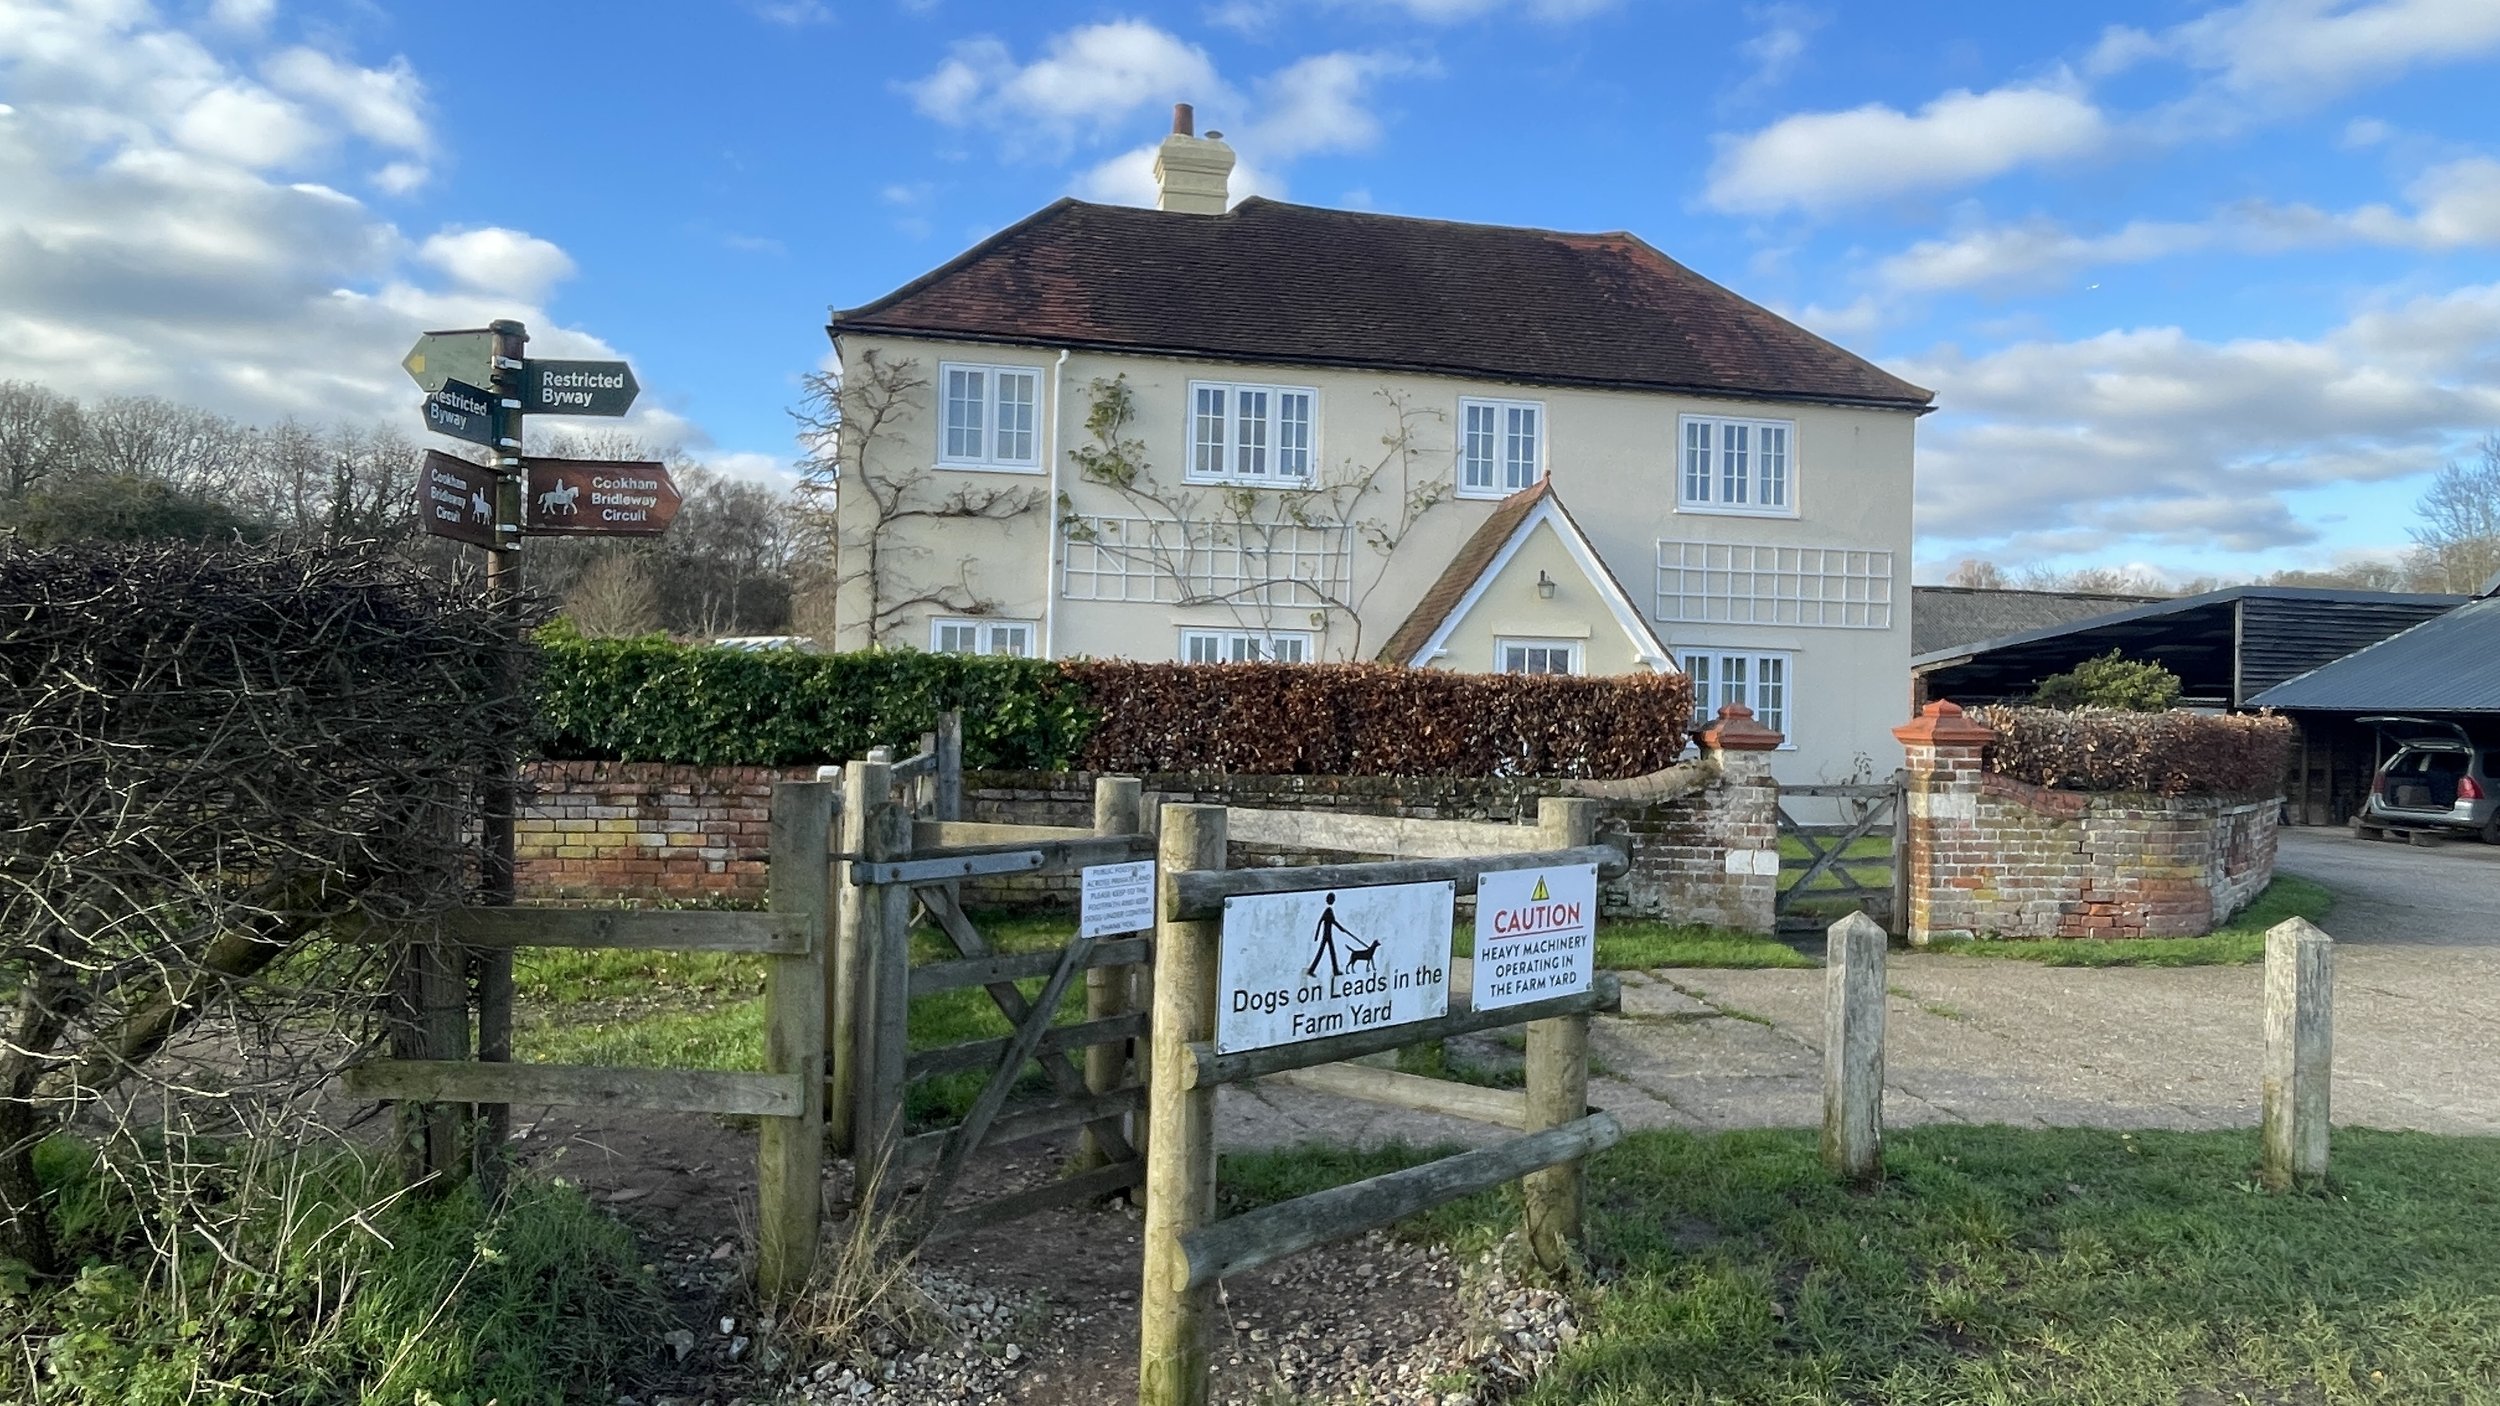
At Upper Hartwell Road take a left to continue along the North Bucks Way in an easterly direction to Lower Hartwell Road.
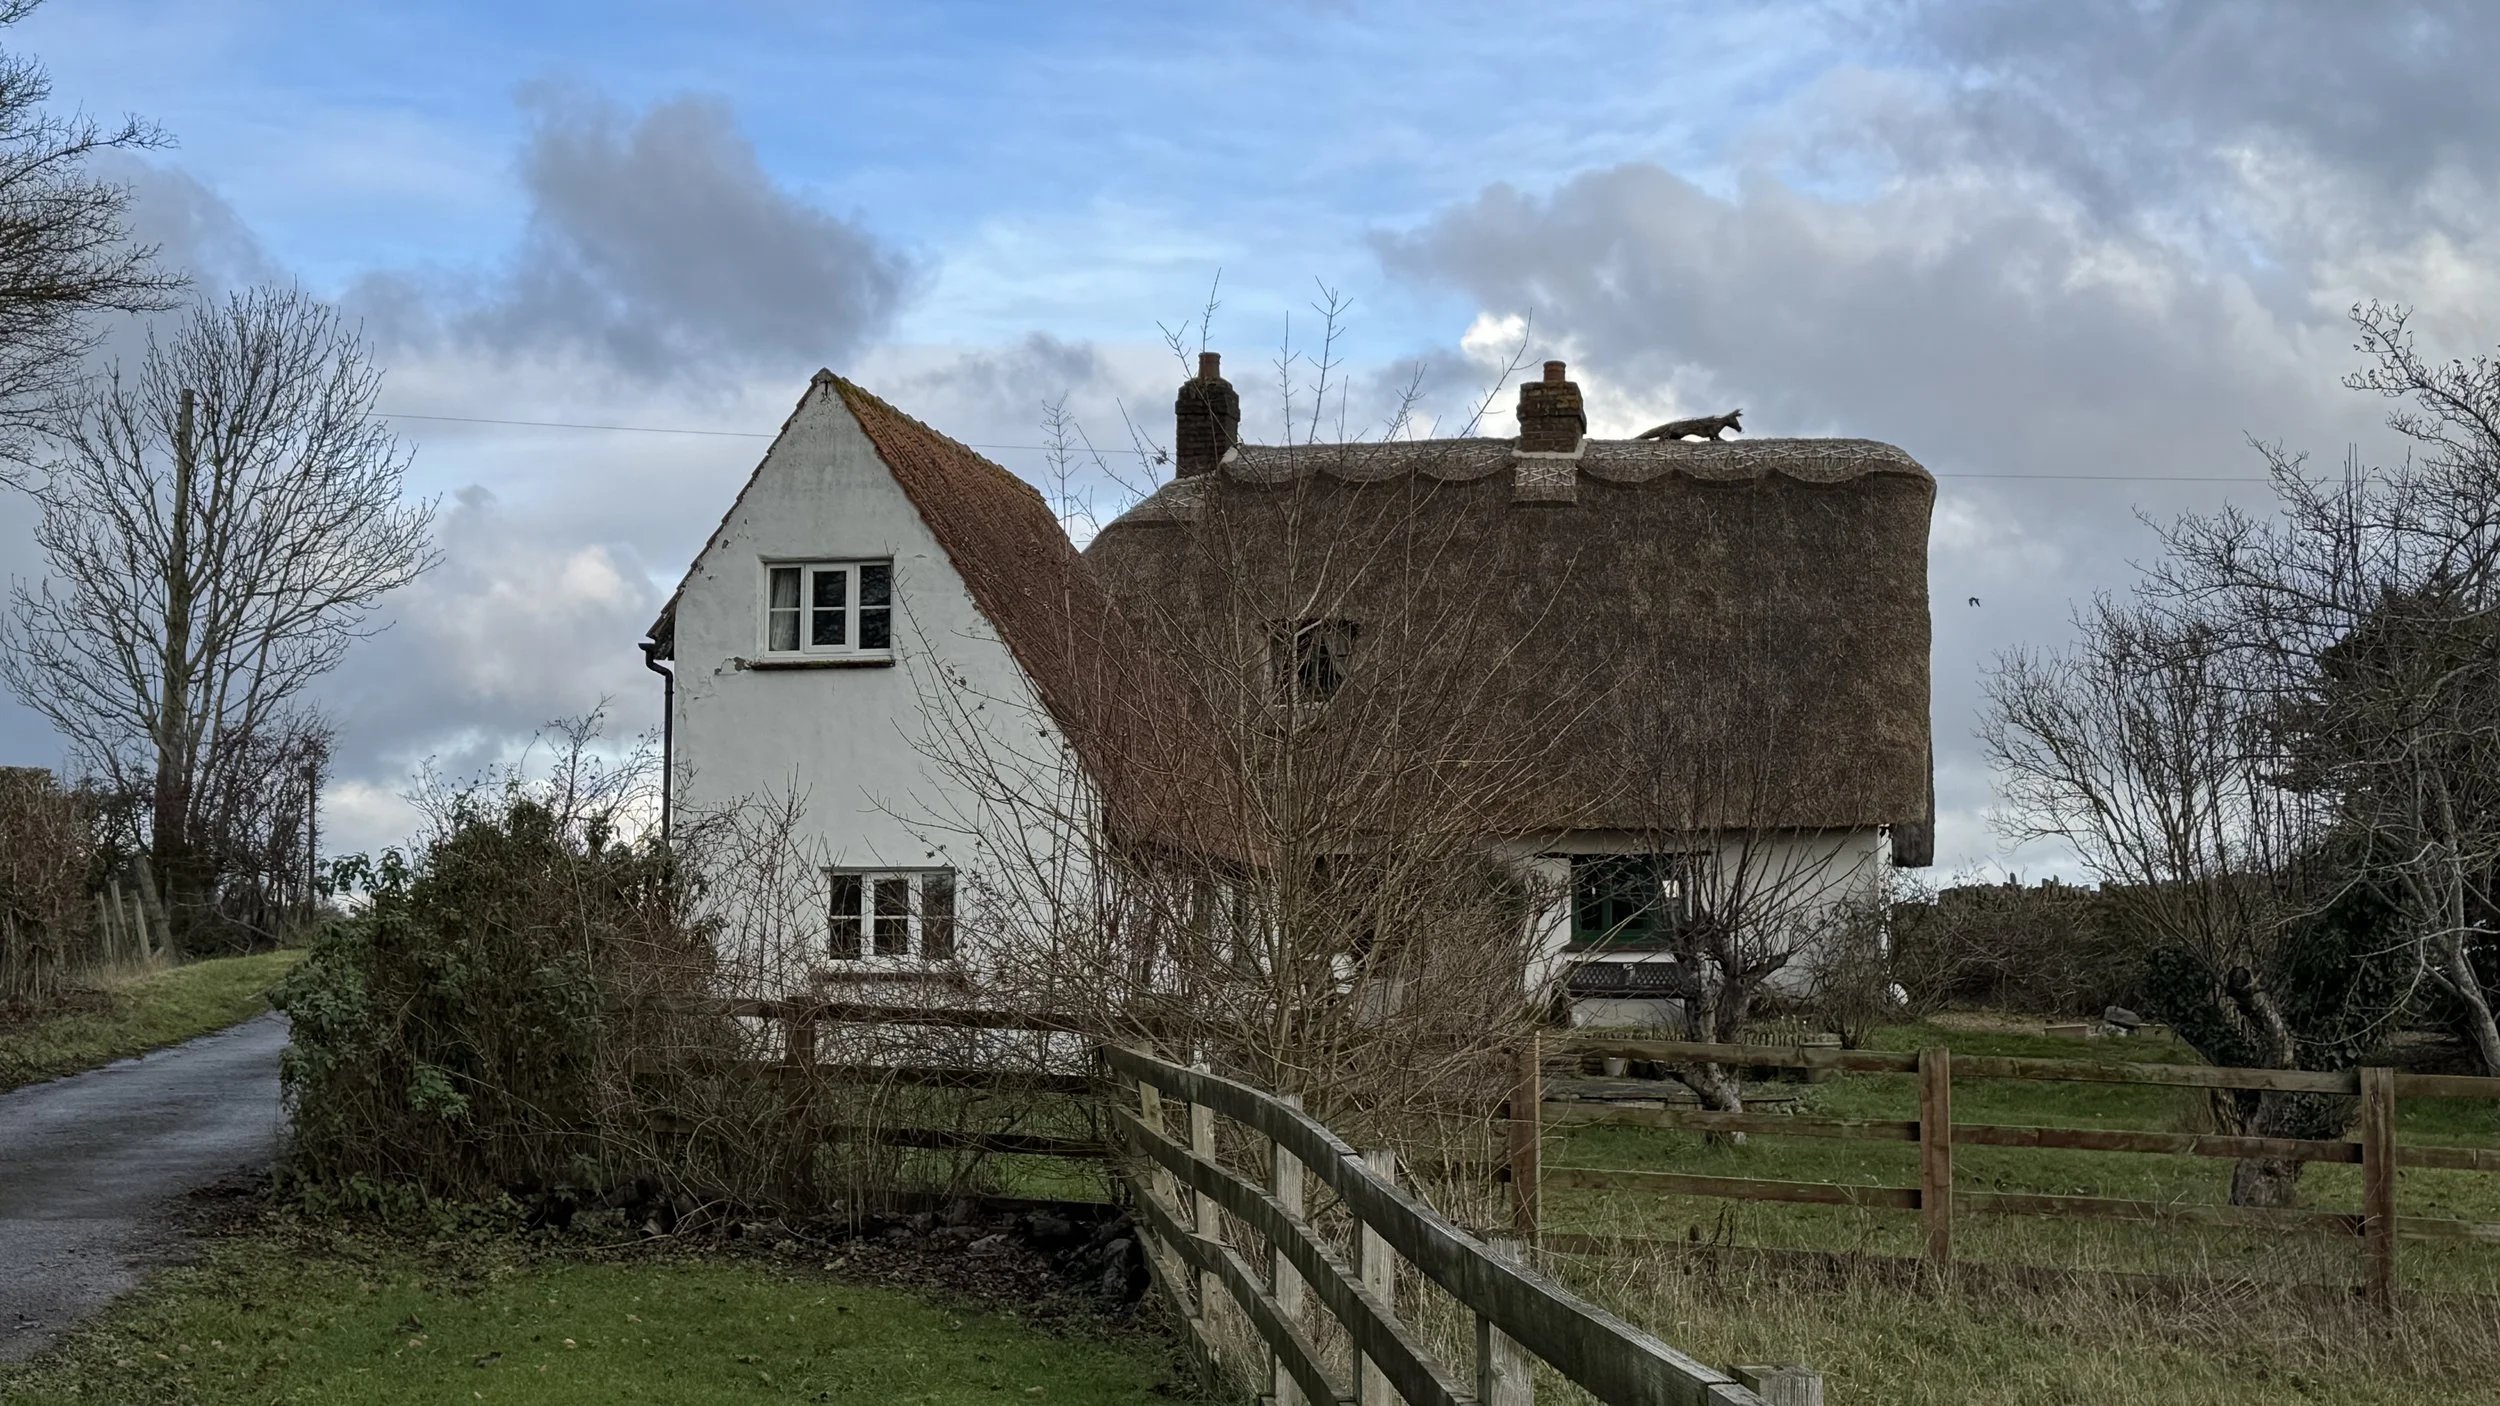
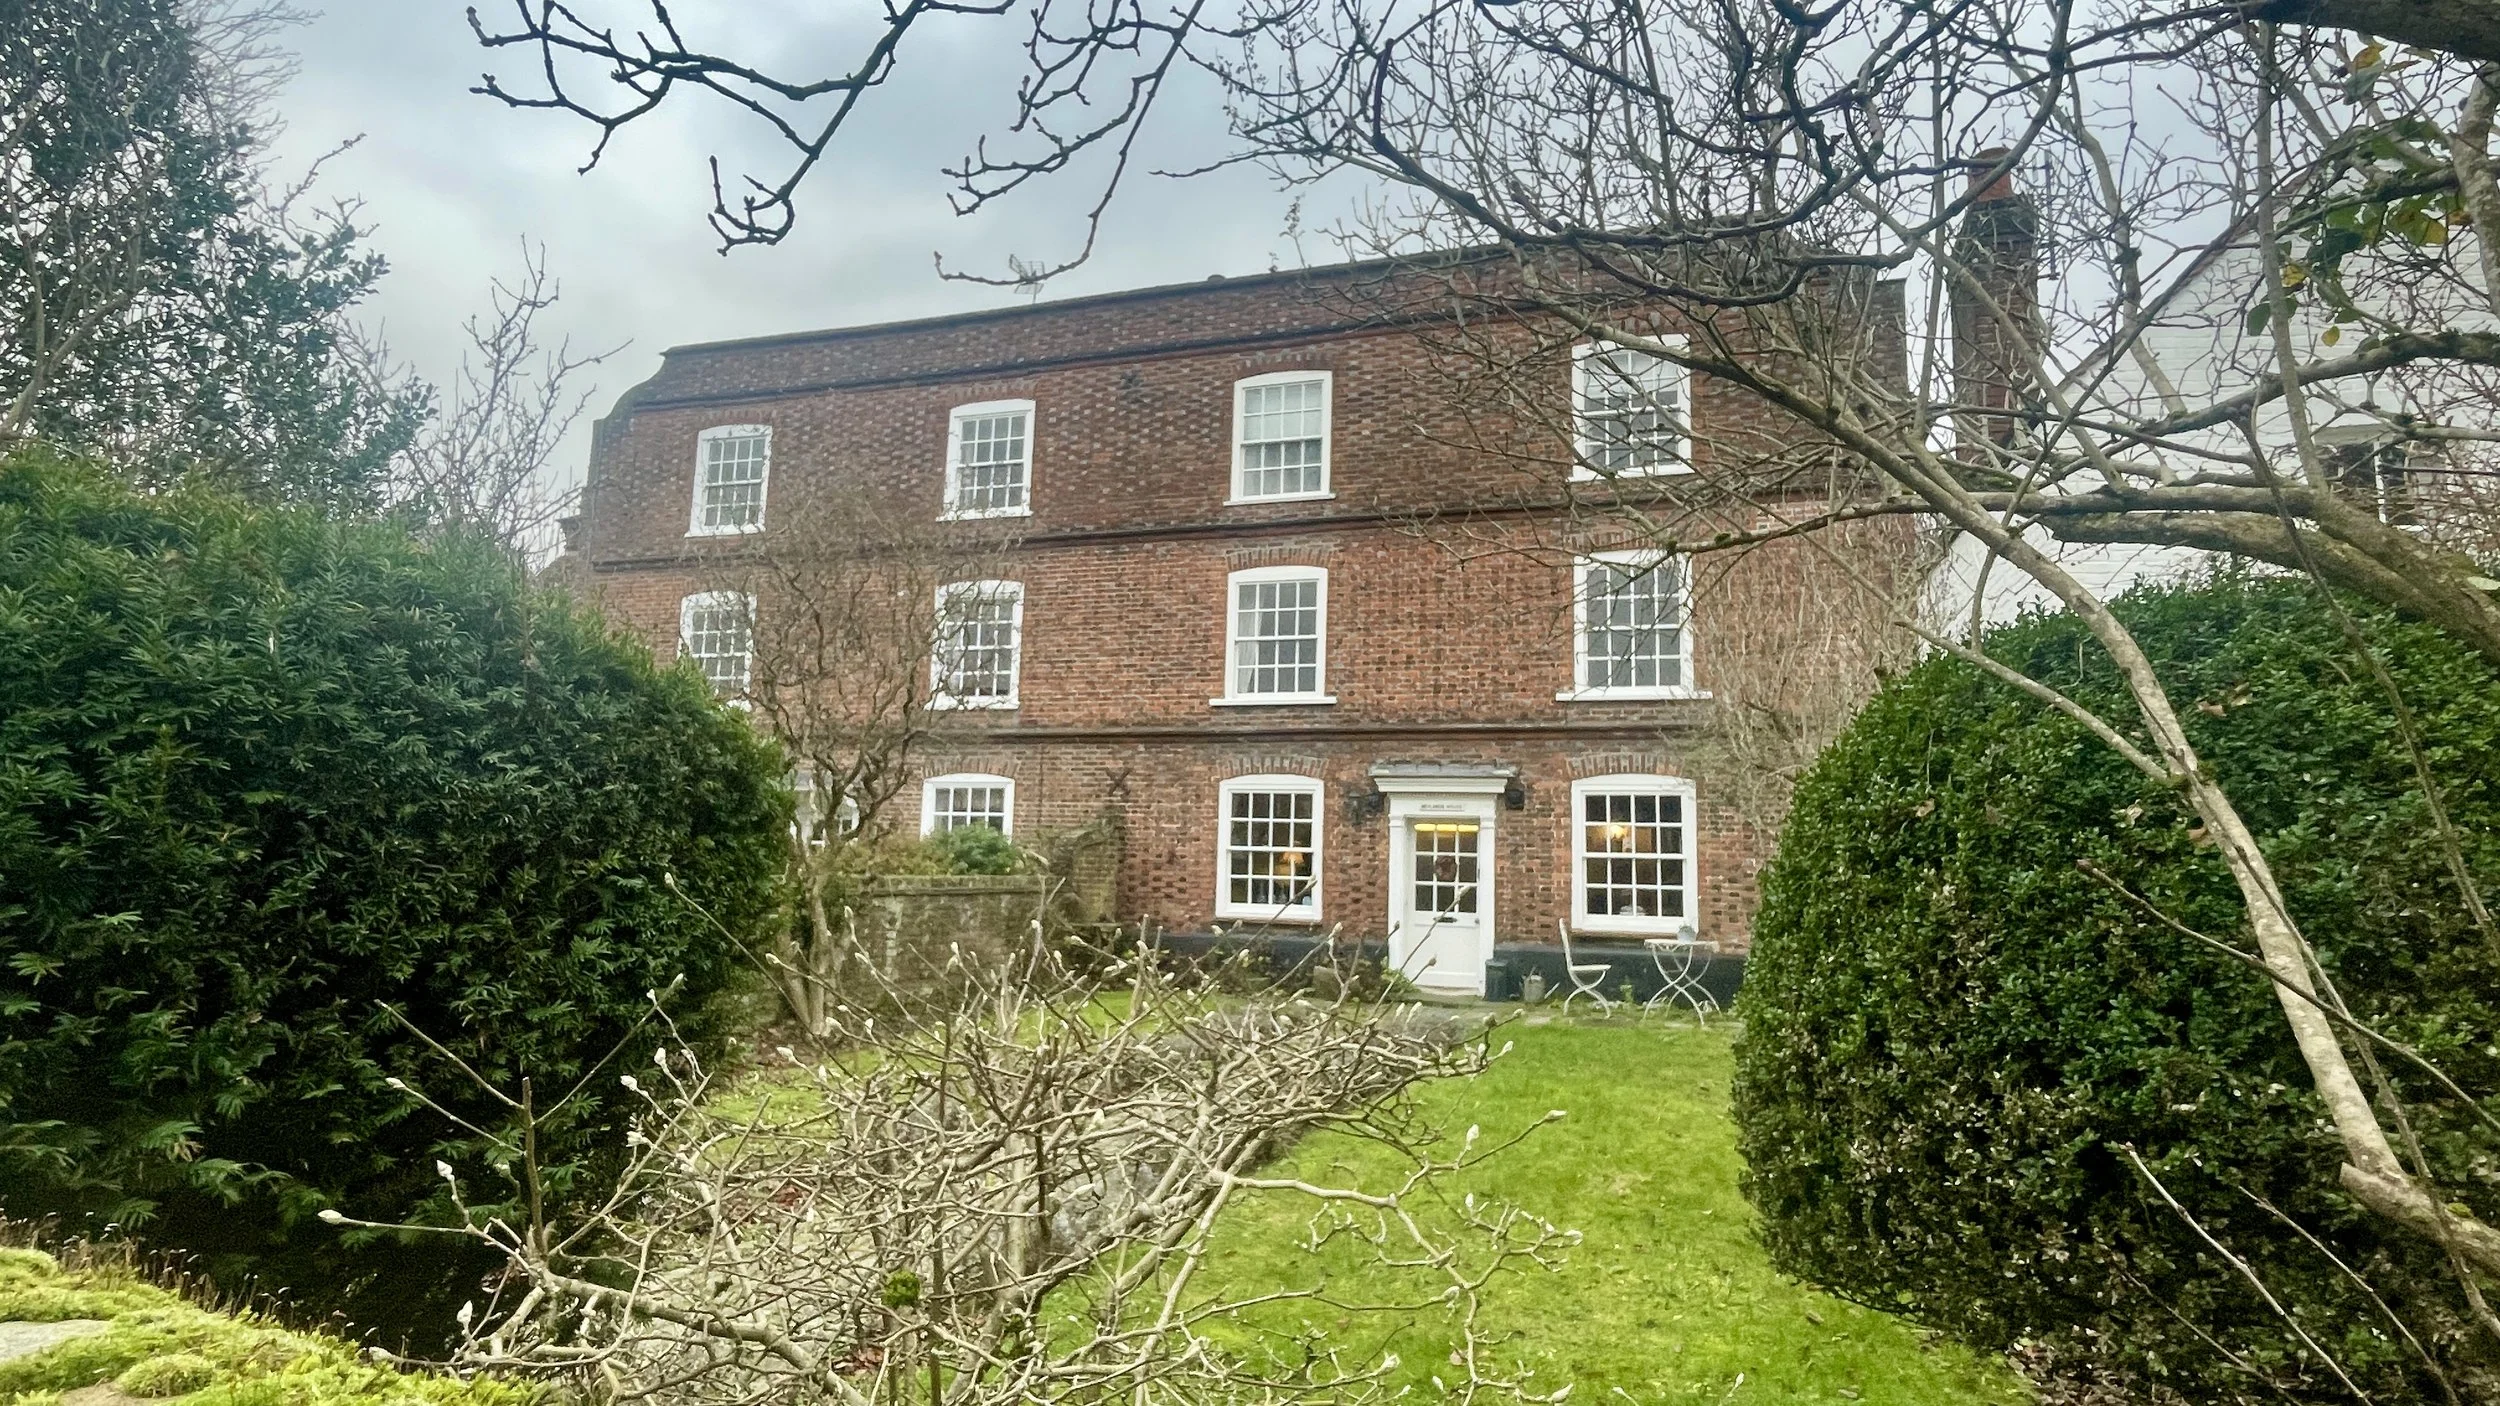
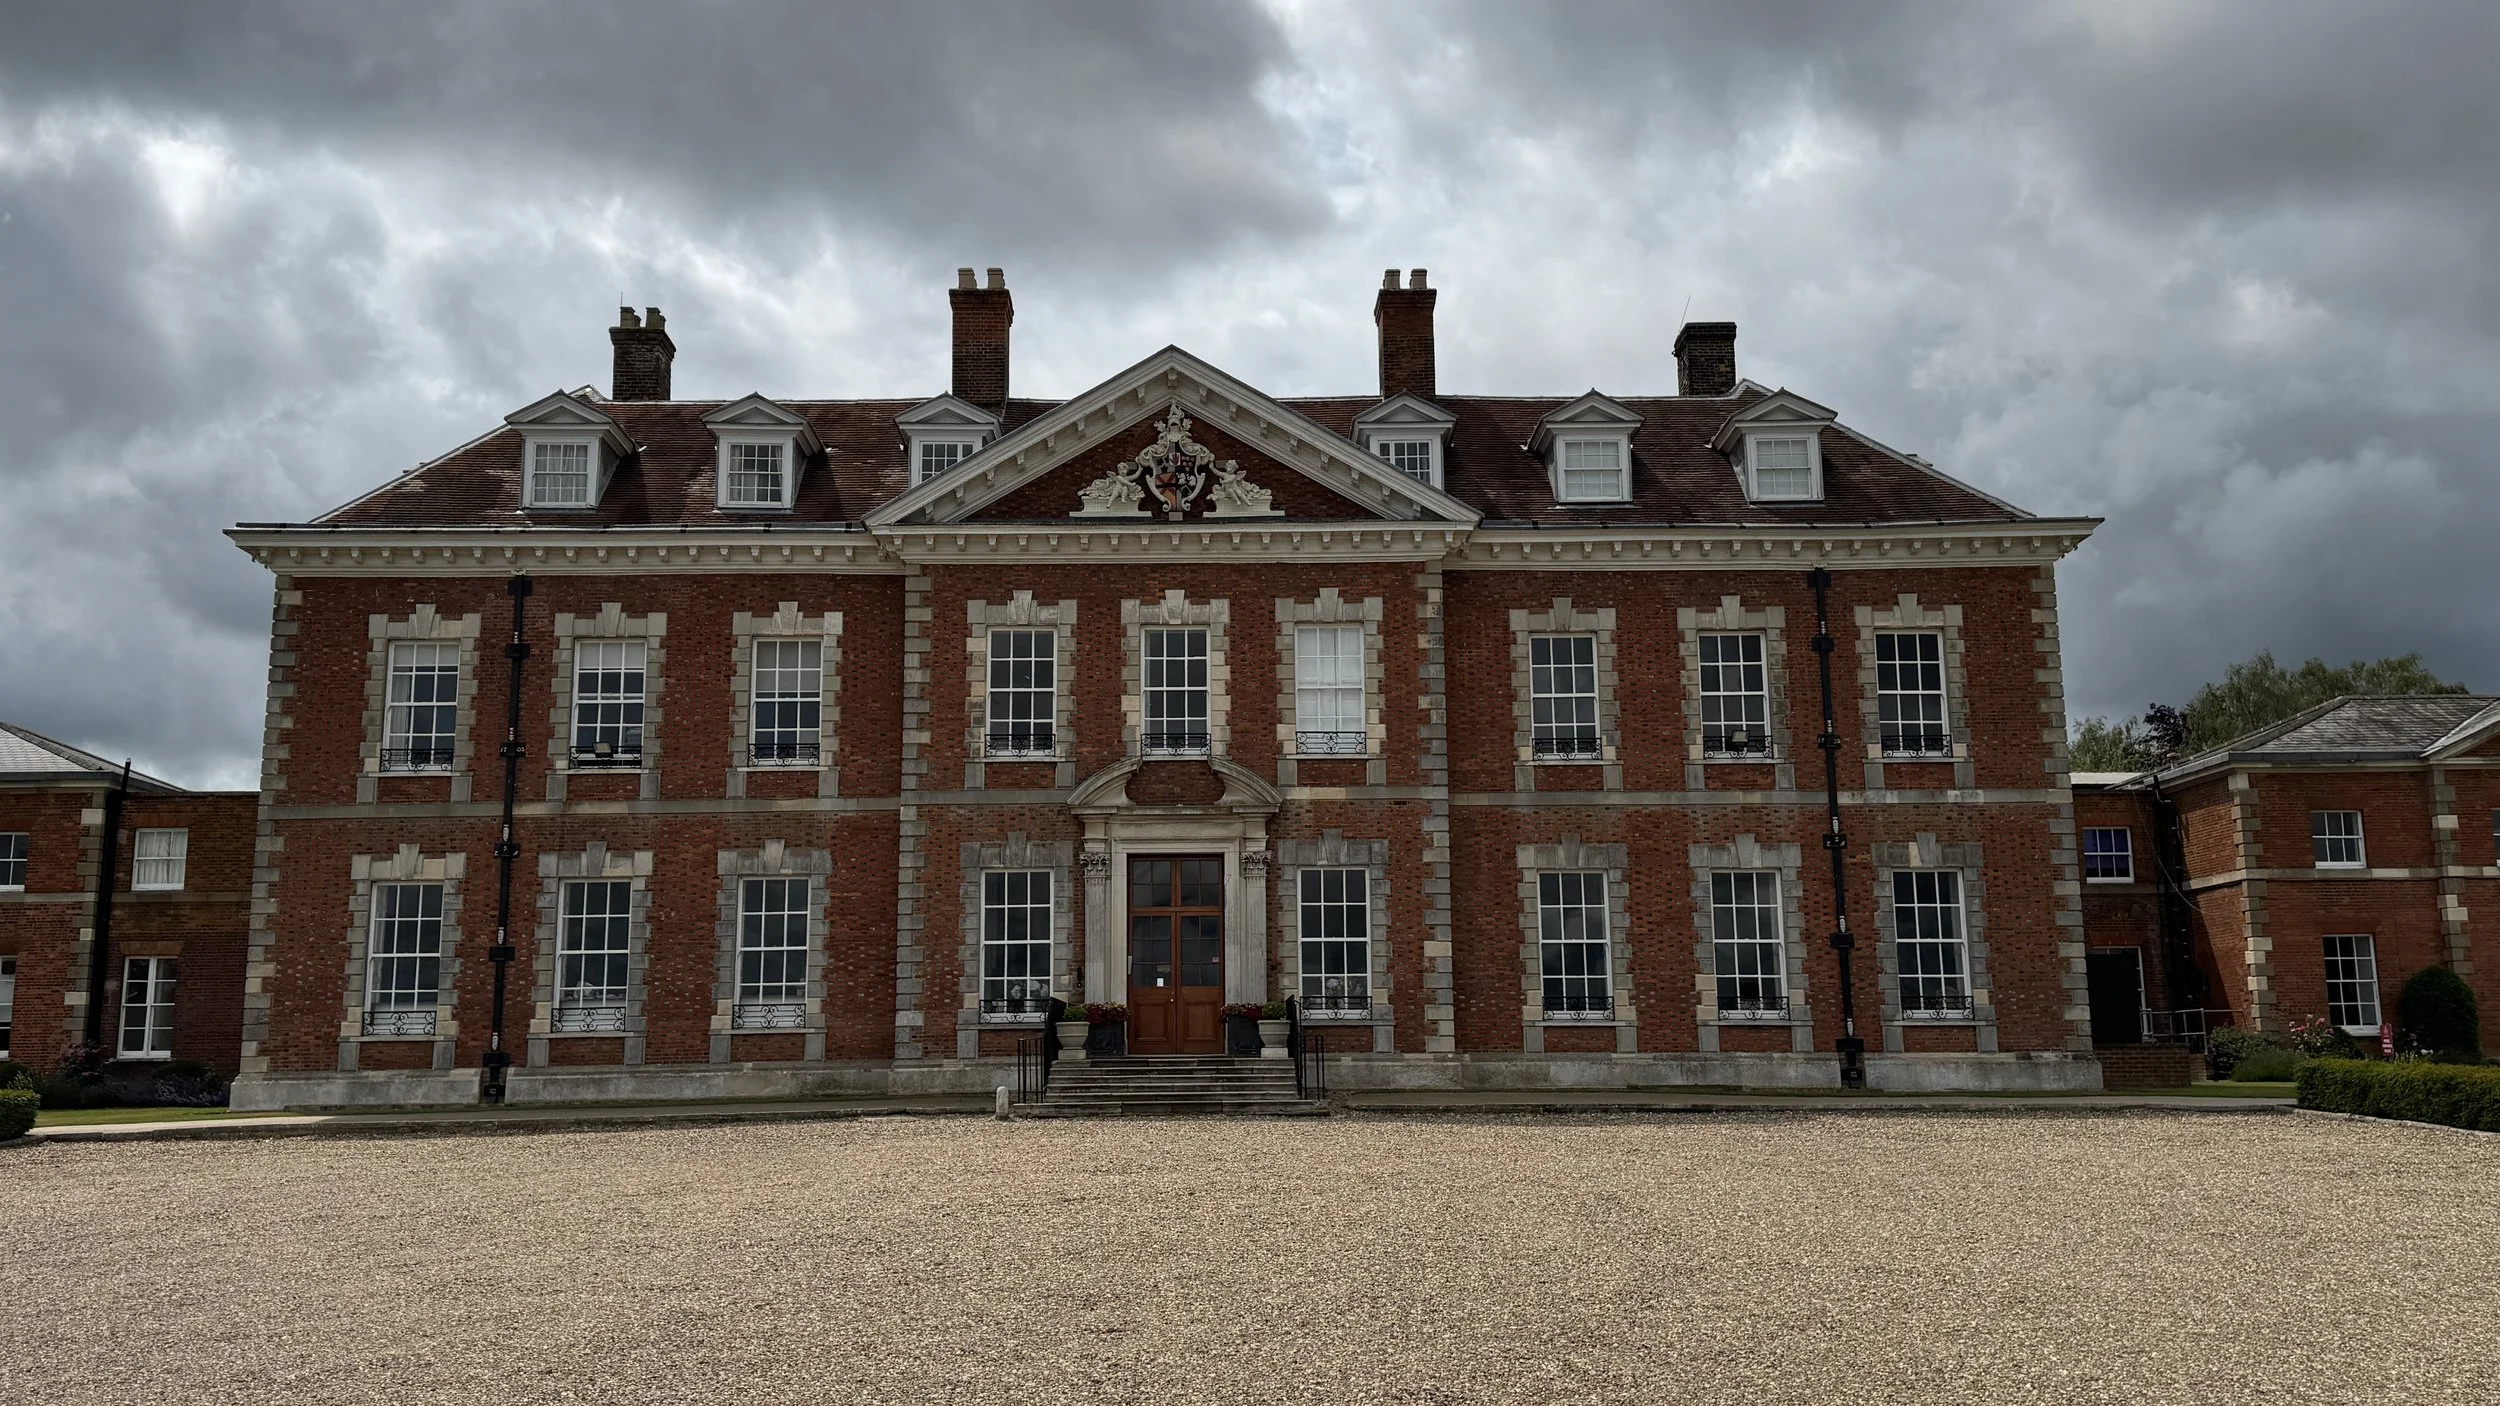
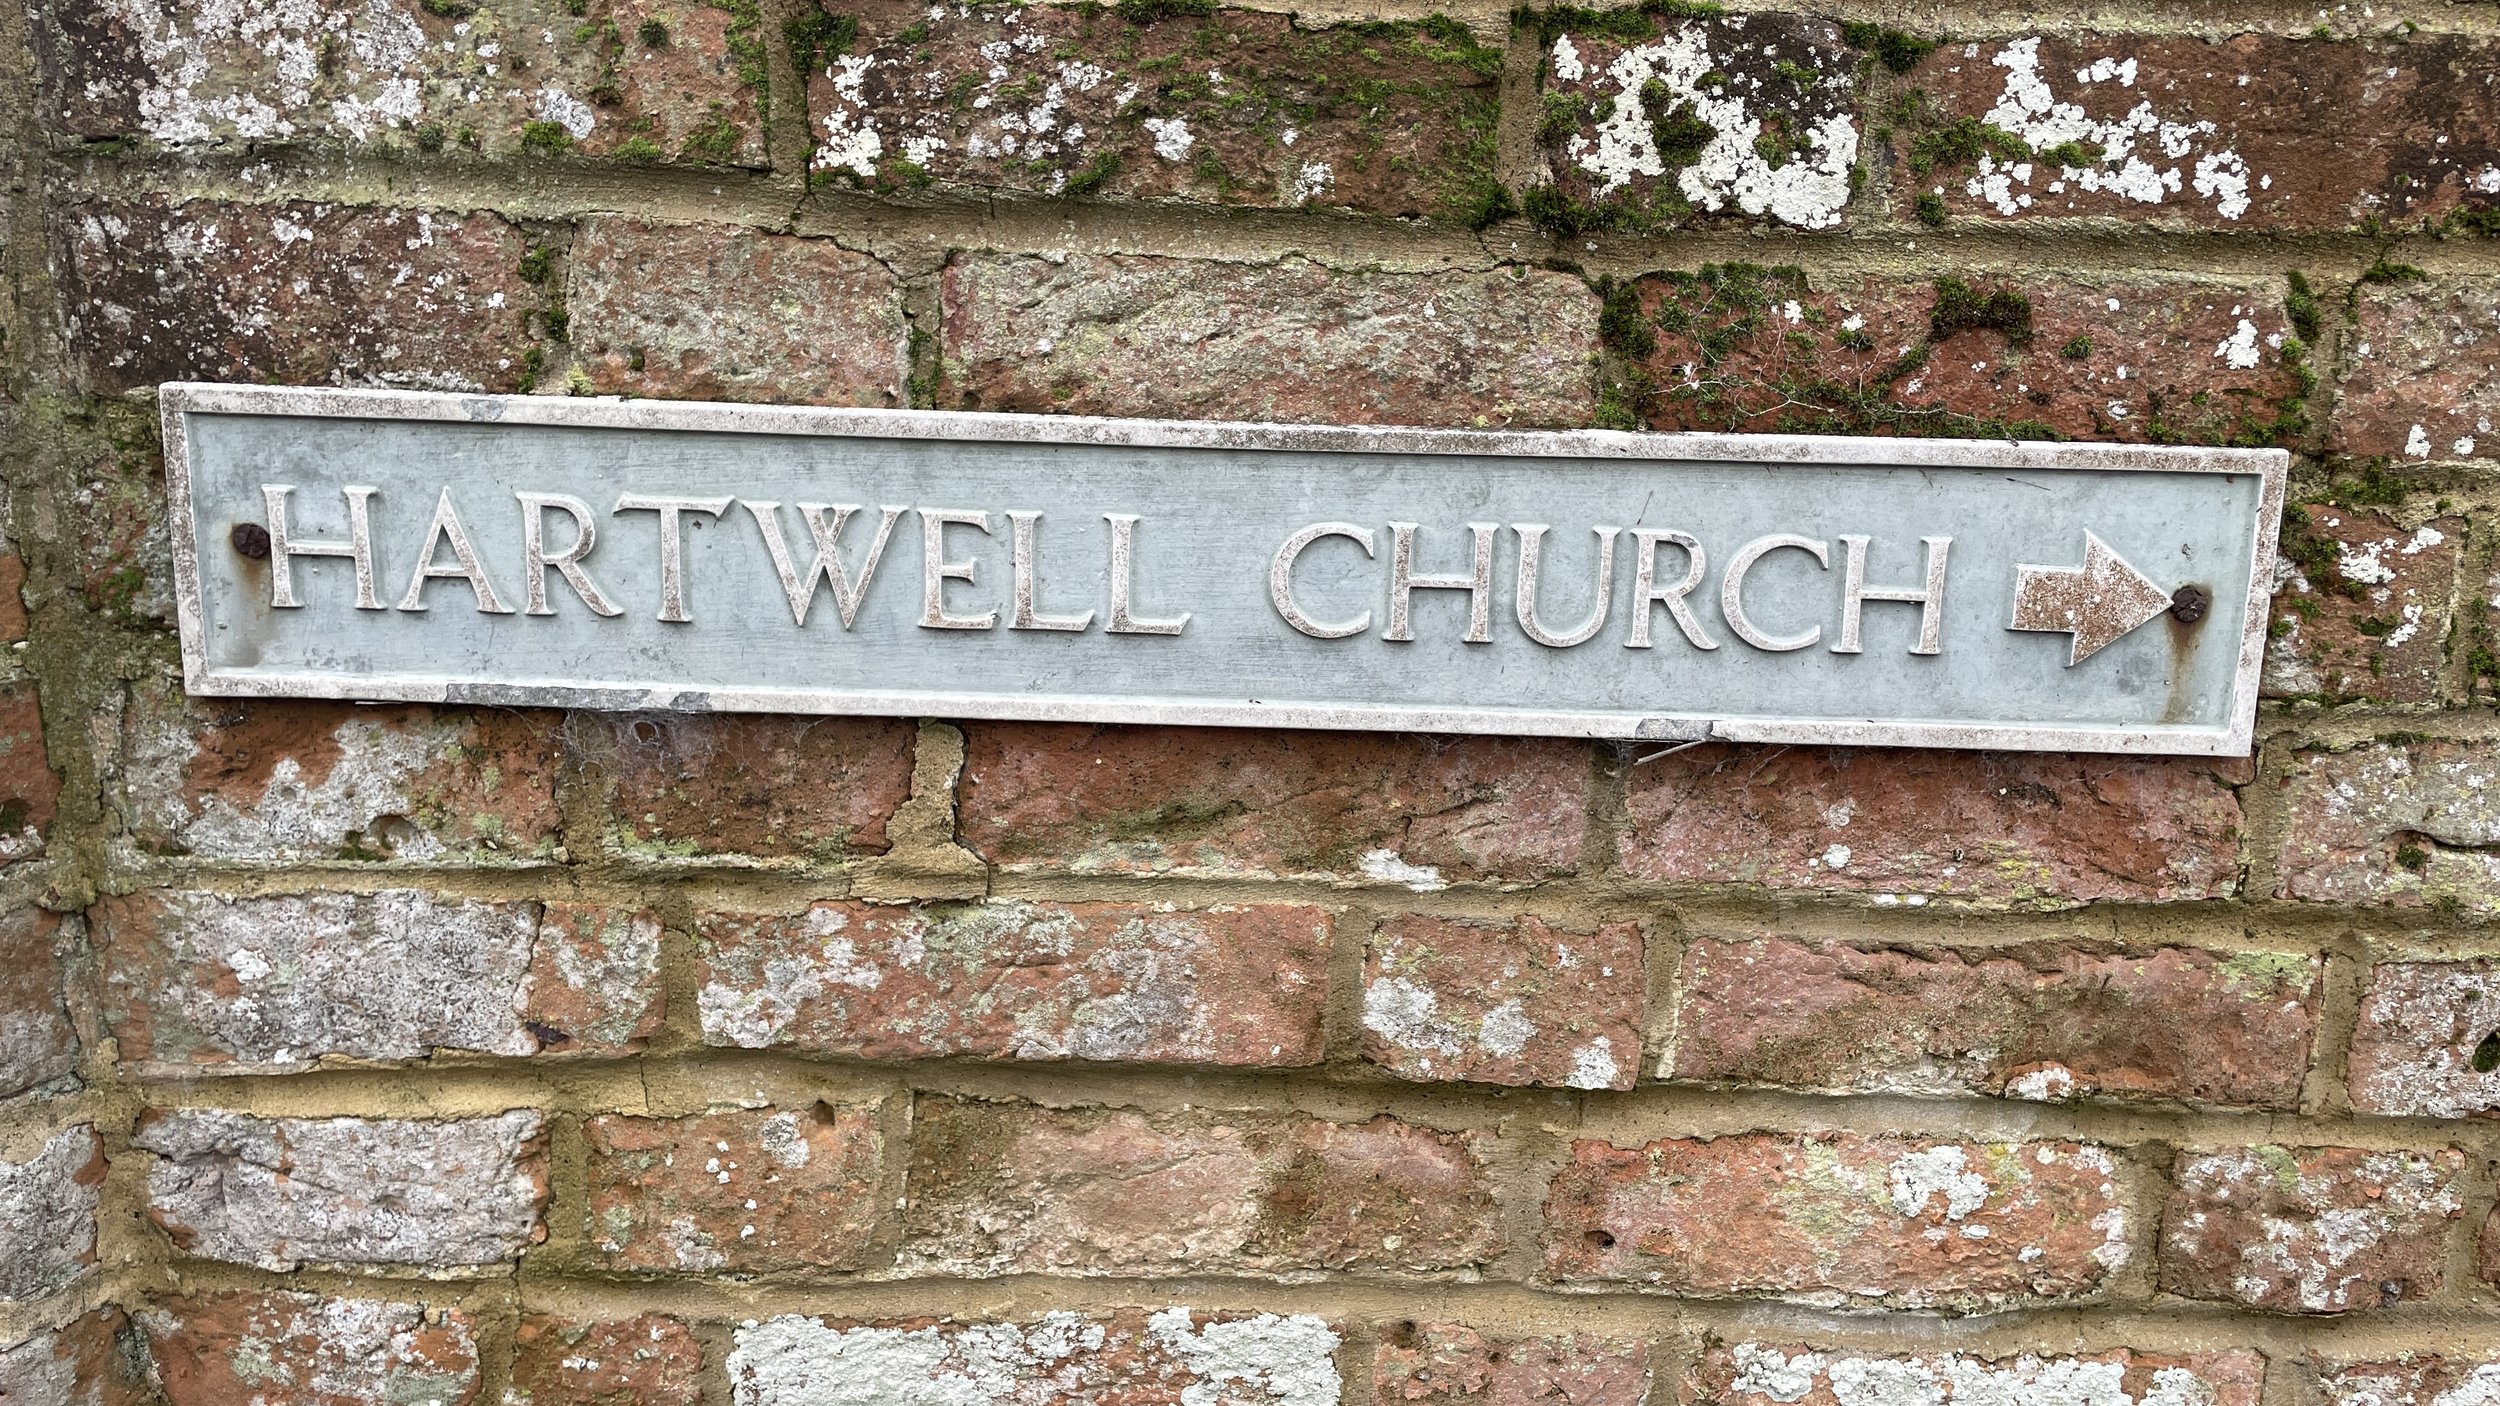
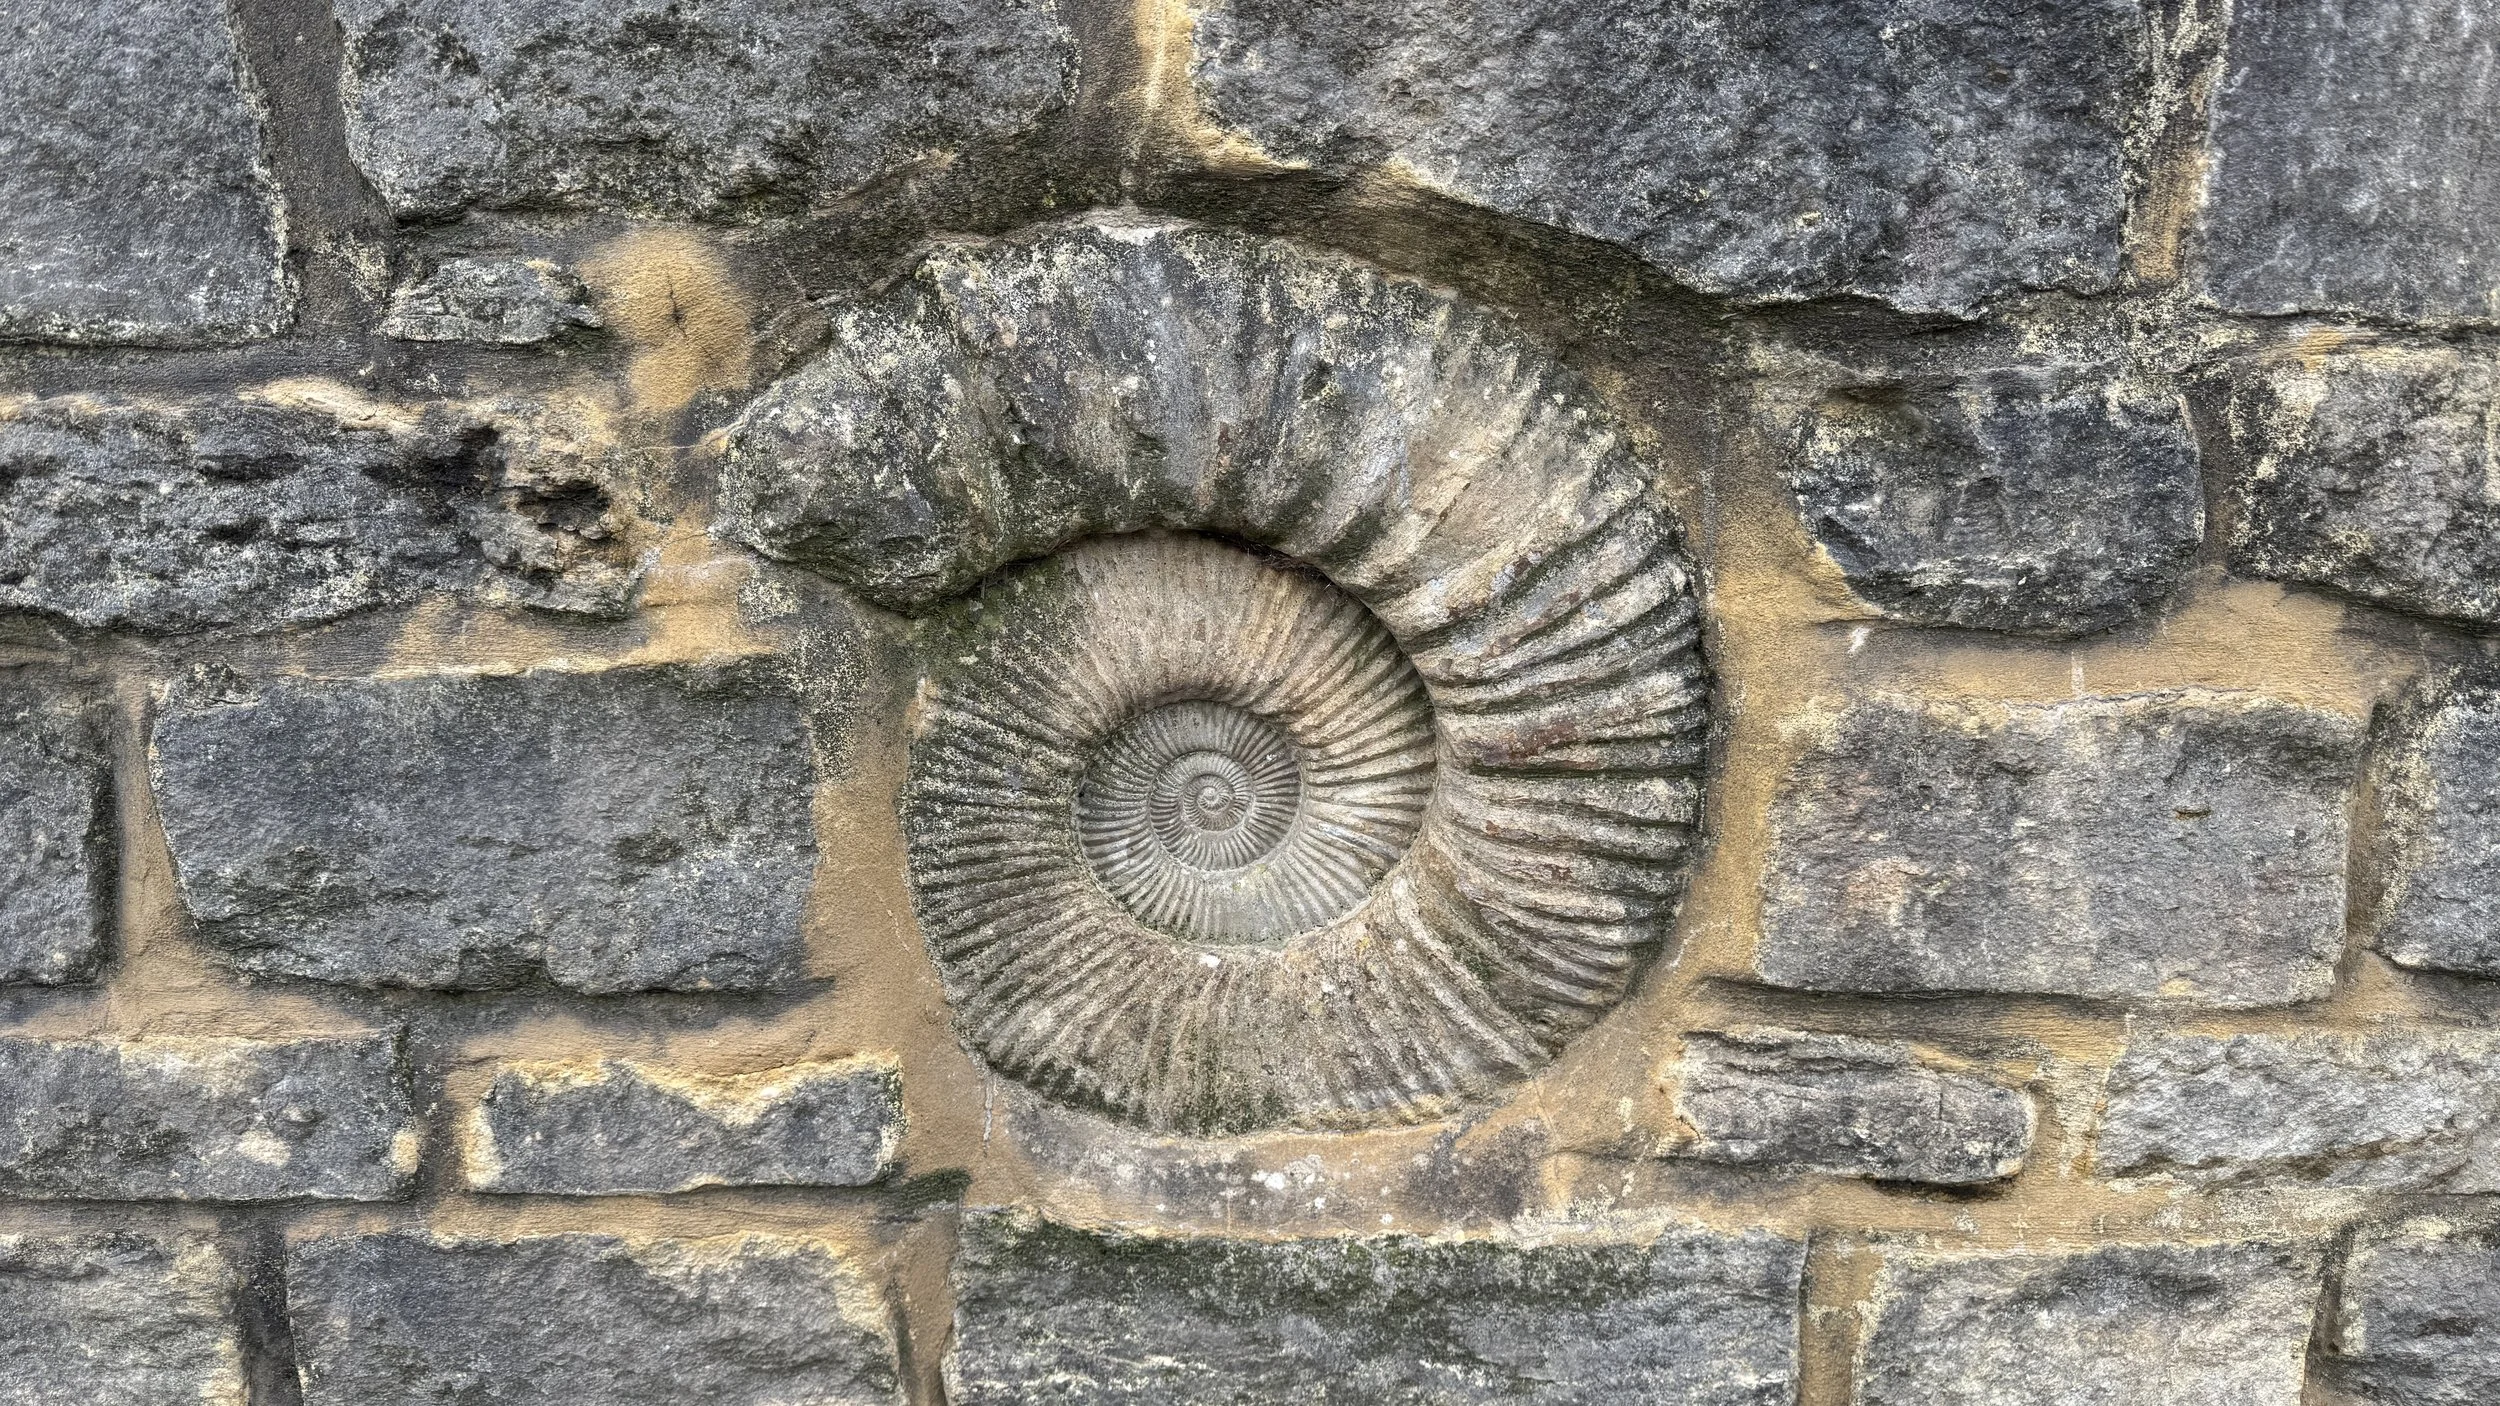
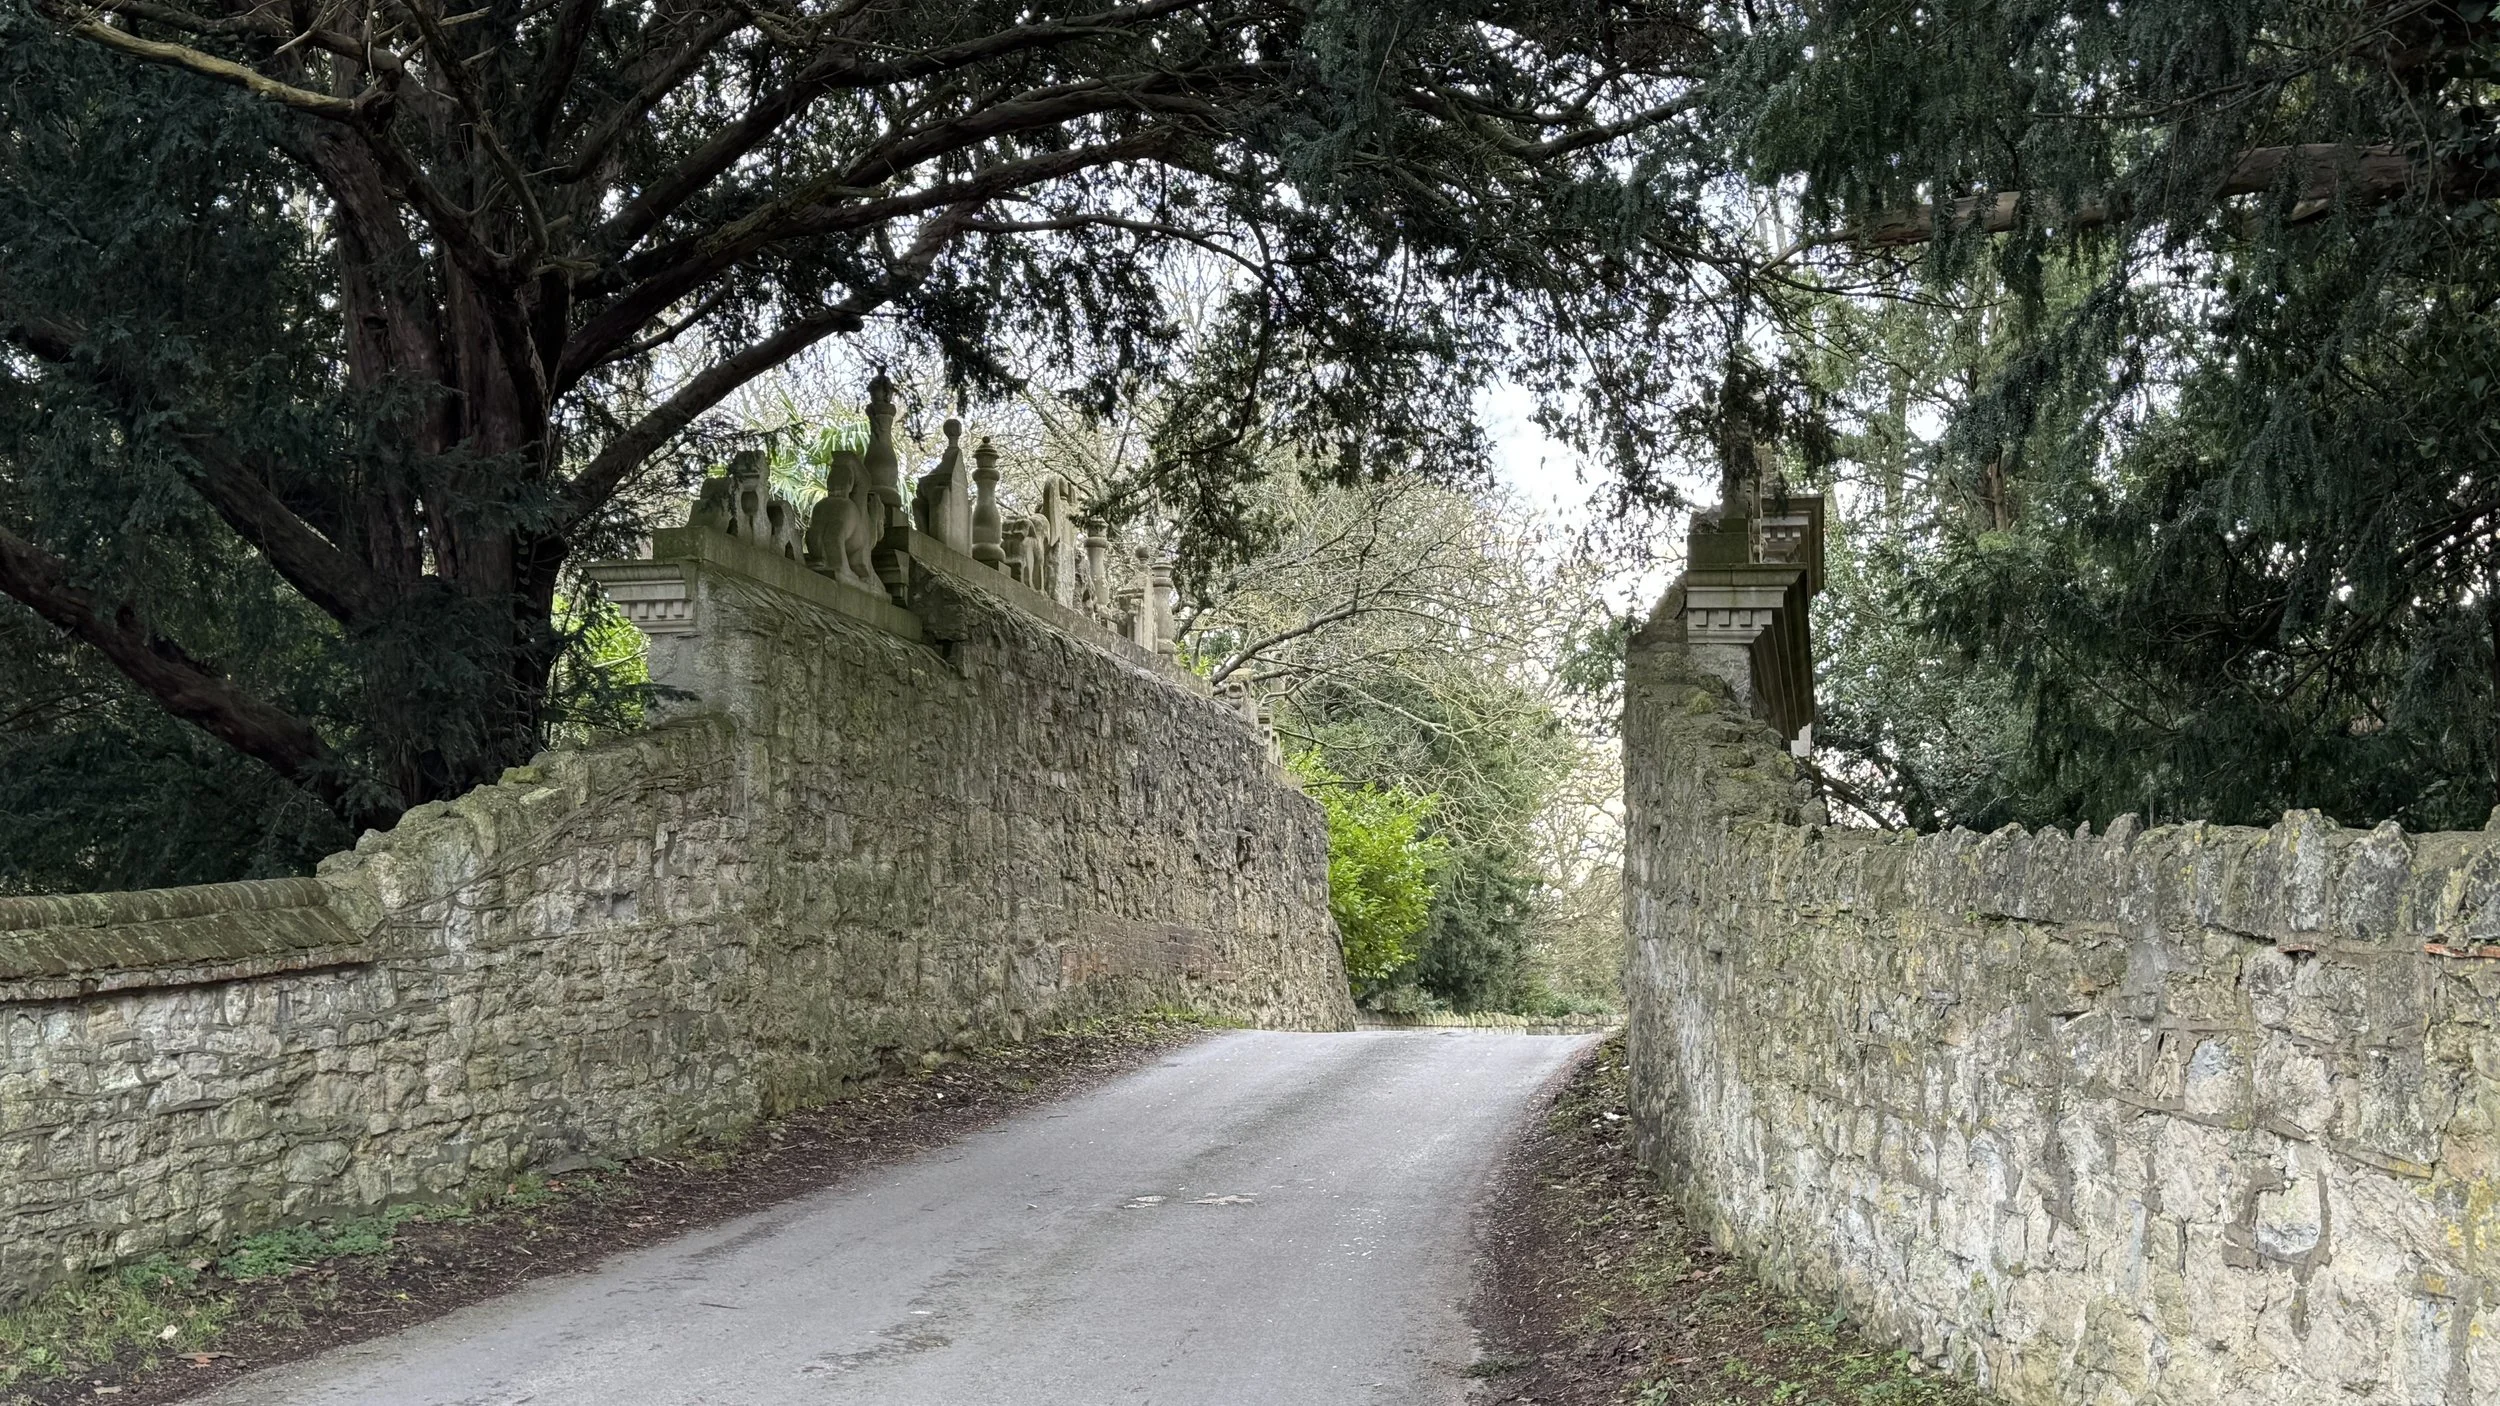
Take a right onto Lower Hartwell Road and follow it in a southerly direction to the junction with the A418 Oxford Road. Along this road you’ll pass the Egyptian Well, an old graveyard and the fossil-encrusted outer wall of Hartwell House.
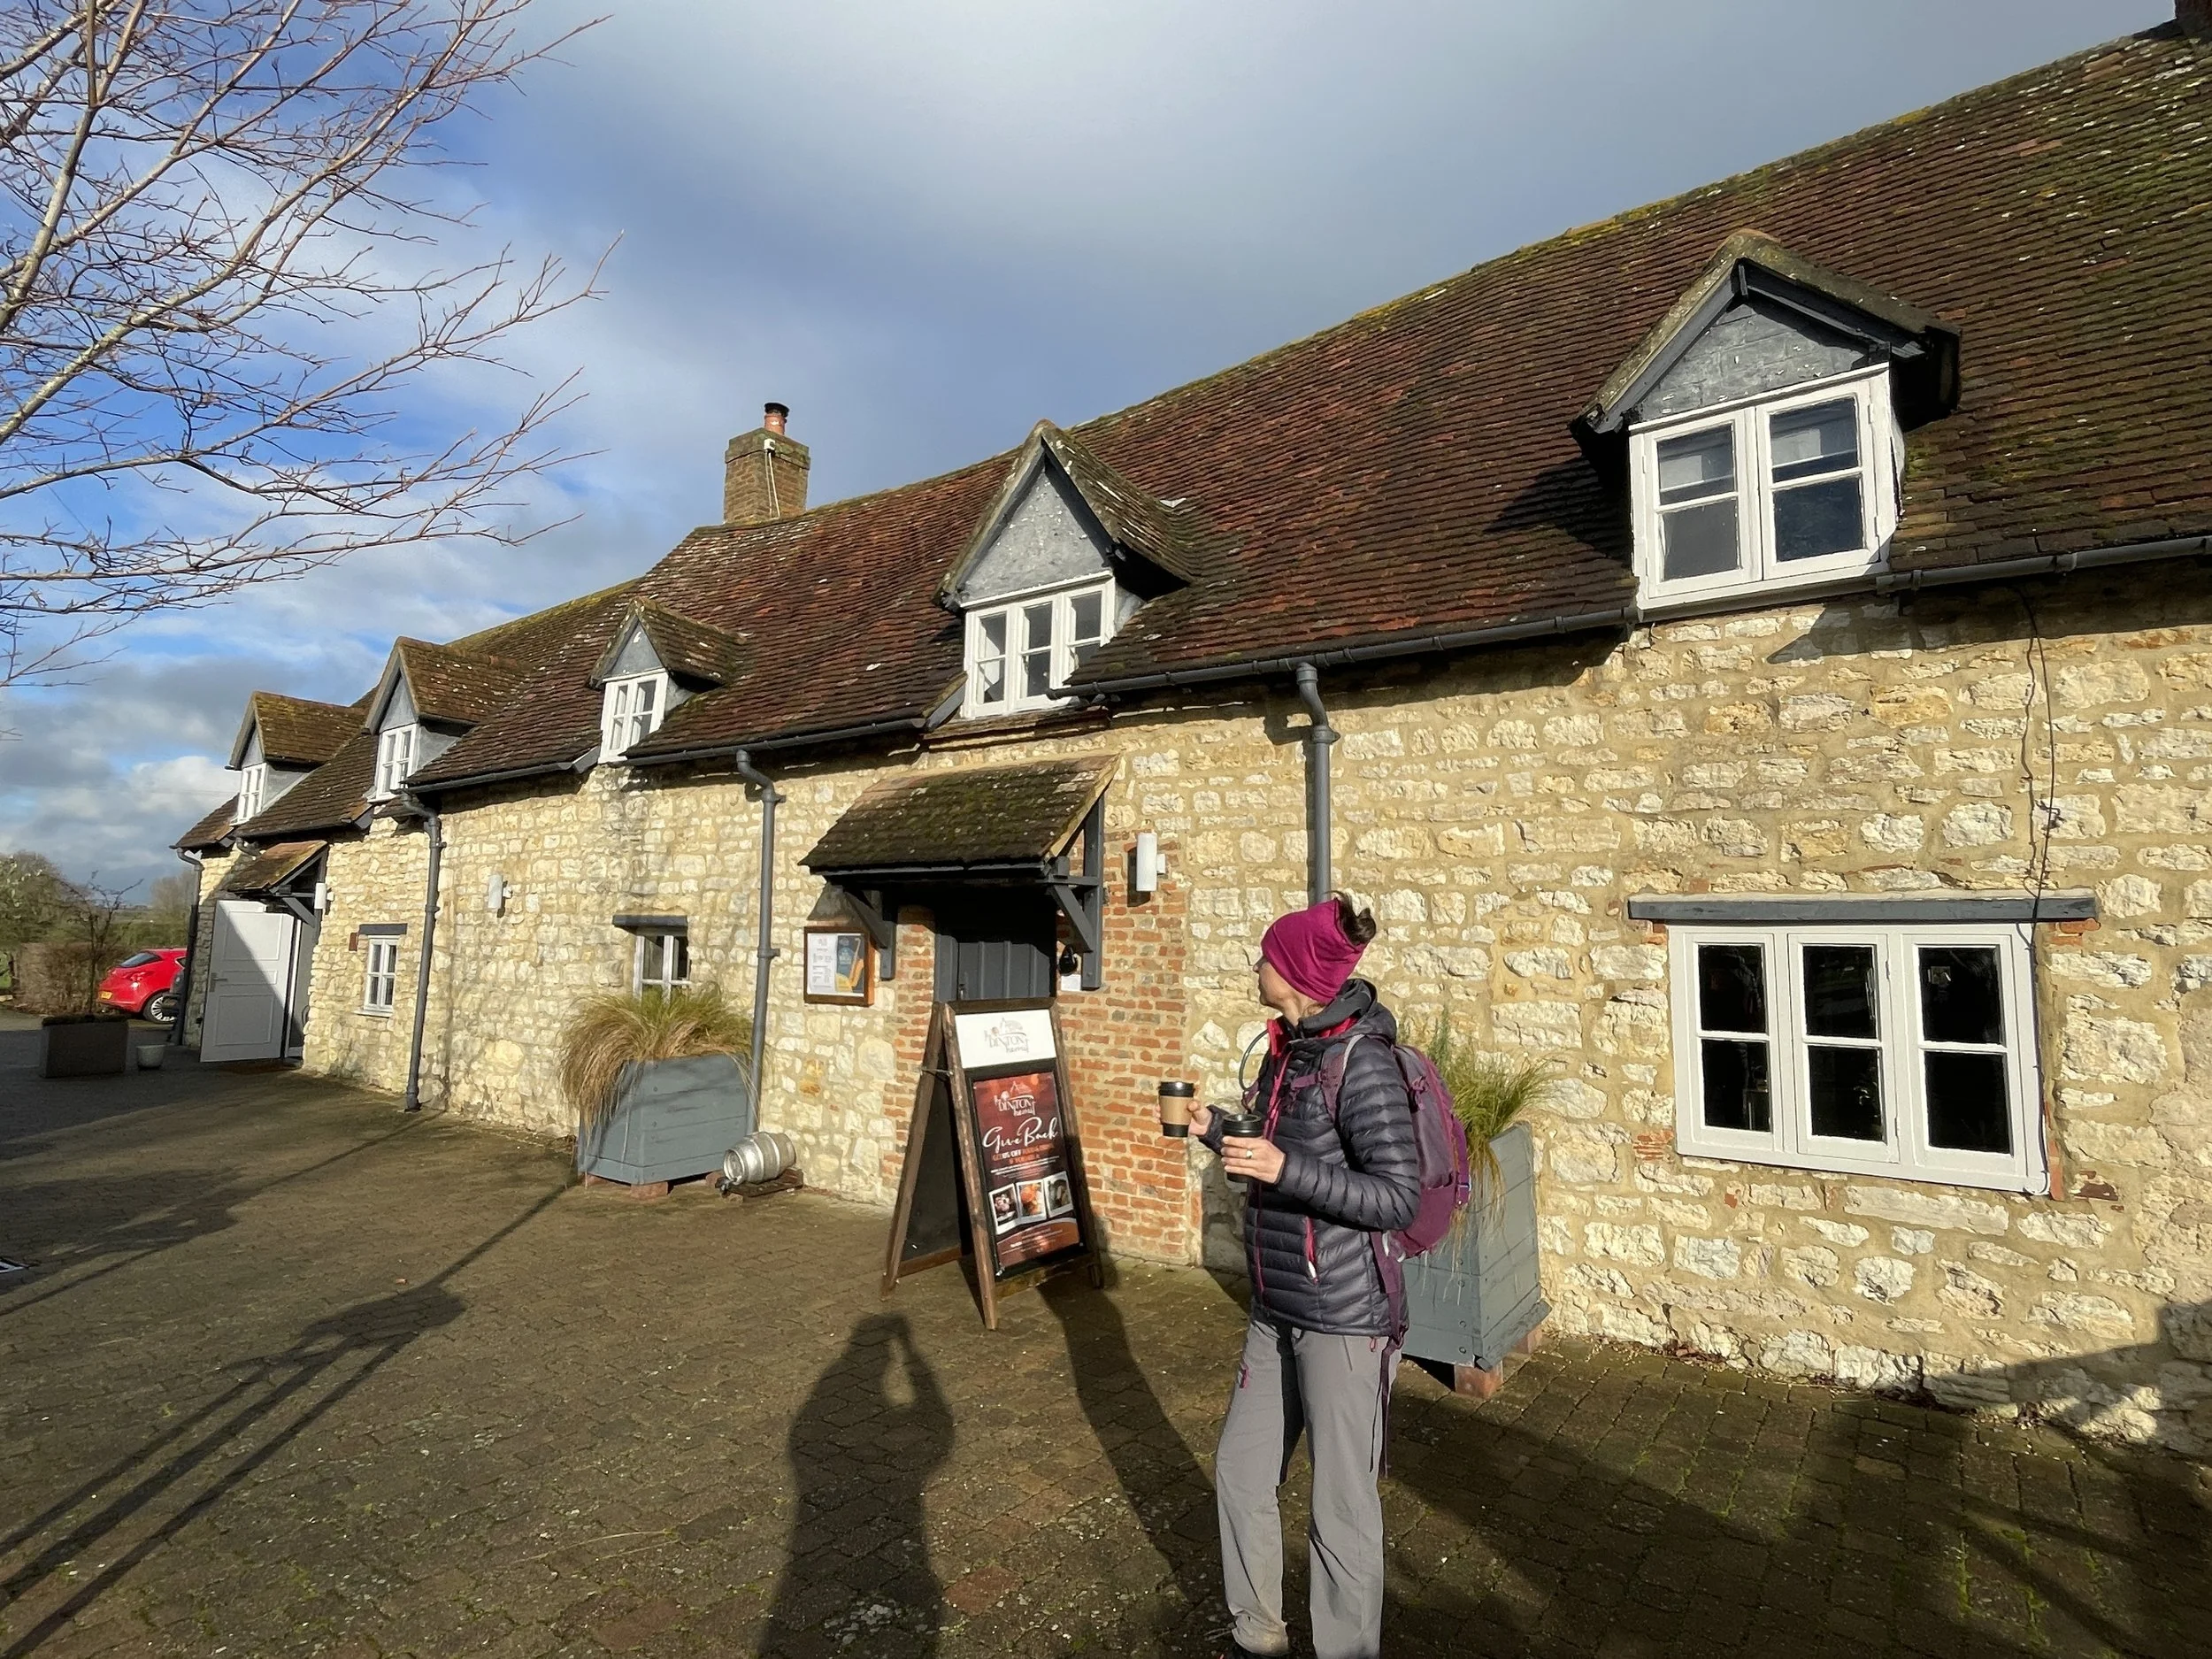
Carefully cross over the Oxford Road and take a left to pass (or stop into) the Bugle Horn Pub.
Follow Sedrup Lane in a south-easterly direction to the outskirts of the small village of Sedrup.
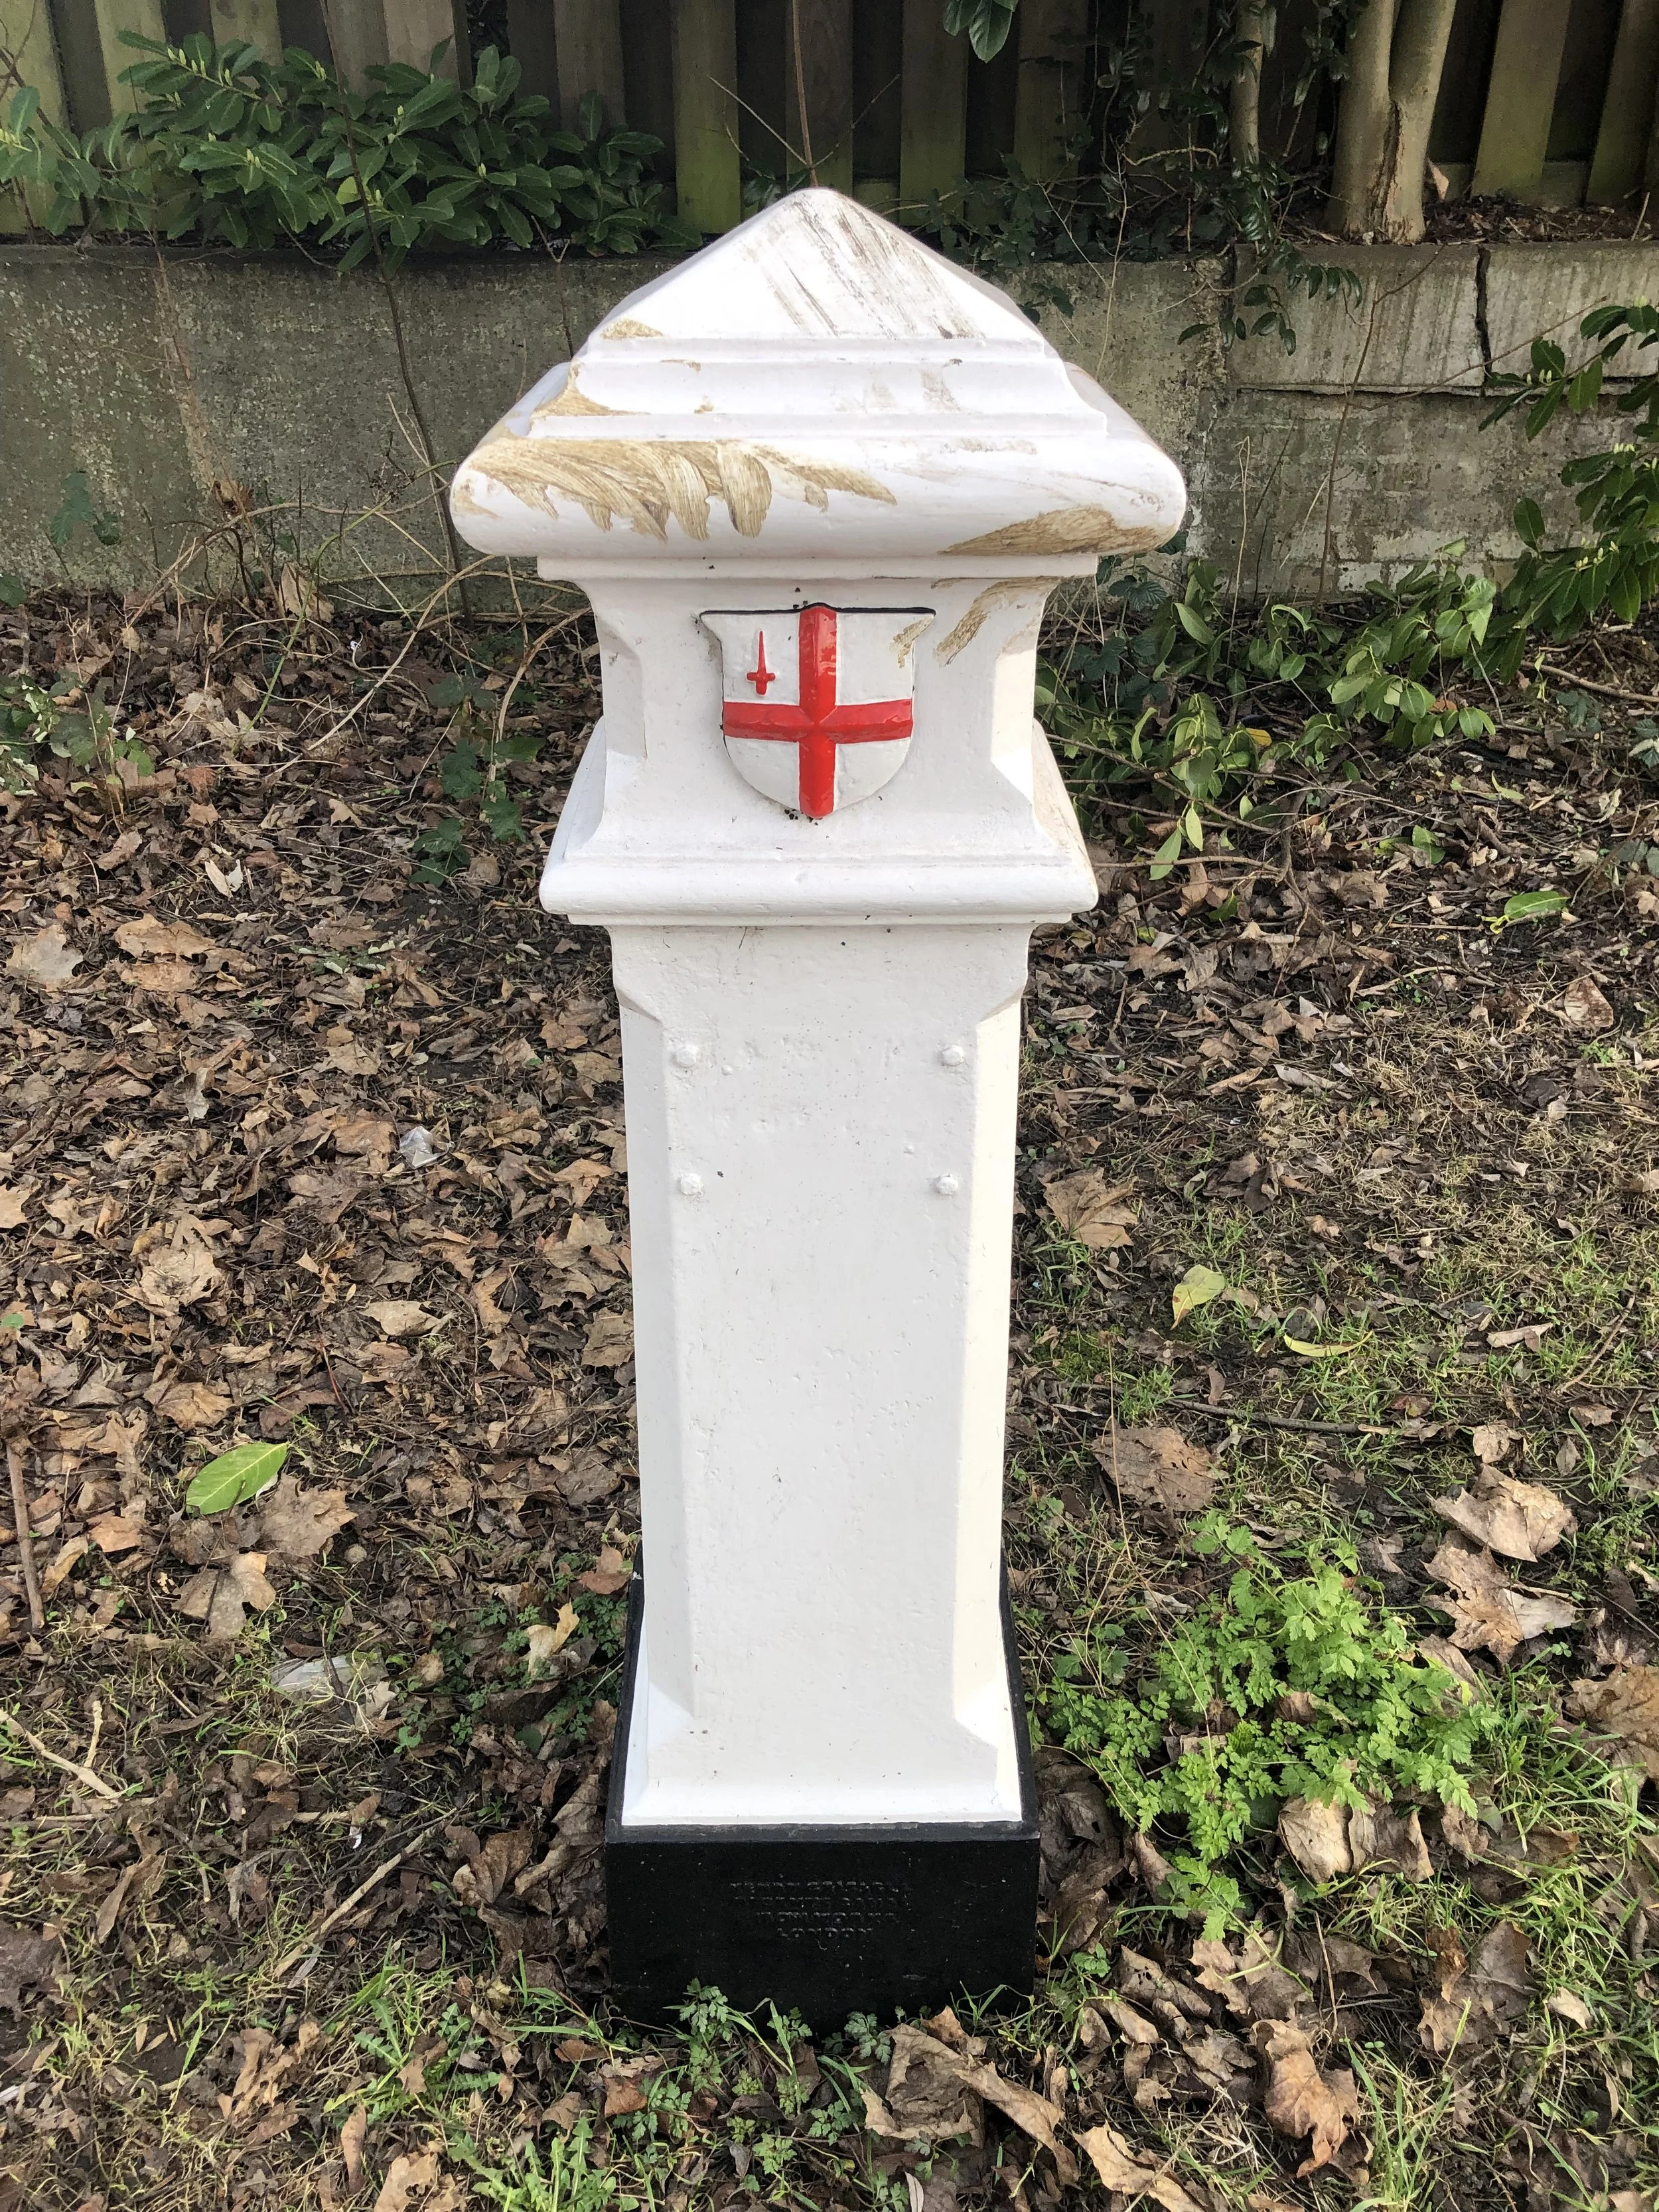
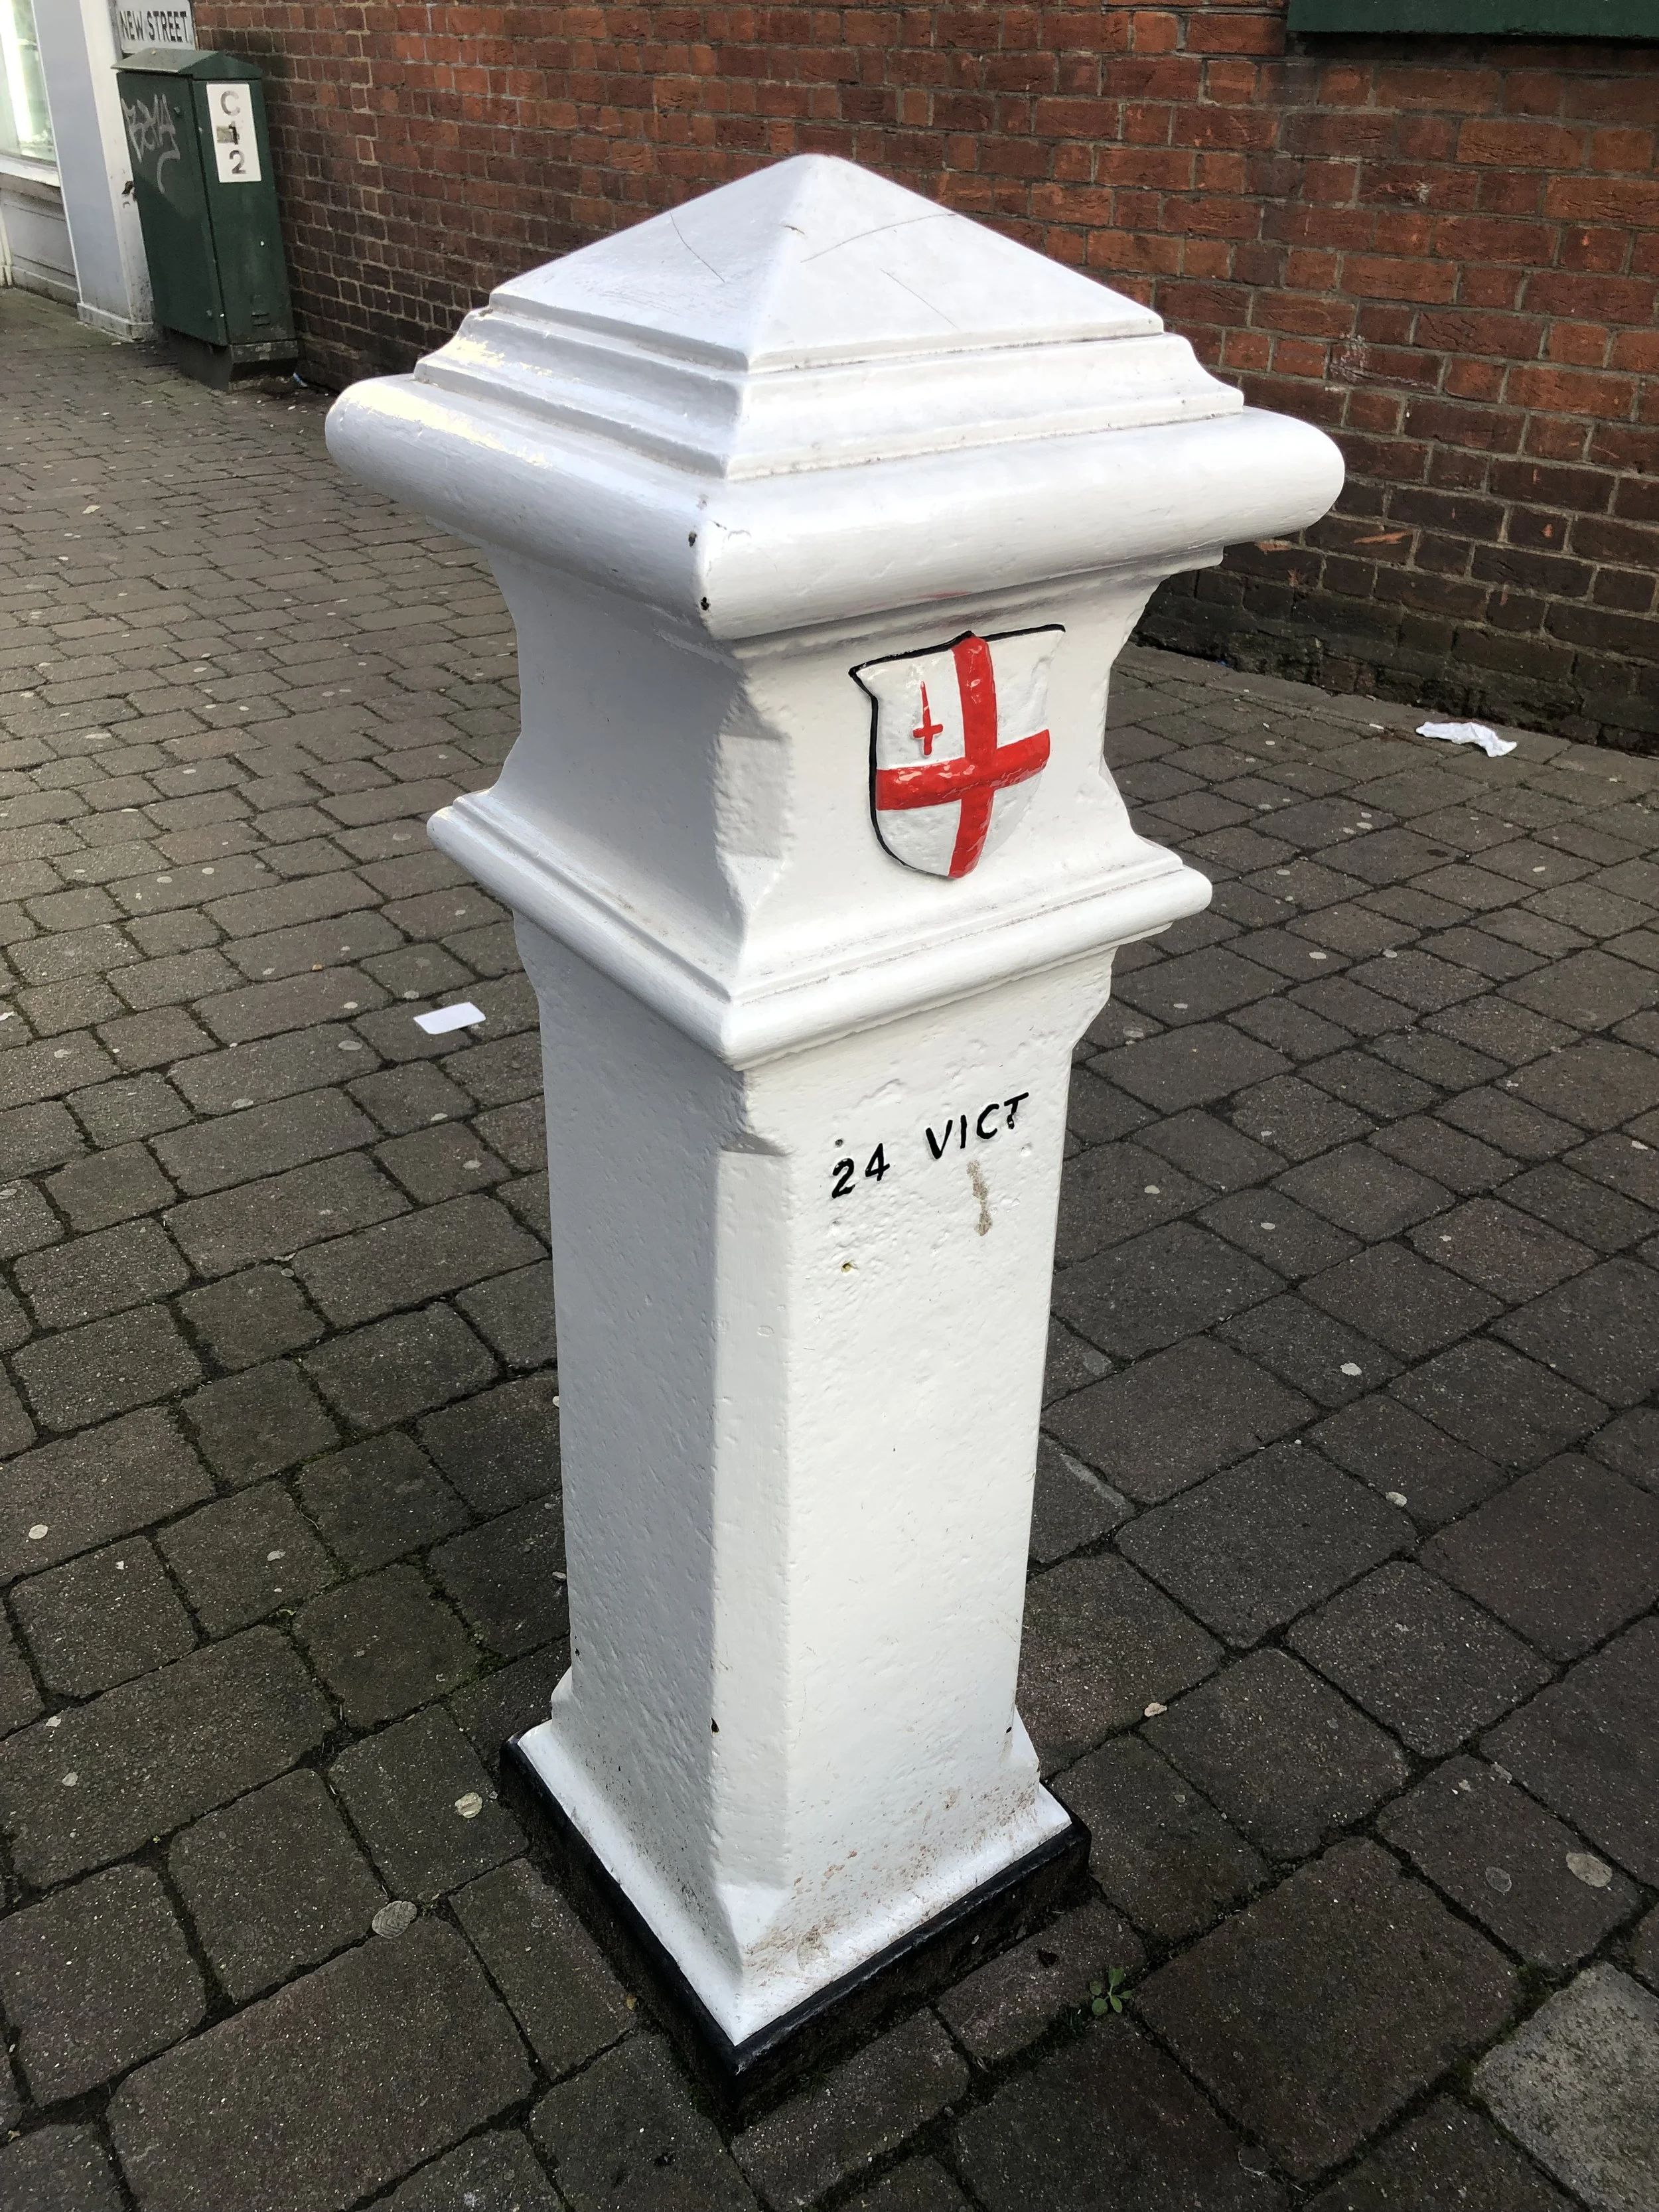
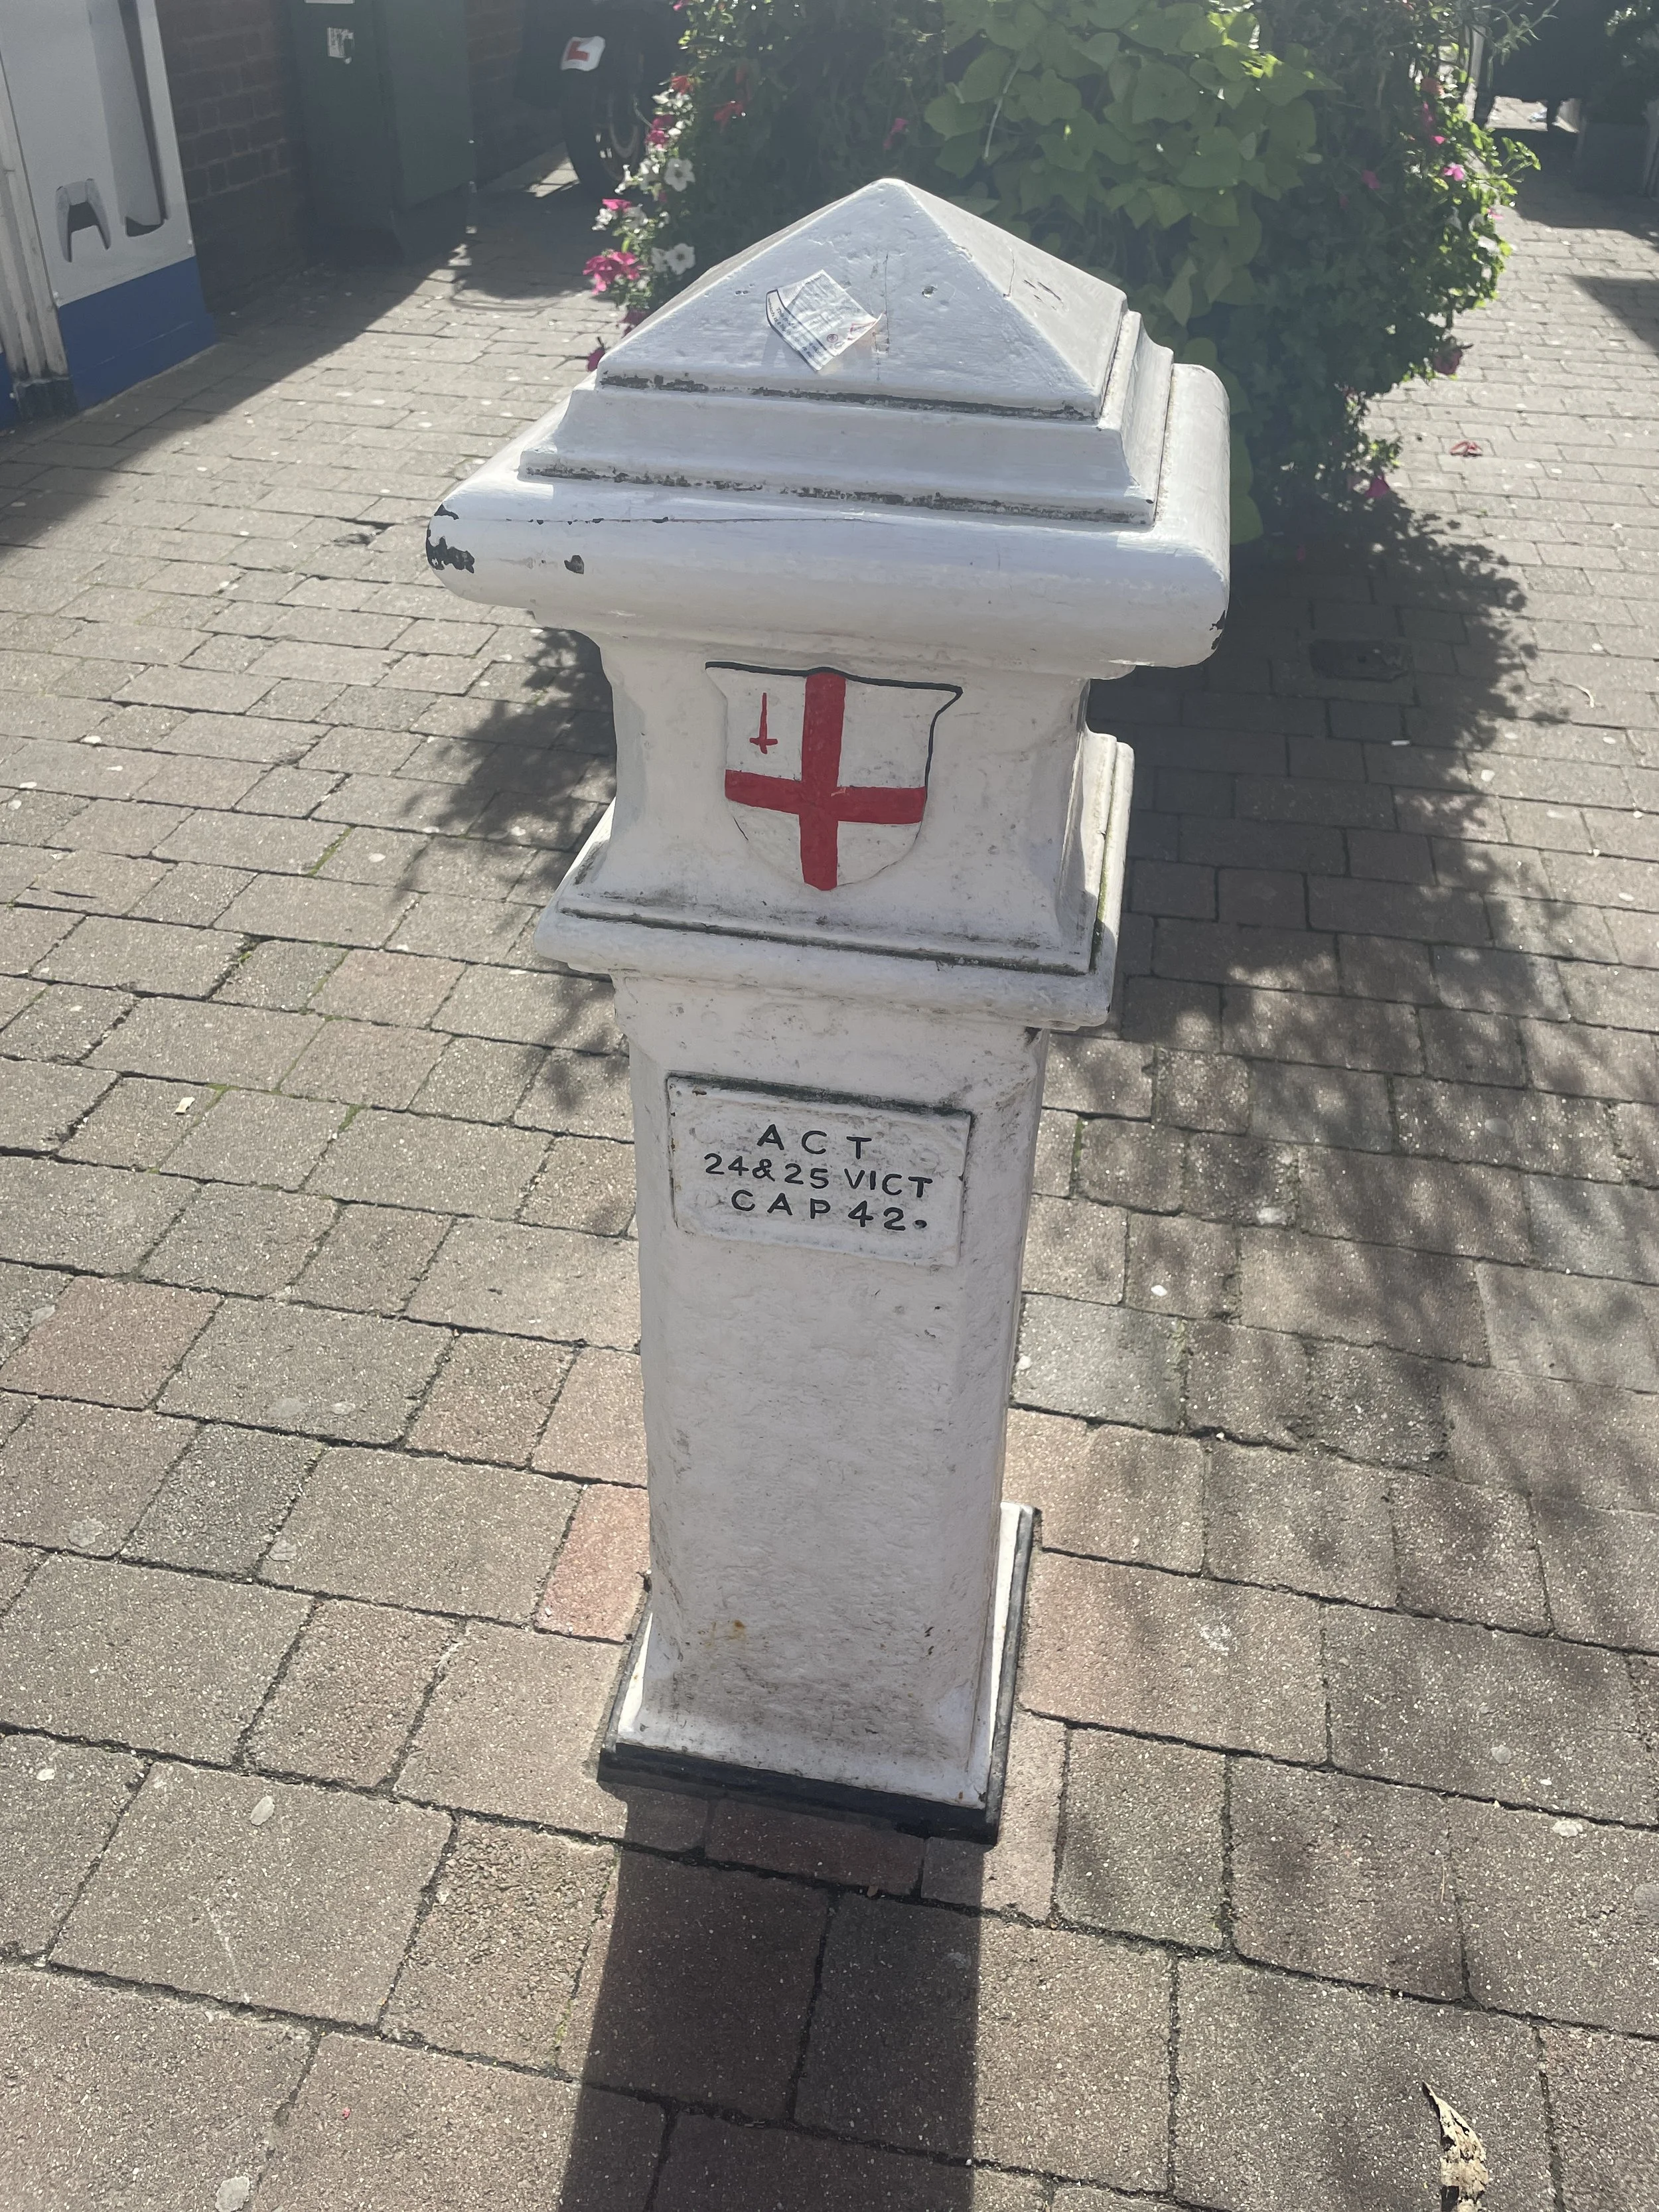
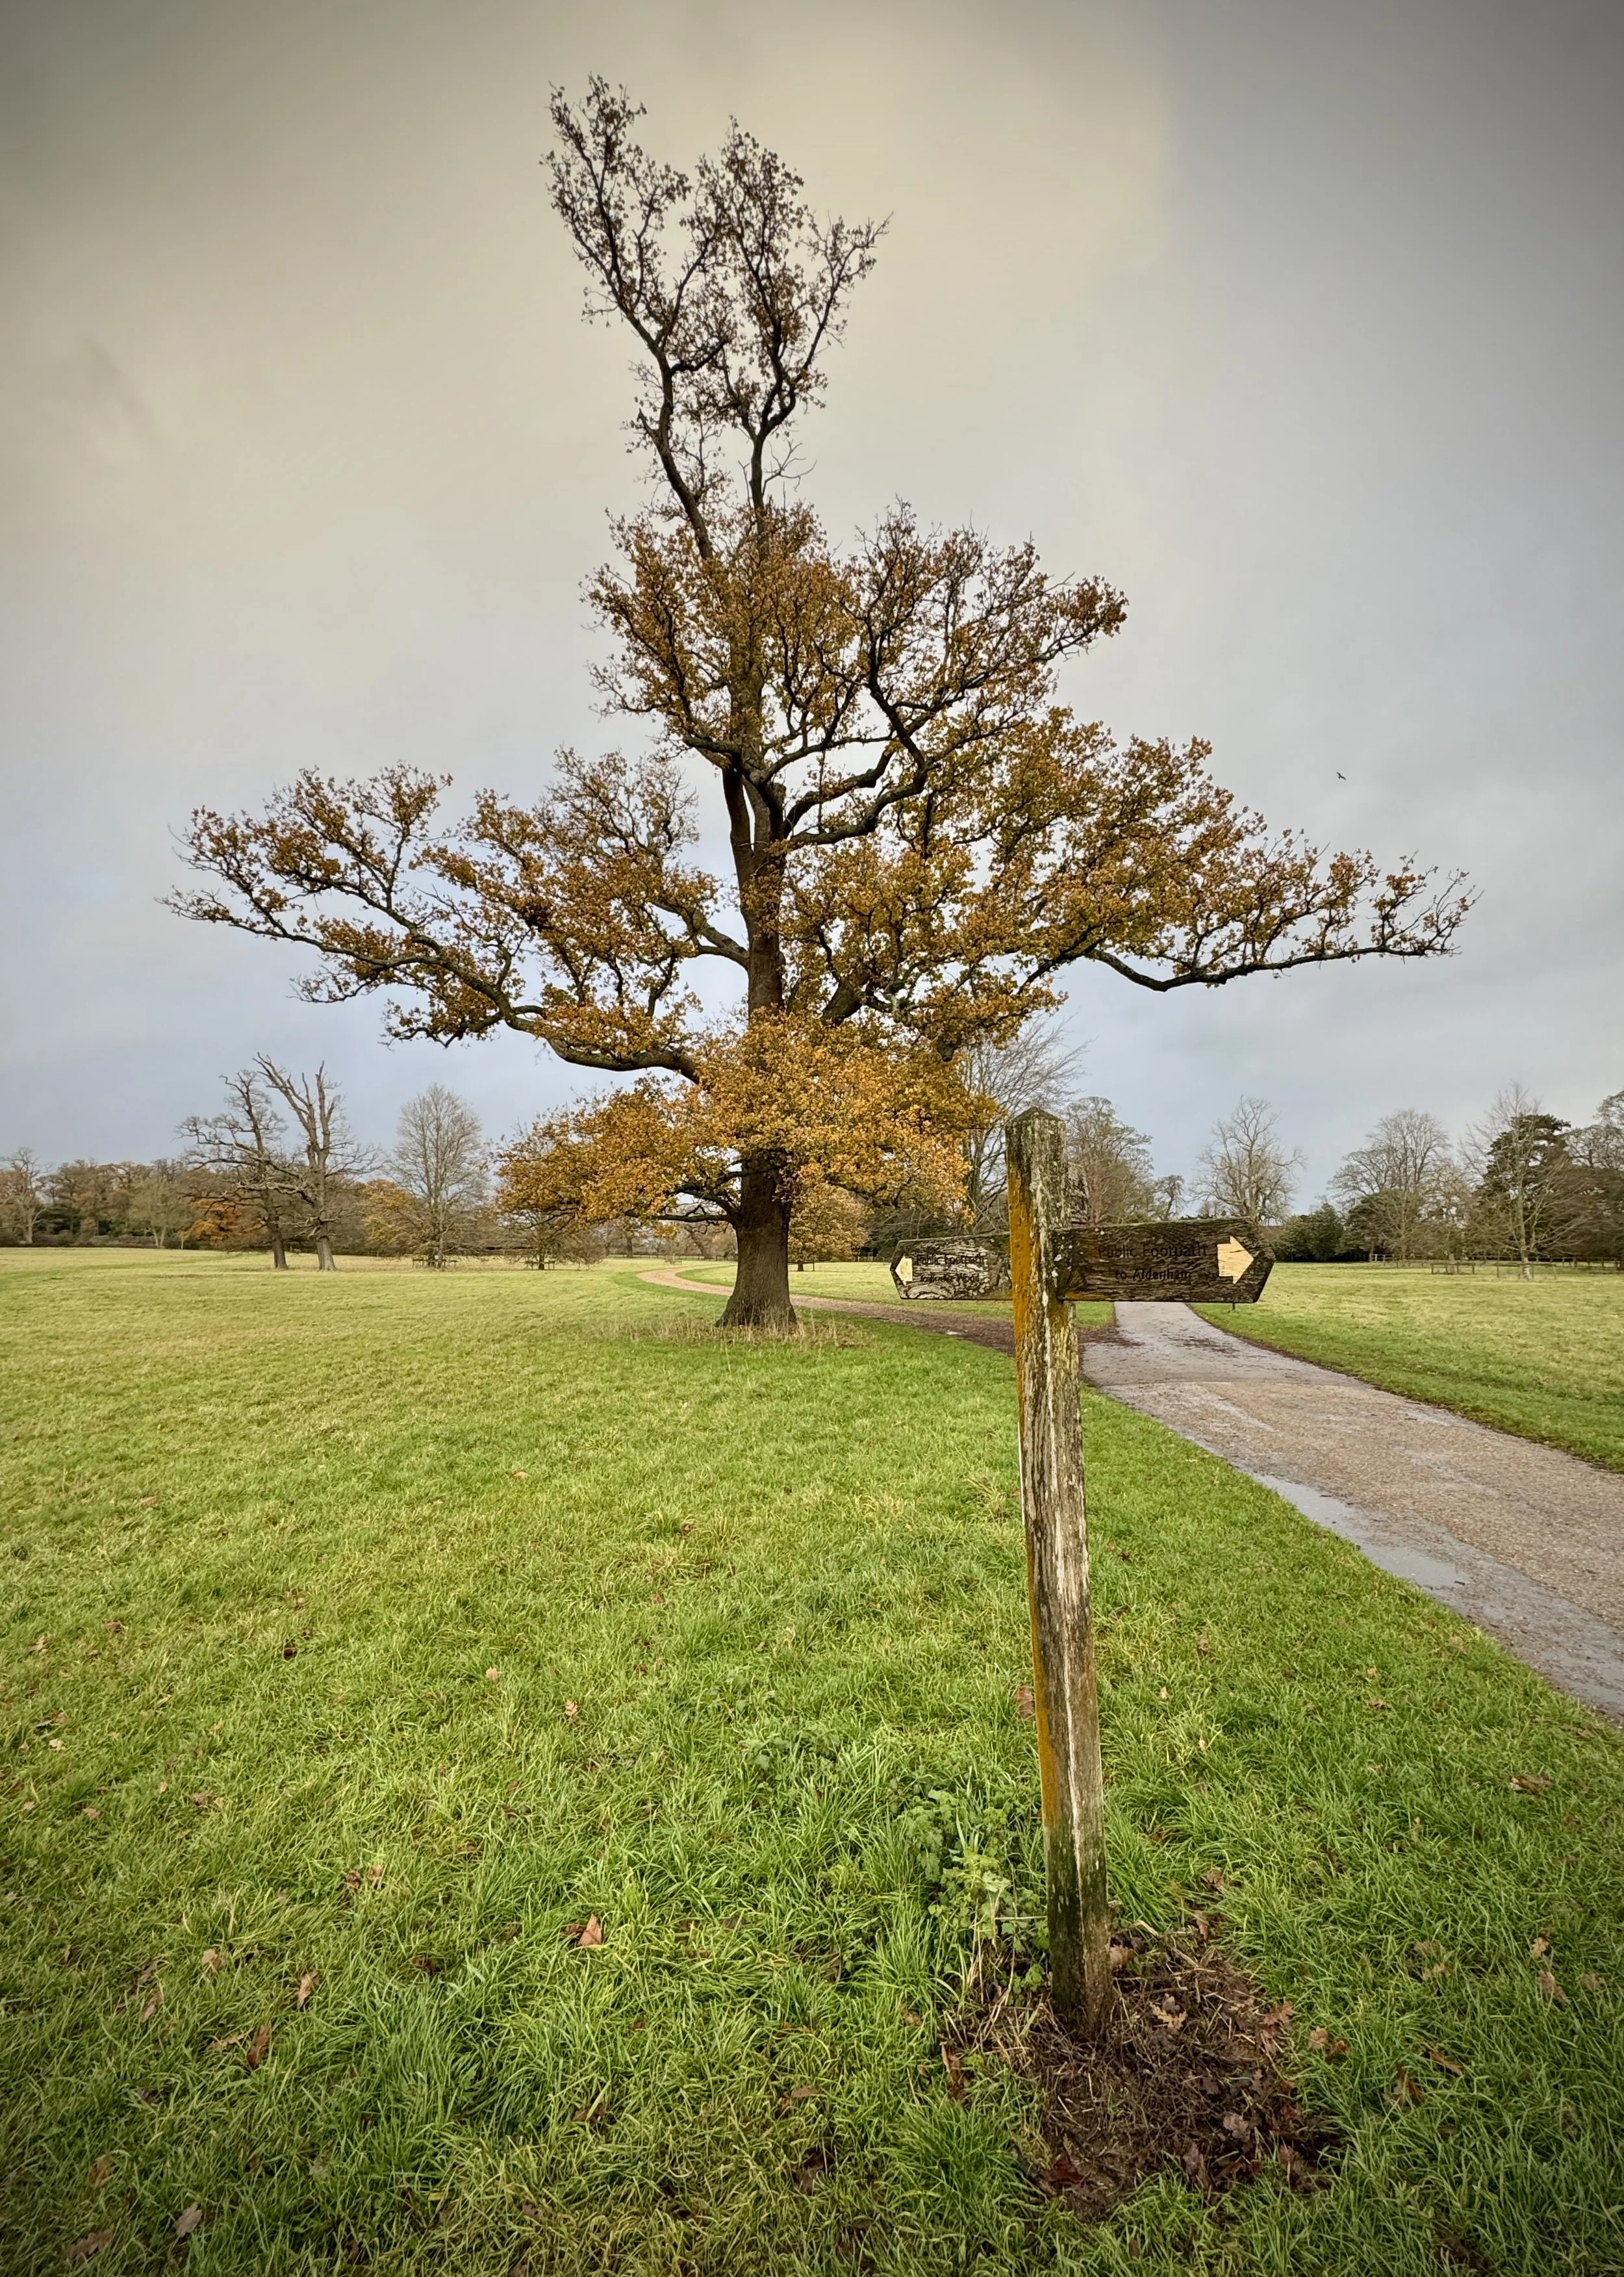
Before the village take a right to leave the North Bucks Way and follow a path across fields that leads onto Bishopstone Road.
Take a right onto Bishopstone Road and walk along the grass verge in a north-westerly direction all the way back to the Oxford Road at Stone.
Take a right onto the Oxford Road to return back to the Village Hall.
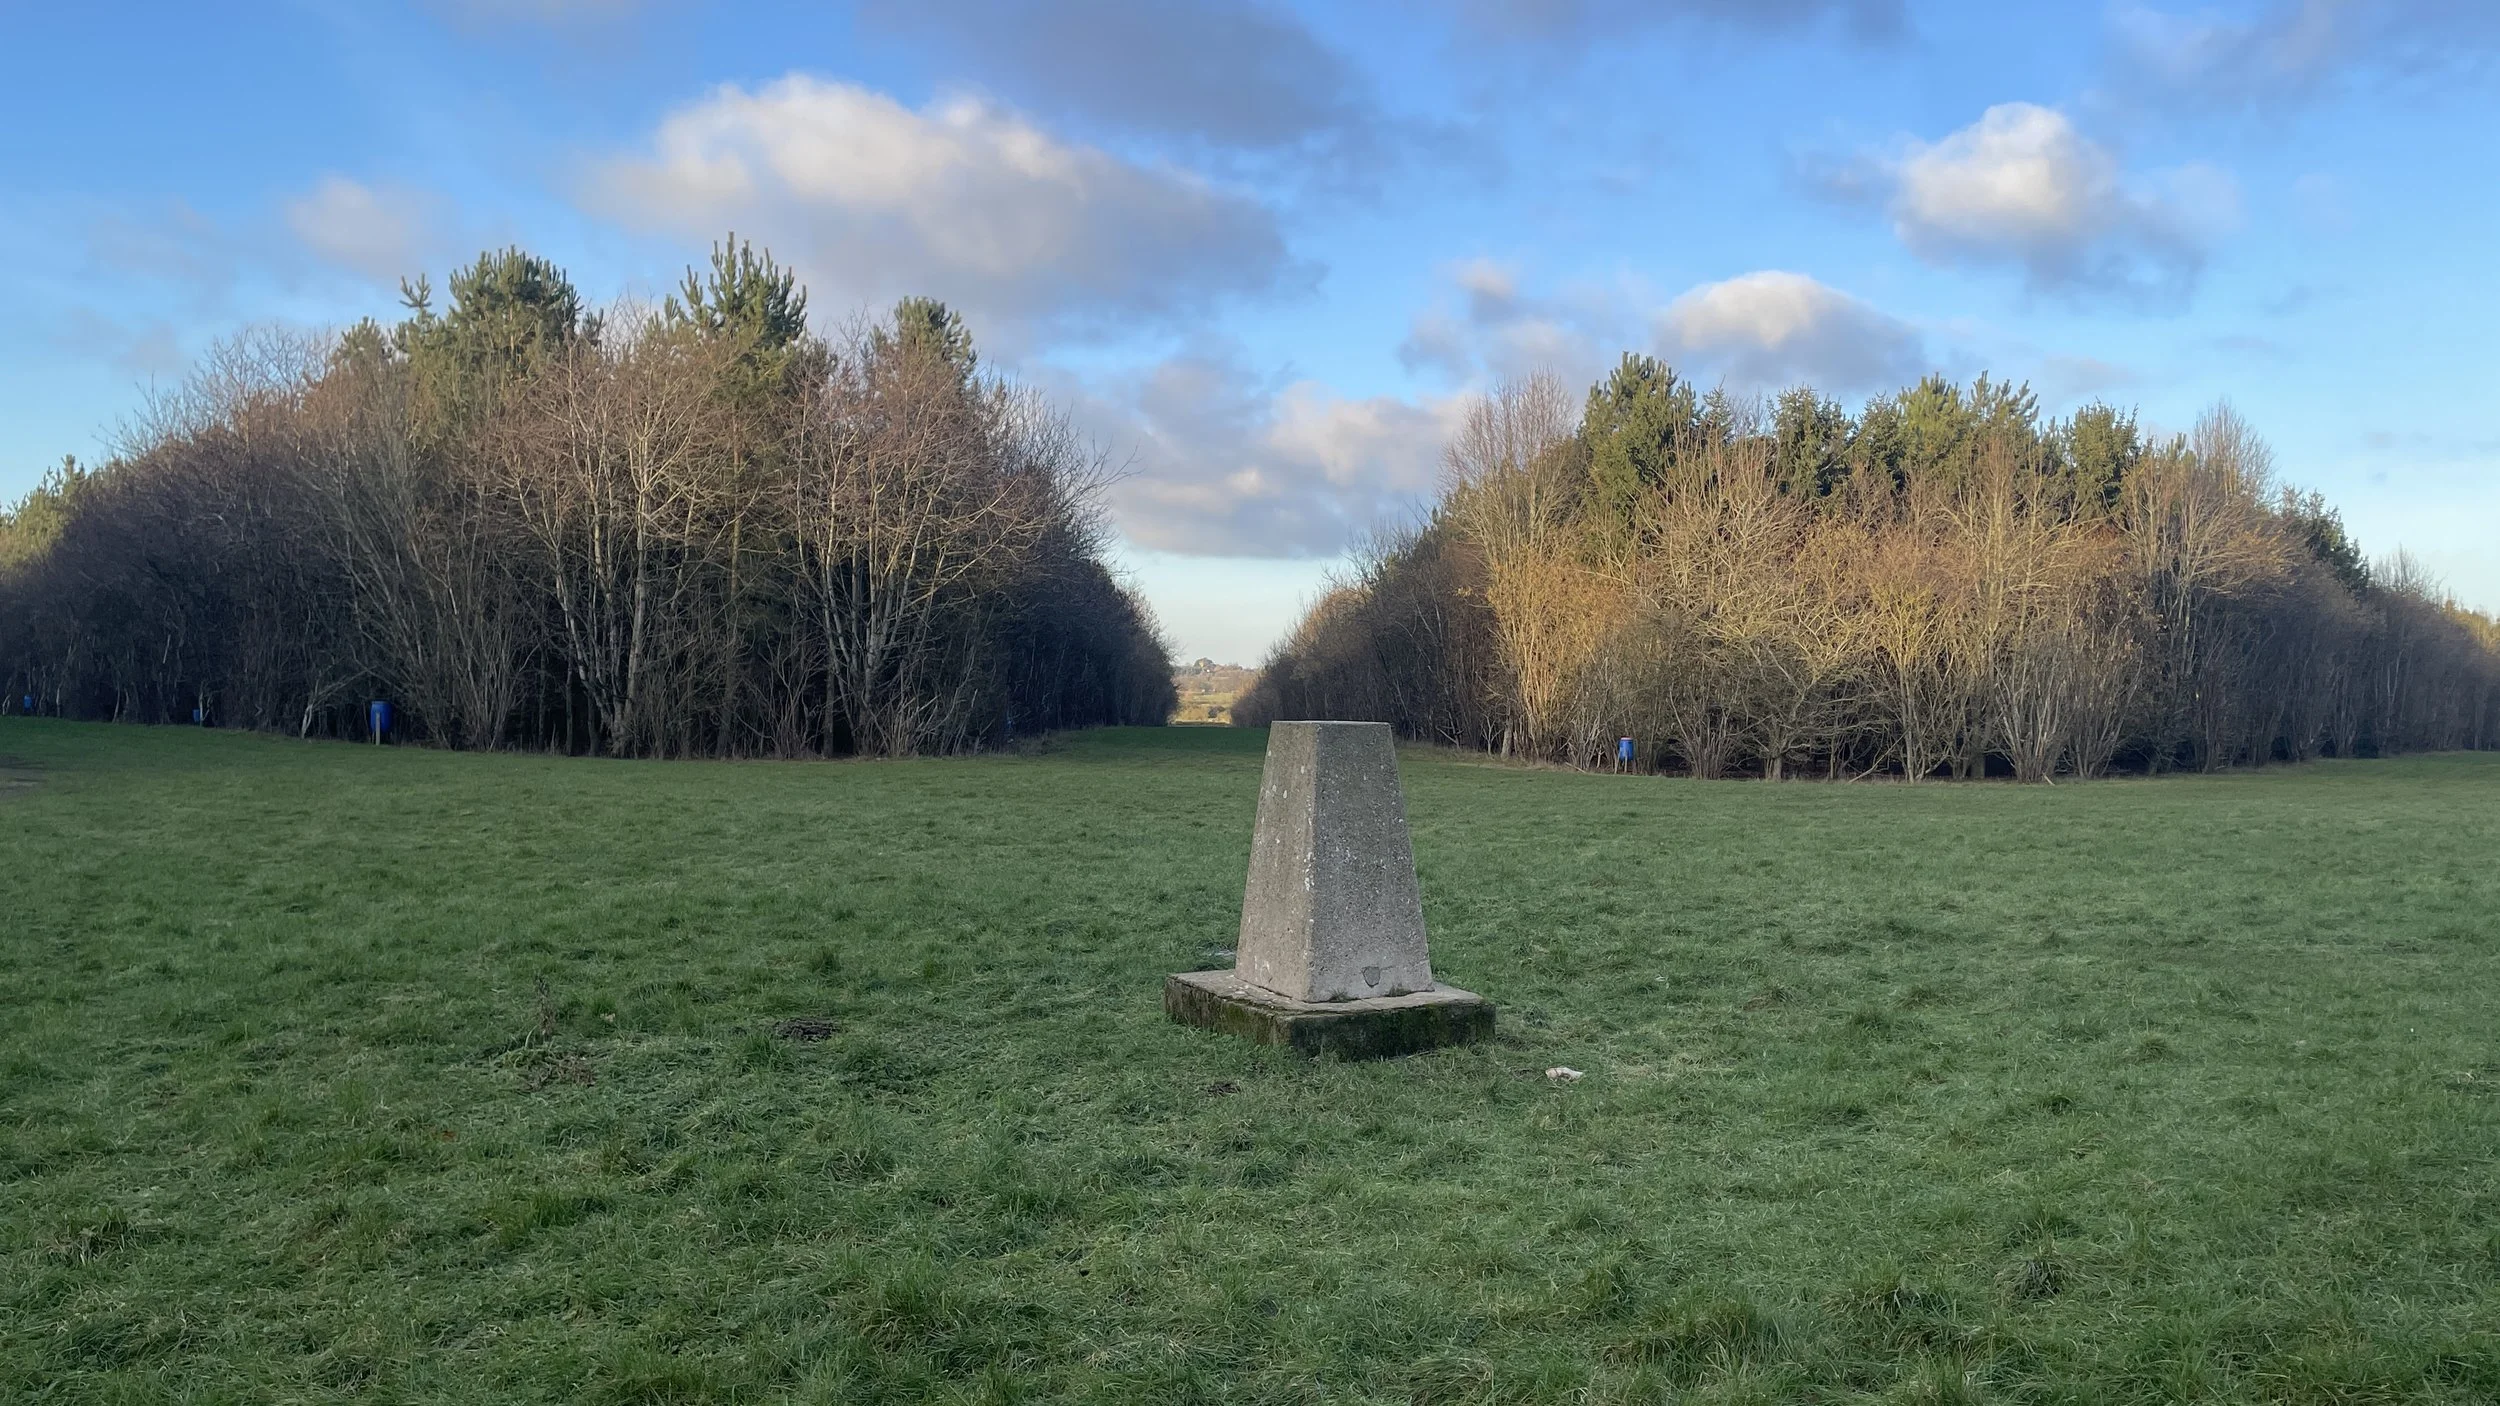
Points of Interest along or near to the Route
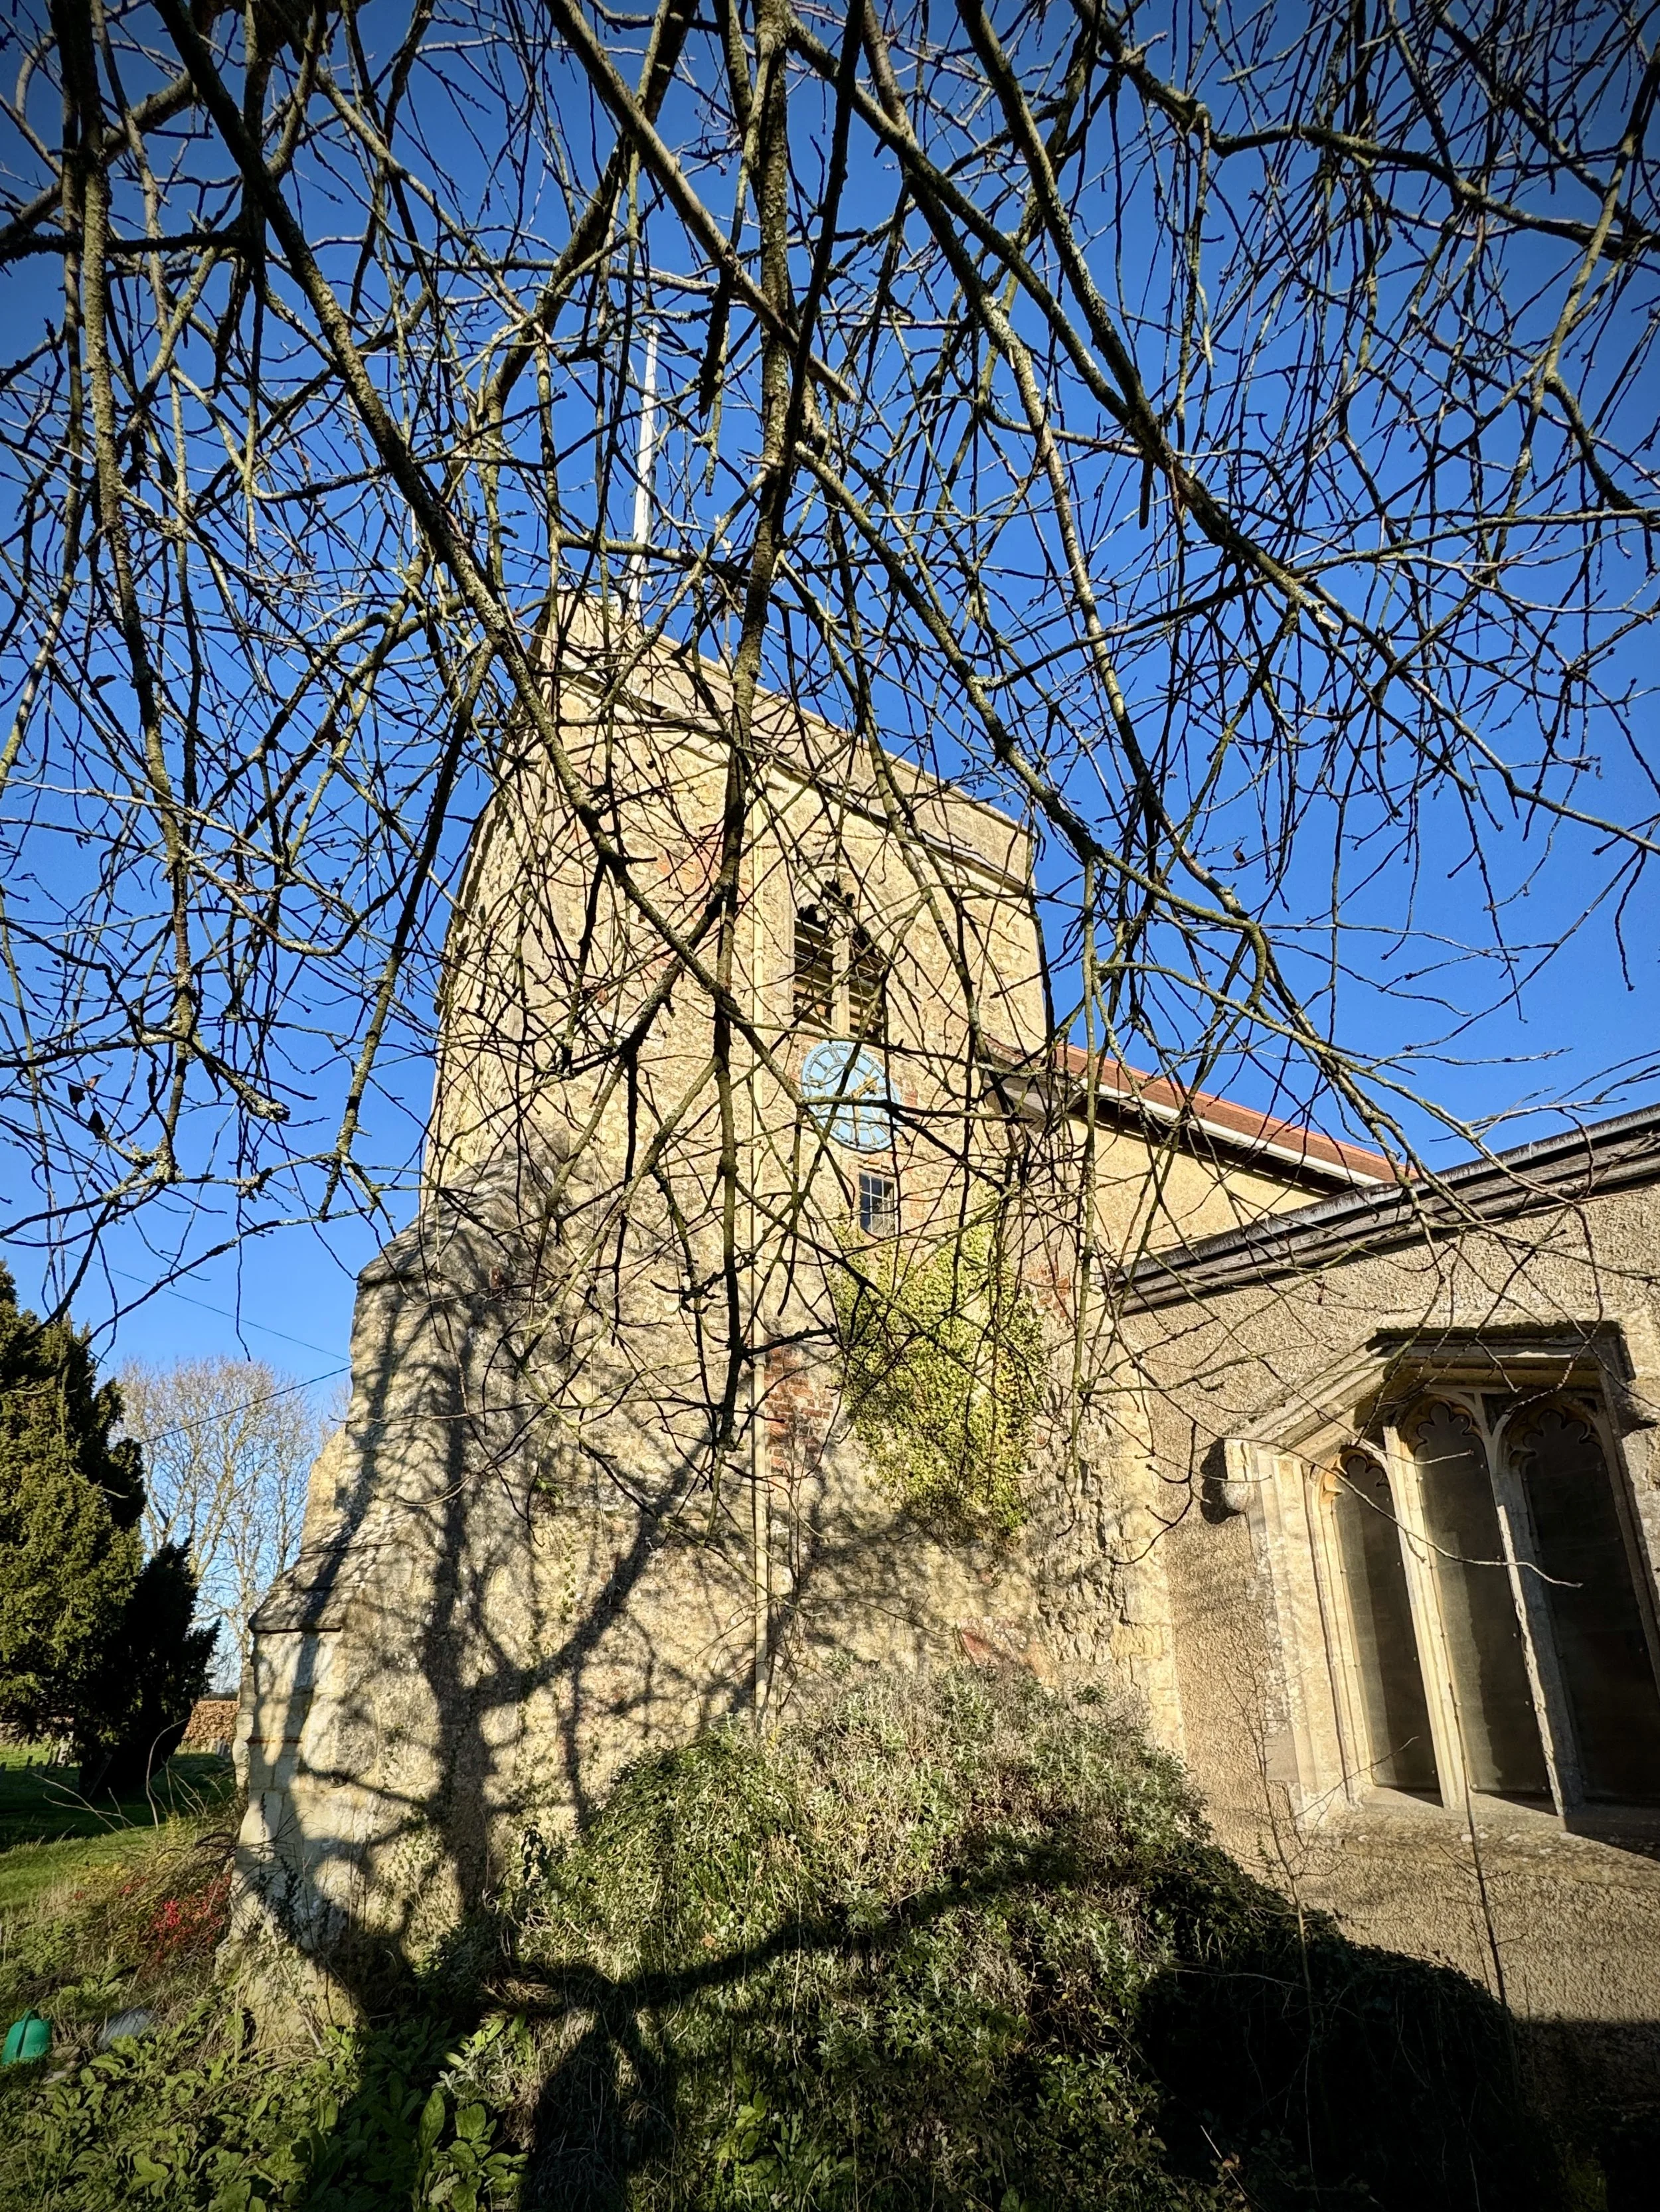
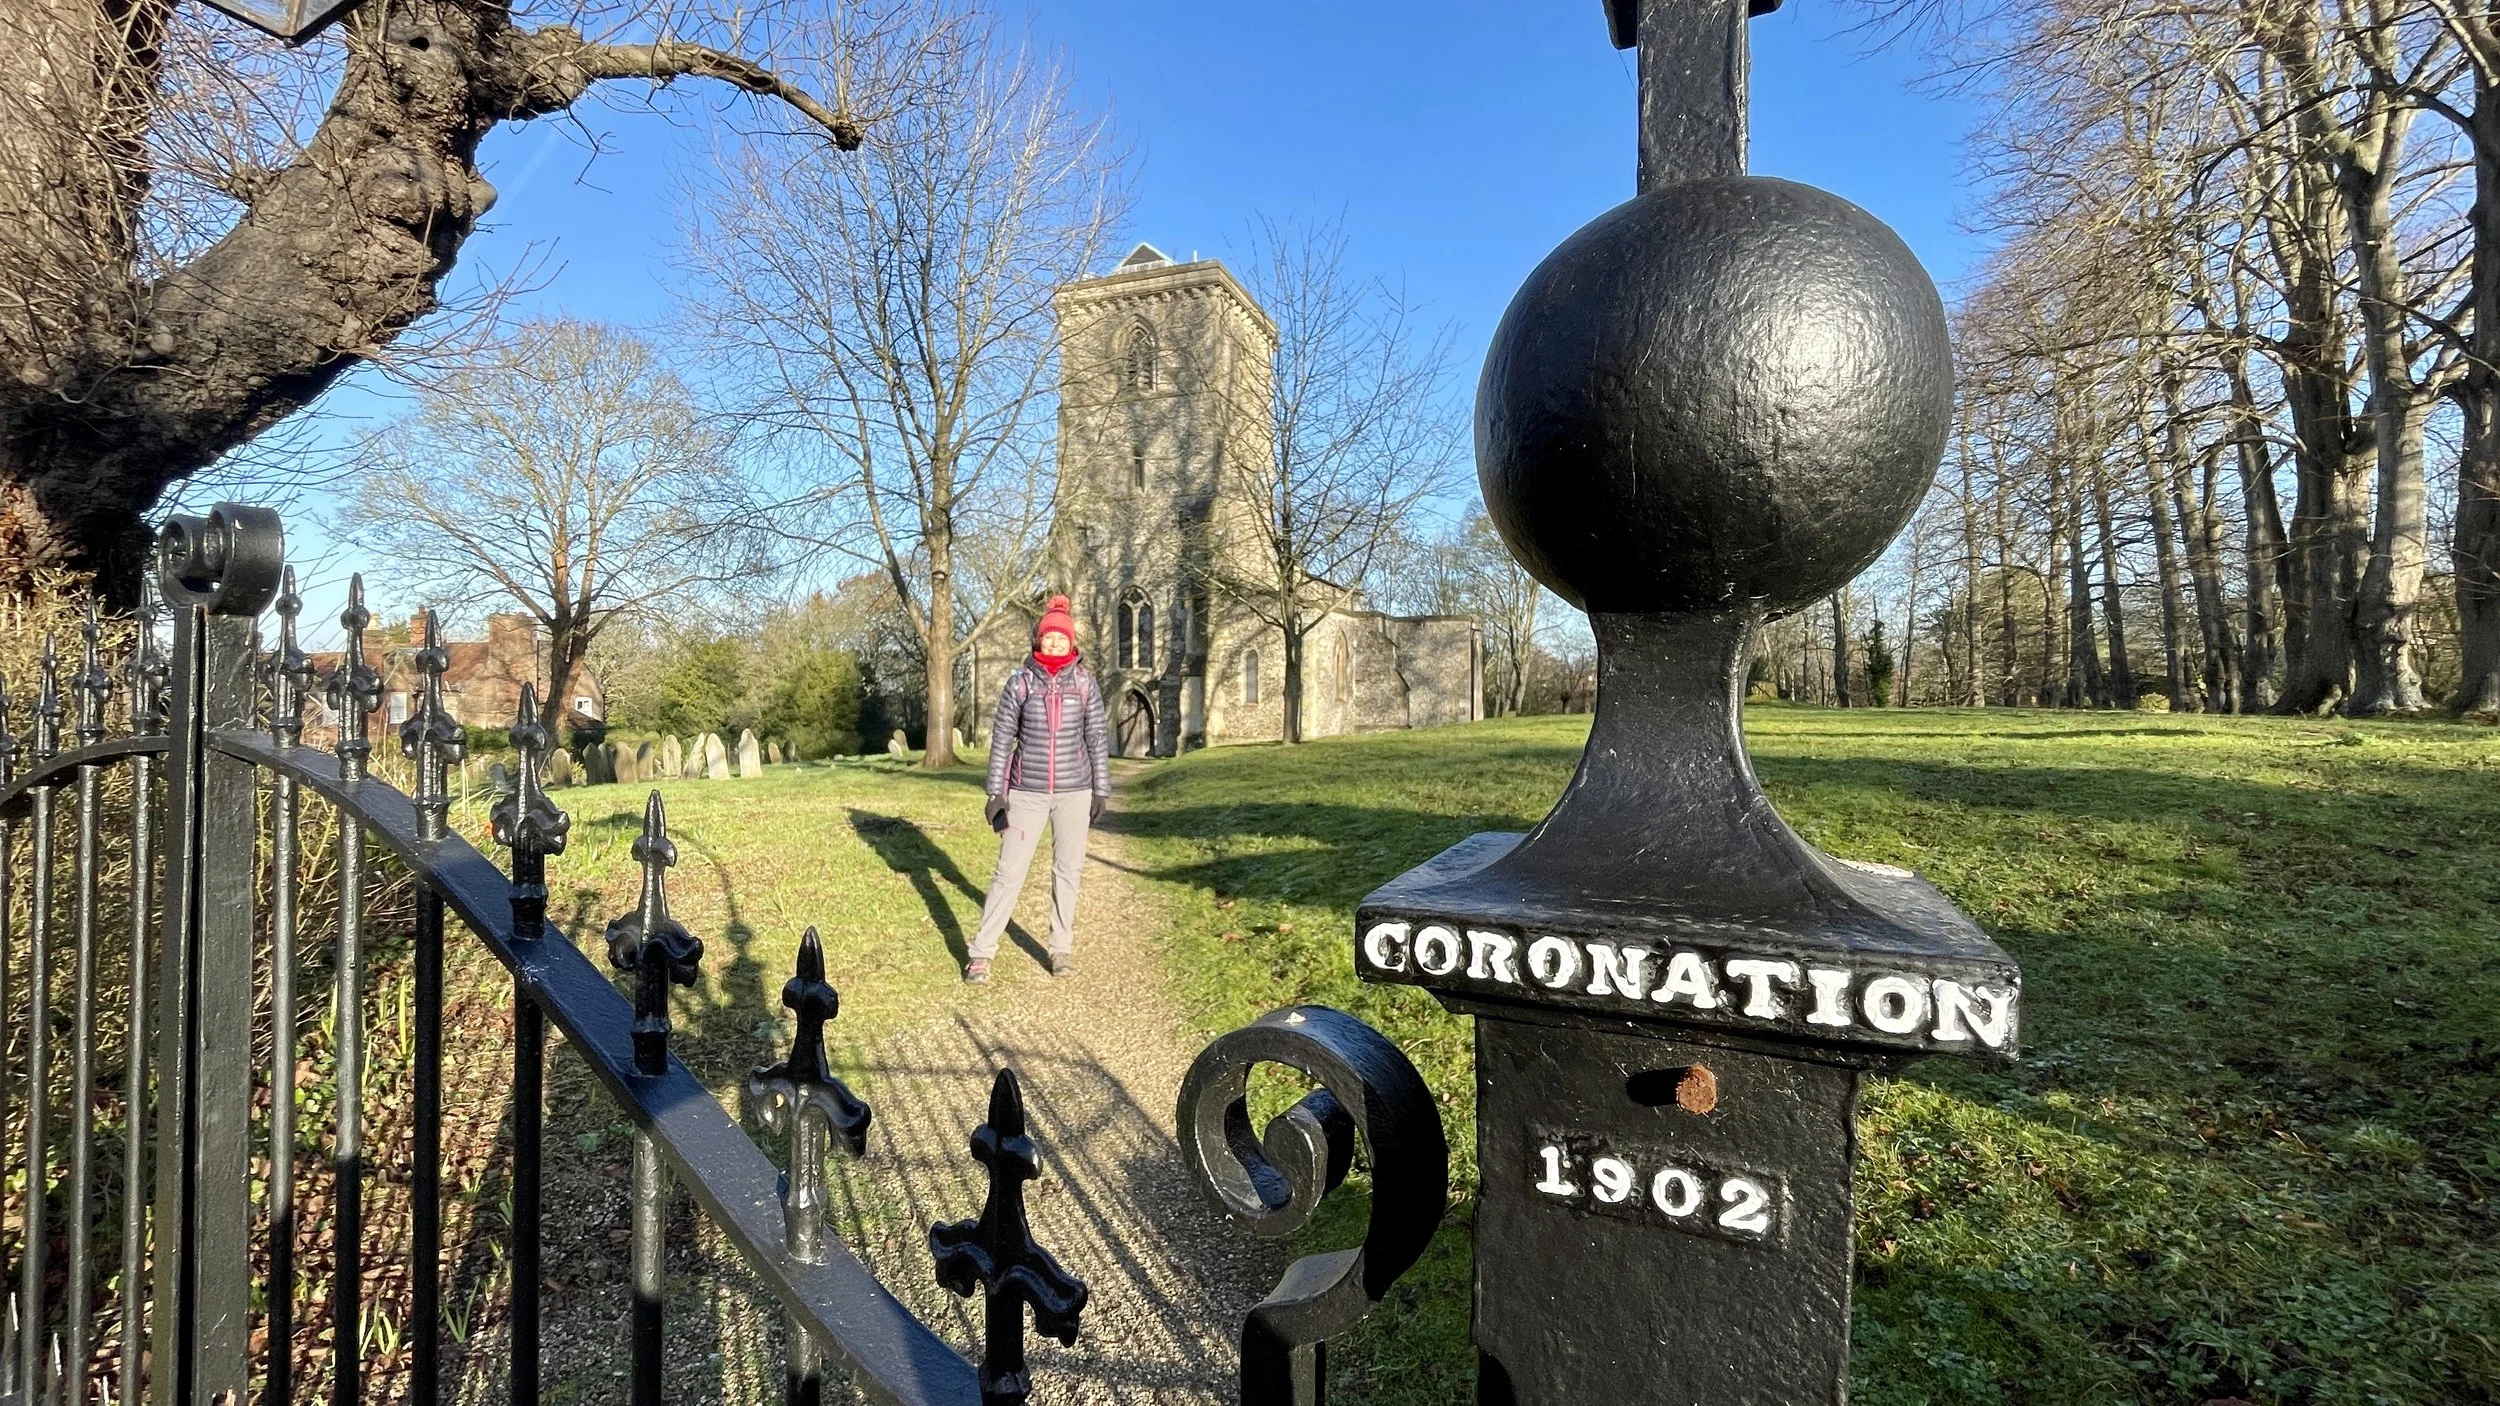
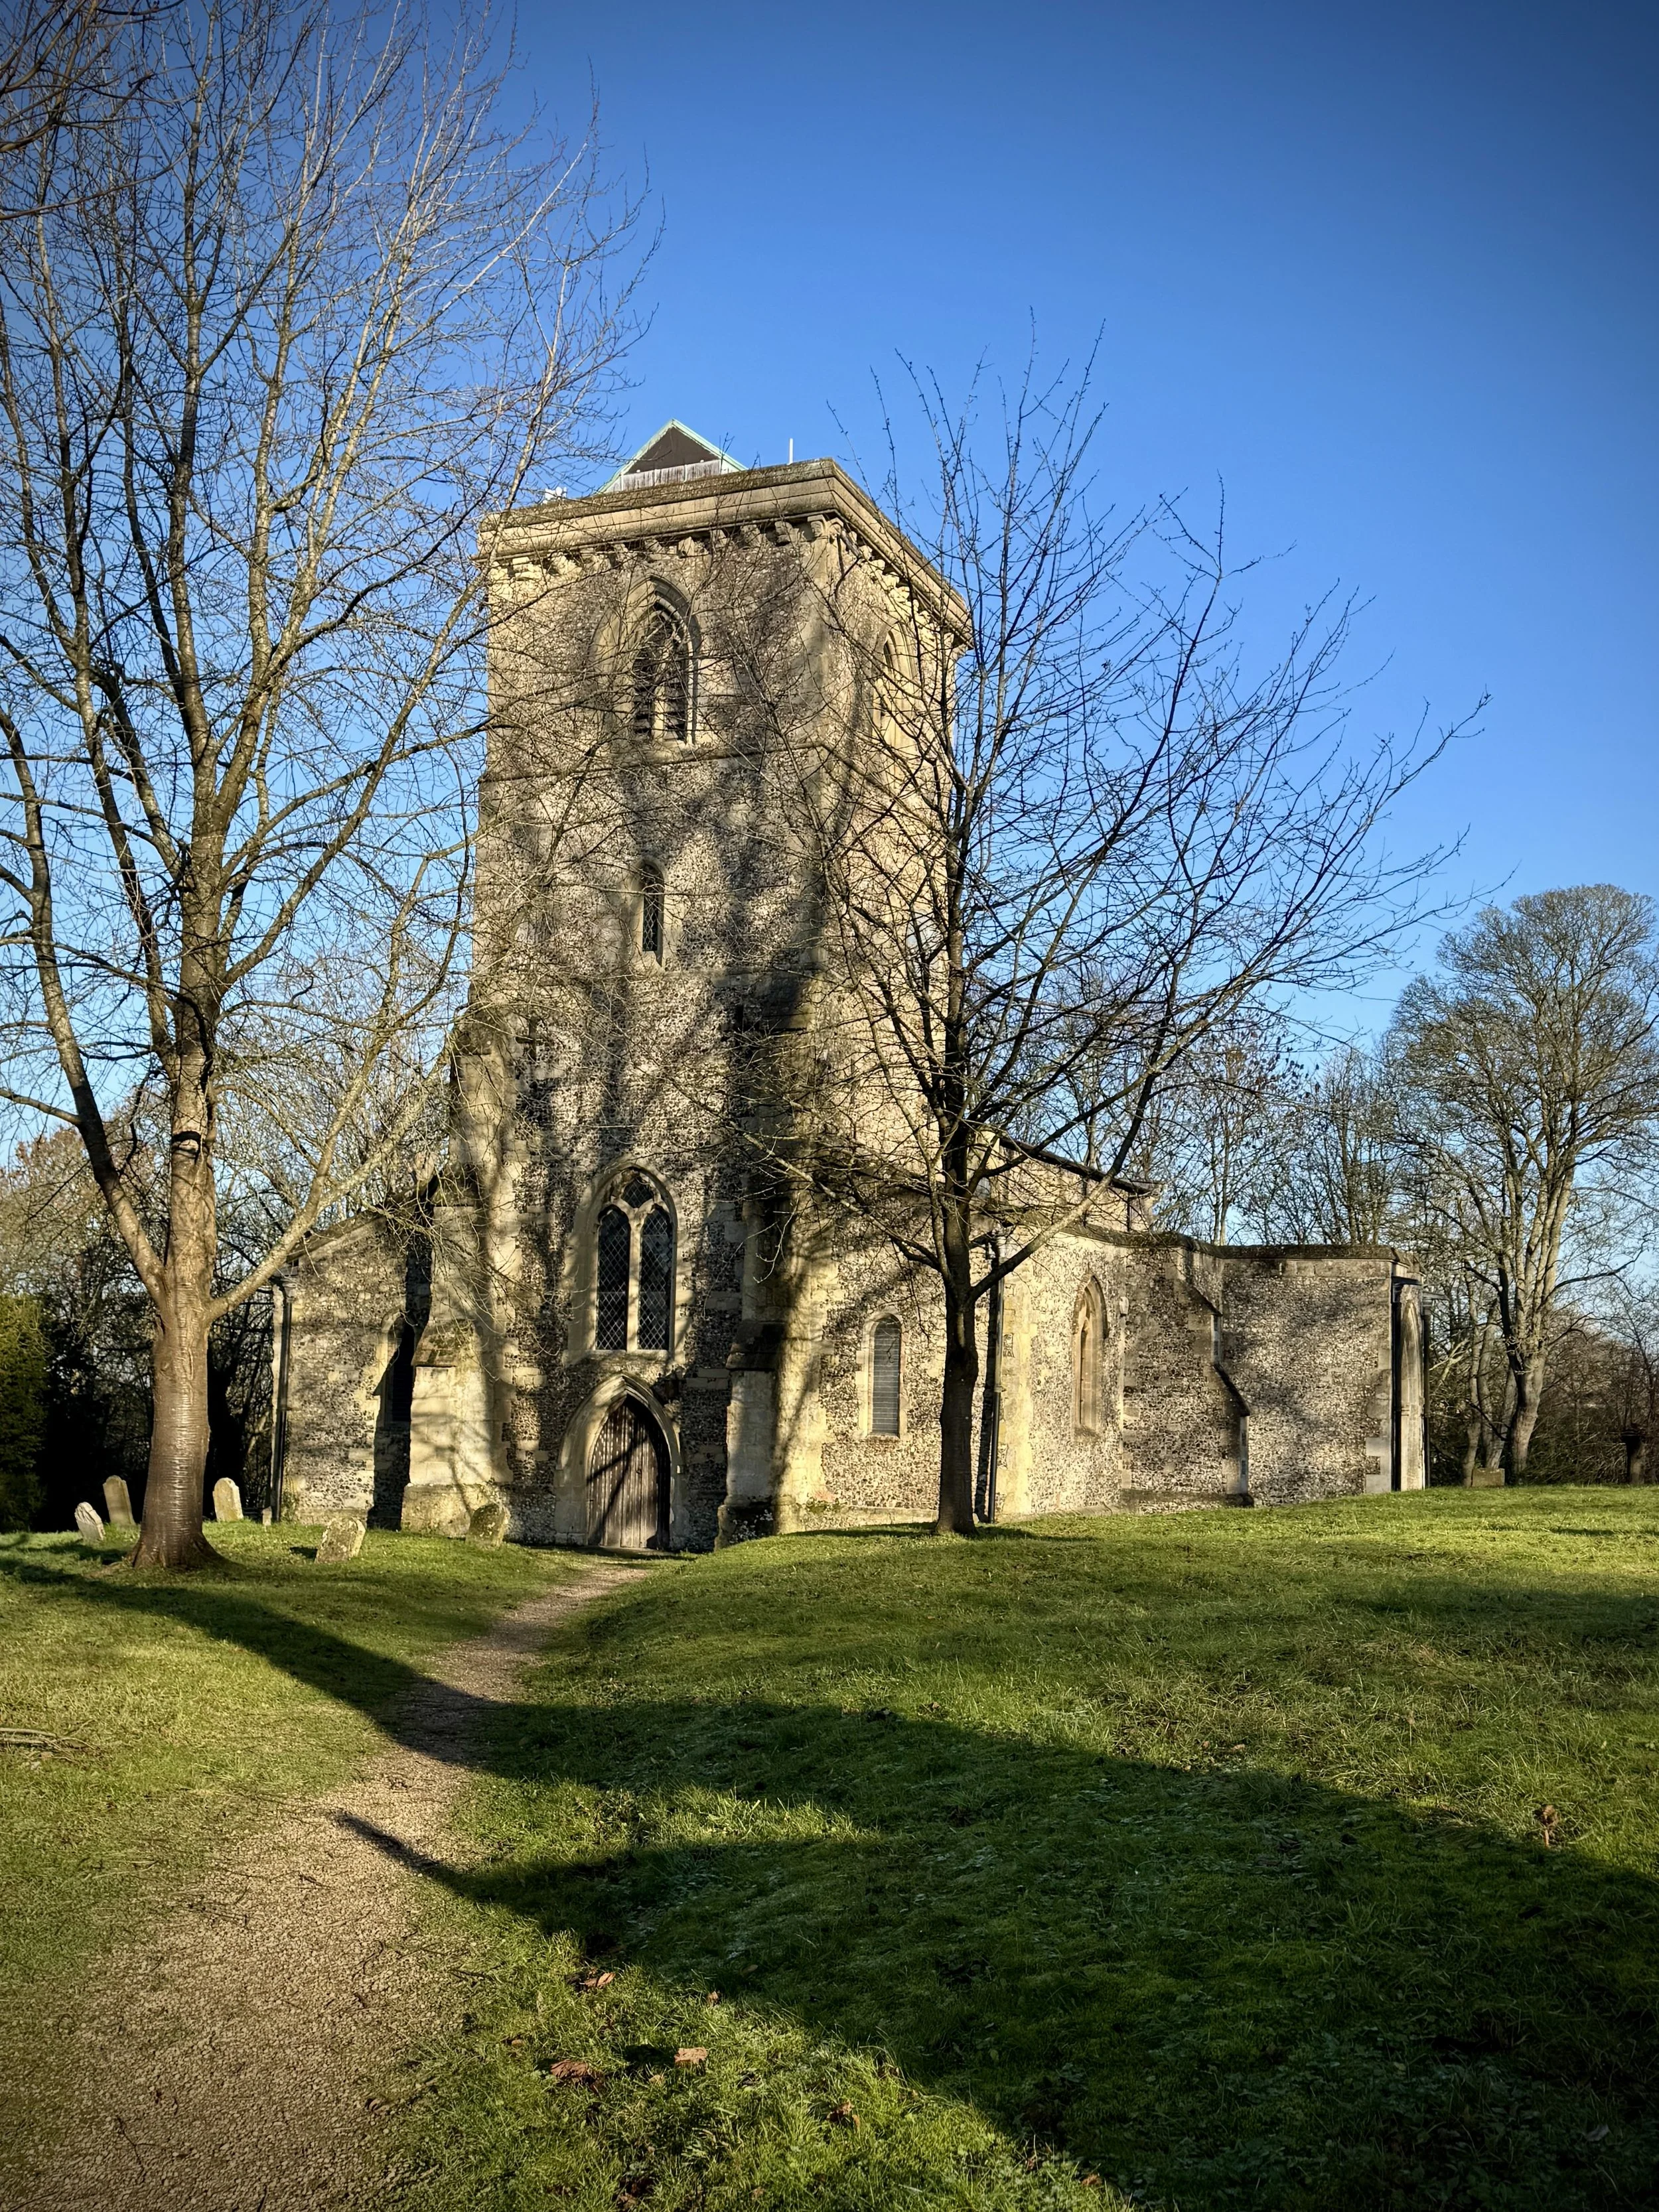
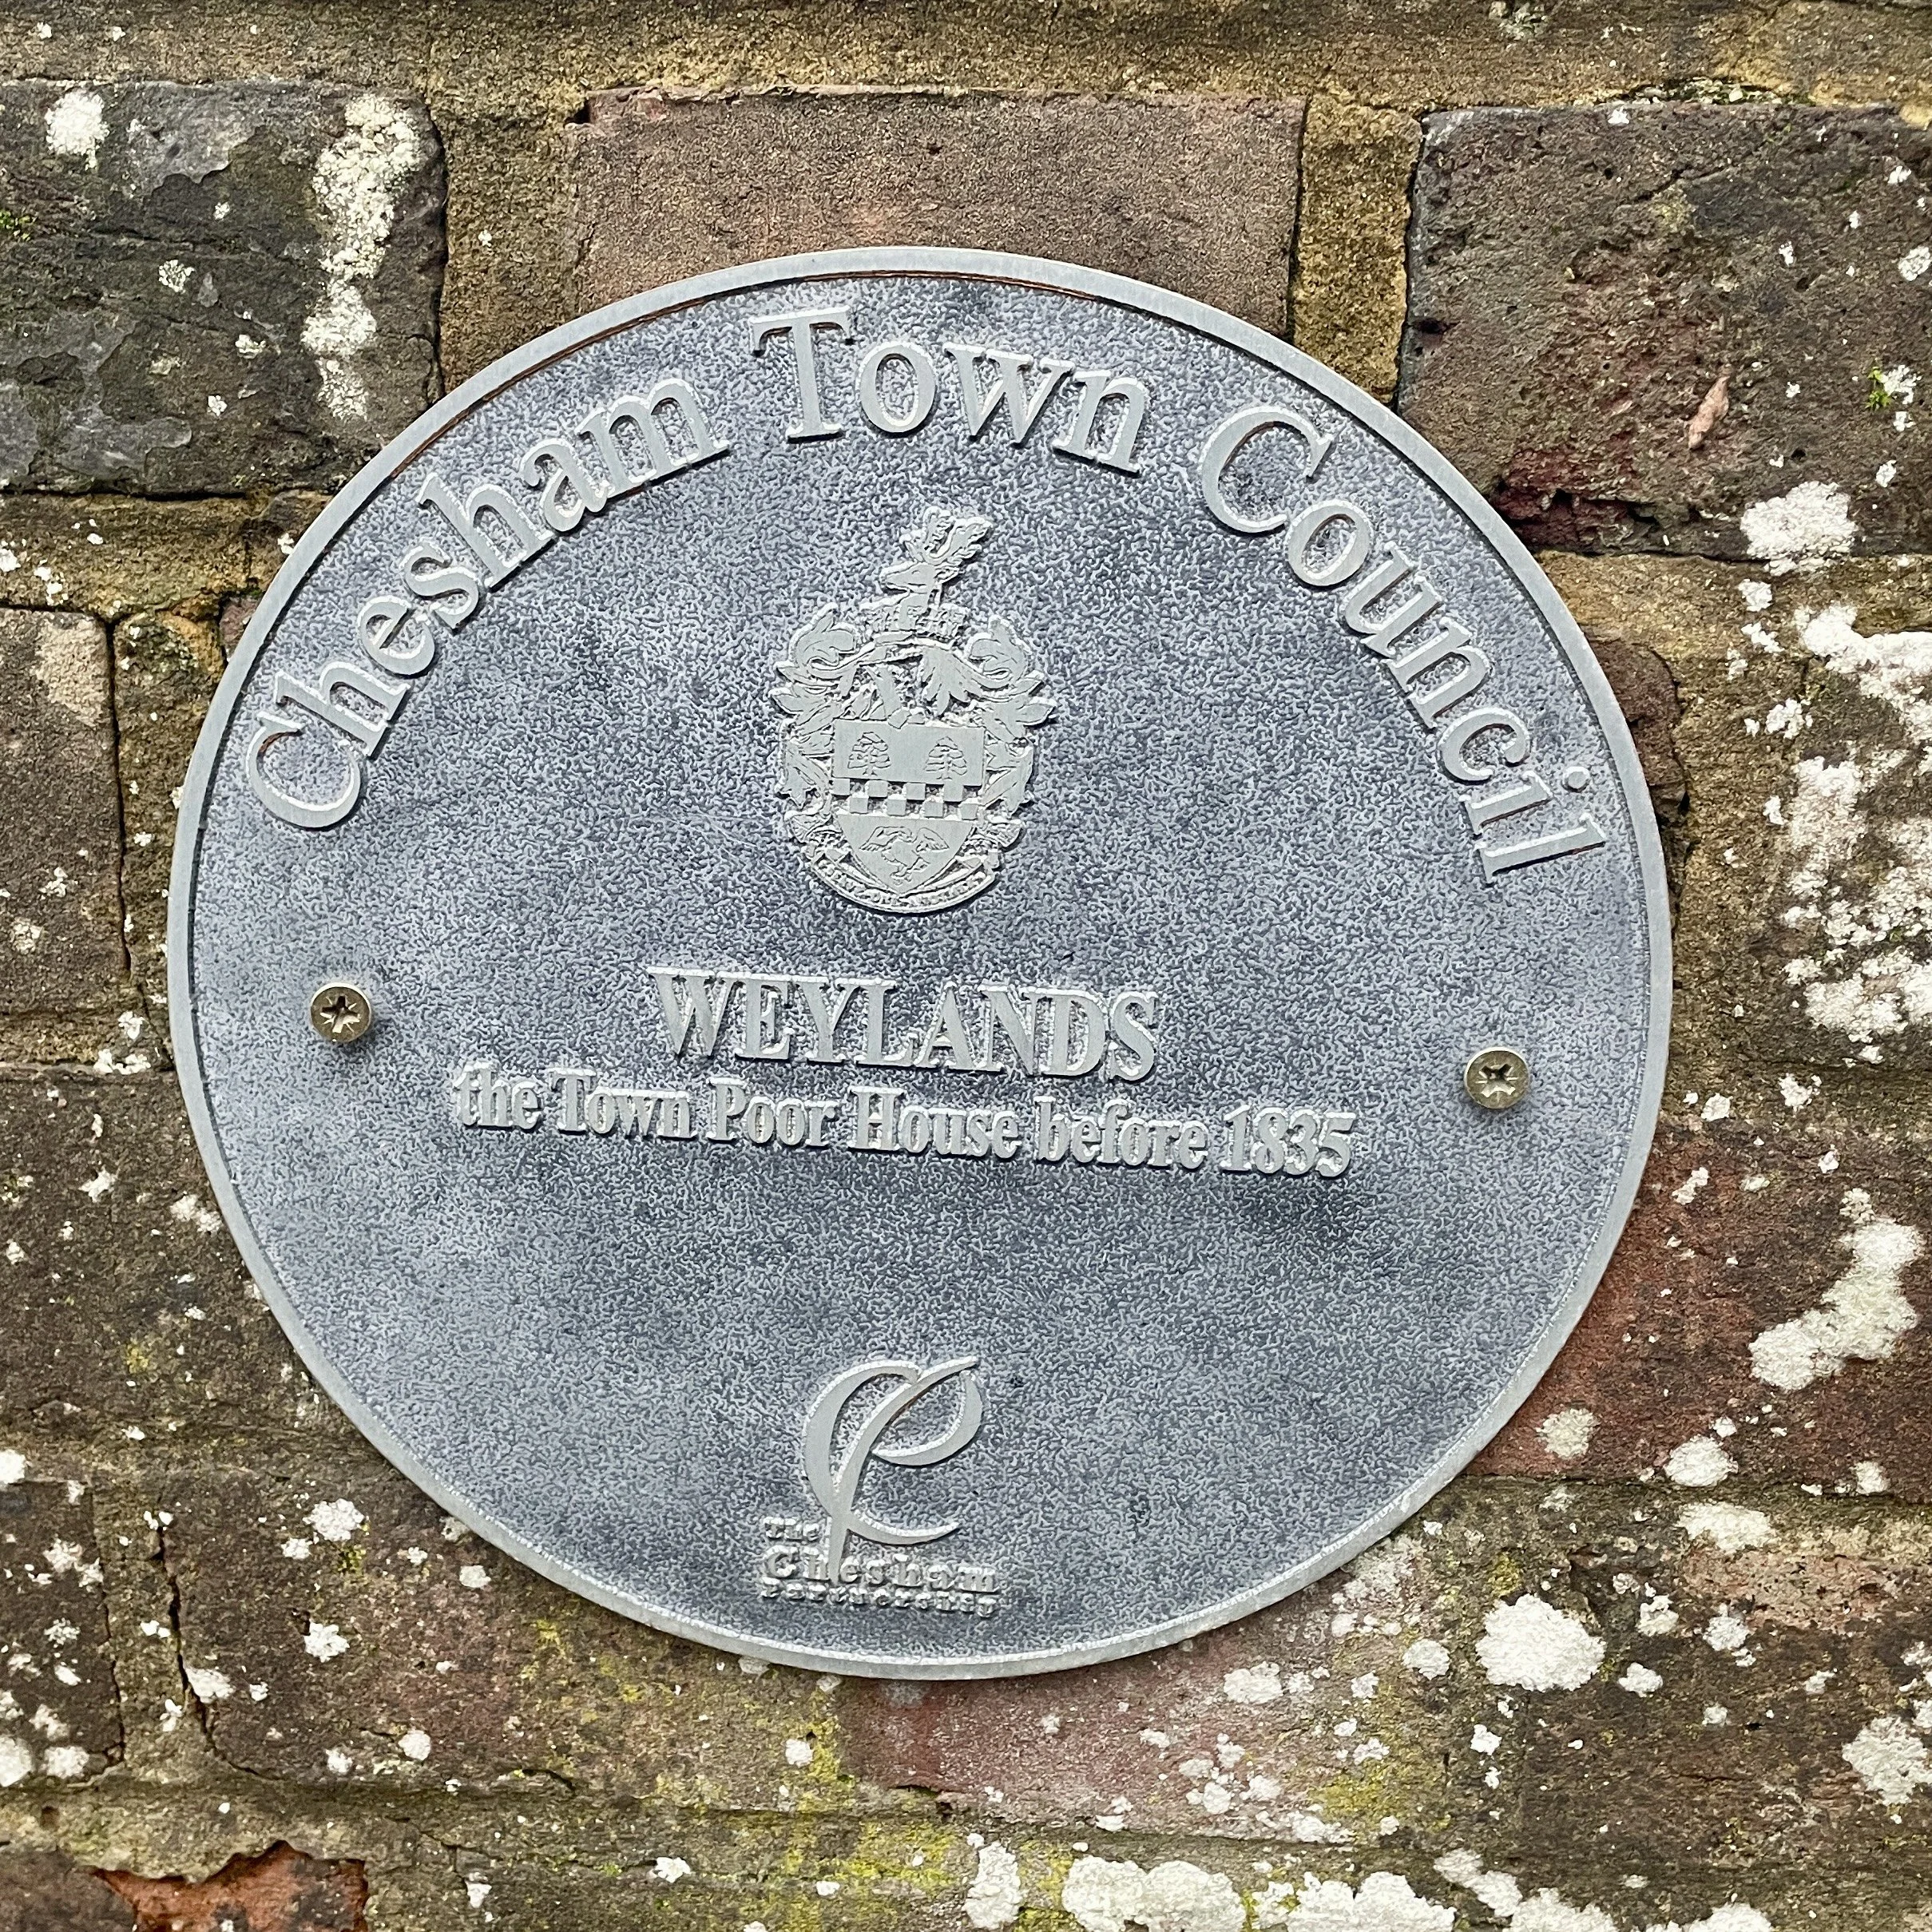
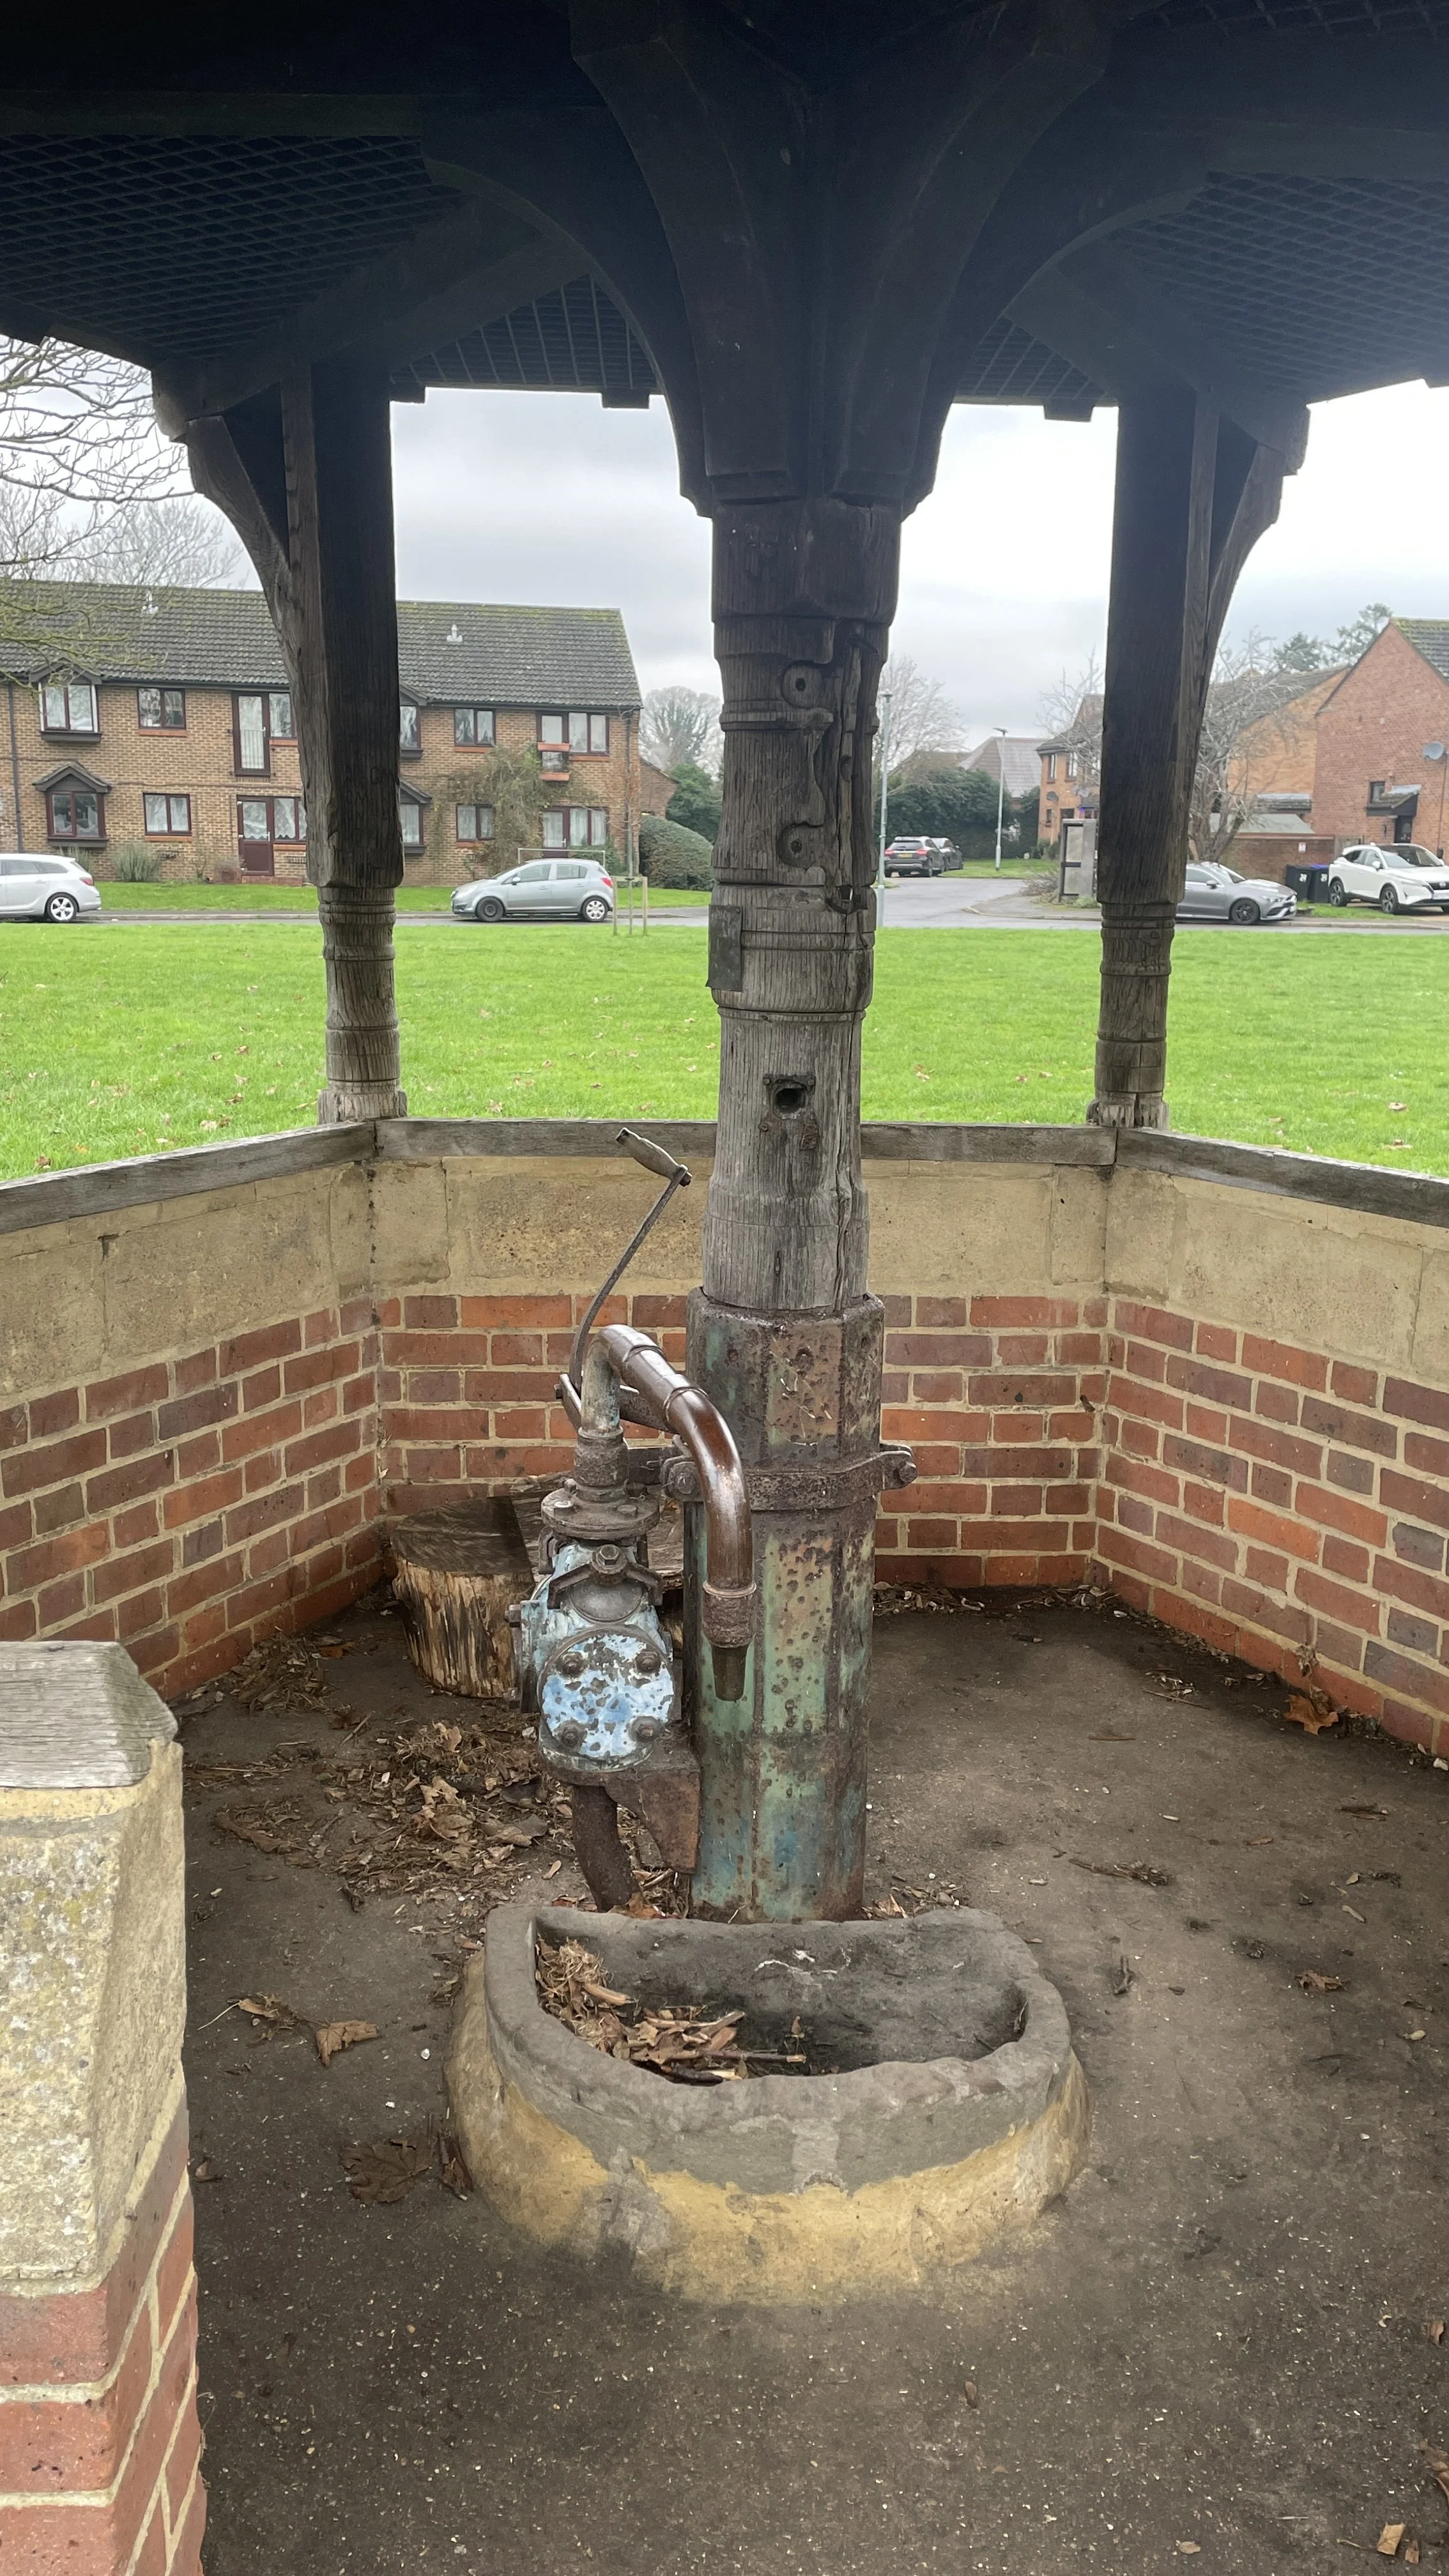
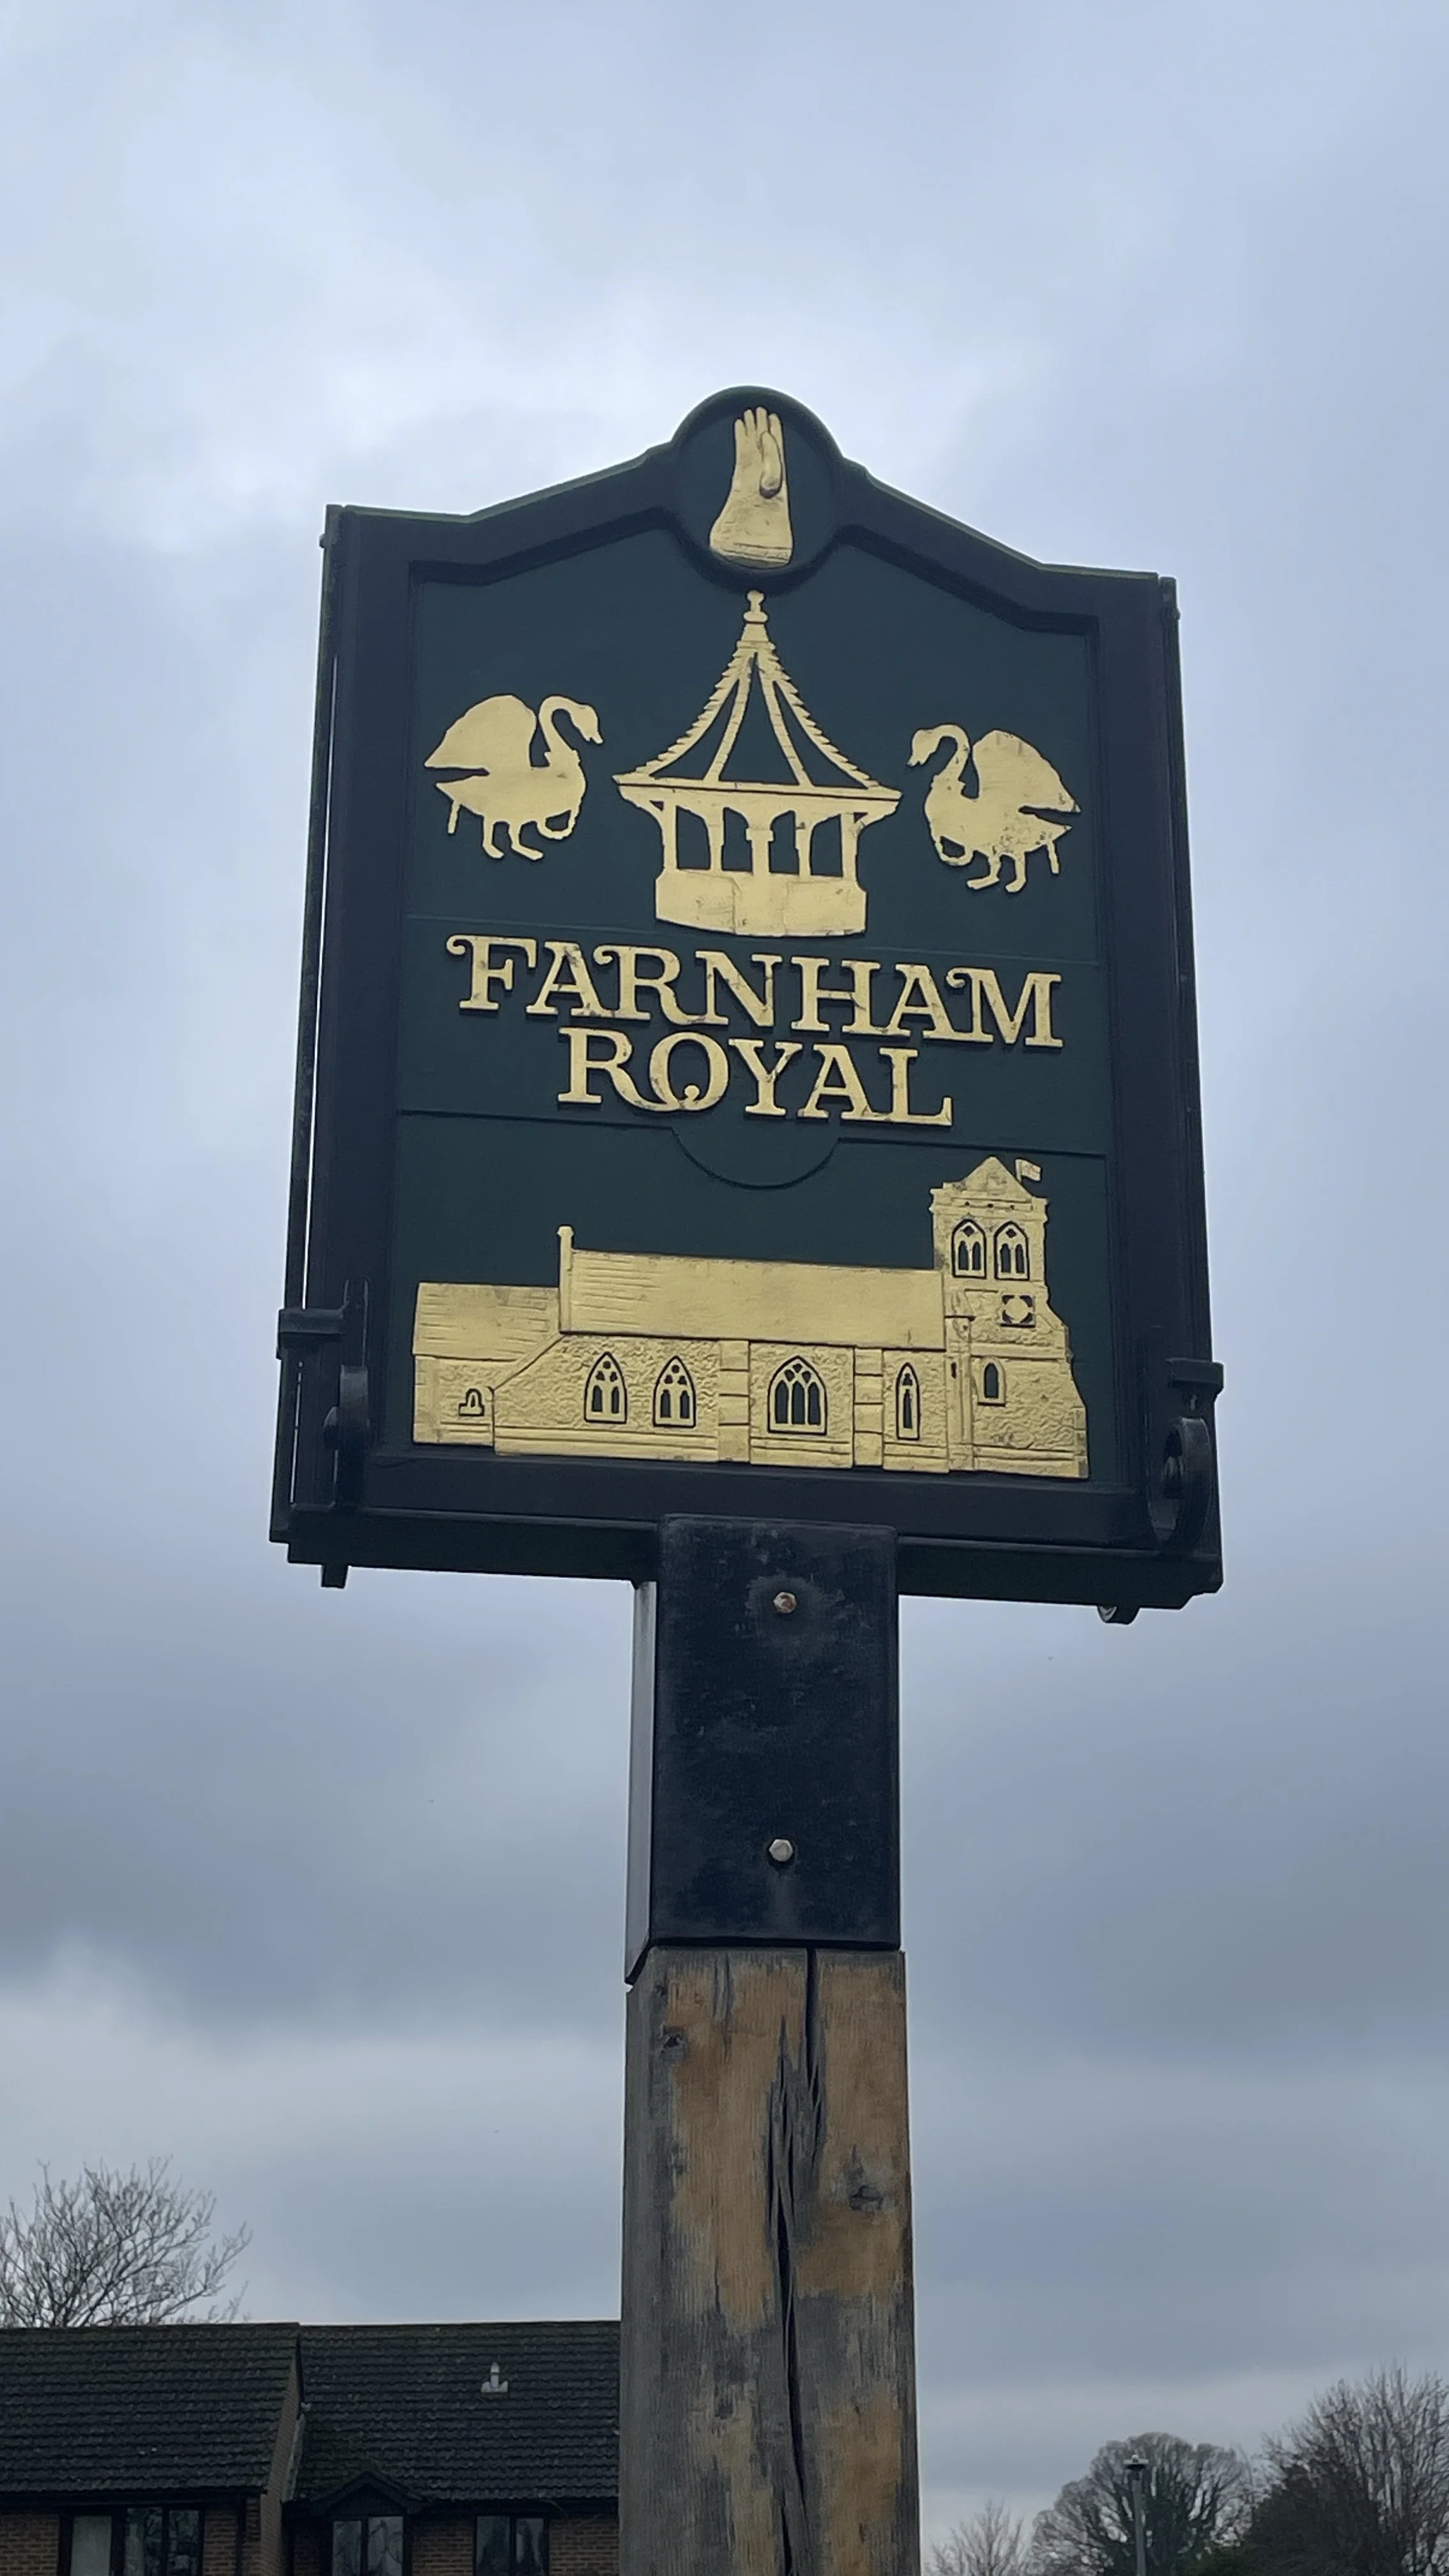
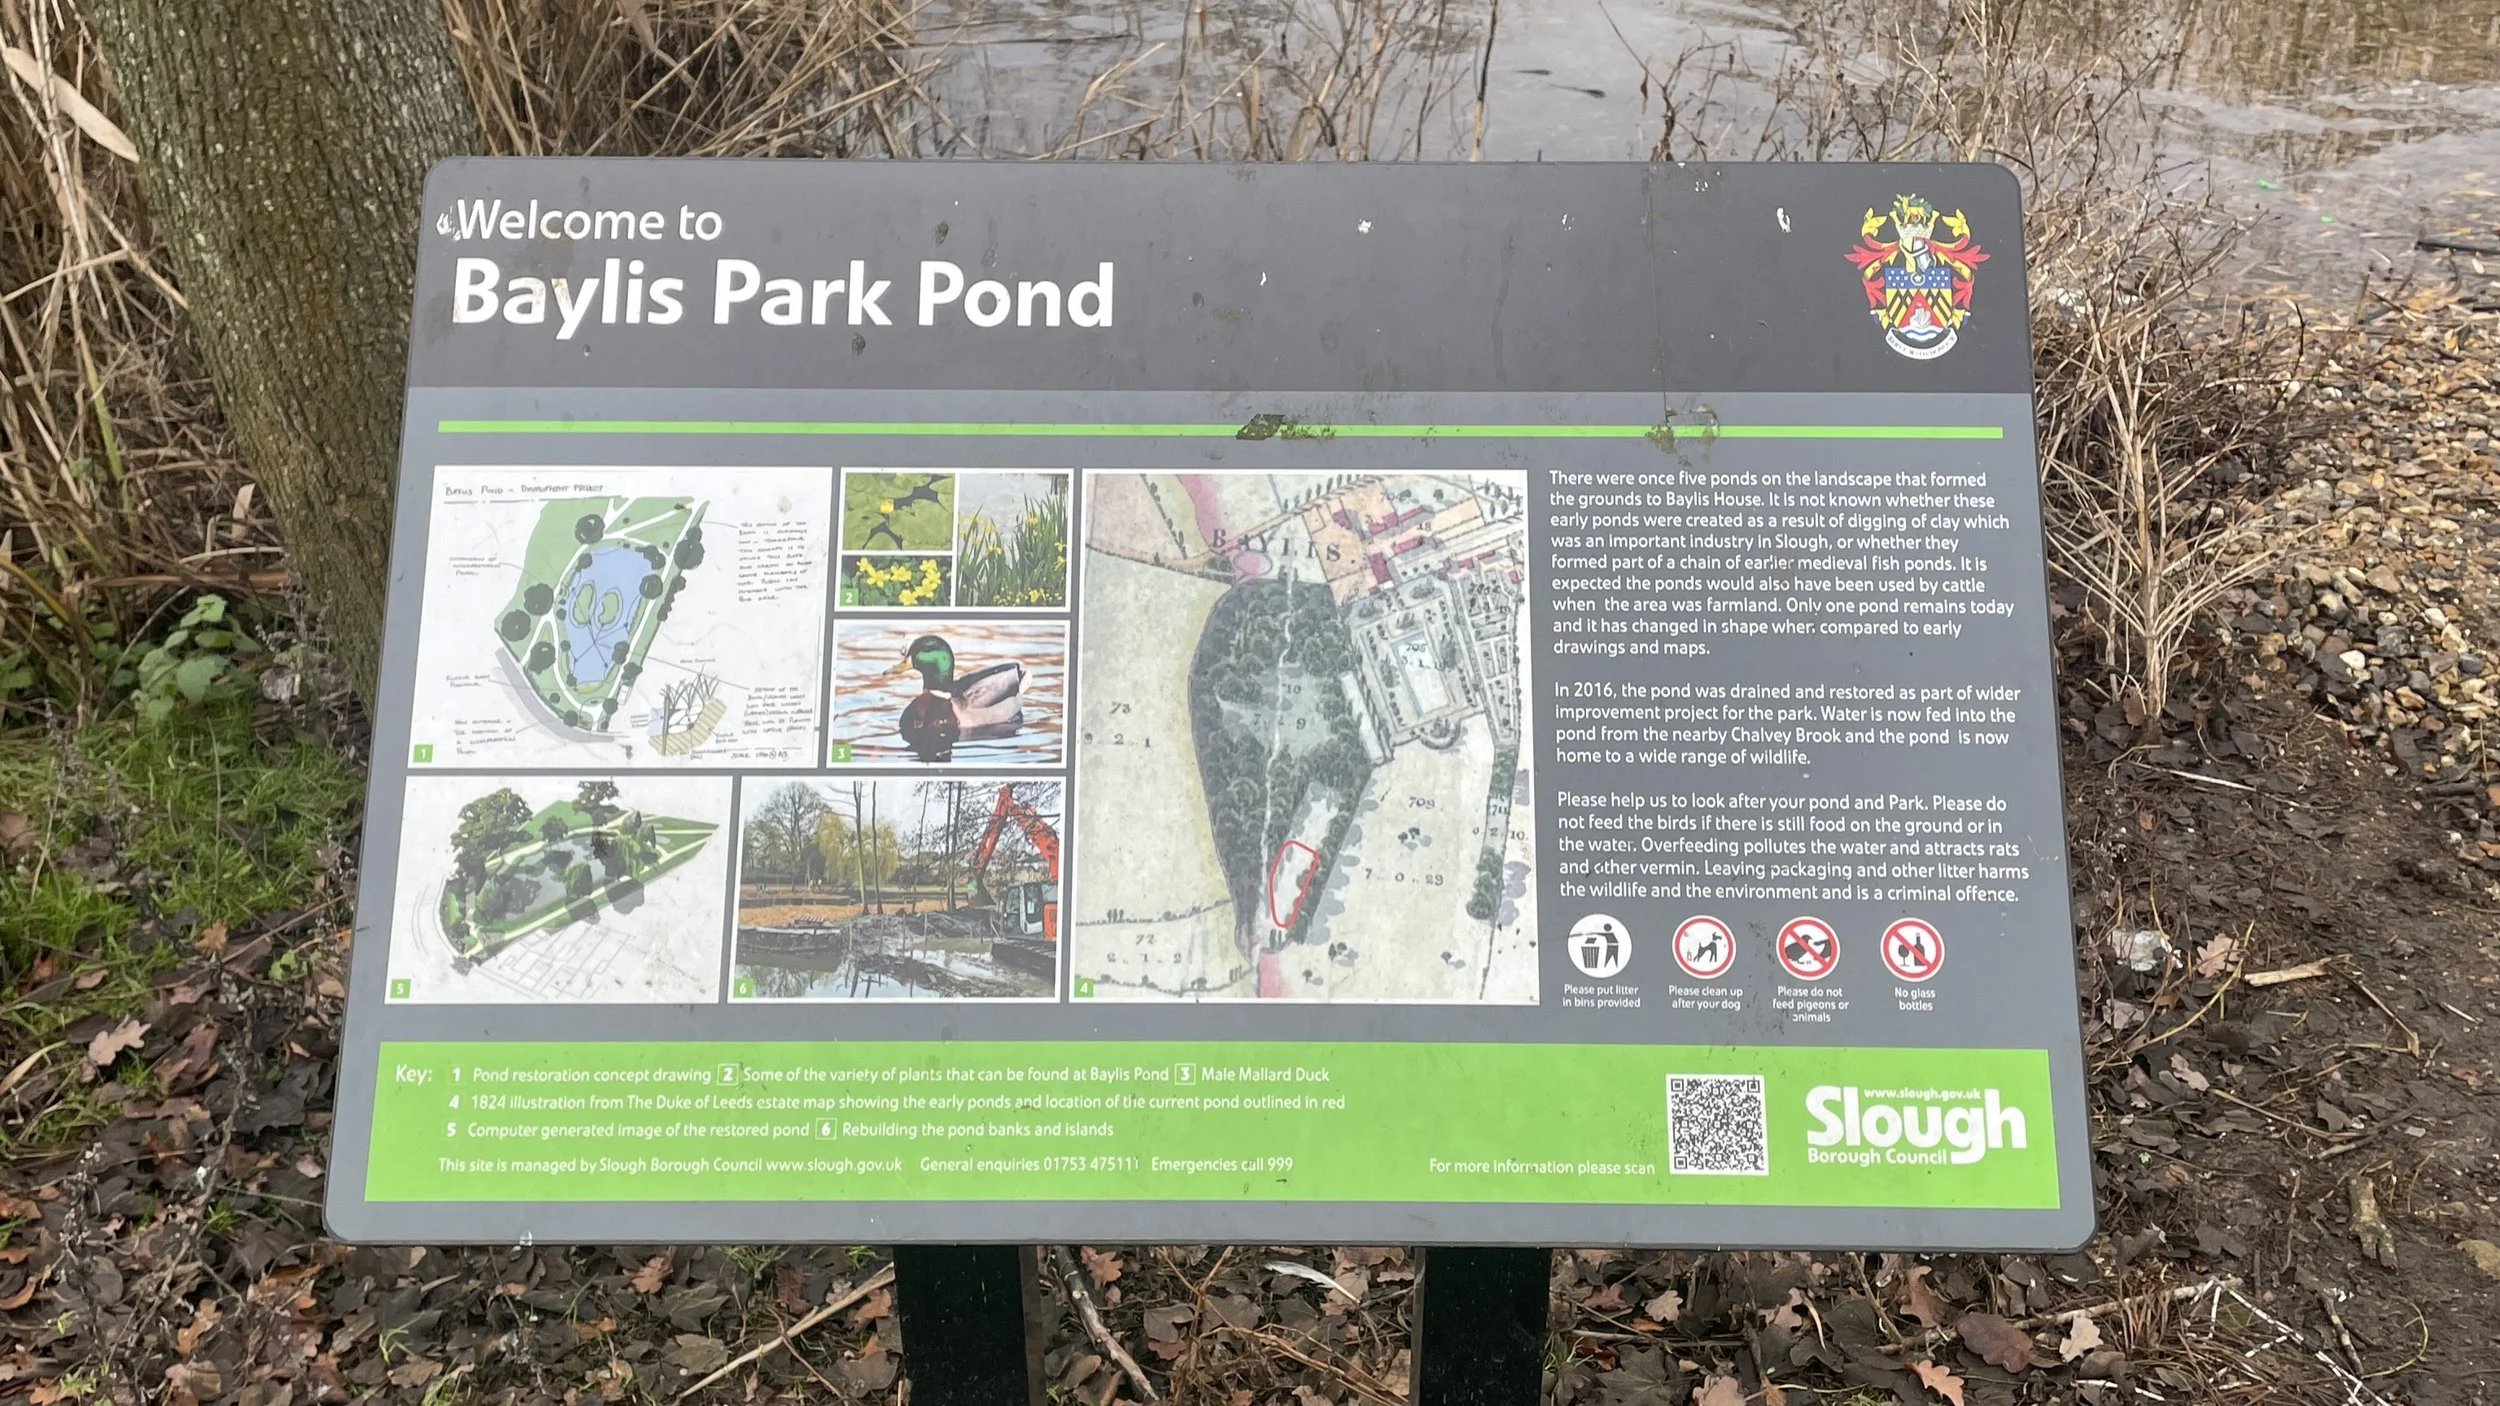
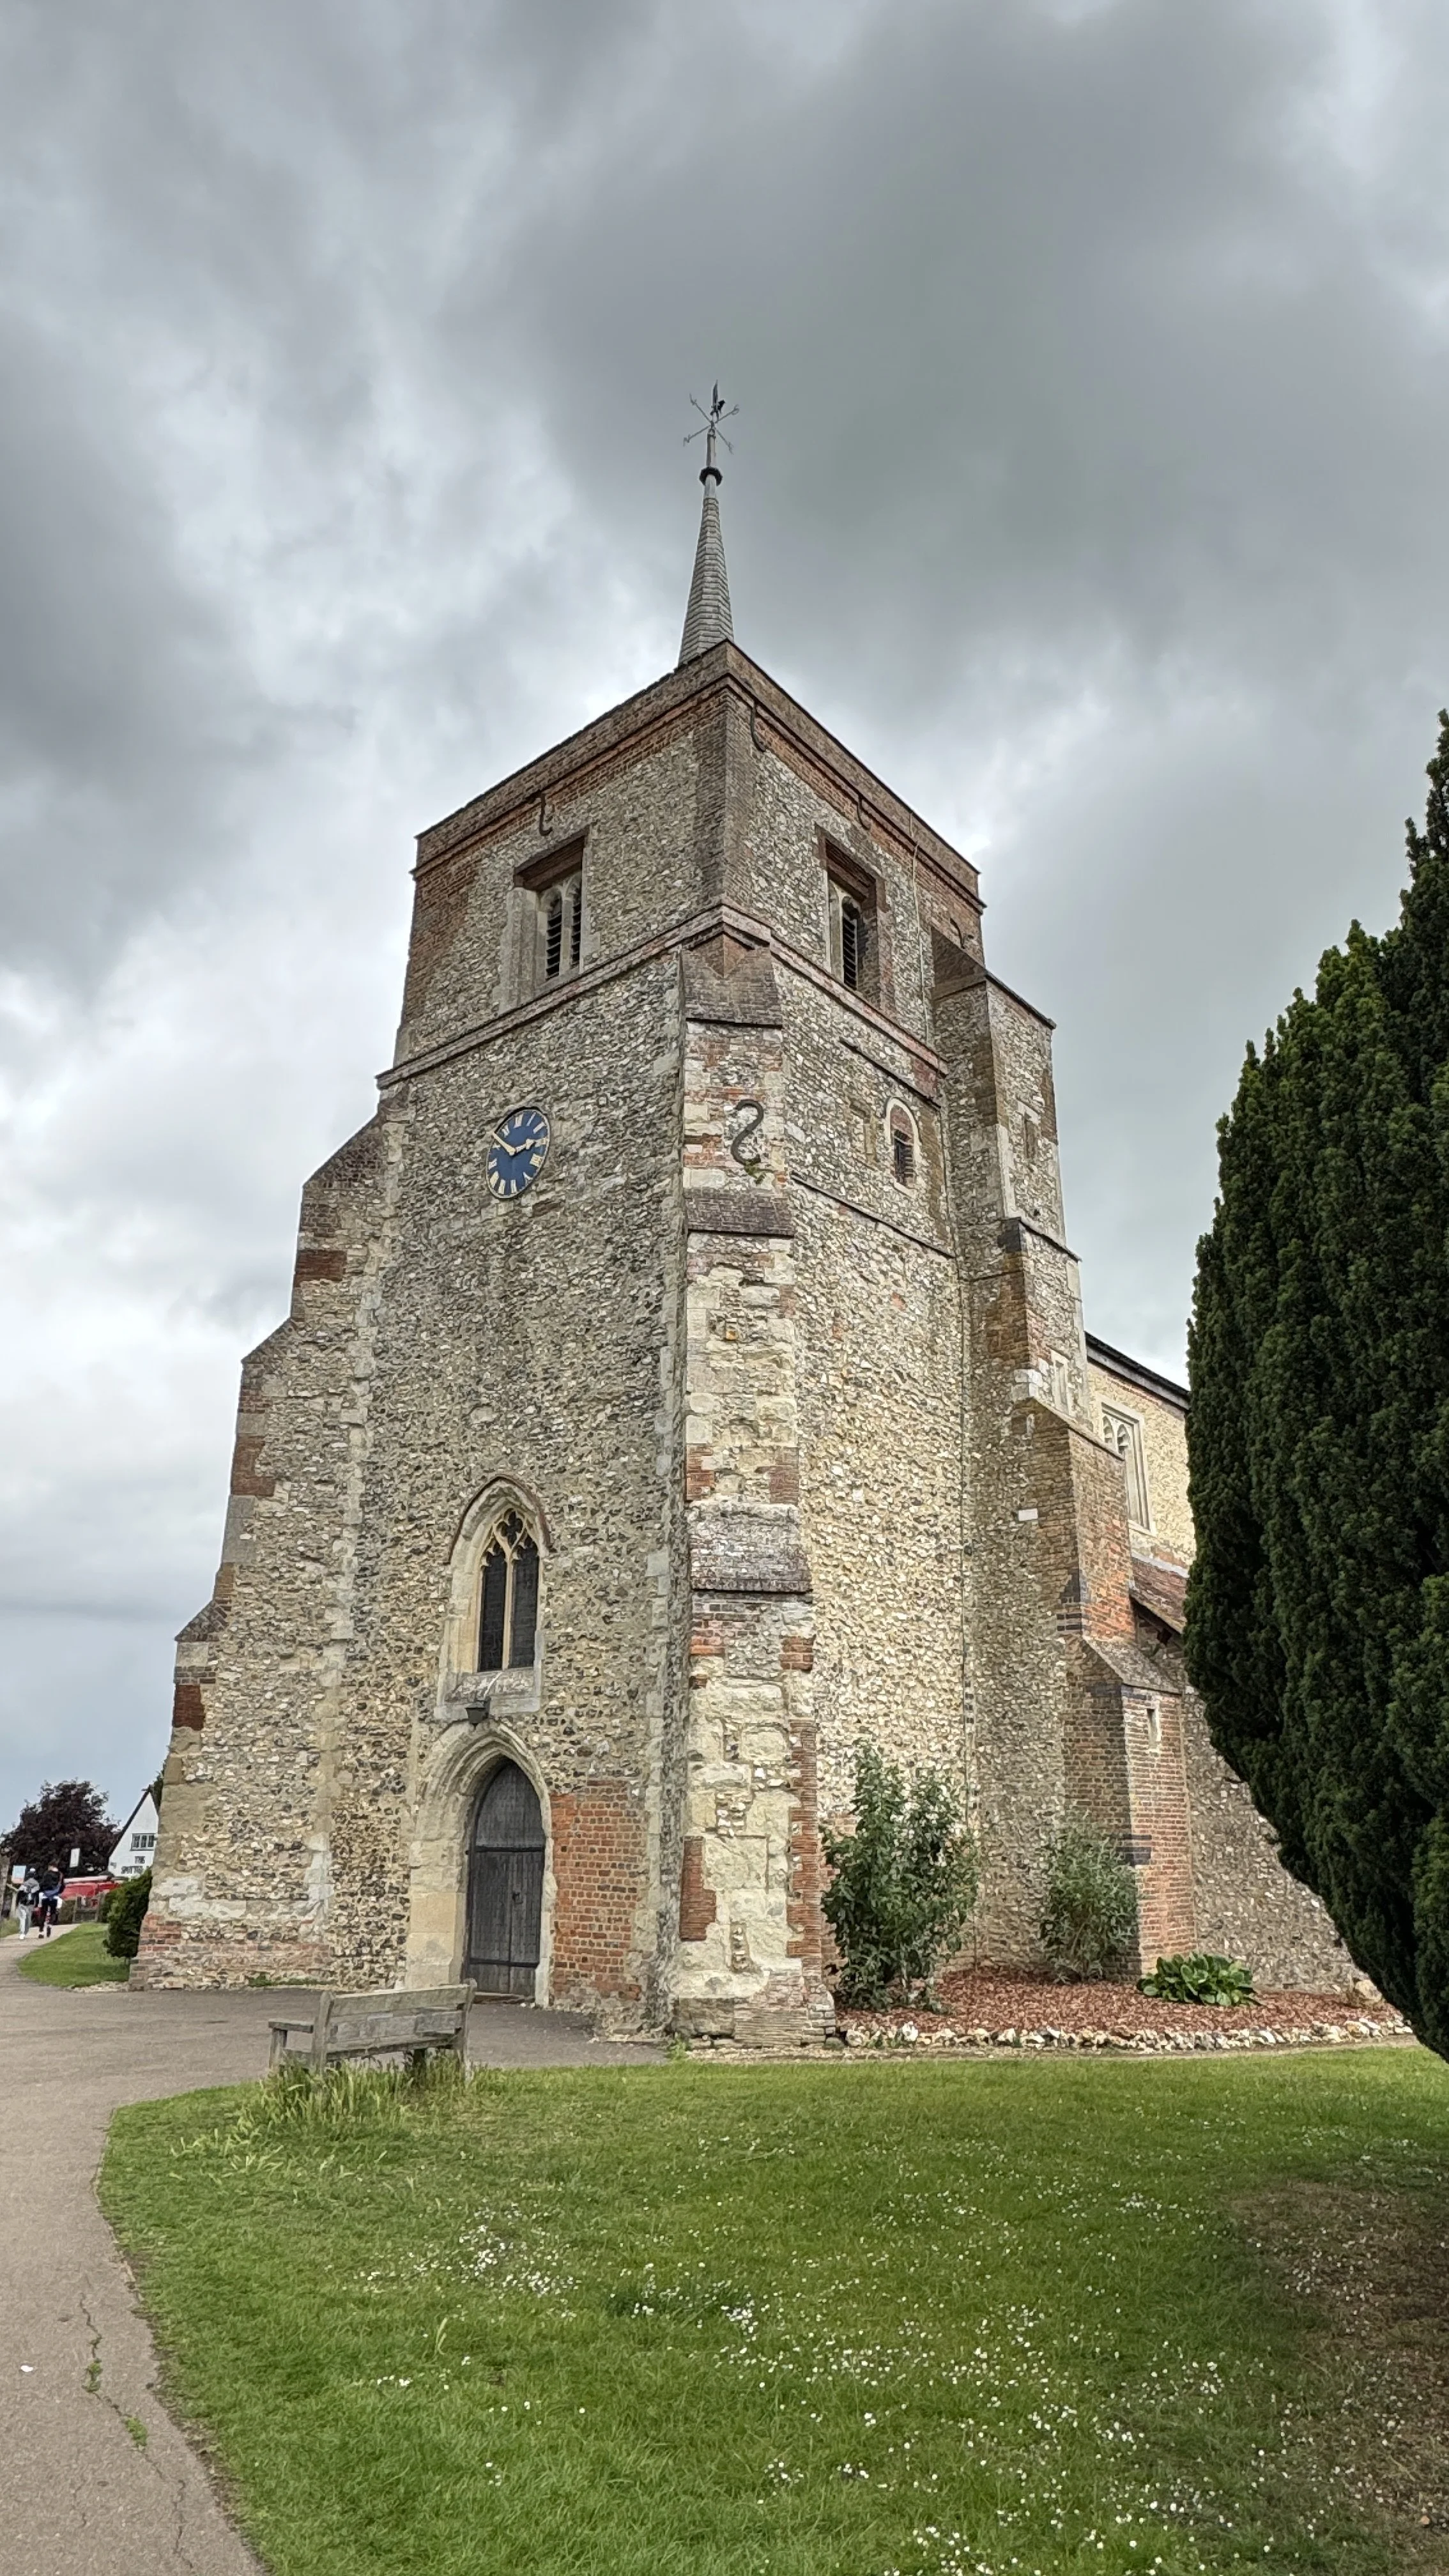
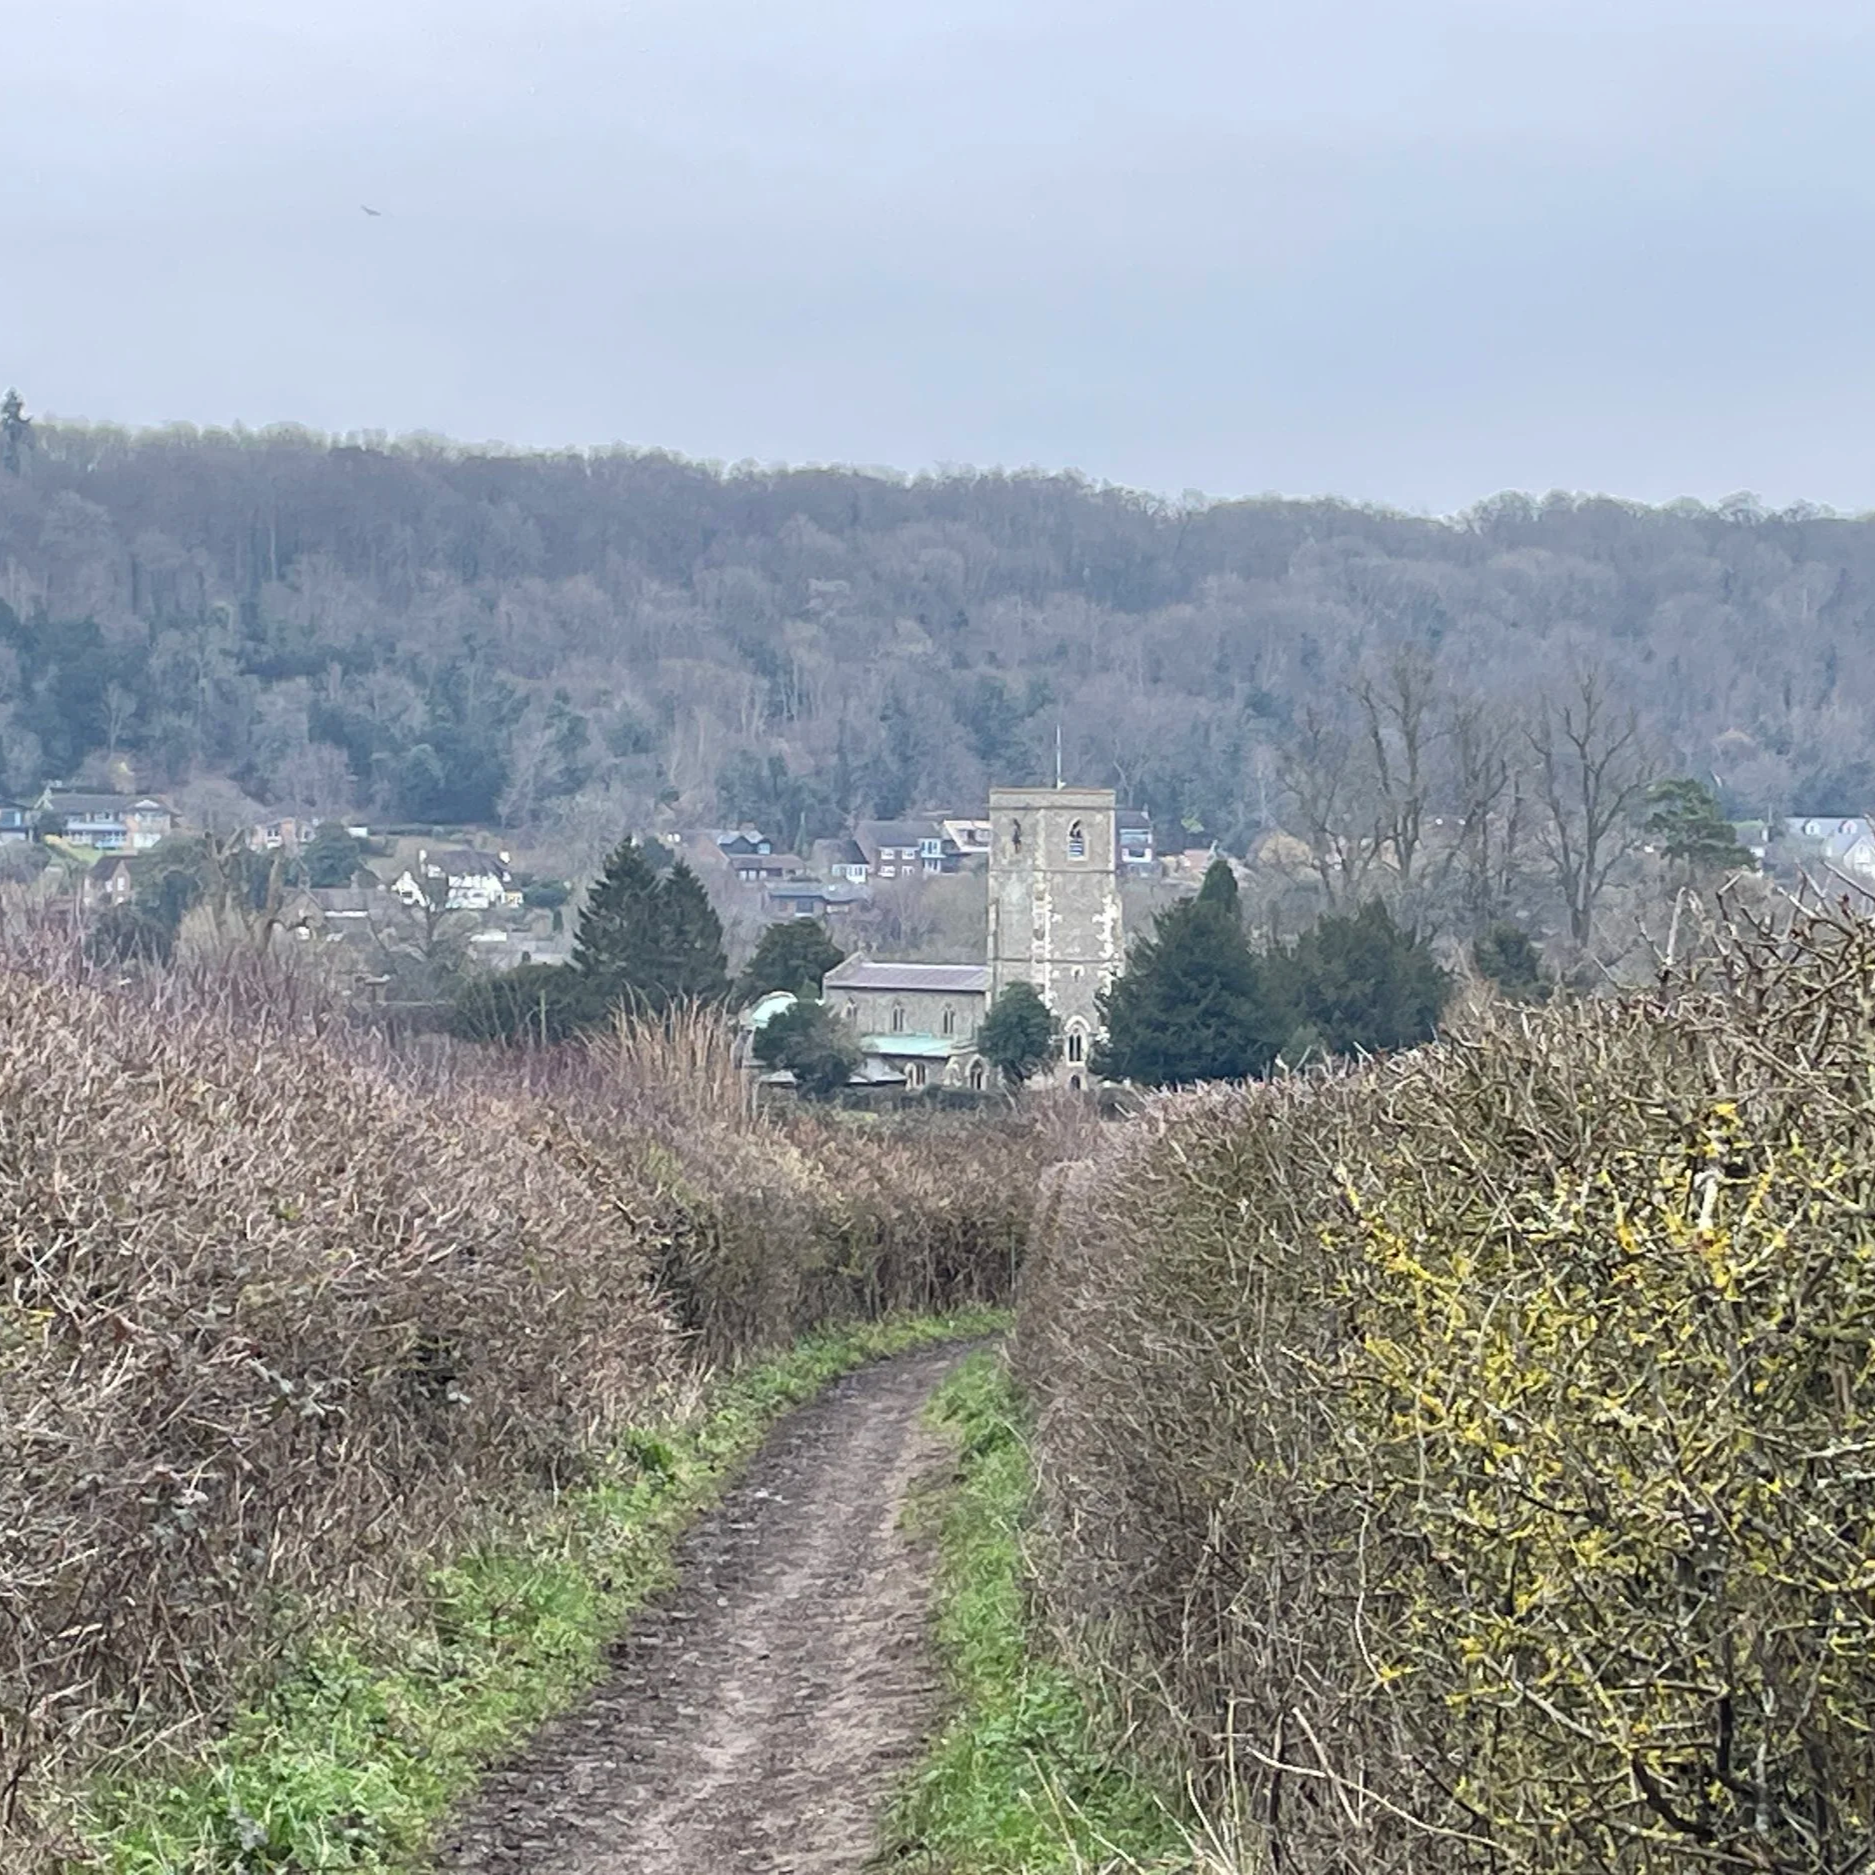
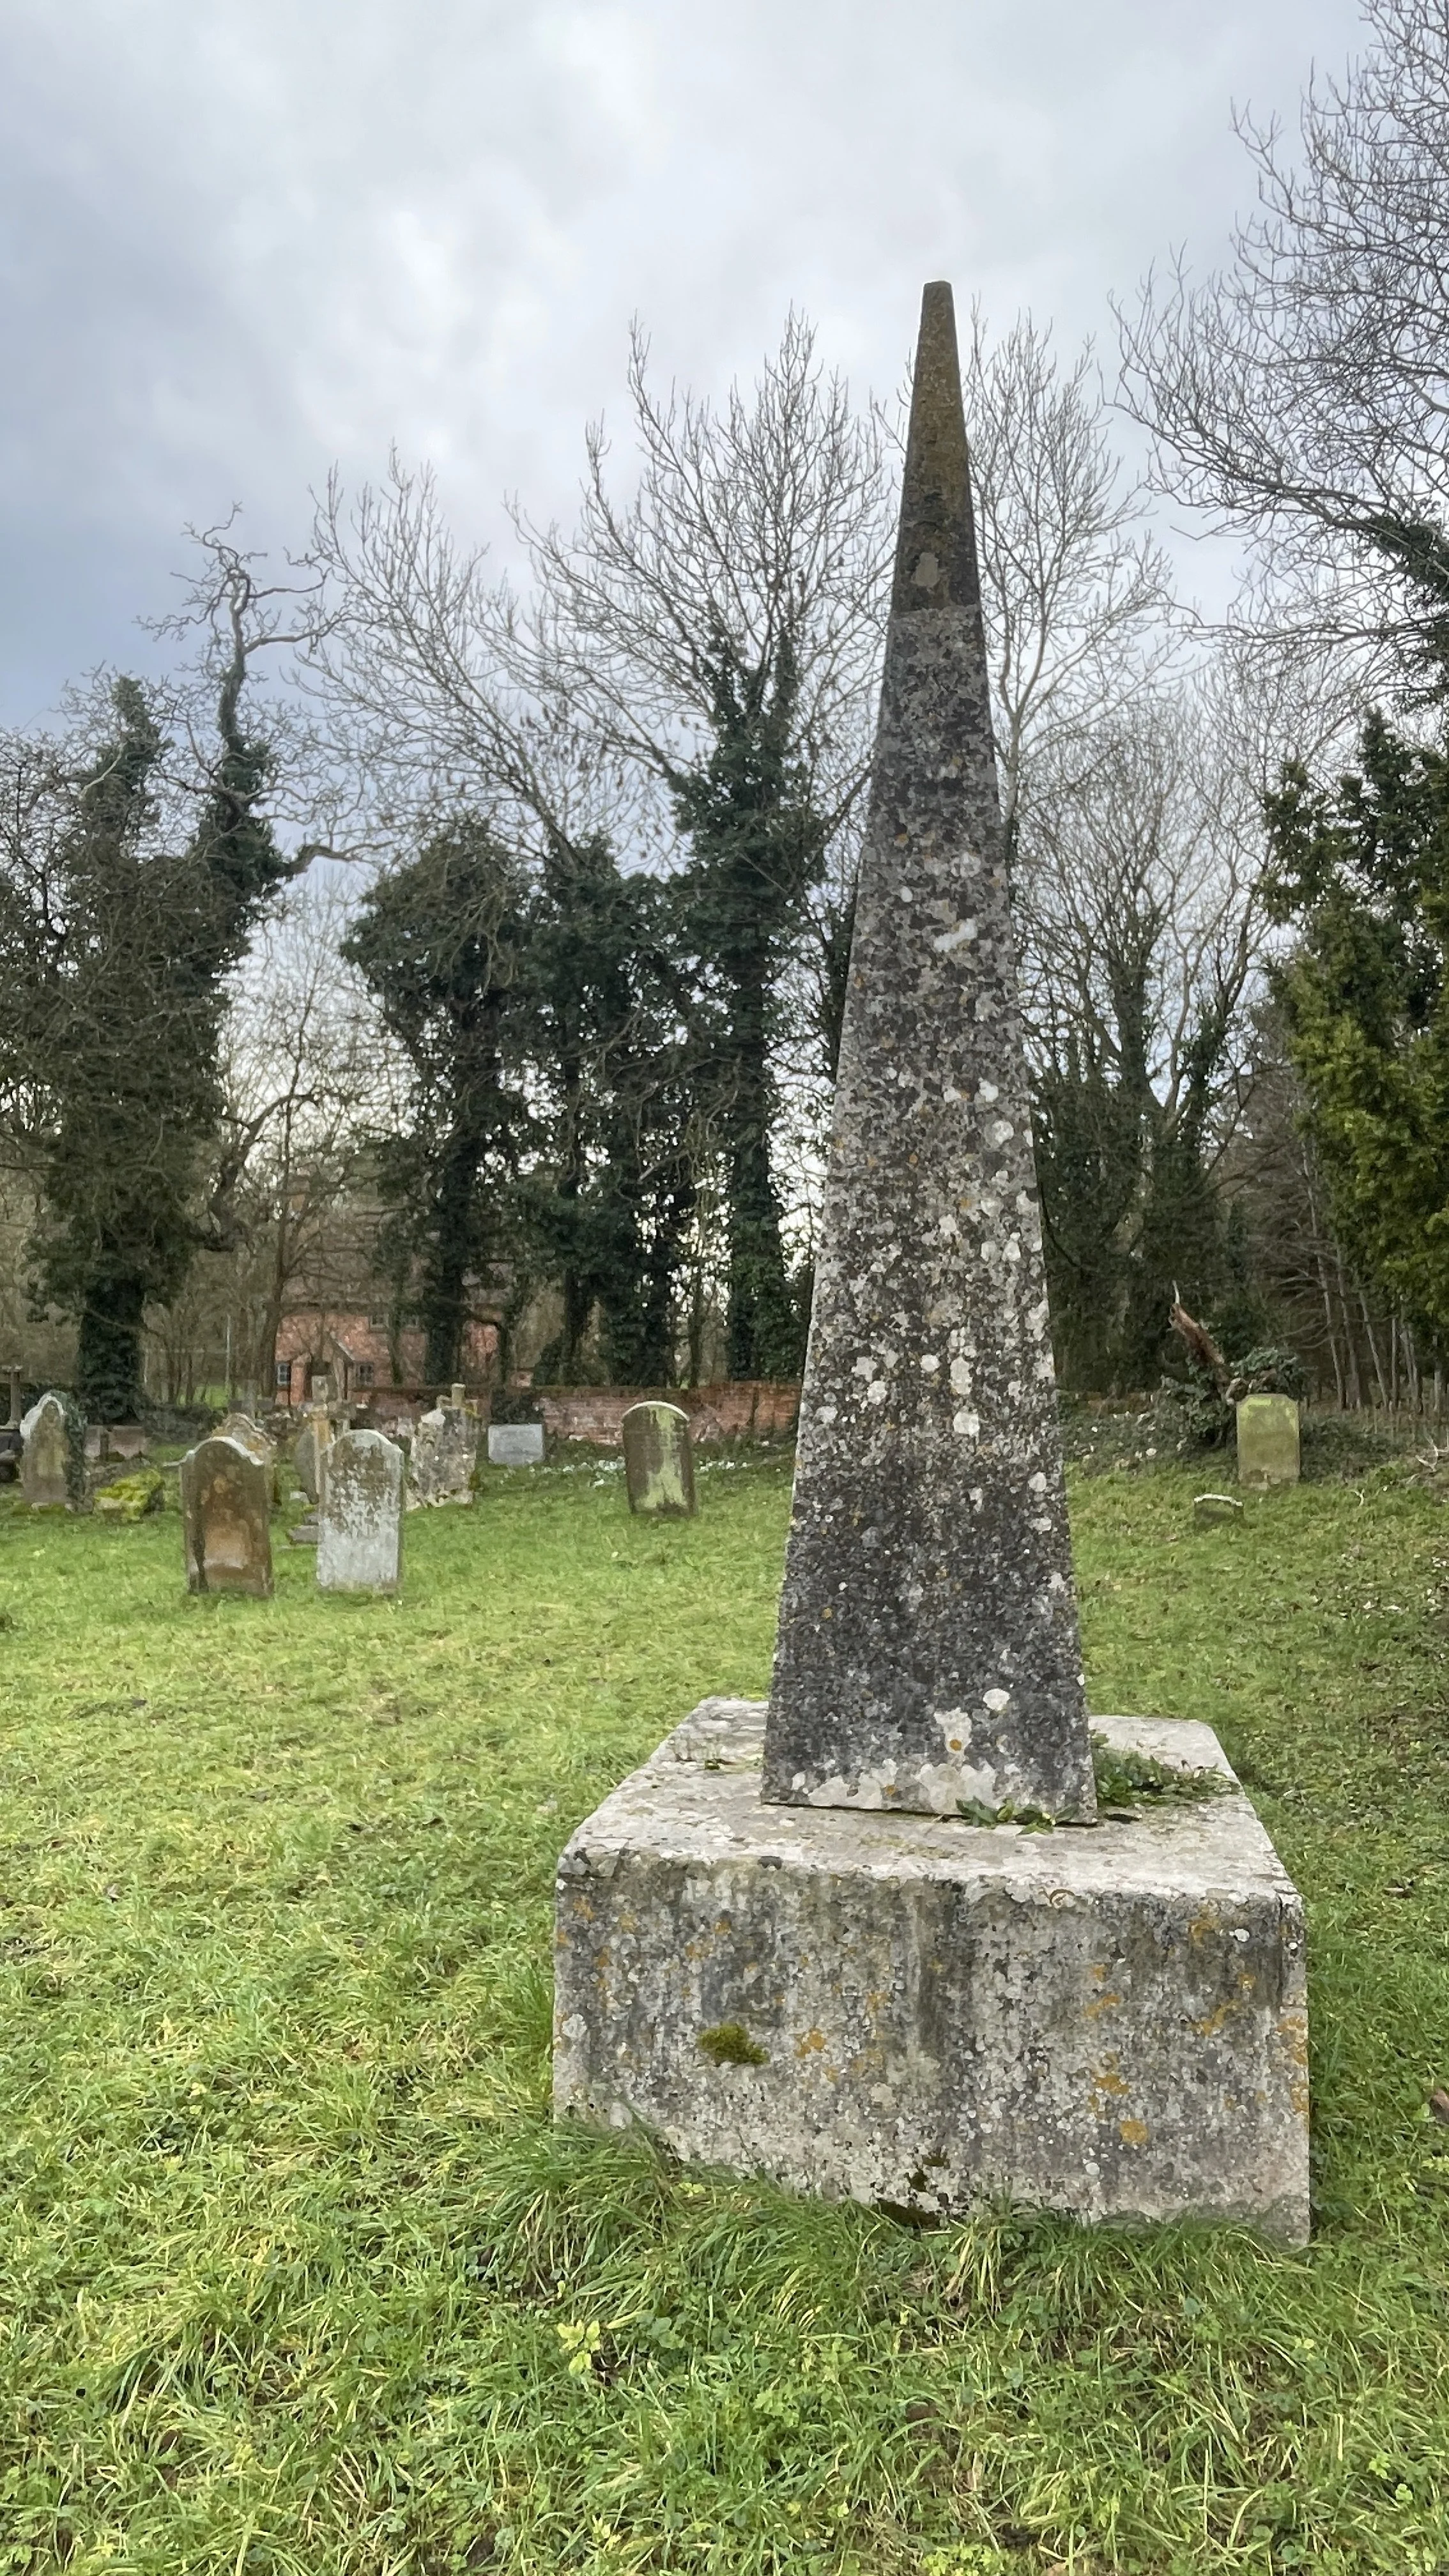
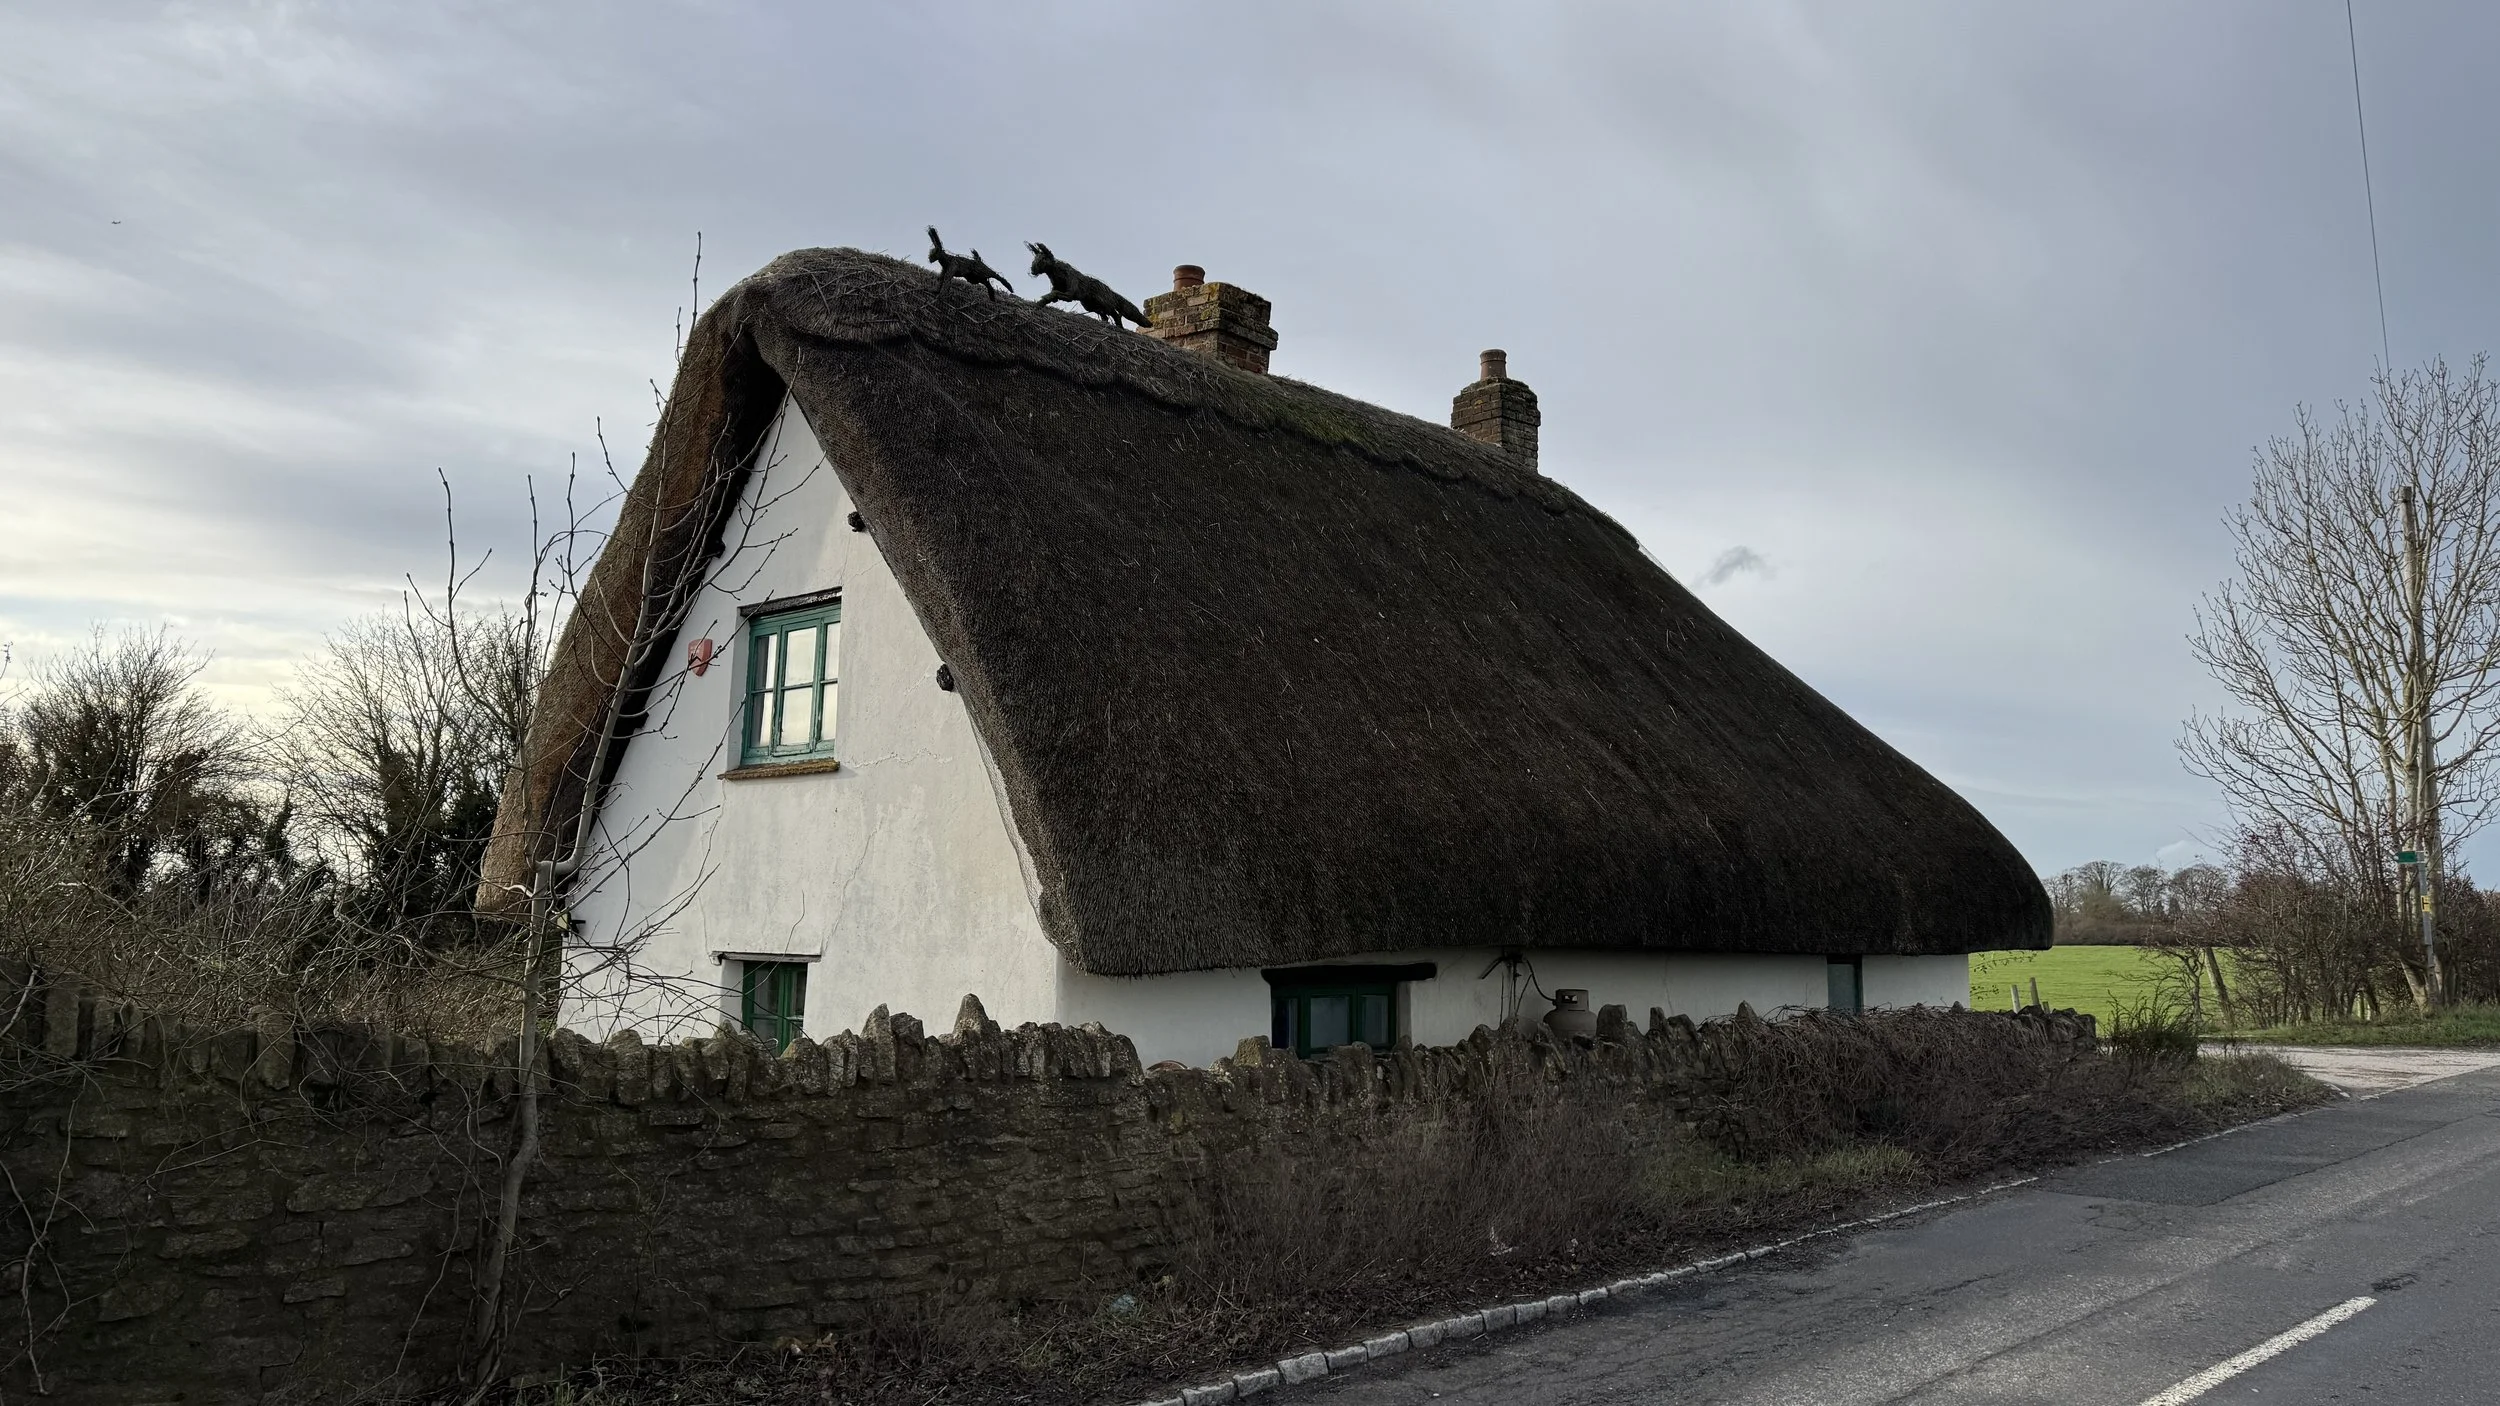
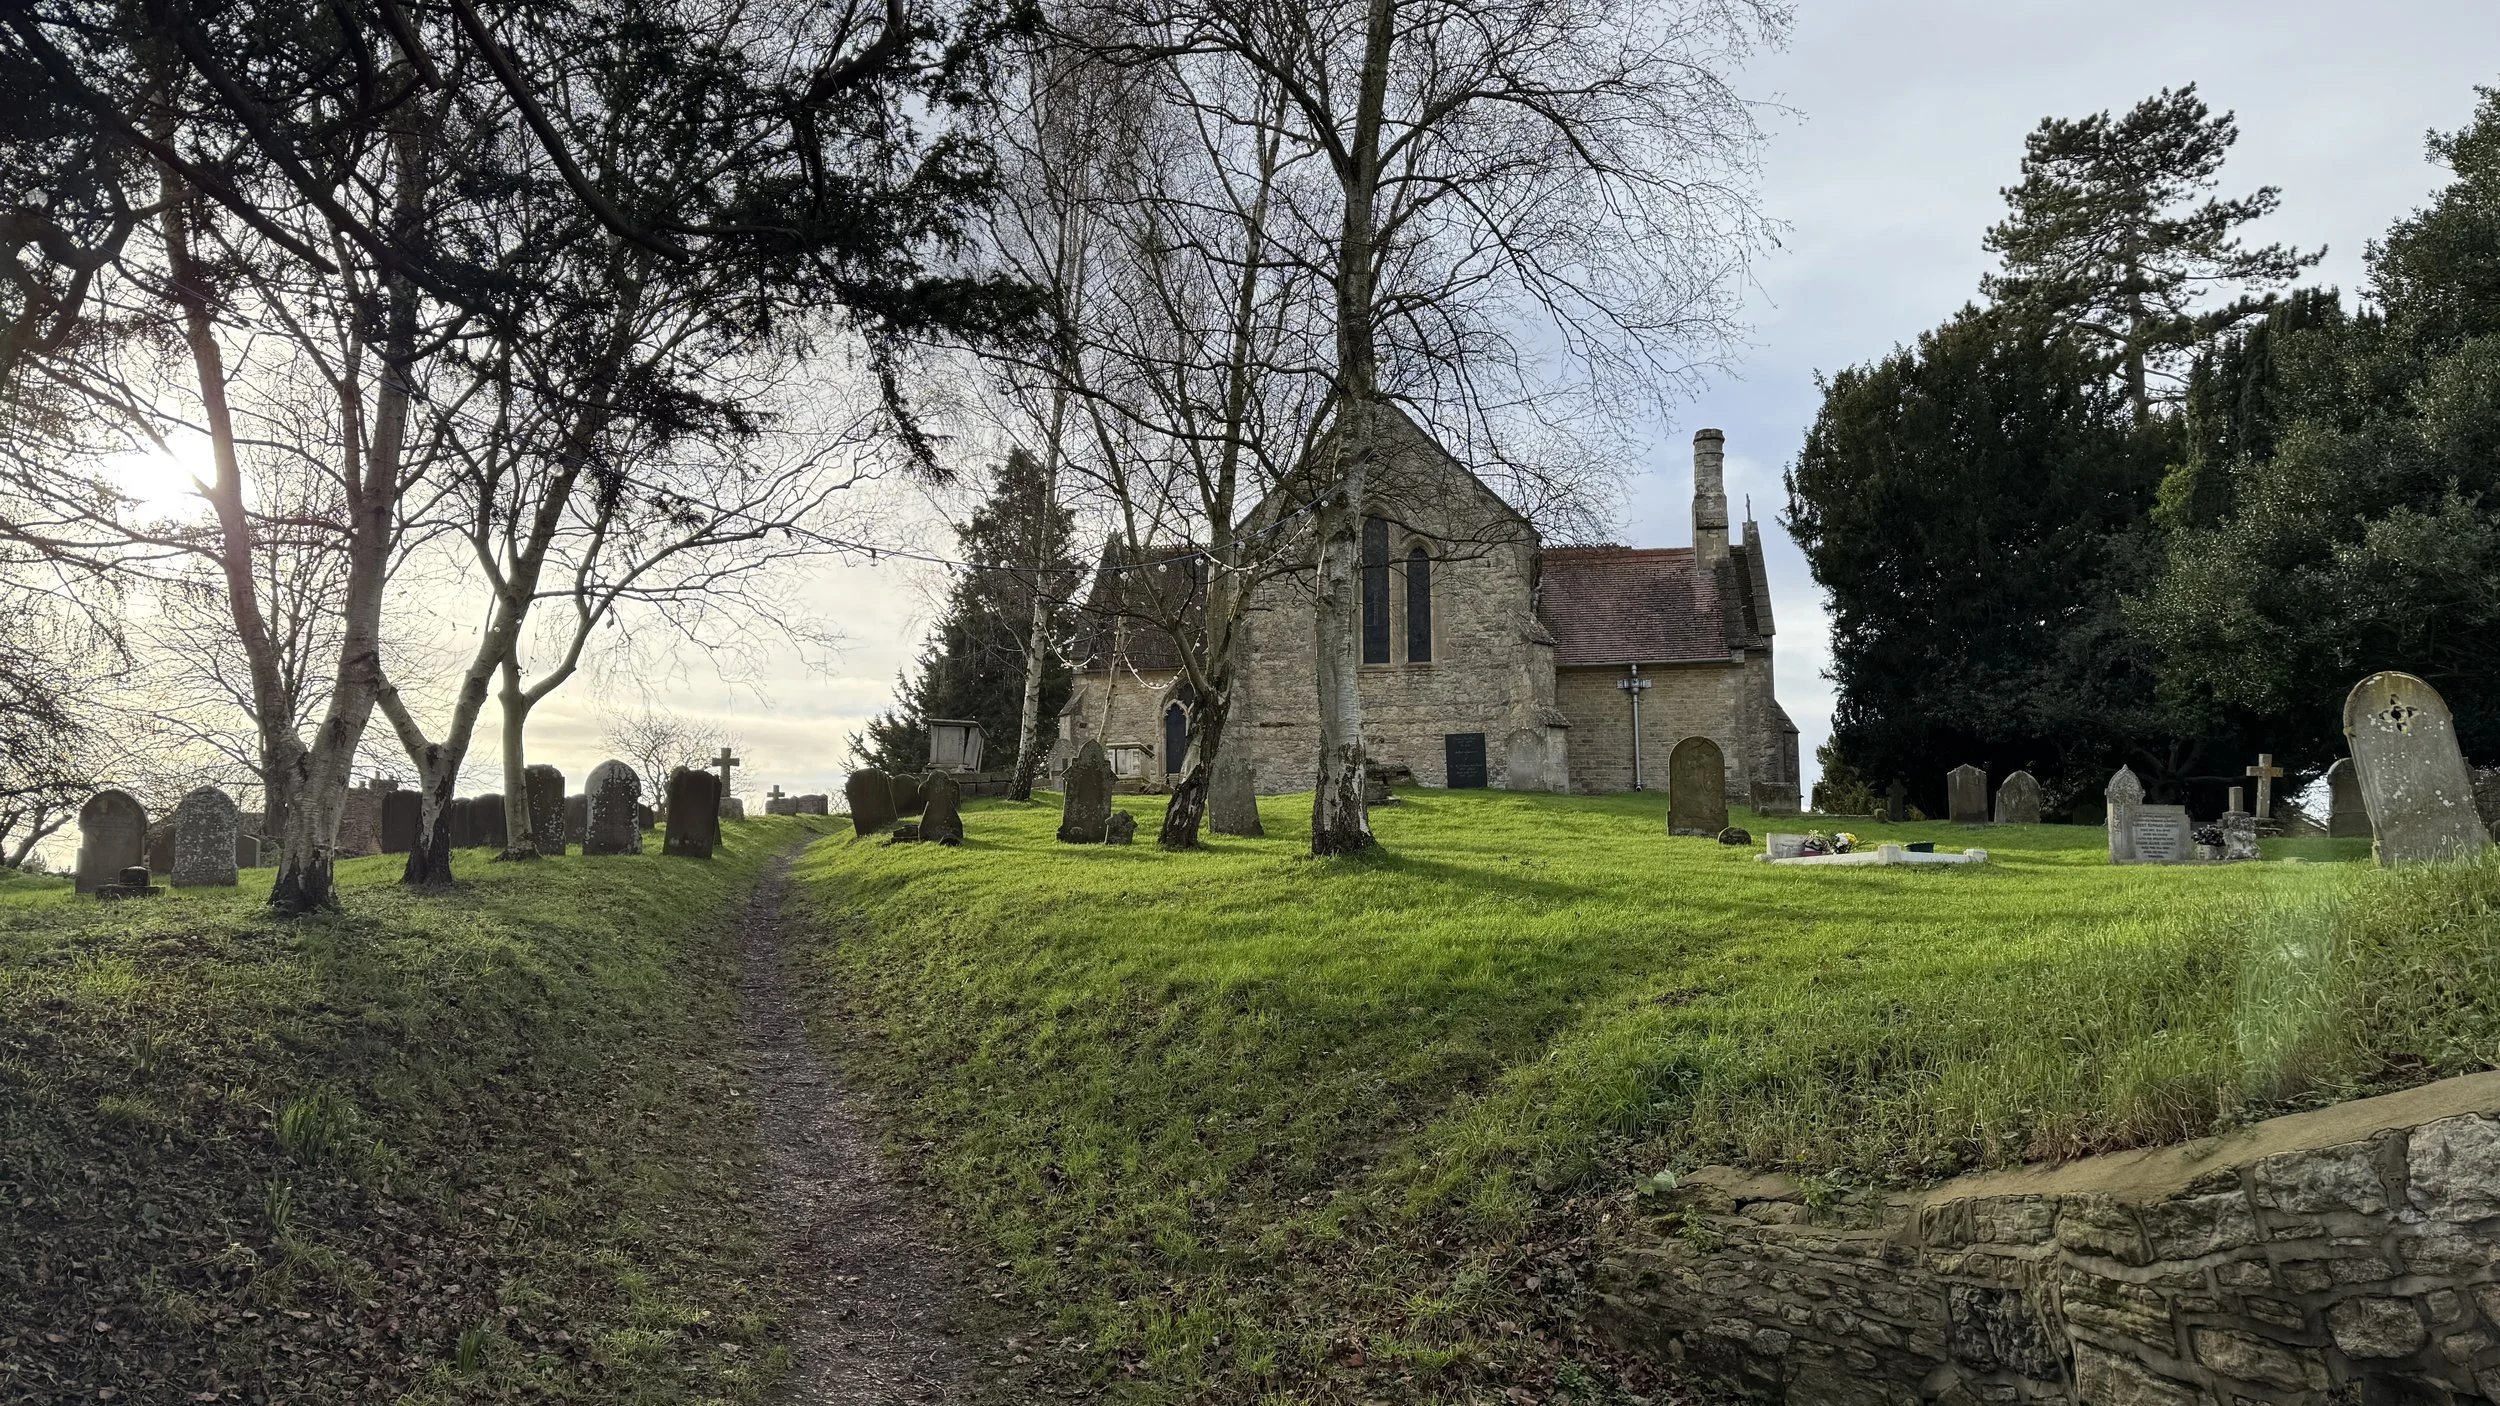
Stone: This historic village sits on a ridge of limestone and sand, giving it its name. The parish church of St John the Baptist dates back to 1273 and features a remarkable Norman font with intricate carvings of humans and animals.
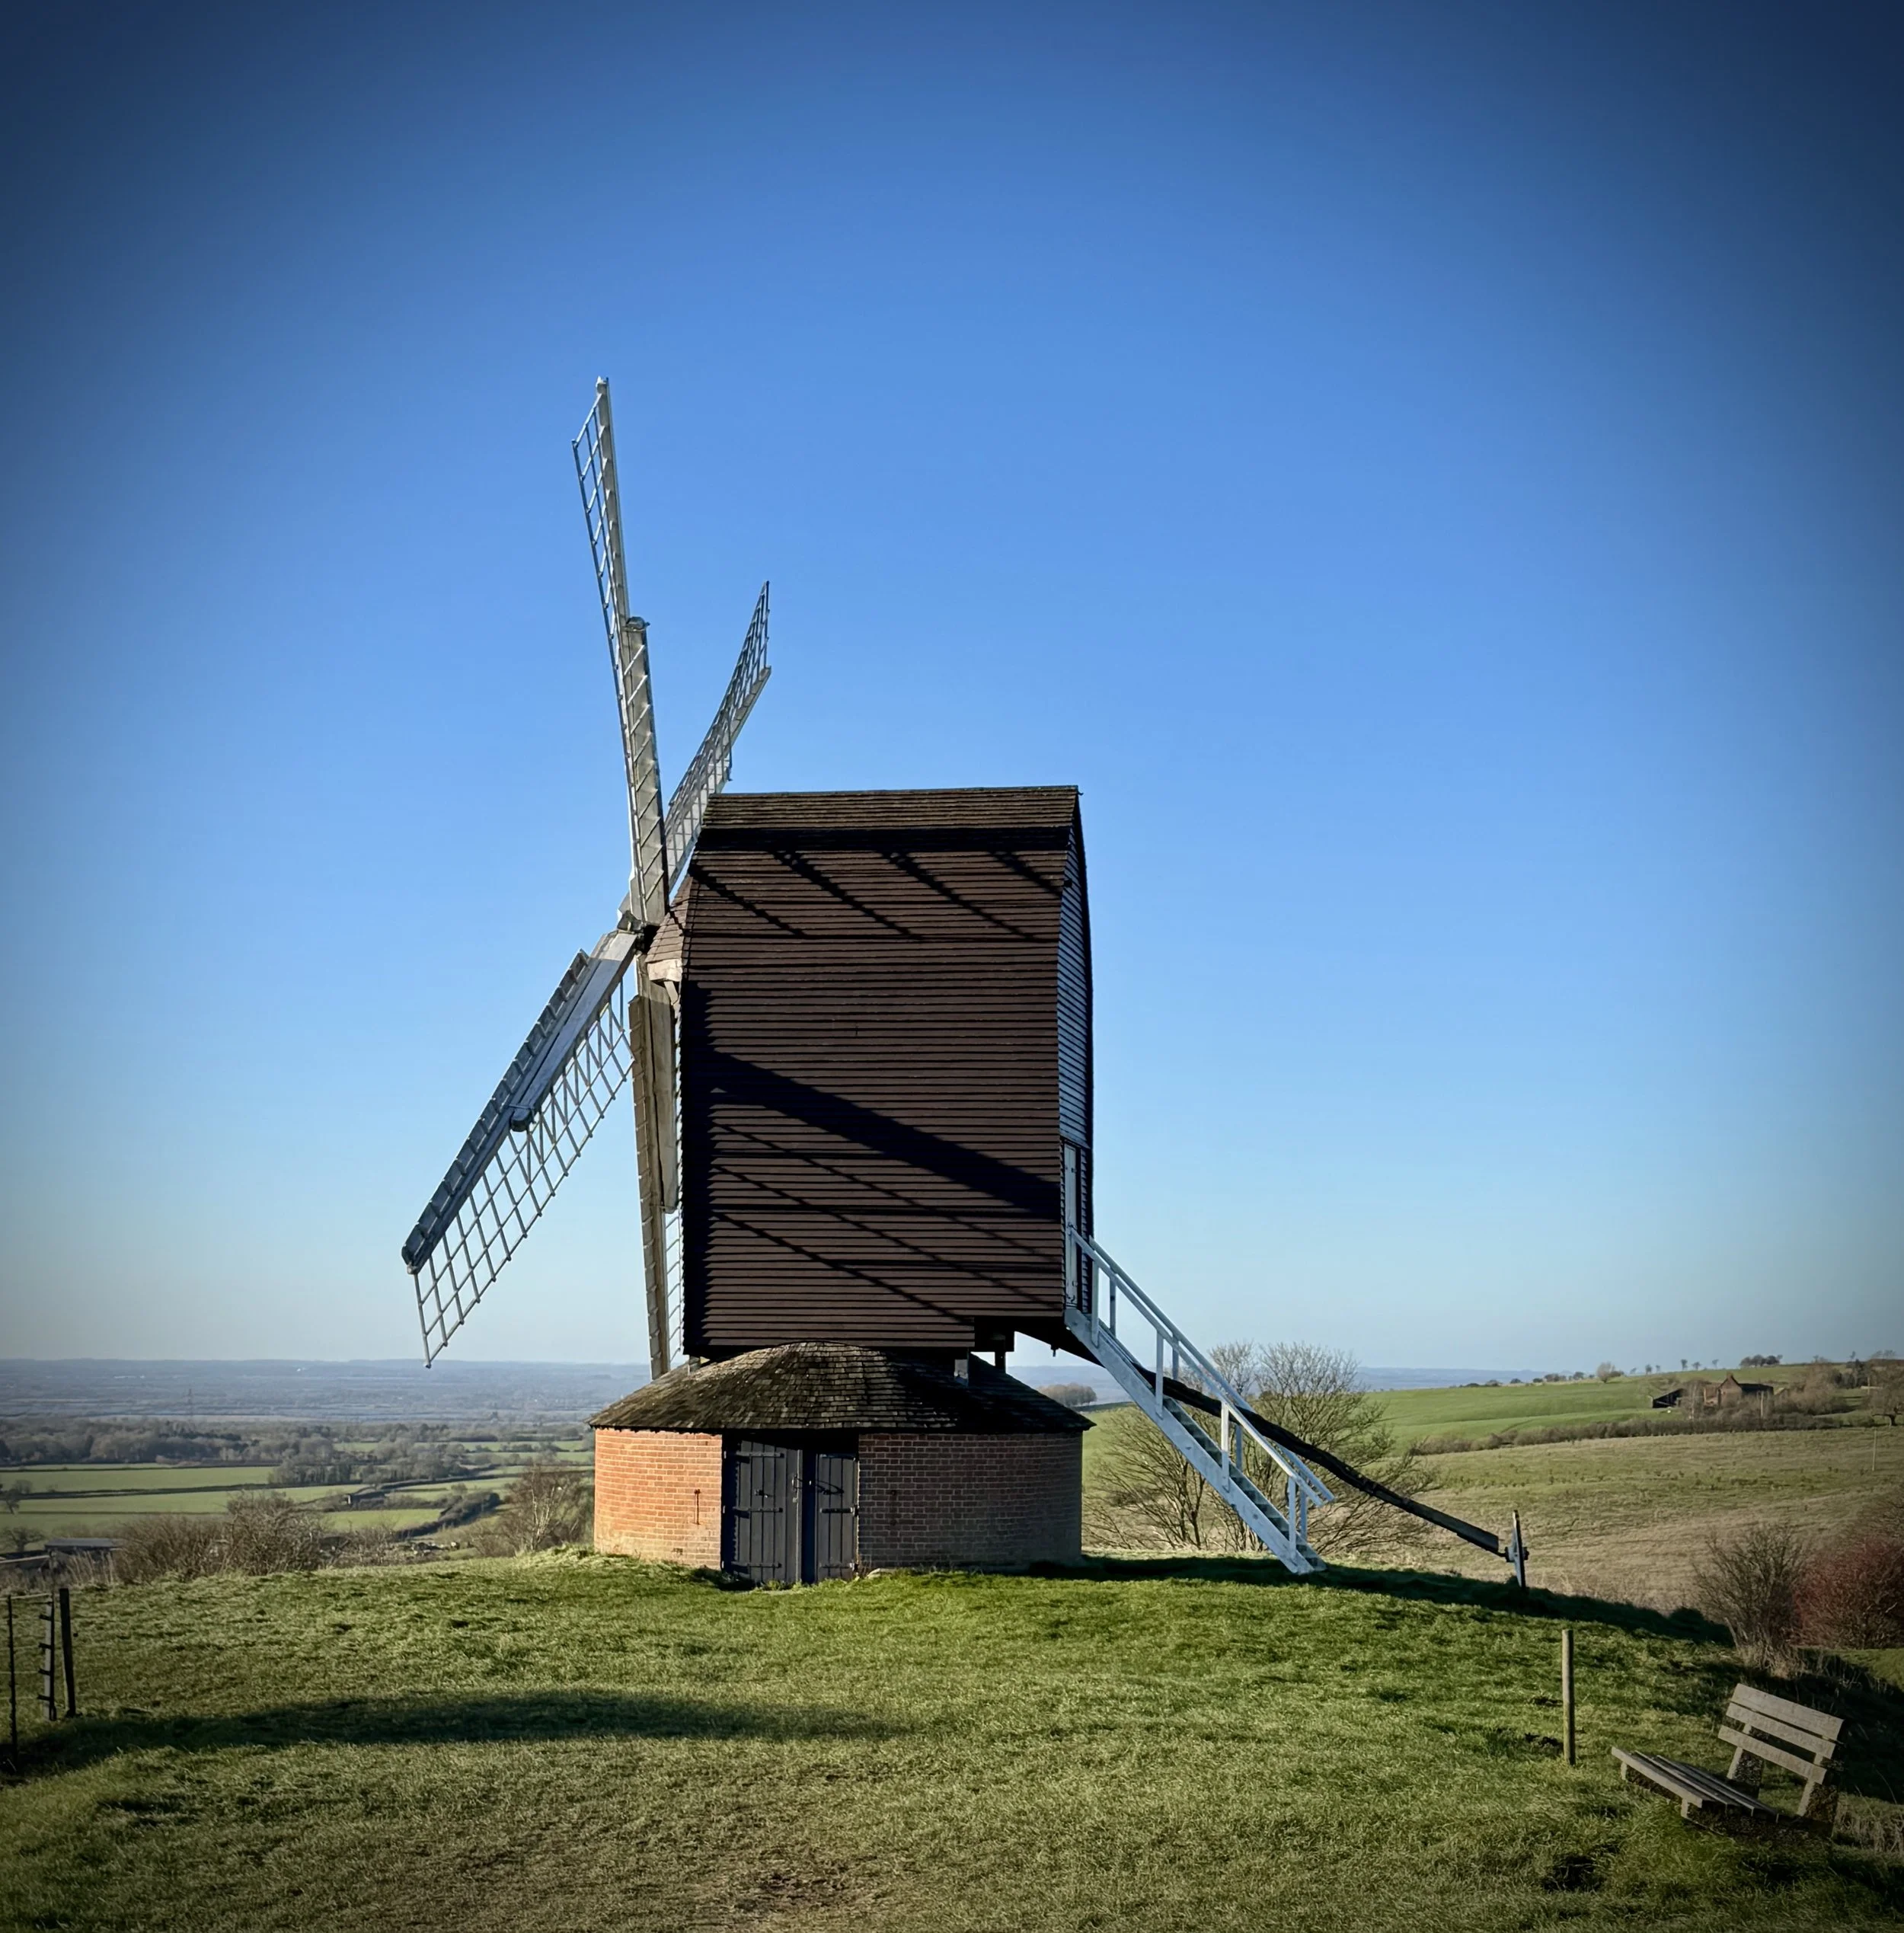
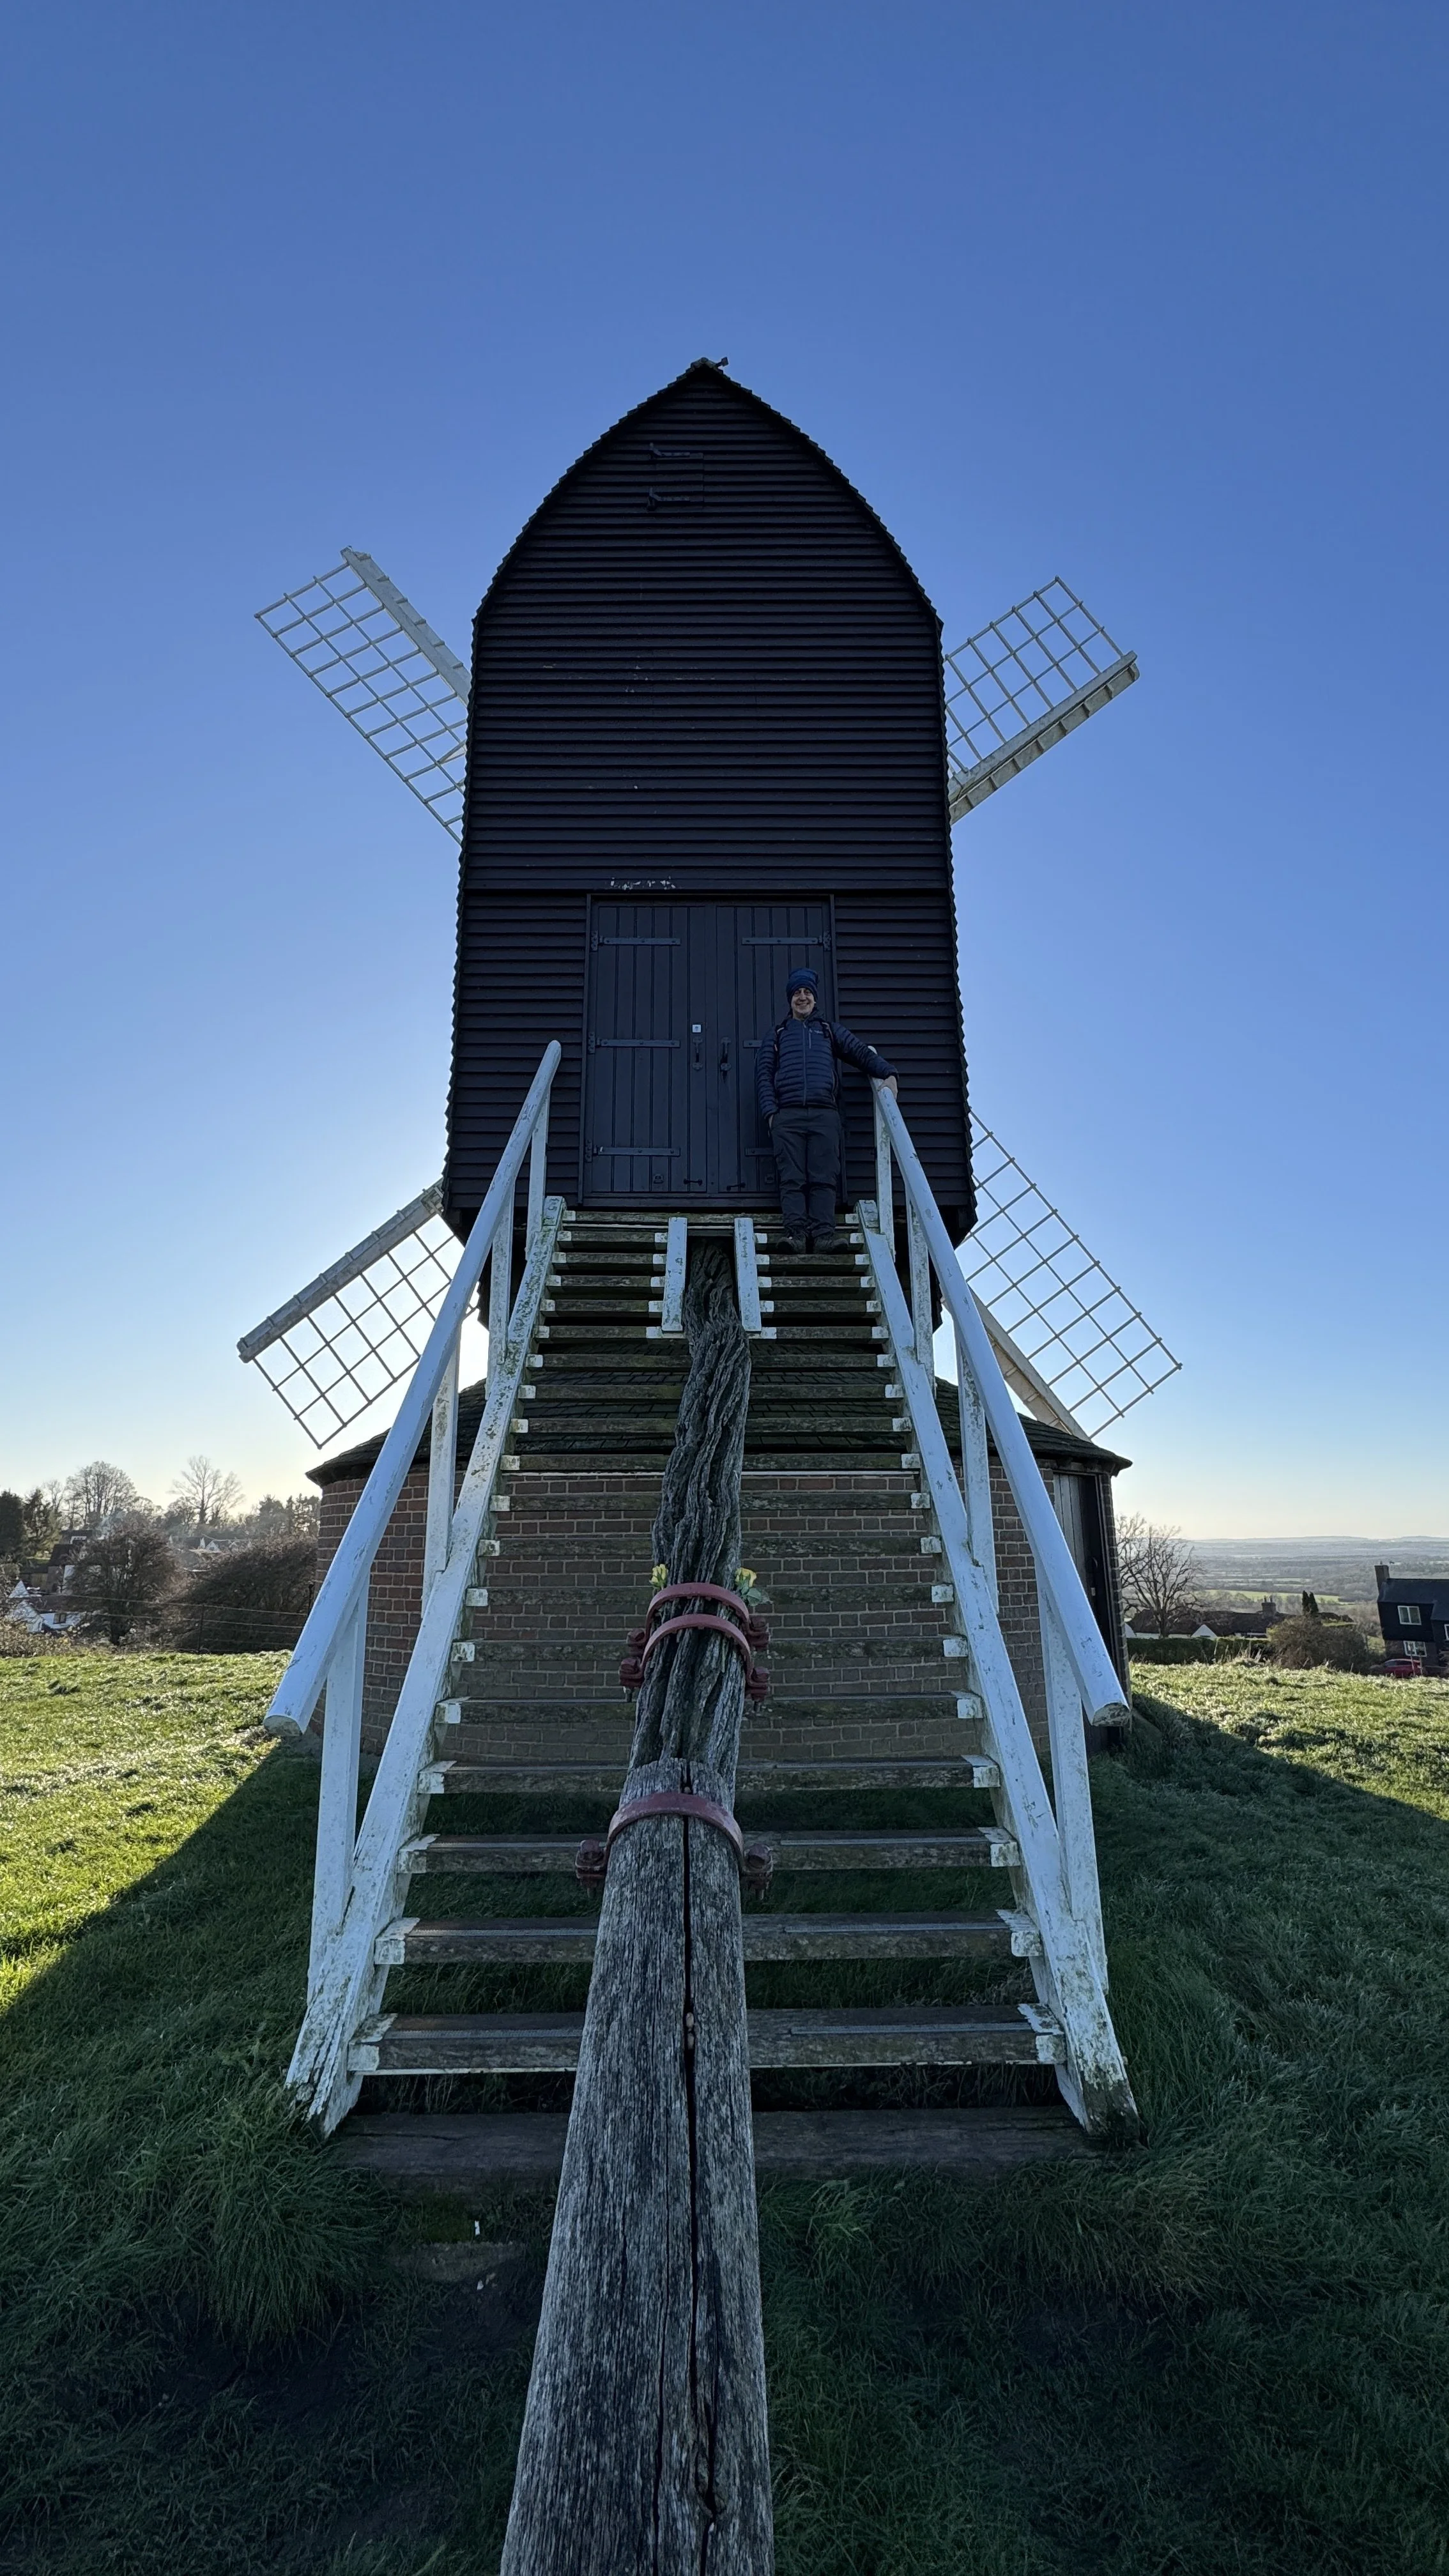
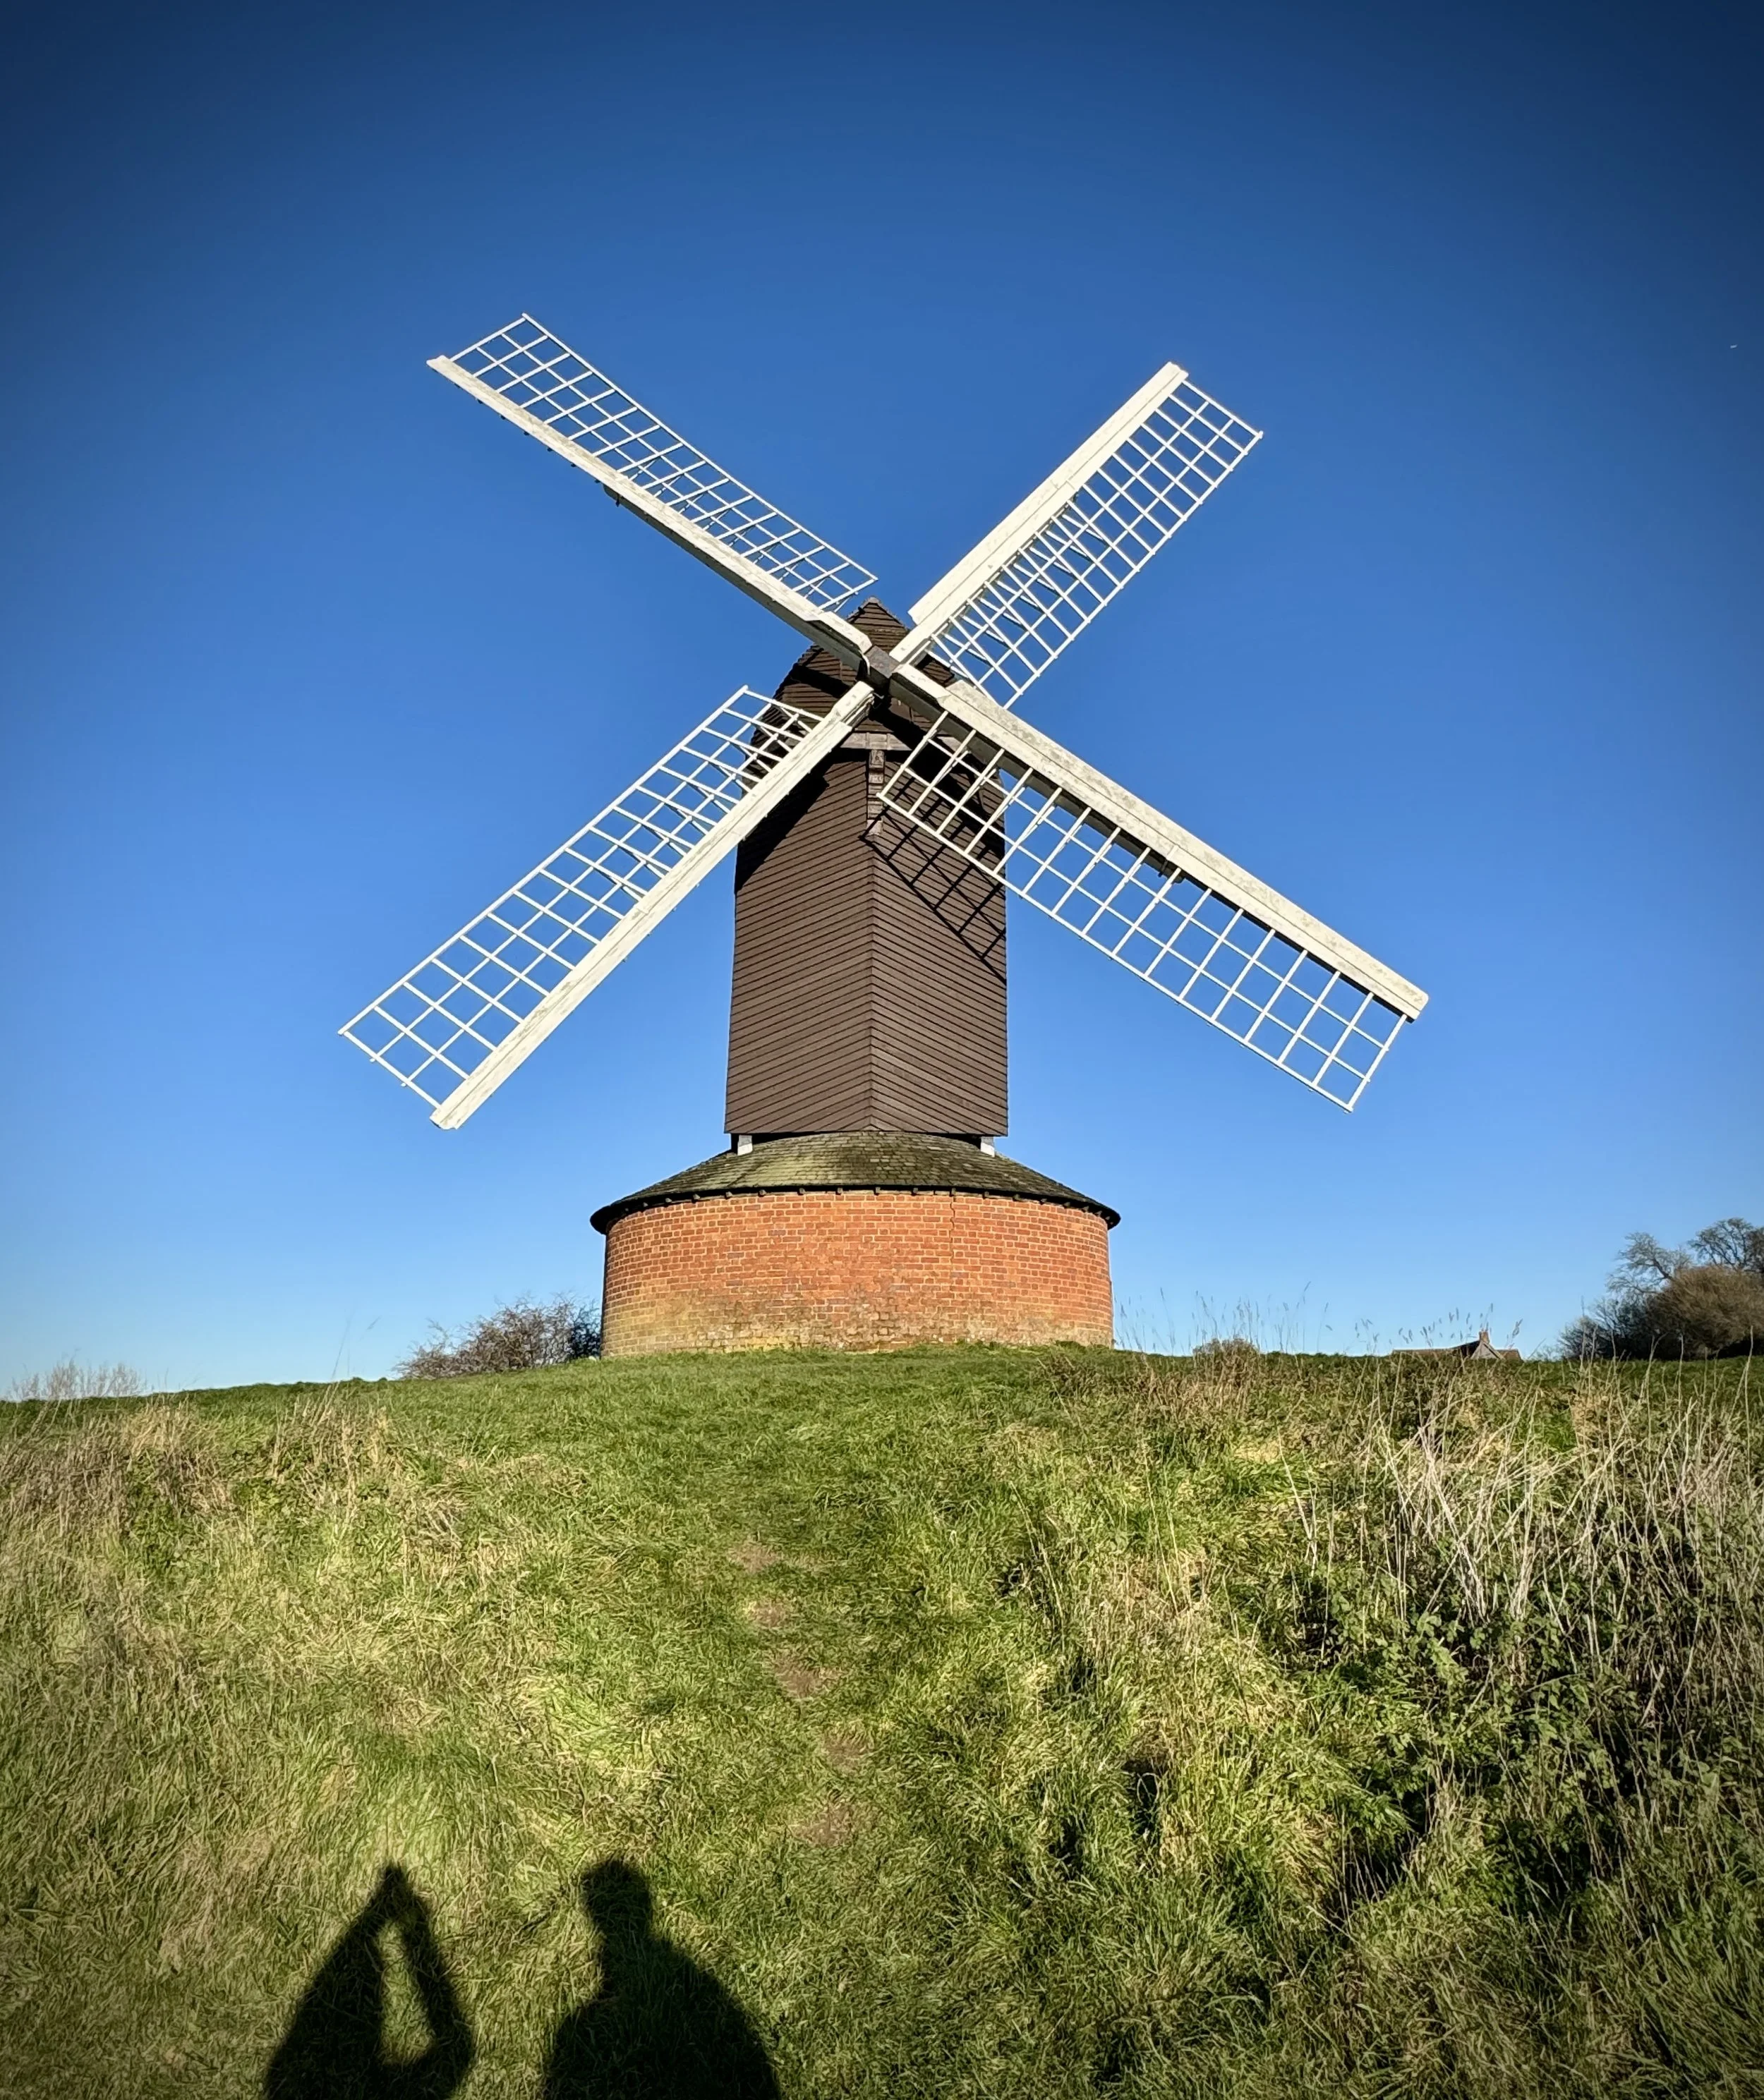
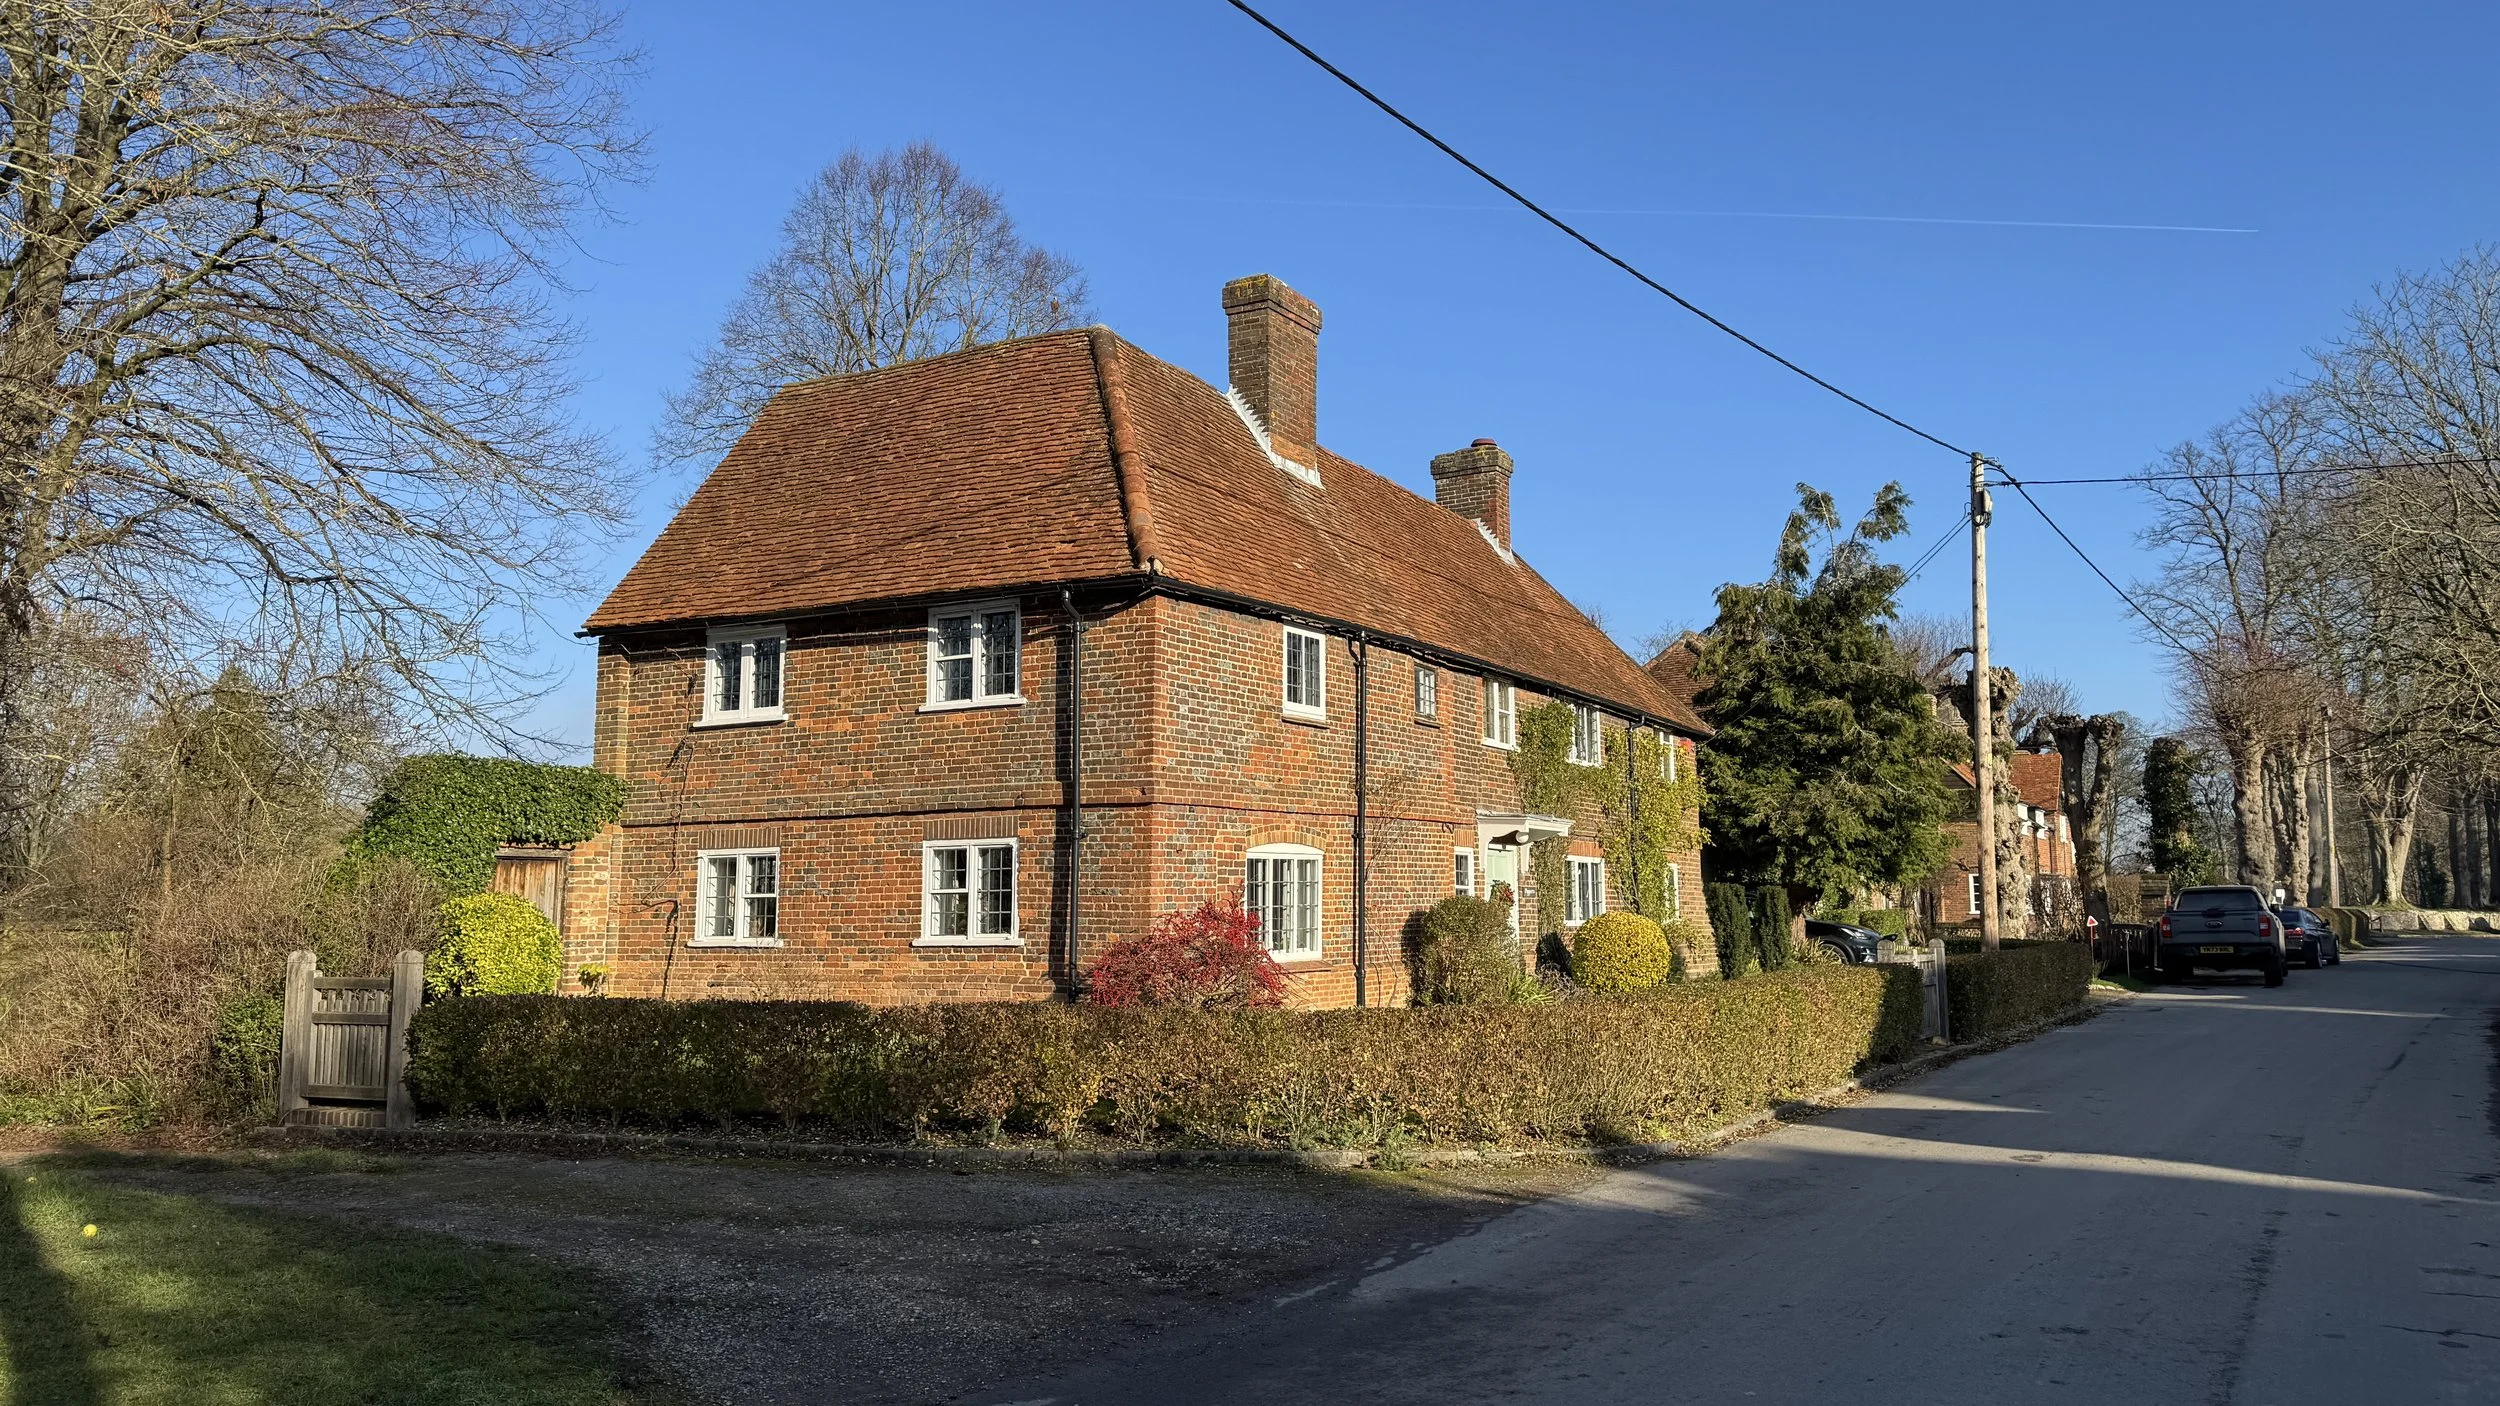
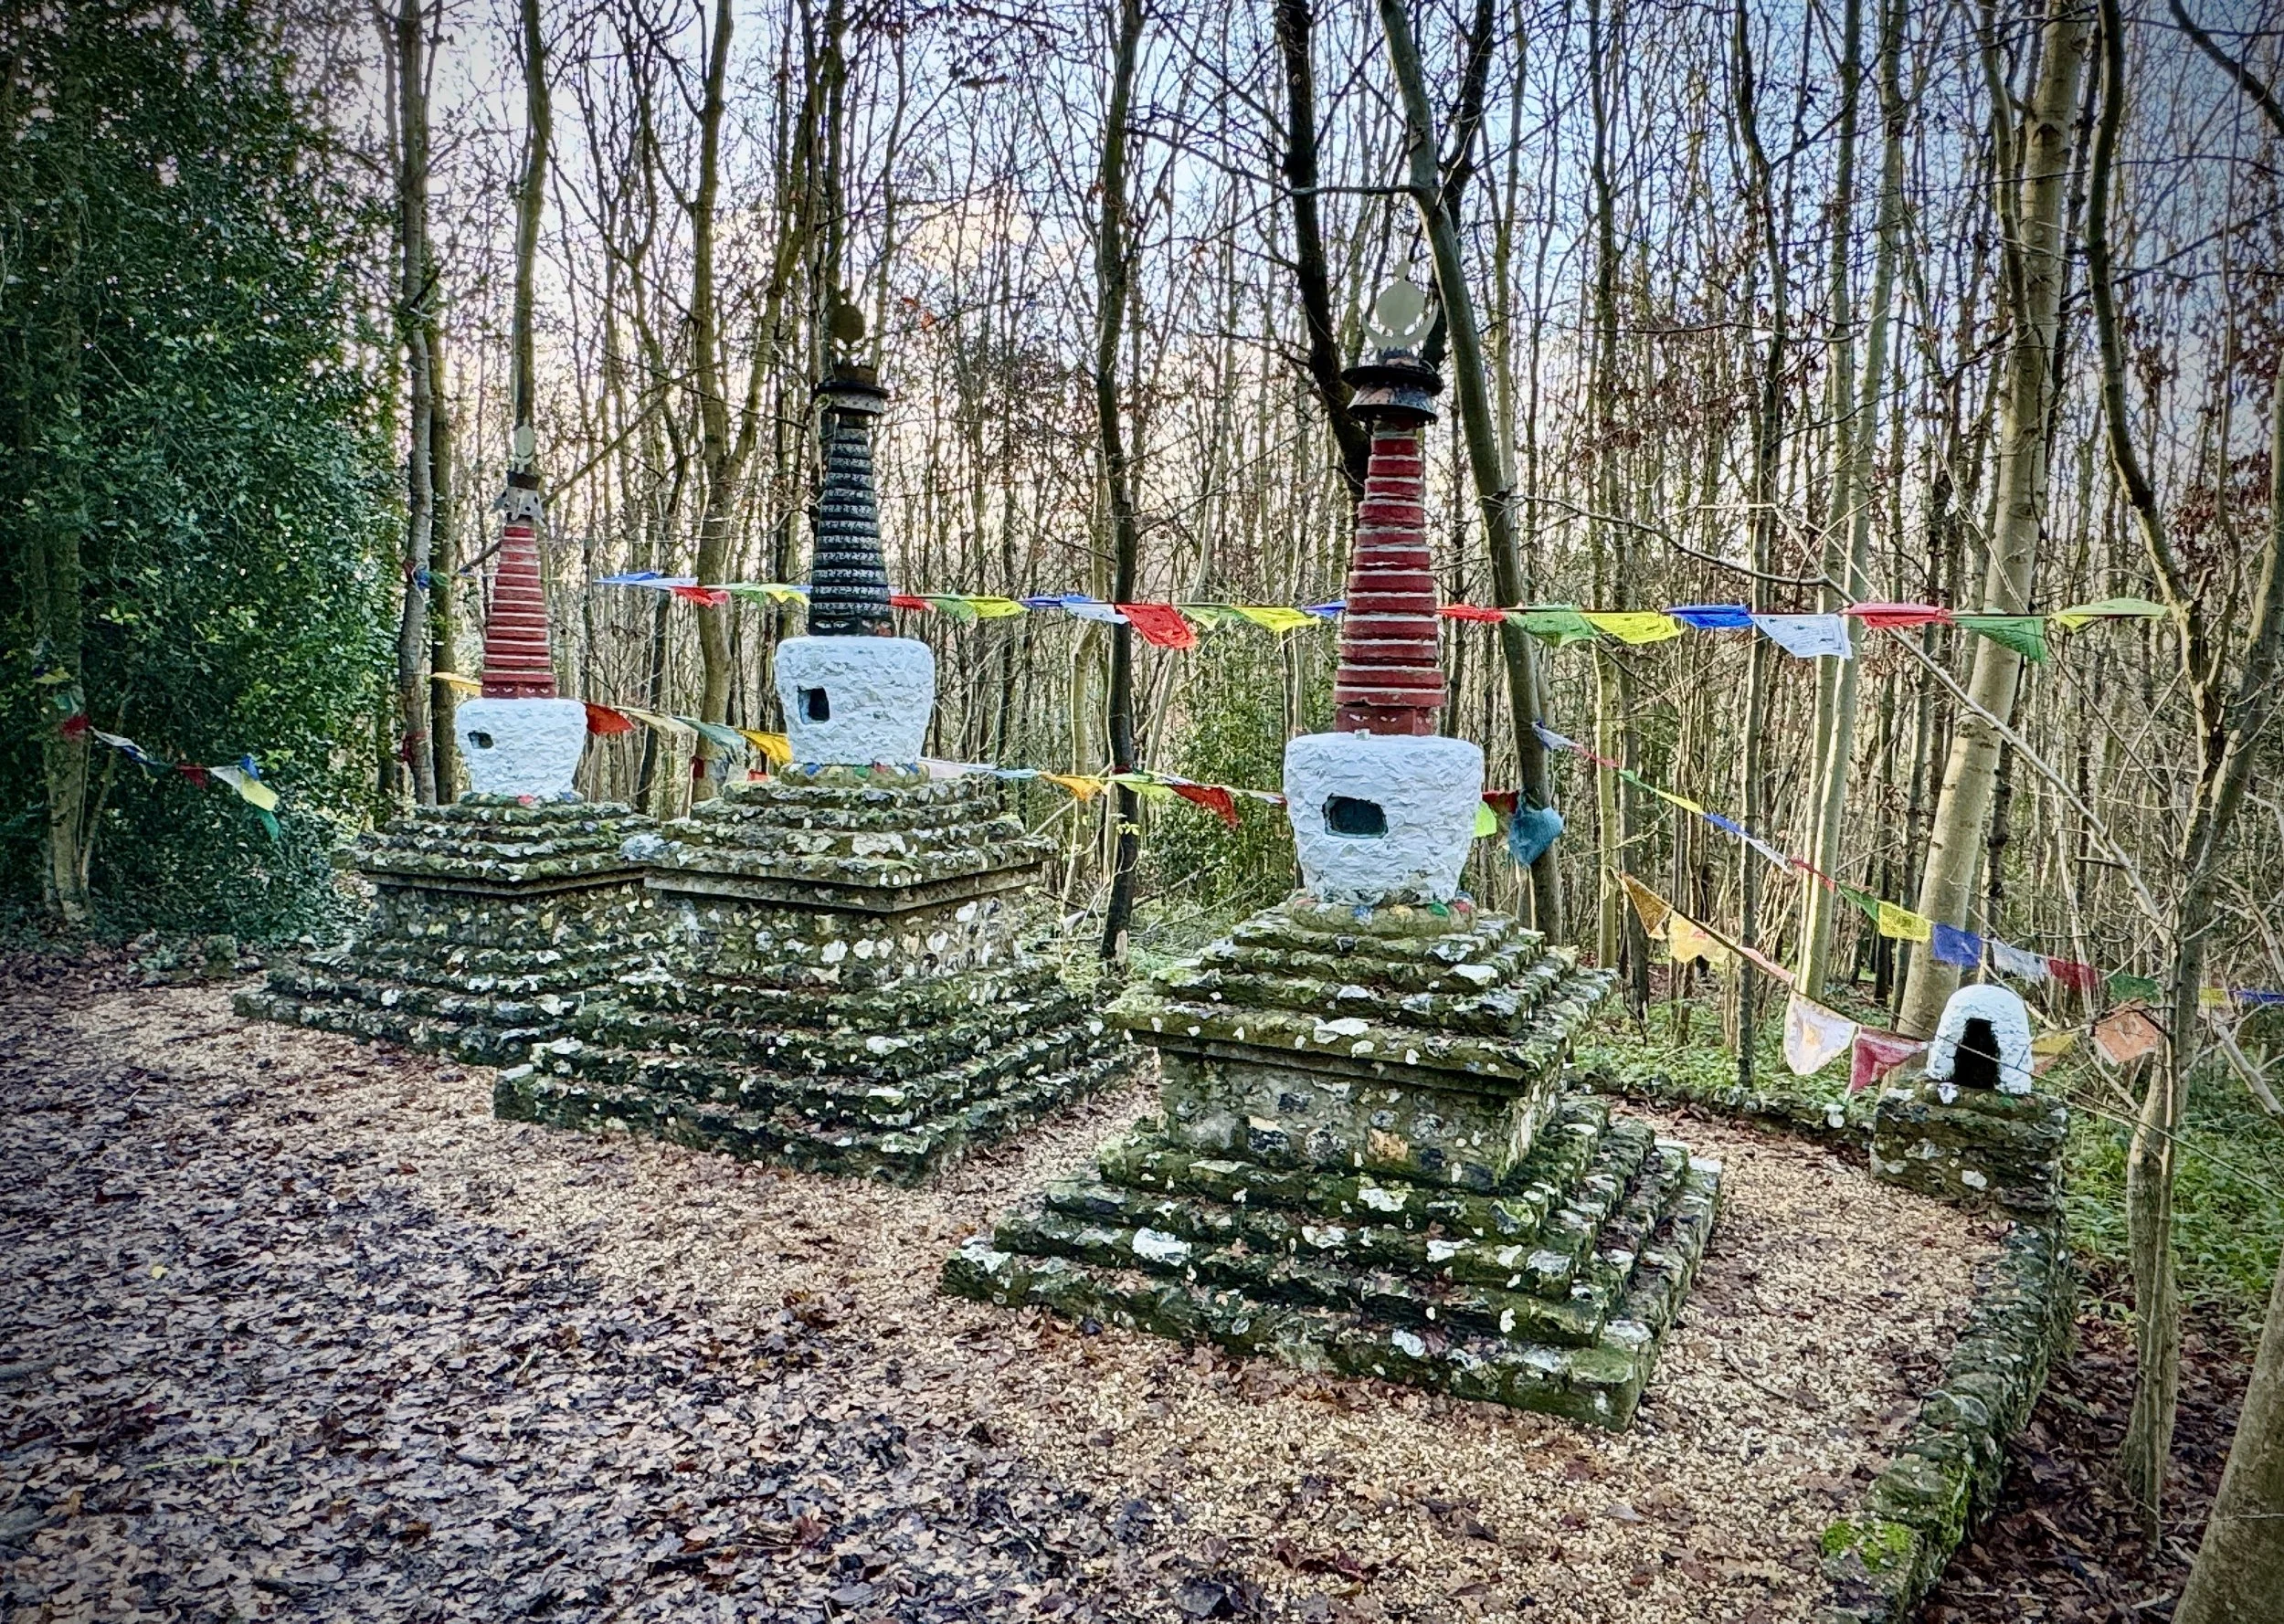
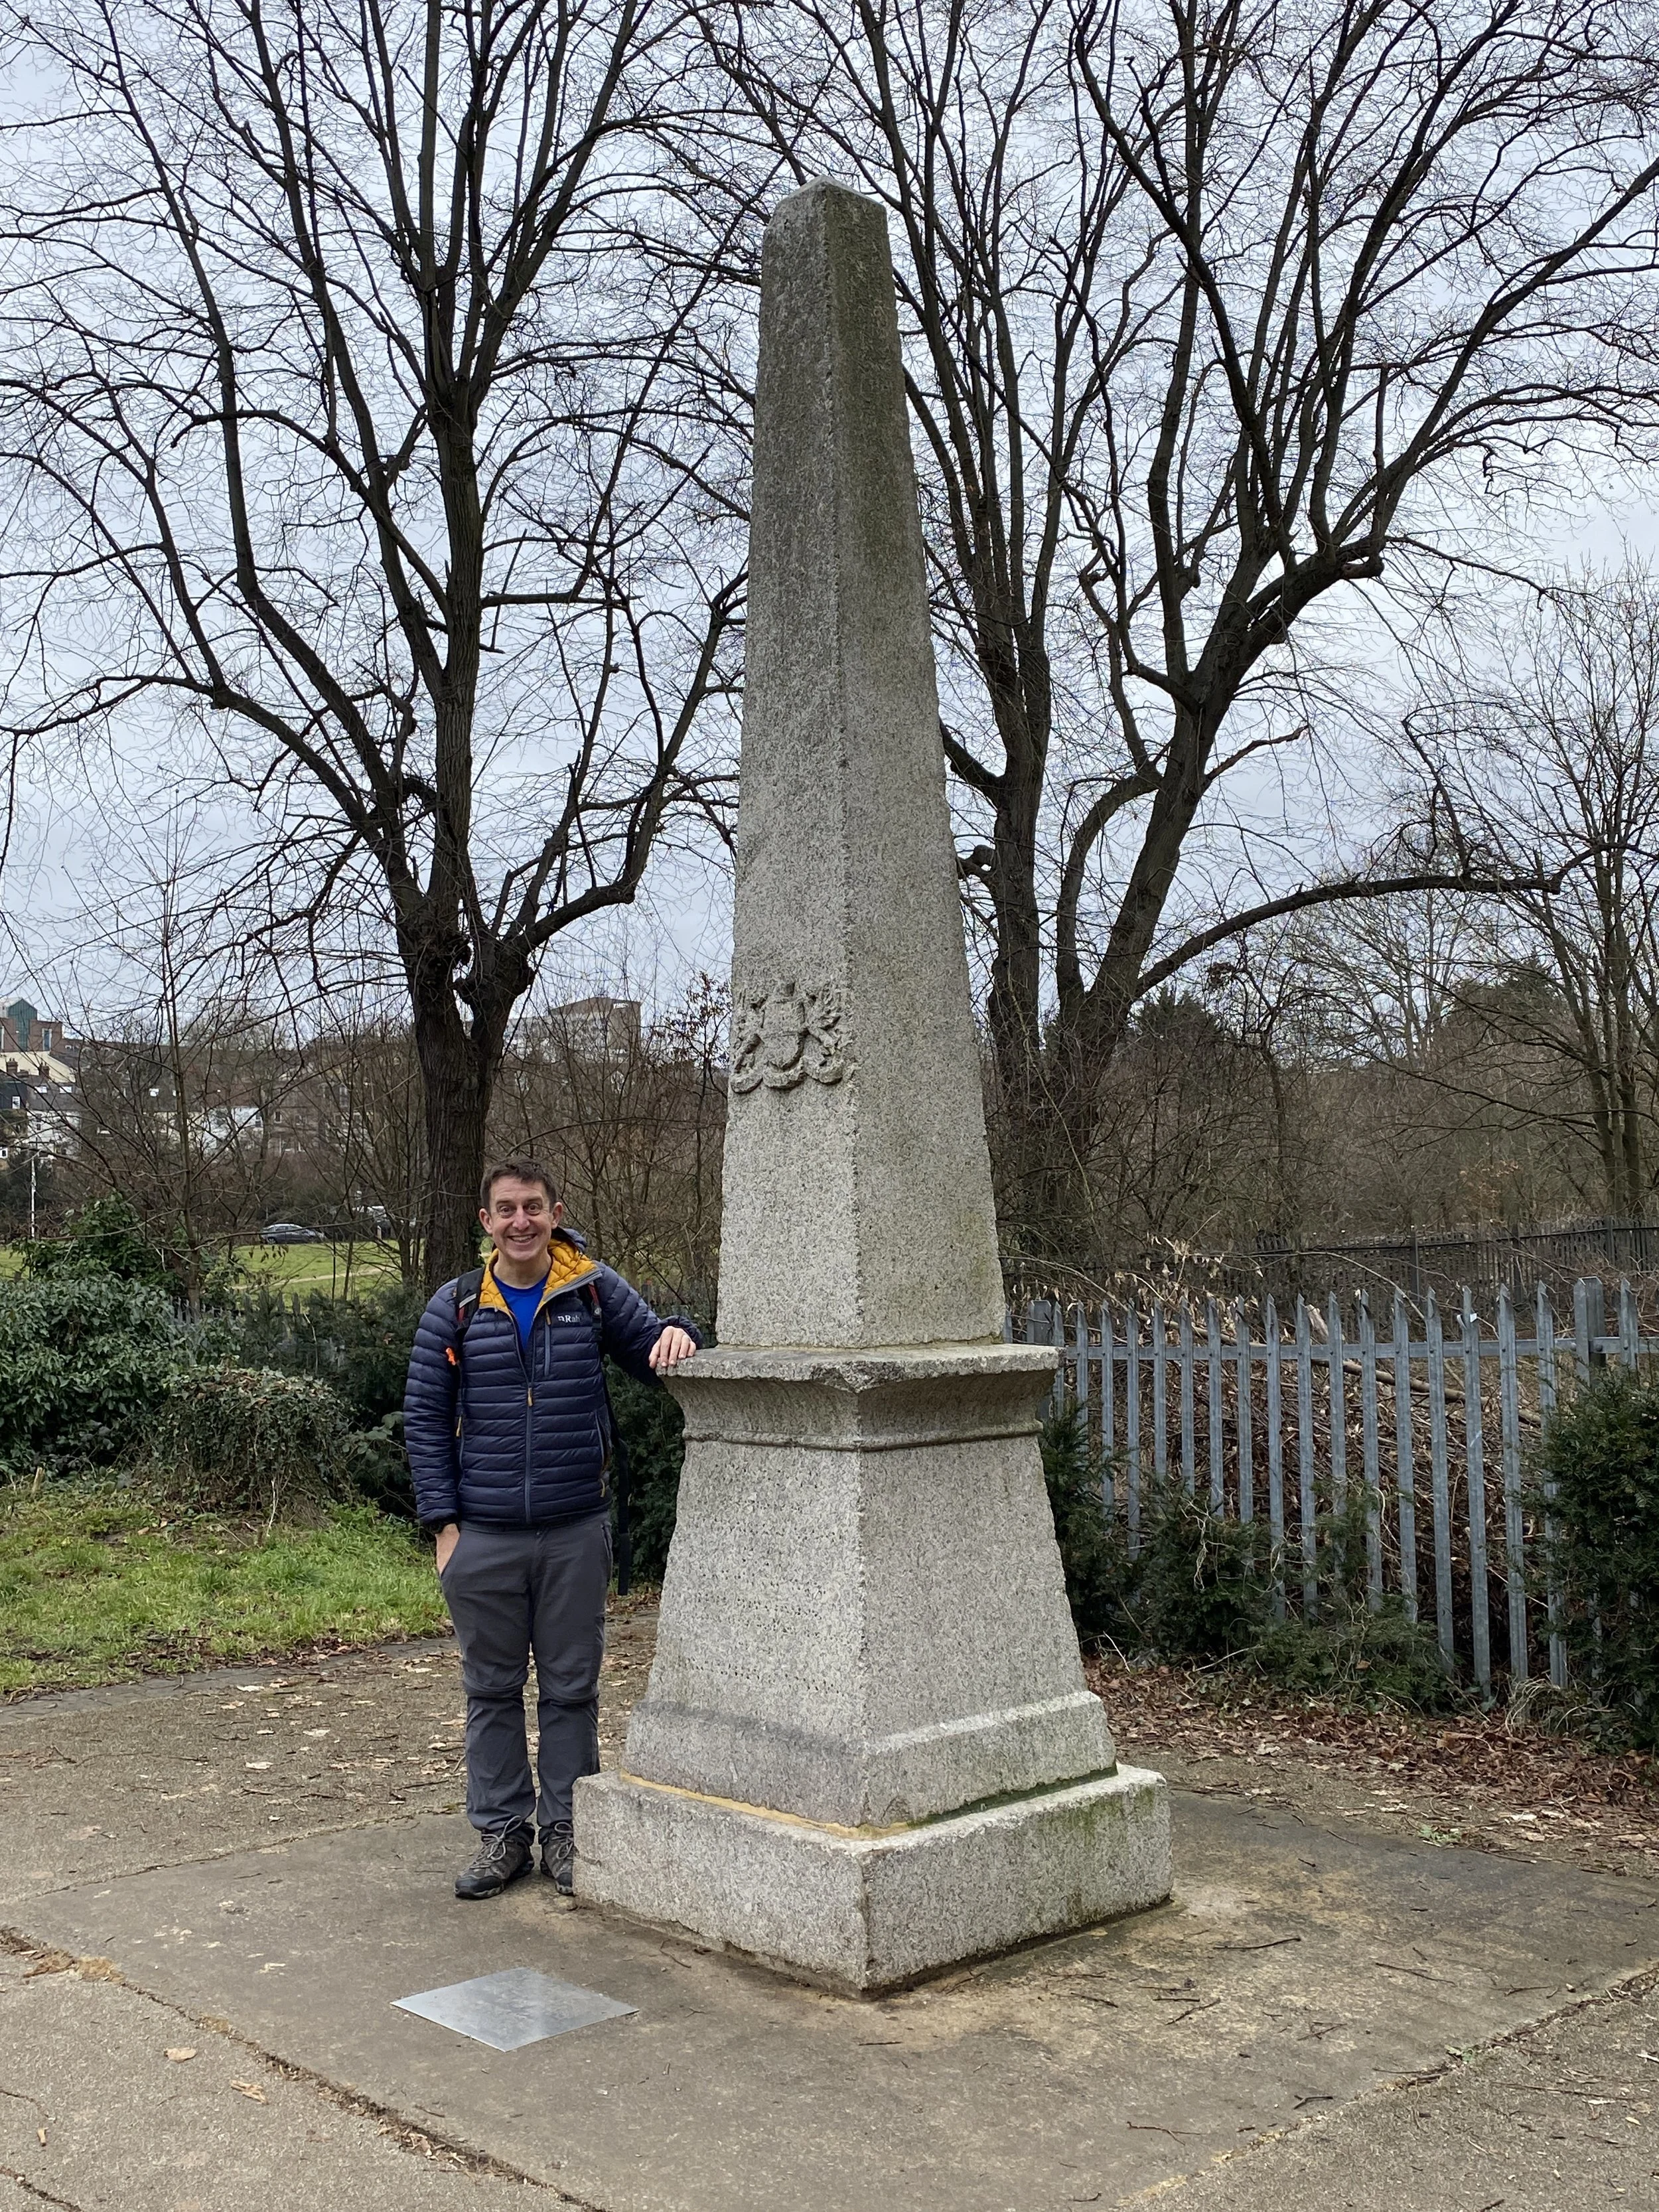
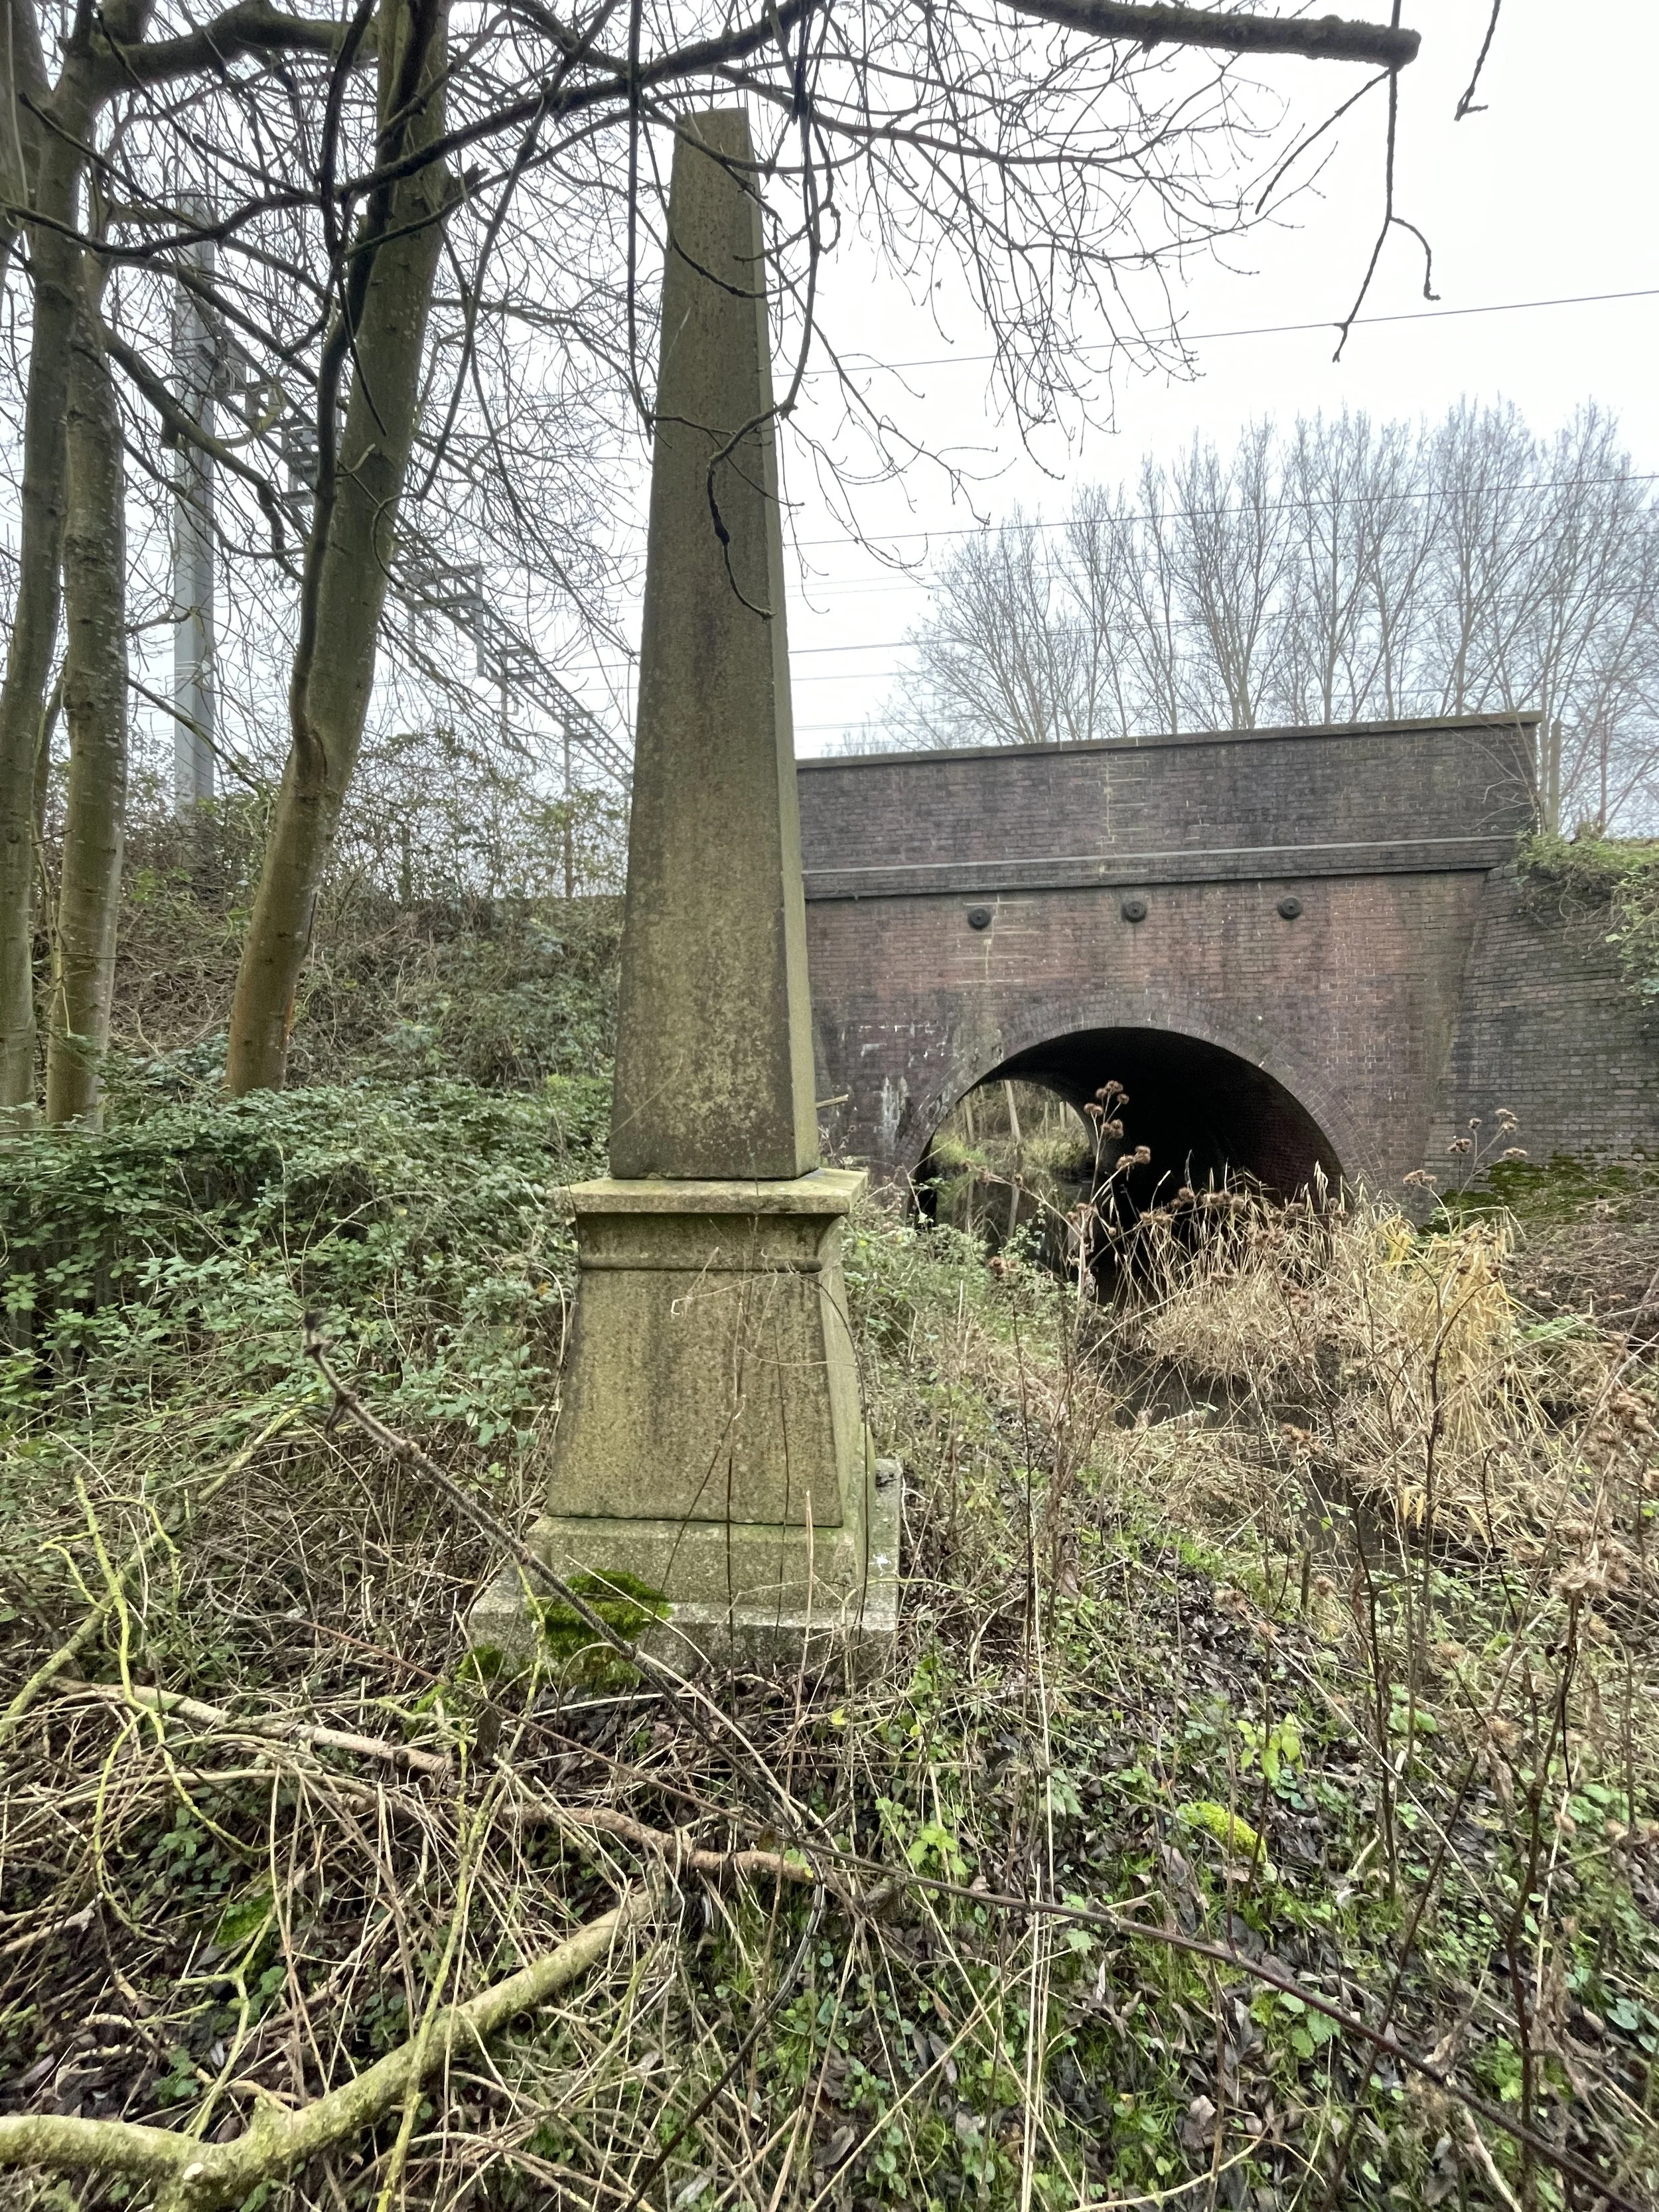
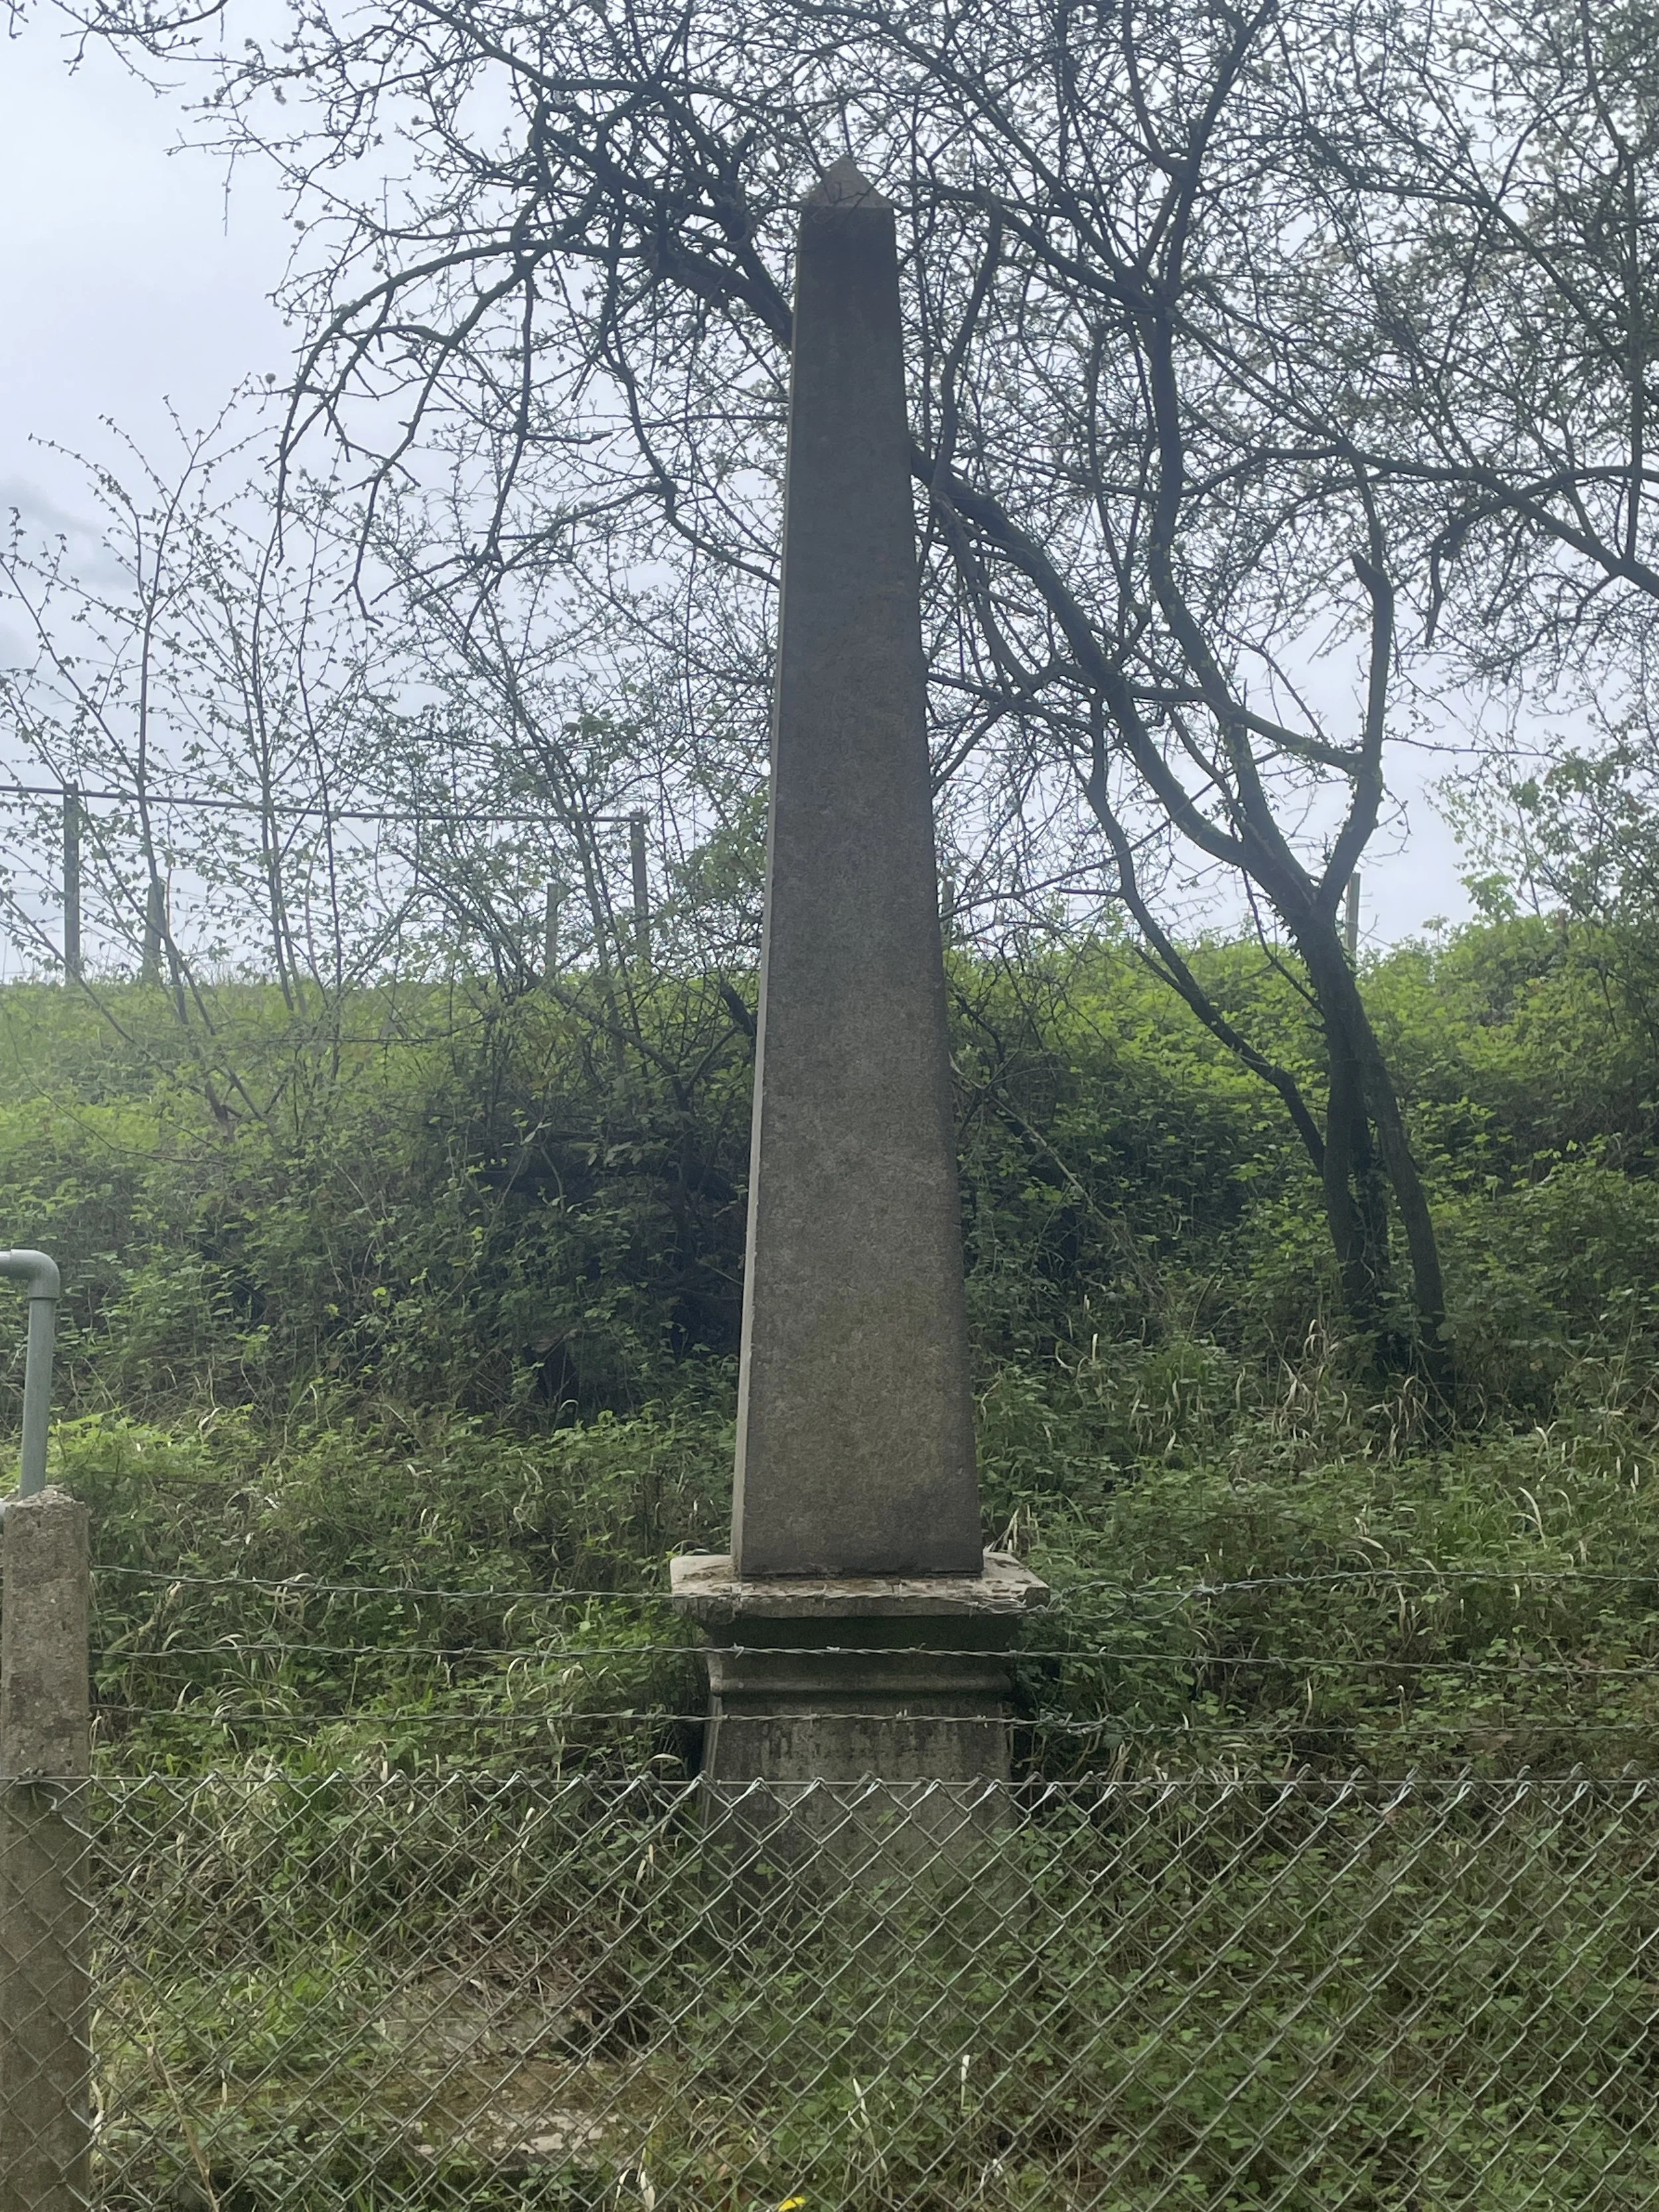
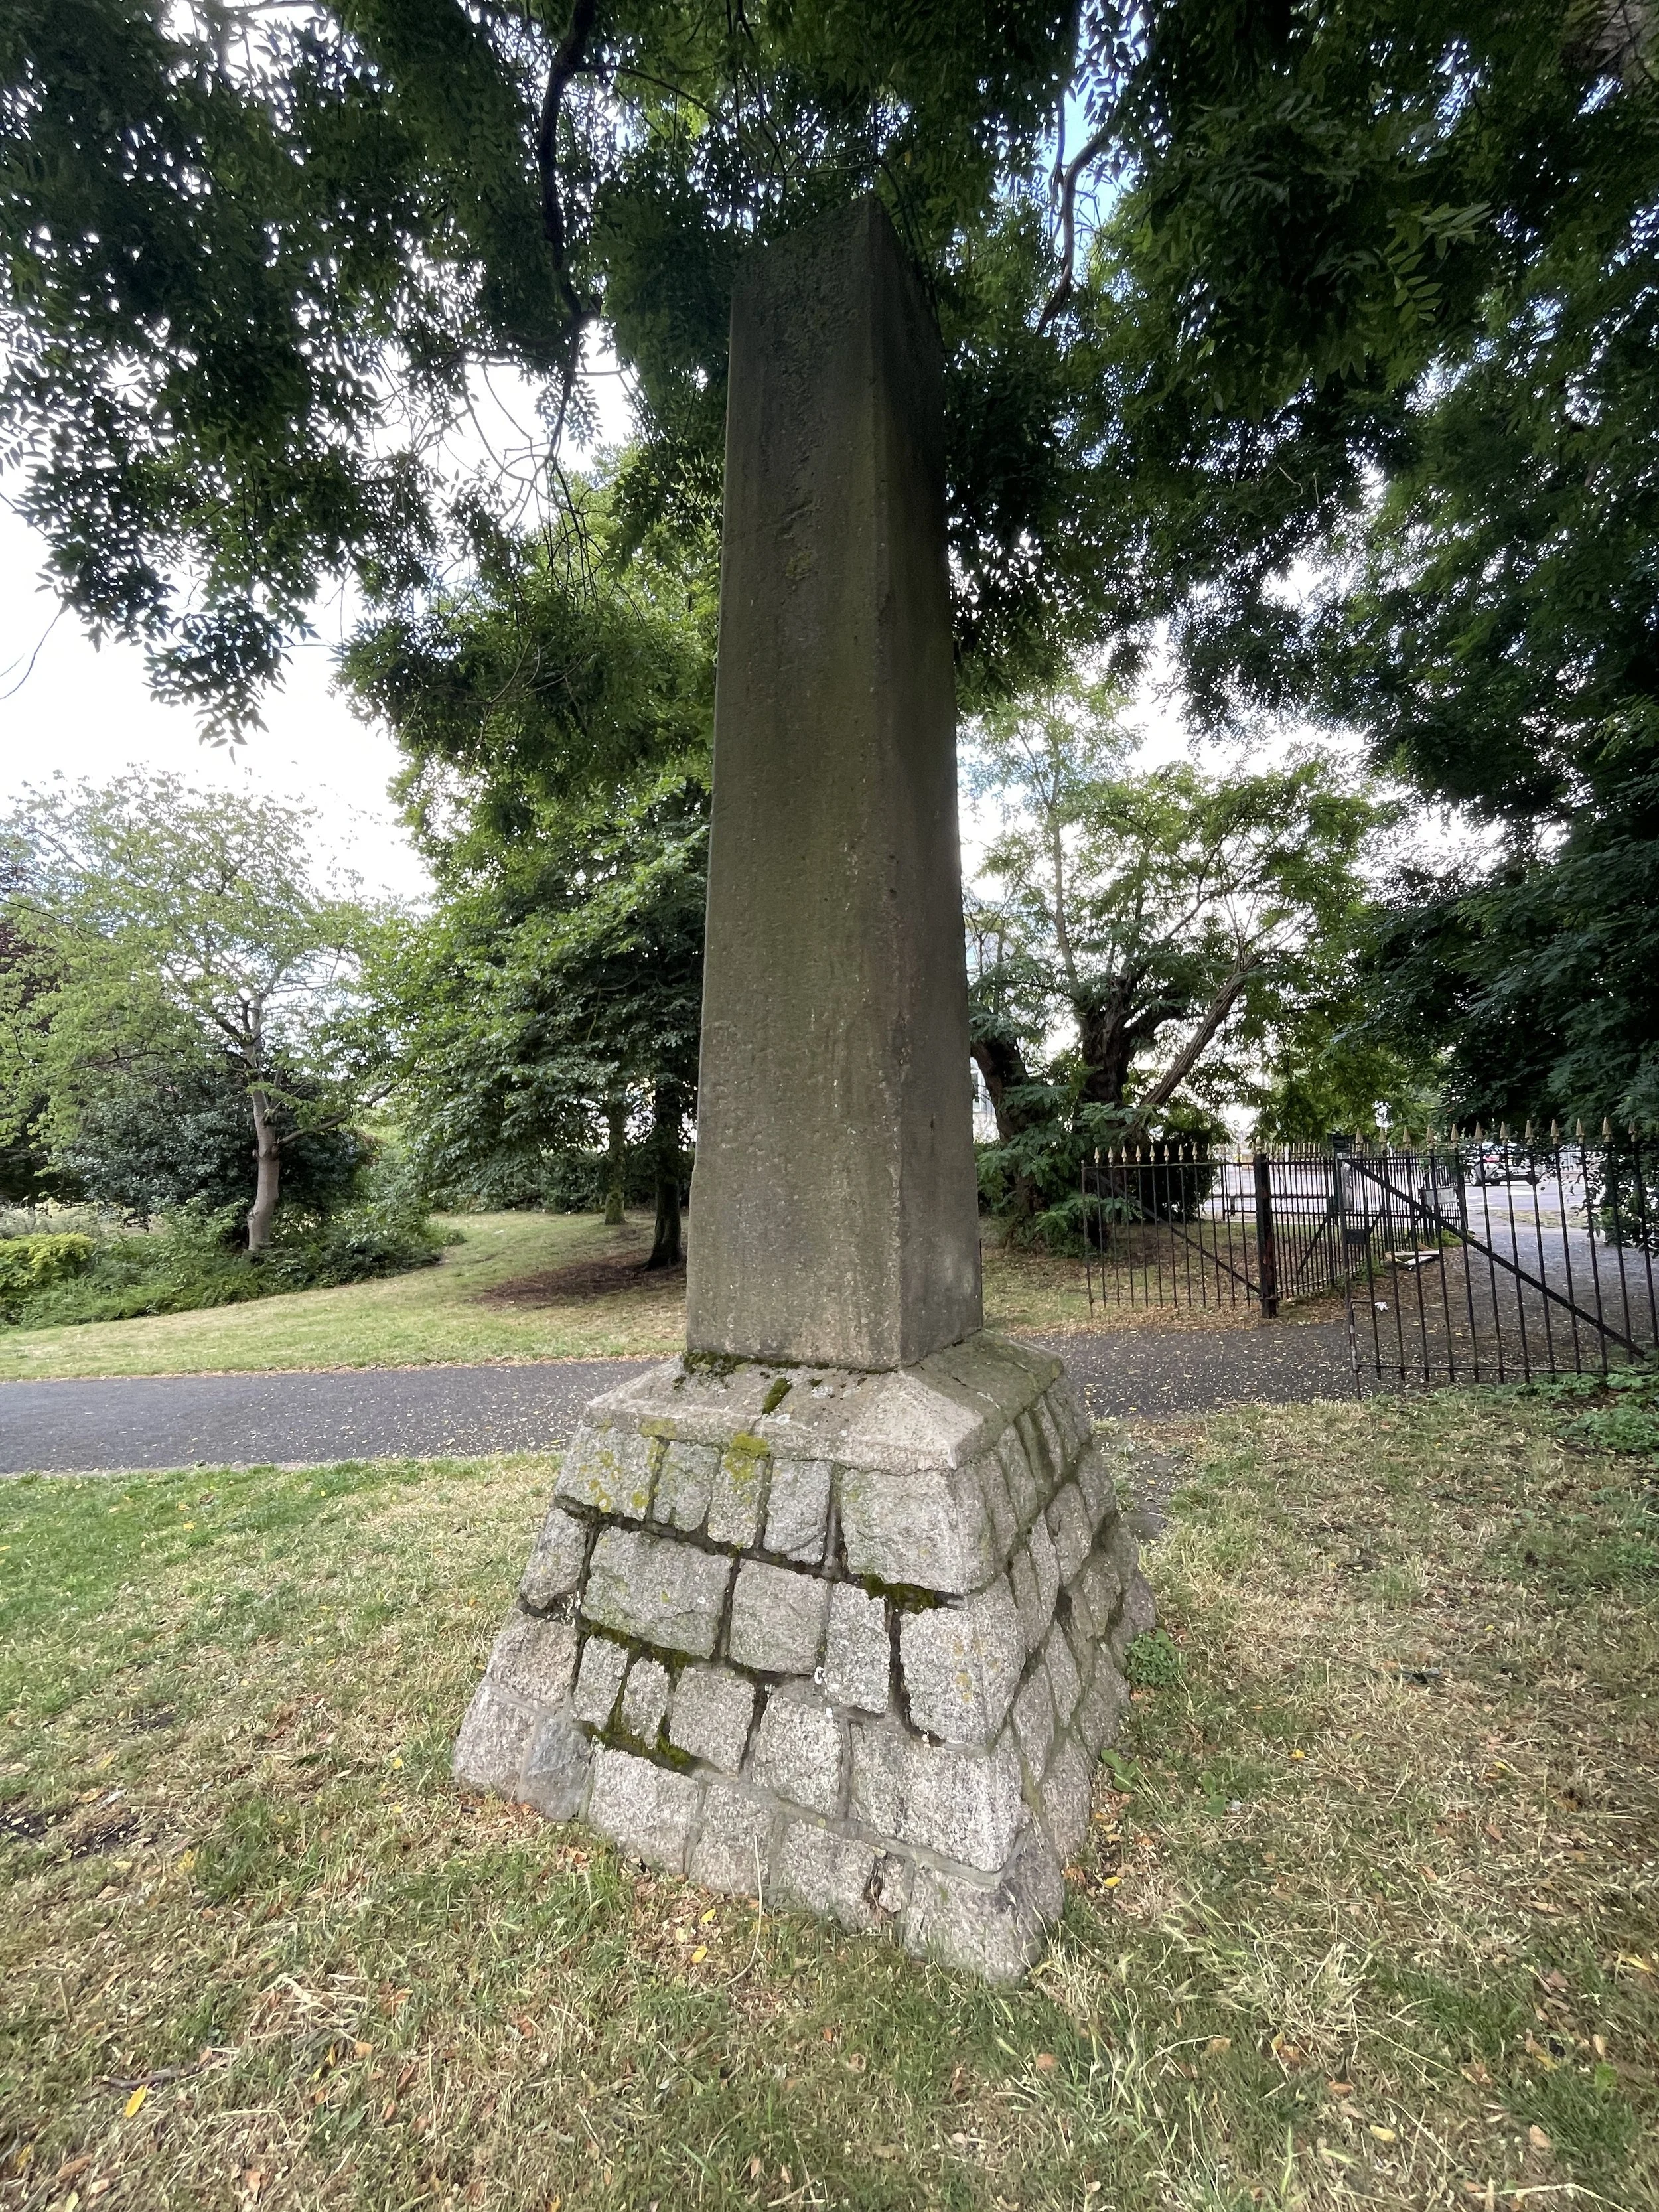
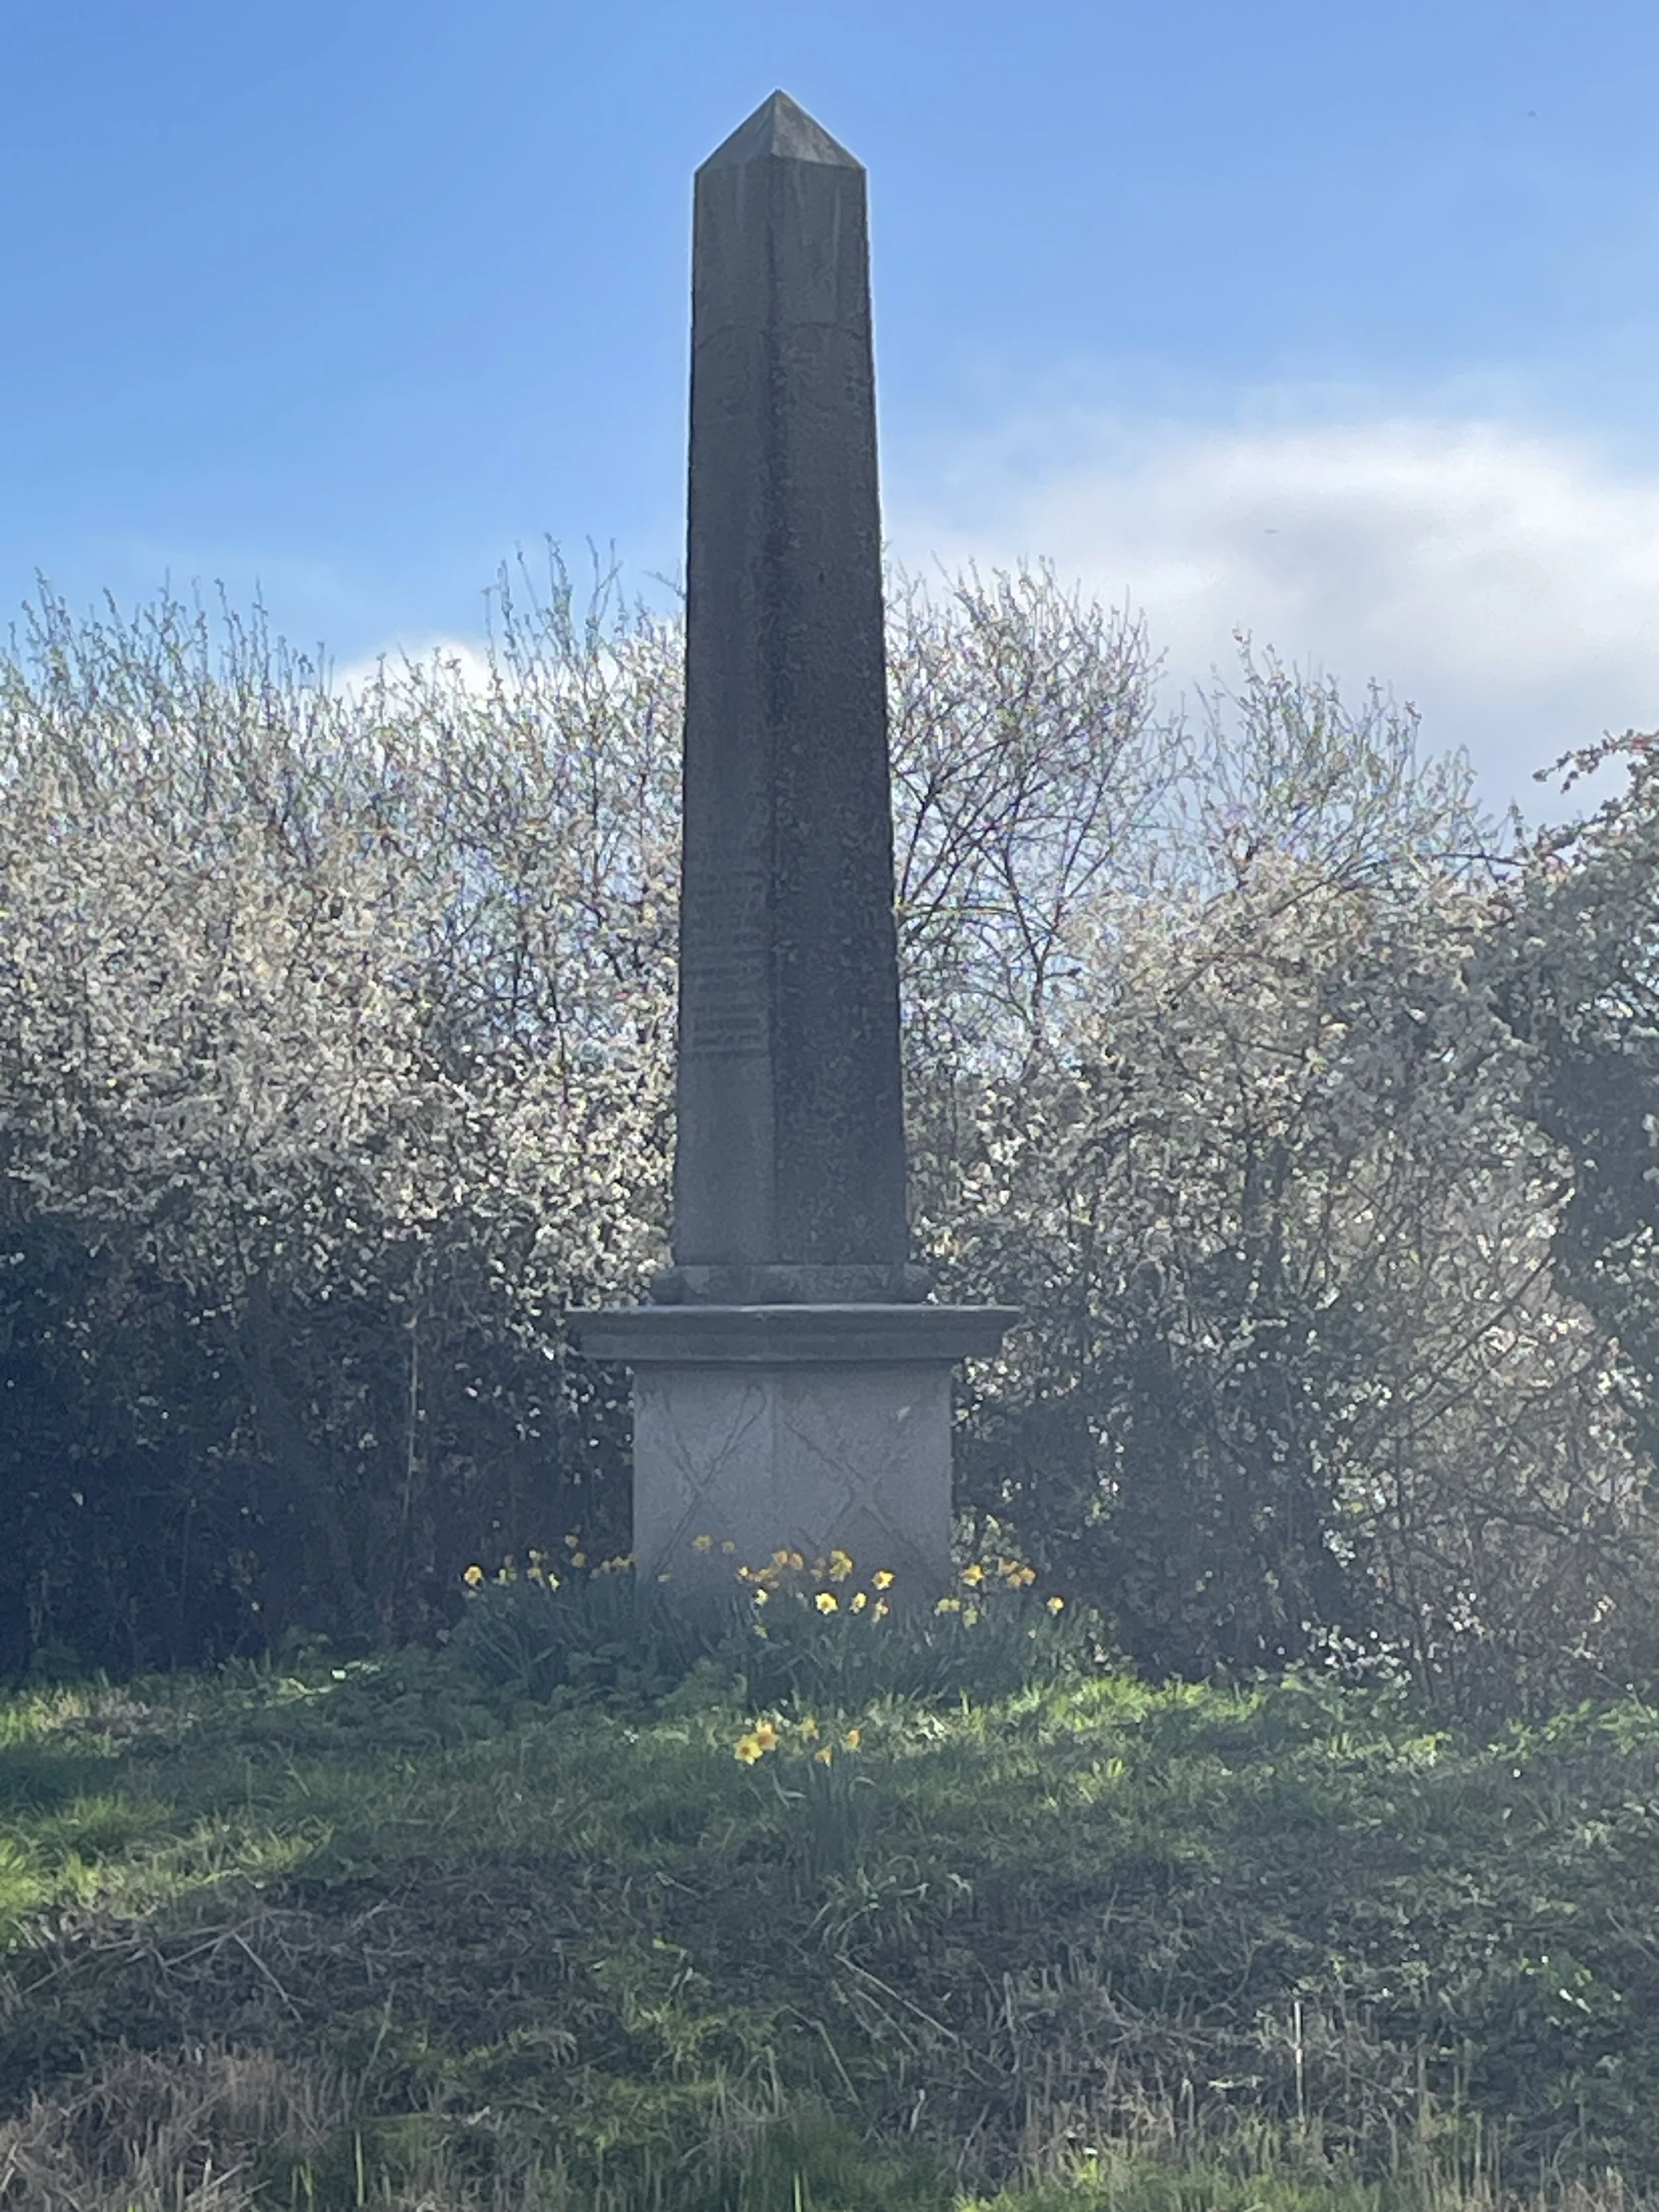
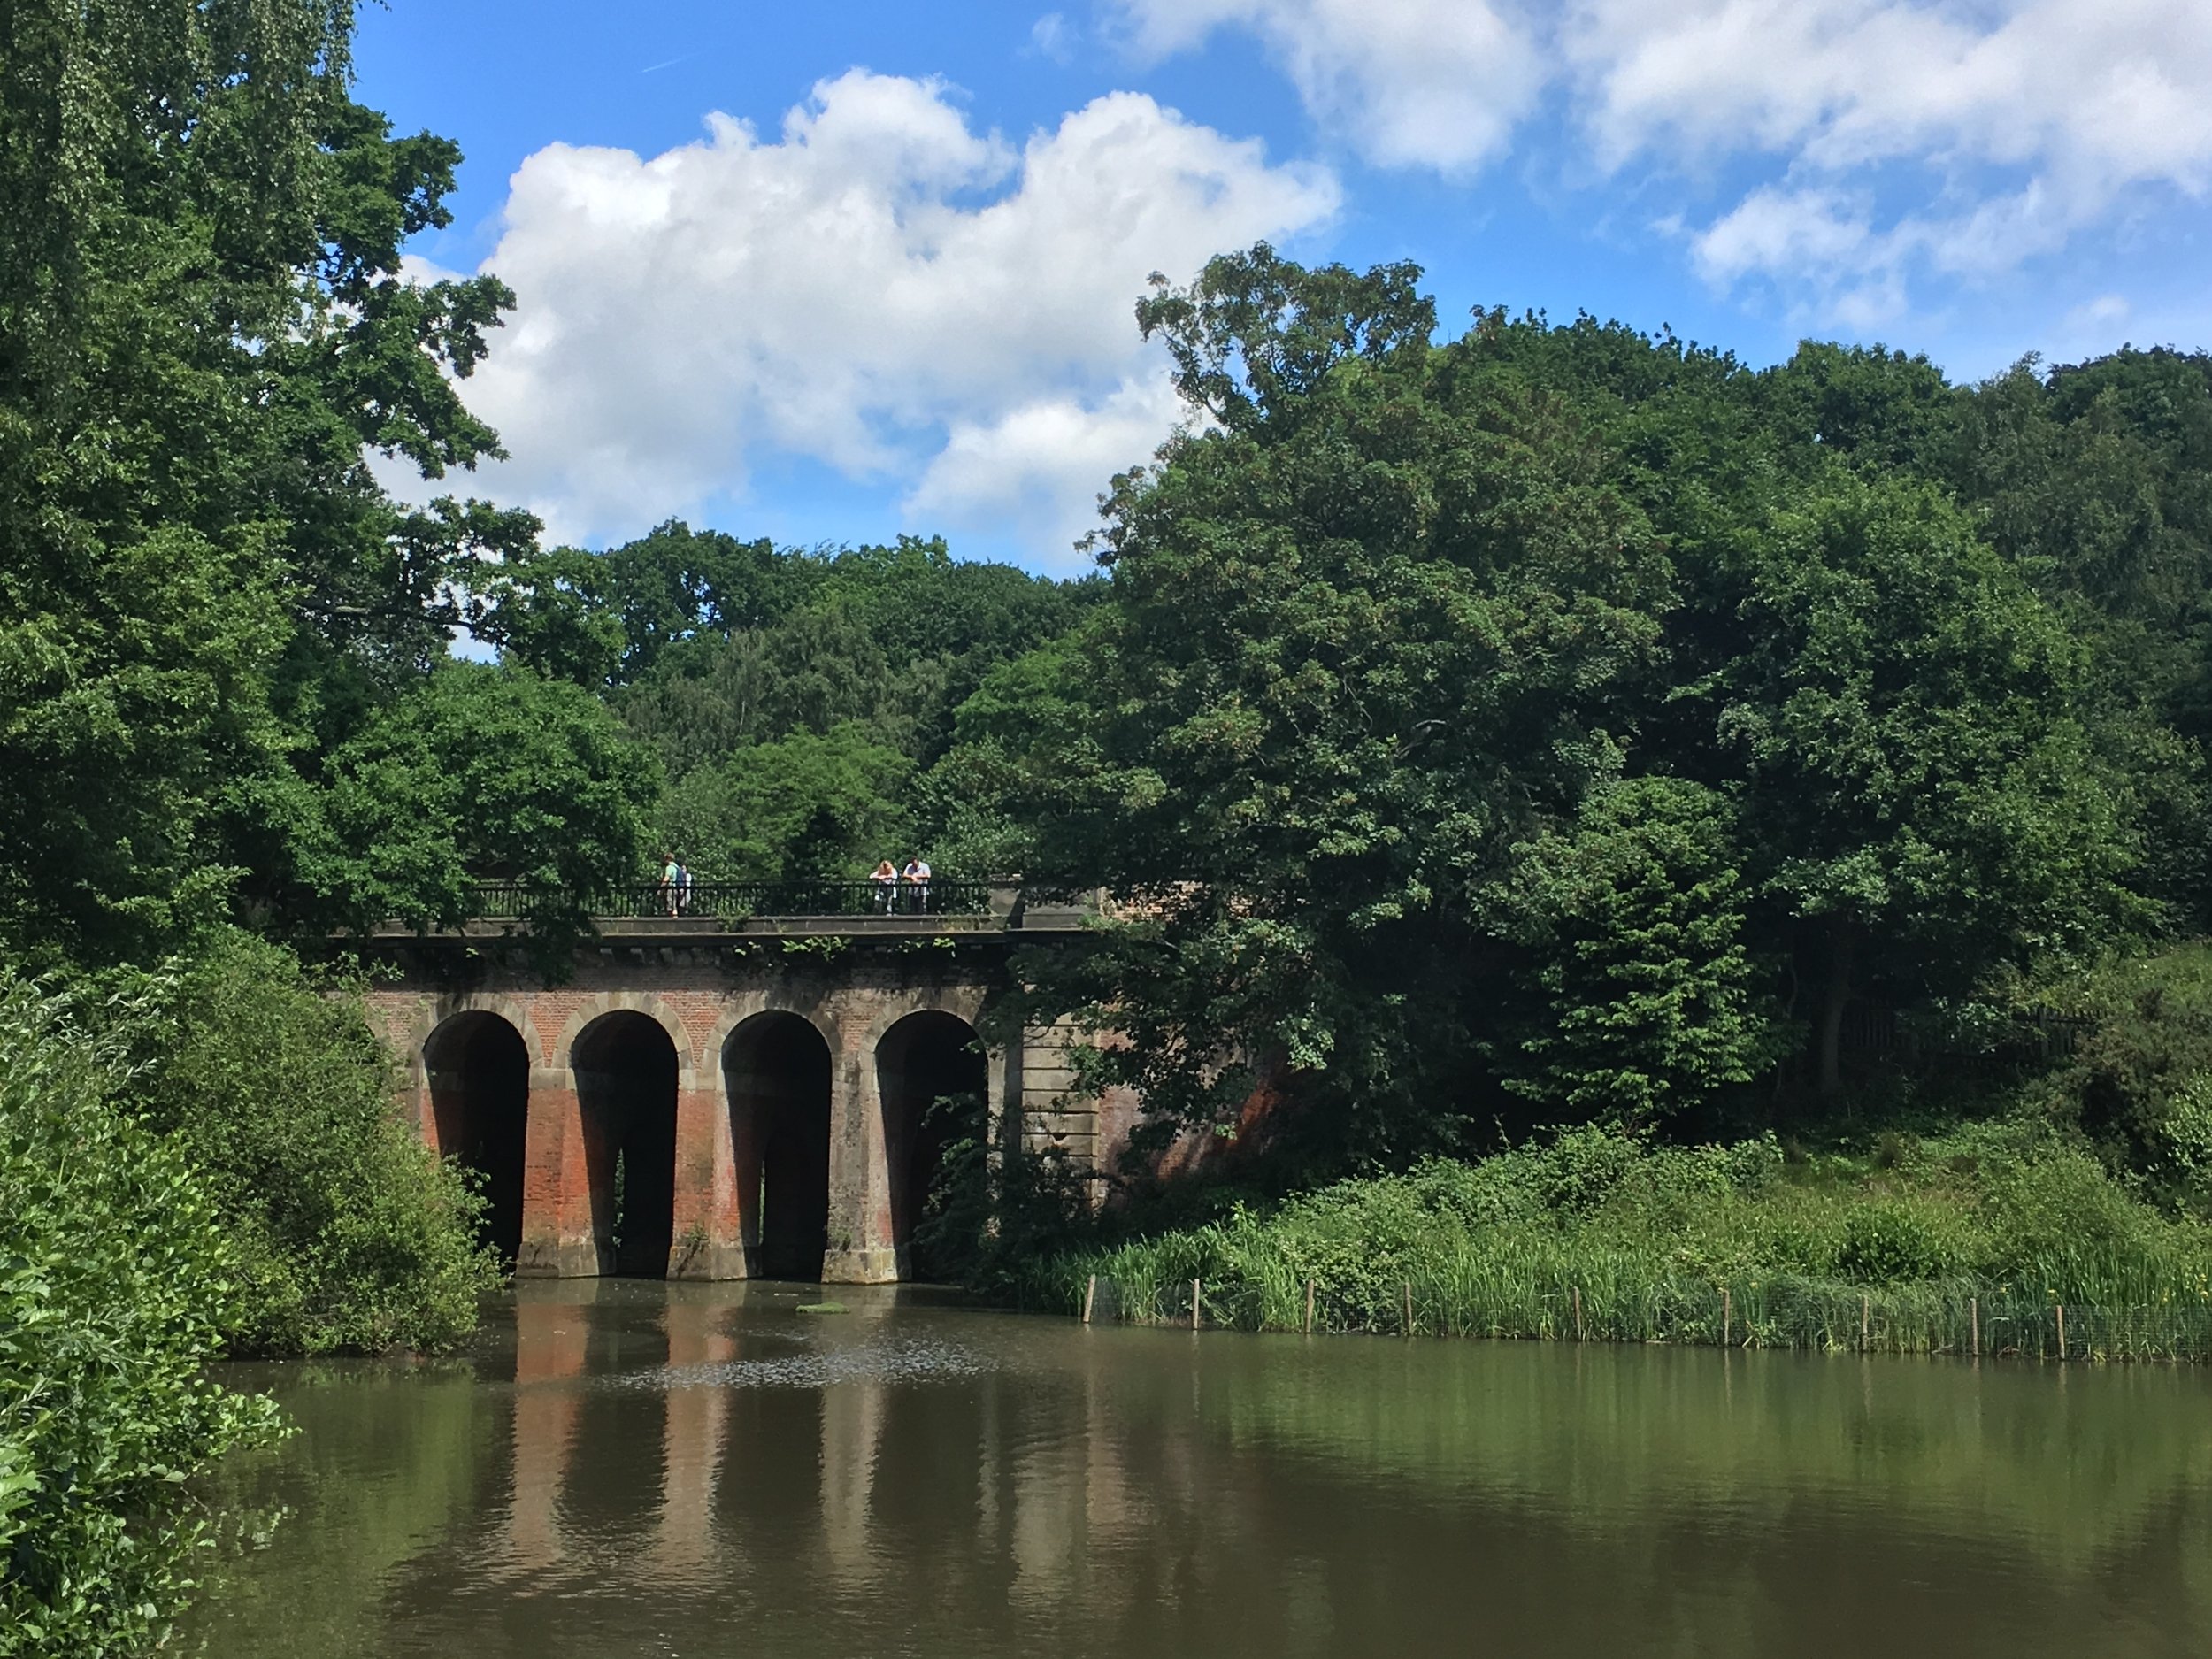
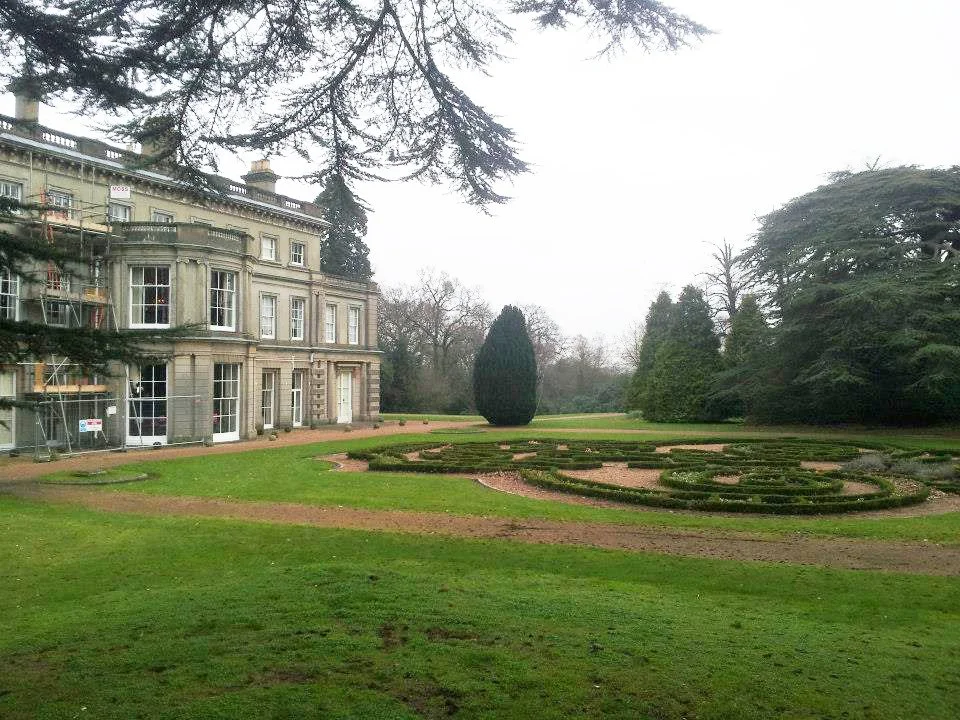
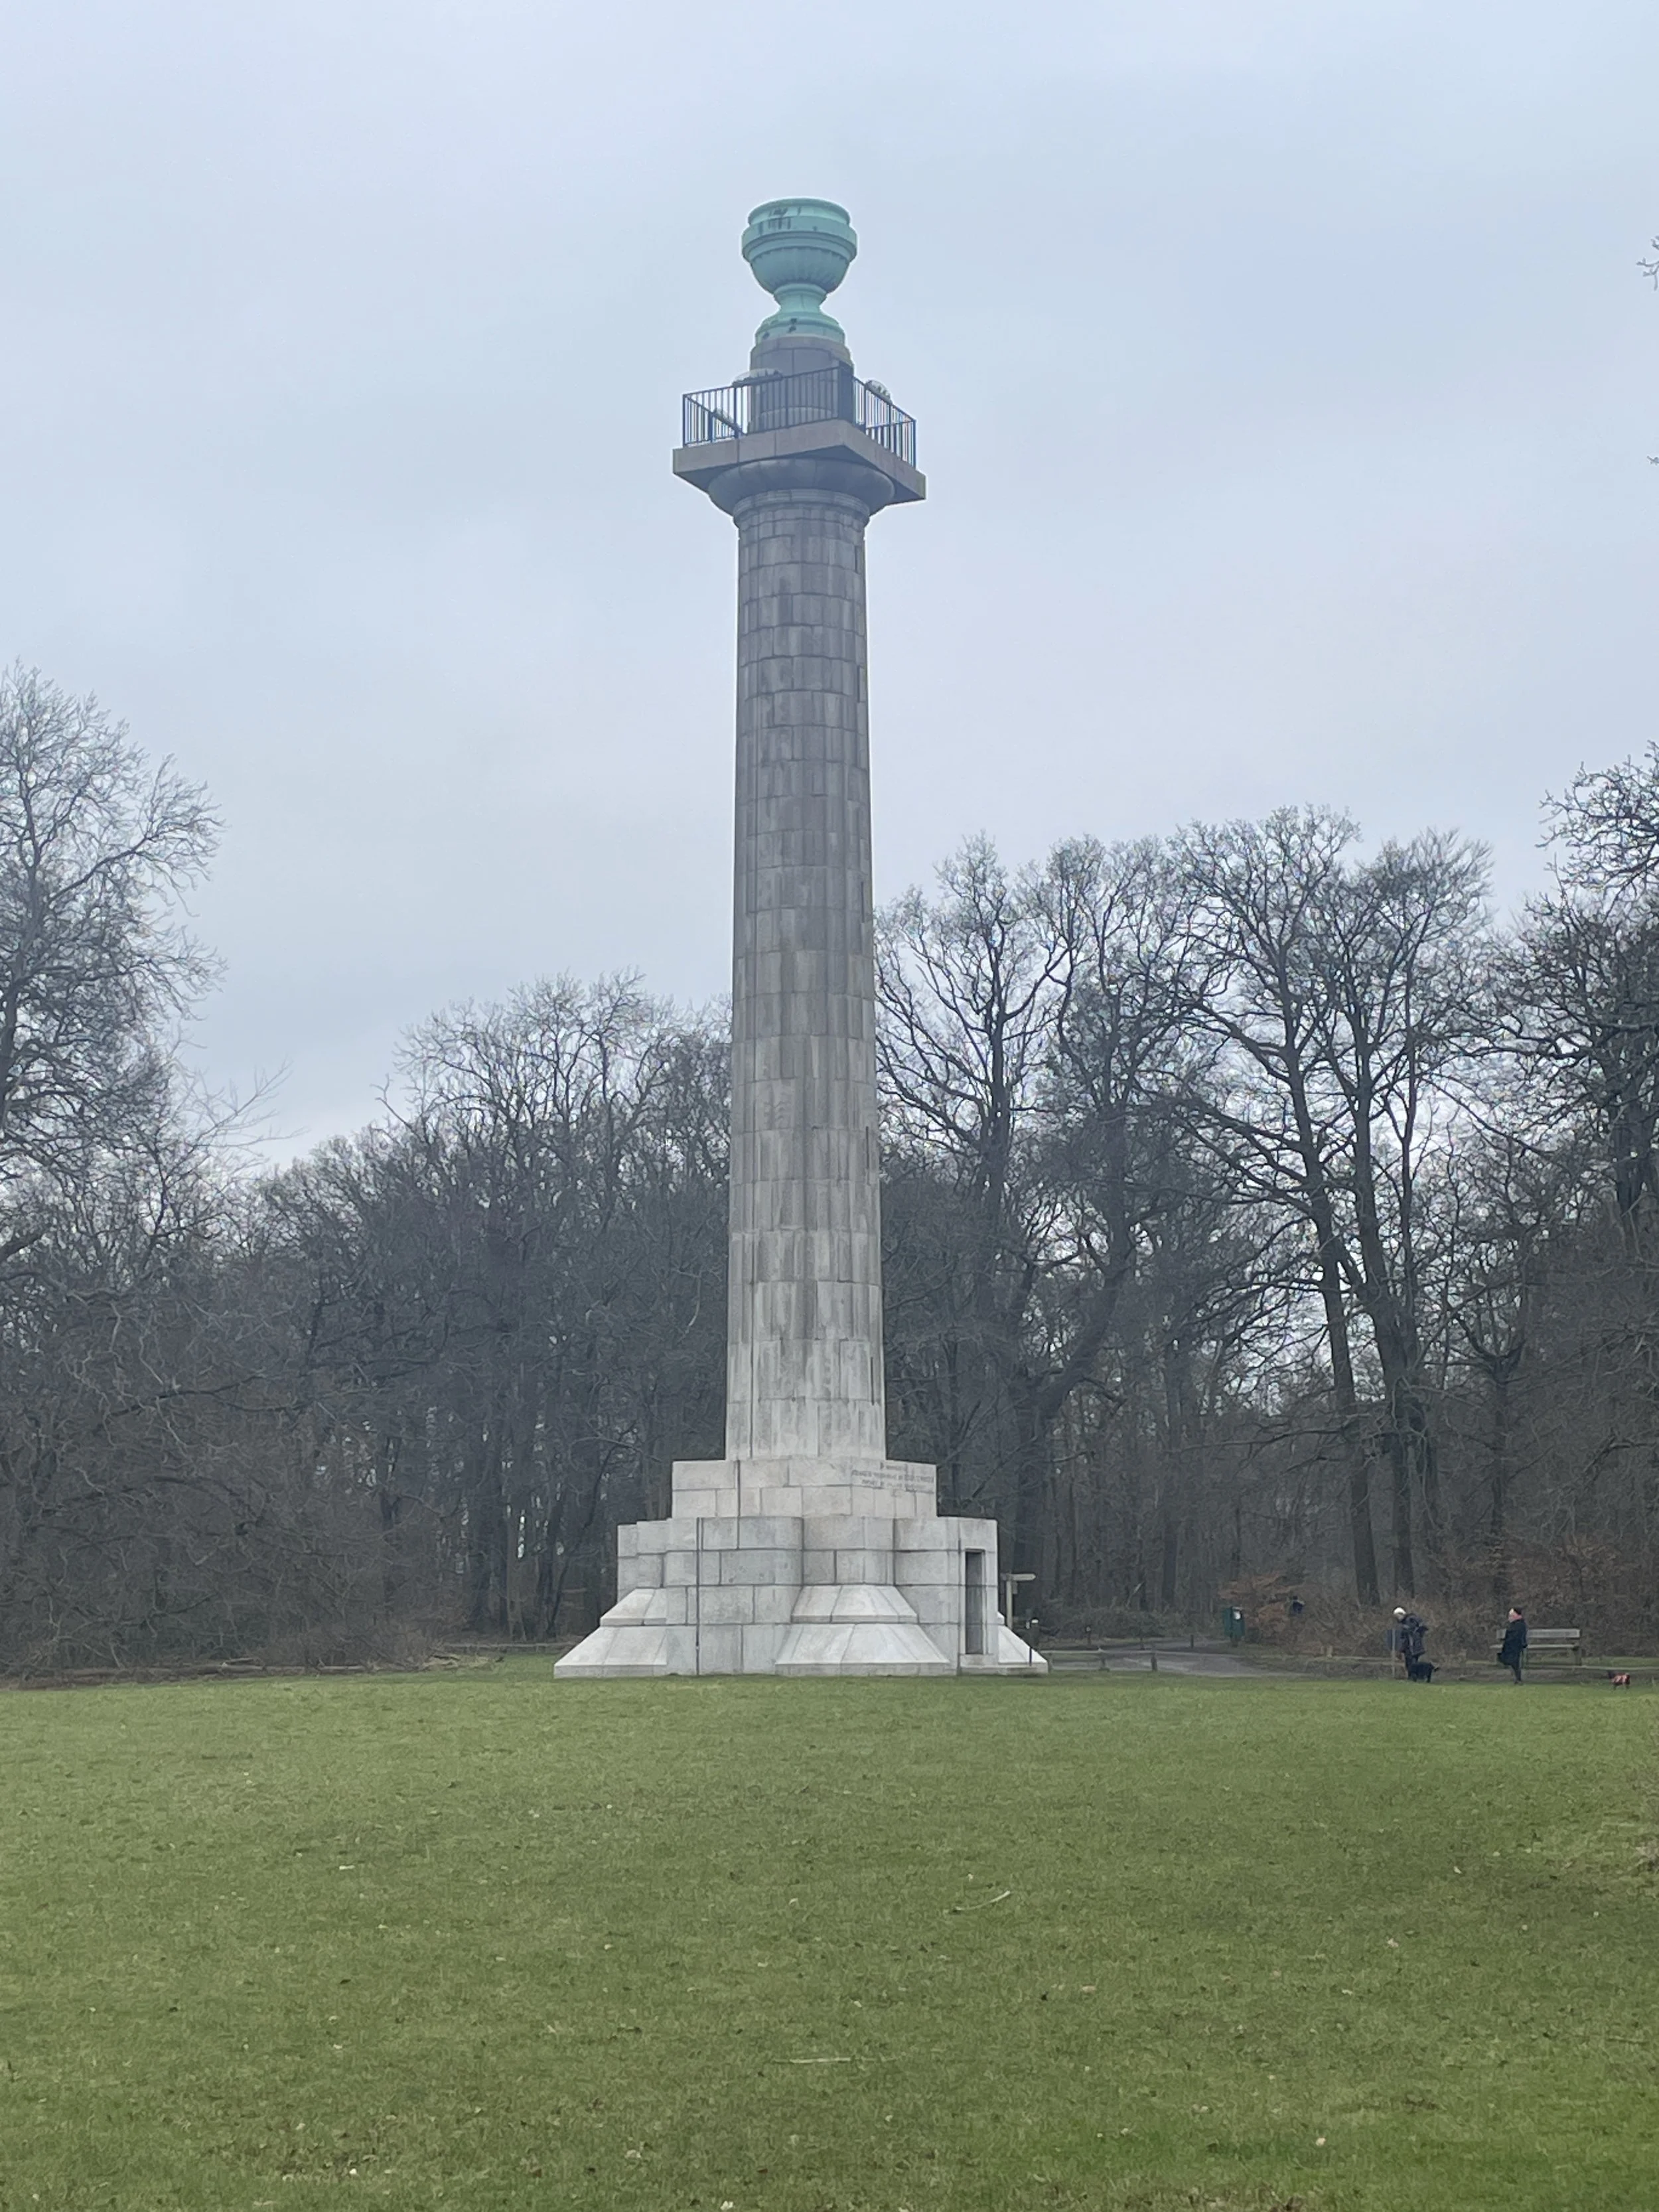
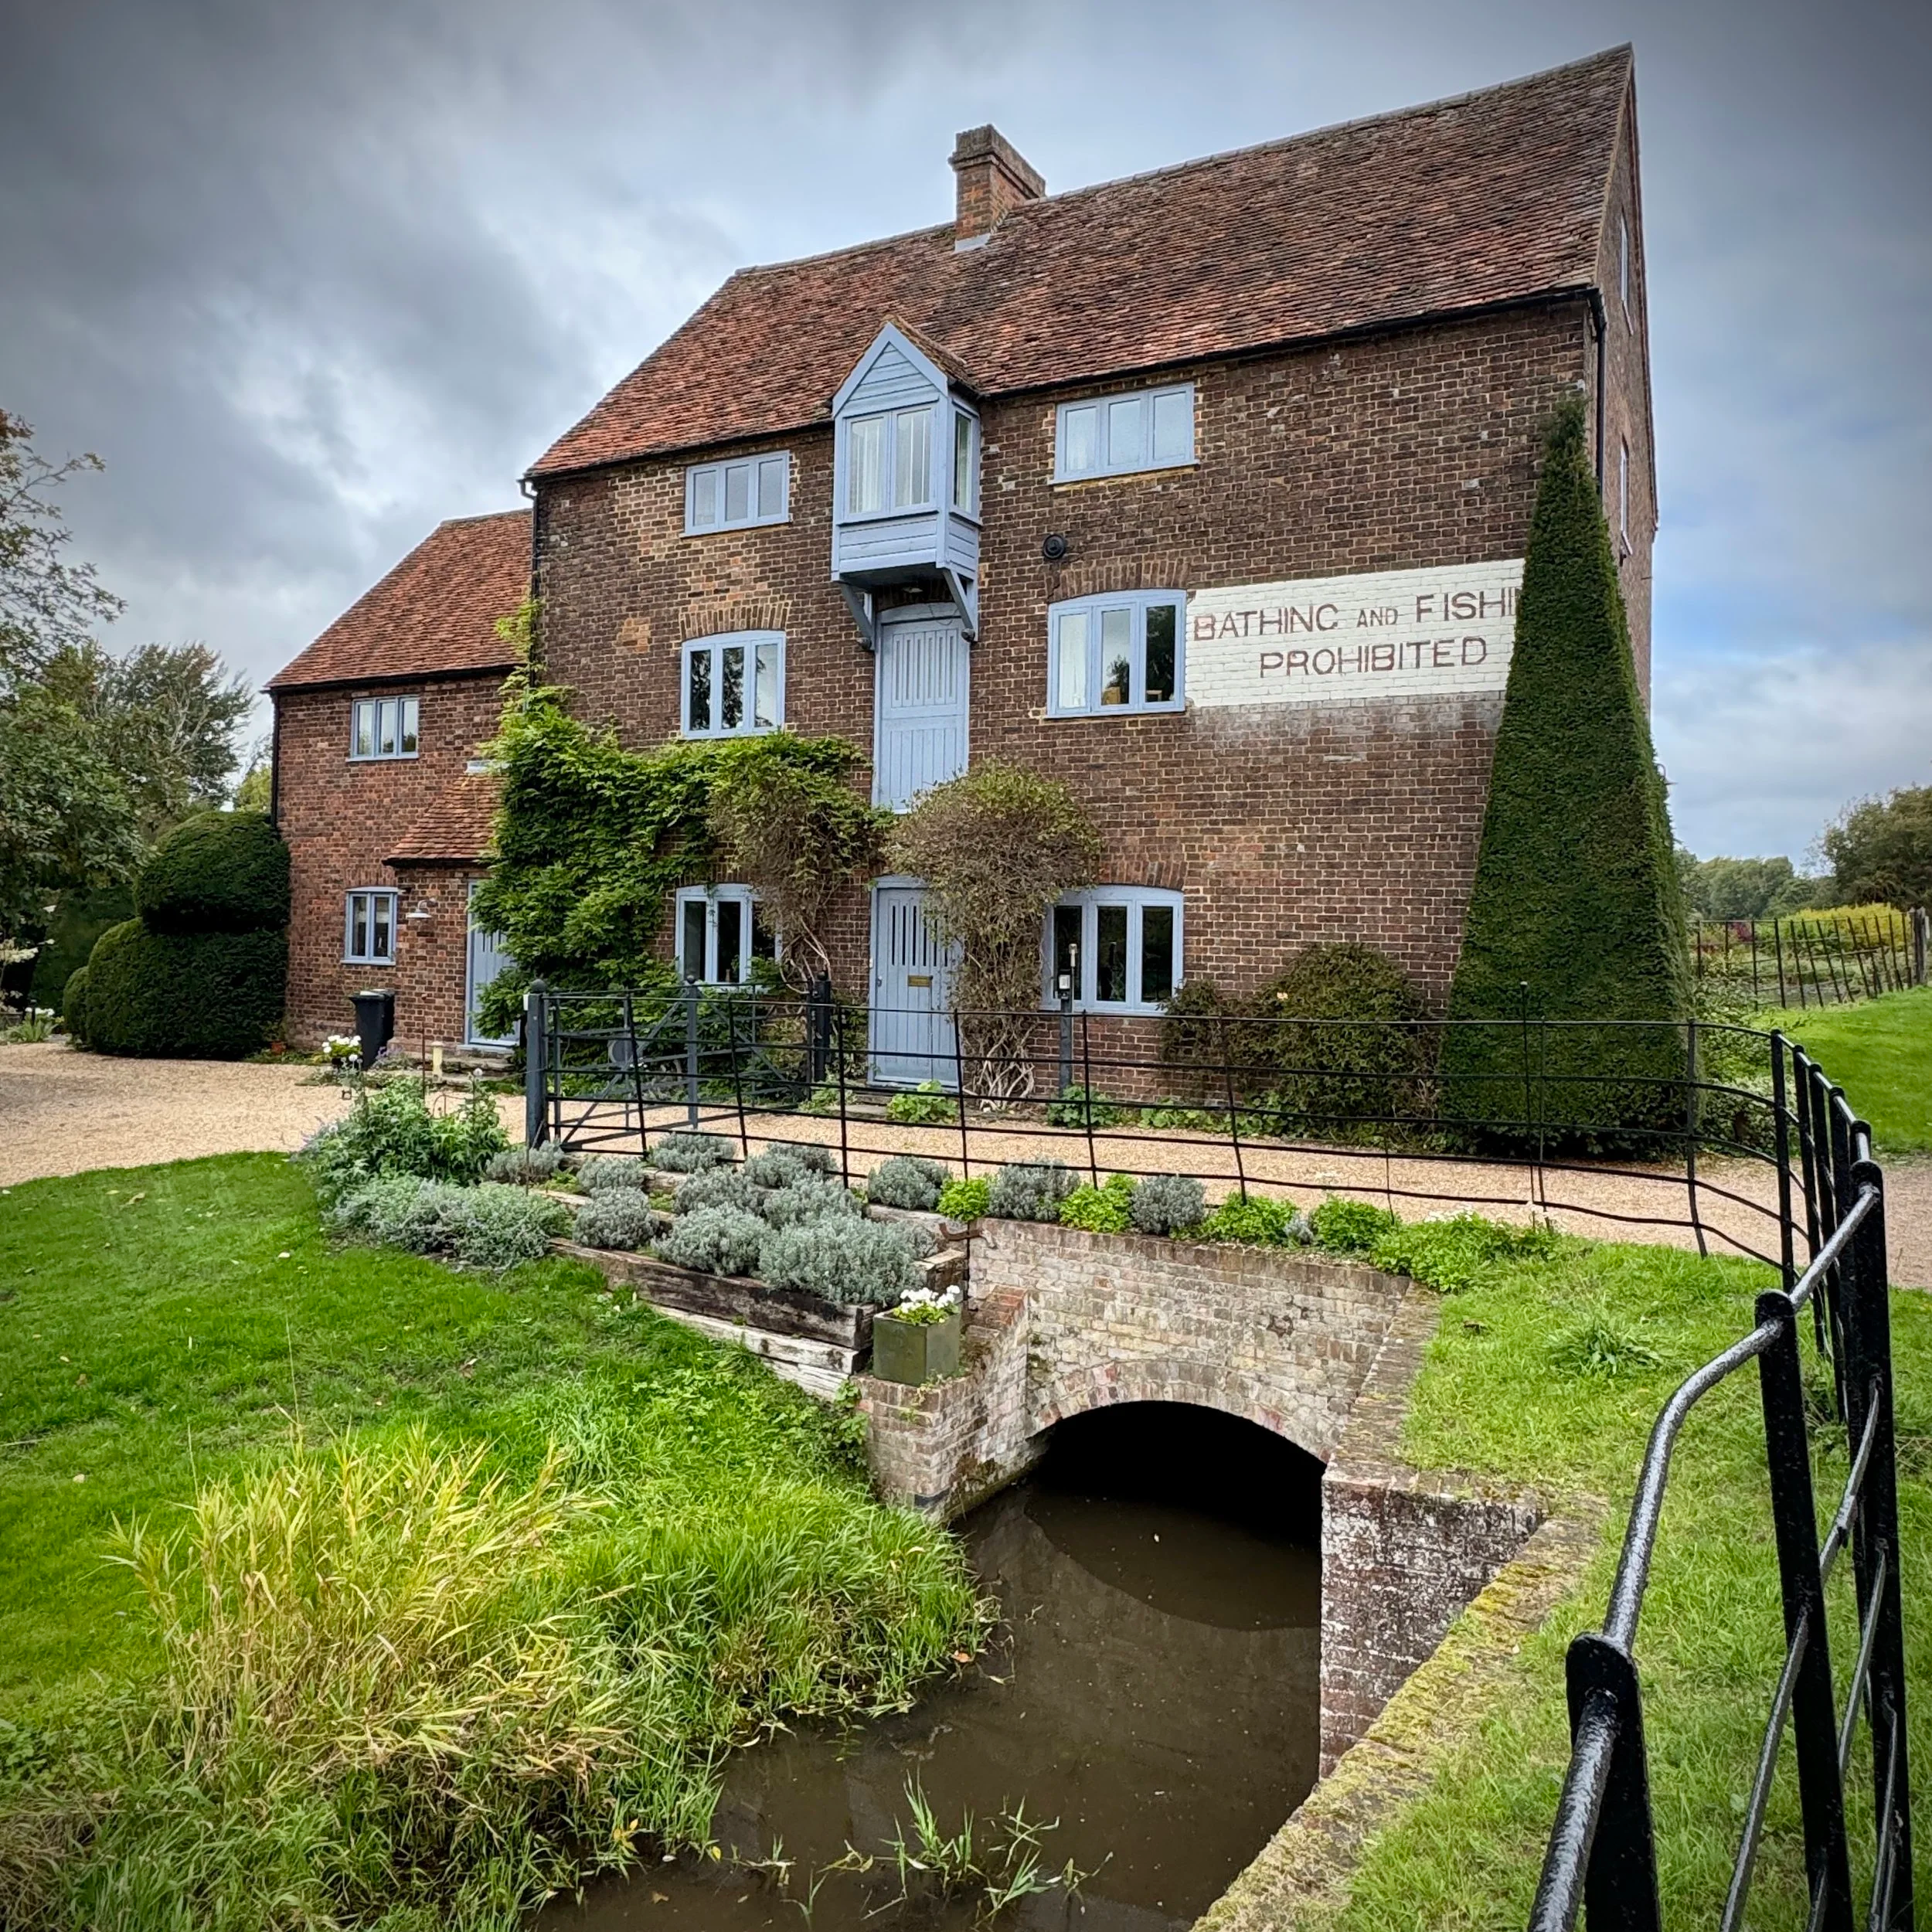
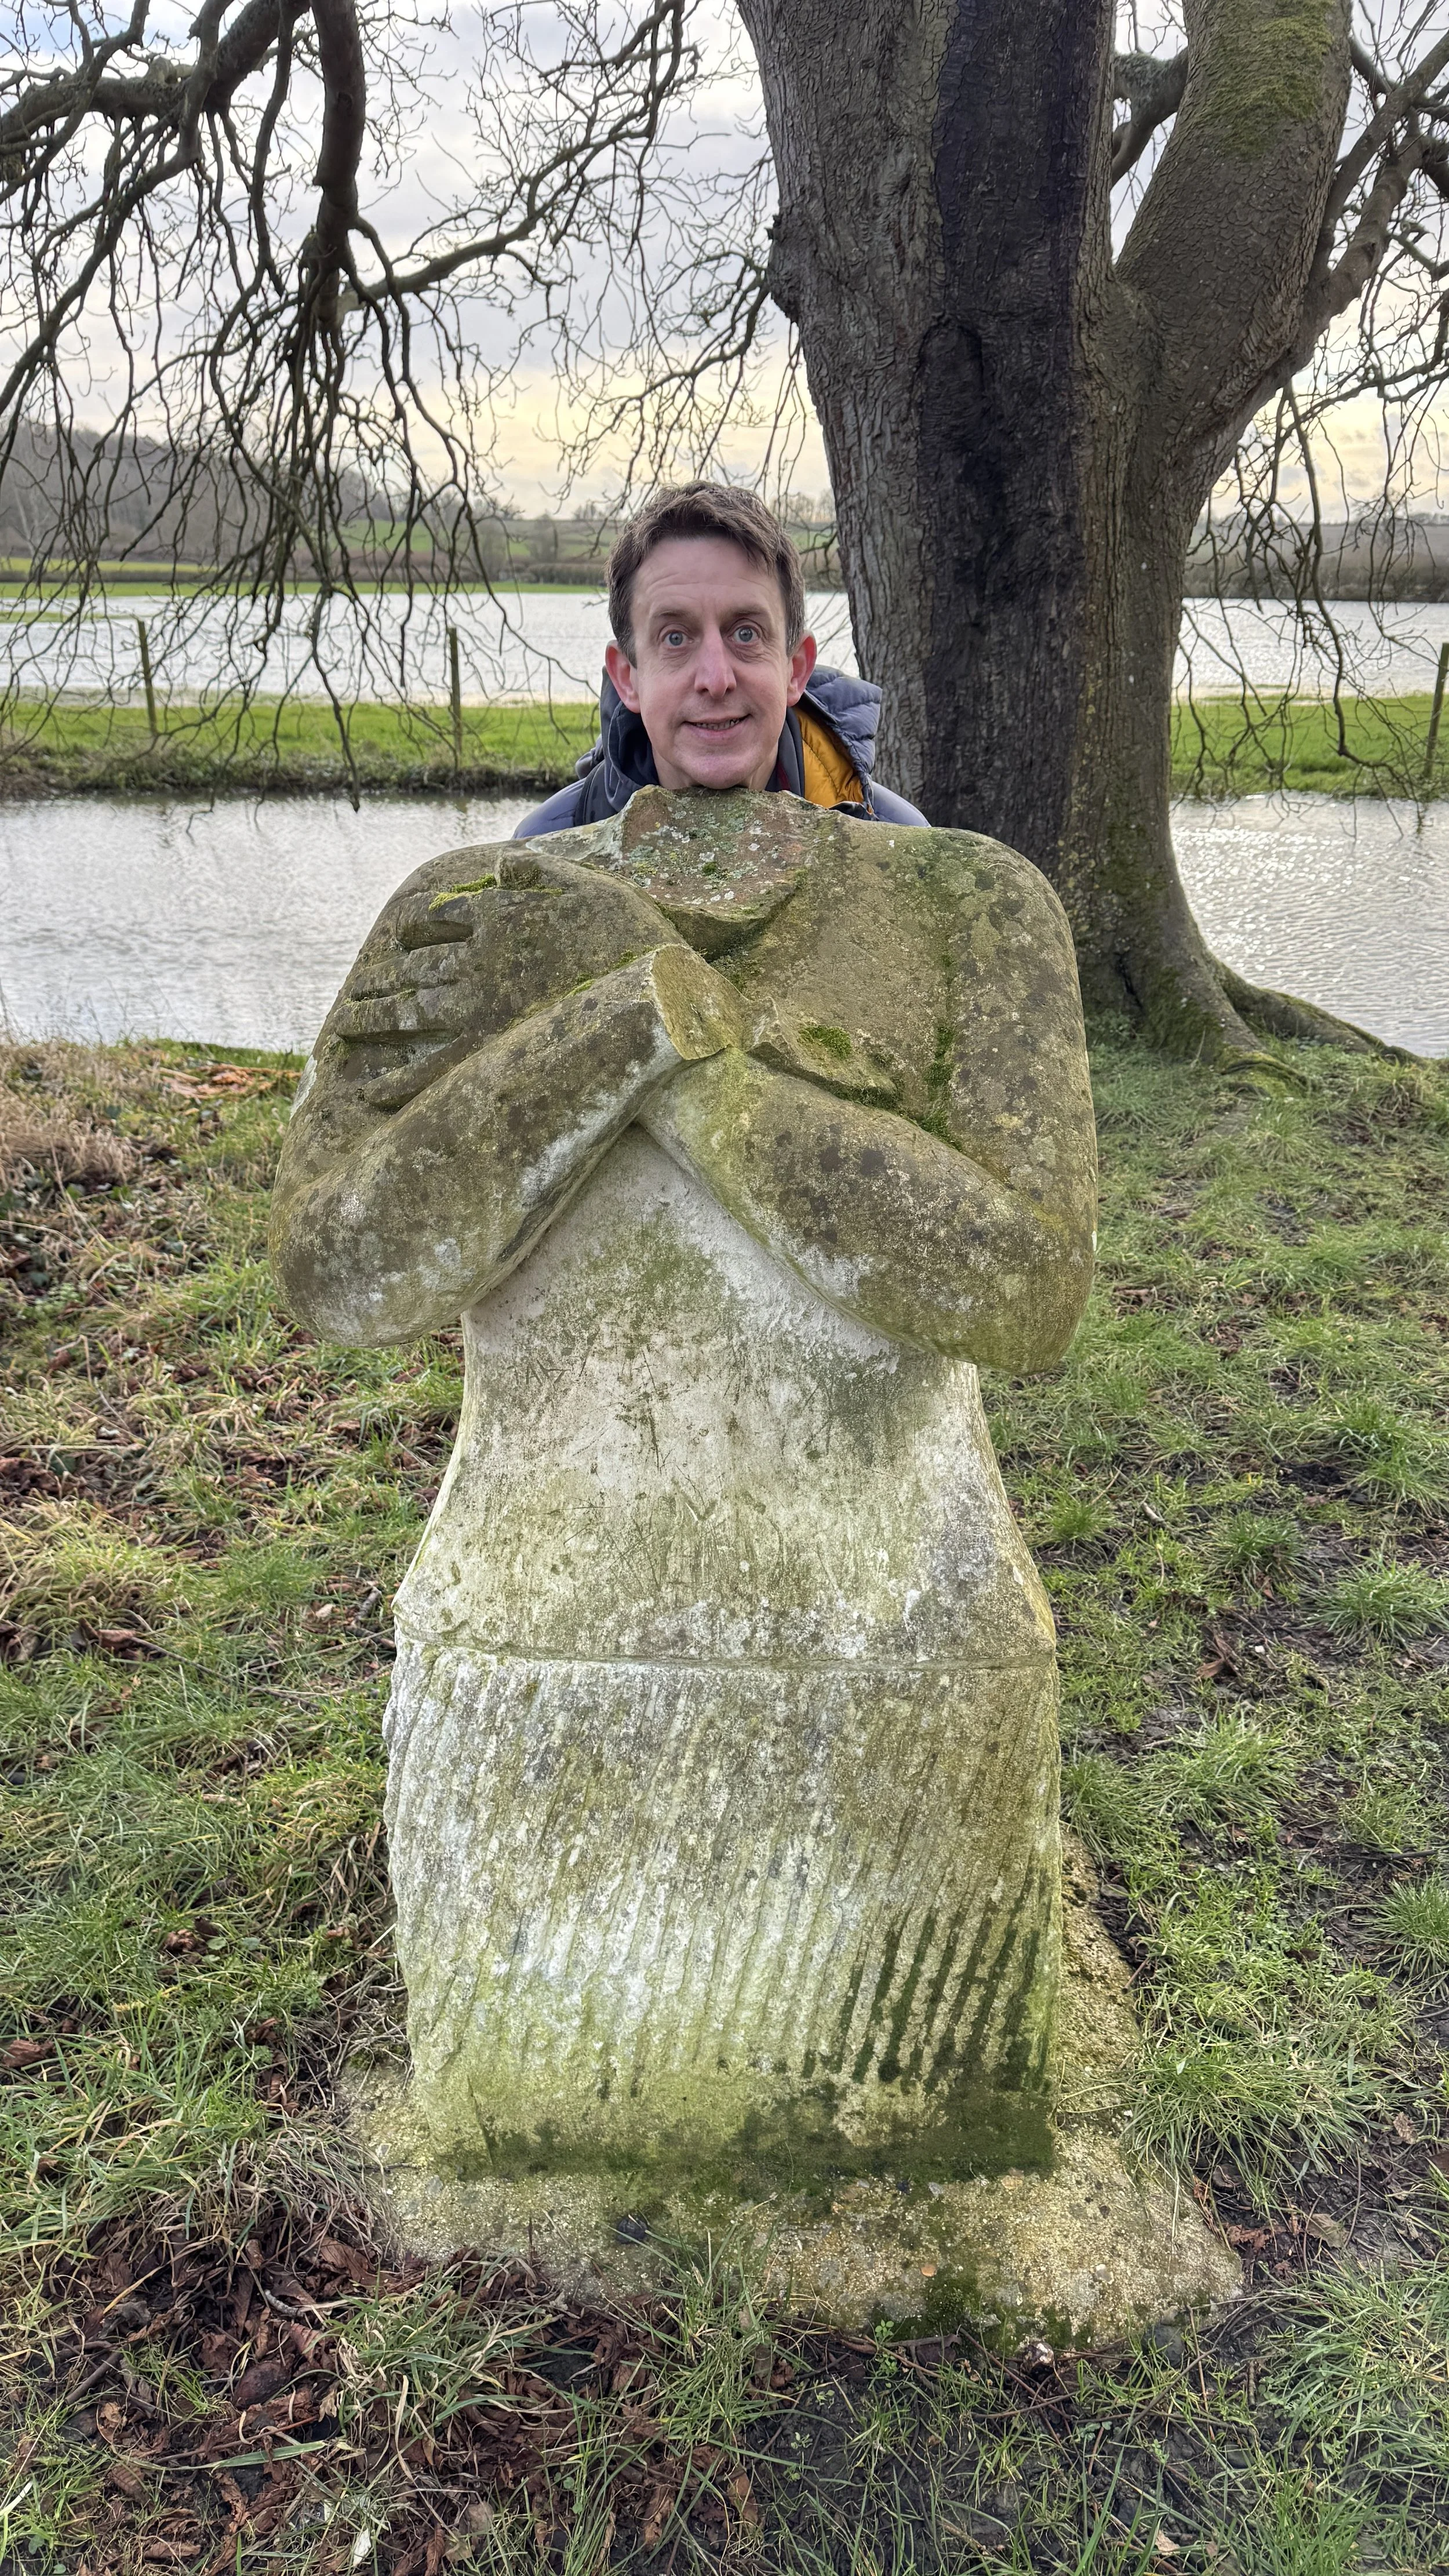
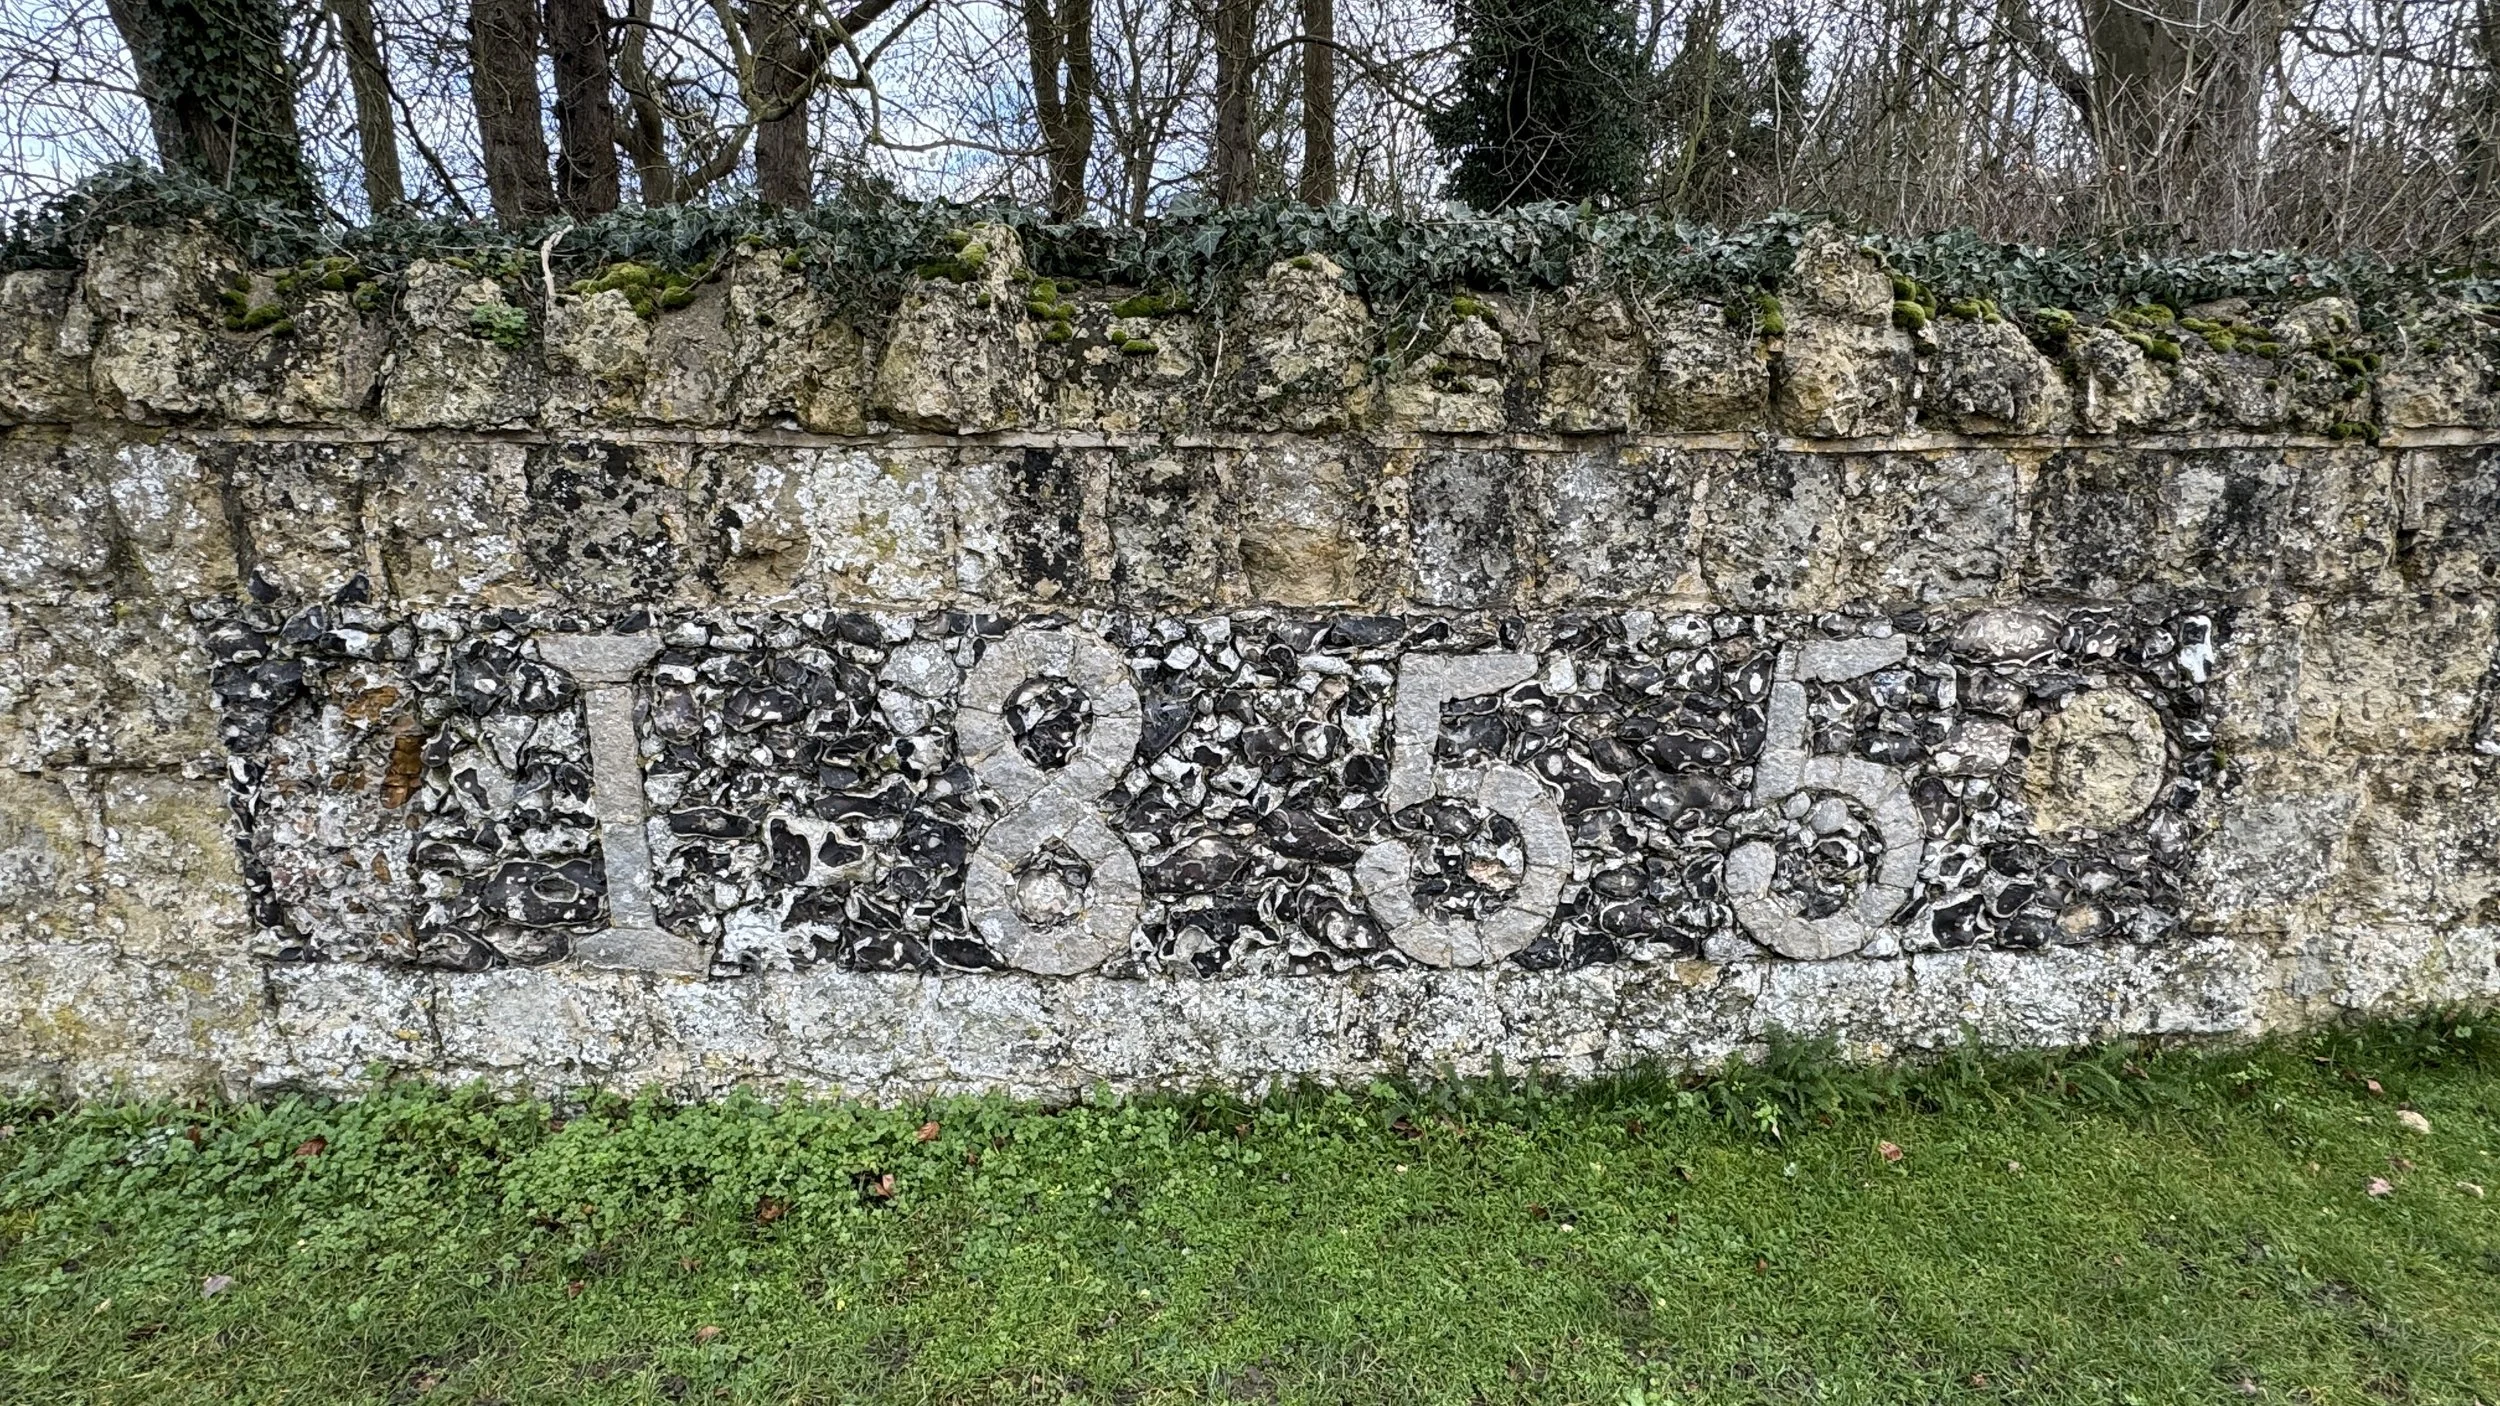
Hartwell House: A magnificent Grade I listed stately home that once served as the residence of the exiled King Louis XVIII of France. The parkland is dotted with 18th-century follies and monuments, many of which are visible from the public right of way. Look out for the estate walls; they are historically notable for being encrusted with fossils and rare stones.
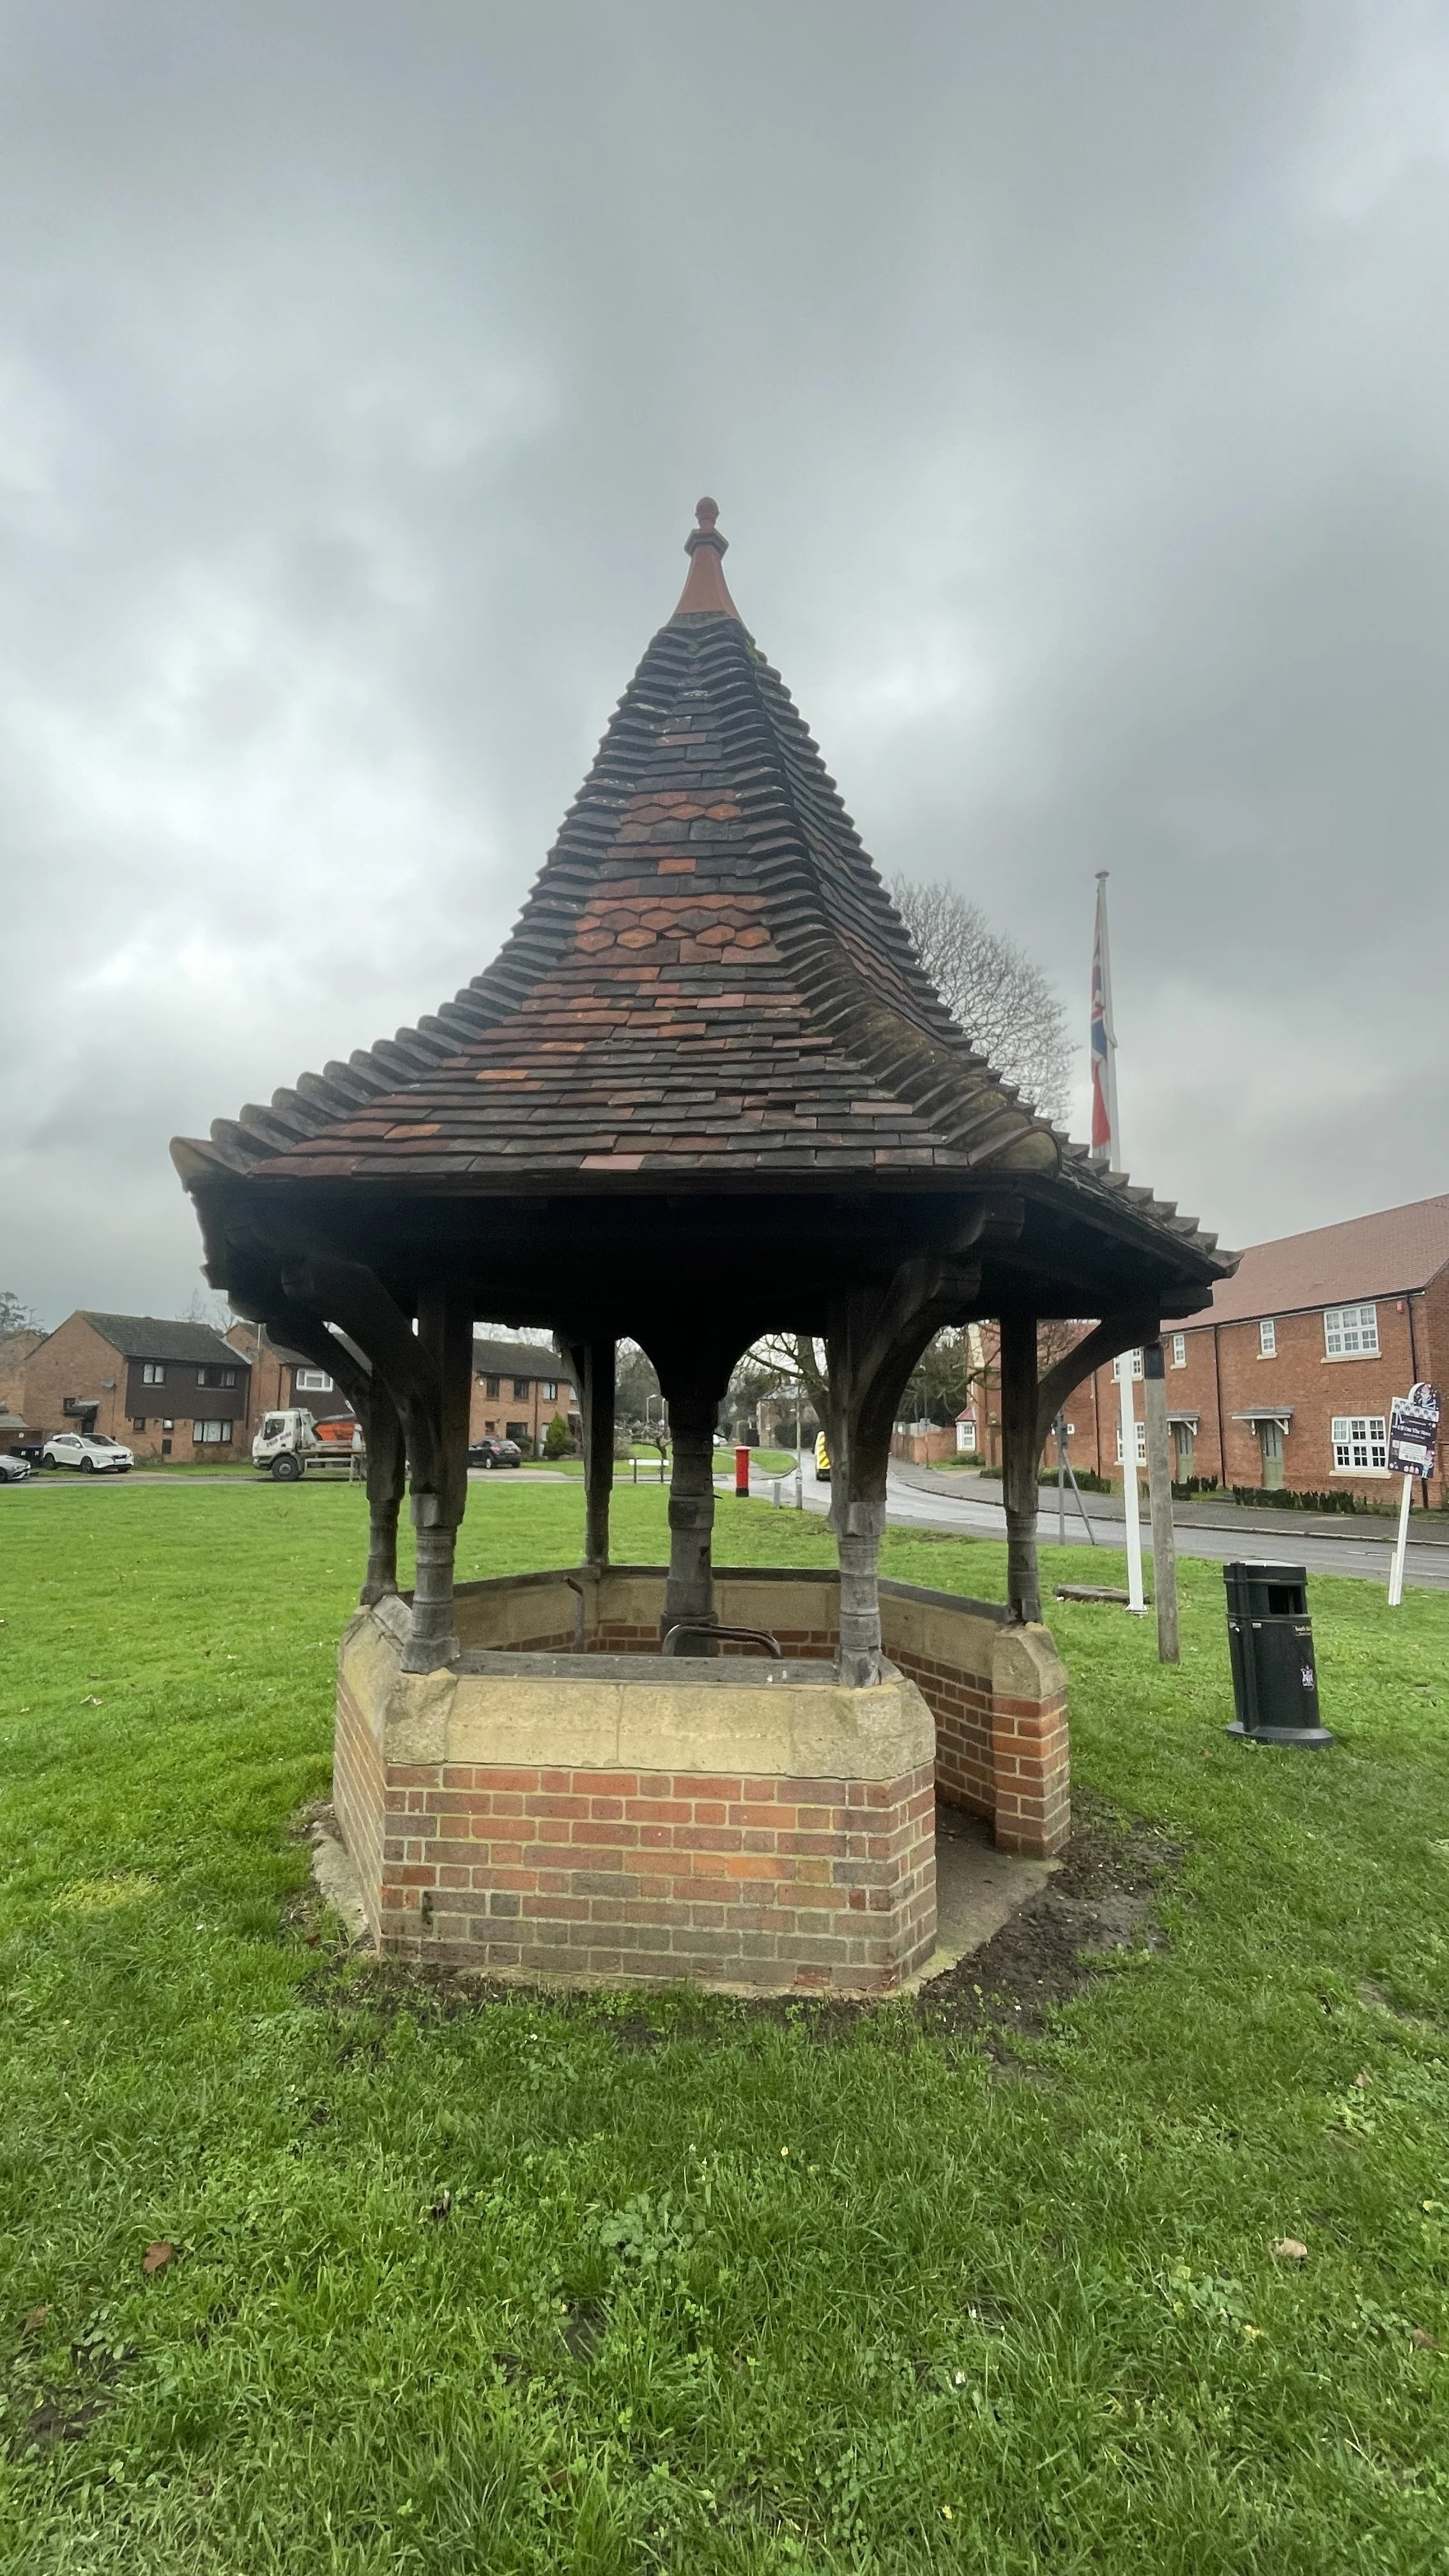
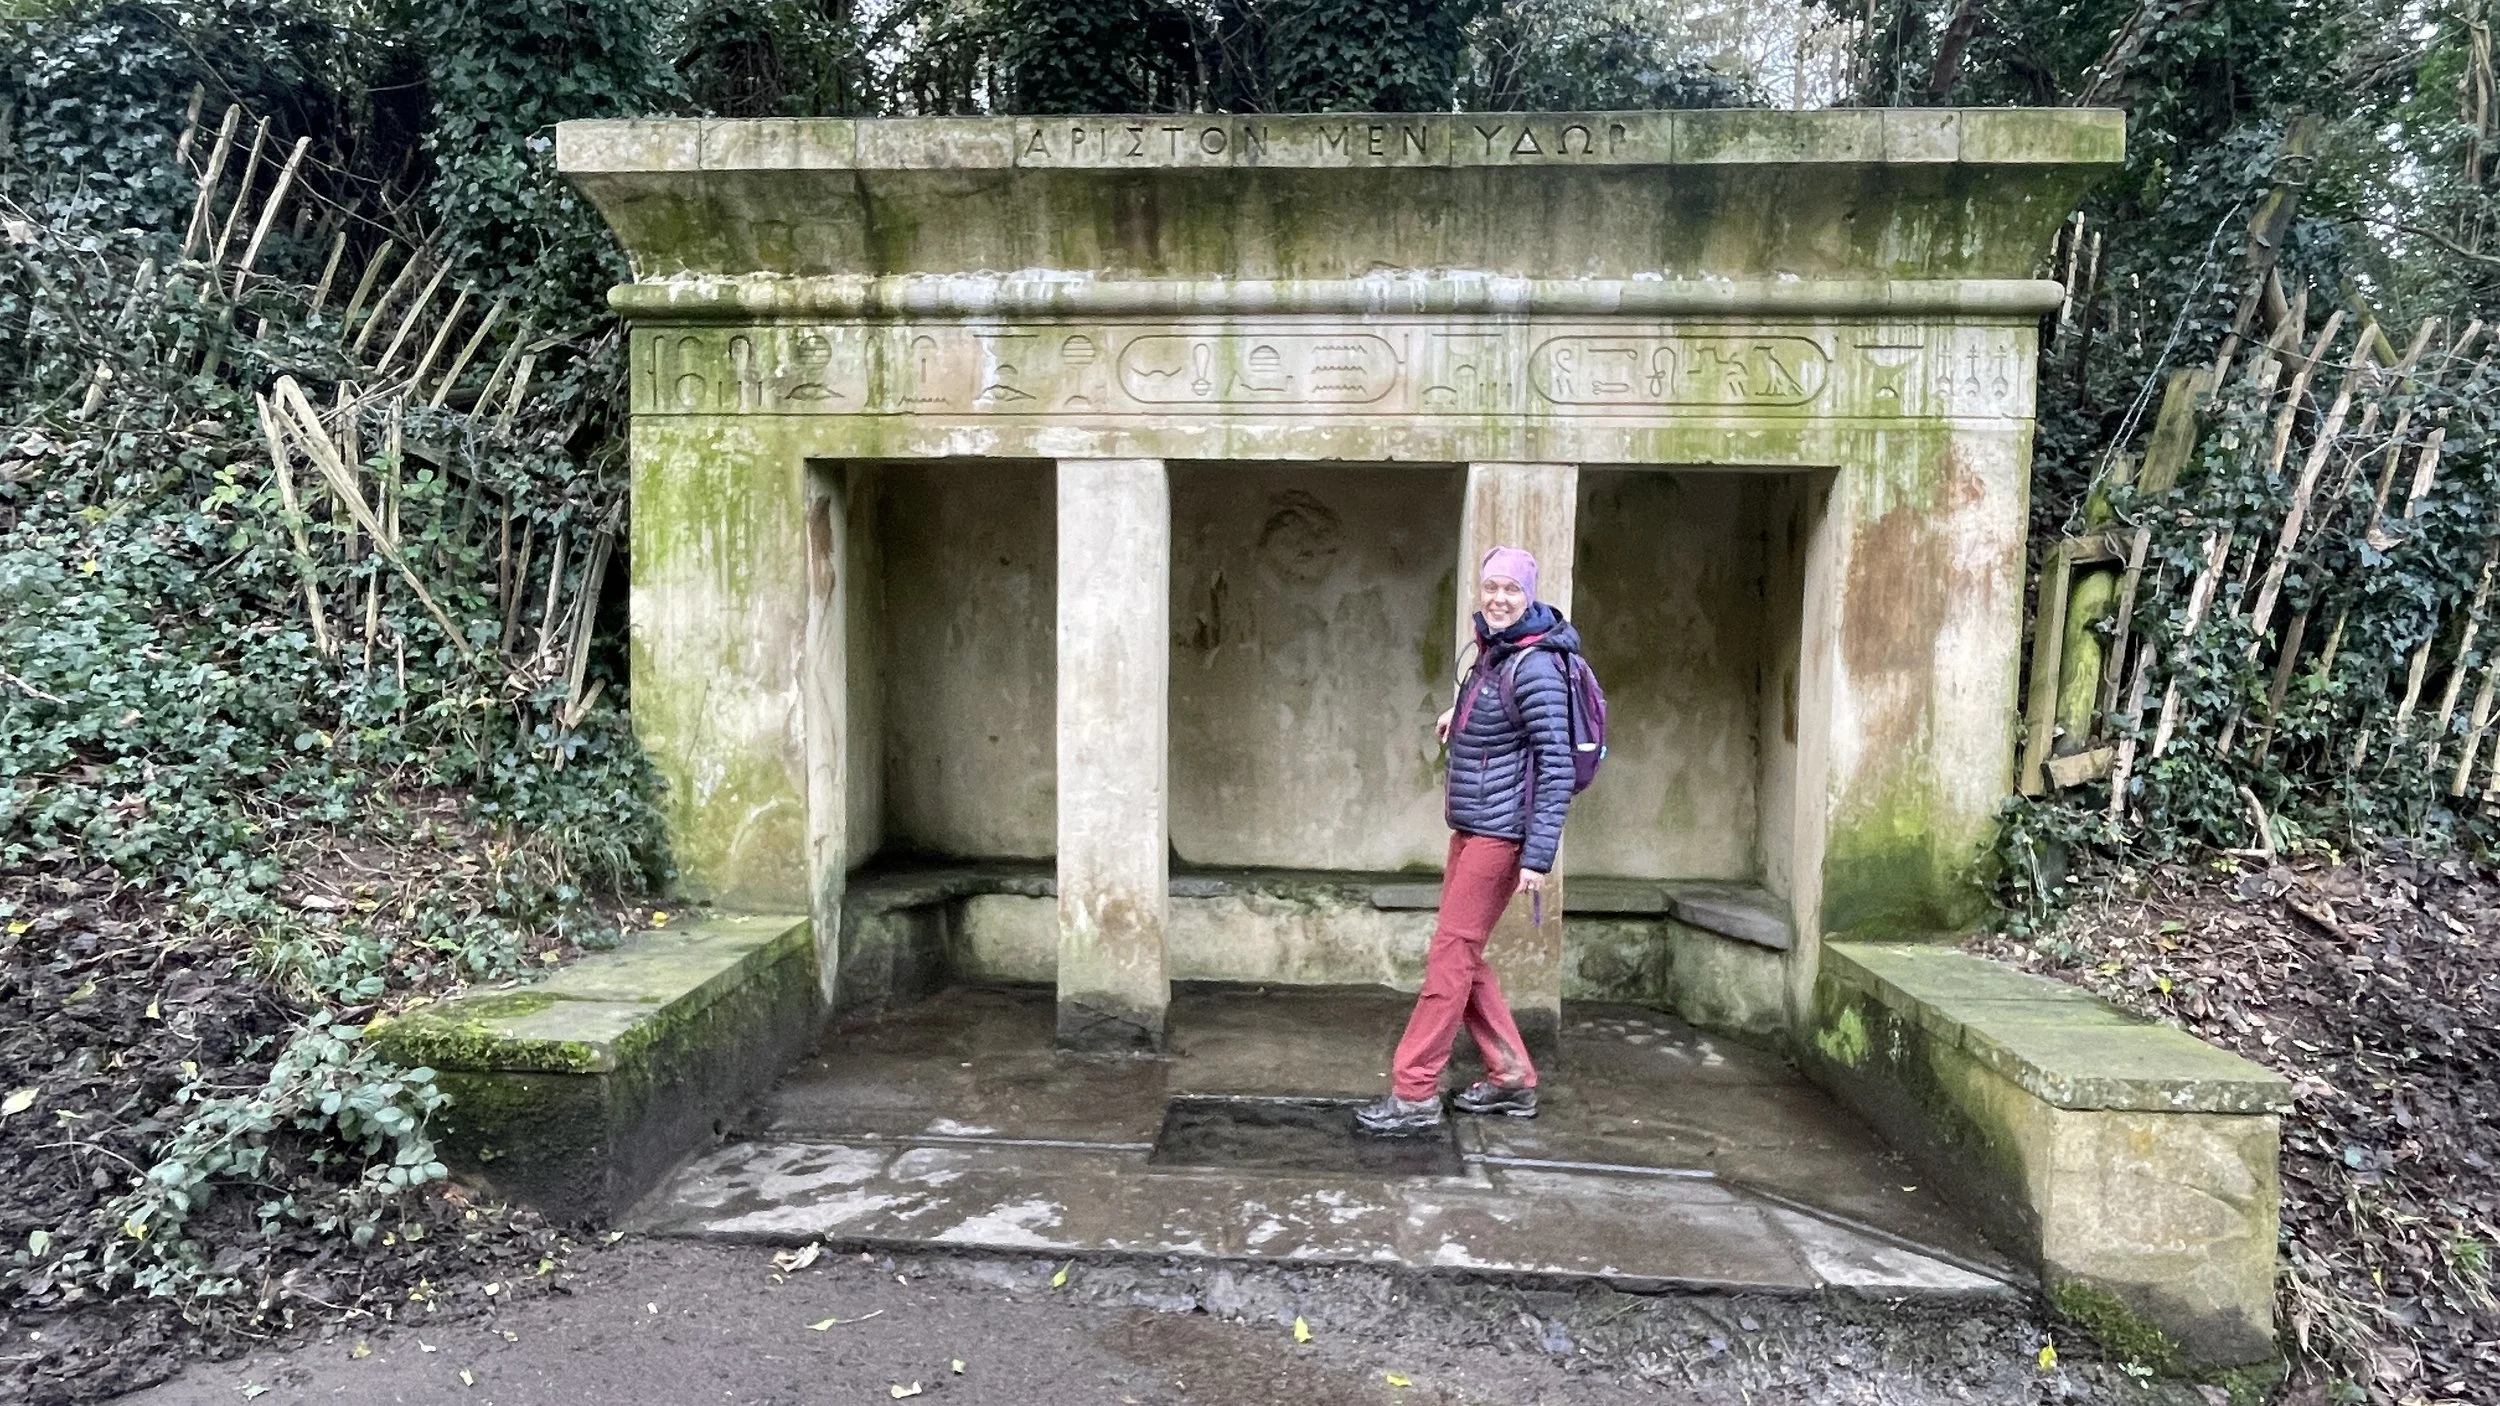
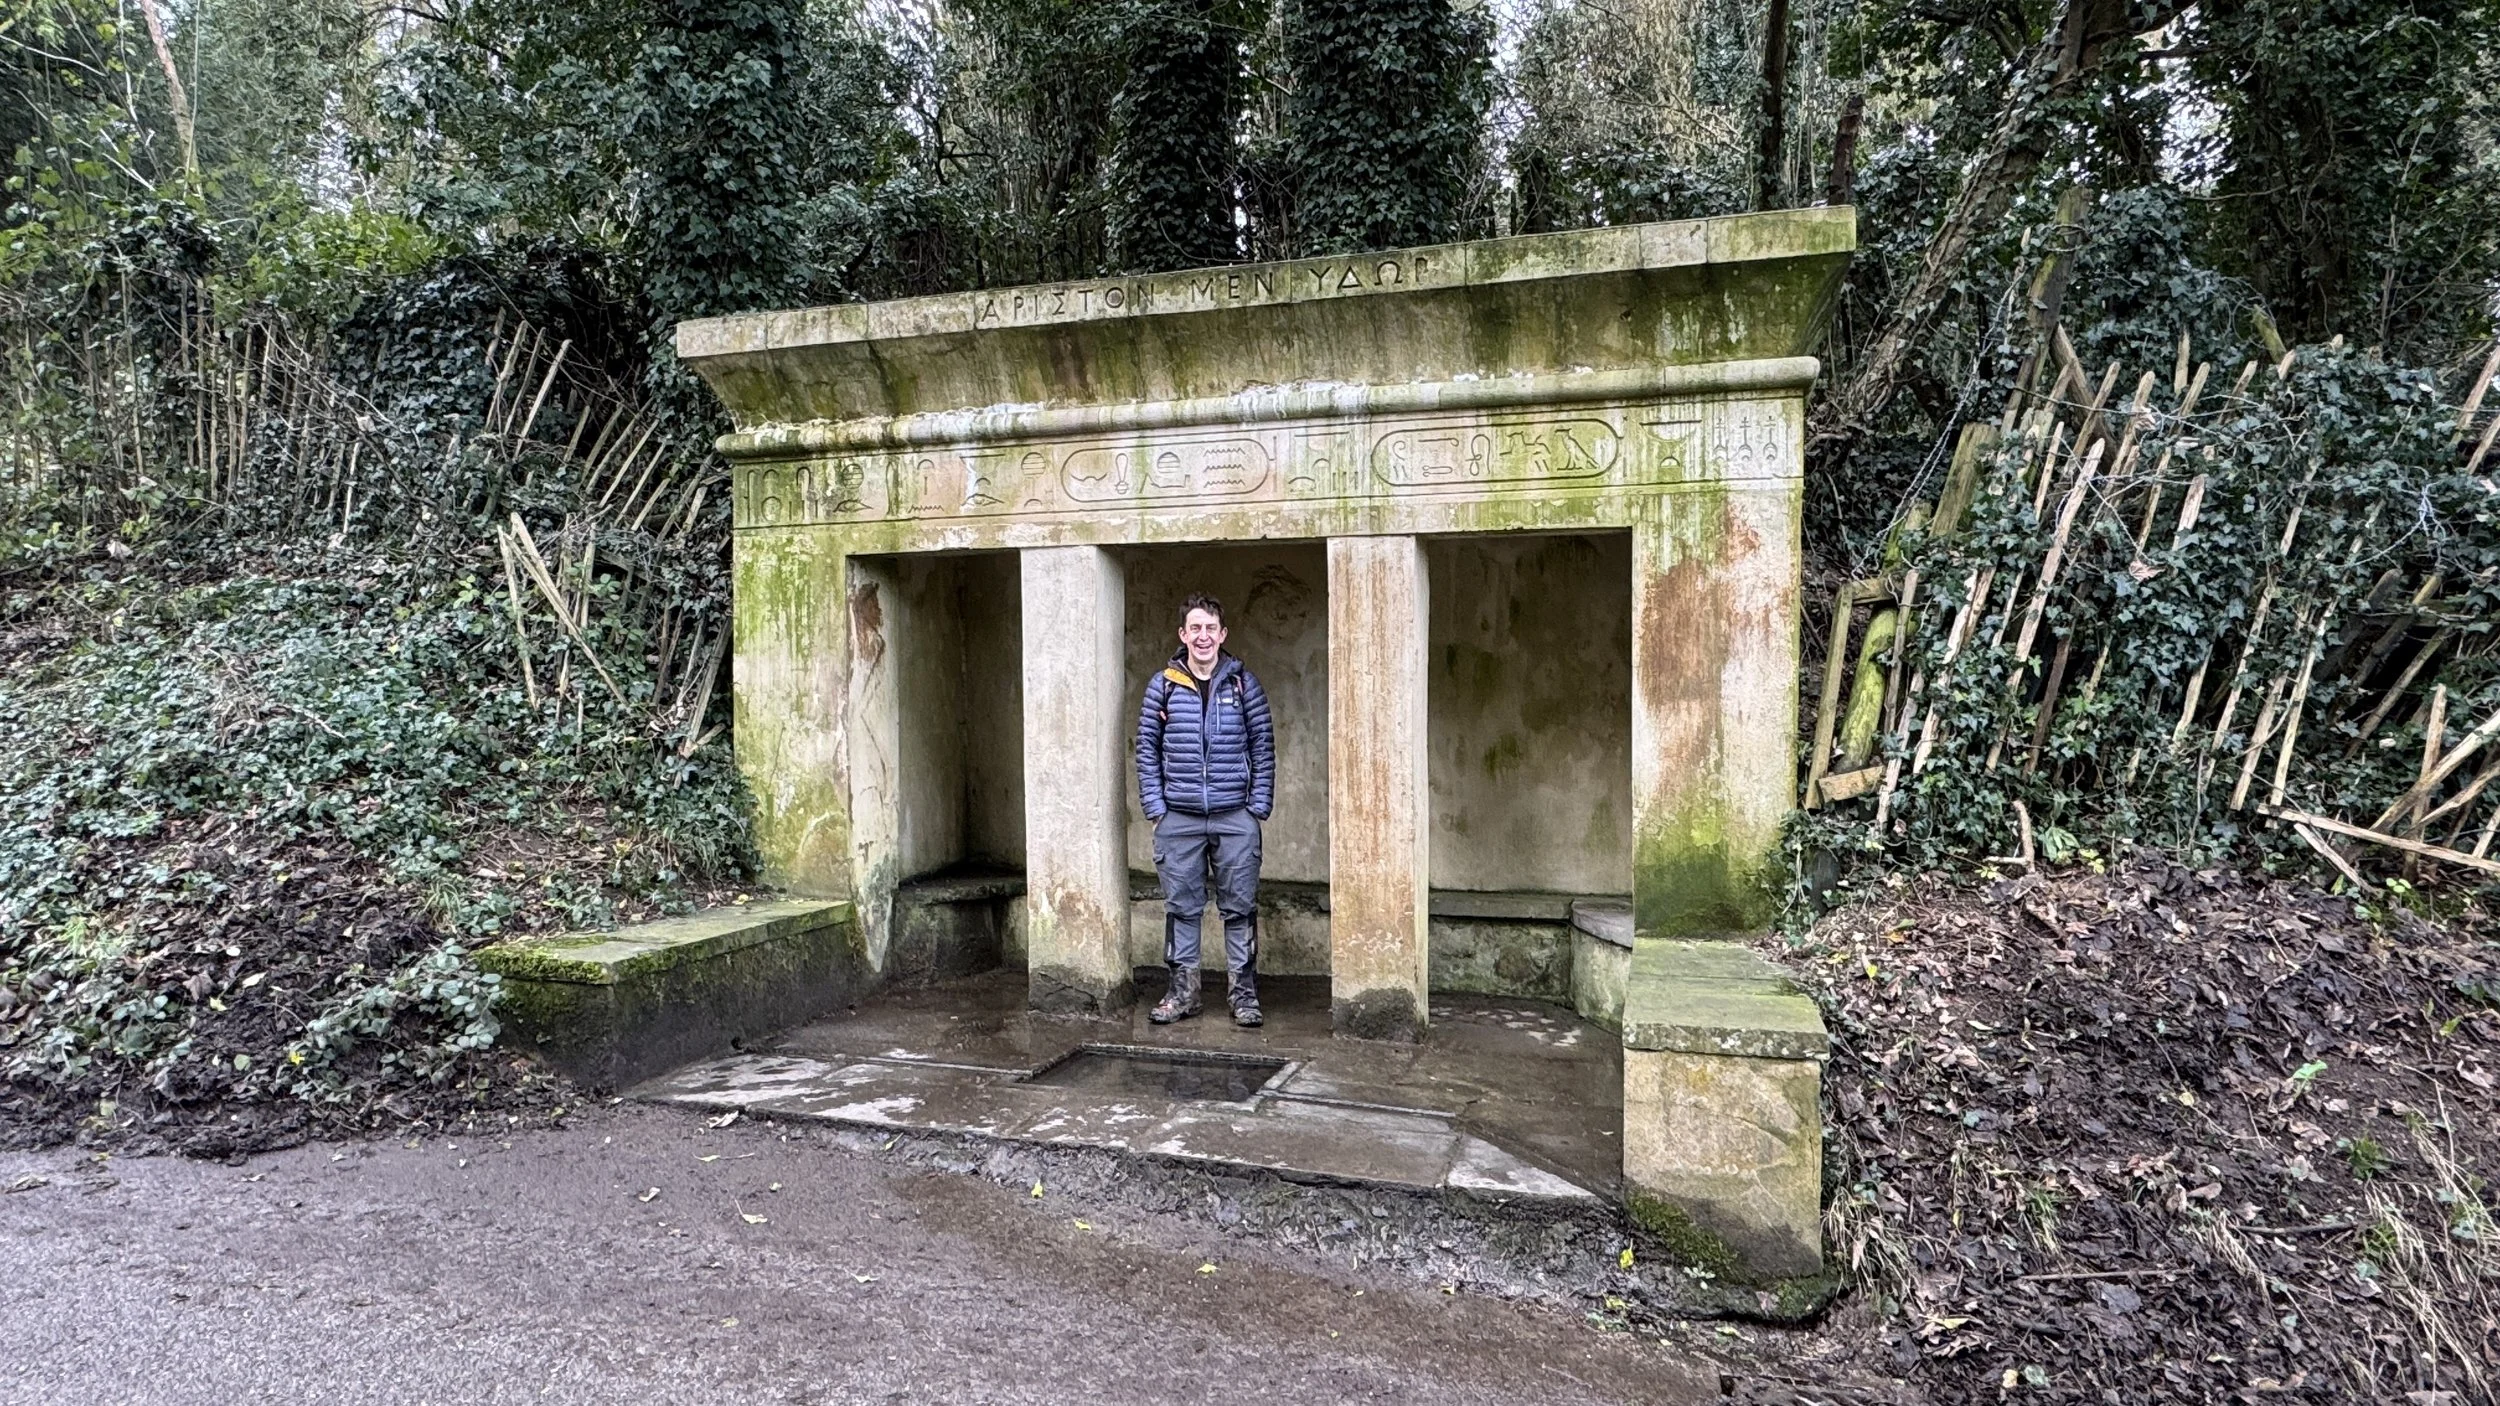
The Egyptian Springs: A unique folly located near Hartwell House, commissioned by Dr John Lee in the 1850s. Designed by Joseph Bonomi the Younger, it features an Egyptian-style alcove and a Greek inscription which translates to "Water is Best"—a nod to Dr Lee's support for the temperance movement.
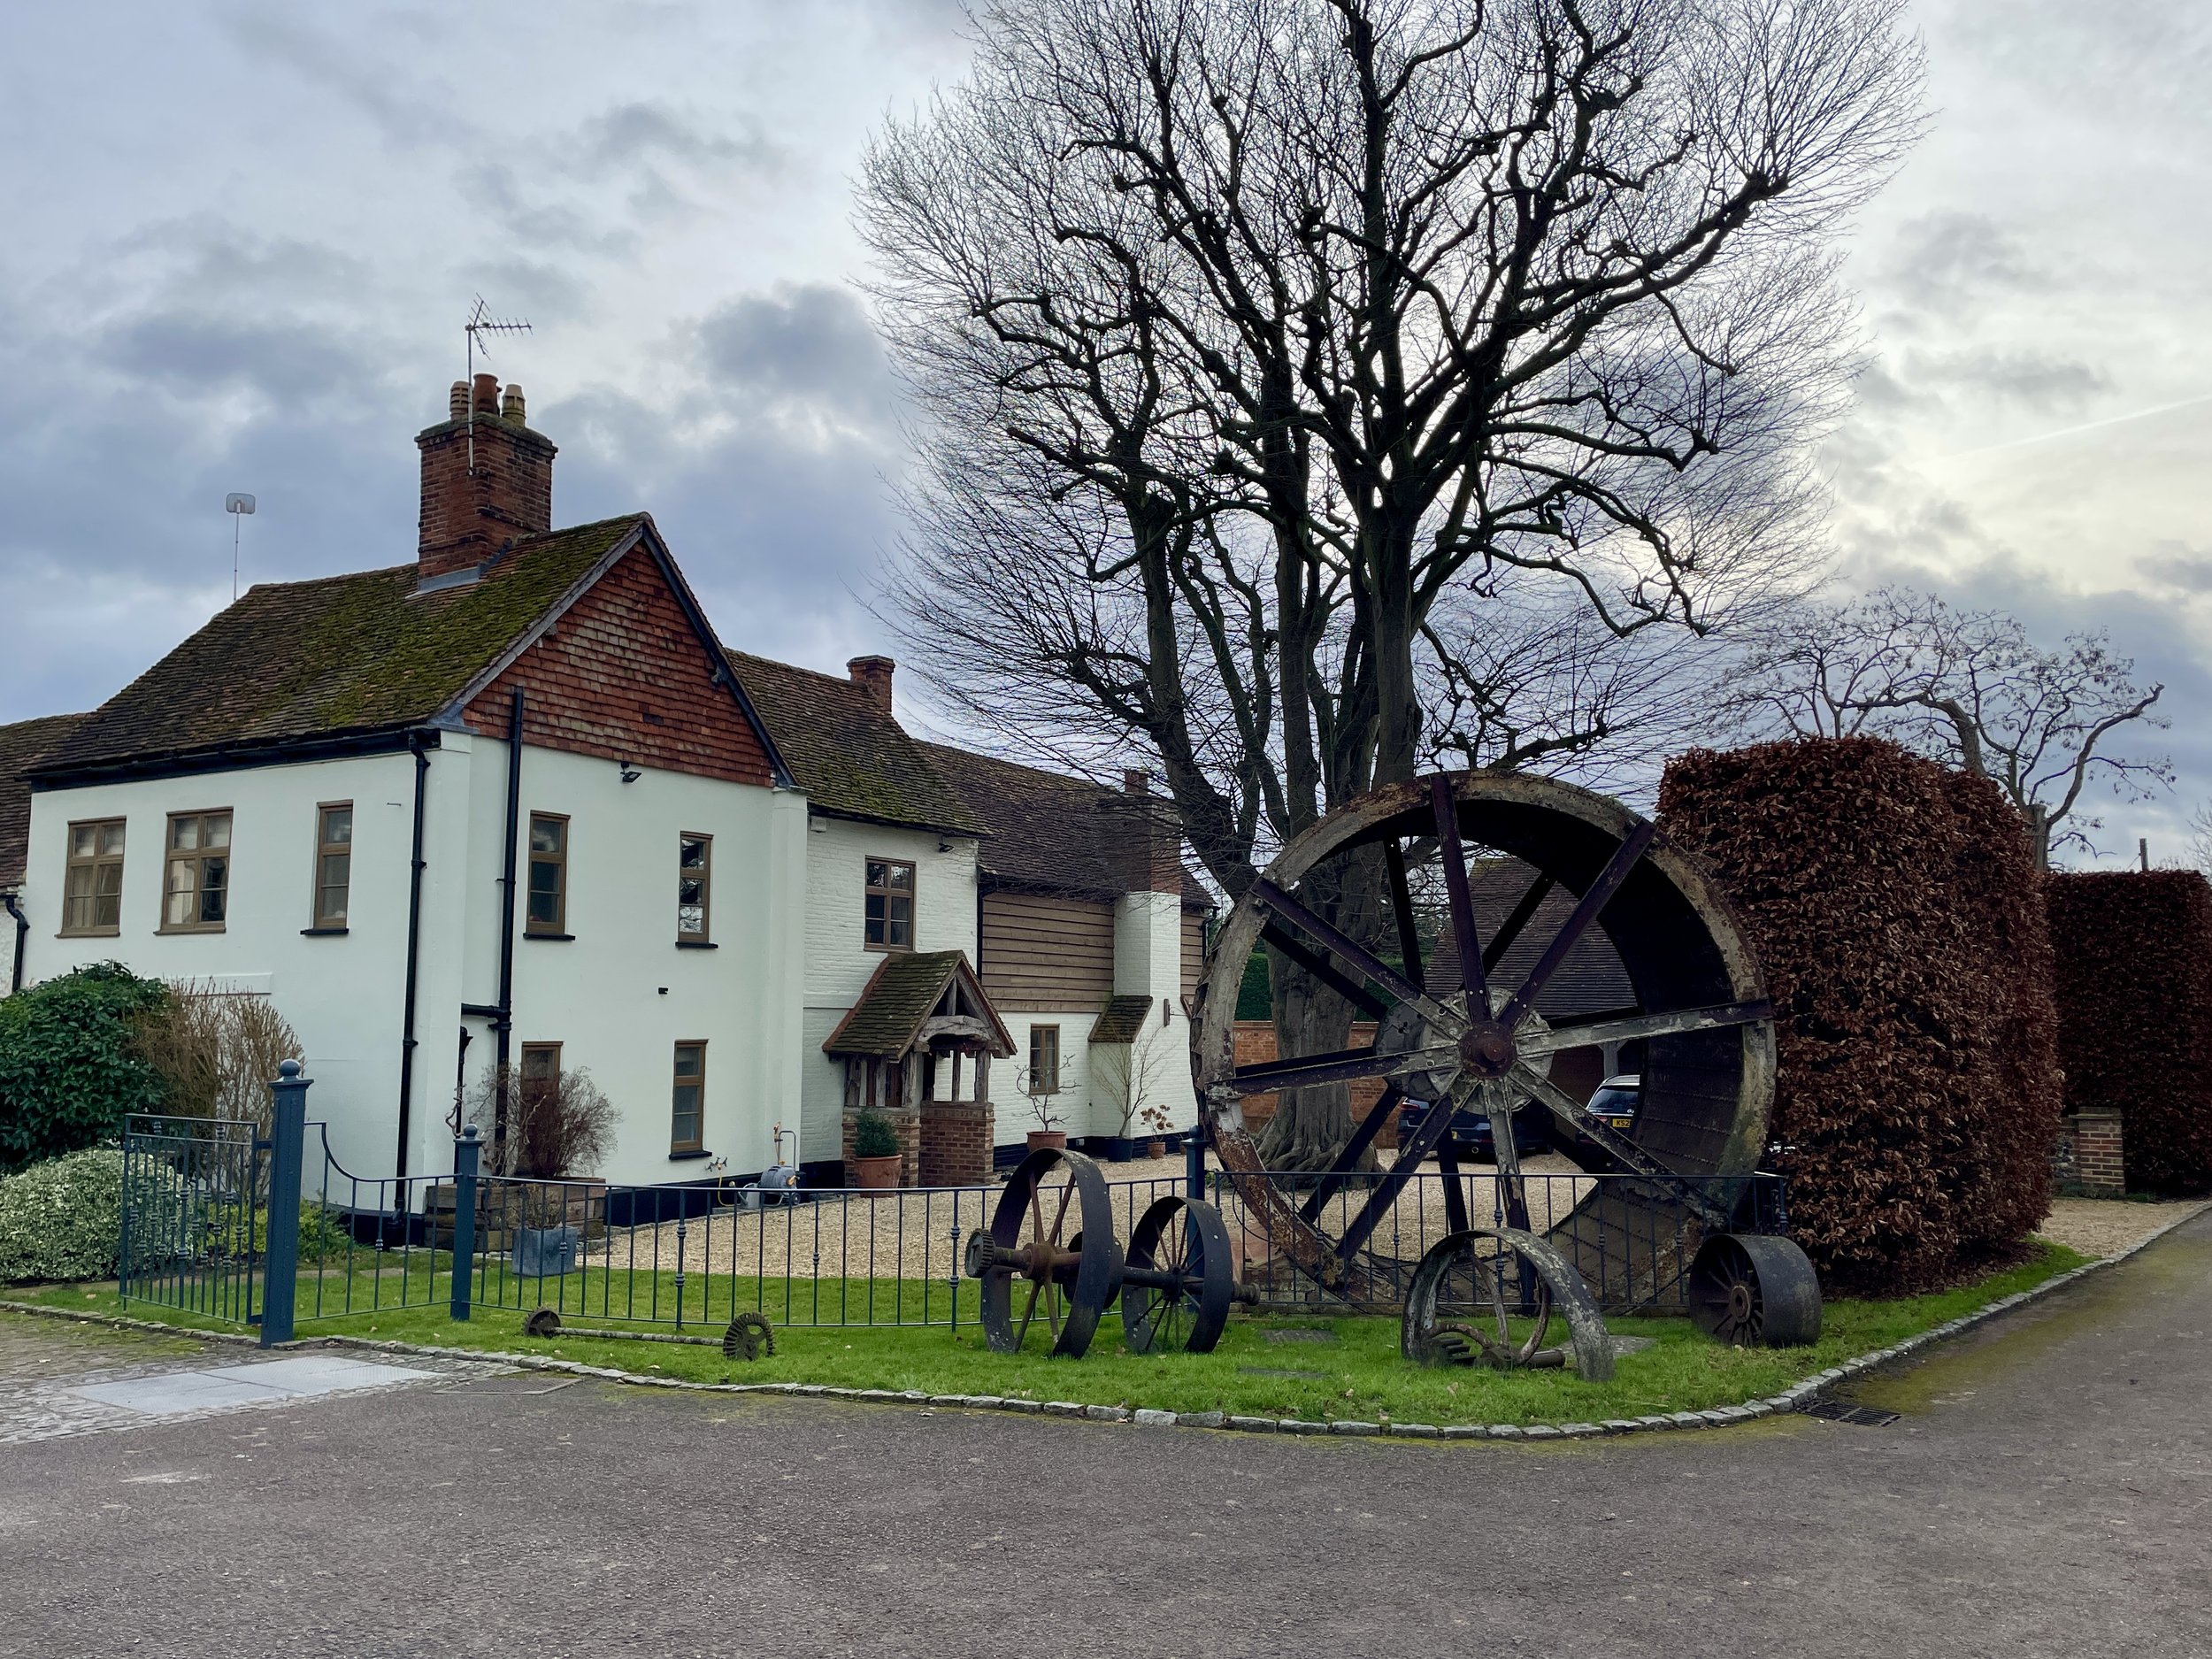
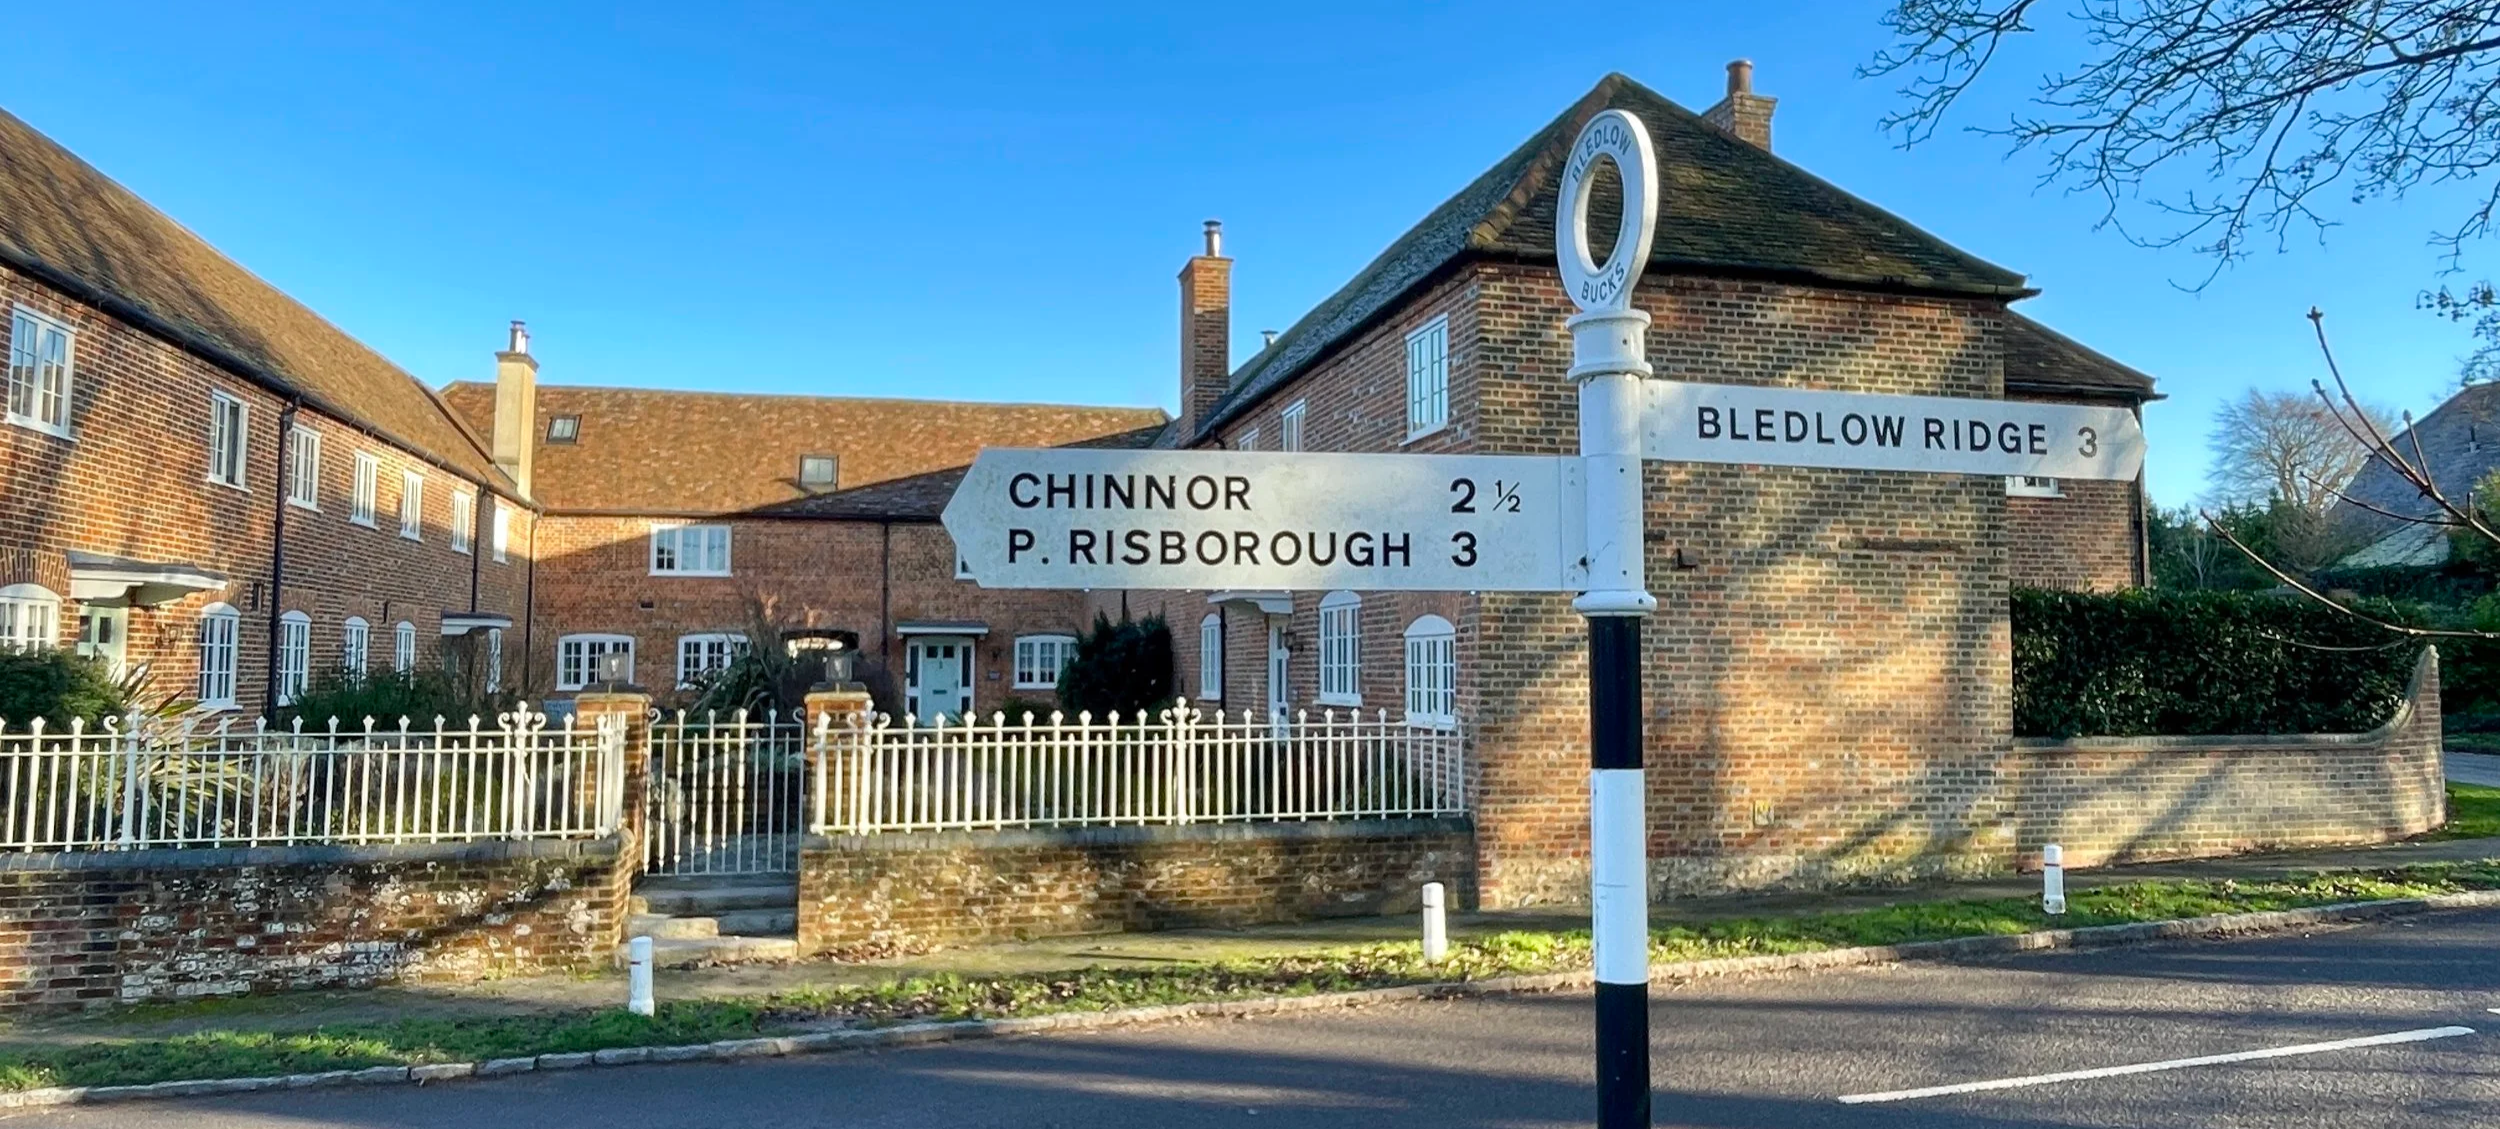
The Bugle Horn: Originally a farmhouse associated with the Hartwell estate, this building was converted into a pub in the 19th century. Its curved brick wall is a distinctive local landmark, said to have been built that way to prevent coaches from clipping the corner.

Midshires Way previous section South: Ford and Michael's Peace
Midshires Way next section North: Waddesdon and Eythrope