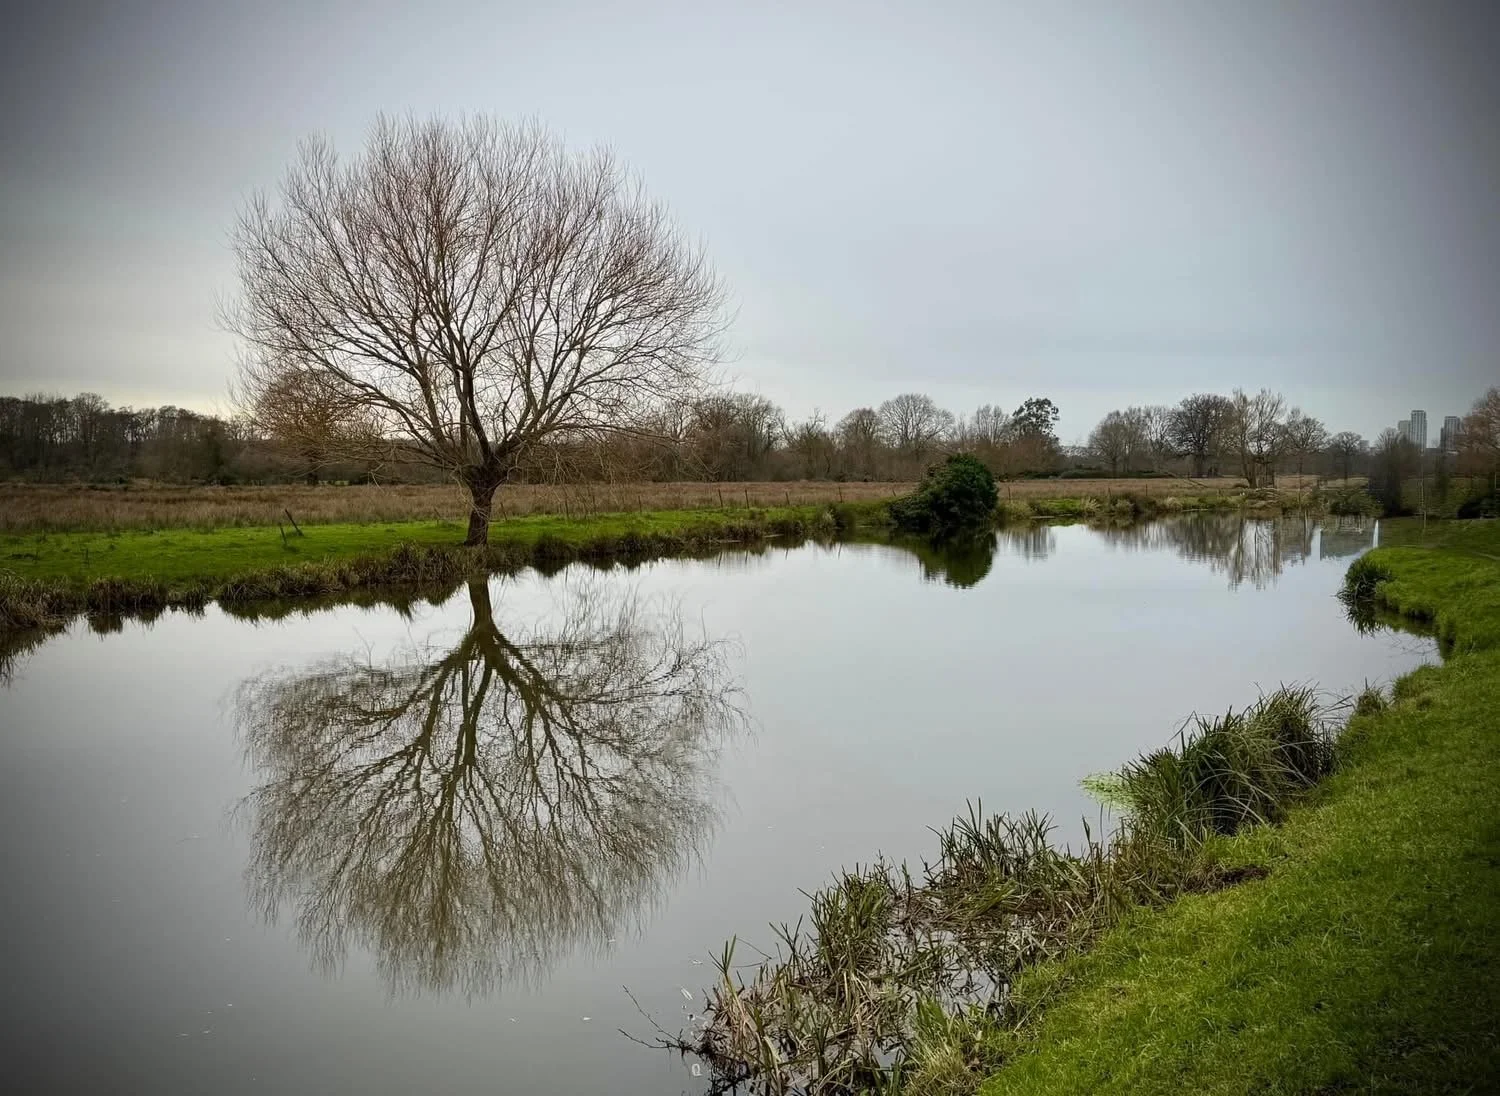
Black Park Lake on the Horton Brook
Part of the Chiltern Rivers Series
Cycle route start and end: Boundary of Black Park and Pinewood Studios, Fulmer
Cycle route length: 39.4 km (24.5 miles)
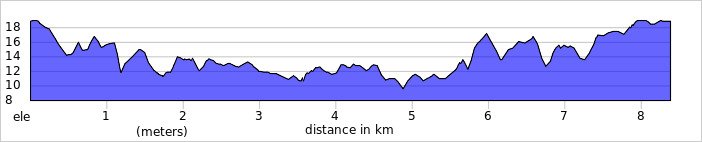
Cycle route elevation change: +/- 166m
GPX File: get via Buy Me a Coffee
Other routes touched (walk): Beeches Way, Shakespeare’s Way, Colne Valley Trail, Slough Arm Canal Towpath, Rowley Farm Trail
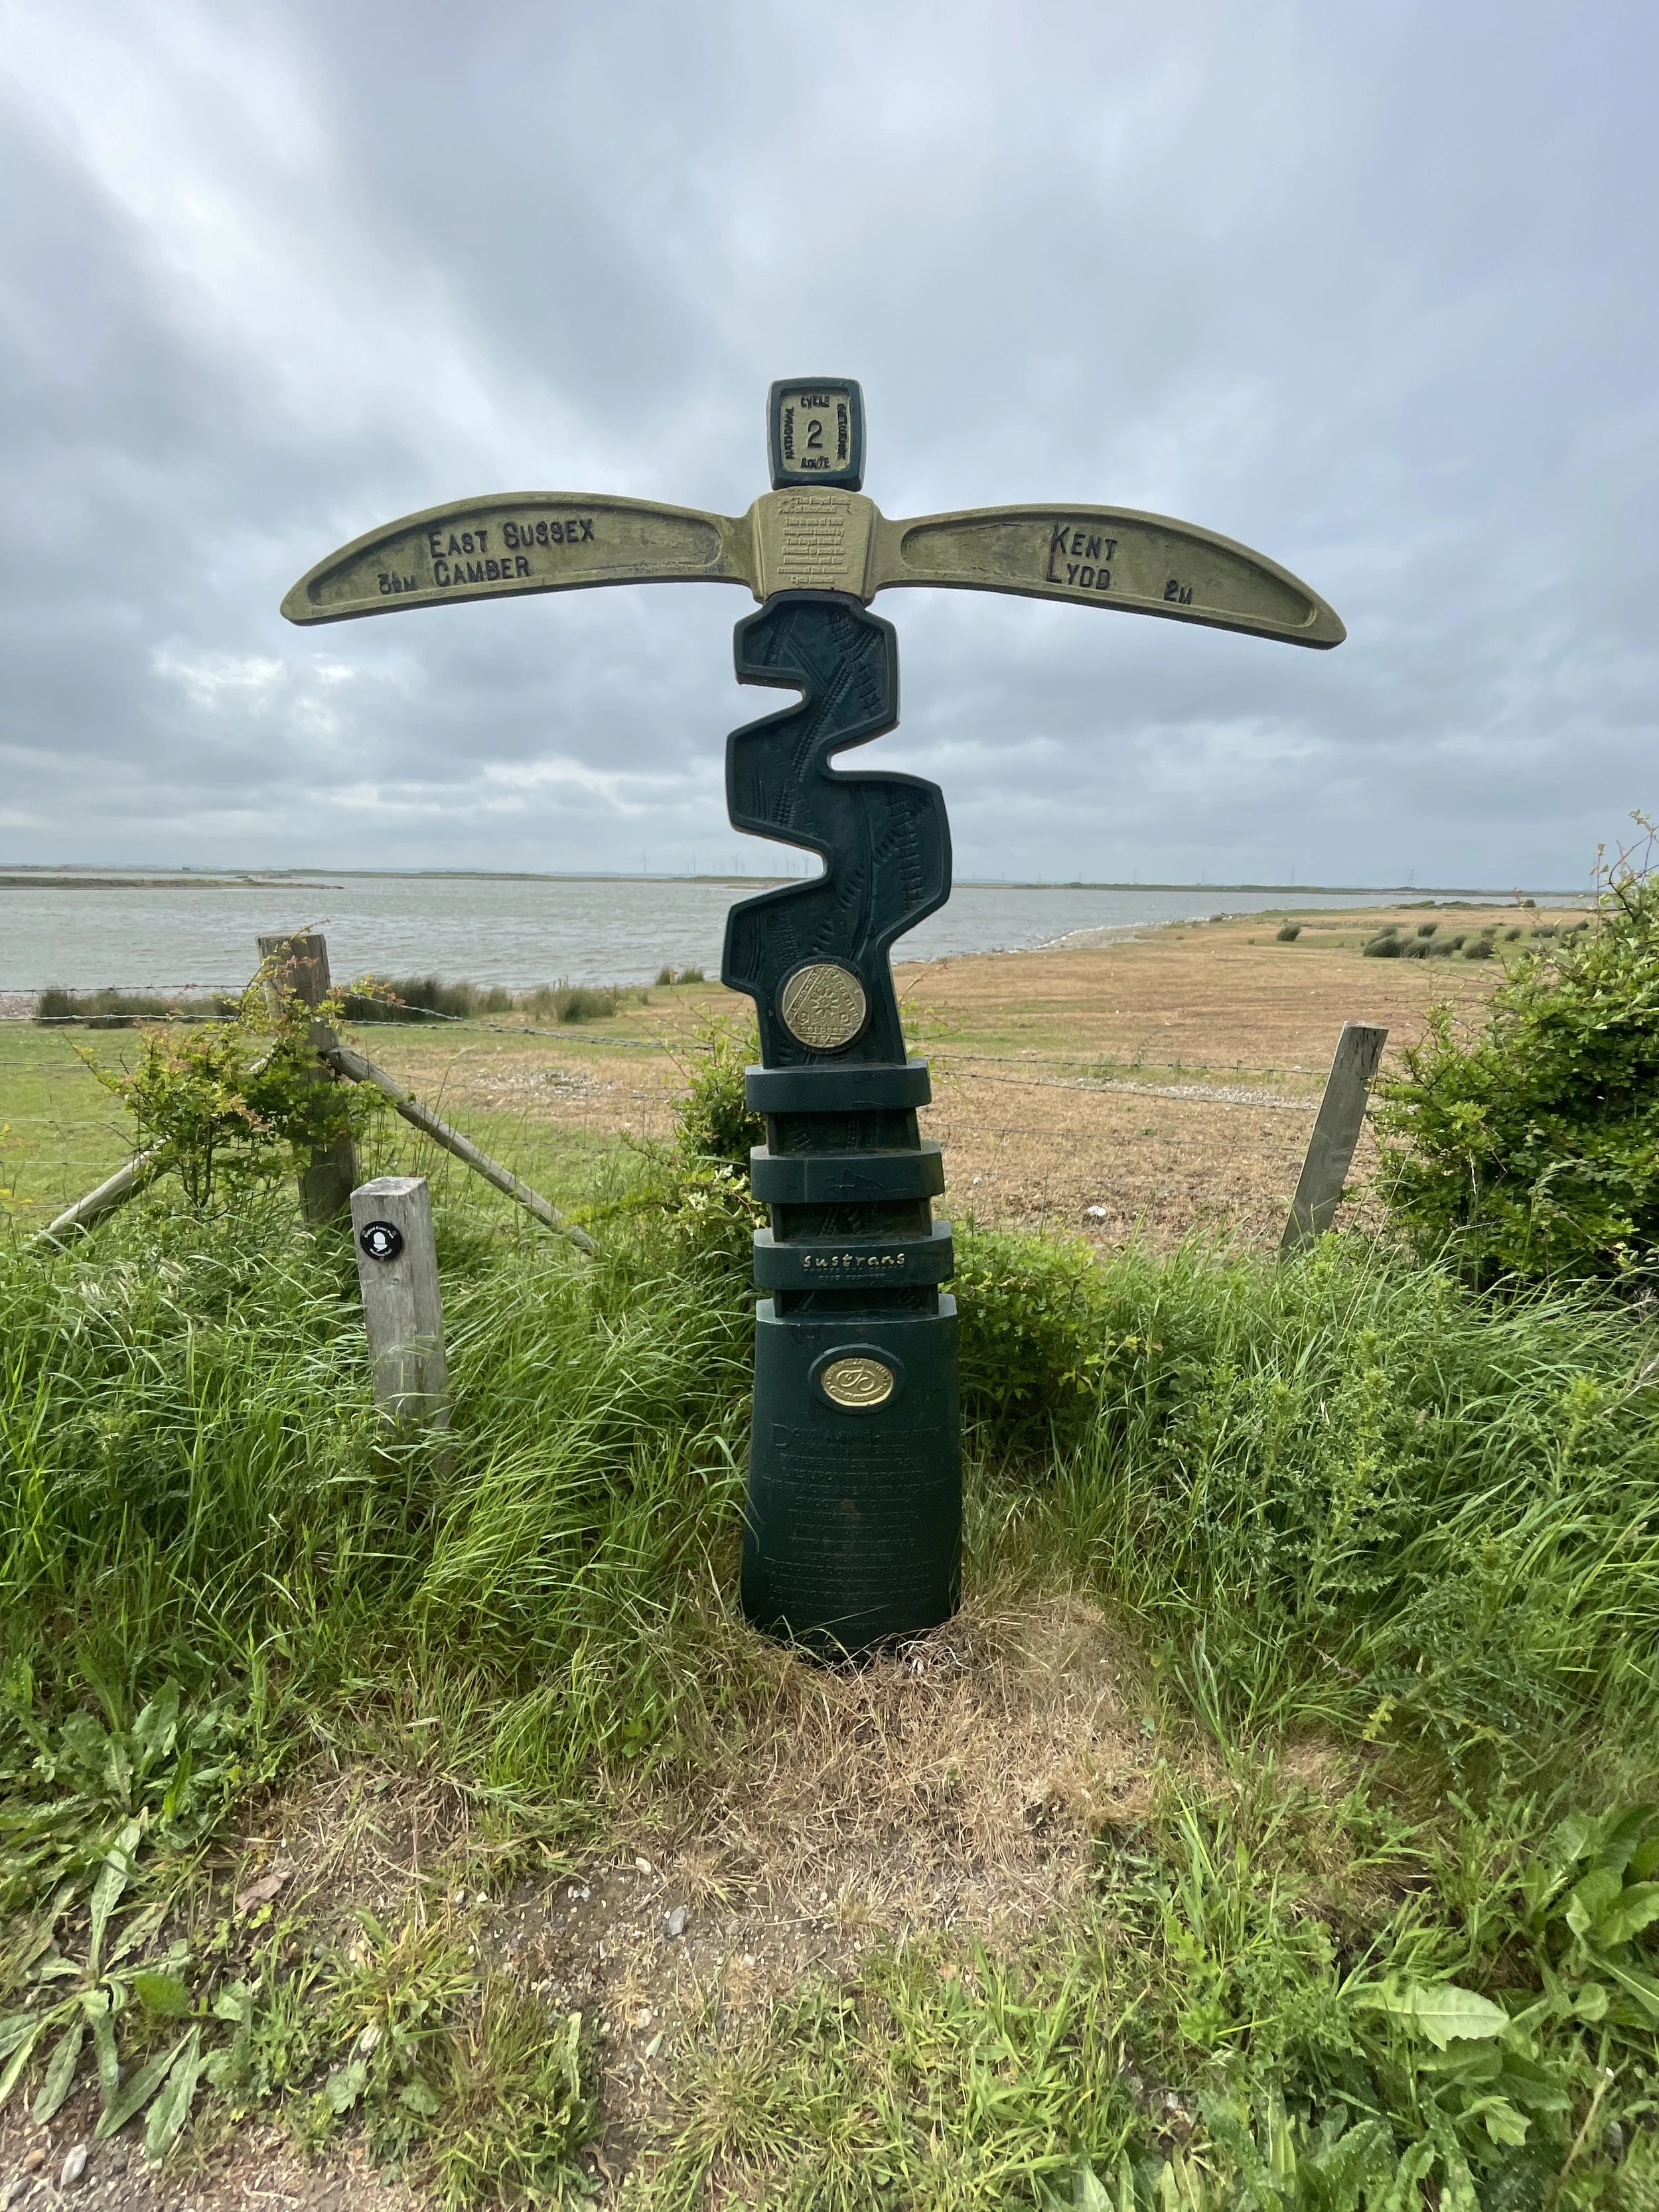
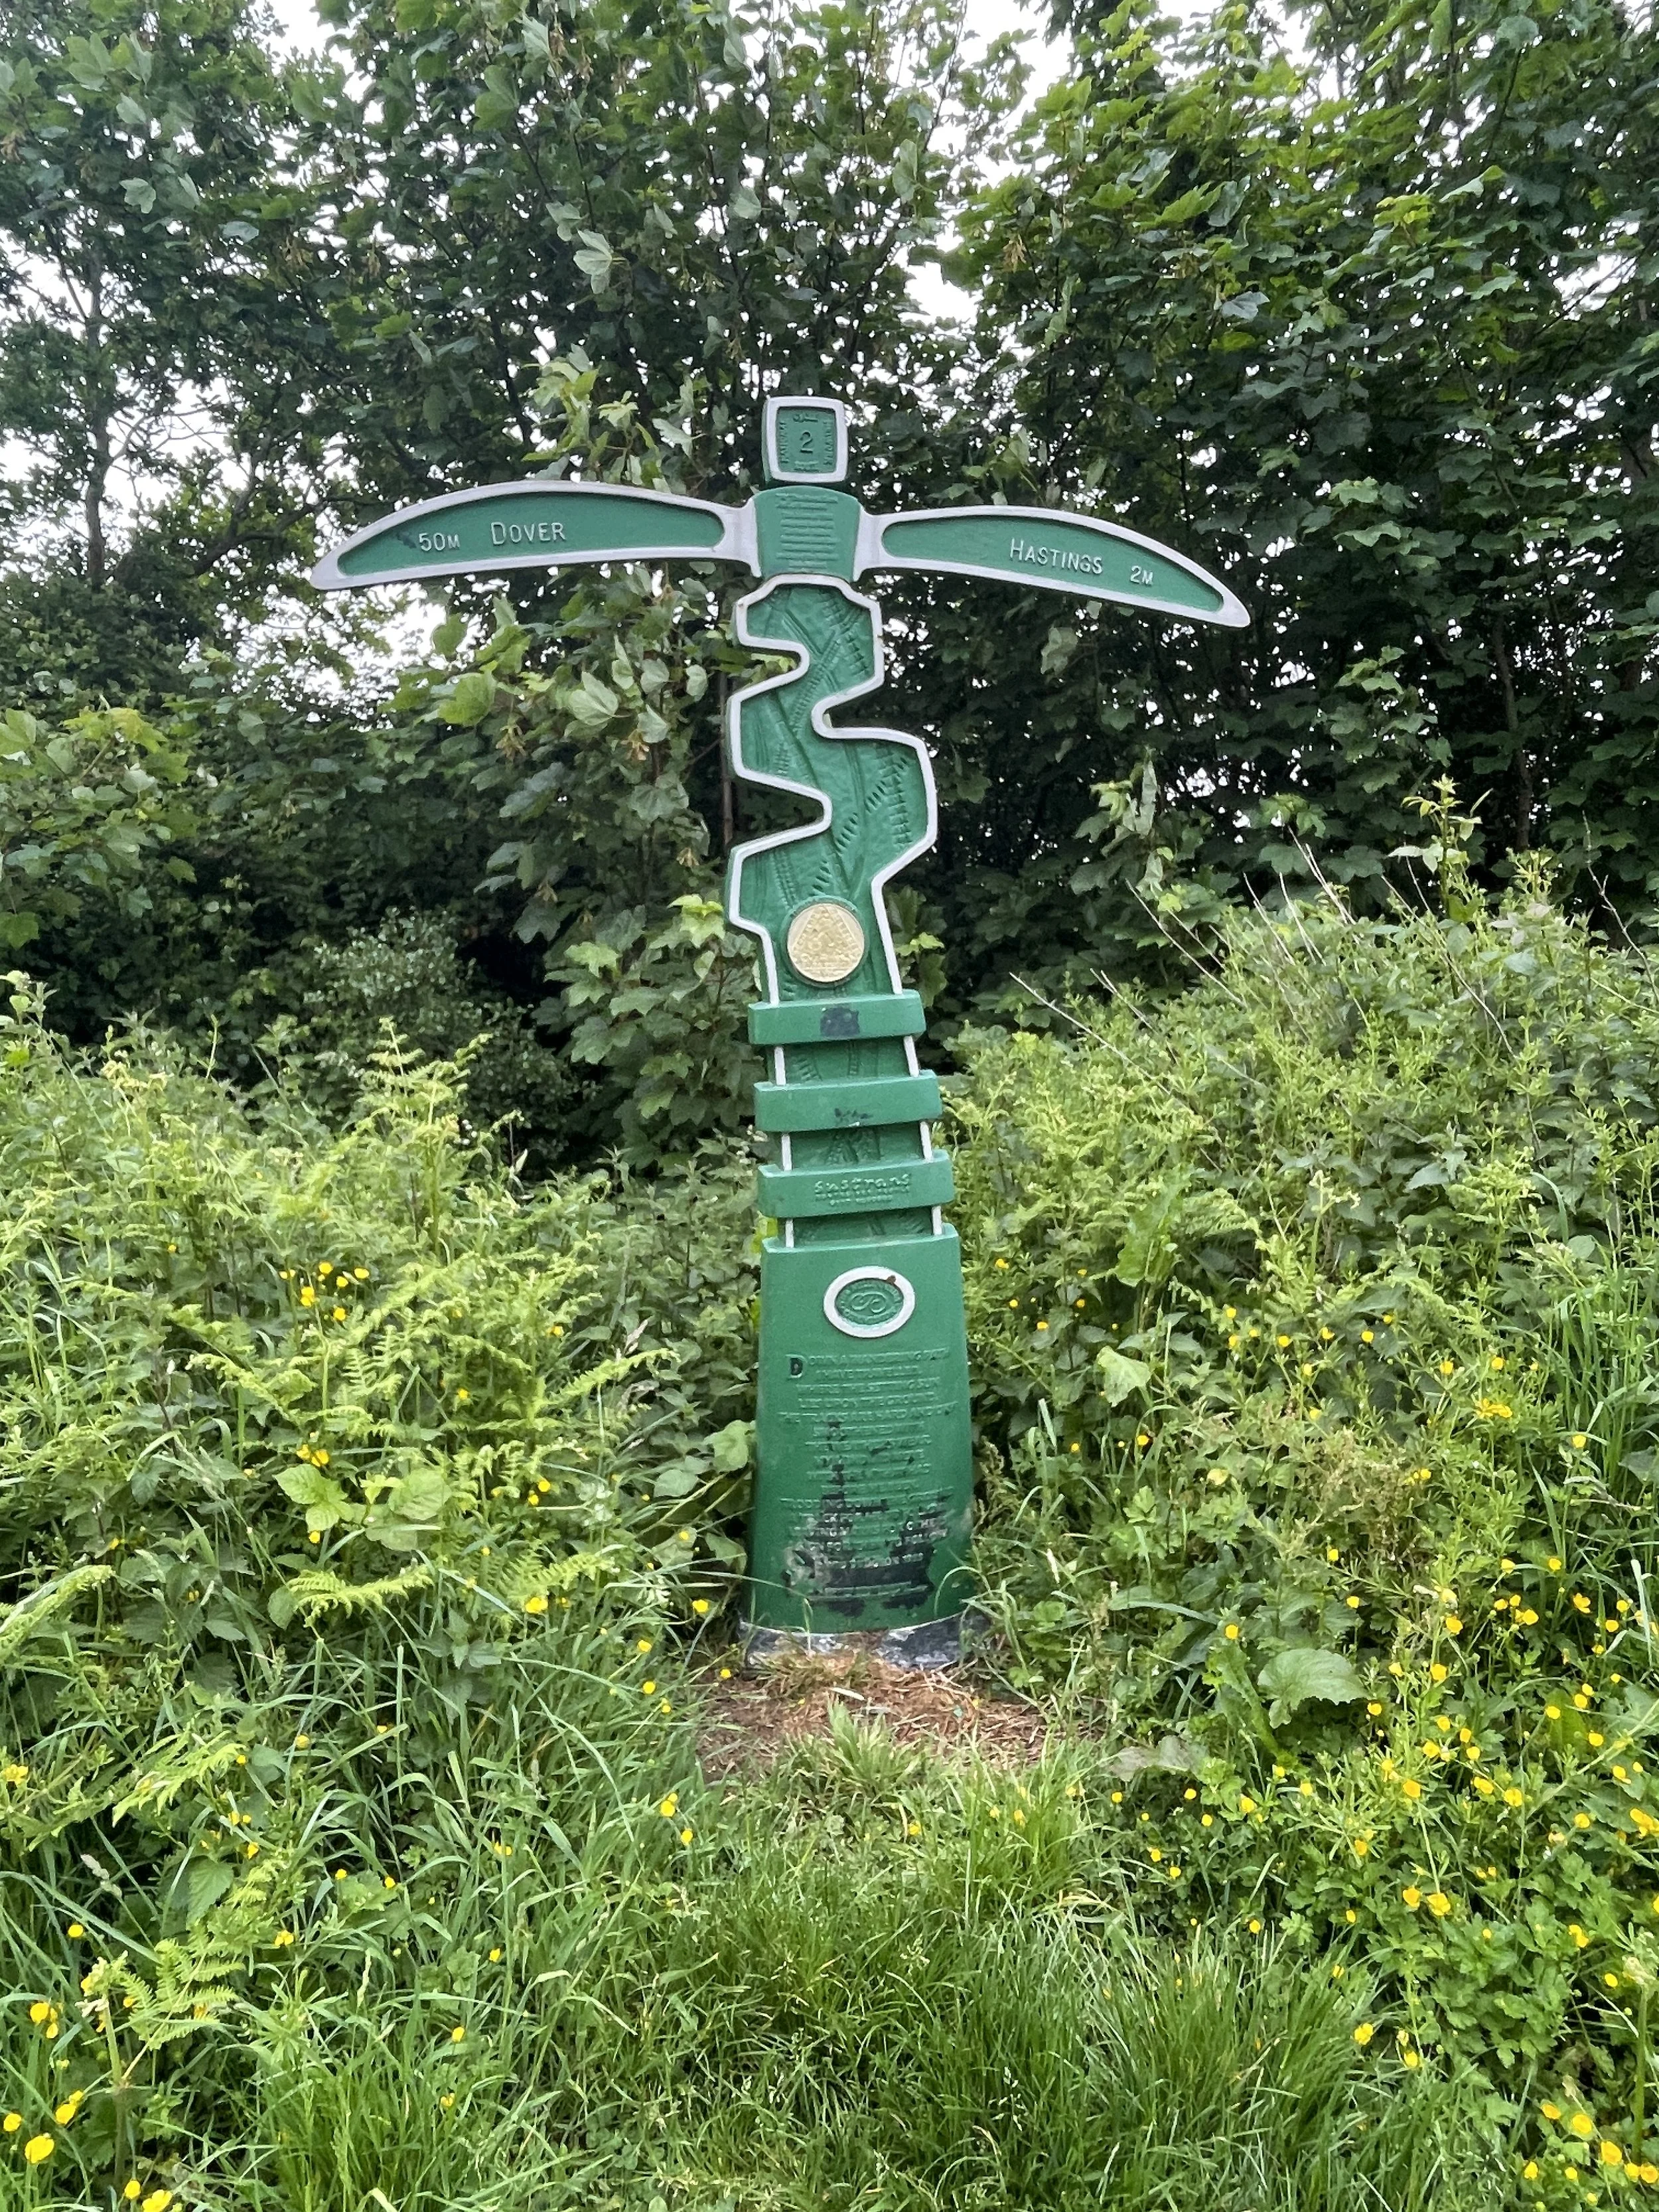
Other routes touched (cycle): NCN 6, 61
Maps:
- Chiltern Hills East Map | High Wycombe, Maidenshead & Rickmansworth | Ordnance Survey | OS Explorer Map 172
- Windsor, Weybridge & Bracknell Map | Thames Path | Ordnance Survey | OS Explorer Map 160
Links: Black Park, George Green, Grand Union Canal Slough Arm, Langley, Colnbrook, Horton, Wraysbury, National Trust Ankerwyke, Sunnymeads, Datchet Common, Ditton Park, Slough, Wexham
It had been a few years since I thought that I had completed all of the Chiltern and Colne Valley rivers. Then I discovered the Horton Brook and The Datchet Common Brook on a map and needed to explore them too. Both are small and easily missed unless you’re looking out for them. They snake through fields and residential areas to the east of Slough but you can walk or cycle fairly close to them if you know where to look. Both of the brook’s sources are close to each other at Fulmer and and have confluences with the Thames near Wraysbury. This means that both can be discovered in a 40 km cycle ride, following the Horton brook from the source then the Datchet Common Brook from its confluence back to the source.
Cycling the Horton Brook from the source to the confluence with the Thames
River start: Boundary of Black Park and Pinewood Studios, Fulmer
River end: Confluence with the River Thames in National Trust, Ankerwyke
River length: 19.7 km (12.2 miles)
Links: DEFRA: Horton Brook
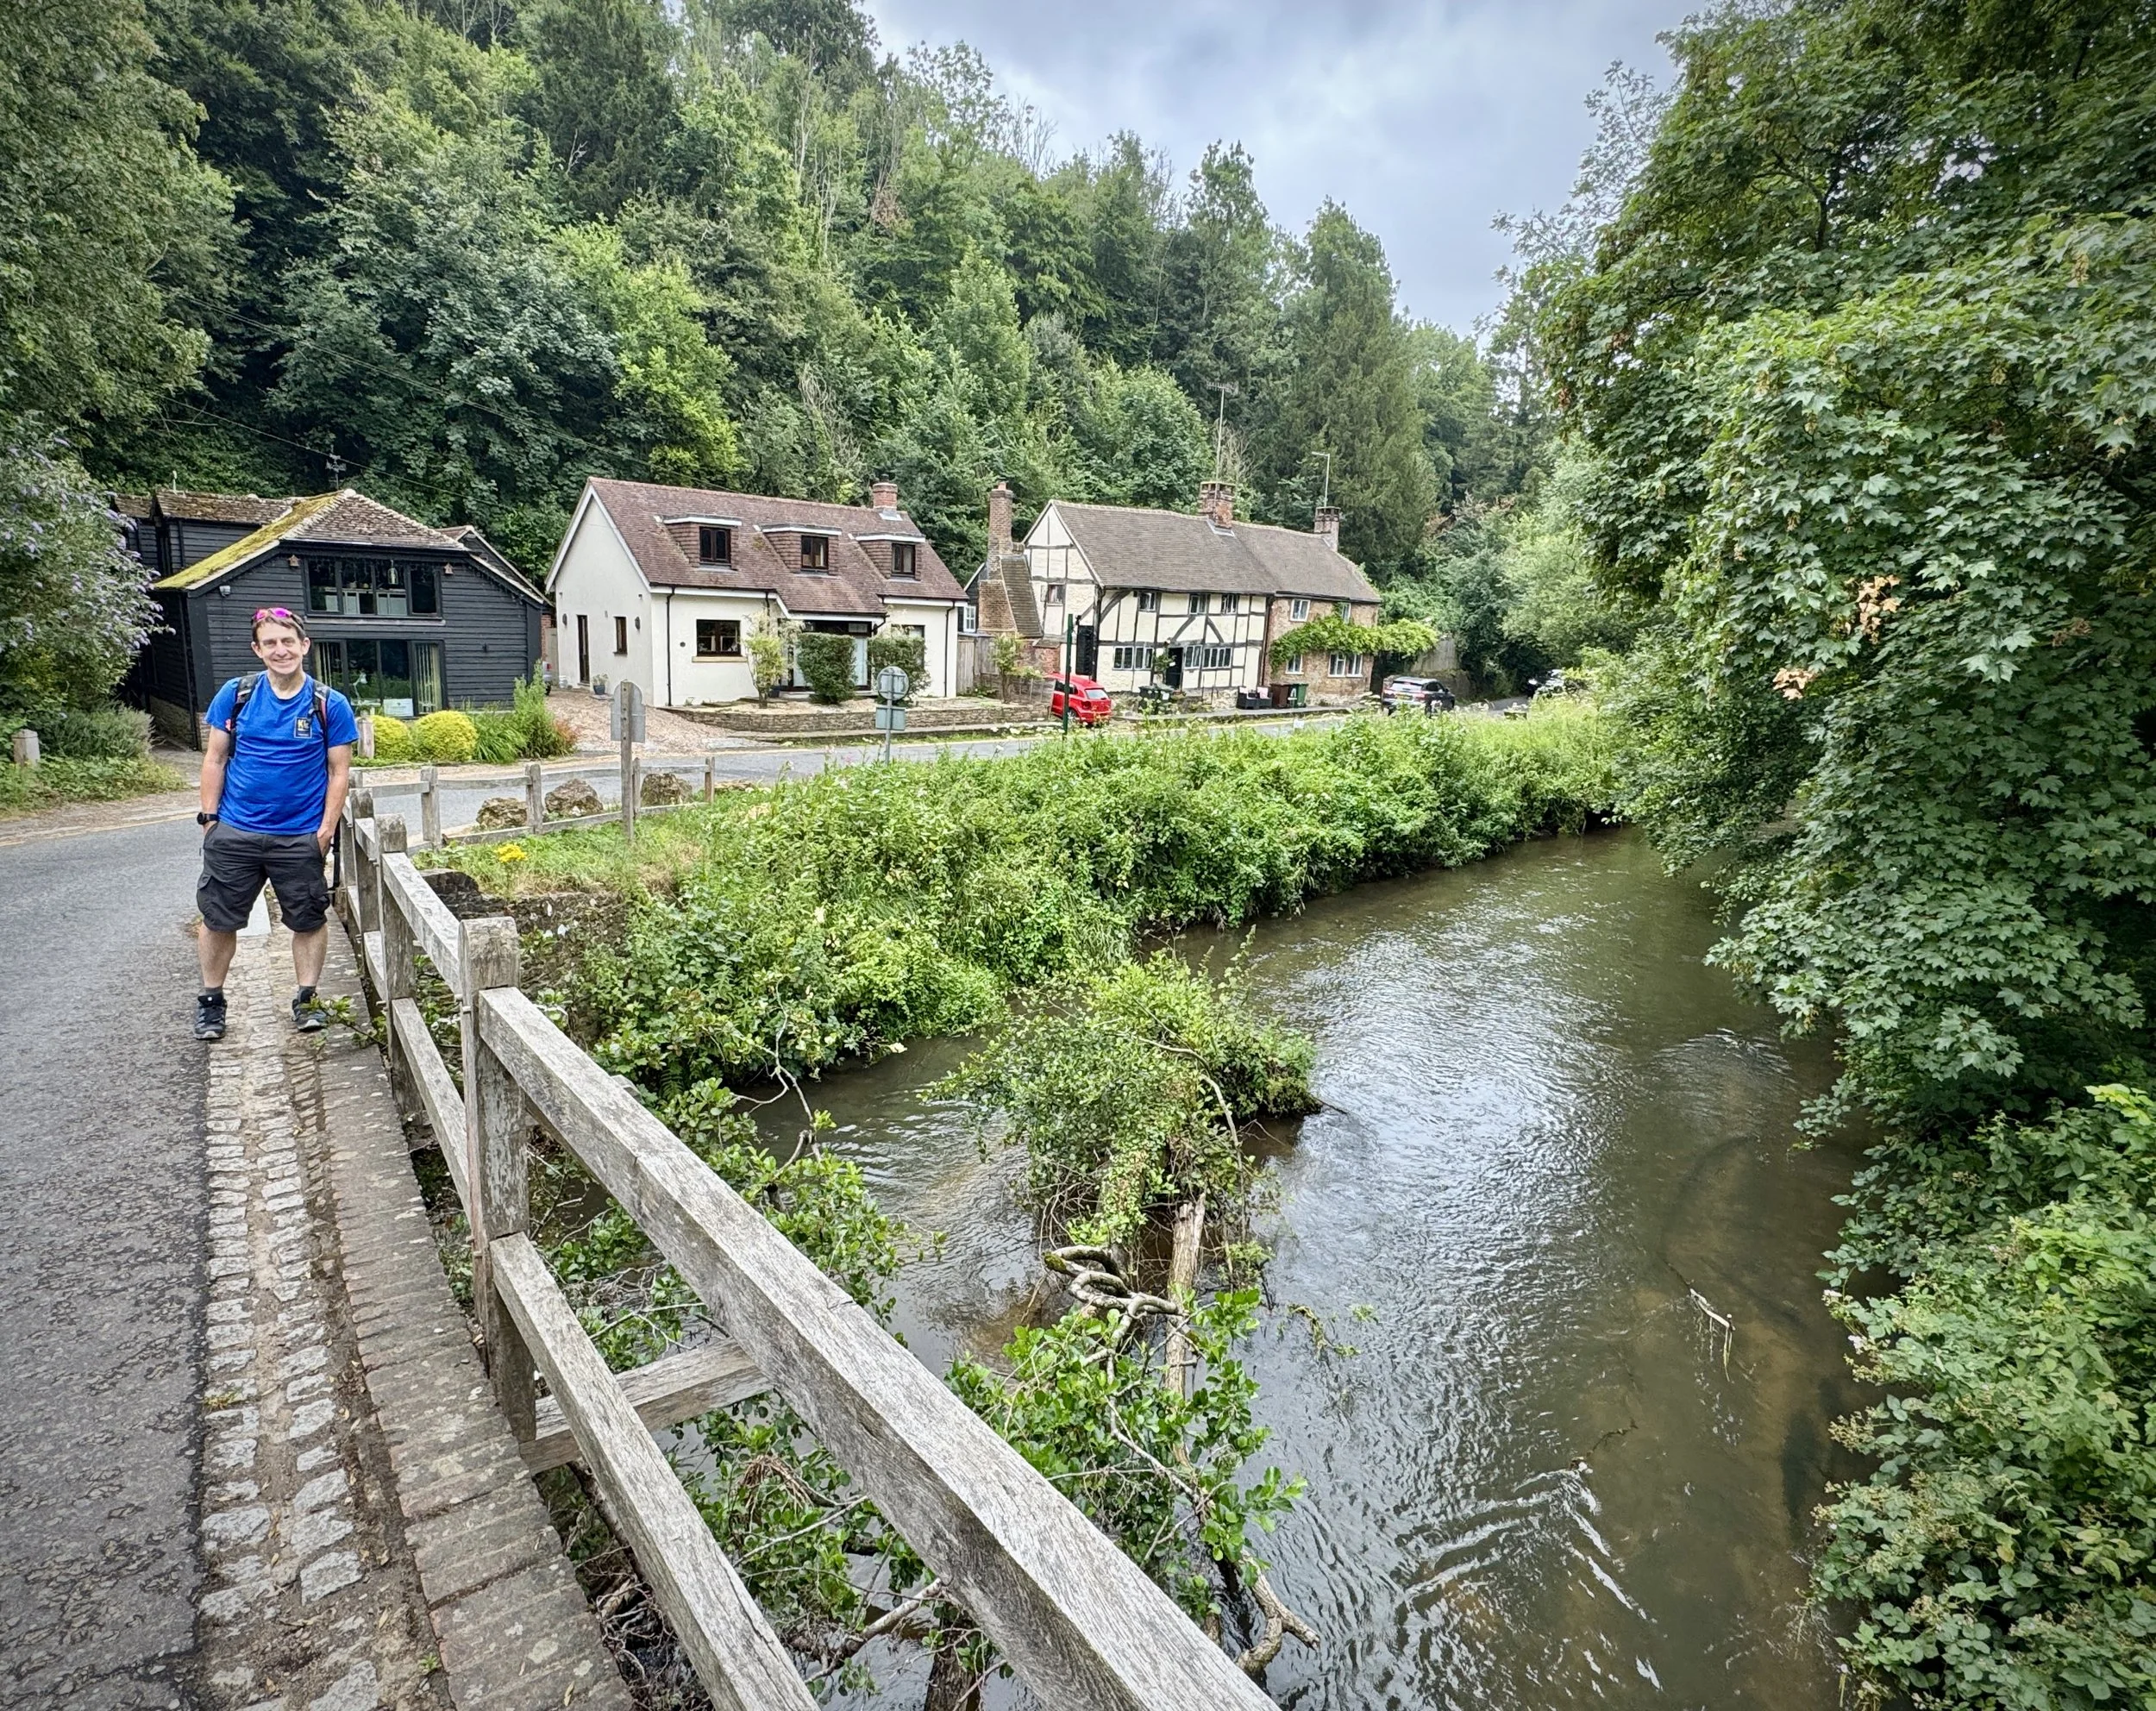
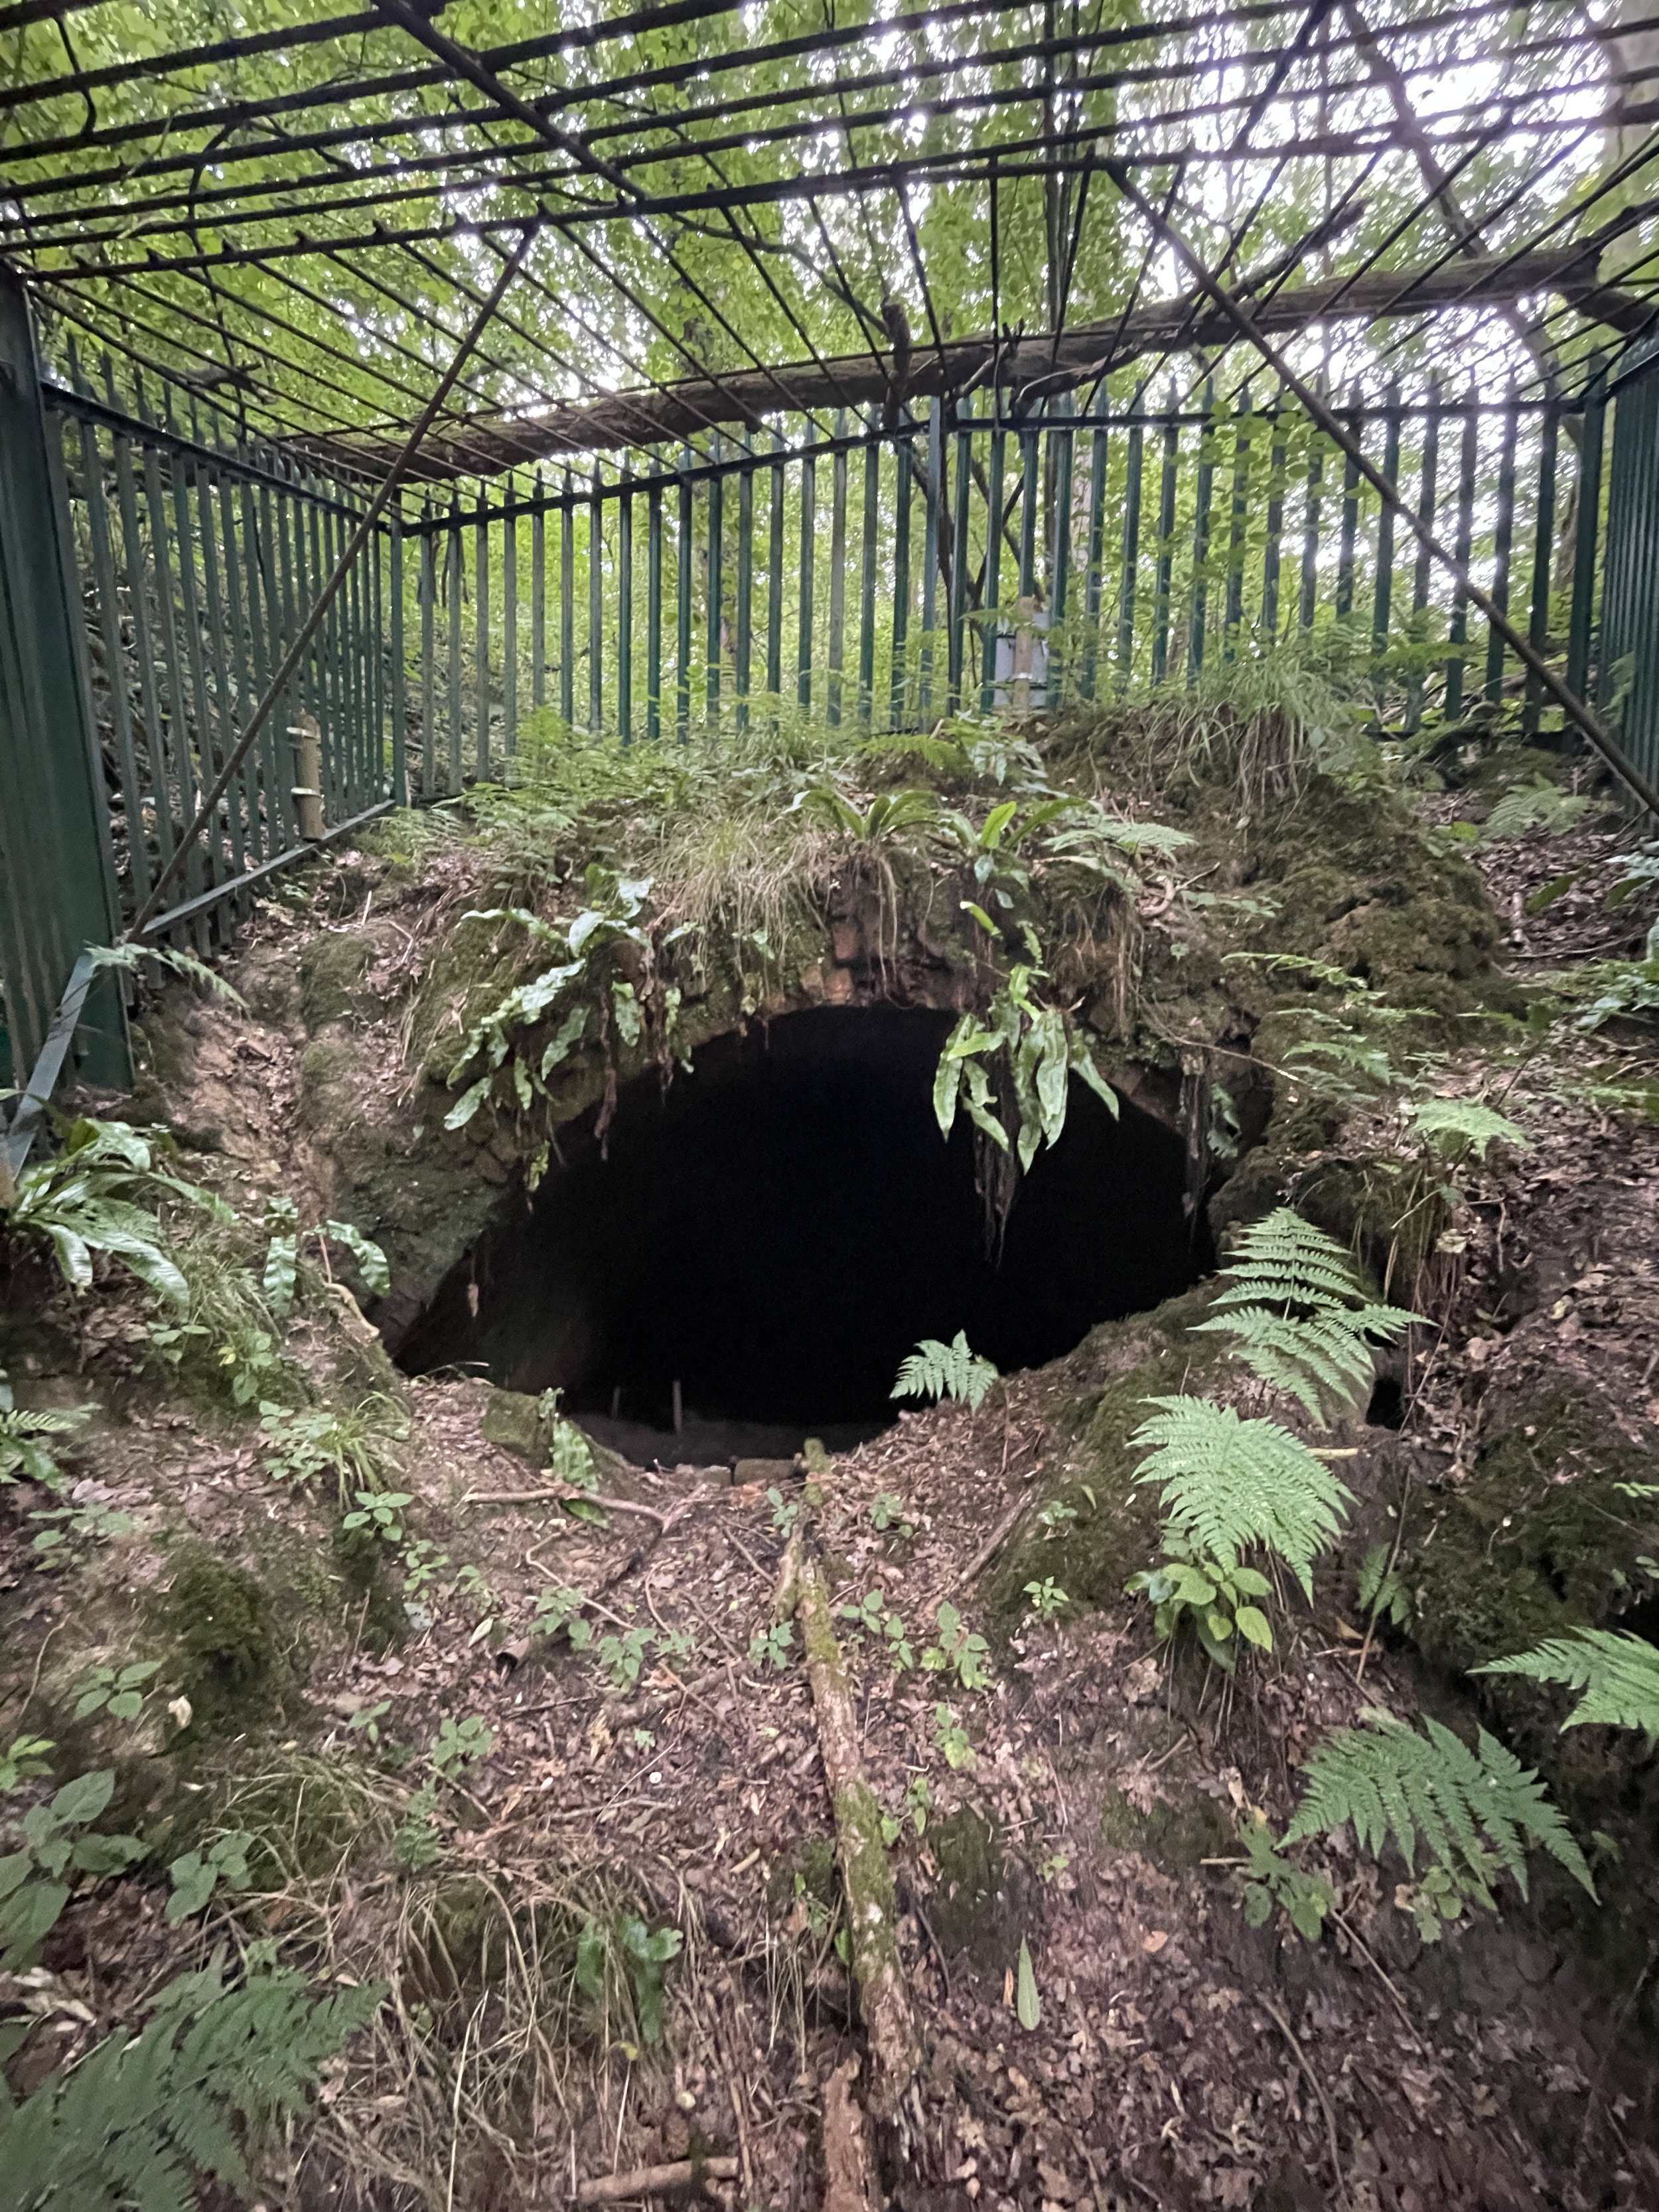
We started our cycle trip at the north-eastern corner of Black Park at the junction of Fulmer Common Road, Alderbourne Lane and Pinewood Road. Different maps show the source of the Brook either right on this corner or a little further south along the boundary of Black Park and Pinewood Studios. I’ve been cycling and walking there for years but always thought that it was a ditch.
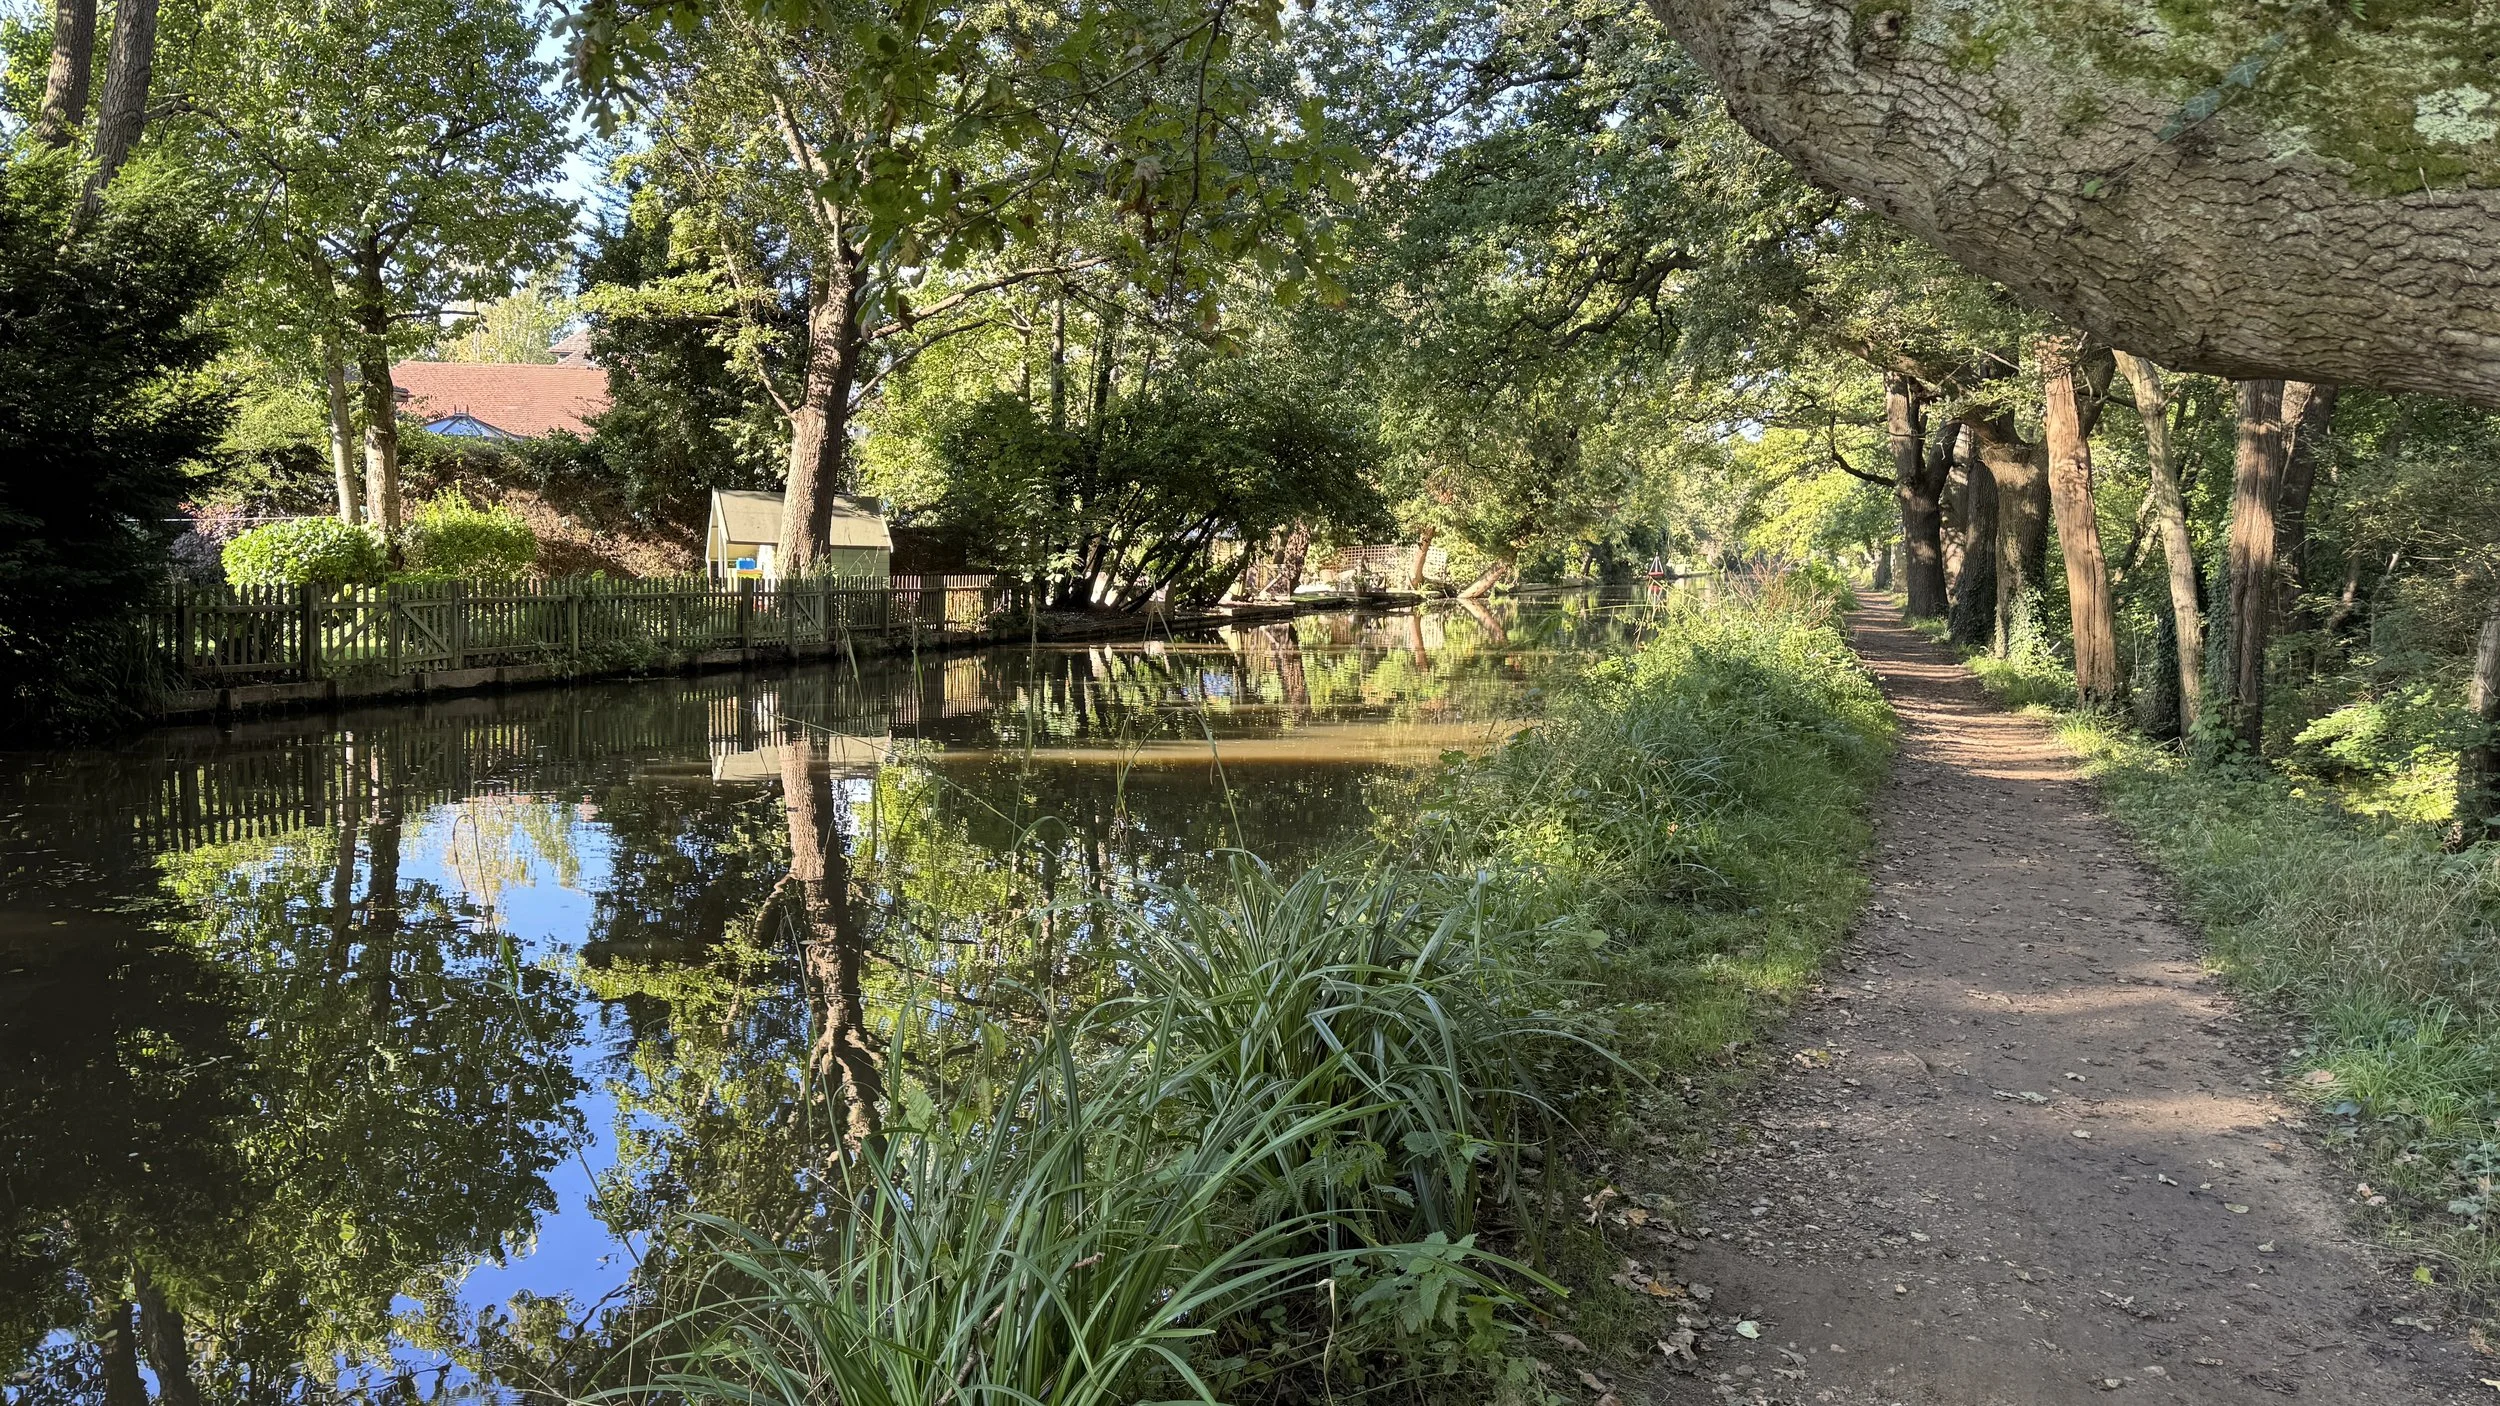
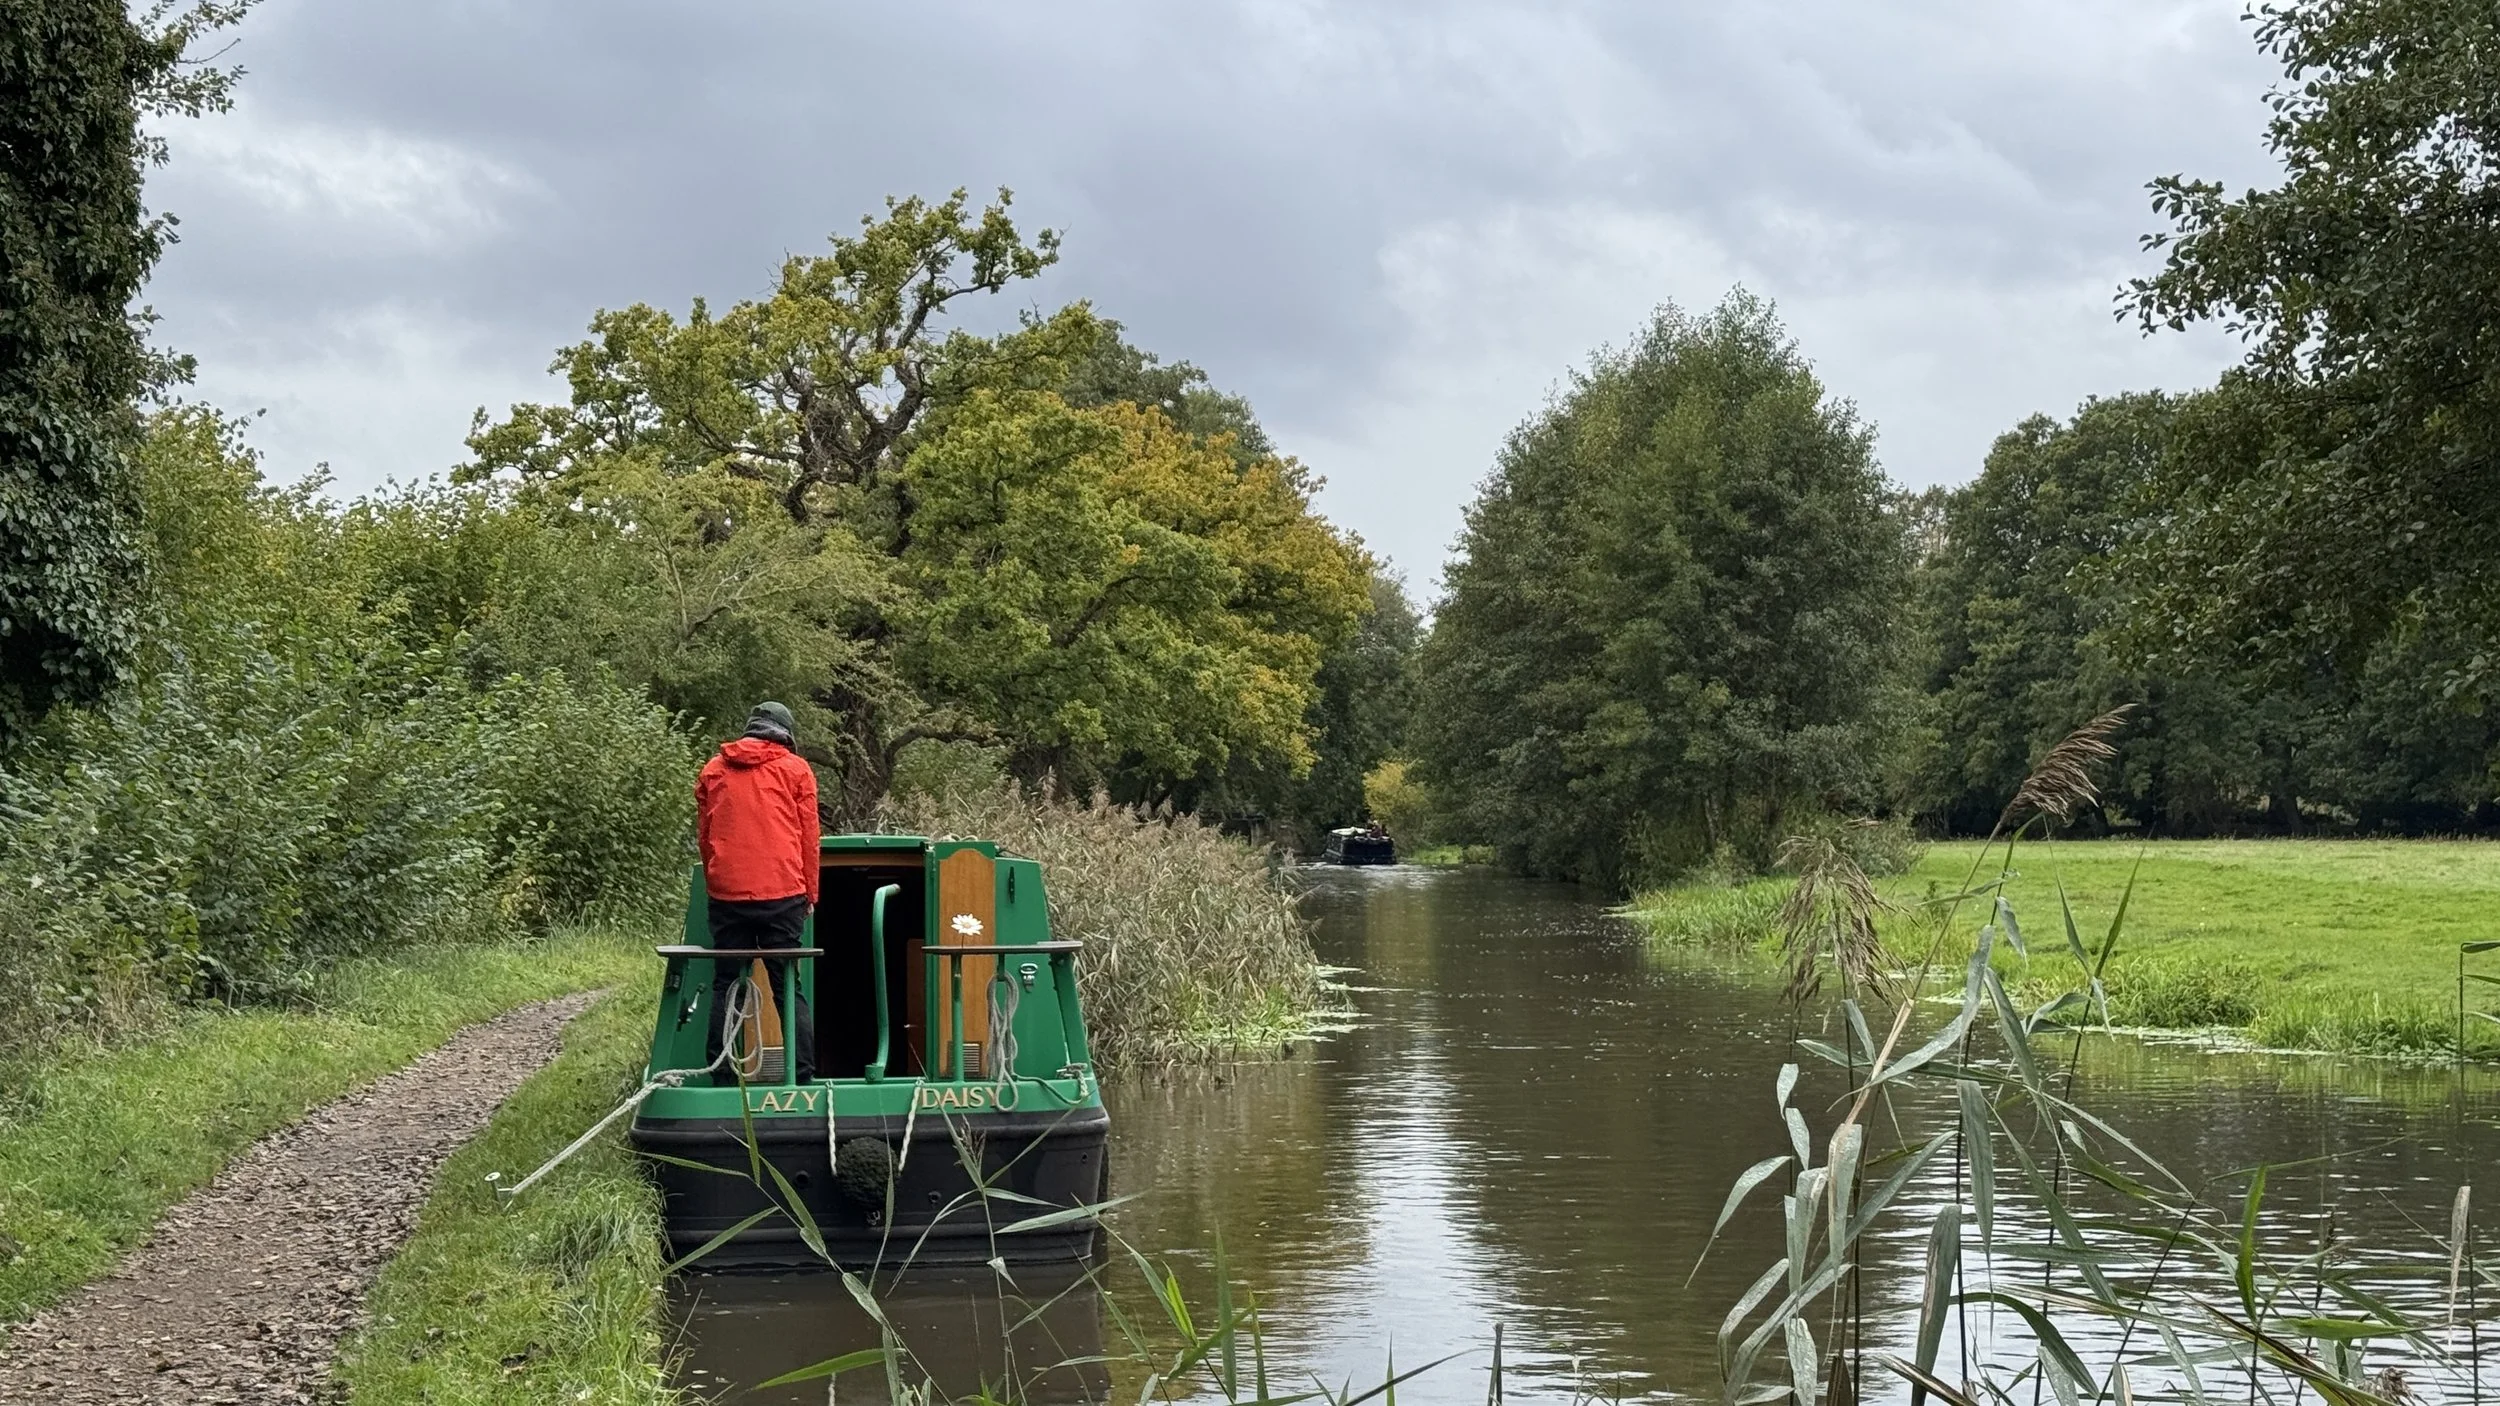
After ~700m from Fulmer Common Road, the Brook cuts diagonally across the Country Park to empty into Black Park Lake, emerging on the south western side near the path to the car park. After Black Park the Brook crosses under Rowley Lane and into Rowley Farm. We cycled through the farm on the Rowley Farm Trail but ended up taking a fairly convoluted route to not stay very close to the Brook. The easiest route is to follow the A420 to George Green, although be very careful here is it’s a busy dual carriageway.
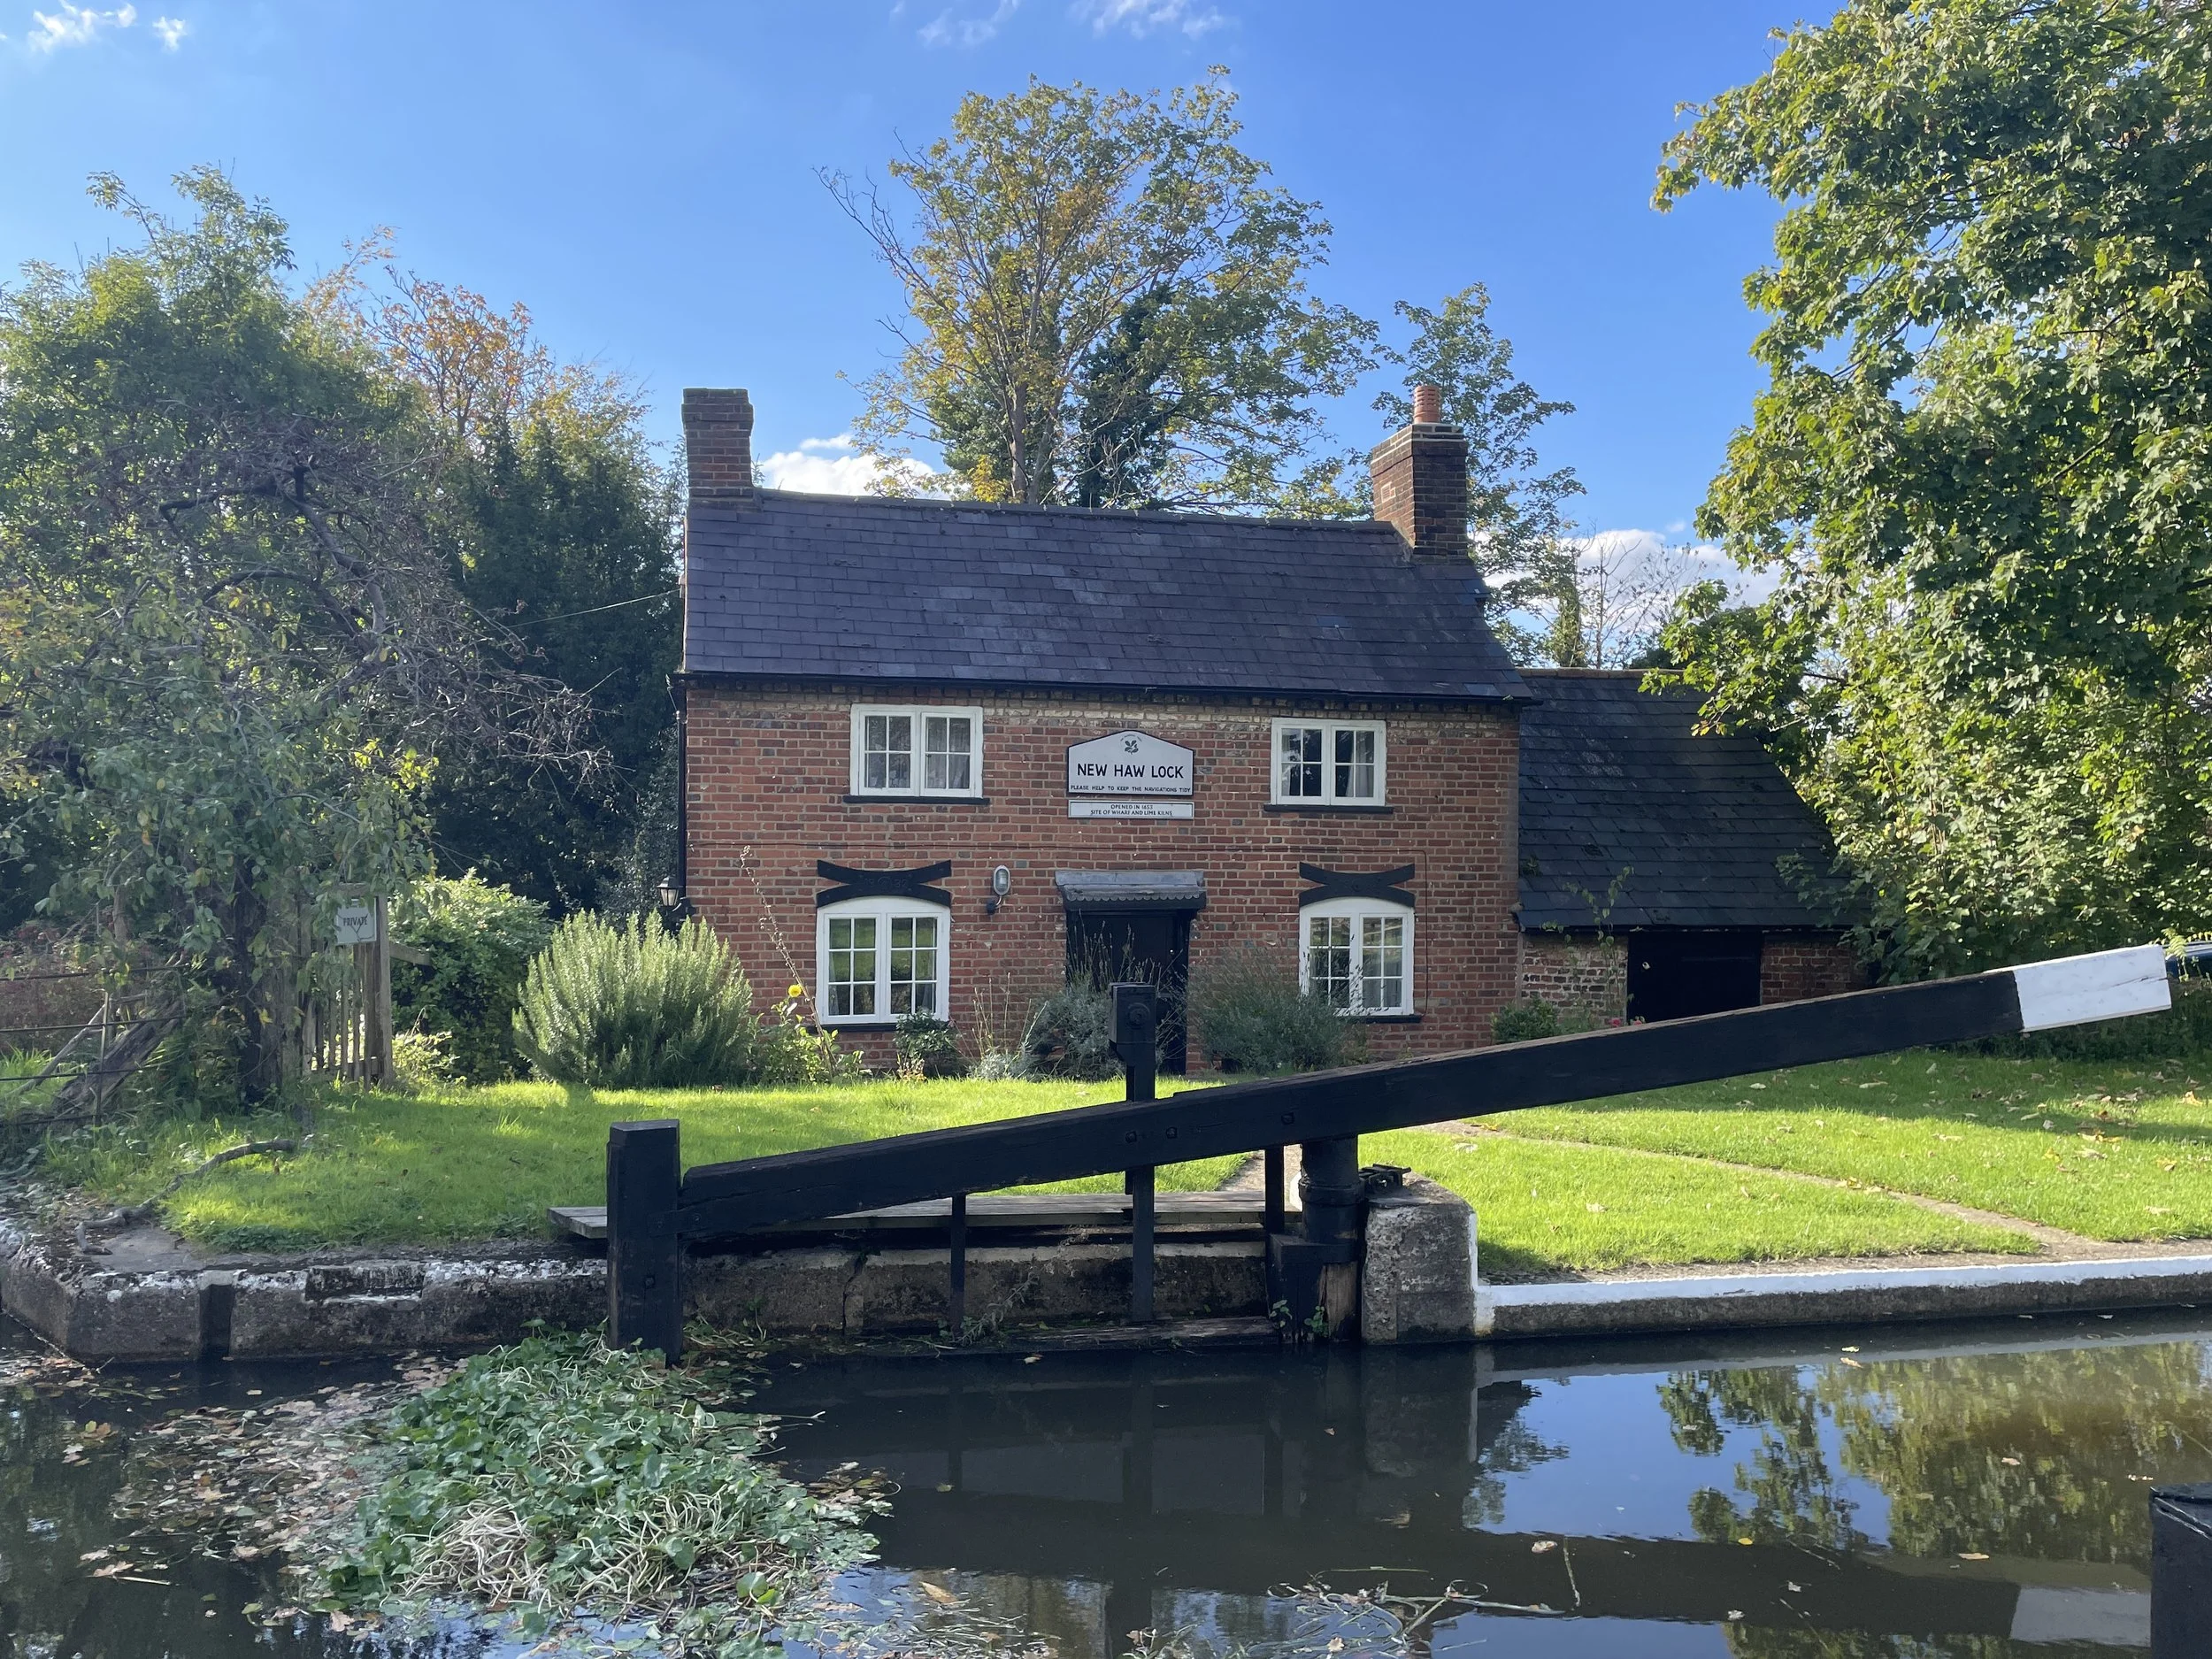
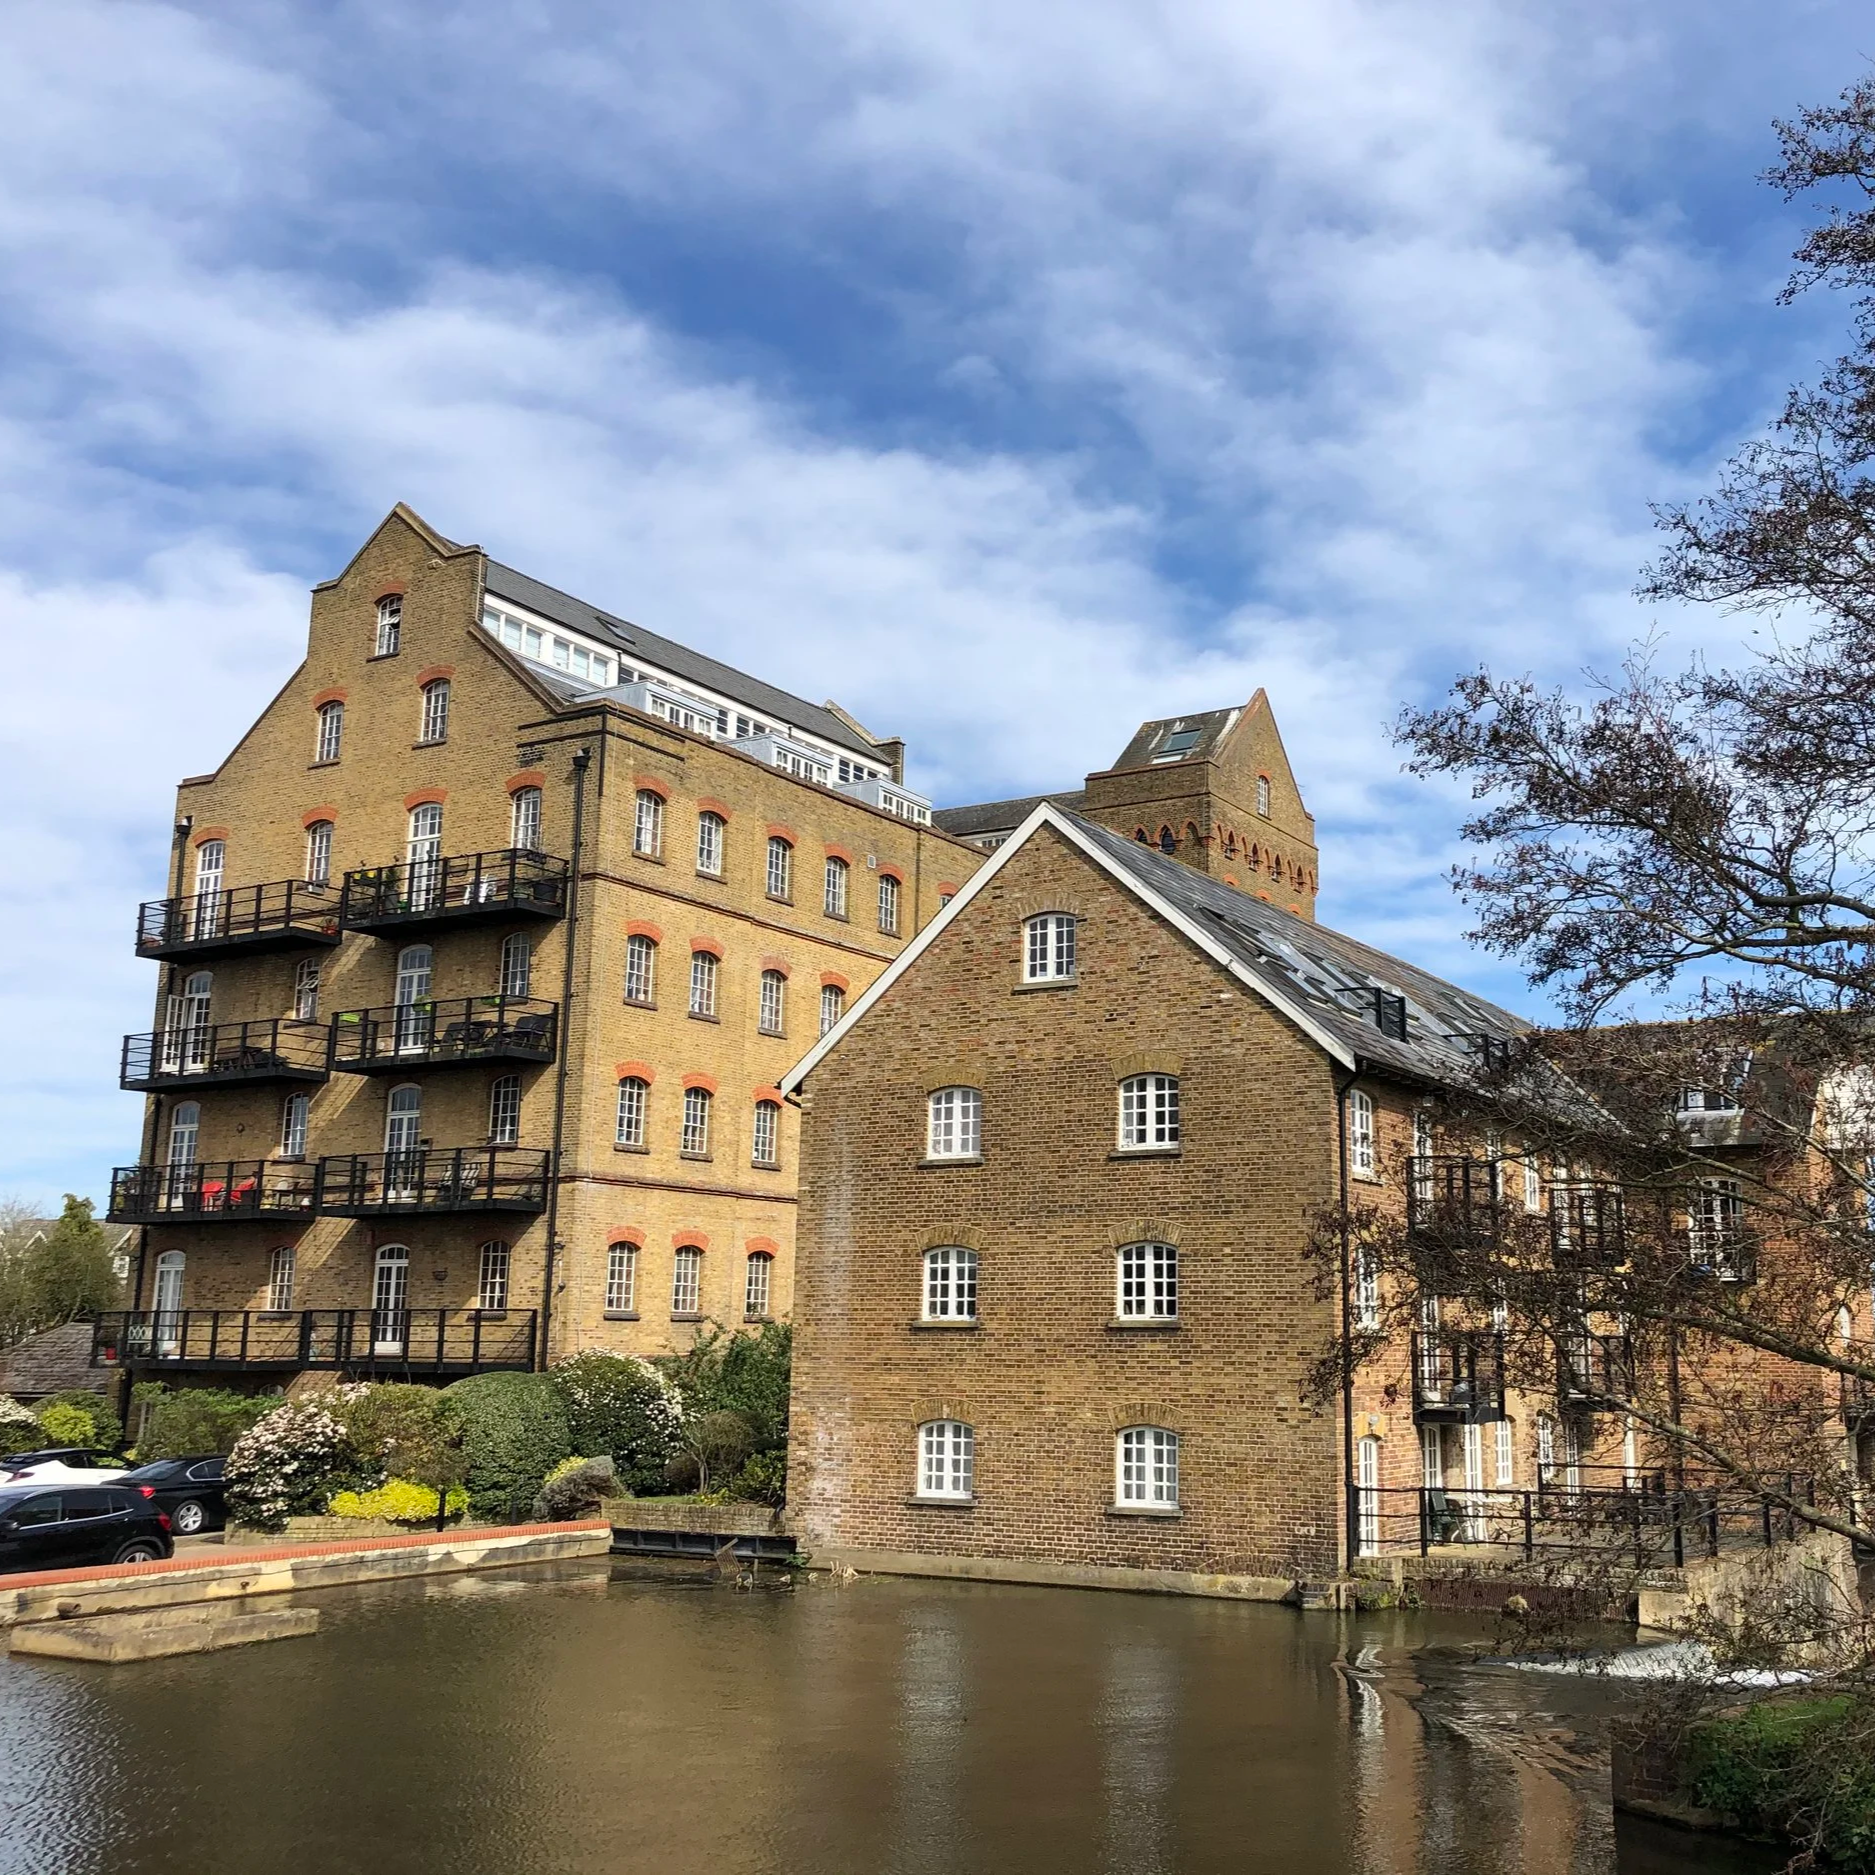
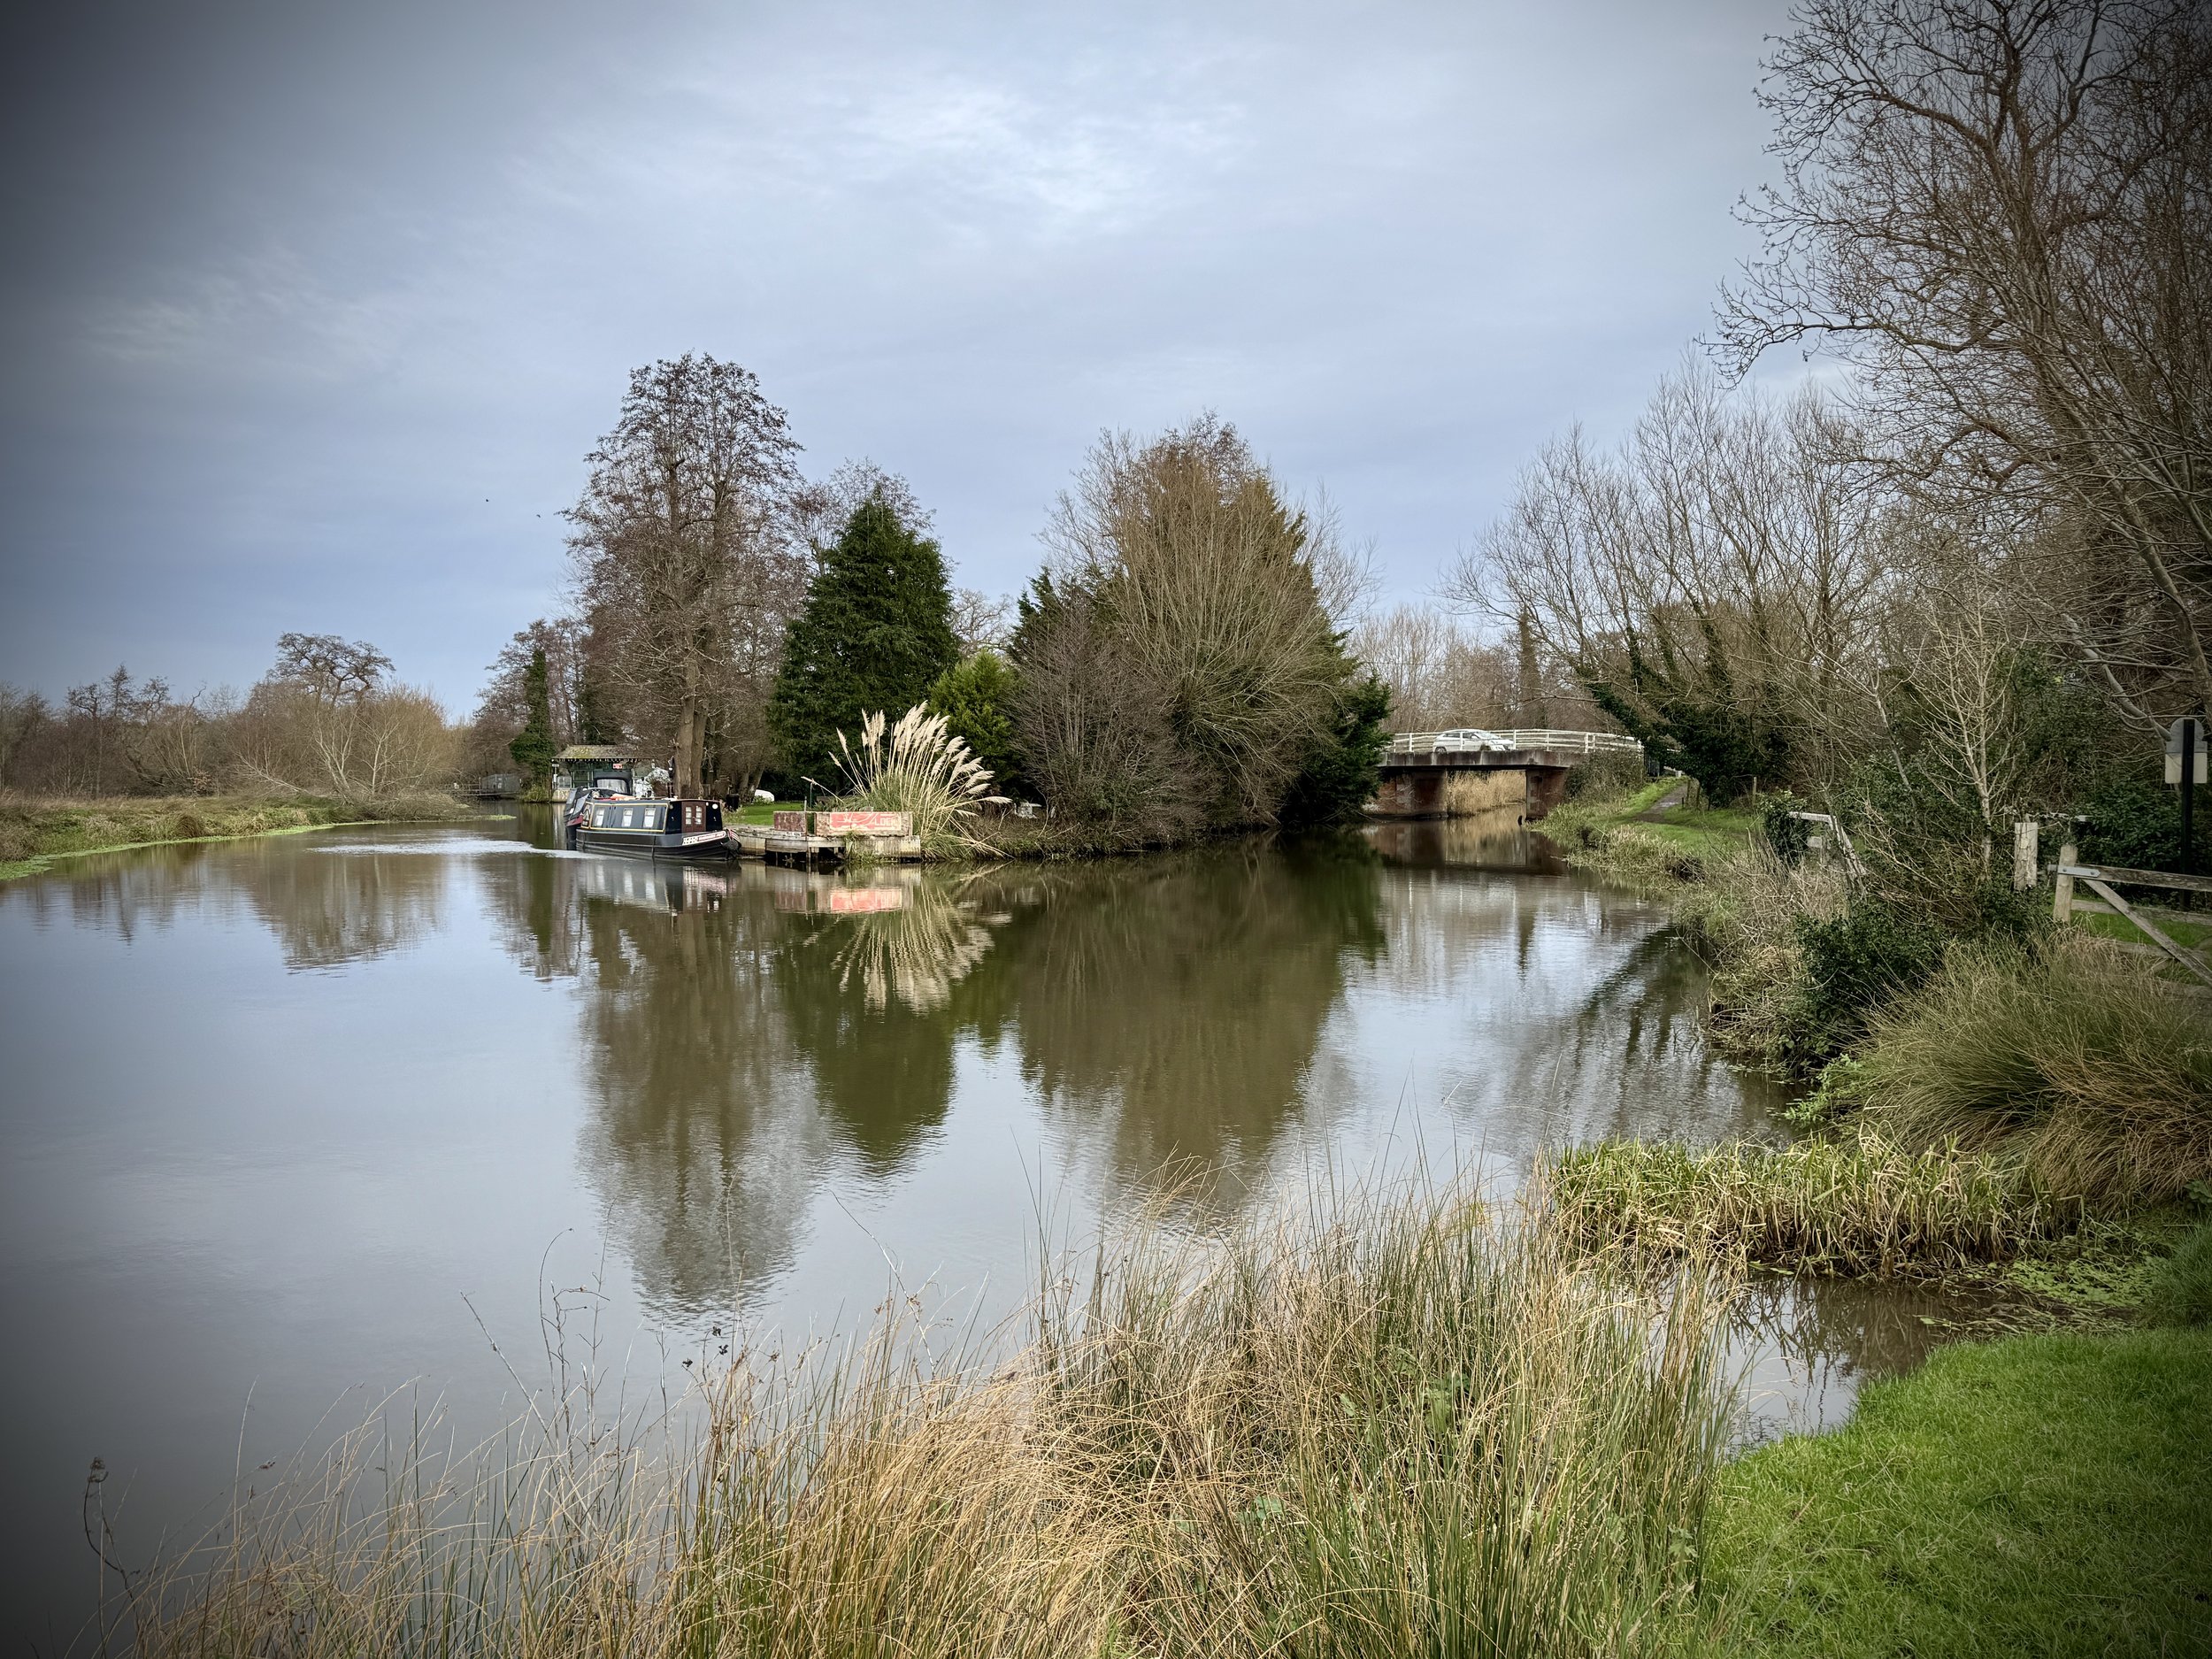
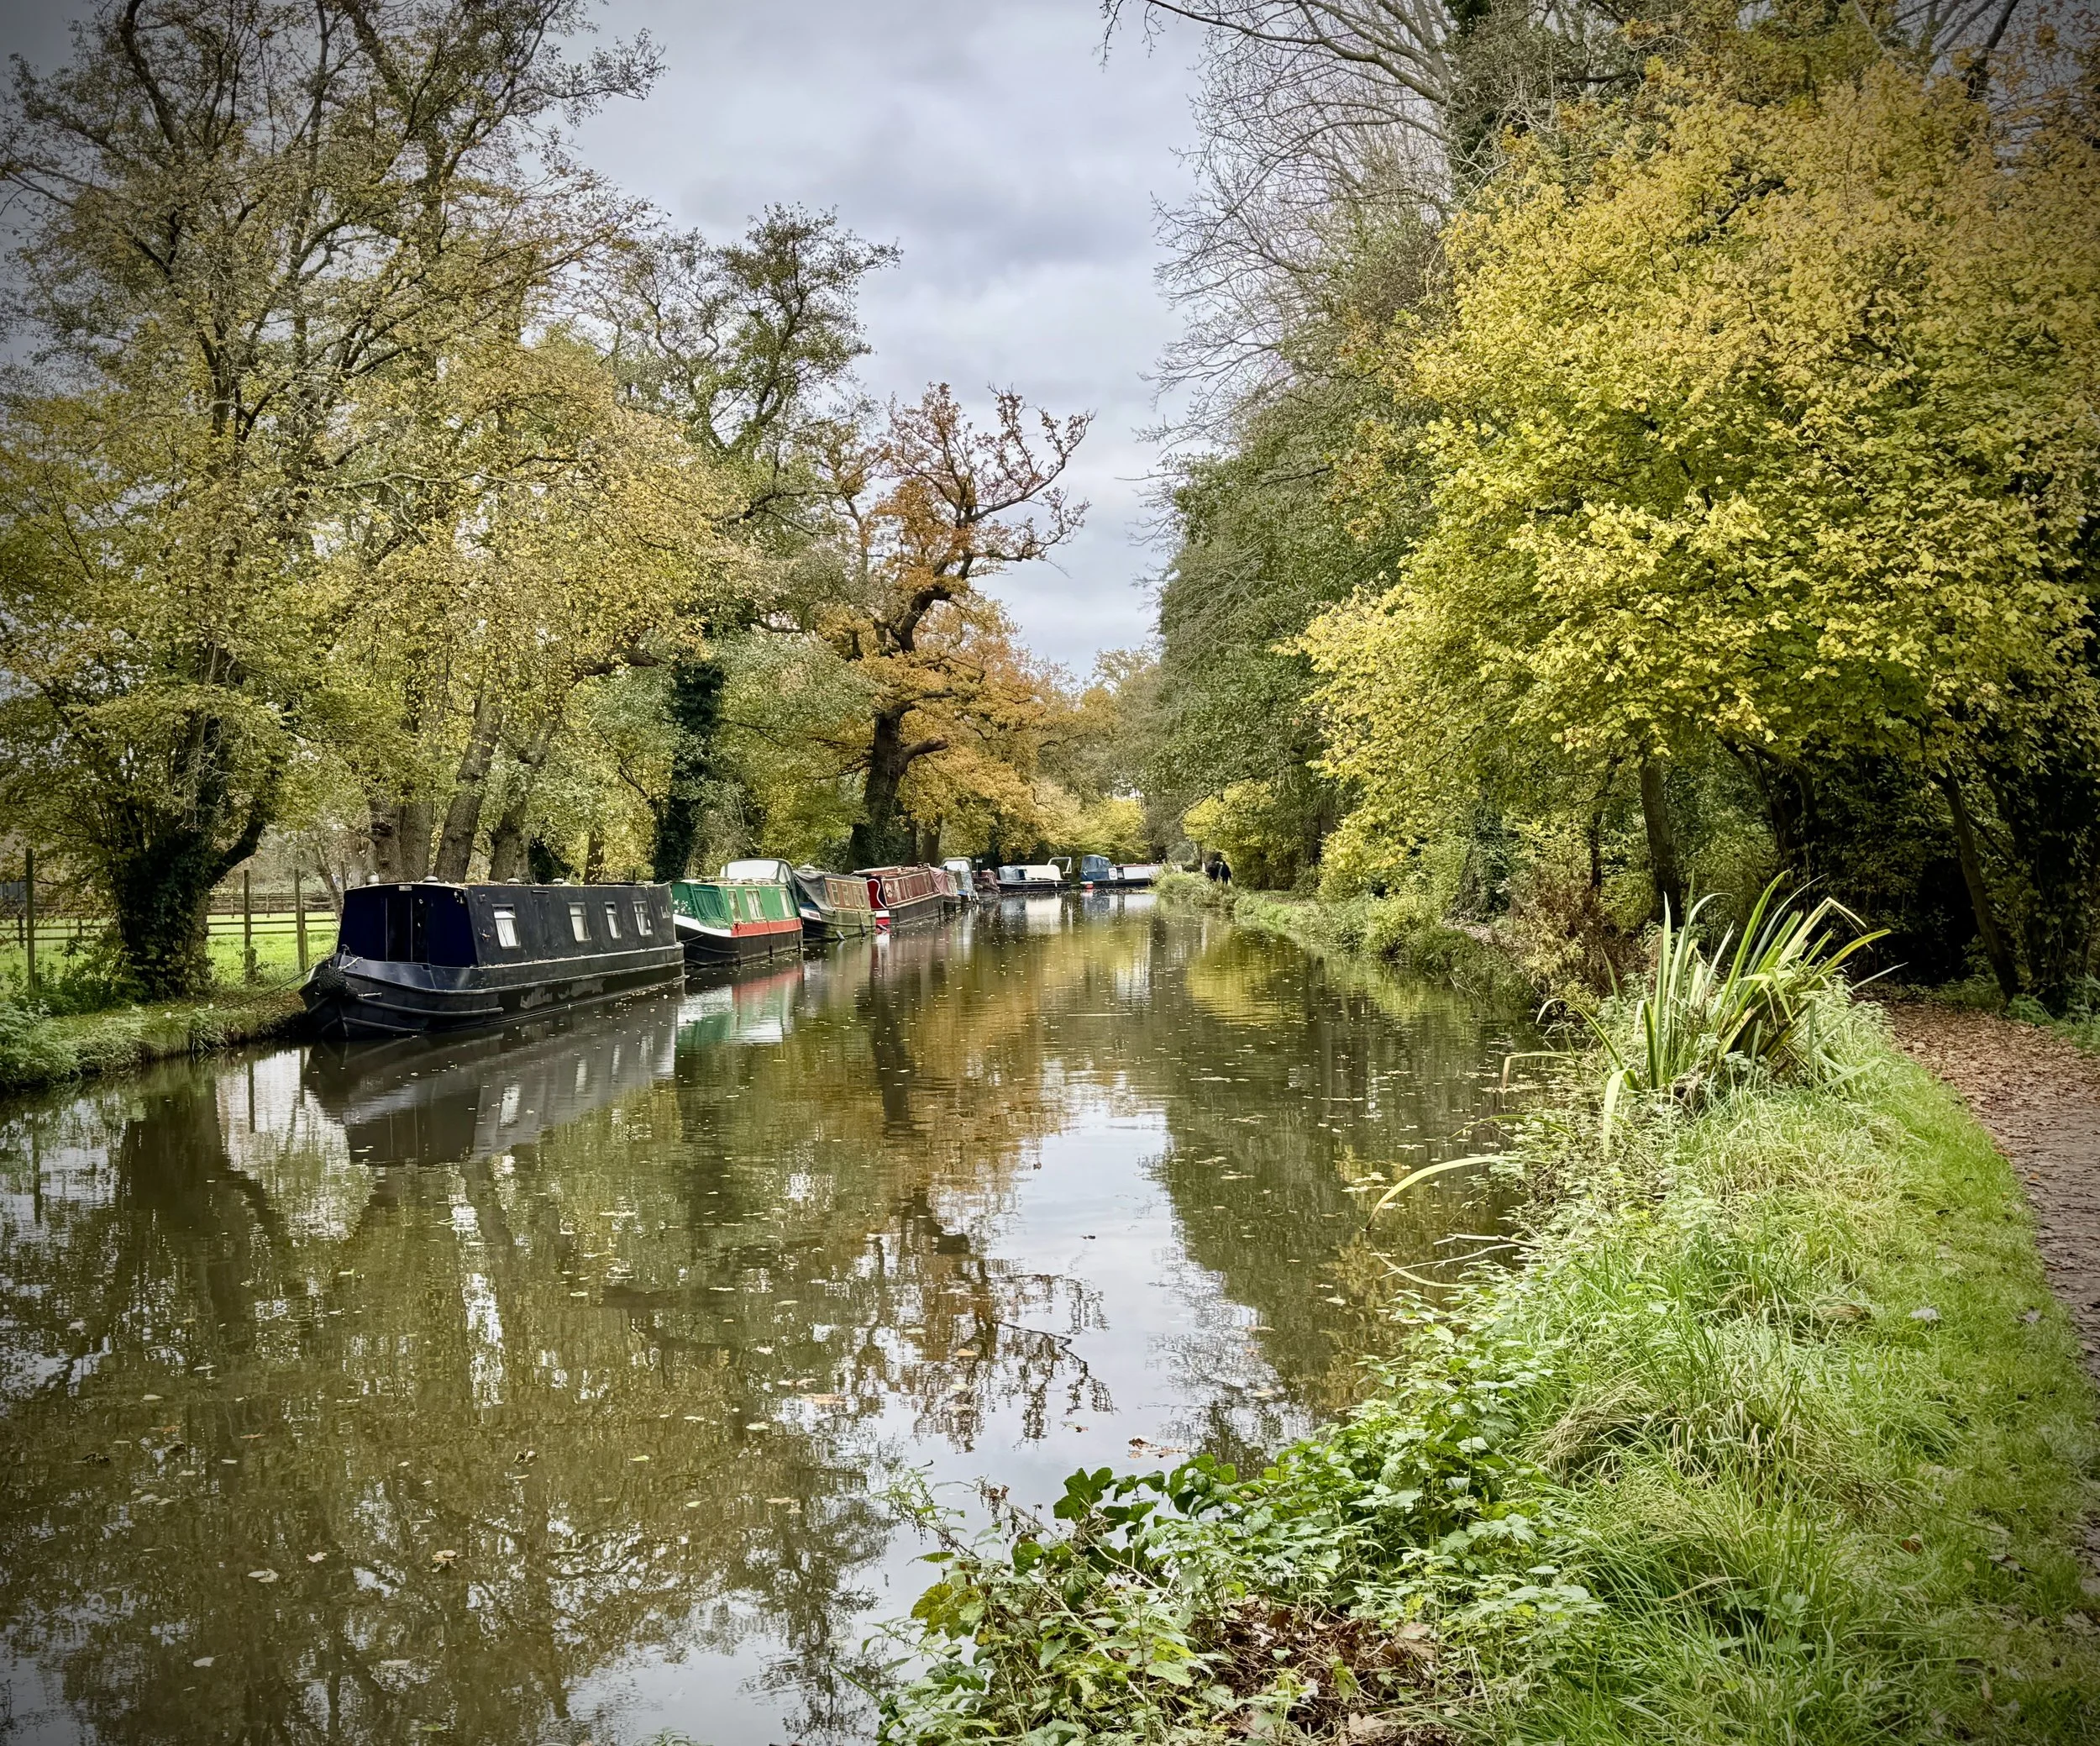
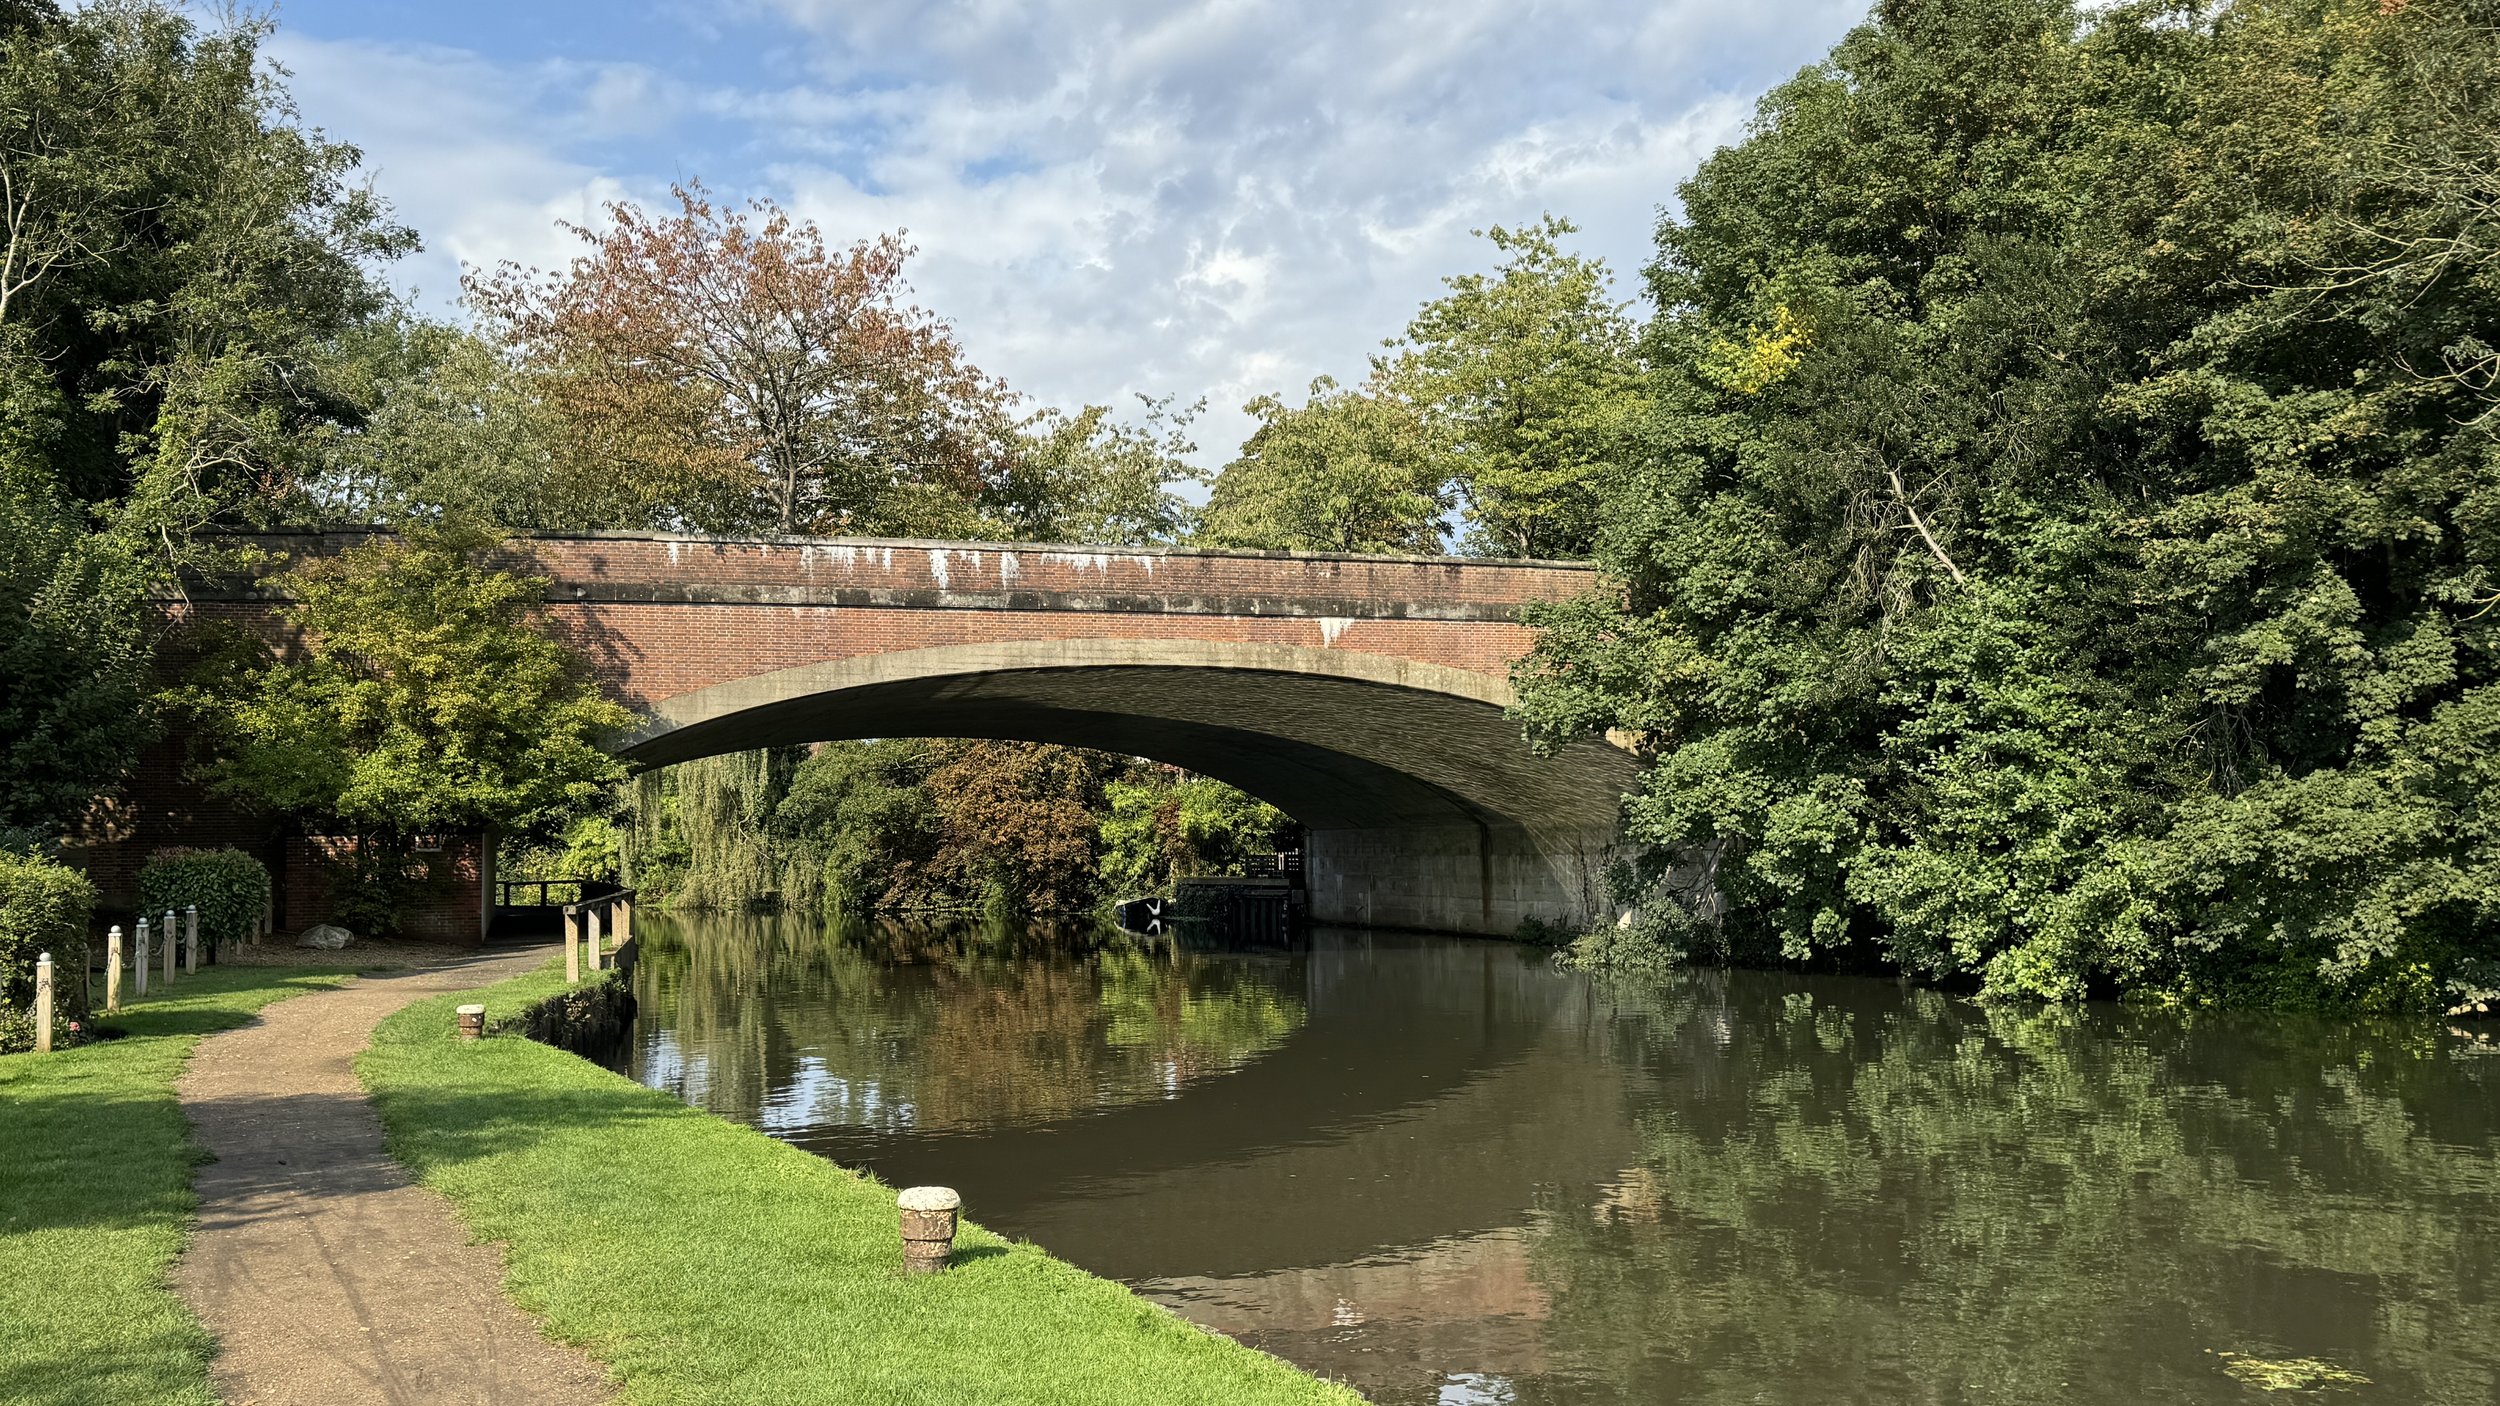
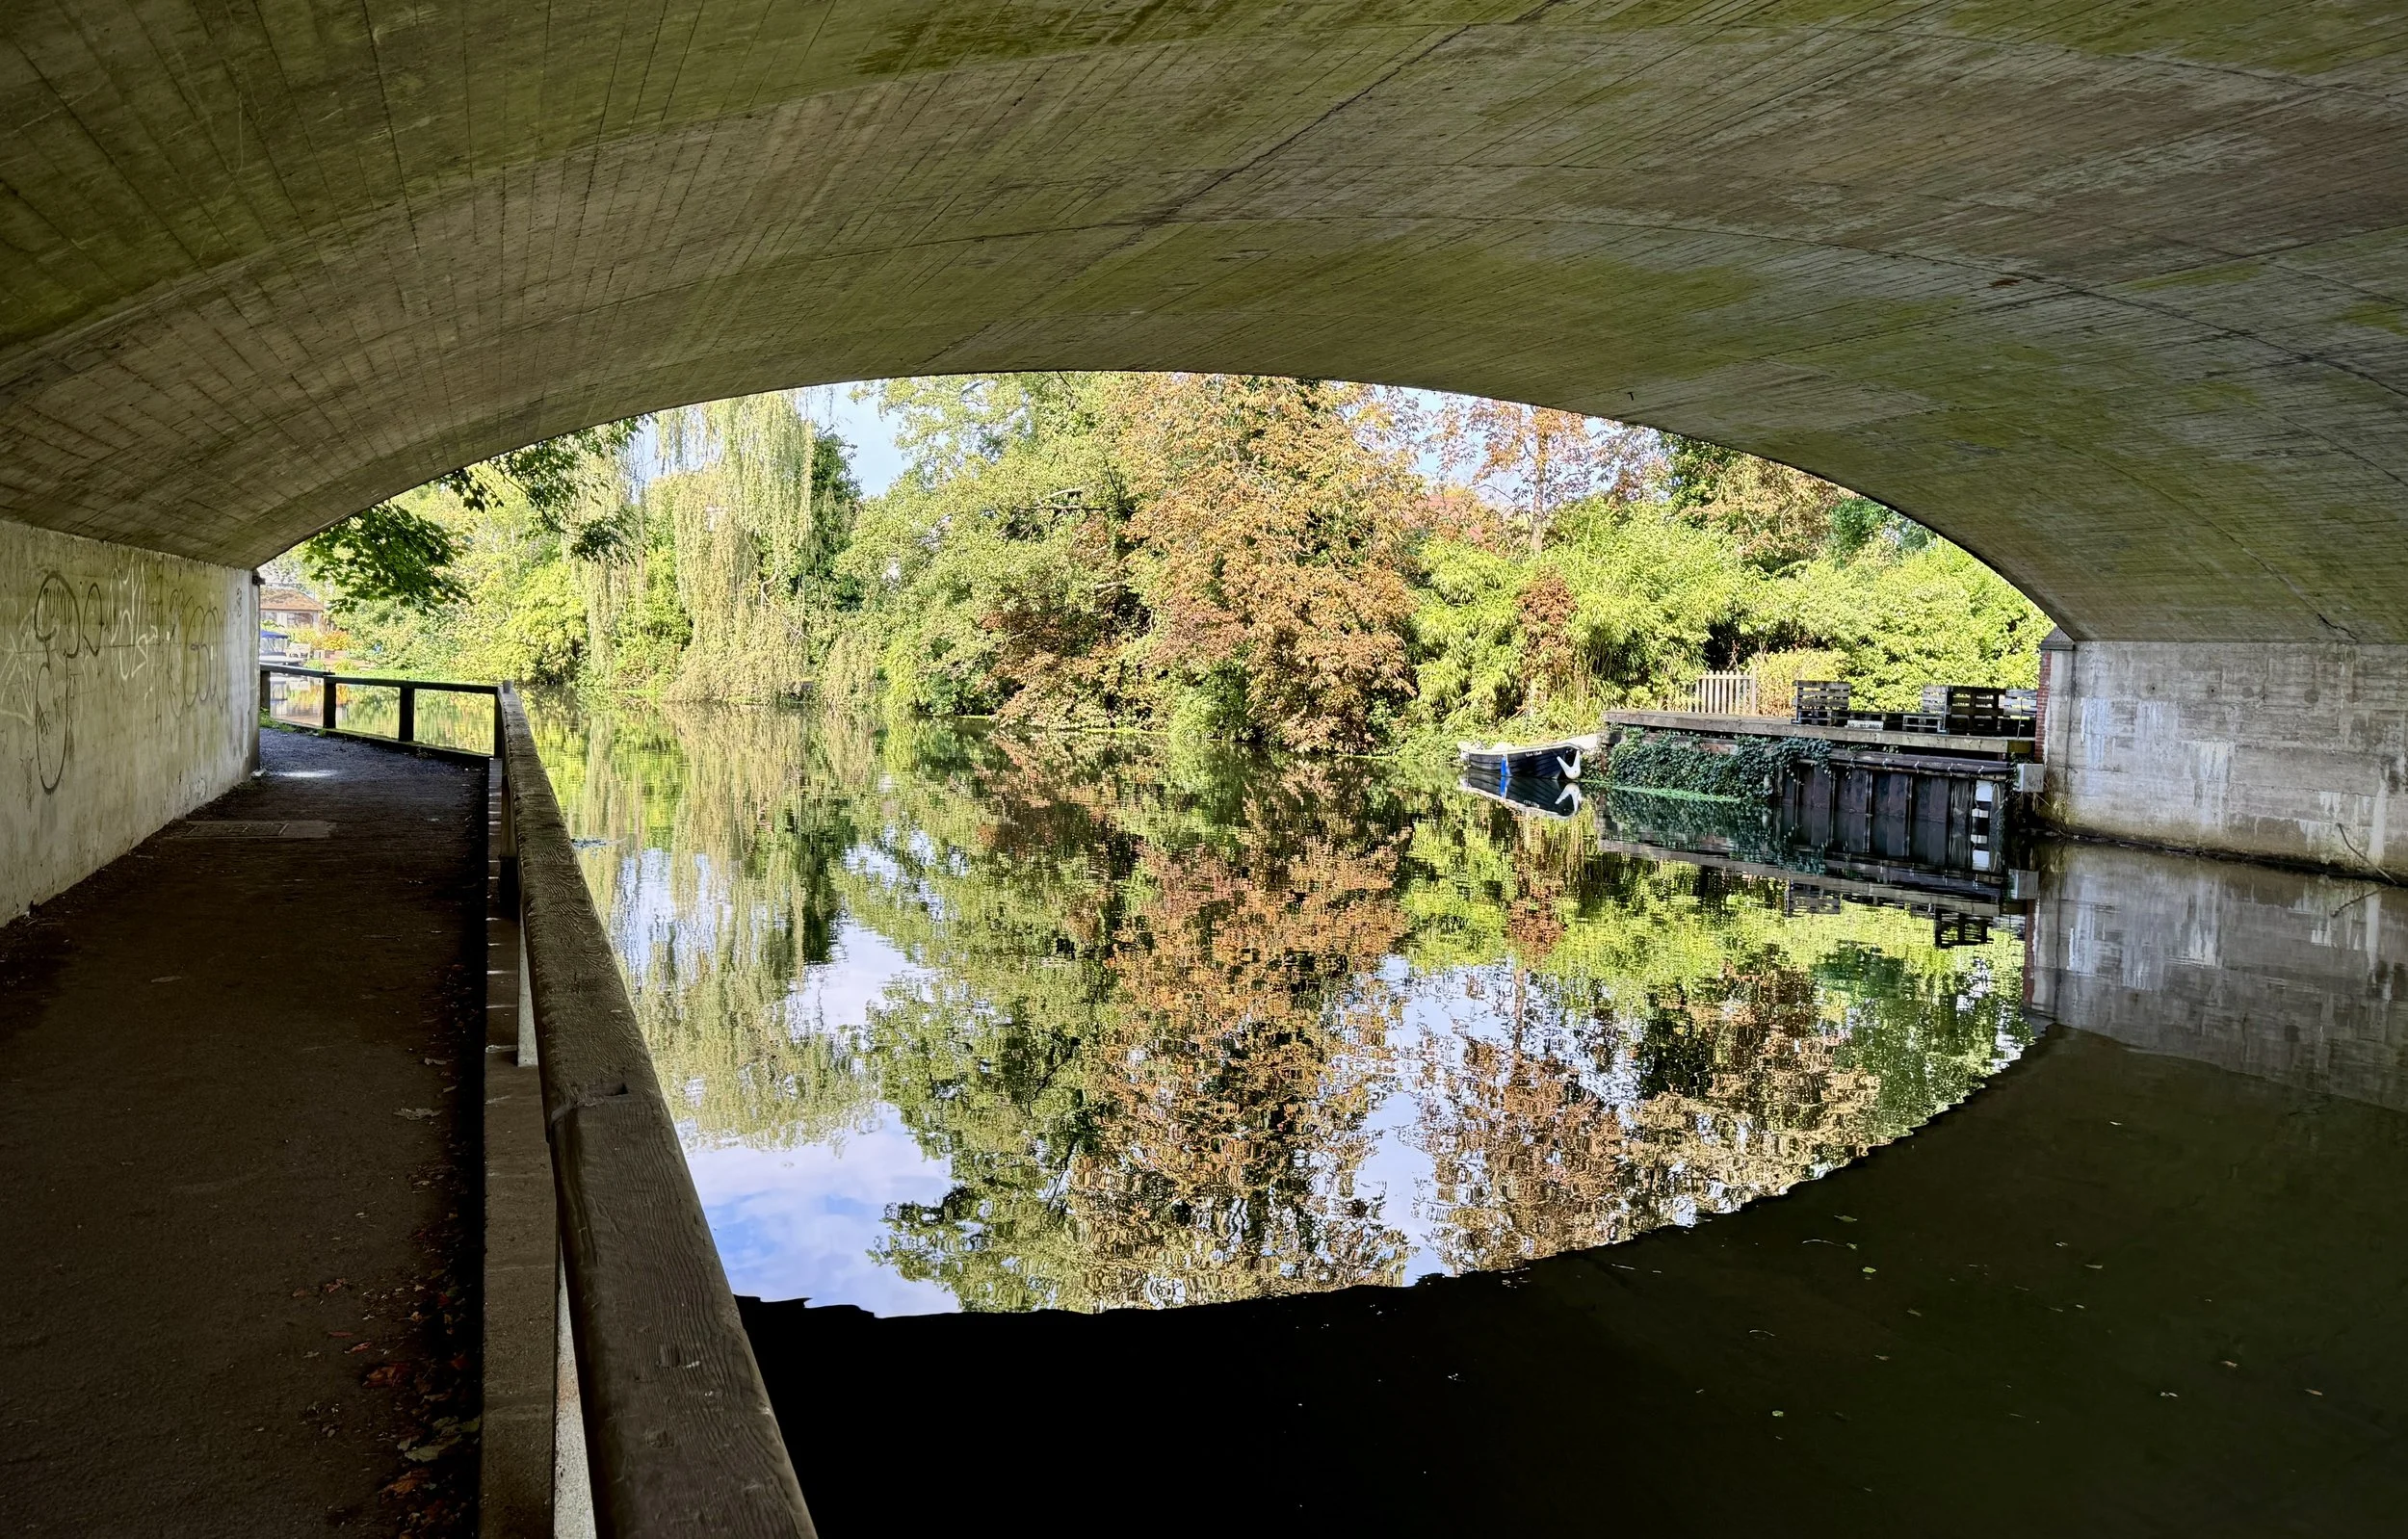
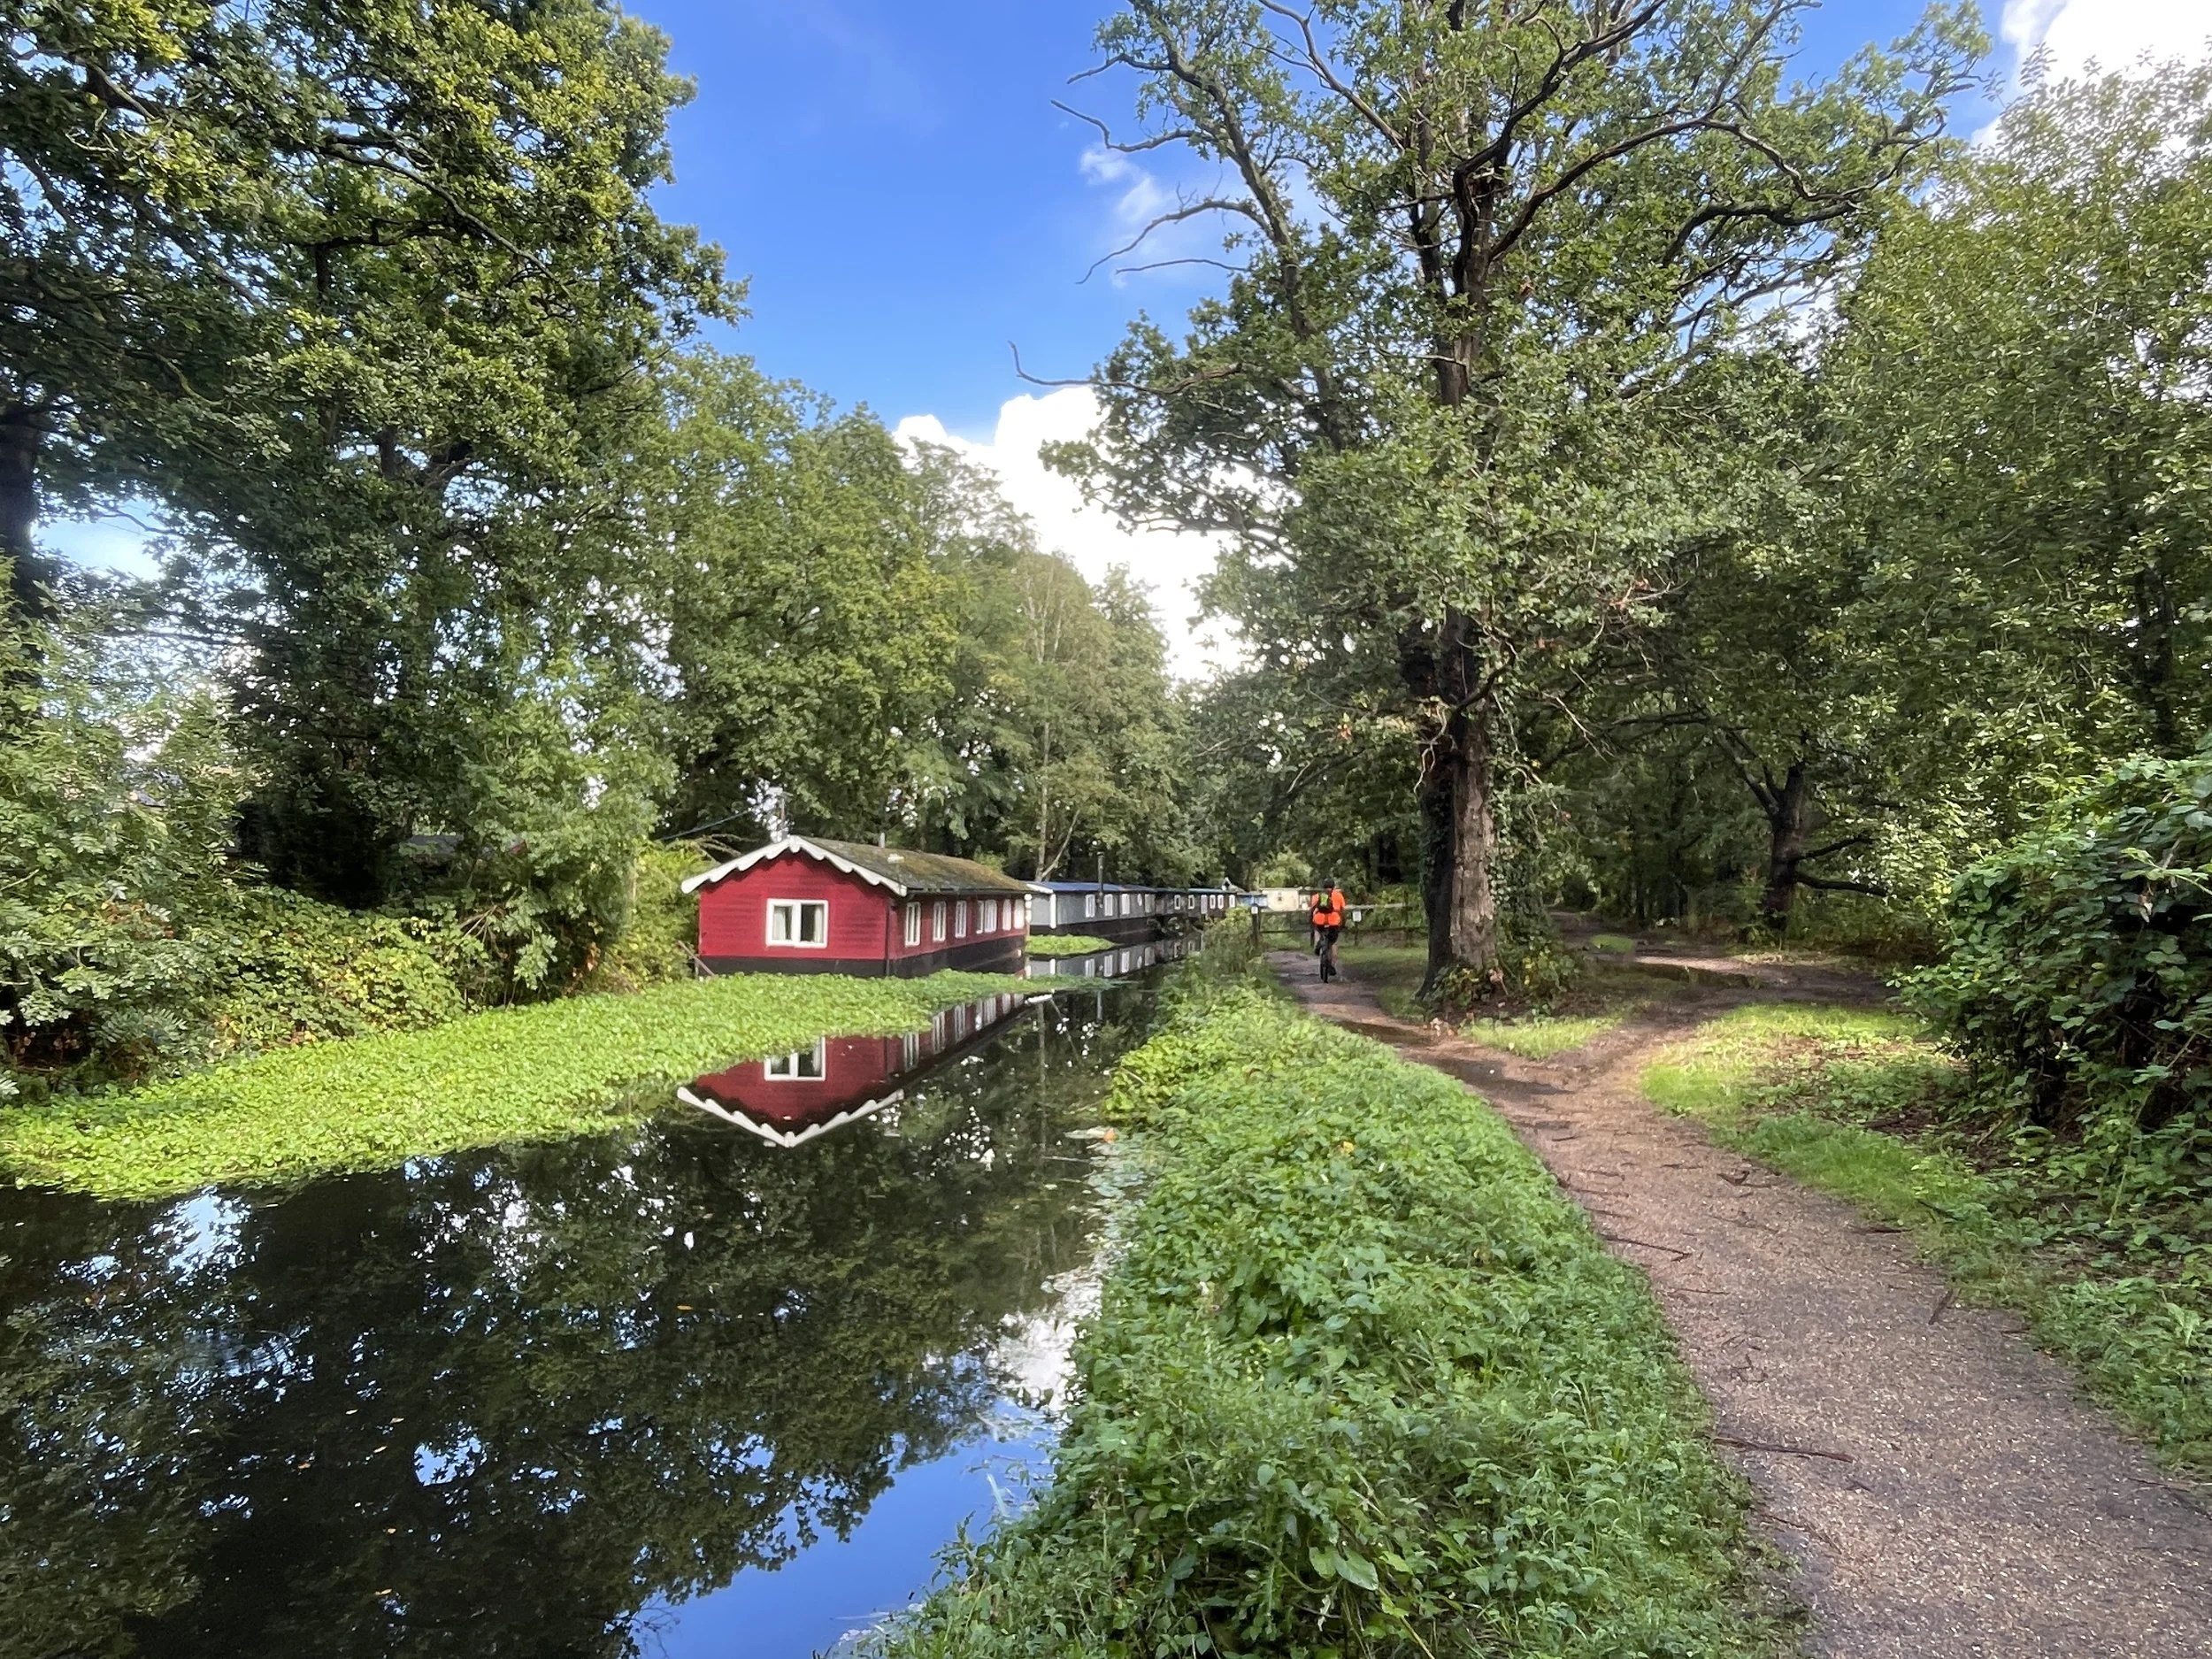
After the A420 the Brook snakes through George Green, Middle Green, across Langley Park Road and under the Grand Union Canal Slough Arm. Cycling close to the Brook is pretty straightforward and there’s a nice straight section of the canal to follow. After leaving the canal at Mansion Lane you’ll cross uner the railway and take a left onto Parlaunt Road then right onto Old Slade Lane. Meanwhile, the Brook passes through a field and Ritchlings Park Golf Club. After crossing over the M4, leave the Colne Valley Trail at a footpath junction and follow a messy path initially parallel to the motorway then cutting through a field to cross over the A4 Colnbrook Bypass. Here you’ll briefly re-join the Colne Valley Trail through Colnbrook village. After Colnbrook follow Horton Road keeping the Brook and The Queen Mother Reservoir on your right. Cross over Datchet Road to follow Park Lane and onto the footpath through the lakes to Station Road.
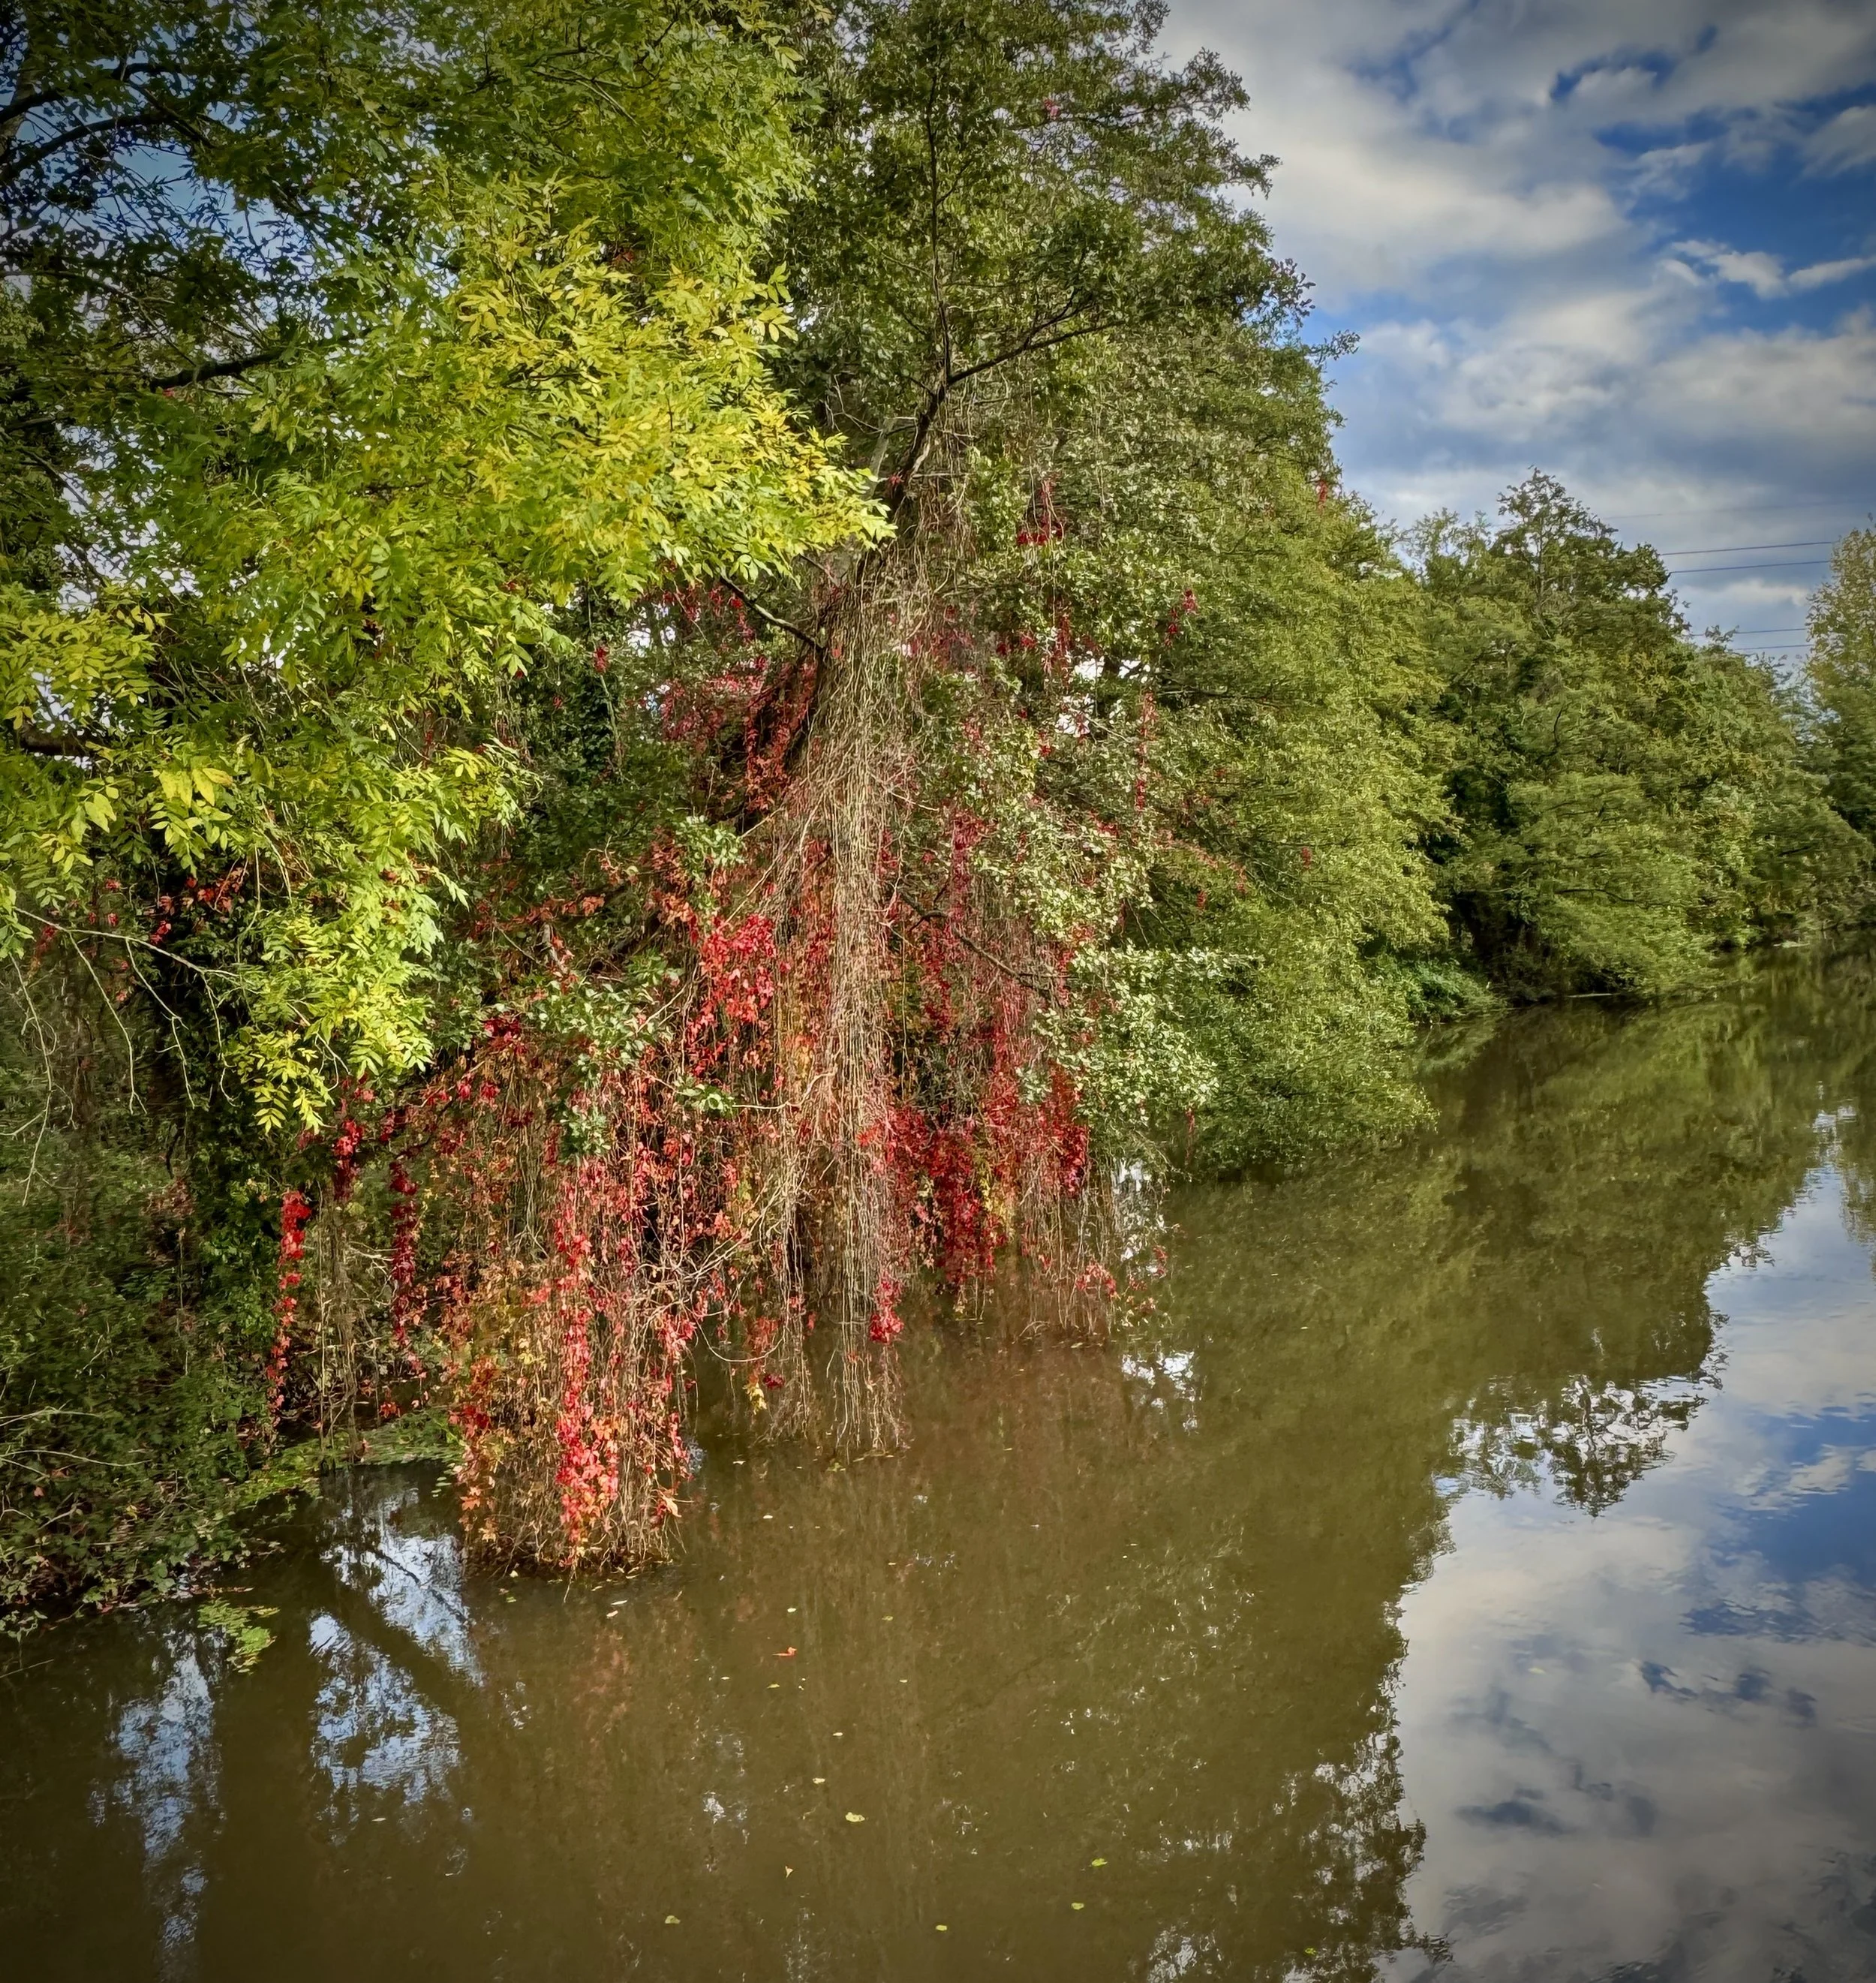
At Station Road you can take a left heading east to the bridge where the Brook flows under and into Wraysbury Lake. According to the DEFRA site, this is where the Horton Brook ends. The Wraysbury Lakes Ditch takes water from the lake and into the Colne Brook, which itself flows into the Thames at Runnymede.
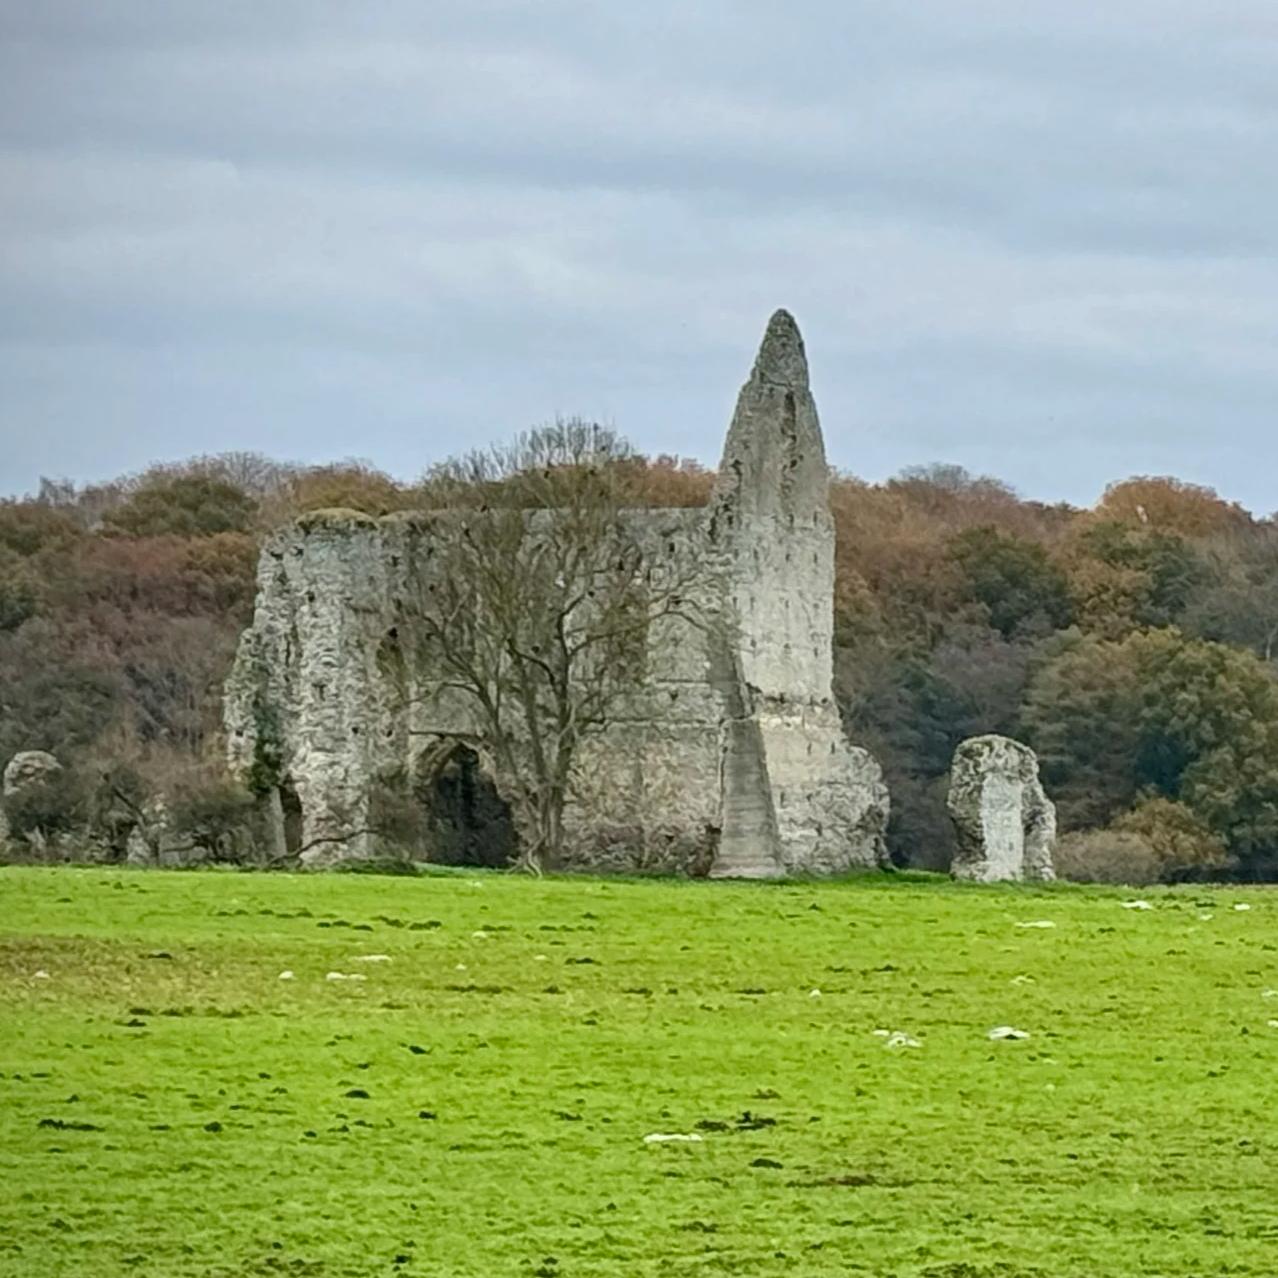
For a more interesting cycle ride we took a right onto Station Road, passing through Wraysbury High Street then took at right into Magna Carta Lane. Here you can pass through the National Trust Ankerwyke site to connect to an arm of the Horton Brook that joins the Thames to the east of Ankerycke Yew. The paths through the National Trust site are for walking so best to lock your bikes up at the parking area.
Cycling The Datchet Common Brook from the Thames to the source
River start: Fulmer Wood Lake, Slough, SL3 6AA
River end: Confluence with the River Thames near The Avenue, Sunnymeads, Wraysbury, Staines, TW19 5EY
River length: 11.3 km (7 miles)
Links: DEFRA: Datchet Common Brook
From the end of the Horton Brook return to the B376 Staines Road and take a left towards Wraysbury. At the mini roundabout continue on the B376, then take a left onto The Avenue at Sunnymeads. Look out for the bridge over the Datchet Common Brook near house #37. This is the closest you’ll get to the confluence with the Thames which is behind the houses on the western side of the road.
After the bridge, turn around and take the next left onto Acacia Avenue to Sunnymeads Station. Take the footpath on the right to climb the steps back up to Welley Road. Take a left and follow Welley Road to the junction with Datchet Road. Take a left onto Datchet Road and follow it in an easterly direction towards Datchet Common. The Brook follows the Datchet Road on the northern side, following the edge of the Queen Mother Reservoir.
Take a right onto Penn Road, a left onto New Road then a right onto Ditton Road. Take a right at the junction with Major’s Farm Road, running parallel with the M4 until you reach the footbridge. Cross the bridge over the motorway to the northern side and look out for the entrance to Ditton Park on the corner of Ridig Court Road and Ditton Park Road.
You’re now in the most enjoyable part of the ride, following the course of the Brook through Ditton Park to Upton Court Road. At the north-eastern corner of Upton Park, take Quaves Road onto Lascelles Road then take a left on the A4 Wellington Street, crossing over to the northern side where safe to do so. At the large Sainsbury’s Roundabout take the A412 heading north. After crossing over the railway line and canal you can follow the quieter residential roads that run parallel to the A412.
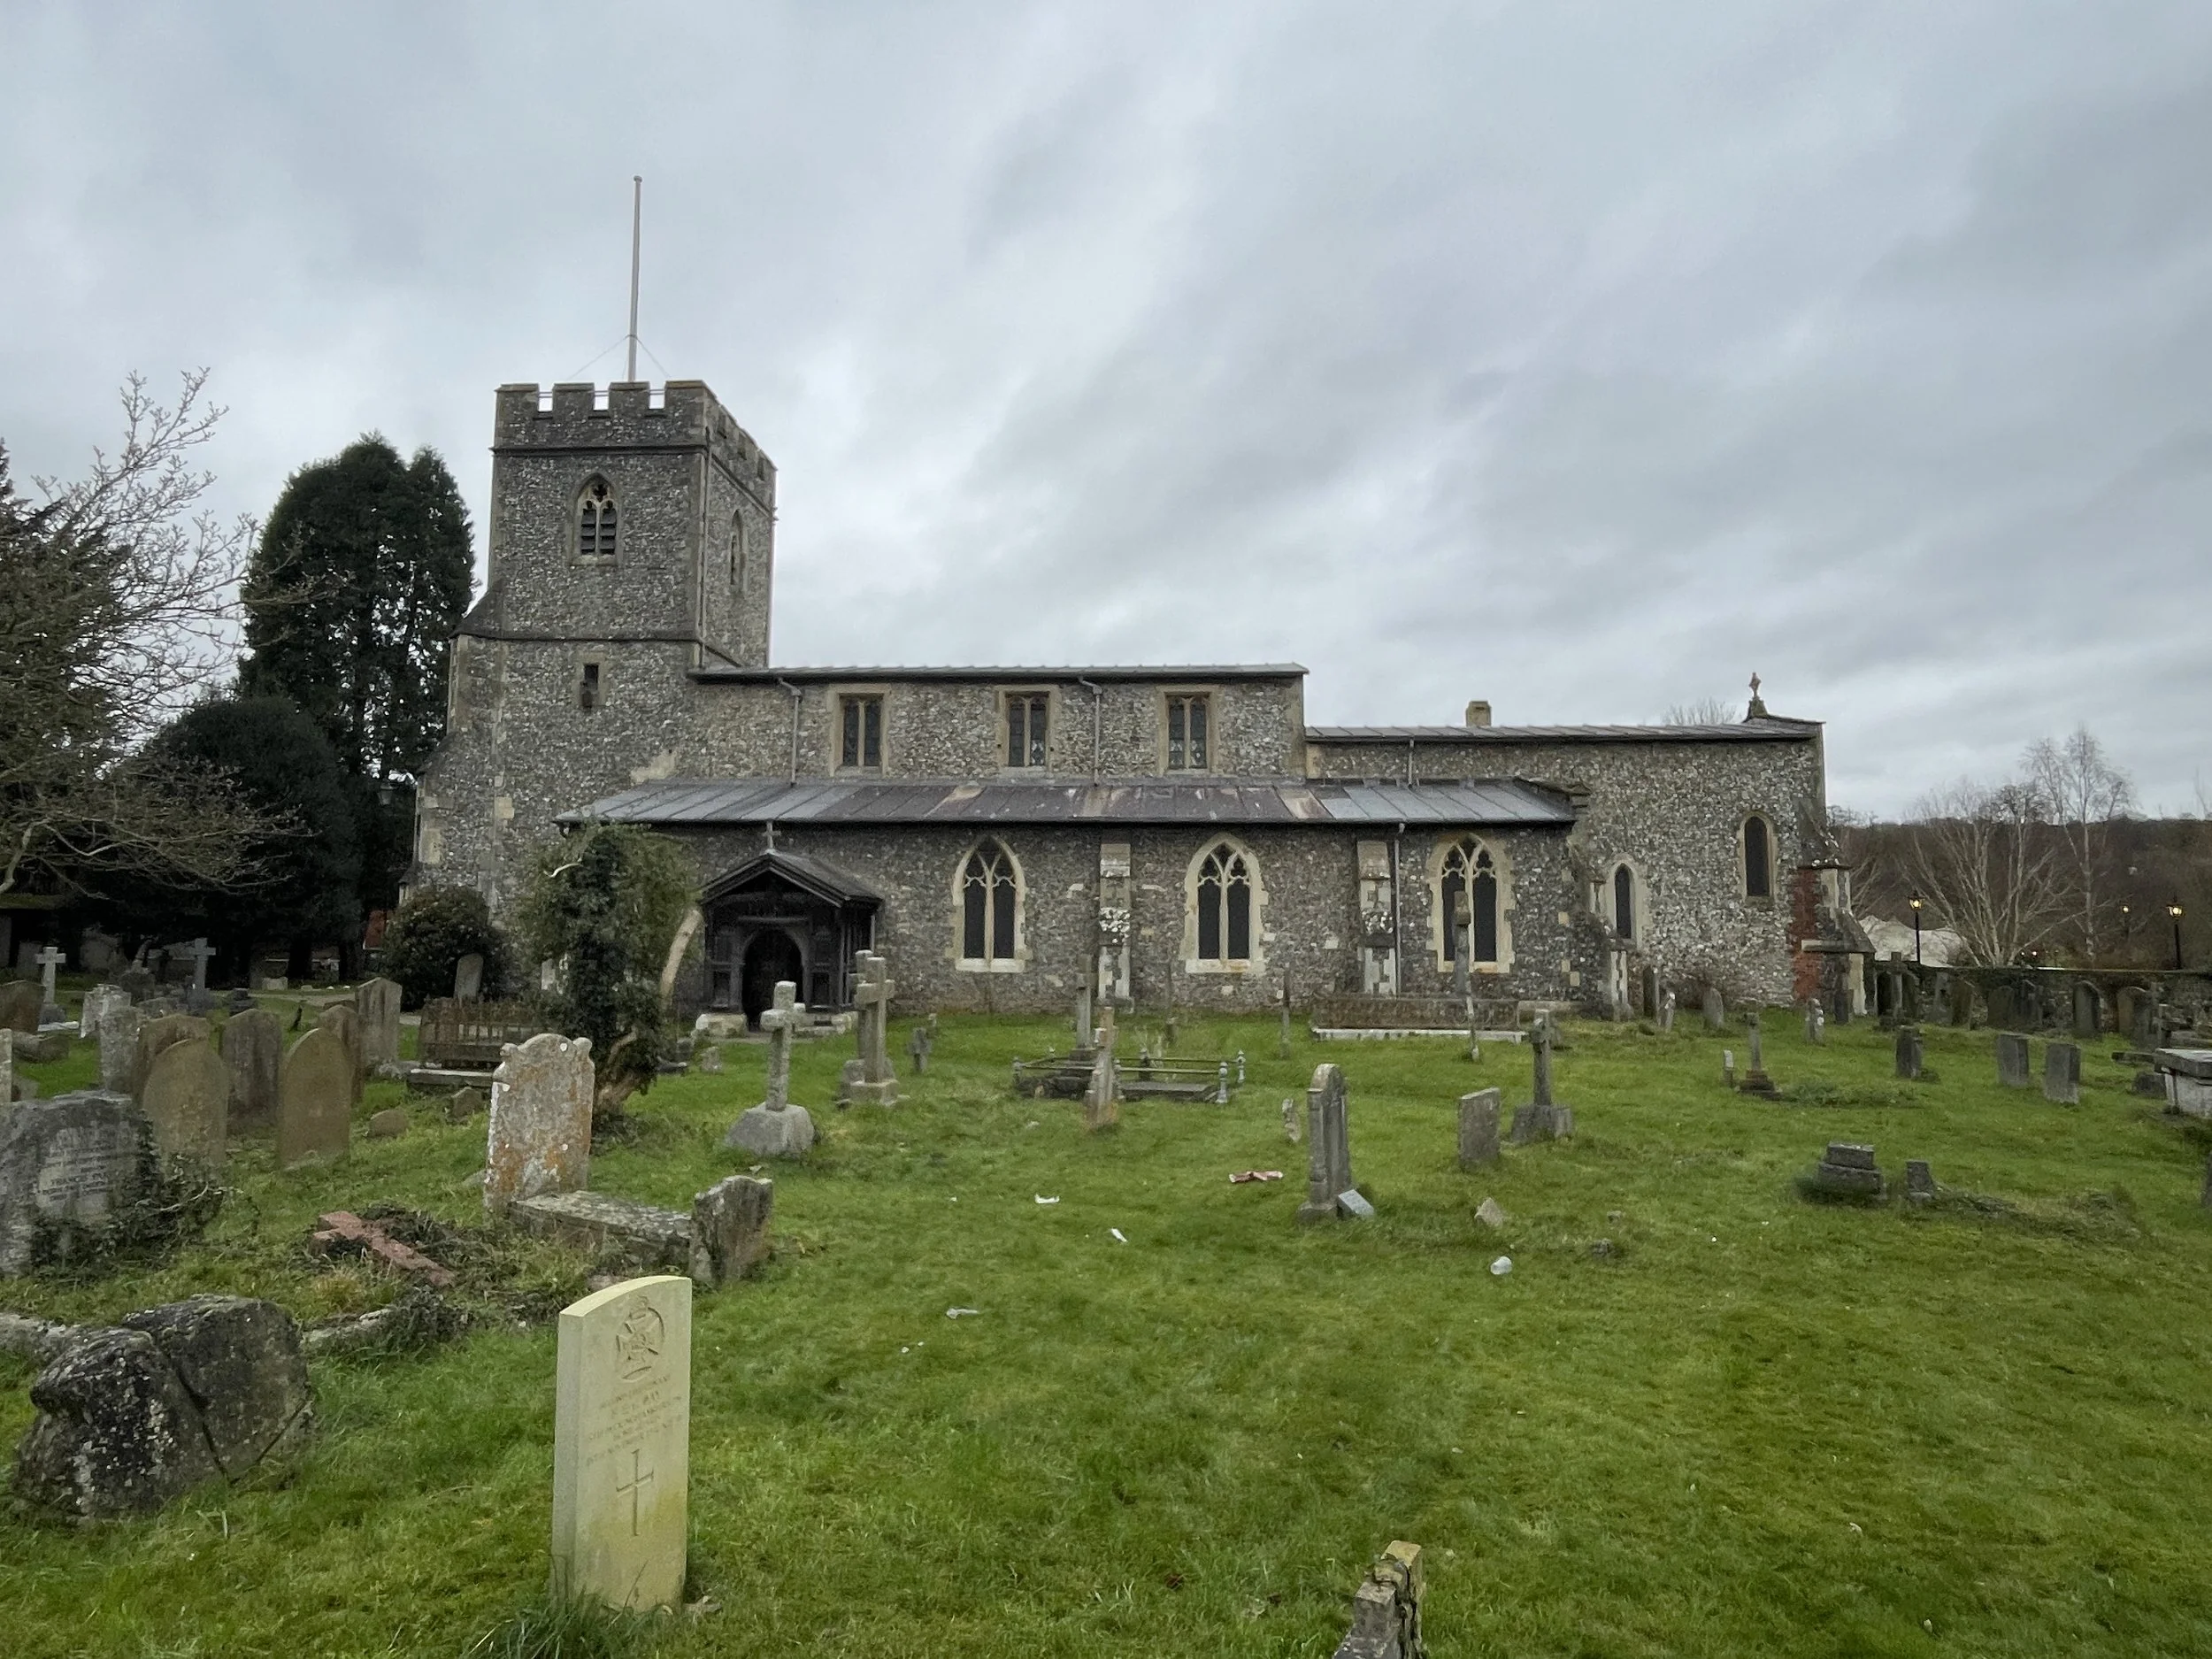
Take a left onto Church Lane then a right onto Wexham Park Lane. Look out for the bridge over the Brook at Valley End at the bottom of the hill. Shortly after Valley End, at a curve in the road, take the footpath on the left called Gallions Lane and follow it in a northerly direction. The Brook will now be on your left running through Wexham Park Golf Course. Just before the end of Gallions Lane take a right to follow the path running parallel to Rowley Lane to the end at Black Park Lane. Follow Black Park Lane in a northerly direction to the end at Fulmer Common Road. When you meet the Shakespeare’s Way and Beeches Way that join from the left you’re now as close as you’ll get to the source of the Datchet Common Brook at Fulmer Wood Lake.
Take a right onto Fulmer Common Road to return to the start of the cycle ride at the north-eastern corner of Black Park
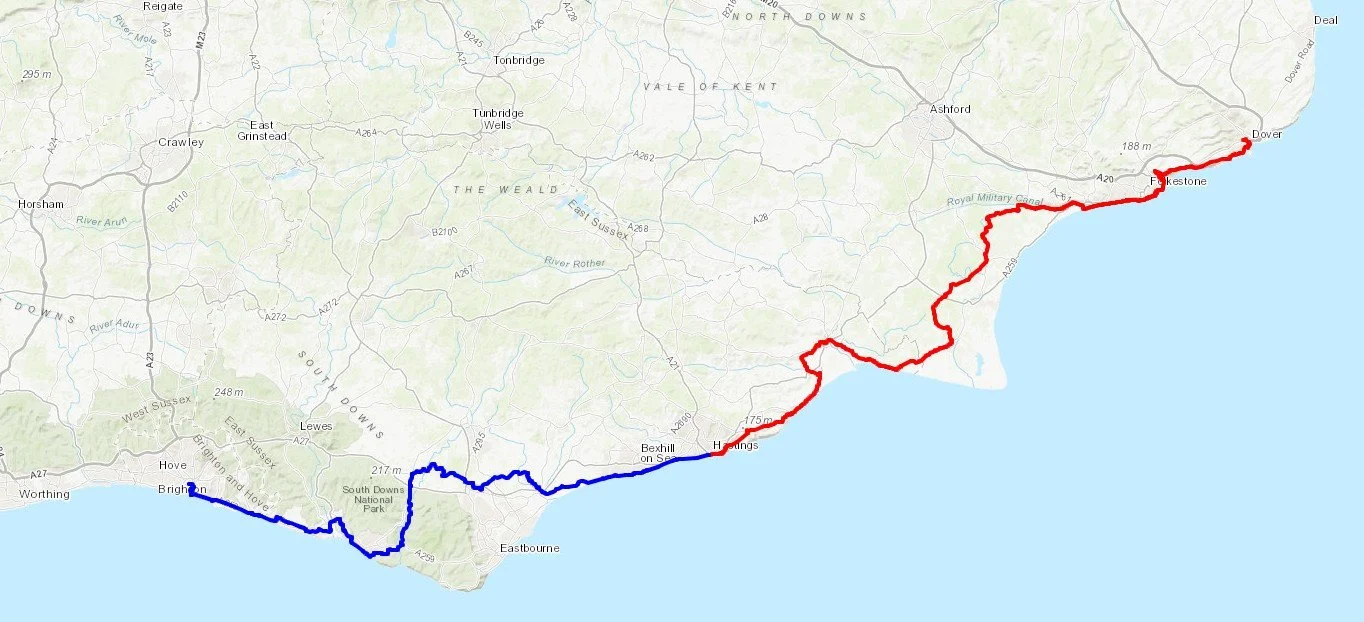
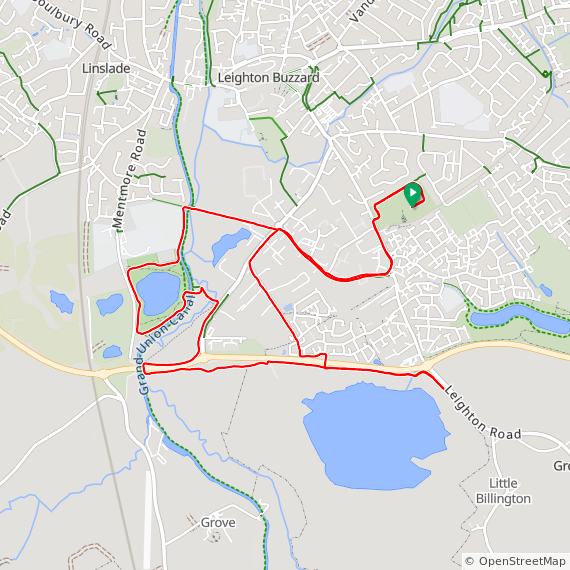
Red = Cycle Route, Green = Datchet Common Brook, Blue = Horton Brook


Elevation for cycle route